/


Latest Post

A treat bag from an envelope? Yes!


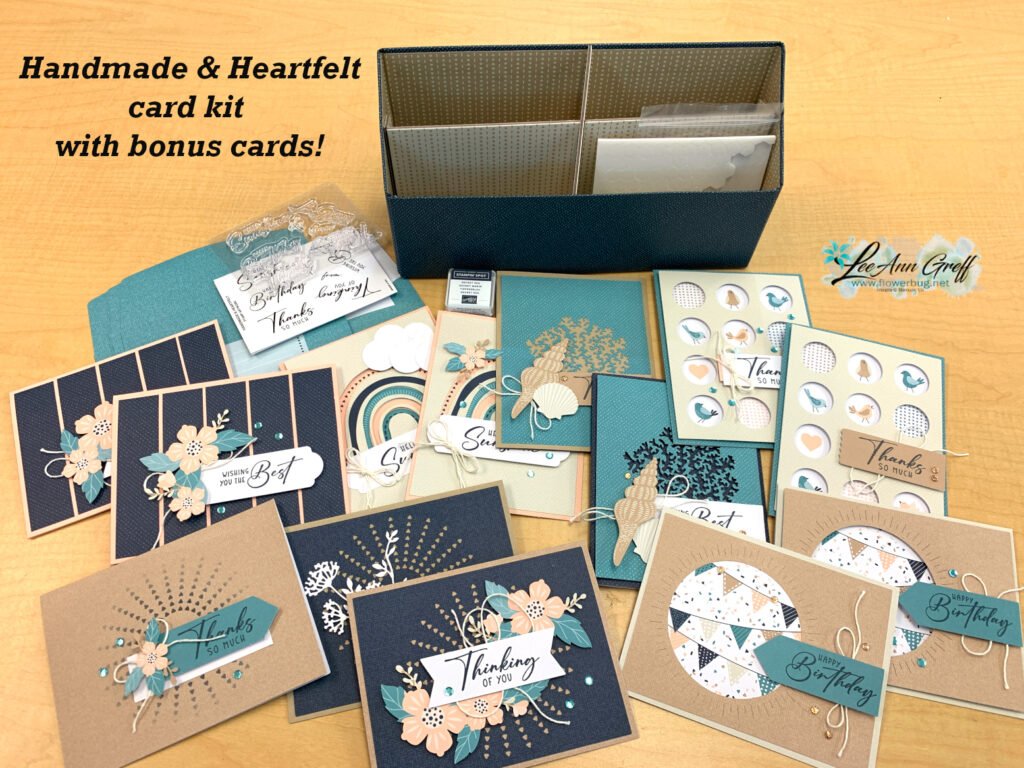
I cannot believe what a nice size this treat bag is – all from an A2 size envelope!  

Steps:

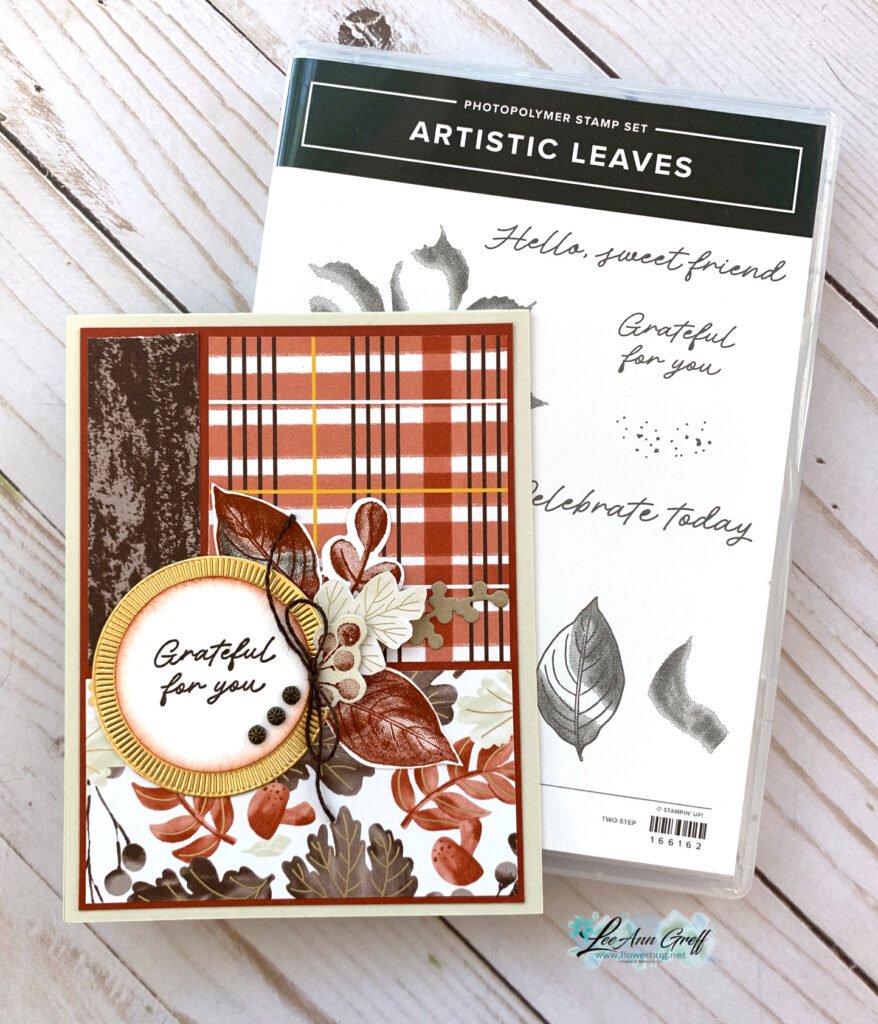
1. First I stamped just the flap with snowflakes from the Snowflake Wishes stamp set using Coastal Cabana and Highland Heather inks.  Then I stamped the Highland Heather tag and heat embossed it with White embossing powder.  

2. Next score 1" on the bottom and up both sides while the envelope is flat.  Fold on the score lines and press each fold well. 

3. Open up the envelope into a box. Secure the bottom corners to the flat bottom. 

4. Die-cut the flap using the Basic Border dies. Add a second layer of Coastal Cabana – also die-cut.  

5. Fill the bag with treats, wrap the mesh ribbon around it and add the tag.  Tie it into a bow.  Done!

And below is the video; it's the last project I share on this FB Live replay! 

~~~

Host codes: RY3EDVMZ

*click here to order

Online orders over $50 get a pre-cut card class of 4 cards & PDF tutorial.
*Orders over $80 will receive the card kit PLUS 24 Iridescent snowflakes!

All online orders will receive my Eden's Garden PDF 22 project tutorial free! 

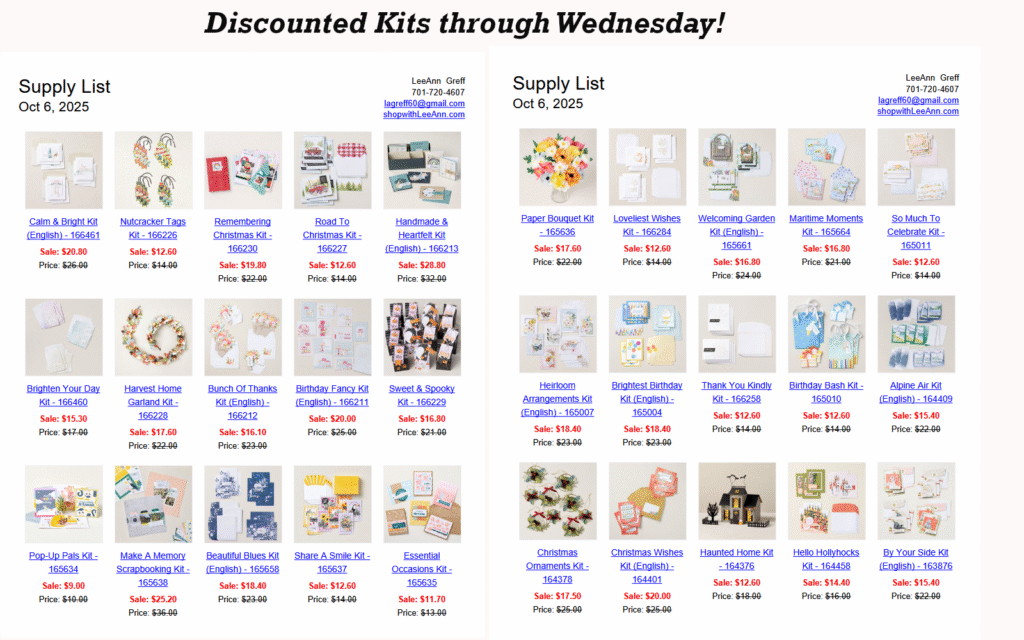
Get any of the tutorials or kits to go below in my Kit & Tutorial shop here:

Peaceful Wishes Christmas – limited supply available; 20 cards!


Christmas cards stamp a stack; limited supply! 

All Posts

  • Cute card with the Paper Tags bundle


    I haven’t shared this sweet card yet; it features the Paper Tags bundle.  

    Everyone received this sweet & simple card on our trip to Disney World in May of this year. 

    The colors include Pool Party, Lost Lagoon, Pretty Peacock and Strawberry Slush.  It’s made with this adorable bundle called Paper Tags.  

    ~~~

    August Specials

    Lots of In Color products are discounted in August!!

    Go here to see them all. 

    Get a free card class with any online order over $55 during August!

    Order online here

    The last chance list has new products! See them here. 

    Leave a Reply

    Your email address will not be published. Required fields are marked *

  • Last card in the Joseph’s Coat series with a video & free project sheet for each!


    Here’s the last card made with the Joseph’s Coat technique this week.  You can see the video tutorial below.  

    It features the Textured Notes stamp set seen here.  I love this set! But I love the dies in the bundle even more.  See the bundle here. 

    I used two of our newest In Colors here – Secret Sea and Timid Tiger.  I love the fact that the Secret Sea matches the Cloud Cover card stock I used for the card base; when sponged lightly. 

    Both of these colors are part of the big In Color sale during August, 2025!  It includes card stock, inks, markers, designer papers, embellishments, kits and lots more!  Check out the many discounted products here. 

    If you’re wondering how to make this incredible colorful effect please watch the video below.  I also gave the step by step directions in this post.  

    Here’s the free project sheet for this pretty card. Click on the following link to print or download it.  Download Textured Notes Joseph’s Coat technique

    The video tutorial for this card and two more versions is below.  Be sure to follow me on YouTube here so you don’t miss any of my tutorials. 

    ~~~

    August Specials

    Lots of In Color products are discounted in August!!

    Go here to see them all. 

    Get a free card class with any online order over $55 during August!

    Order online here

    The last chance list has new products! See them here. 

    Leave a Reply

    Your email address will not be published. Required fields are marked *

  • Gorgeous Joseph’s Coat technique with free project sheet & video


    Here’s another beautiful card made with the Joseph’s Coat technique. I shared it on last week’s Live video.  It’s so fun!

    My colors include Secret Sea, Timid Tiger and Darling Duckling.  The stamp set is called Artistic Leaves and can be seen here. 

    This technique involved adding color to White card stock and then heat embossing images in Clear powder over the colors.  Next rub a dark ink pad (Memento Black here).  The embossed images resist the black ink – it must be water-based ink!  

    Watch the video below to see how it’s done.  It’s super fun and such a cool effect.  

    I stamped the inside leaf with color by inking it in Timid Tiger ink and adding Secret Sea to the outer edges.  Then I stamped the coordinating stamp in Darling Duckling.  

    Here’s the free project sheet for this card. Just click on the following link to print or download it.  Download Artistic Leaves Joseph’s Coat

    The video tutorial for this card and two more versions is below.  Be sure to follow me on YouTube here so you don’t miss any of my tutorials. 

    ~~~

    August Specials

    Lots of In Color products are discounted in August!!

    Go here to see them all. 

    Get a free card class with any online order over $55 during August!

    Order online here

    The last chance list has new products! See them here. 

    Leave a Reply

    Your email address will not be published. Required fields are marked *


Notice: LeeAnn Greff, Independent Stampin’ Up! Demonstrator, Manager. The content of this website is my sole responsibility as an independent Stampin’ Up! demonstrator and the use of, and content of, the classes, services, or products offered on this website is not endorsed by Stampin’ Up! Copyright 2025