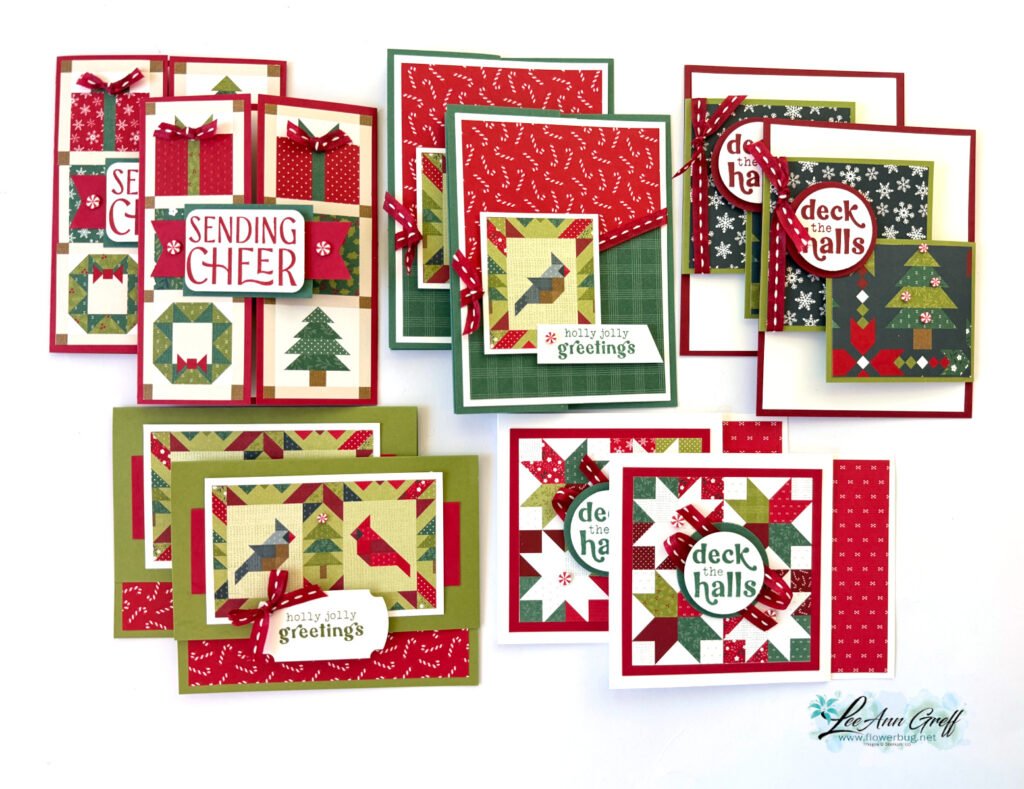
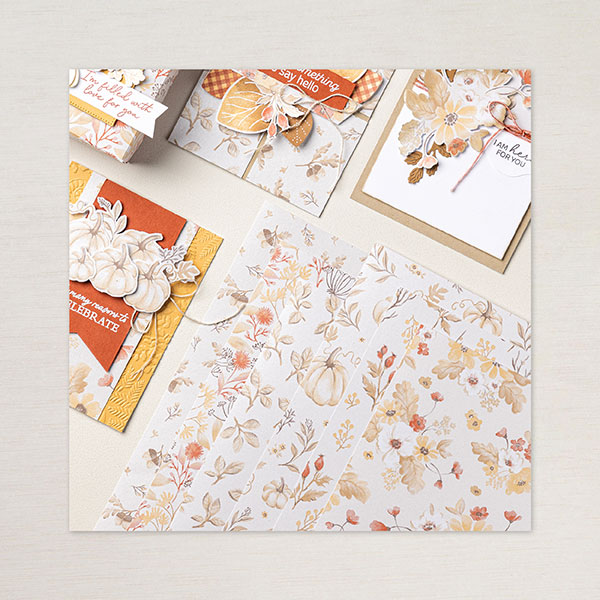
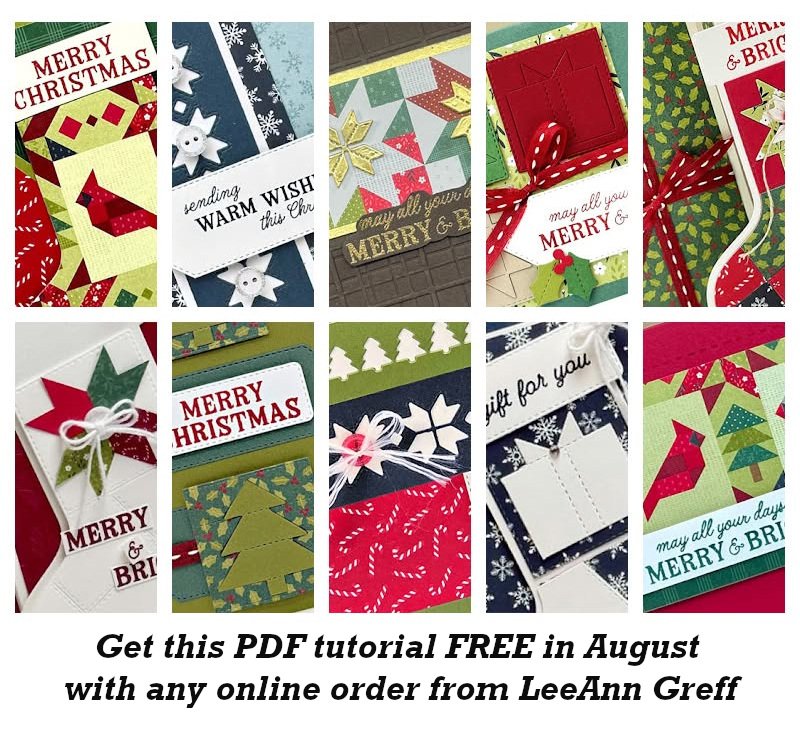
These cards are all fun fold layouts and make the most of this adorable paper. You’ll love the fun layouts and the Peppermint gems and stitched Red ribbon included in the kit.
The kit to go includes approximately $20 in Stampin’ Up! product plus the PDF tutorial for all 10 cards. The tutorial includes photos, measurements, a supplies list and step by step directions.
Click here to get the pre-cut kit to go with product & tutorial. It’s $33.
Click here to get the PDF tutorial only for $17. The PDF tutorial will be sent to you immediately in an email. The kit to go will be mailed out in mid August.
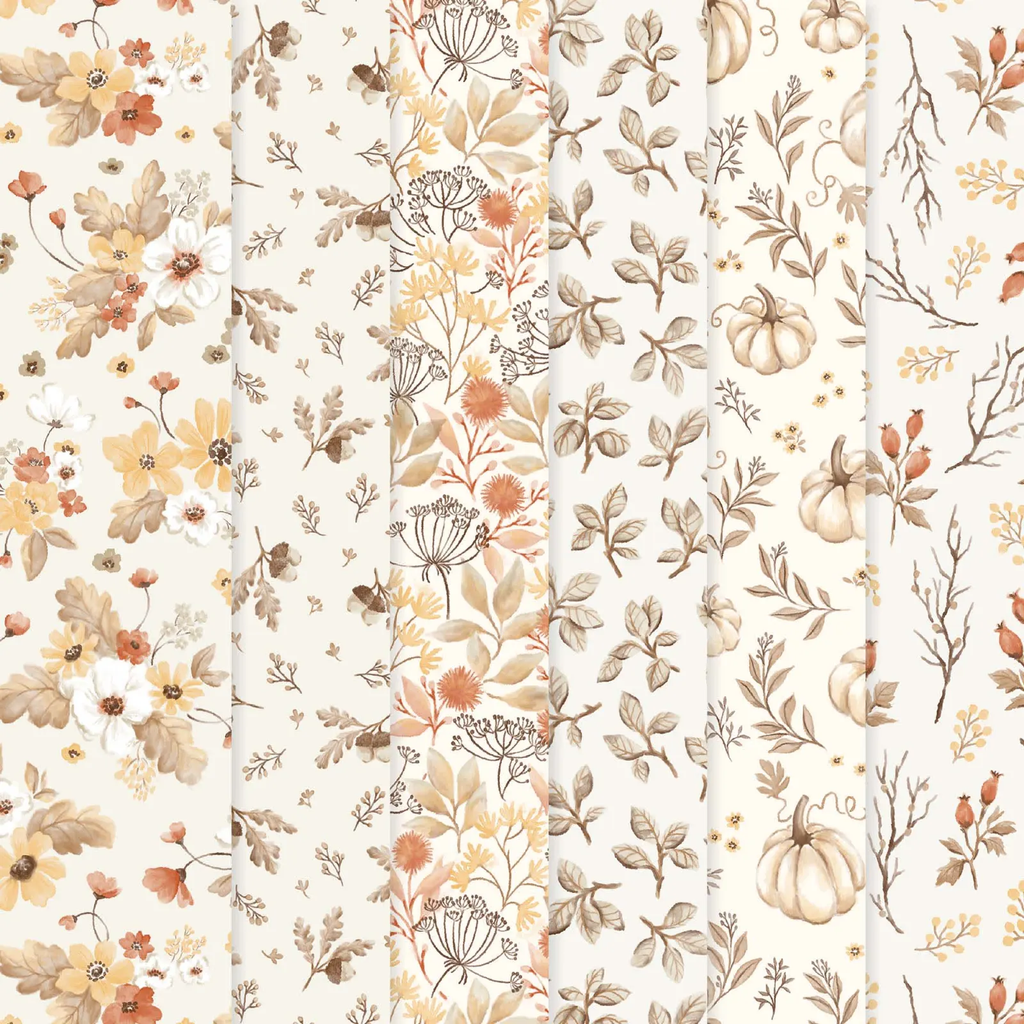
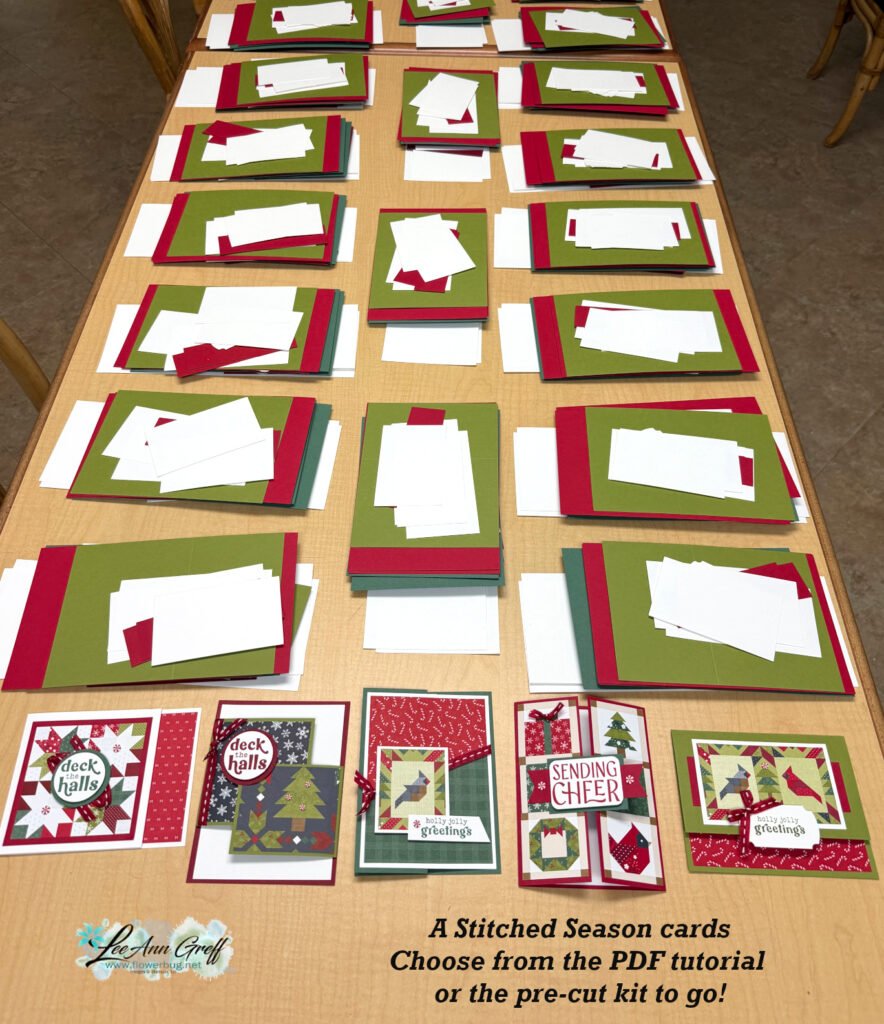
Here’s a peek at my pre-cut layers before packaging:
DETAILS – Makes 1 album with 28 pages – Album size: 7-3/4″ x 7″ x 1-7/8″ – Page size: 6.5″ x 6″ – Colors: Blueberry Bushel, Crisp Cantaloupe, Crushed Curry, Granny Apple Green, Pool Party, Strawberry Slush, Timid Tiger – Sentiments printed in English, French, and German
This is super exciting news! All first-time demonstrators (beginning July 1, 2026) will receive a surprise Welcome Box—a gesture of appreciation and a warm welcome into the global Stampin’ Up! creative community.
The next 3 months of gorgeous Paper Pumpkin kits – wow!
If you love working with ready to create kits; you have to see the next 3 months of Paper Pumpkin card kits! I think they’ll be some of our favorites ever! Here’s a sneak peek:
If you subscribe before July 10th you’ll receive the Hooray for Birthdays kit. Go here to subscribeand get a fun kit in the mail each month.
Remember you are in charge of which kits you receive. You can pause or skip any kit at any time. We always get a hint of what the upcoming kits will be.
Or get a pre-paid subscription in either 3, 6 or 12 months increments. It’s so nice to get a fun surprise in the mail each month! And you save when purchasing a pre-paid subscription plus earn FREE product credits! Shop here for this option.
And remember that once you’re a subscribe you have access to all of the past kits, refills and extras available. A great perk!
Here’s the flyer for the next 3 months. It describes each kit in detail.
What is the Black Magic technique? It’s where you start with a light neutral piece of card stock and add color with sponges or markers. Then stamp images in Versamark and heat emboss with clear embossing powder. The magic happens when you cover it completely with a water based ink (here I used Secret Sea). Then wipe off the ink that does not ‘stick’ to the heat embossed areas. True magic!
Watch my video tutorial further below to see this technique in action.
On this card I used mostly the stamp images; only the greeting die-cut is from the dies. I added a few In Color butterfly gems and the pretty Golden Glow ribbon too.
I created a free project sheet for this card; click here to download it or to print it.
I made one with Golden Glow as the card base and the other as Peaceful Pine as the card base.
Notice: LeeAnn Greff, Independent Stampin’ Up! Demonstrator, Manager. The content of this website is my sole responsibility as an independent Stampin’ Up! demonstrator and the use of, and content of, the classes, services, or products offered on this website is not endorsed by Stampin’ Up! Copyright 2025
Leave a Reply