/


Latest Post

A Shaker Card anyone can make with the Peaceful Deer bundle


Have you ever made a shaker card?  Have you thought it was too much work to bother with or maybe you thought you needed special supplies? 

Well today I'm sharing a fun & EASY shaker card idea. The only special thing you need is a clear envelope or cello bag.  

And the Deer Punch is now available!!!  Get it here. 

These cards are so fun and interactive.  You will be so proud to give one of these. One of my favorite things about this type of shaker card is that it isn't thick so it requires no extra postage. 

1st step: add a white punched deer from the Deer Builder punch popped up with a Dimensional. 

2nd: Insert into your clear envelope and add a good pinch of Subtle Shimmer sequins. 

3rd: Fold the envelope over tightly to keep the sequins on the side of the DSP you want. Secure the flap. 

Here's a photo of the back of the shaker part.  You can see the back side of the designer paper and where I folded the clear envelope over to secure.  A small cello bag would also work here.  

After the shaker part is done just add your frame over it securing with adhesive.  Add to the card and finish! 

Here's a version featuring the Whimsy & Wonder specialty designer paper; it works wonderfully here.  The card base and ink are Mint Macaron. The greeting is from the Peaceful Deer stamp set and the die-cut is from Tasteful Labels dies. 

And below is the video; or click here to see it on YouTube.  I sure hope you watch it AND make one yourself!  

~~~

November Specials: 

Host codes: Z2RQ7BB6

*click here to order

Online orders over $50 get a pre-cut card kit of 4 cards & PDF tutorial.
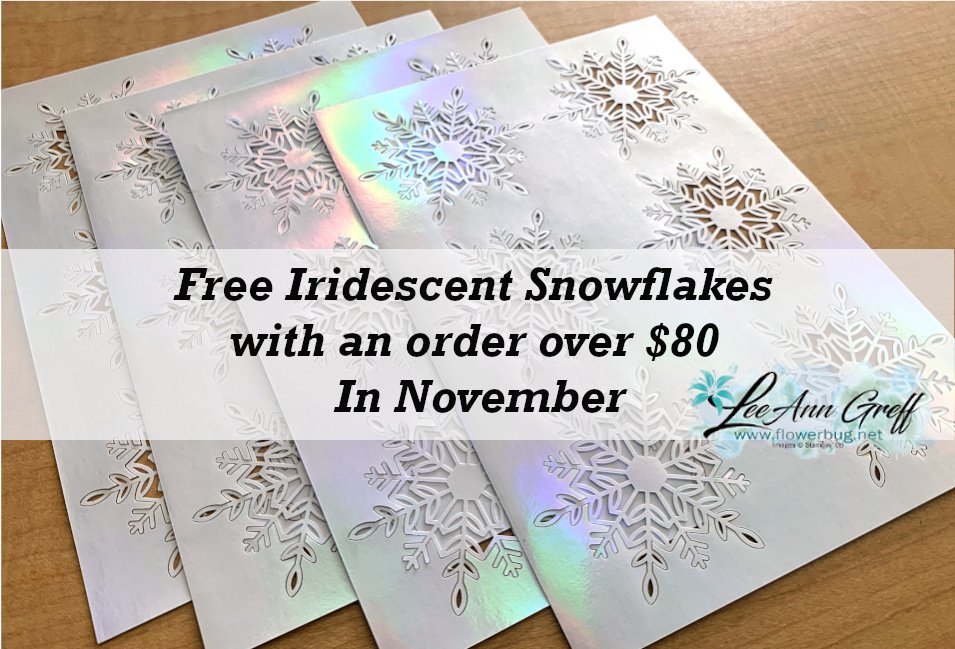
*Orders over $80 will receive the card kit PLUS 24 Iridescent snowflakes!

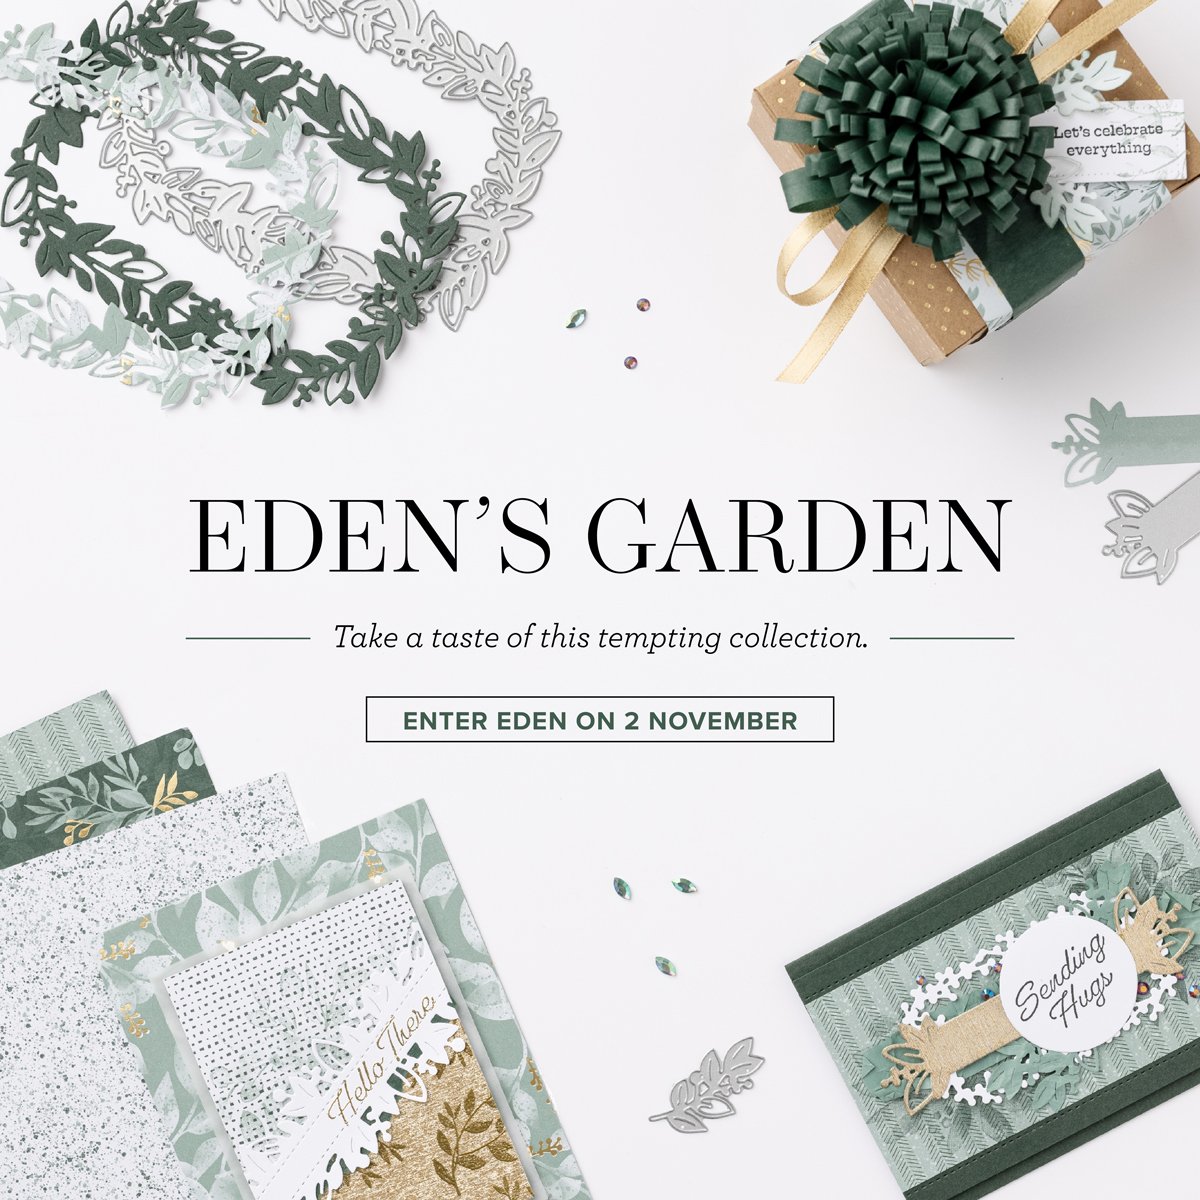
All online orders will receive my Eden's Garden PDF 22 project tutorial free! 
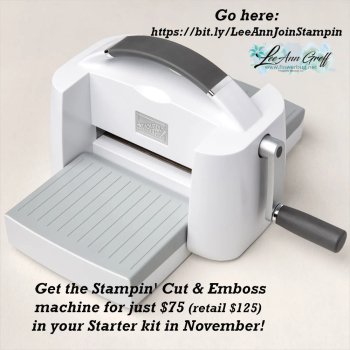
Get the deal on the Starter kit here!  $125 in product for $75 plus free shipping!
Get any of the tutorials or kits to go below in my Kit & Tutorial shop here:

Peaceful Wishes Christmas – limited supply available; 20 cards!


Christmas cards stamp a stack; limited supply! 

All Posts

  • August’s card kit of the month features the gorgeous Splendid Day DSP; get the kit or tutorial!


    I knew I had to feature the stunning Splendid Day specialty DSP for one of my kits to go. August seemed the perfect time for it!  

    Look at these beautiful cards:

    If you like these cards you have a few options.  You can choose to receive the pre-cut kit to go with the PDF tutorial or just the PDF tutorial only.  

    The pre-cut kit includes $20 in product plus the pre-cut kit for just $28.  Here's what you'll receive: 

    • All pre-cut pieces including punches or die-cuts
    • 1/2 pkg of 6 X 12" Splendid Day DSP (you'll cut using the directions)
    • a share of Soft Sea Foam 3/8" ribbon
    • a share of Elegant Faceted gems
    • The free PDF tutorial – photos, step by step directions, measurements & a supplies list

    Purchase the pre-cut kit here or the PDF tutorial for $15 here. 

    *This is the kit my monthly kit subscribers will receive. 

    I used Pool Party, Sahara Sand Fresh Freesia & Soft Sea Foam inks along with the Splendid Thoughts stamp set. You need mostly greetings to stamp & finish the cards like mine.  

    Add on the Splendid Thoughts stamp set or bundle at an extra 10% off!  Contact me here for an invoice to be sent to you. To get it all – bundle, kit to go & PDF tutorial with Priority Shipping it's $92.  

    See all of my kits, tutorials & more here. 

    ~~~

    August Specials

    Get free items here in August during Sale-a-Bration! 


    Please use the host code when ordering: YFR367QW

     *click here to order 

    Earn free products with my loyalty rewards! 

    Click here to download yours and earn a $50 shopping spree!

    Leave a Reply

    Your email address will not be published. Required fields are marked *

  • Changing up this fancy fold from a men’s card to glitzy!


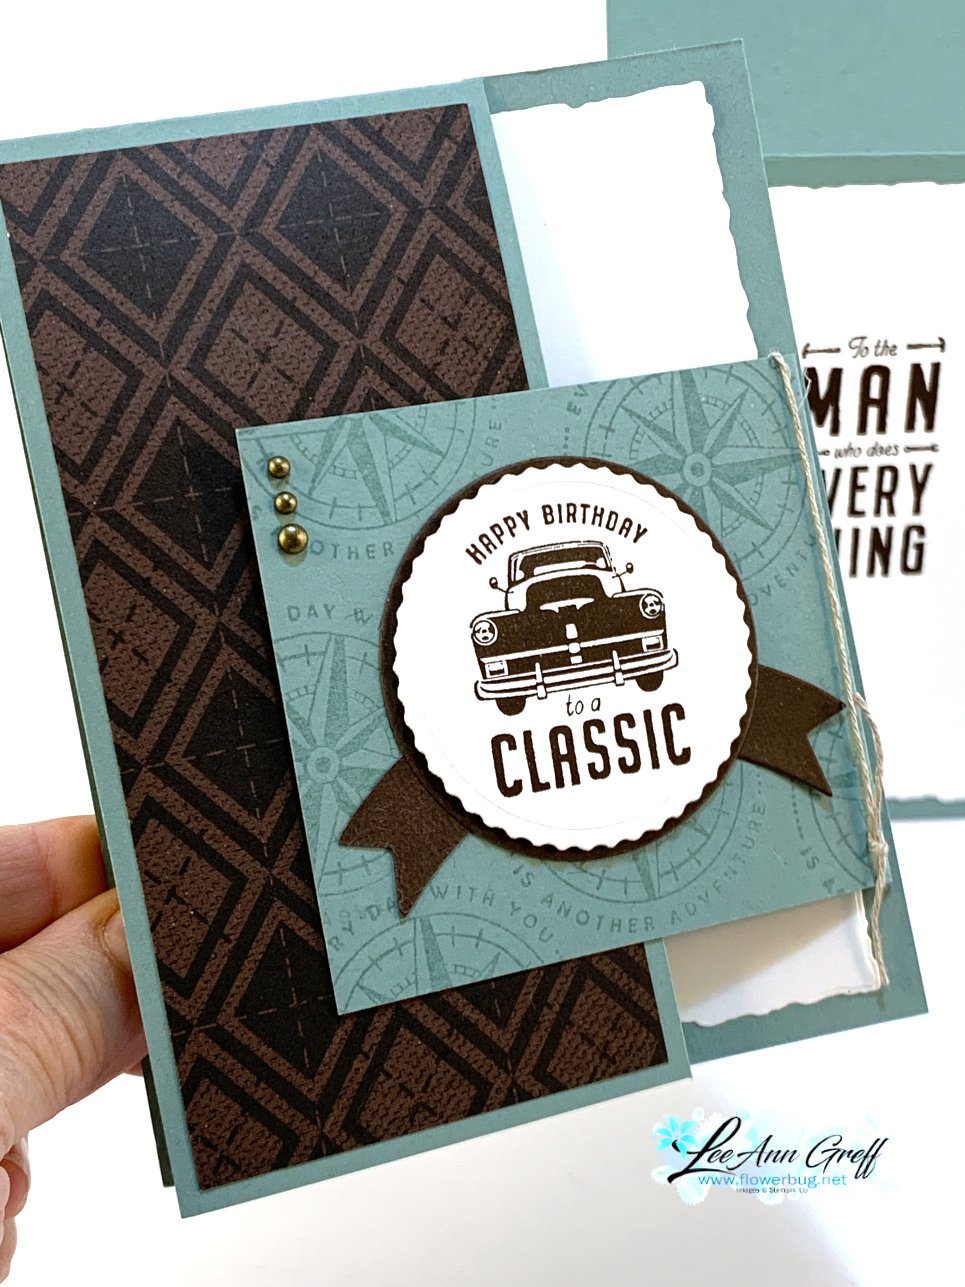
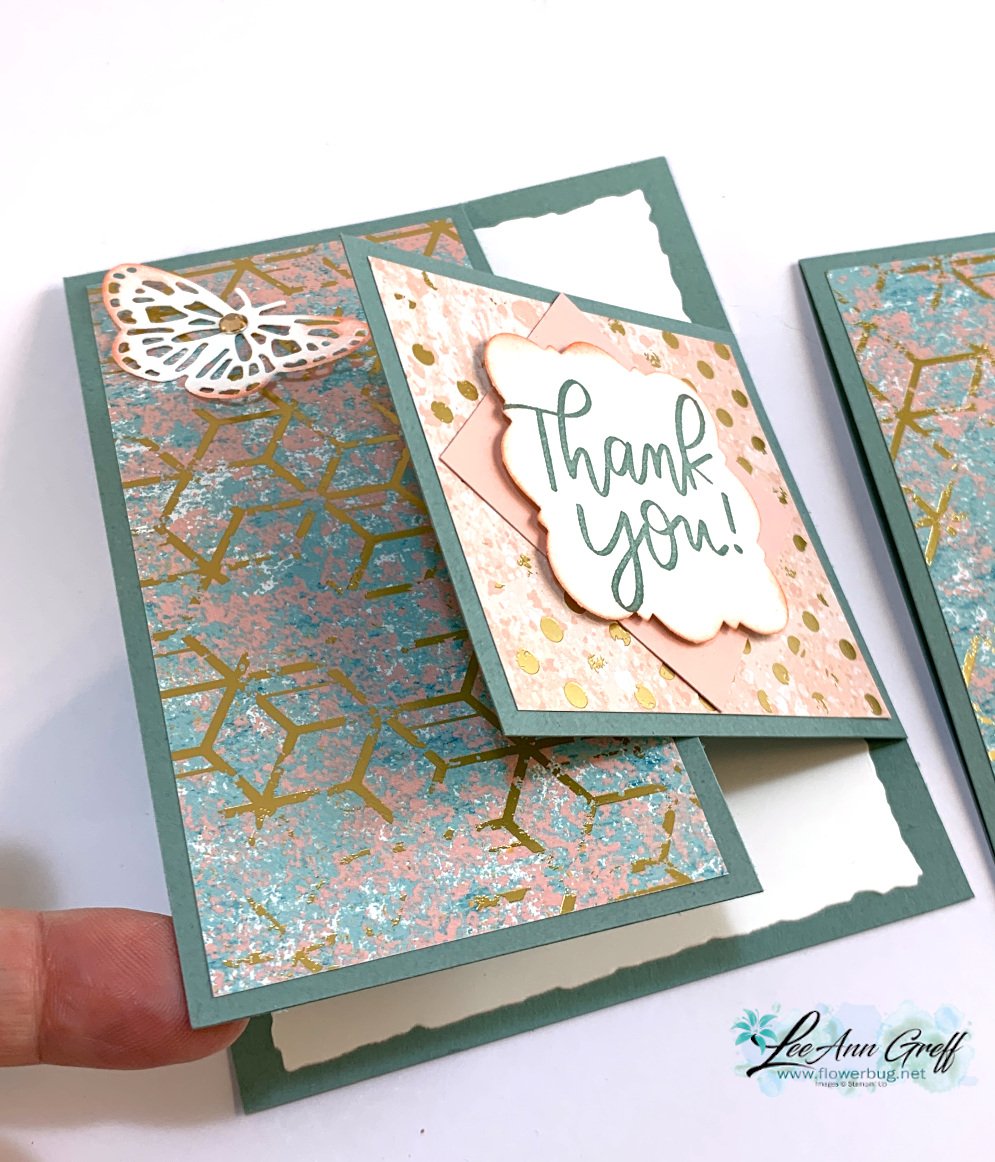
    I created this neat double-flap fancy fold card for last month's Card Clubs.  It features the He's the Man suite seen here or on pages 78-79 of the 2022-23 Annual Catalog by Stampin' Up!   

    The colors include Soft Succulent, Early Espresso & White. 

    Details:

    • The White & banner die-cuts are from the All That dies; but get the stamp set & dies in a bundle at an extra 10% off here.  
    • The DSP is from the He's the Man paper
    • All greetings are from the He's All That stamp set. 
    • The background is stamped using Versamark ink on the Soft Succulent panel. 
    • The inside white is a die-cut using the Deckled Rectangle dies seen here. 

    I created a video showing you how to make it; click here to watch.  Or scroll down to the bottom of this post.  It looks hard but is sooo easy!  

    Measurements

    • Card base 4 1/4" X 11" scored at 5 1/2"; cut off 1 1/2" of the card front.
    • side flap is 3" X 3 3/4" scored at 1/2" on the long side
    • He's the Man DSP 2 1/2" X 5 1/4"
    • White inside 4" X 5 1/4"

    I had left-over packets of this card we made for club last month and decided to change it up for a totally new look!  

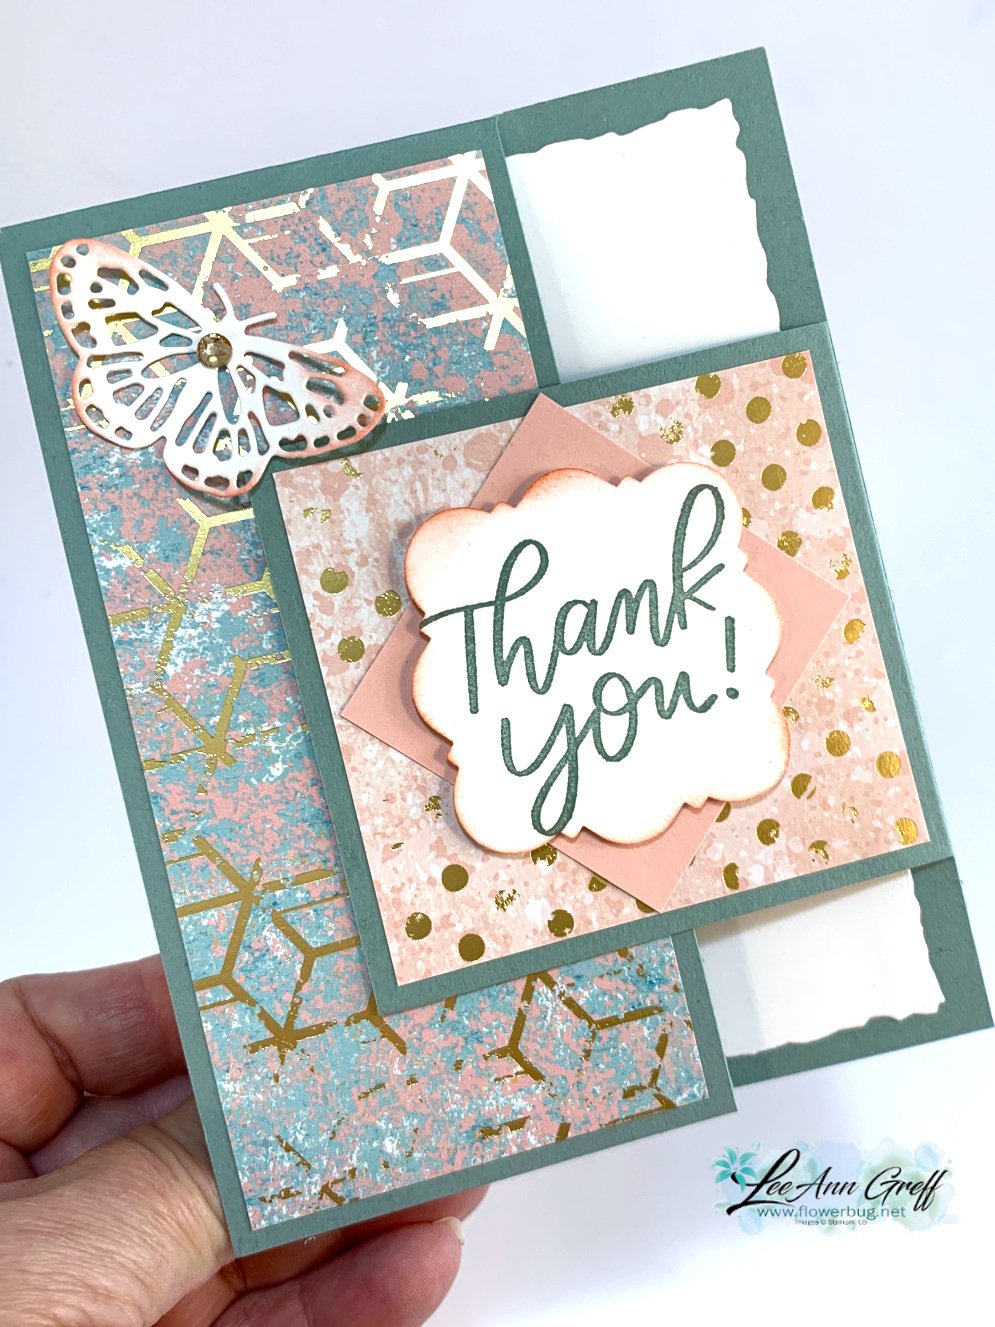
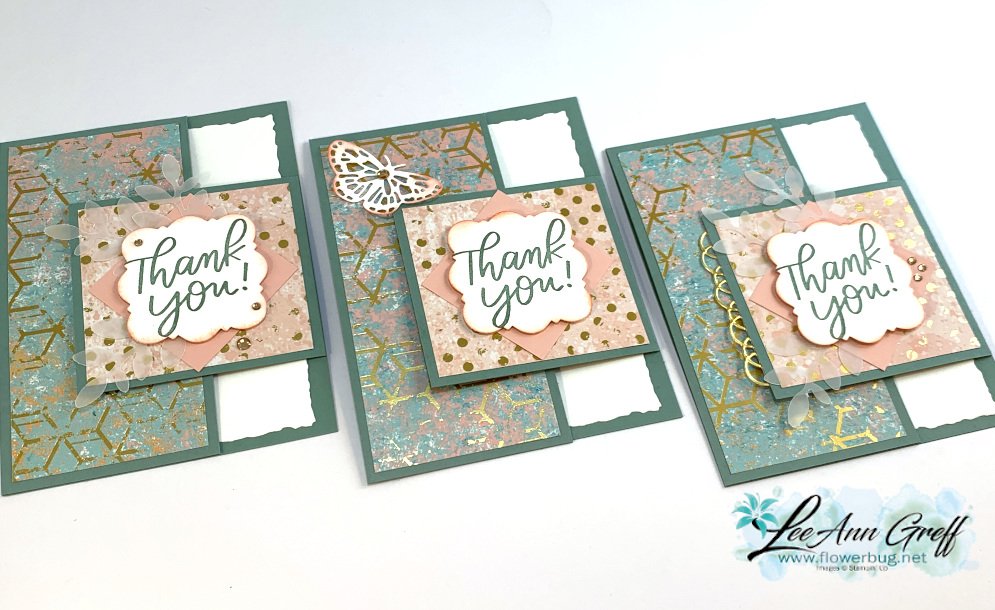
    I switched out the He's the Man designer paper to the Texture Chic Specialty paper.  I also added a few vellum leaves from the Bough punch and a Gold die-cut accent from the Painted Label dies. 

    The greeting is from the Good Feelings stamp set; the label is the new Handmade Tag punch in the Holiday catalog. 

    This card features a die-cut butterfly from the Brilliant Wings dies.  The butterfly wing actually holds the left flap closed.  

    I love the double flap of this fancy fold!   Here are all three versions of my 'make-over' cards.  I love switching it up to create something totally different and the Texture Chic specialty paper doesn't disappoint!  

    And here's the video to see how it's made.  Click on the photo below to watch it.  

    ~~~

    August Specials

    Get free items here in August during Sale-a-Bration! 


    Host code: YFR367QW

     *click here to order 

    Earn free products with my loyalty rewards! 

    Click here to download yours and earn a $50 shopping spree!

    ~~~

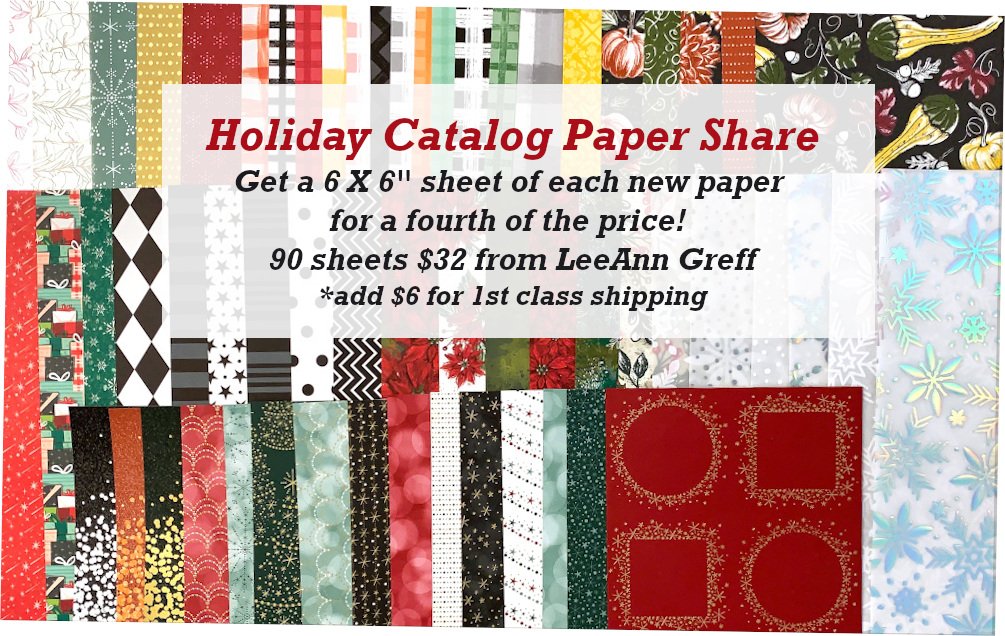
    Get my Holiday Designer Paper share; contact me here  

    Leave a Reply

    Your email address will not be published. Required fields are marked *

  • Unique Silver & Gold Designer Paper technique ideas with video!


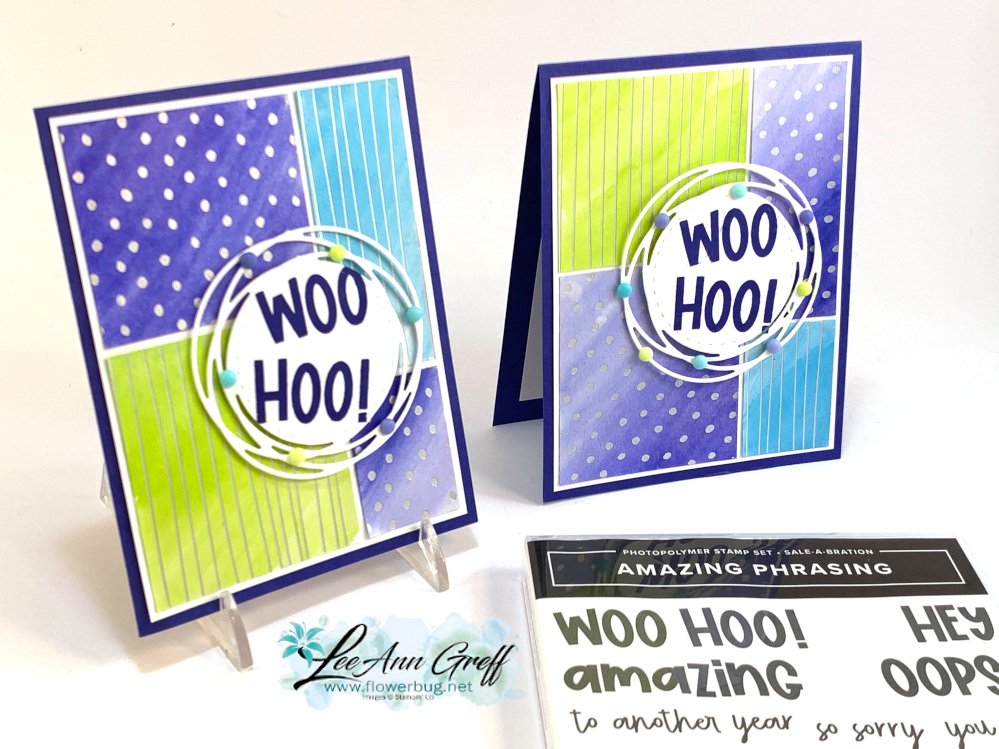
    I played with the Silver & Gold Designer Series Paper on this week's FB Live and this is one of my favorite projects: 

    My goal was to share different ways to add color to this pretty metallic themed paper.  for this card I used our Water Brushes and our 2022-24 In Color ink.  I filled the water brush with water, using the largest brush, added a wash of four of the five colors.  

    This card layout is one referred to as the Stack & Cut technique.  You start out with at least 2 pieces of Designer Paper measuring 3 3/4" X 5" and cut using the template below.  It's so easy and is a fabulous way to showcase your designer paper.  

    The sentiment is from the Amazing Phrasing stamp set – a free choice from our Sale-a-Bration catalog.  This stamp set is free with any $100 Stampin' Up! order.  See all of the Sale-a-Bration free choices here.  

    If you want either of these products why not take advantage of my BOGO sale and get free products from me with our purchase.  You'll still get New products from Stampin' Up! but also get to choose from my big bunch of retired Stampin' Up! products.  See details below, or view them all in my two albums here on my FB page.  

    Here's the video to see how it's done.  Click on the photo below.  

    ~~~

    August Specials

    My BOGO sale started Sunday but I have LOTS left to choose from. 

    See everything available here – click on the 2 BOGO photo albums

    Or watch the video here.  Basically for every $ you spend online you get my retired items FREE!

    Please use a host code when ordering: YFR367QW

    Get free items here in August during Sale-a-Bration! 

    Get my Holiday Designer Paper share; contact me here  

    Leave a Reply

    Your email address will not be published. Required fields are marked *


Notice: LeeAnn Greff, Independent Stampin’ Up! Demonstrator, Manager. The content of this website is my sole responsibility as an independent Stampin’ Up! demonstrator and the use of, and content of, the classes, services, or products offered on this website is not endorsed by Stampin’ Up! Copyright 2025