/


Latest Post

A Shaker Card anyone can make with the Peaceful Deer bundle


Have you ever made a shaker card?  Have you thought it was too much work to bother with or maybe you thought you needed special supplies? 

Well today I'm sharing a fun & EASY shaker card idea. The only special thing you need is a clear envelope or cello bag.  

And the Deer Punch is now available!!!  Get it here. 

These cards are so fun and interactive.  You will be so proud to give one of these. One of my favorite things about this type of shaker card is that it isn't thick so it requires no extra postage. 

1st step: add a white punched deer from the Deer Builder punch popped up with a Dimensional. 

2nd: Insert into your clear envelope and add a good pinch of Subtle Shimmer sequins. 

3rd: Fold the envelope over tightly to keep the sequins on the side of the DSP you want. Secure the flap. 

Here's a photo of the back of the shaker part.  You can see the back side of the designer paper and where I folded the clear envelope over to secure.  A small cello bag would also work here.  

After the shaker part is done just add your frame over it securing with adhesive.  Add to the card and finish! 

Here's a version featuring the Whimsy & Wonder specialty designer paper; it works wonderfully here.  The card base and ink are Mint Macaron. The greeting is from the Peaceful Deer stamp set and the die-cut is from Tasteful Labels dies. 

And below is the video; or click here to see it on YouTube.  I sure hope you watch it AND make one yourself!  

~~~

November Specials: 

Host codes: Z2RQ7BB6

*click here to order

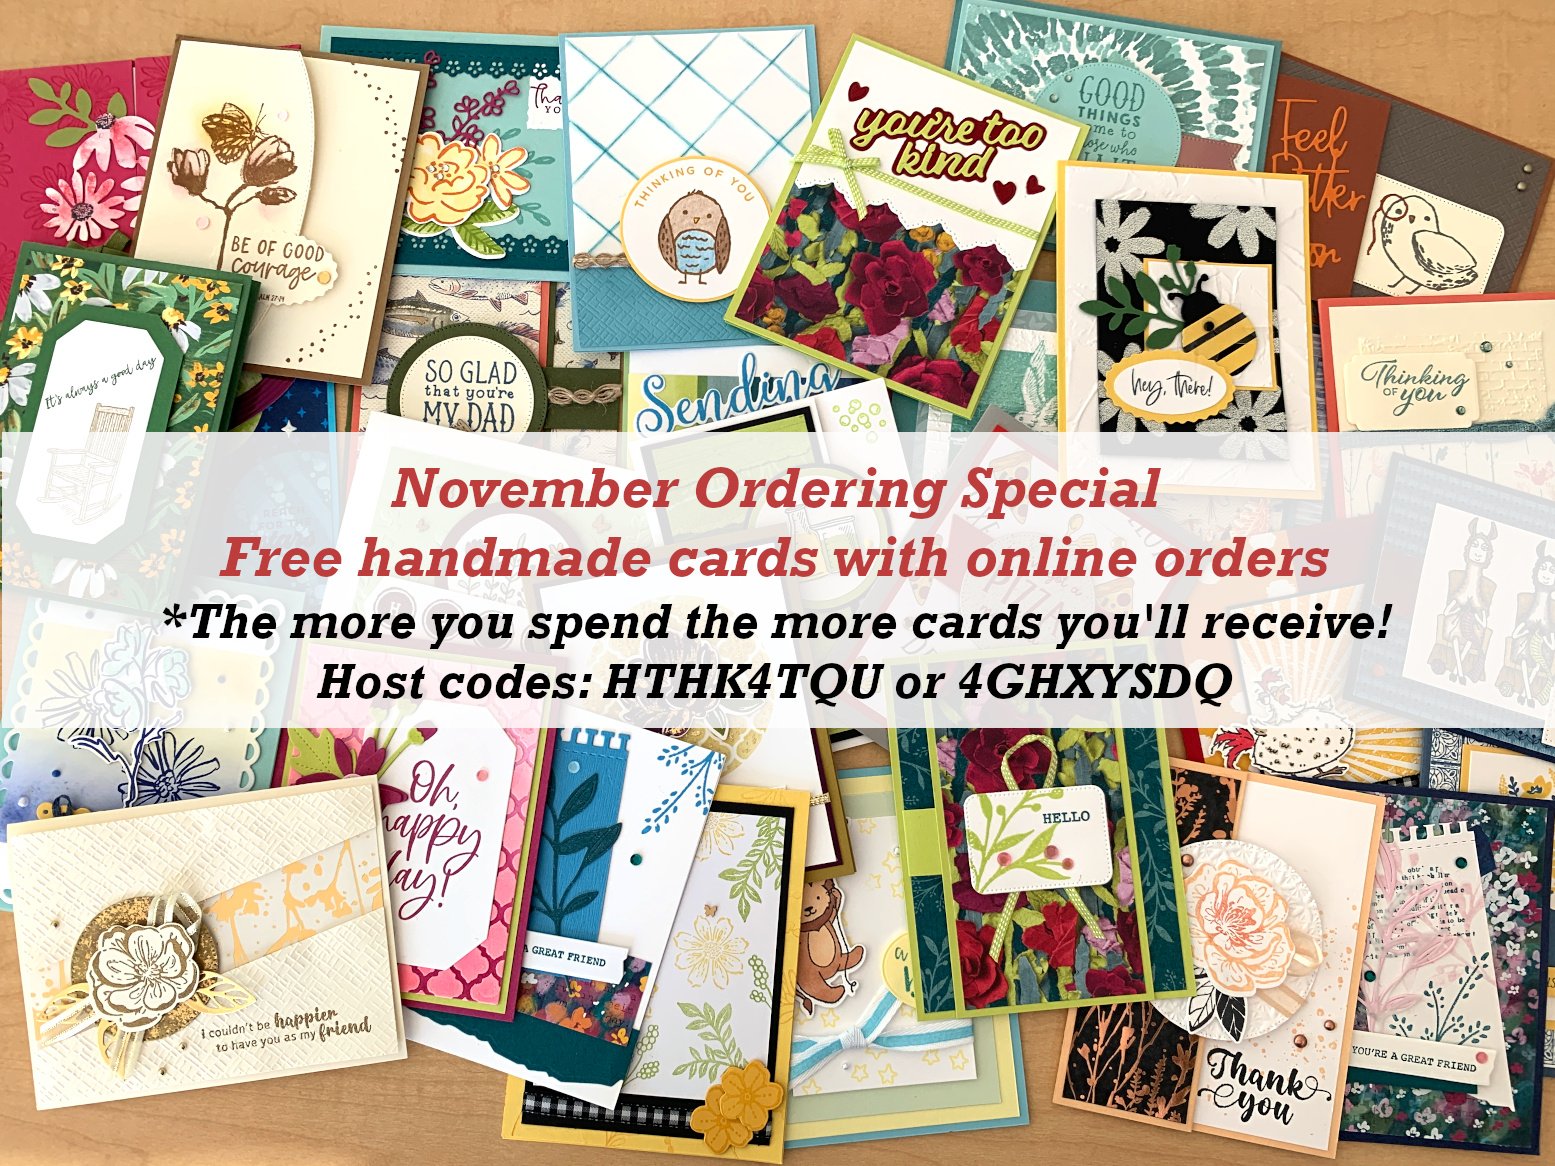
Online orders over $50 get a pre-cut card kit of 4 cards & PDF tutorial.
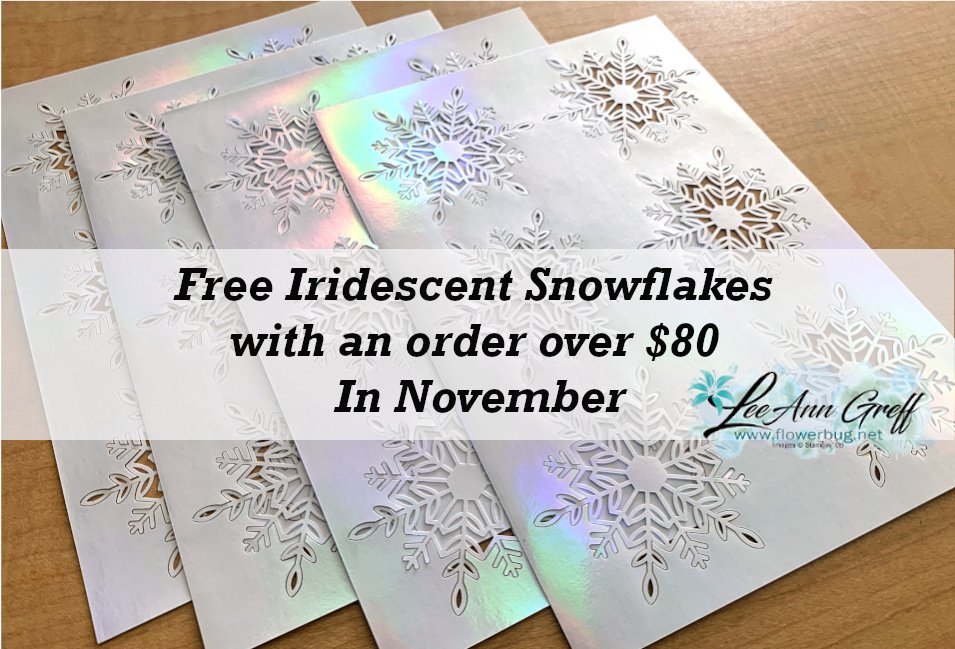
*Orders over $80 will receive the card kit PLUS 24 Iridescent snowflakes!

All online orders will receive my Eden's Garden PDF 22 project tutorial free! 
Get the deal on the Starter kit here!  $125 in product for $75 plus free shipping!
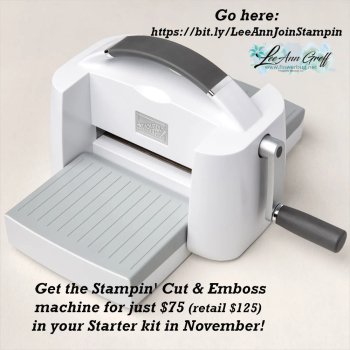
Get any of the tutorials or kits to go below in my Kit & Tutorial shop here:

Peaceful Wishes Christmas – limited supply available; 20 cards!


Christmas cards stamp a stack; limited supply! 

All Posts

  • Bee My Valentine sneak peak projects! With a free project sheet


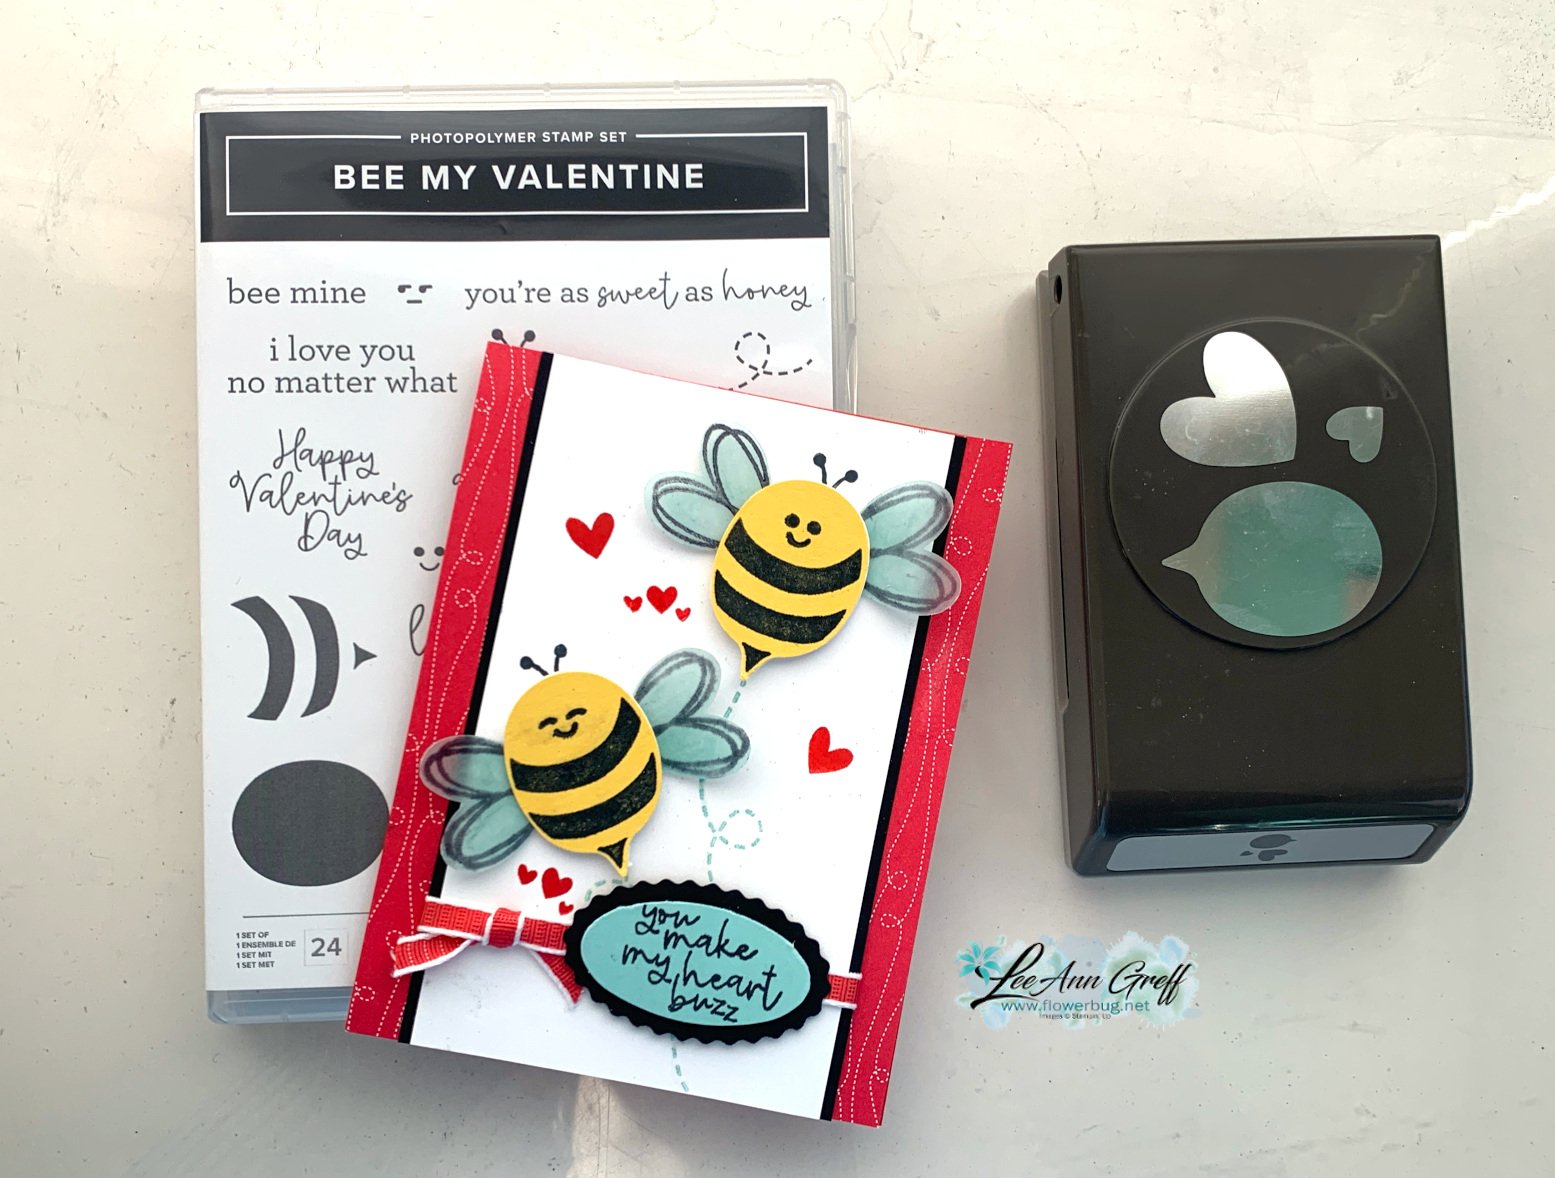
    There's a new bundle coming in January with the 2024 Spring catalog!  It's called 'Bee My Valentine' and it's super fun!

    I LOVE the builder punch and how versatile it is.  The large heart shape is for the wings, but could be used as a heart too. The small heart works on it's own or for the antenna. The bee body could be a word bubble!

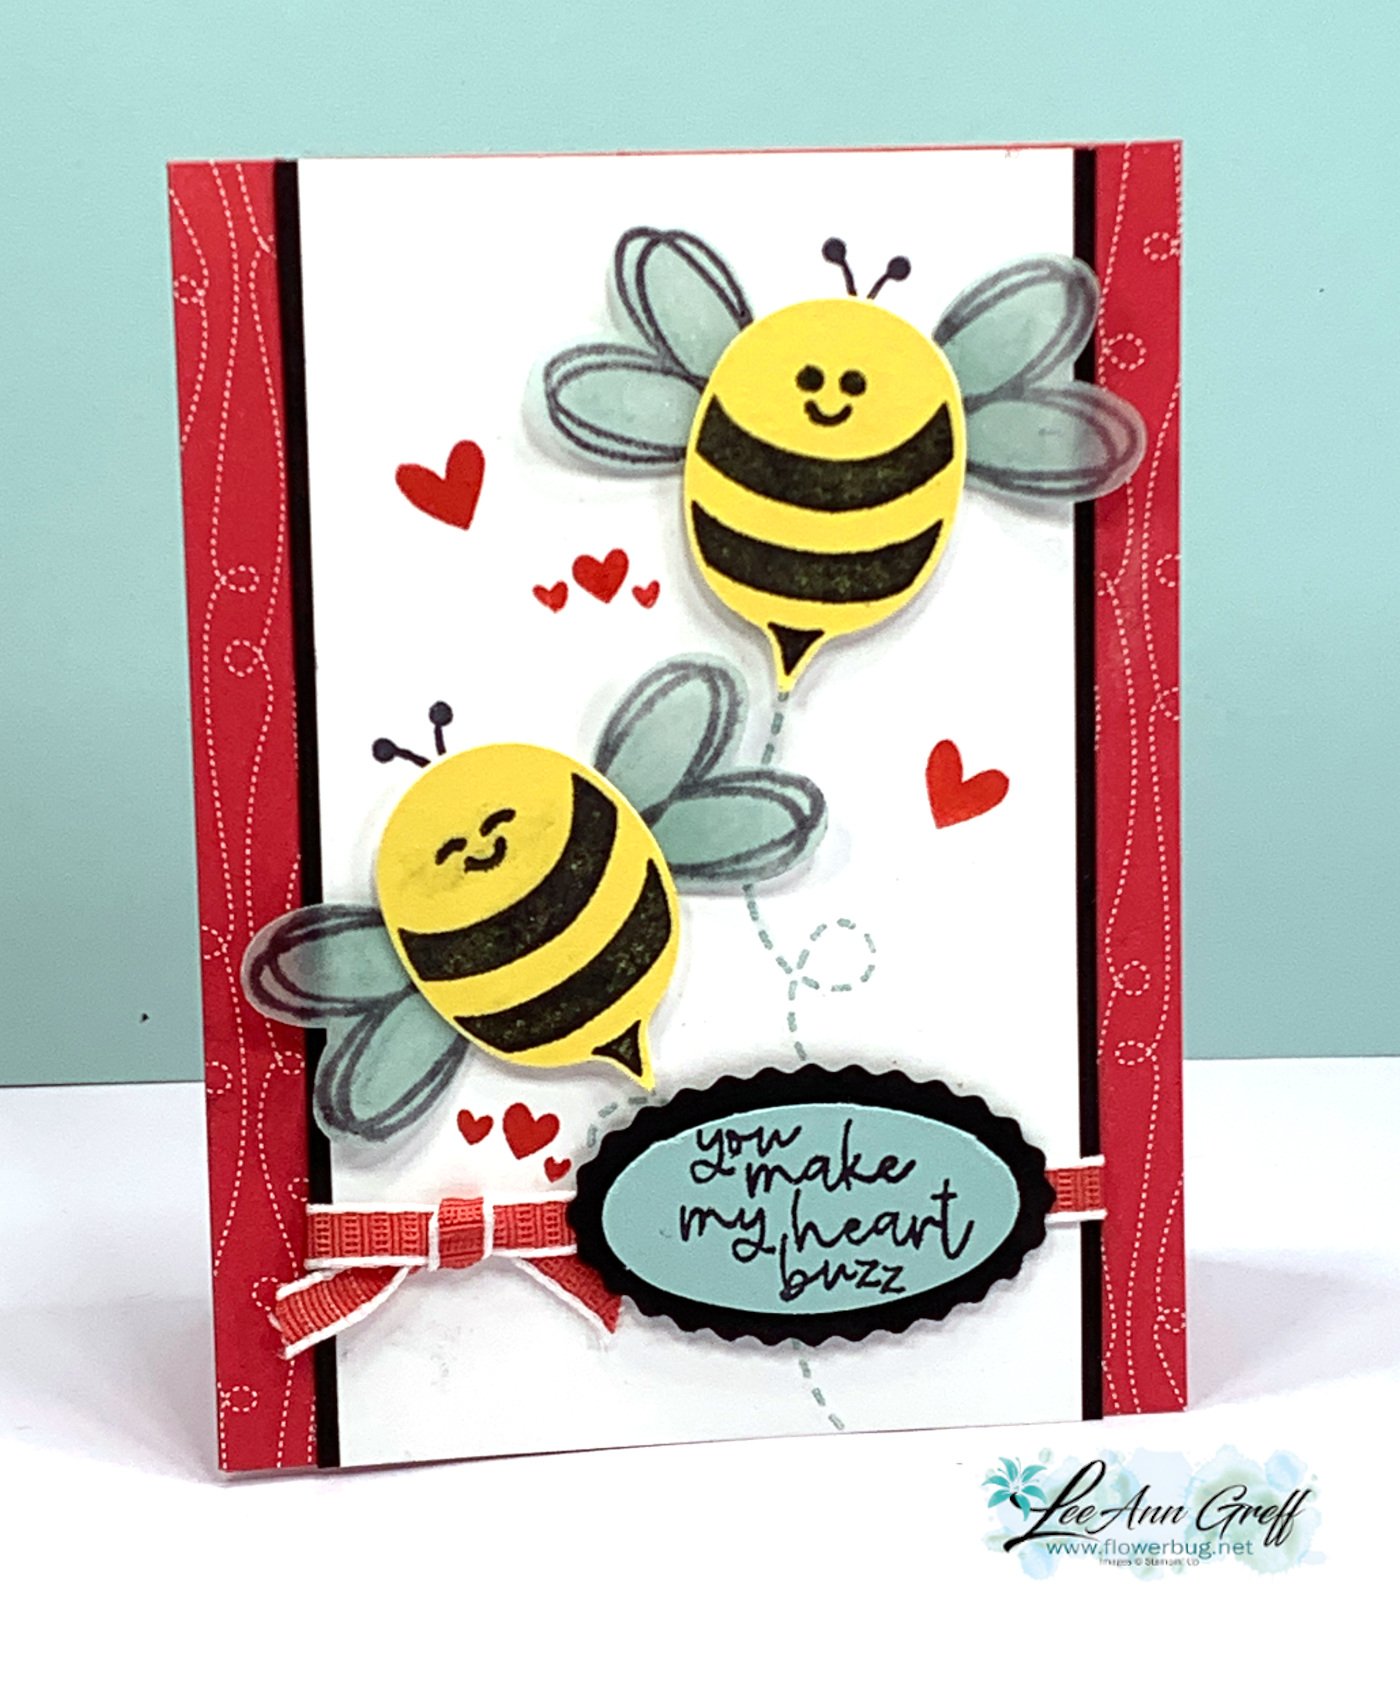
    We made this adorable card at a recent Team gathering called OnStage @ Home. 

    The colors include Poppy Parade, Pool Party, Daffodil Delight, Black & White. The bee wings are made from our Vellum cardstock, colored with Pool Party ink by pressing the ink pad directly to the paper. I heat set the color with a heat tool before I stamped the wings in Black. Vellum does not absorb ink quickly so heat setting with a heat tool can be necessary.

    You can spy a few new products here – the Bee Mine designer paper (side strips) and the new Poppy Parade ribbon. 

    I made a bunch of them to use as thank you cards:

    *Get the free project sheet here; you can save it to a file or print it. Download Bee My Valentine card LA

    Below is the video I shared three more projects with this upcoming bundle. Or click here to see it. 

    *Don't forget to subscribe to my YouTube channel while you're there. 

    ~~~

    November Specials: 

    *current host code:  4D2ZDS6Q or 77277NNH

    Click on the image below to see the Holiday Last Chance items 


    Leave a Reply

    Your email address will not be published. Required fields are marked *

  • More Magical Meadow fun fold cards by Judith


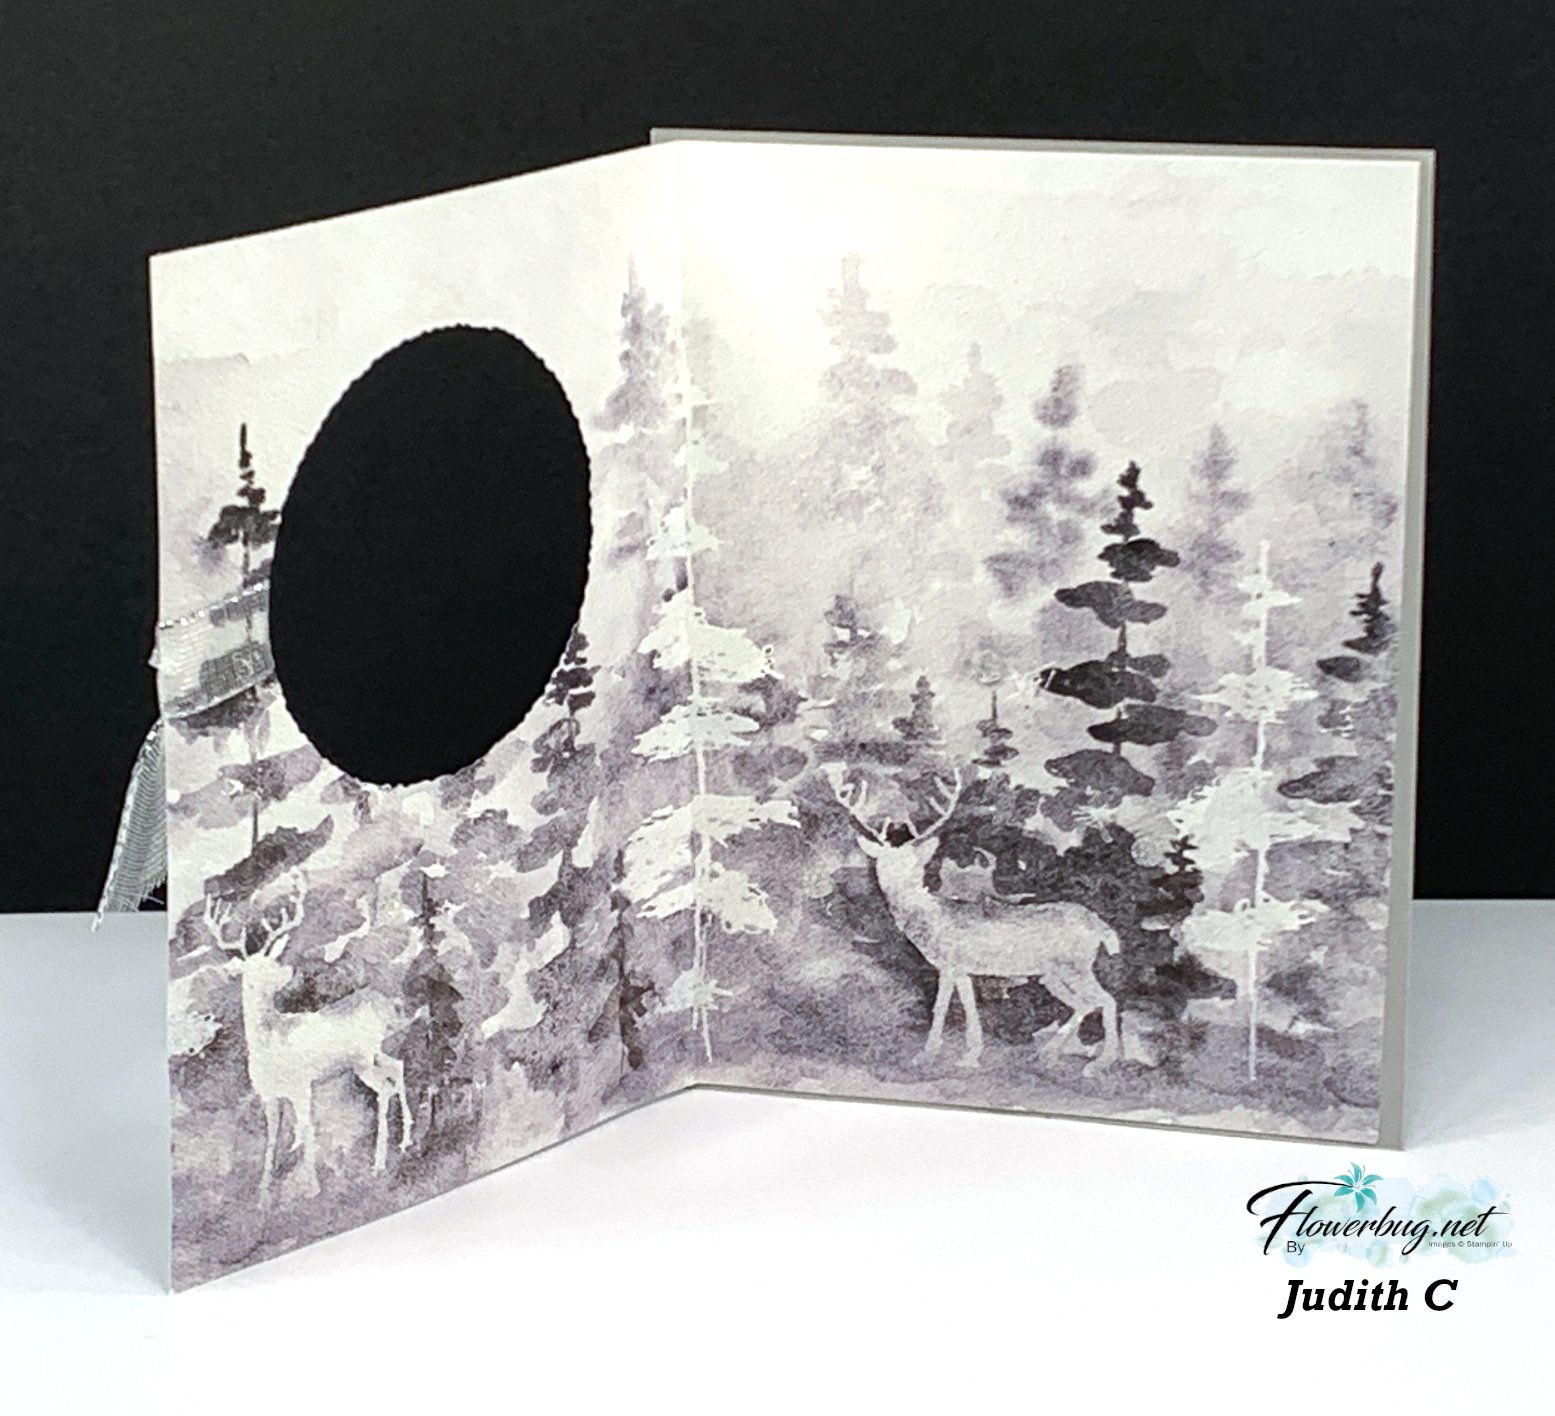
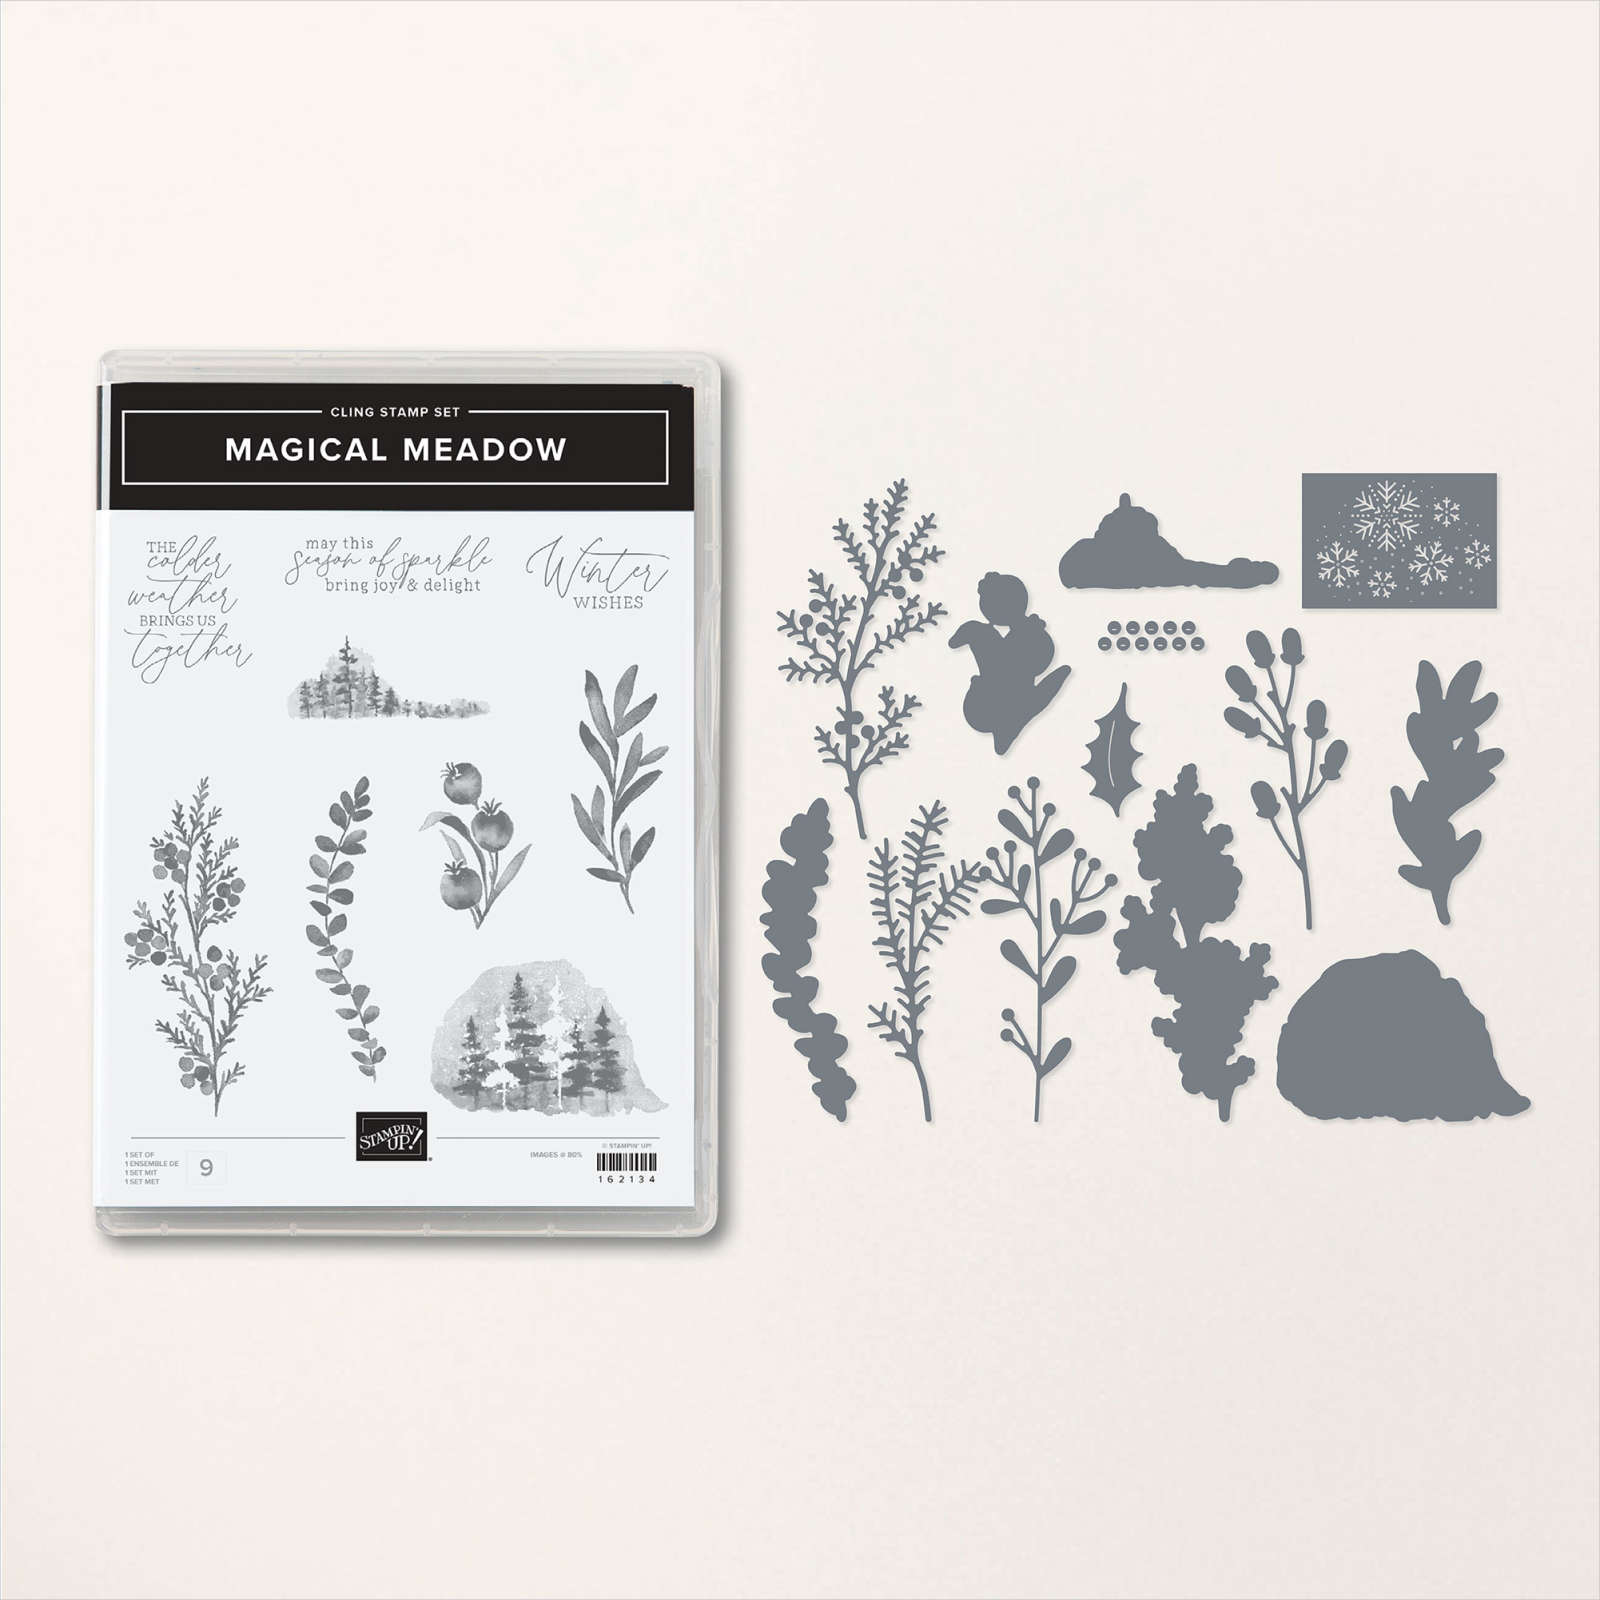
    Yesterday I shared the cards Judith made as our Team Artist of the Month and today I'm sharing more. She did a wonderful job highlighting the Magical Meadow bundle and the Winter Meadow designer paper. 

    All of her cards have been fun folds; she does like to make fancy fold cards. 

    This card features a center greeting layer that enfolds both front layers of her gatefold card.  She left it removeable so the recipient can add it or leave it off.  You can adhere it if you'd like; I usually add it to the left side.  

    The gorgeous leaves & berries image was done with markers; it coordinates with the Magical Meadow dies perfectly! She used the Deckled Circle dies seen here. 

    Below is the inside view with the center layer separate. 

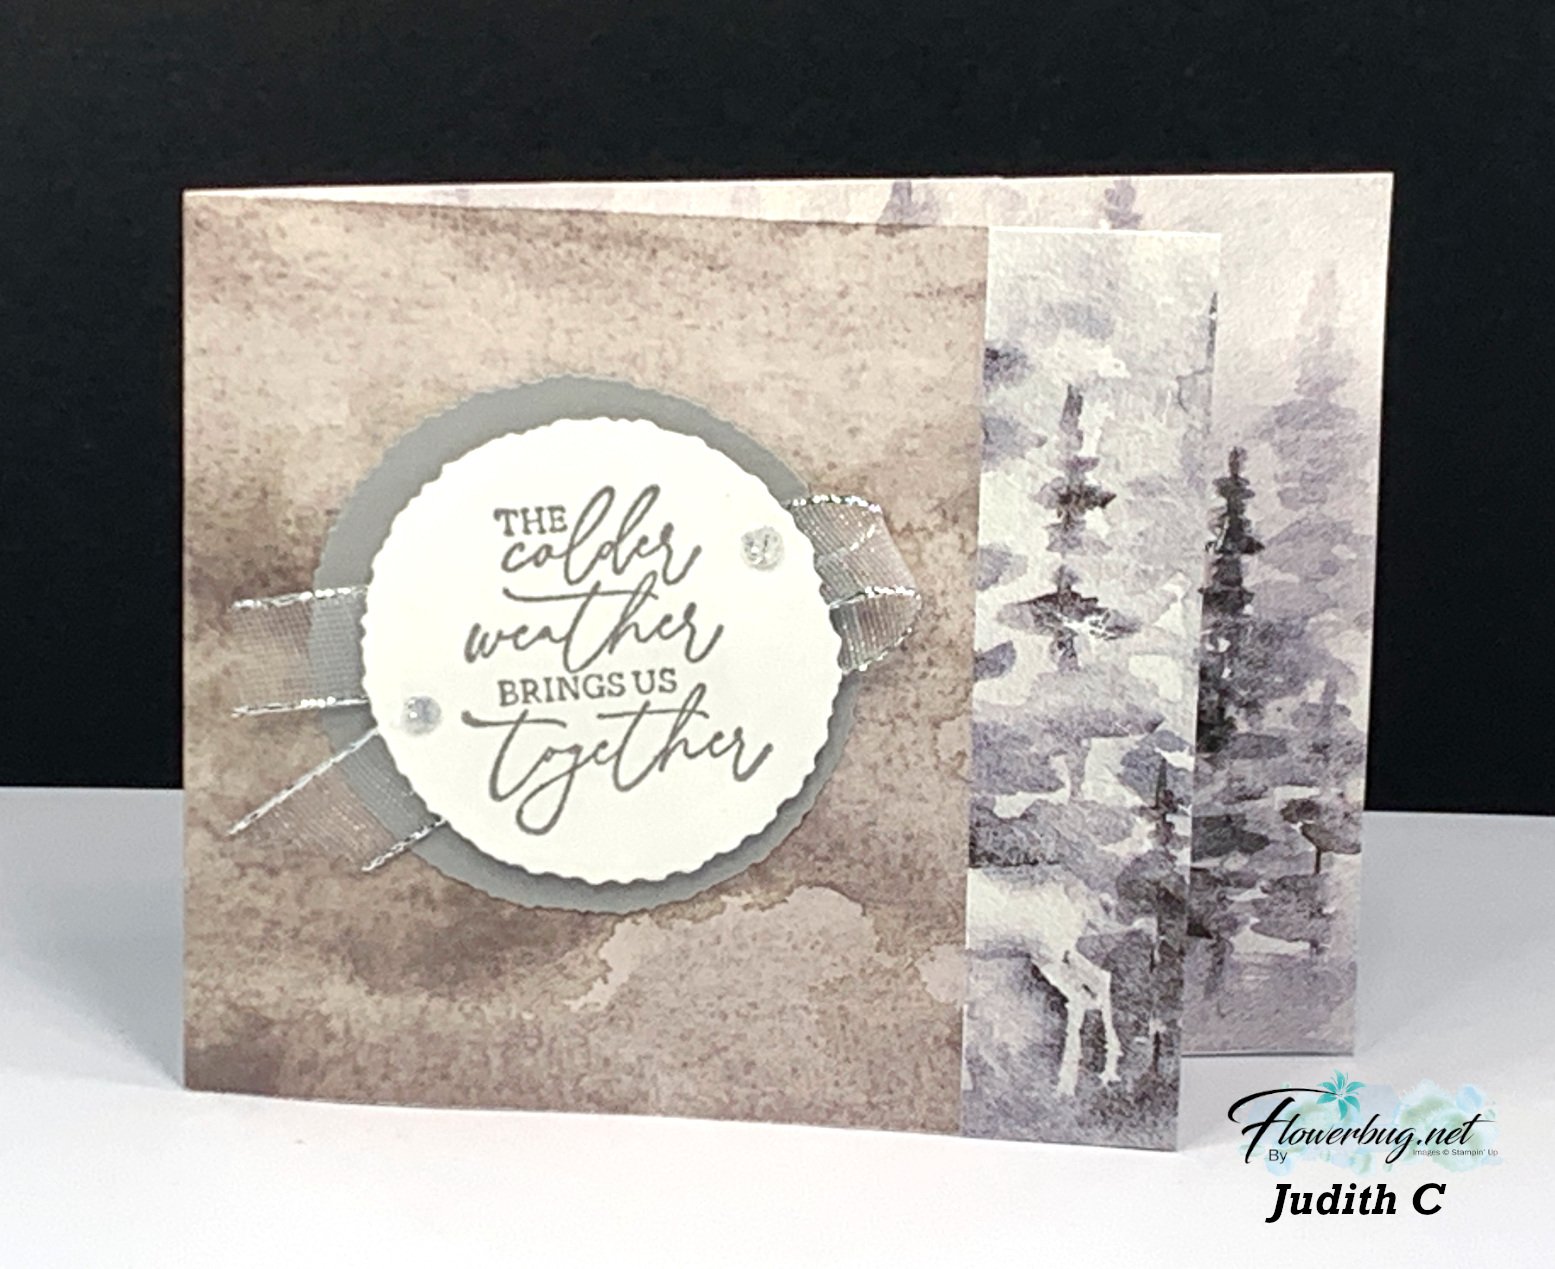
    Next is another fun fold card I call a double-flap card. She used the same sheet of Winter Meadow as the card above. 

    She scored the right side of her double layered circles and adhered the scored flap under the inside layers. Clever!  

    The greeting layers are from the Autumn Leaves dies and of course she used the beautiful White & Silver mesh ribbon – all from the 2023 Holiday catalog.  

    Thank you for sharing these beautiful projects with us Judith!  

    ~~~

    November Specials: 

    *current host codes:  4D2ZDS6Q or 77277NNH

    Click on the image below to see the Holiday Last Chance items 


    Leave a Reply

    Your email address will not be published. Required fields are marked *

  • Magical Meadow & Winter Meadow fun fold cards


    Today I'm sharing two gorgeous cards made with the Magical Meadow bundle and the Winter Meadow designer paper.  Judith created multiple projects using this suite as the Artist of the Month on my Flowerbug's Team for November.

    First is a window card using the Deckled Circle dies: 

    Her colors include Gray Granite & Whisper White. The die-cut greeting is from the Autumn Leaves dies. I've always liked the ribbon tied around the window like this; a unique touch! 

    Measurements:

    • Card back is 4 1/4" X 5 1/2"
    • Designer paper 8" X 5 1/4" score at 4", window die-cut is 2 1/2"

    The designer paper is carrying over but sadly the Magical Meadow bundle is retiring soon; it's still available while supplies last. 

    This next card is a fabulous way to feature your double sided designer paper.  

    Start with a 11" X 4 1/4" layer. Score the left side at 1" and the center at 5 1/2". Fold back the 1" score line and secure closed. She used the Deckled Circle dies and the Silver & White ribbon on her greeting layer; both from the 2023 Holiday catalog. 

    Add a layer inside or just a simple greeting like she did. 

    The Winter Meadow designer paper is gorgeous as you can see. Beautiful water-colored scenes make your design work easy! I'm so glad it's carrying over for a few more months.  See it here. 

    I'll share more projects tomorrow!

    ~~~

    November Specials: 

    *current host codes:  4D2ZDS6Q or 77277NNH

    Click on the image below to see the Holiday Last Chance items 


    Leave a Reply

    Your email address will not be published. Required fields are marked *


Notice: LeeAnn Greff, Independent Stampin’ Up! Demonstrator, Manager. The content of this website is my sole responsibility as an independent Stampin’ Up! demonstrator and the use of, and content of, the classes, services, or products offered on this website is not endorsed by Stampin’ Up! Copyright 2025