/


Latest Post

A Shaker Card anyone can make with the Peaceful Deer bundle


Have you ever made a shaker card?  Have you thought it was too much work to bother with or maybe you thought you needed special supplies? 

Well today I'm sharing a fun & EASY shaker card idea. The only special thing you need is a clear envelope or cello bag.  

And the Deer Punch is now available!!!  Get it here. 

These cards are so fun and interactive.  You will be so proud to give one of these. One of my favorite things about this type of shaker card is that it isn't thick so it requires no extra postage. 

1st step: add a white punched deer from the Deer Builder punch popped up with a Dimensional. 

2nd: Insert into your clear envelope and add a good pinch of Subtle Shimmer sequins. 

3rd: Fold the envelope over tightly to keep the sequins on the side of the DSP you want. Secure the flap. 

Here's a photo of the back of the shaker part.  You can see the back side of the designer paper and where I folded the clear envelope over to secure.  A small cello bag would also work here.  

After the shaker part is done just add your frame over it securing with adhesive.  Add to the card and finish! 

Here's a version featuring the Whimsy & Wonder specialty designer paper; it works wonderfully here.  The card base and ink are Mint Macaron. The greeting is from the Peaceful Deer stamp set and the die-cut is from Tasteful Labels dies. 

And below is the video; or click here to see it on YouTube.  I sure hope you watch it AND make one yourself!  

~~~

November Specials: 

Host codes: Z2RQ7BB6

*click here to order

Online orders over $50 get a pre-cut card kit of 4 cards & PDF tutorial.
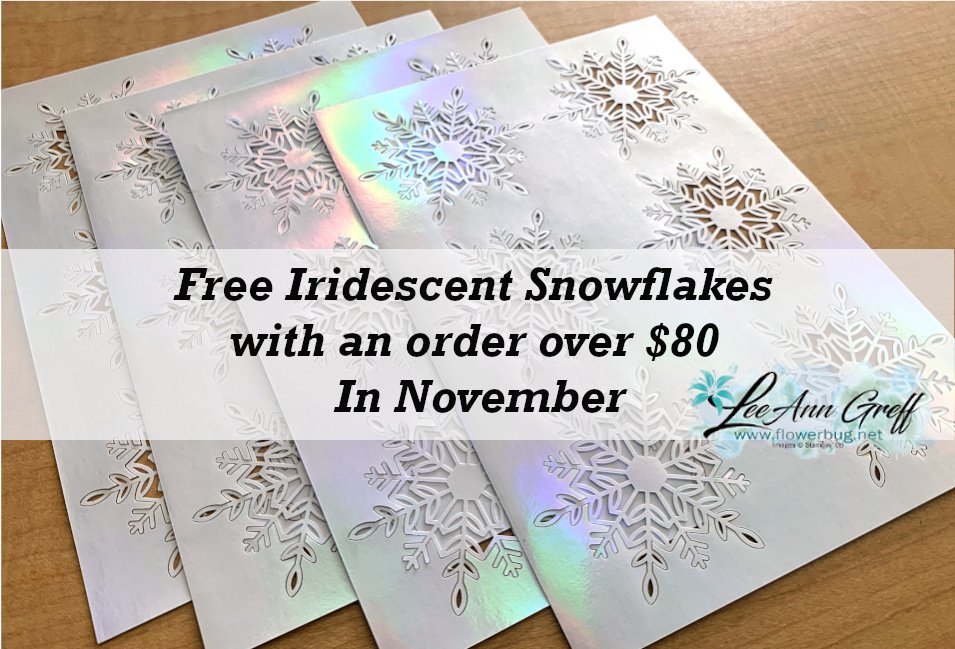
*Orders over $80 will receive the card kit PLUS 24 Iridescent snowflakes!

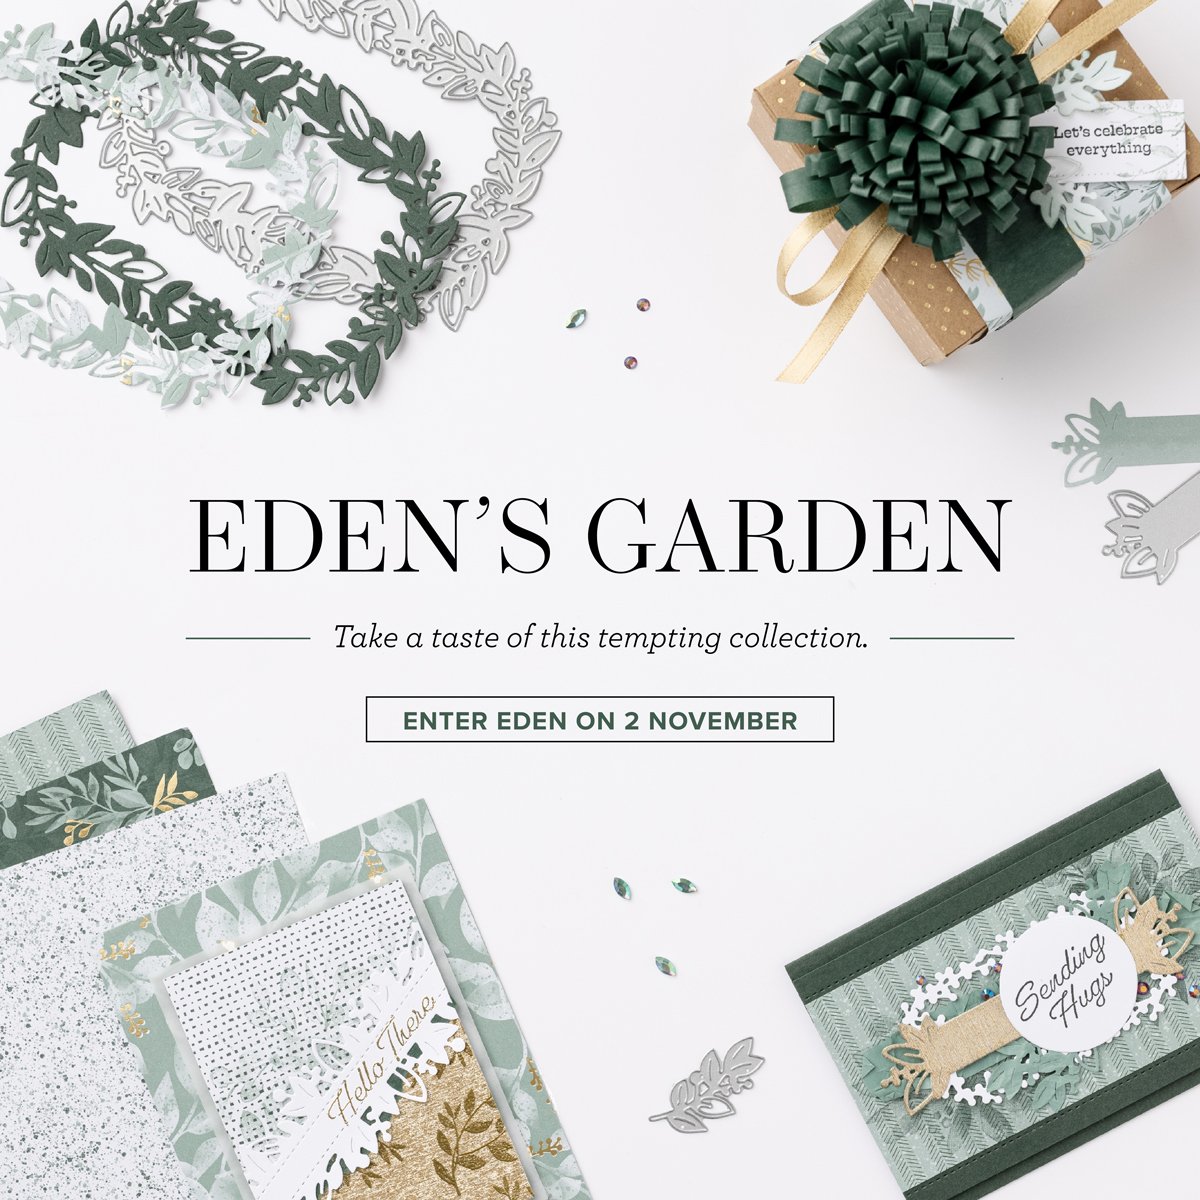
All online orders will receive my Eden's Garden PDF 22 project tutorial free! 
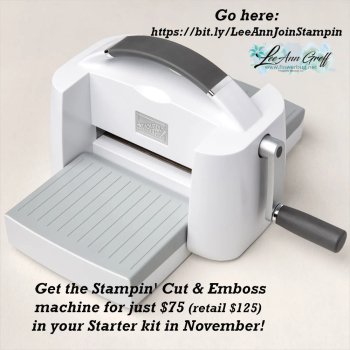
Get the deal on the Starter kit here!  $125 in product for $75 plus free shipping!
Get any of the tutorials or kits to go below in my Kit & Tutorial shop here:

Peaceful Wishes Christmas – limited supply available; 20 cards!


Christmas cards stamp a stack; limited supply! 

All Posts

  • New Sale-a-Bration products released today! Check out these Gorgeous Team swap cards


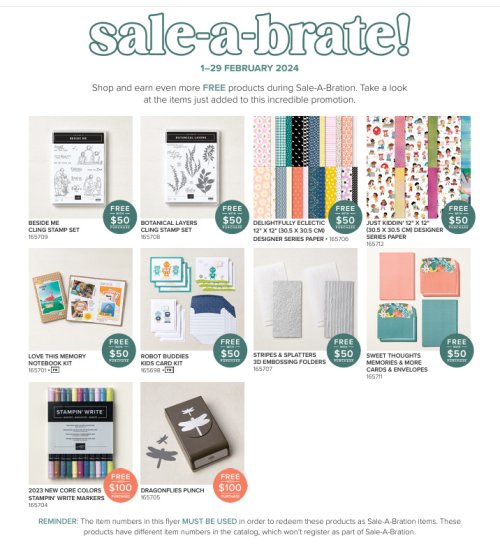
    It's February 1st and Stampin' Up! has released NEW Sale-a-Bration items you can earn free!!

    See them all here.

    ~~~

    We held our monthly team swap last week and I am proud to show off their talent with you. 

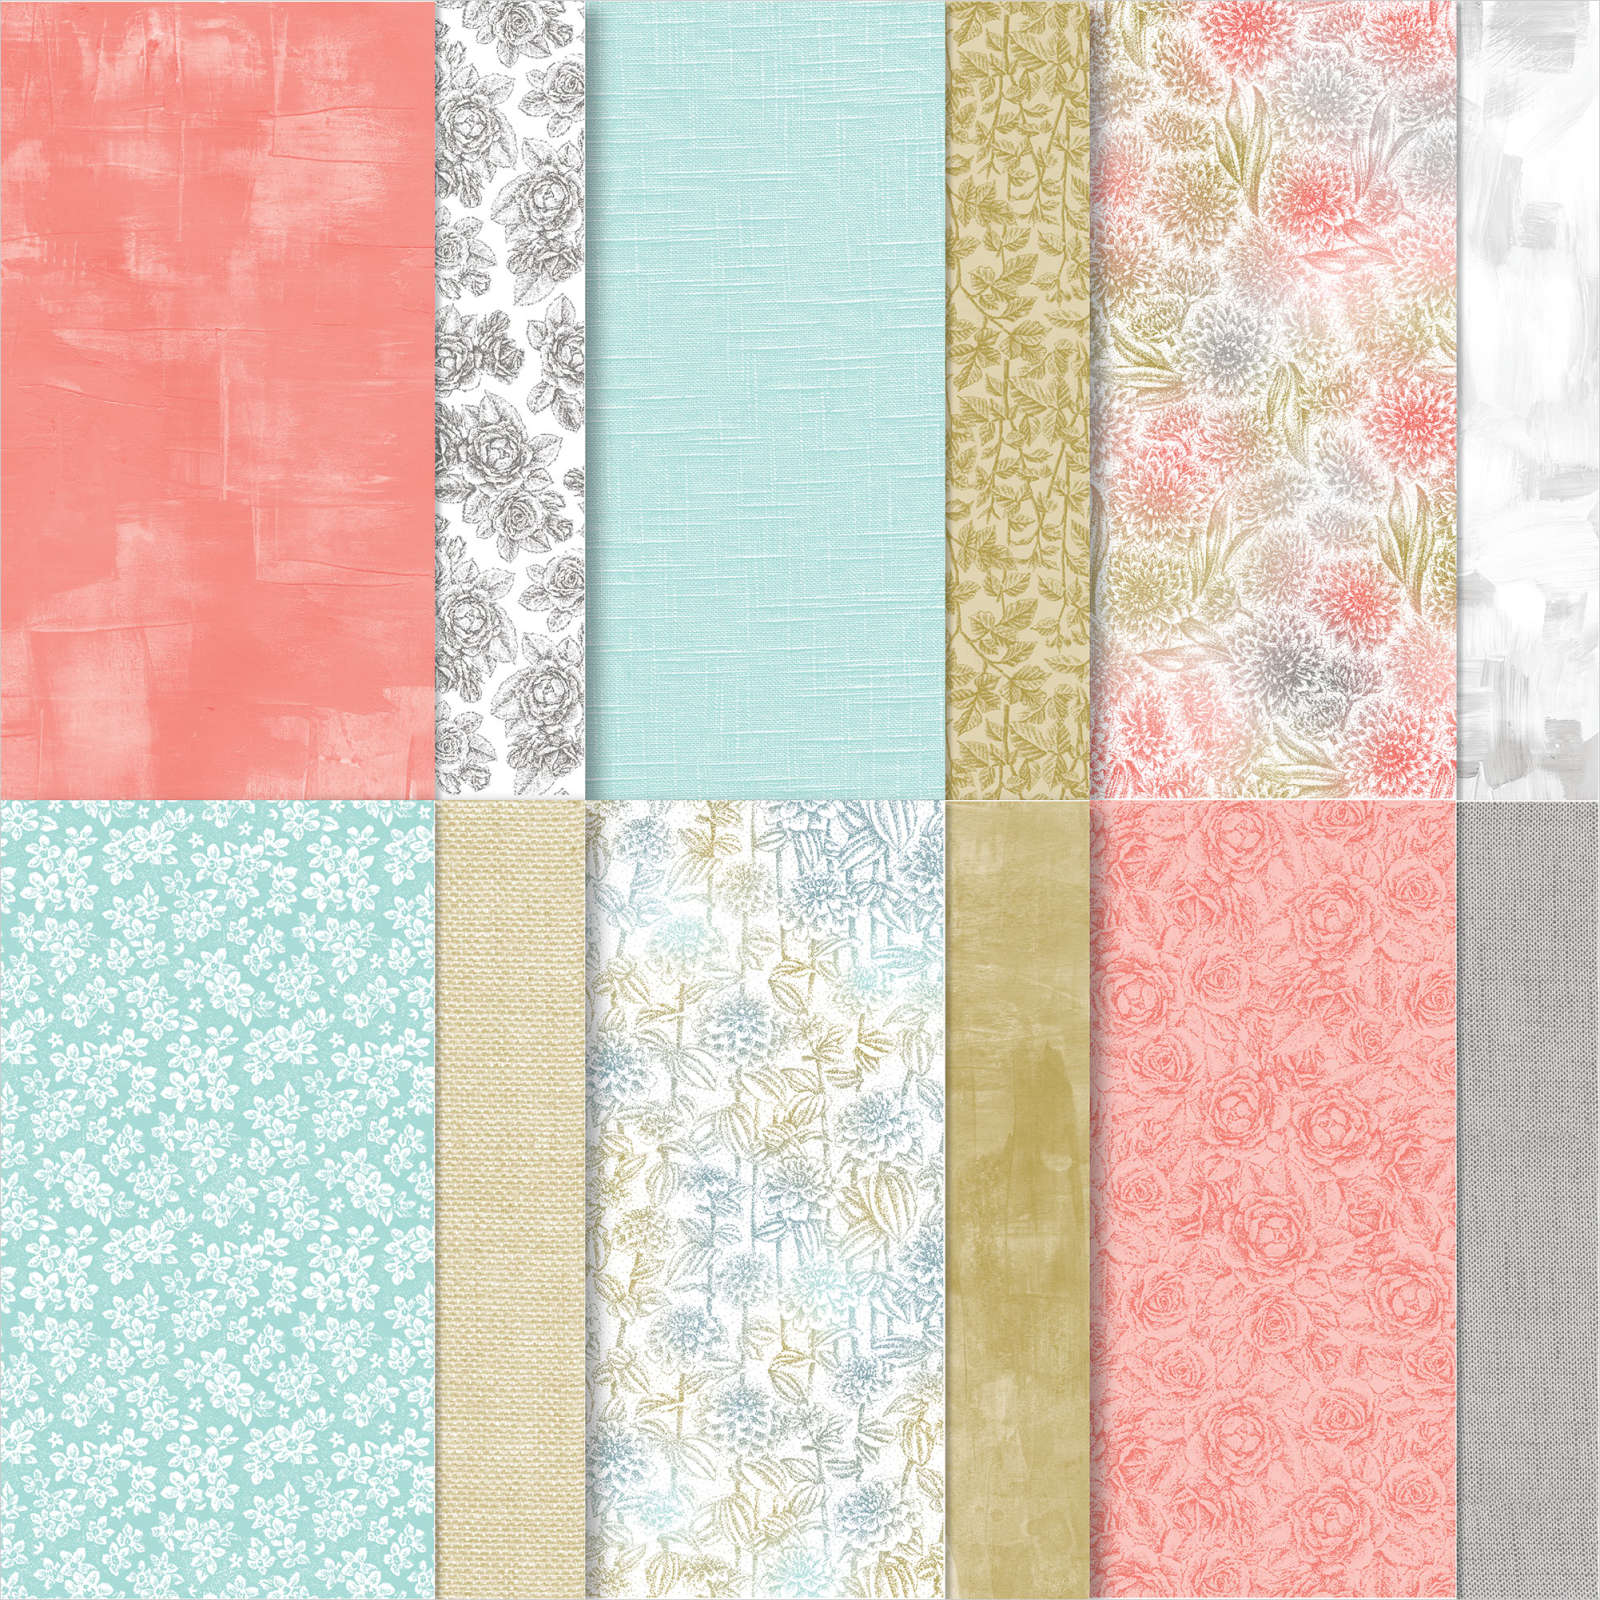
    First is a pretty card made by Jane who featured the Softly Stippled designer paper seen here. 

    She also used the Deckled Circle dies, Something Fancy & Gorgeously Made dies, along with the Something Fancy stamp set for her greeting.  Love the colors of Wild Wheat with Lost Lagoon together! 

    There are many possible color combos in this pretty designer paper. Most people pass by it in the catalog or online but in person the pretty colors and soft prints sell it!

    This Softly Stippled DSP is one of the free choices during our Sale-a-Bration promotion. Earn it free with any $50 Stampin' Up! purchase. See it online here. 

    ~~~

    Next is a fun fold card made by Paula who also chose the Softly Stippled designer paper. 

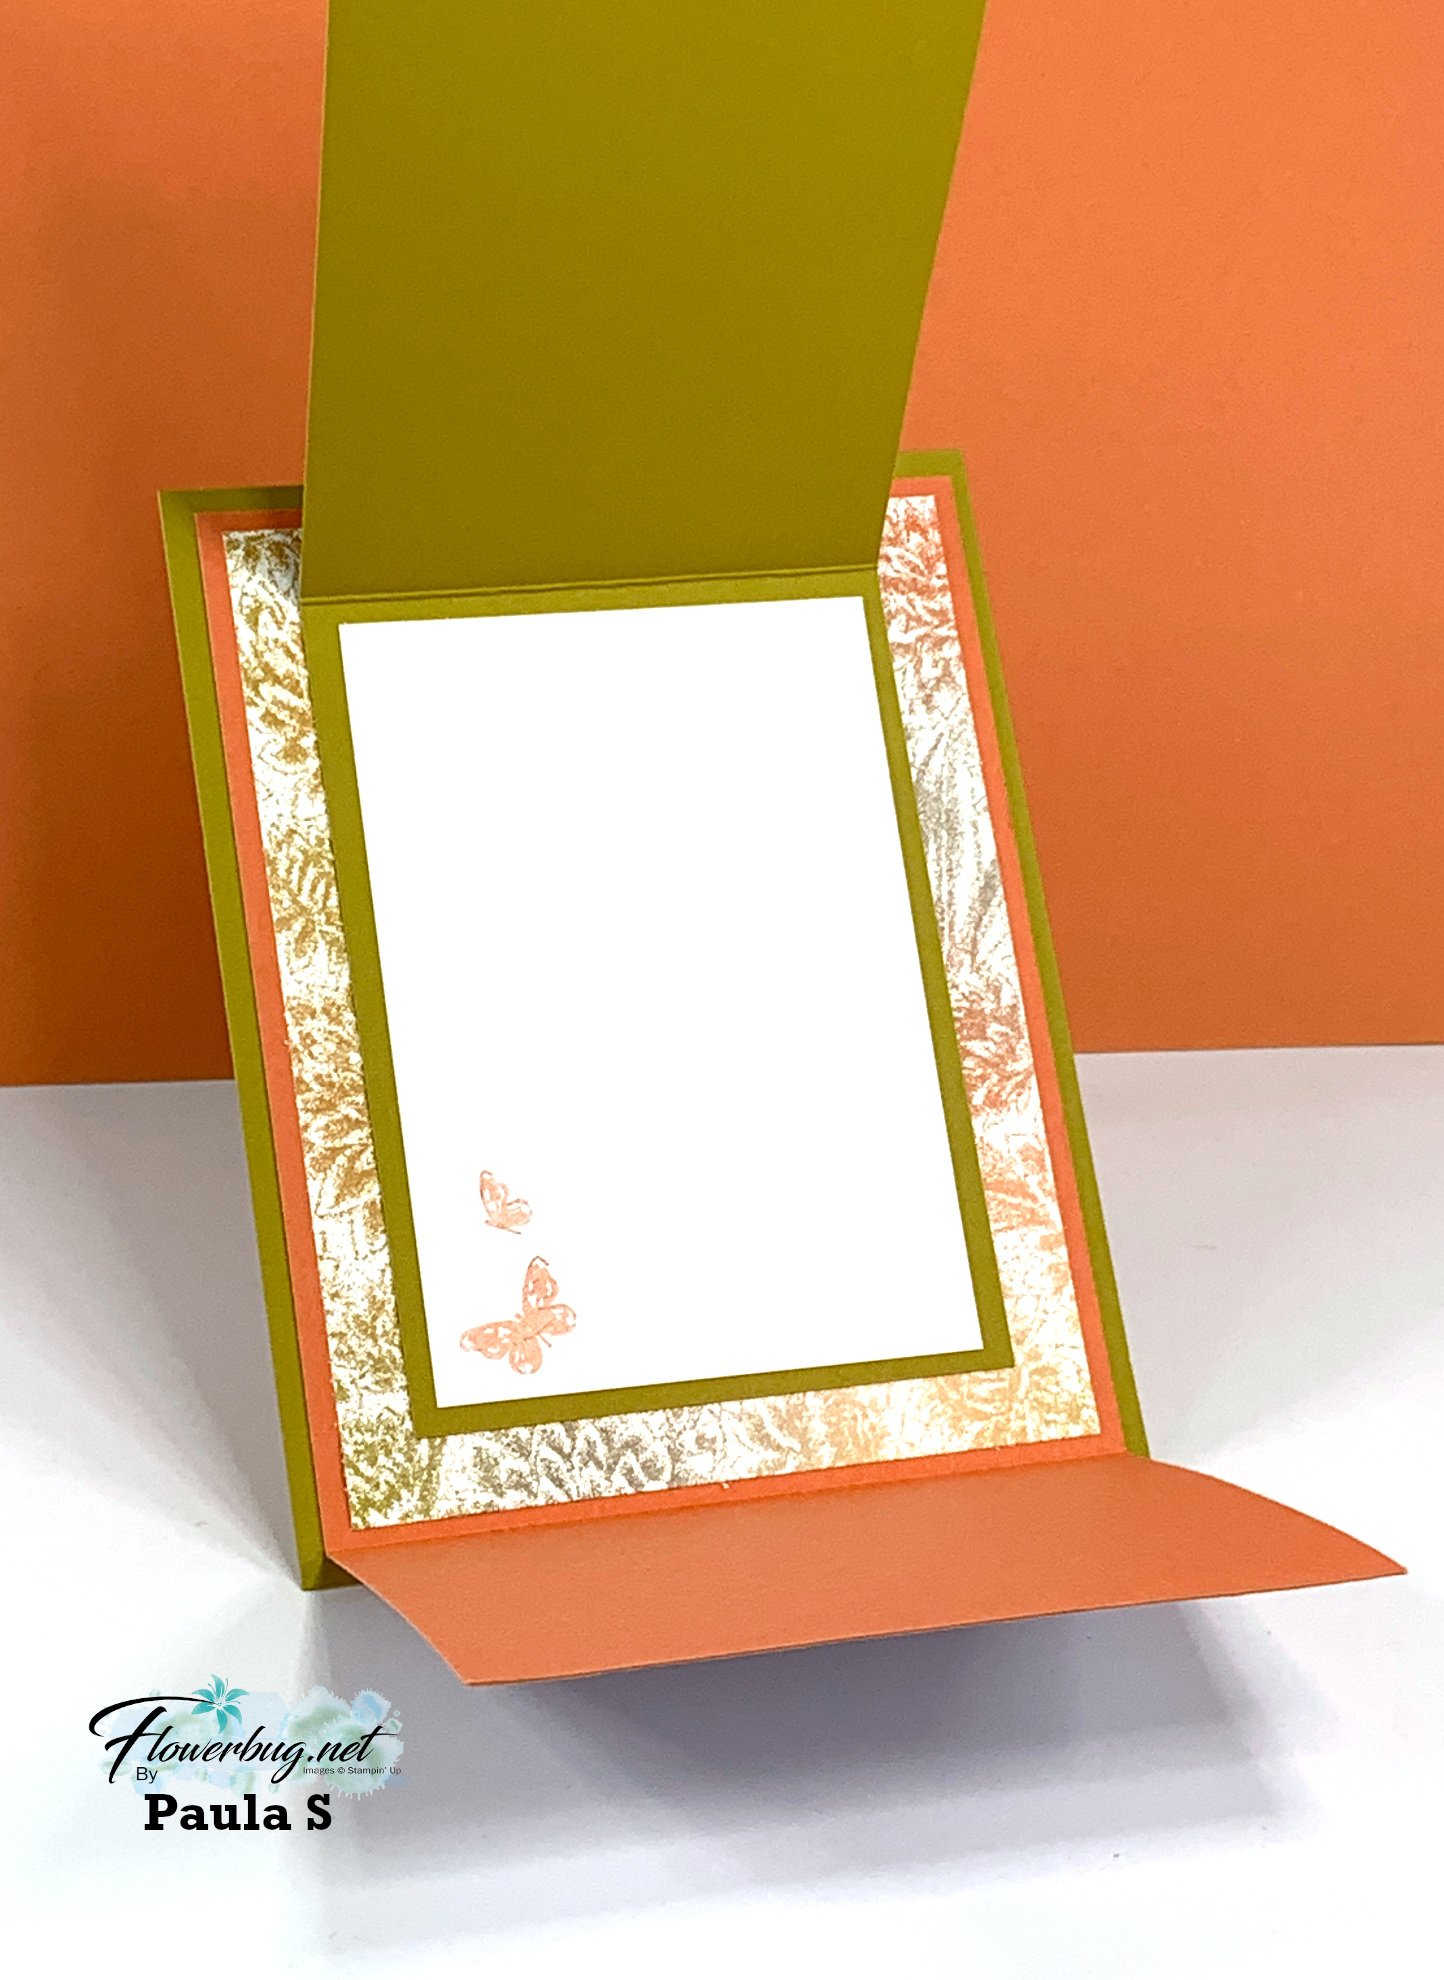
    Her fun fold is a 'Joy fold' turned on it's side.  Very cool.  It's filled with textures and two coordinating colors of Wild Wheat & Calypso Coral which are the colors in the pretty designer paper. Her greeting is from the Softly Sophisticated bundle and the Double Oval punch is used too. 

    Measurements:

    • Wild Wheat – card base is 4 1/4" X 5 1/2", middle layer is 3" X 8 1/2" scored at 4 1/4"
    • Calypso Coral is 4" X 8 1/2" scored at 5 1/4"
    • White textured layer is 3"X 3 3/4" (done with Basics 3D embossing folder) & inside is 2 3/4" X 4"


    ~~~

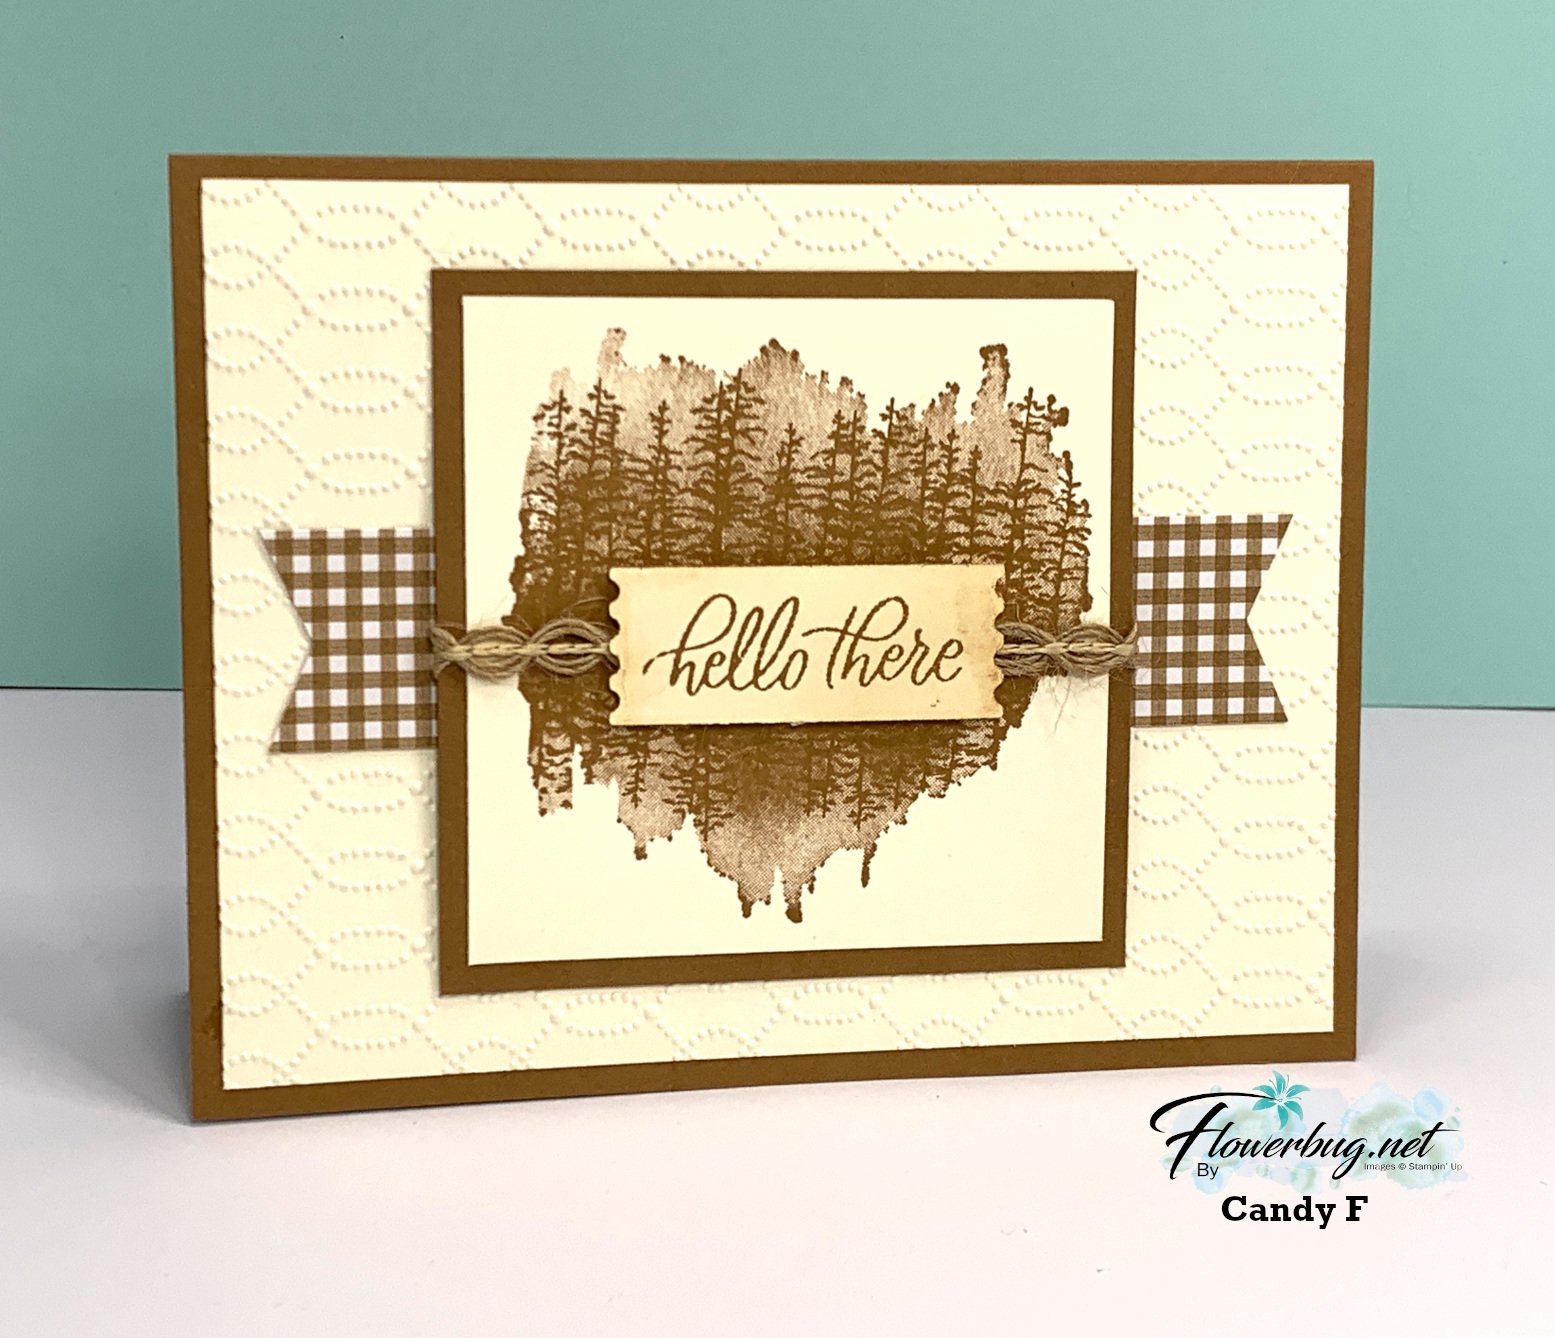
    Next is a beautiful monochromatic card made by Candy who chose to use the Softly Sophisticated bundle seen here.  It includes both a stamp set & the pretty embossing folder used here. 

    Her colors are Very Vanilla with Pecan Pie.  That main scenic image is from the Quiet Reflection stamp set seen here.  It's a distinktive set which means it provides multiple hues of color when stamped with one ink. 

    Measurements:

    • Pecan Pie card base 5 1/2" X 8 1/2" score at 4 1/4"
    • Vanilla 5 1/4" X 4", center is 3" square, scrap for greeting die-cut (Perennial Postage dies) 
    • Glorious Gingham 6" DSP is 4 3/4" X 1" 

    ~~~

    If you'd like to be on my creative Team please choose the Starter Kit deal here and join us! 

    Sale-a-Bration if a great time to join us. We're a friendly group and I can guarantee you will not regret it!!!

    ~~~

    February Specials: 

    Earn FREE products with your Stampin' Up! purchase during

    Sale-a-Bration! *click here

    *current host code link:  M7NAN4HT

    It's the best time to get a pre-paid Sale-a-Bration subscription

    & earn free Sale-a-Bration products!  


    ~~~

    Get a free Gold Foiled cards & envelopes kit

    with an online order over $55 in February

    All online orders in February will receive this free tutorial with 8 projects!

    Leave a Reply

    Your email address will not be published. Required fields are marked *

  • Shabby Chic Lovely & Sweet card with video tutorial & free project sheet!


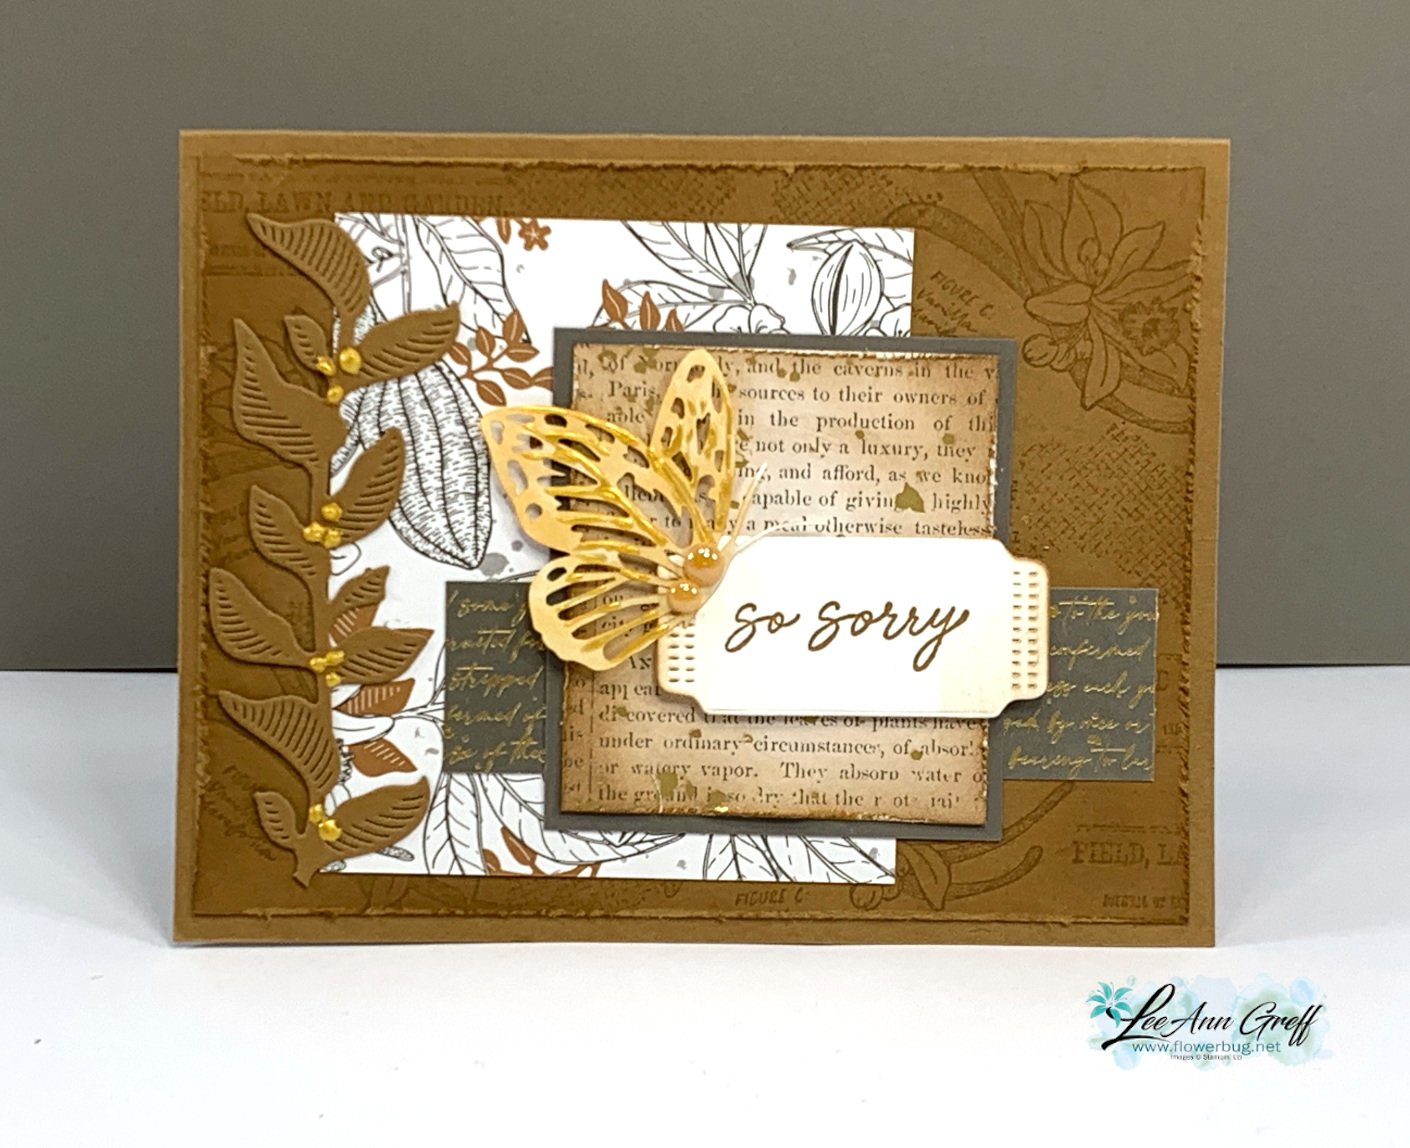
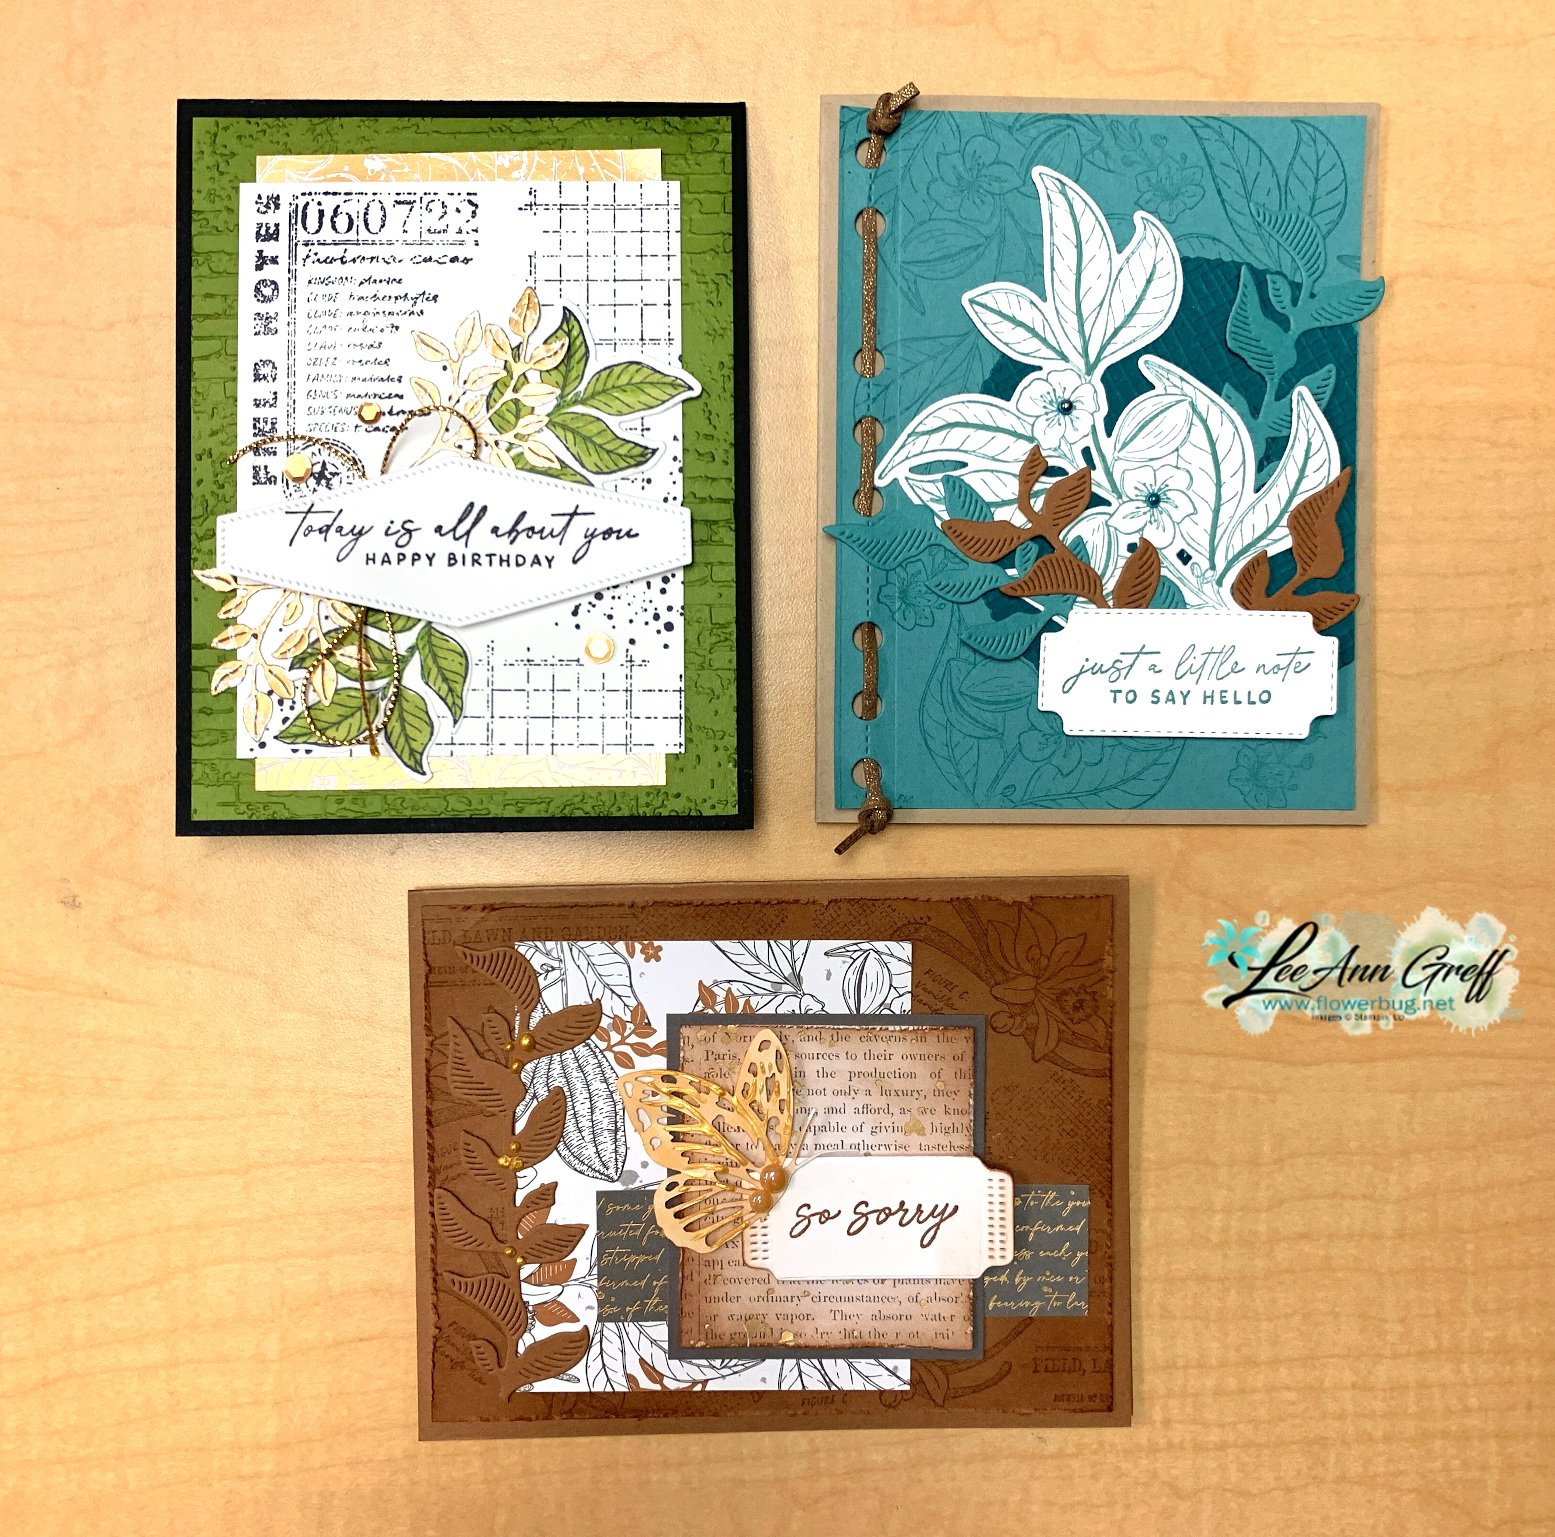
    Here's the last card made in last week's video featuring the Nature's Sweetness suite. I absolutely love this color palette! 

    It's Pecan Pie with Pebbled Path & Gold accents with a rich monotone look. Look closely at the layout. It's basically a few random layers with only one that's layered.  Adding a few smaller elements creates the balance here. 

    Details & tips:

    • Note the distressed edges on a few of the layers. That is done by rubbing your open scissor blade over the edge of the paper.  Fast and fabulous results! *watch how I do it in the video below.
    • The large stamped Pecan Pie layer and the DSP square are both sponged with Pecan Pie ink to age them a bit. 
    • That butterfly is one of our Paper Butterfly Accents colored with a Light Natural Tones blends marker. I added some Gold Enamel Effects in streaks all over it. *see how in the video
    • I added Gold Enamel Effects as berries on the tall leaf die-cut on the left. 

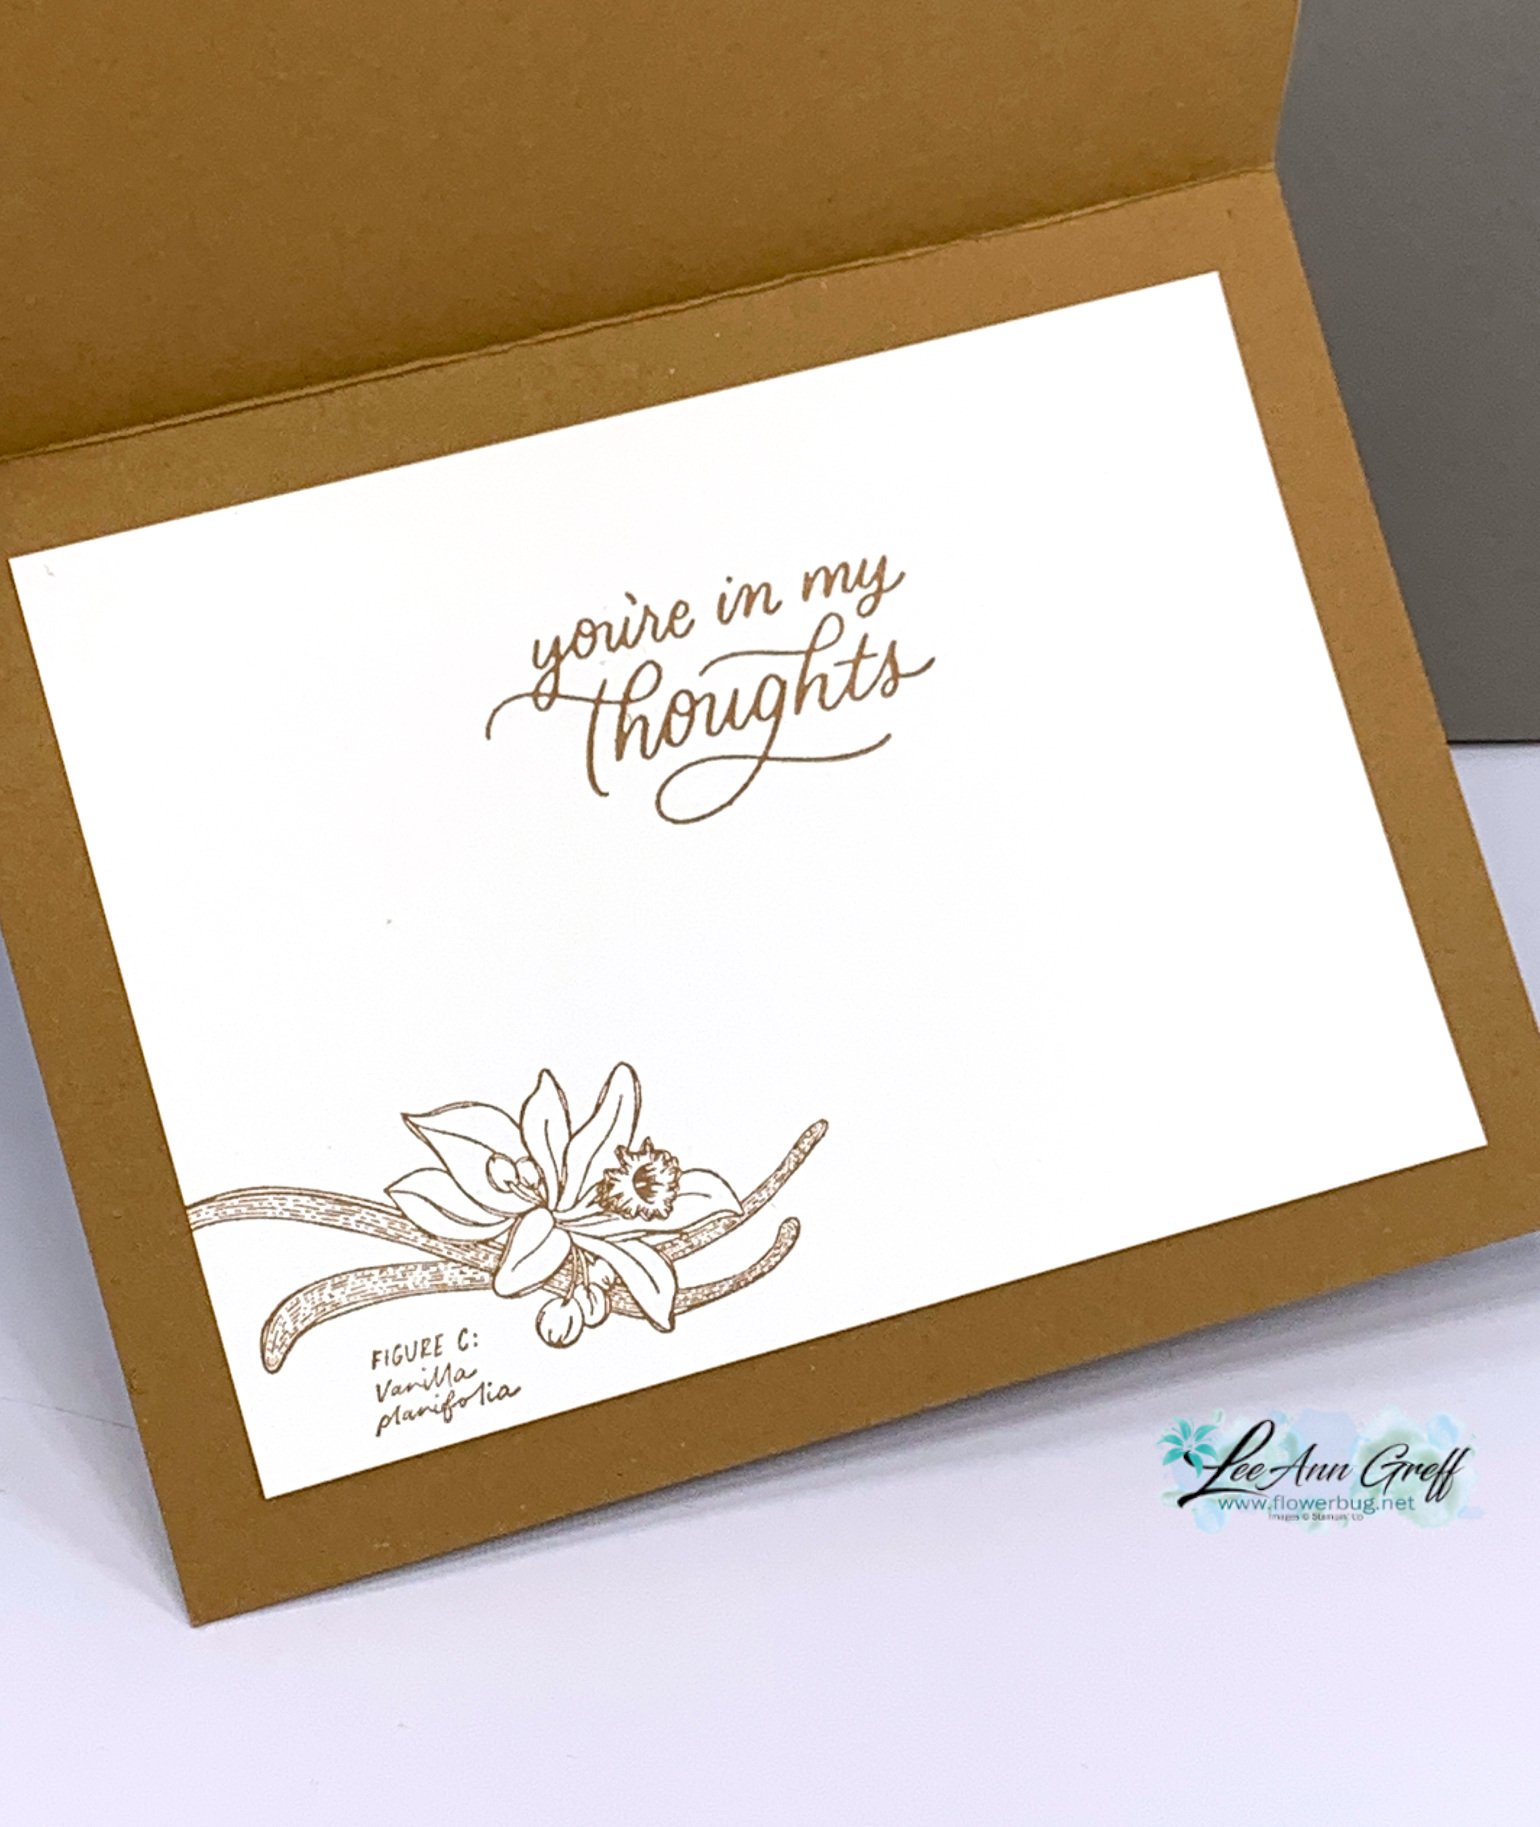
    Here's how I stamped the inside.  The greeting is from the Softly Sophisticated stamp set from Sale-a-Bration. 

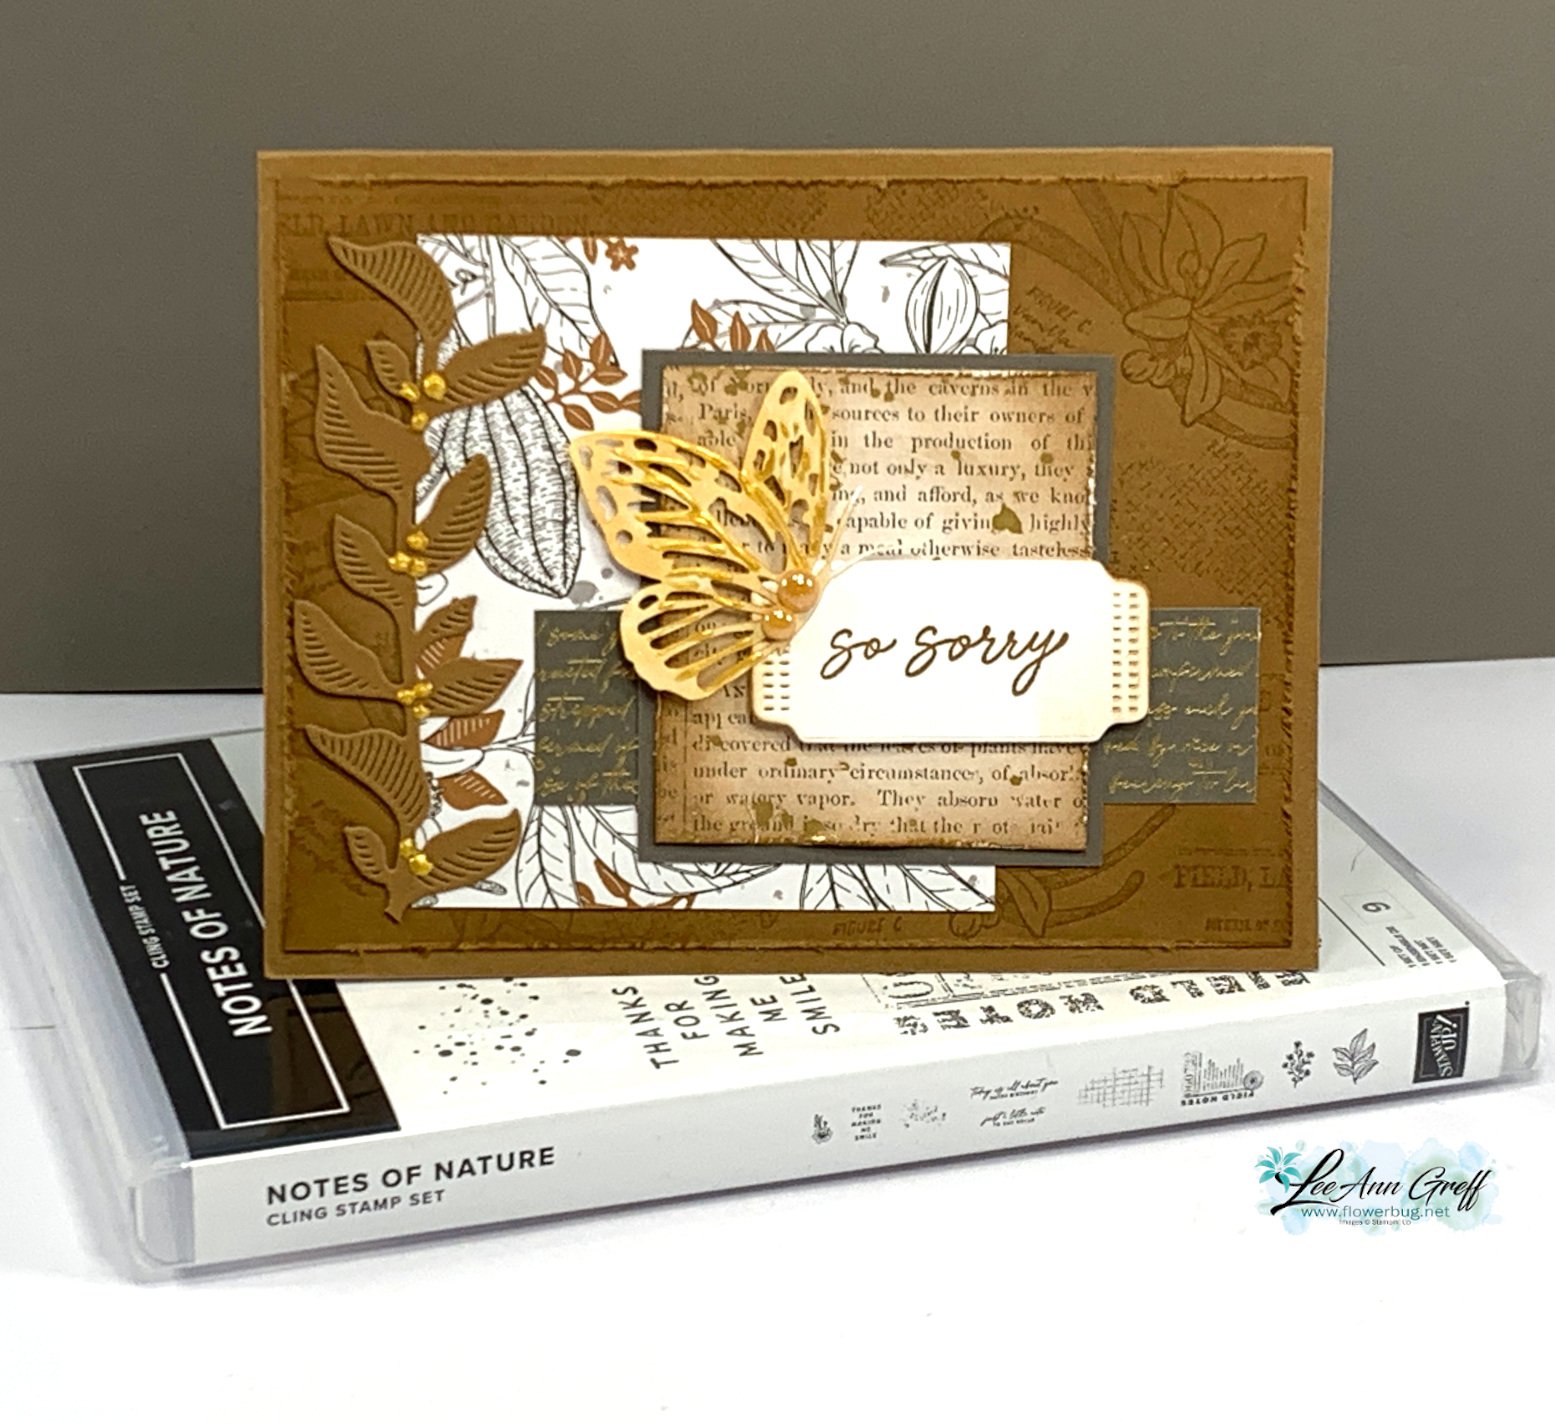
    Here's a picture of the Lovely & Sweet bundle I used here. See it online here. 

    Get the project sheet with dimensions, directions and products here: Download Lovely & Sweet Butterfly card

    These are the three cards I share in the video below: 


    So is the shabby-chic look for you?

    You can see how I made all of these cards in the video replay here.  Or click on the photo below to watch it.  Don't forget to subscribe to my YouTube channel! 

    ~~~

    January Specials: 

    Earn FREE products with your Stampin' Up! purchase during

    Sale-a-Bration! *click here

    *current host code link:  M7NAN4HT

    It's the best time to get a pre-paid Sale-a-Bration subscription

    & earn free Sale-a-Bration products!  


    ~~~

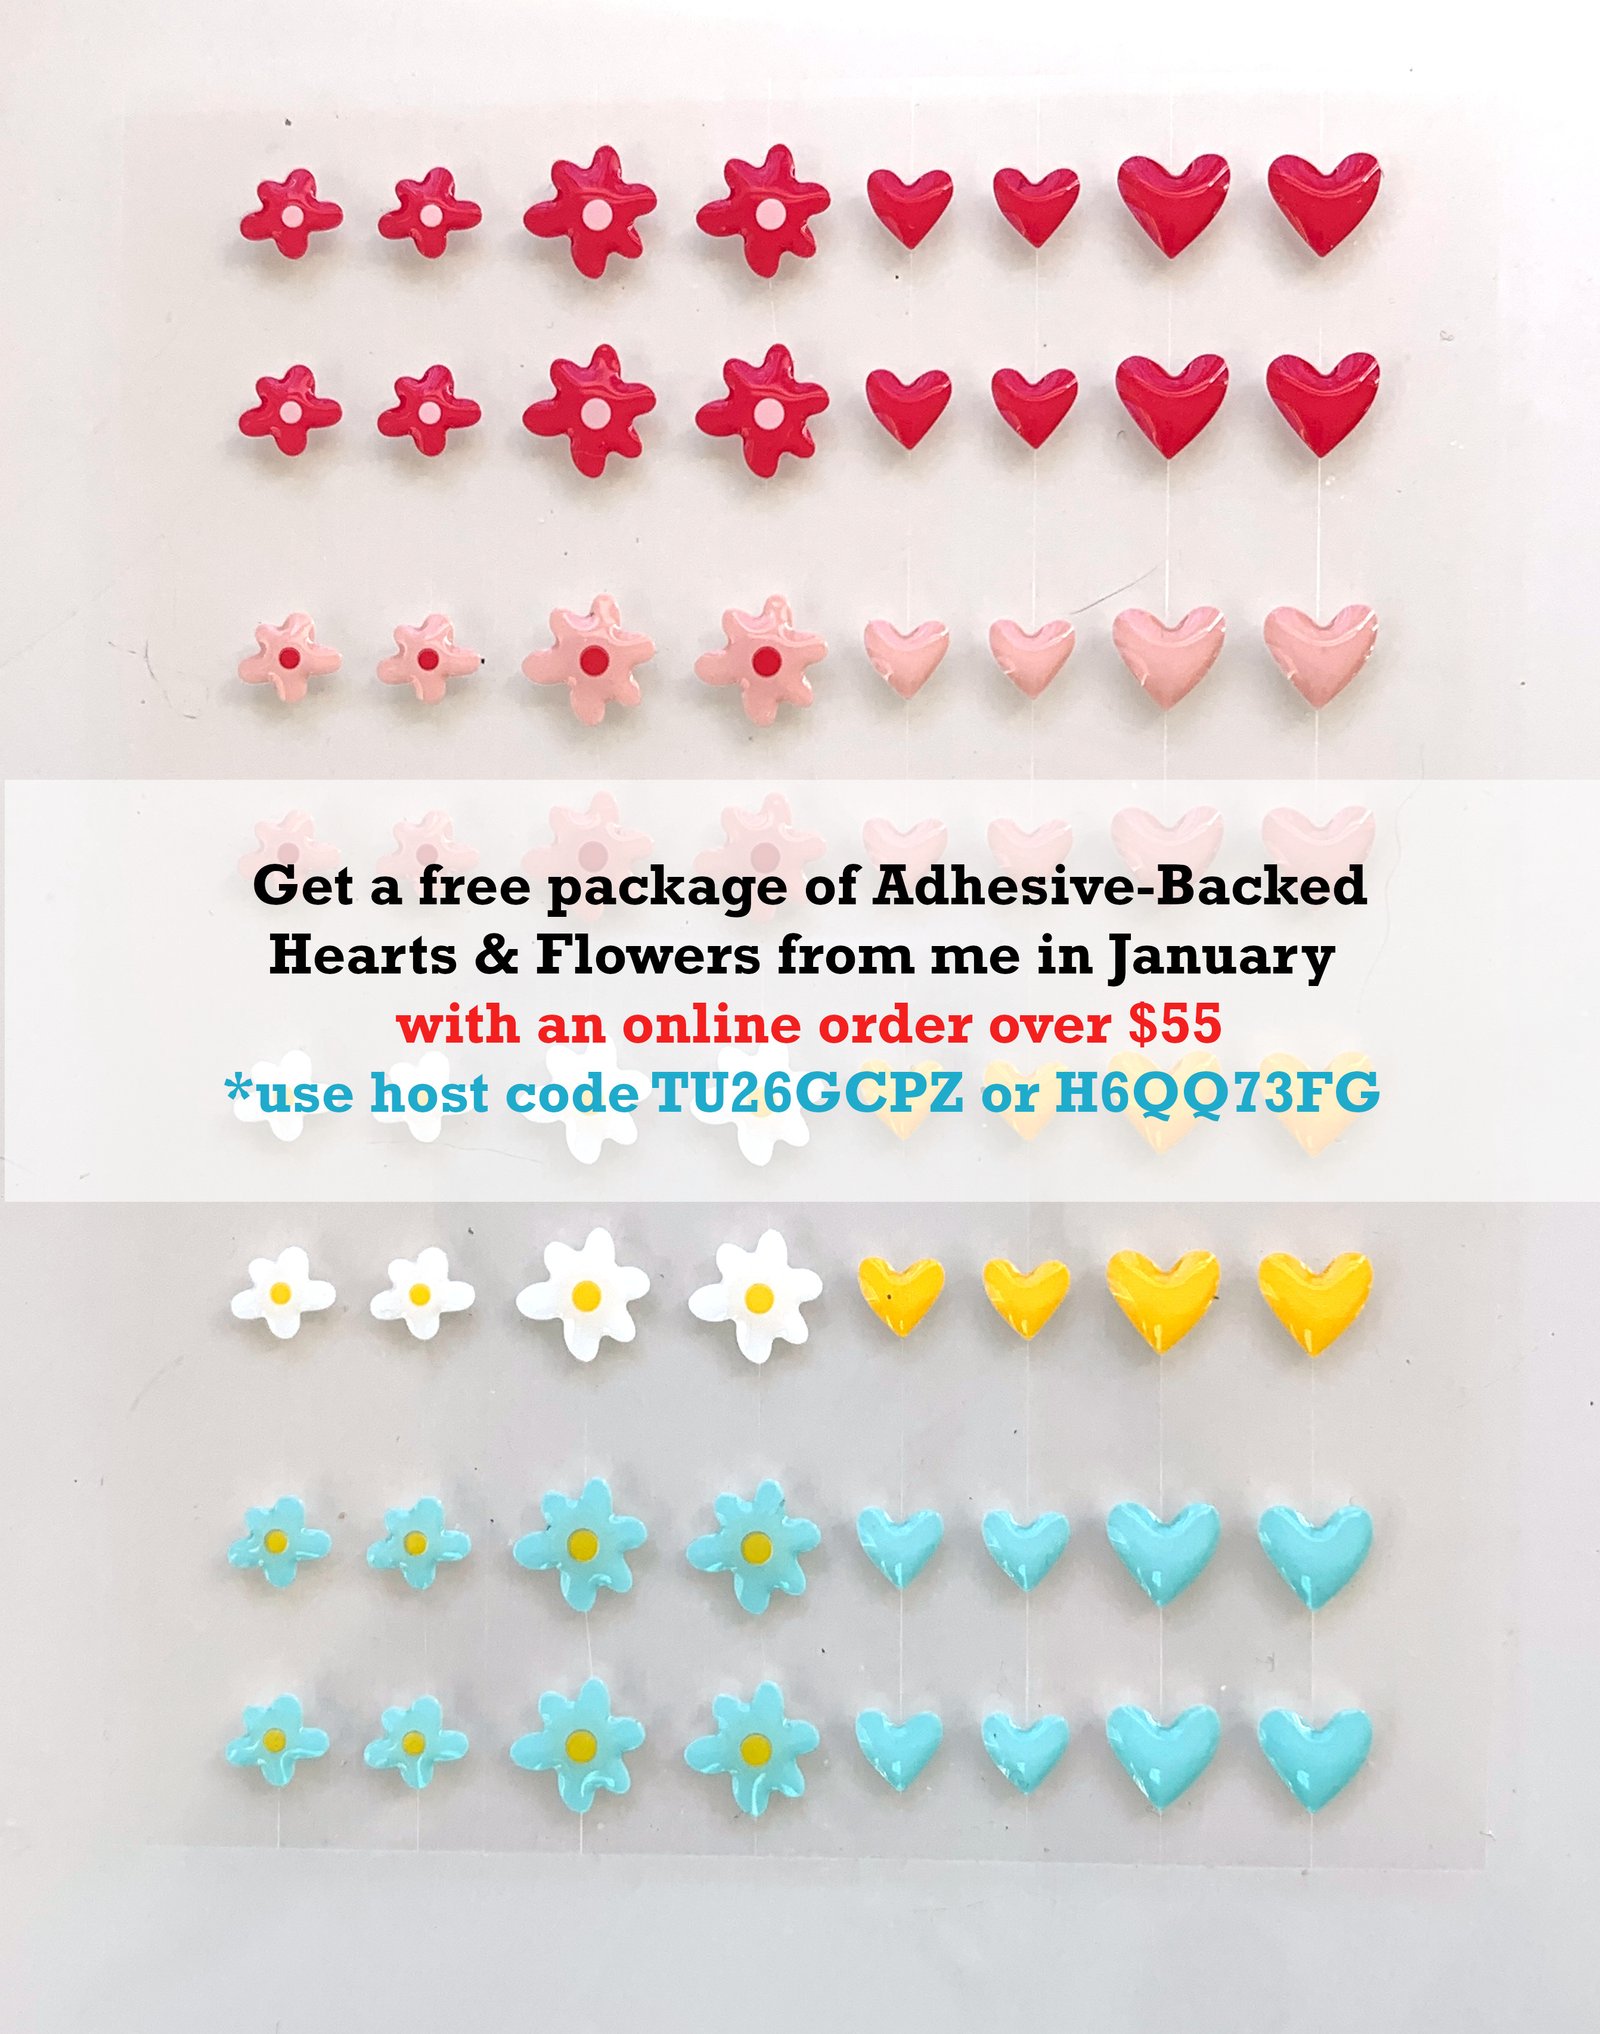
    Get a free embellishment from the 2024 Spring catalog

    with an online order over $55

    Leave a Reply

    Your email address will not be published. Required fields are marked *

  • Lovely & Sweet card is filled with textures; get the free project sheet or watch the video


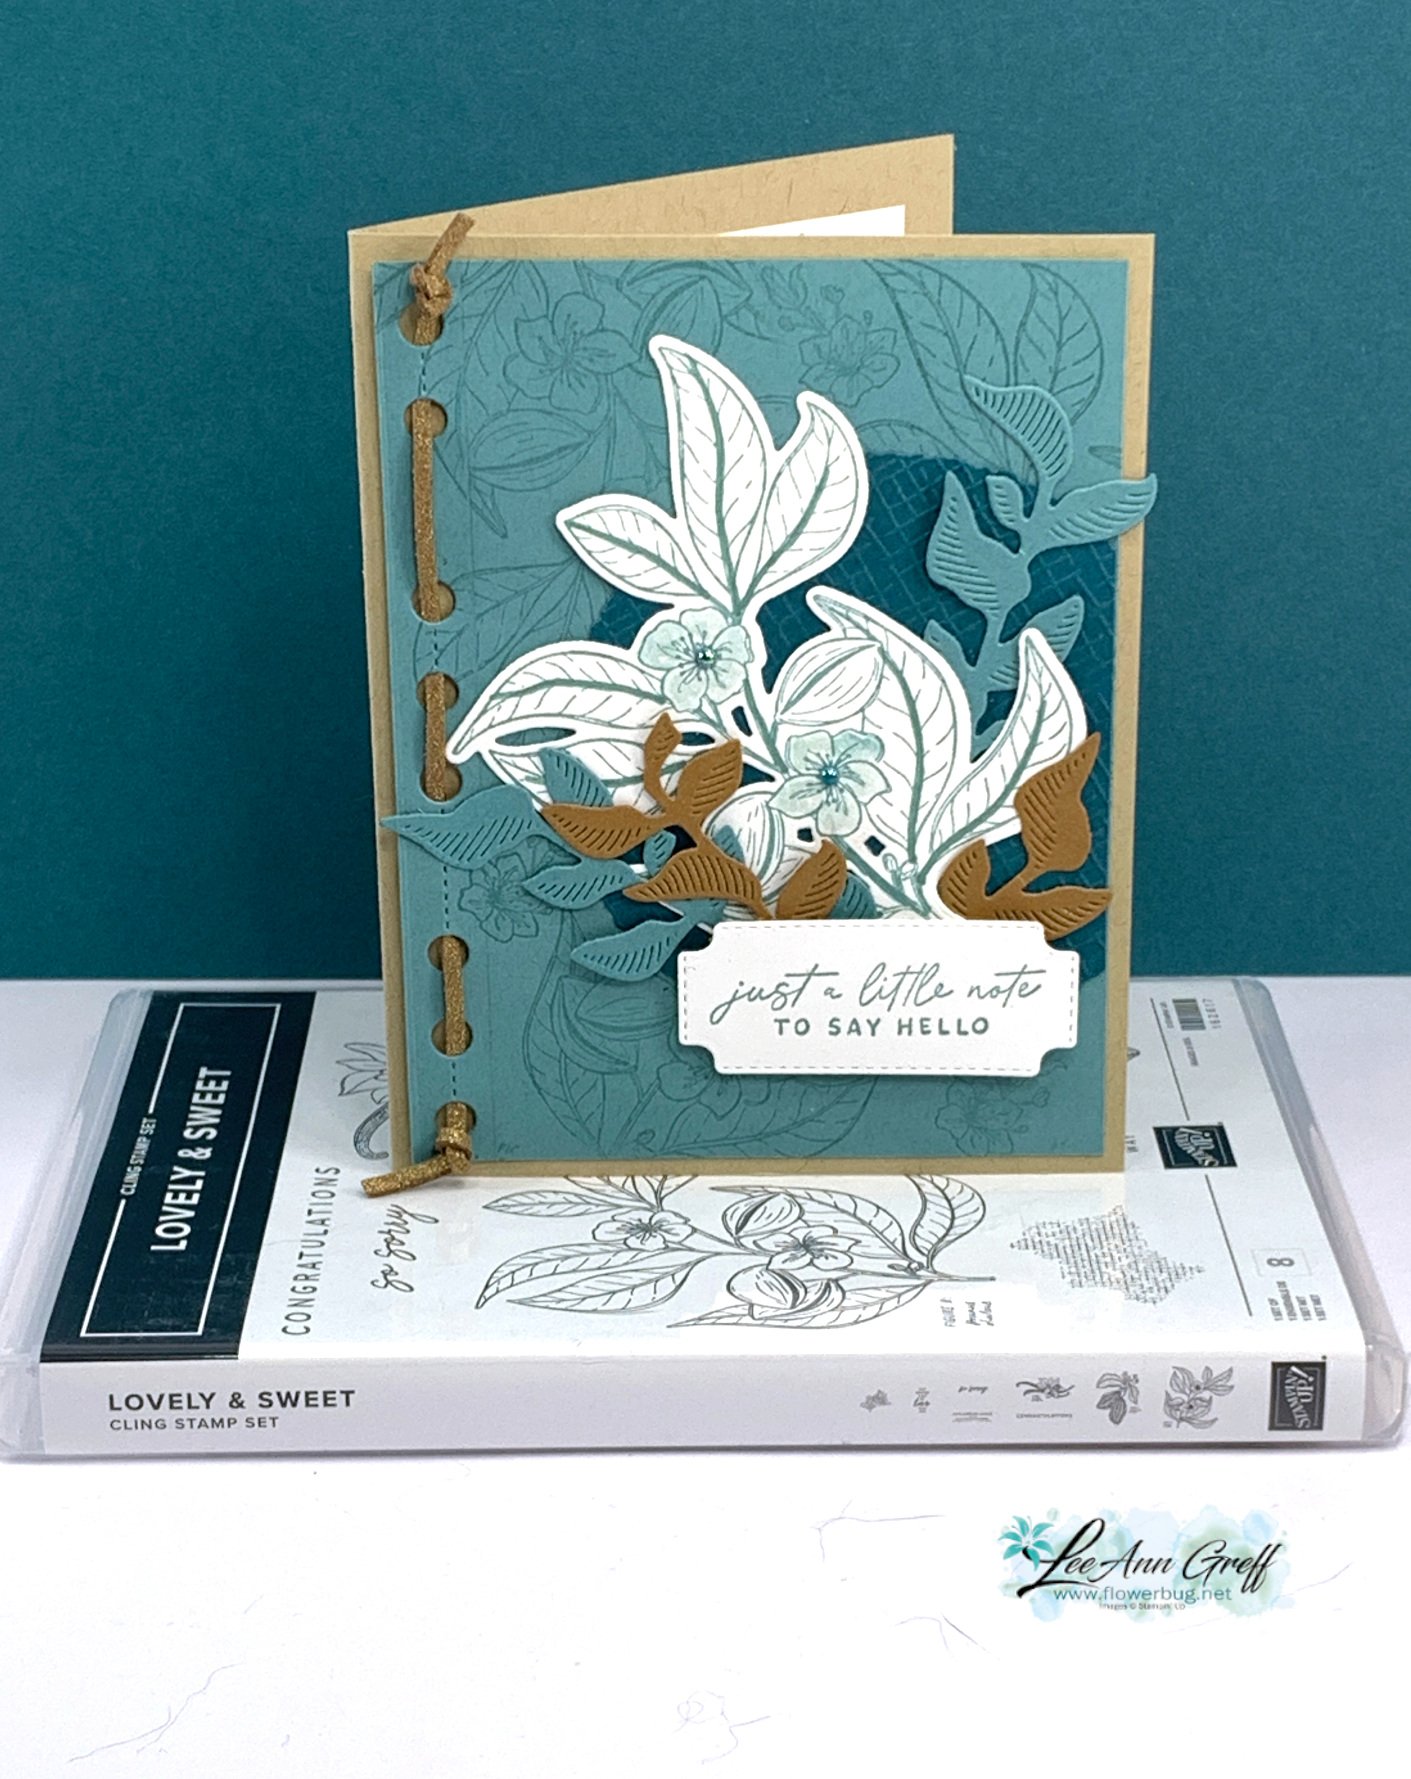
    This is one of the cards I featured on last week's Live video. I chose to showcase the Nature's Sweetness suite.  

    The colors include Lost Lagoon, Crumb Cake, Pretty Peacock, White & Pecan Pie. See the neat woven trim on the edge?  that is done with the new Faux Leather trim that has a subtle gold shimmer to it.  The holes and the leaves are made with the Notes of Nature dies seen here. 

    Below is a photo of the entire suite of products. 

    If you order this suite you'll earn two free Sale-a-Bration choices!  Or get it and almost $20 more with the Starter Kit deal! 

    Other dies include the Cheerful Daisies for the label and the Deckled Circles behind the flowers/leaves.  I also used the Wink of Stella with Lost Lagoon ink to color the flowers and added a Blooming Pearl to each one. 

    Click on this link to download the free project sheet: Download Lovely & Sweet Hello

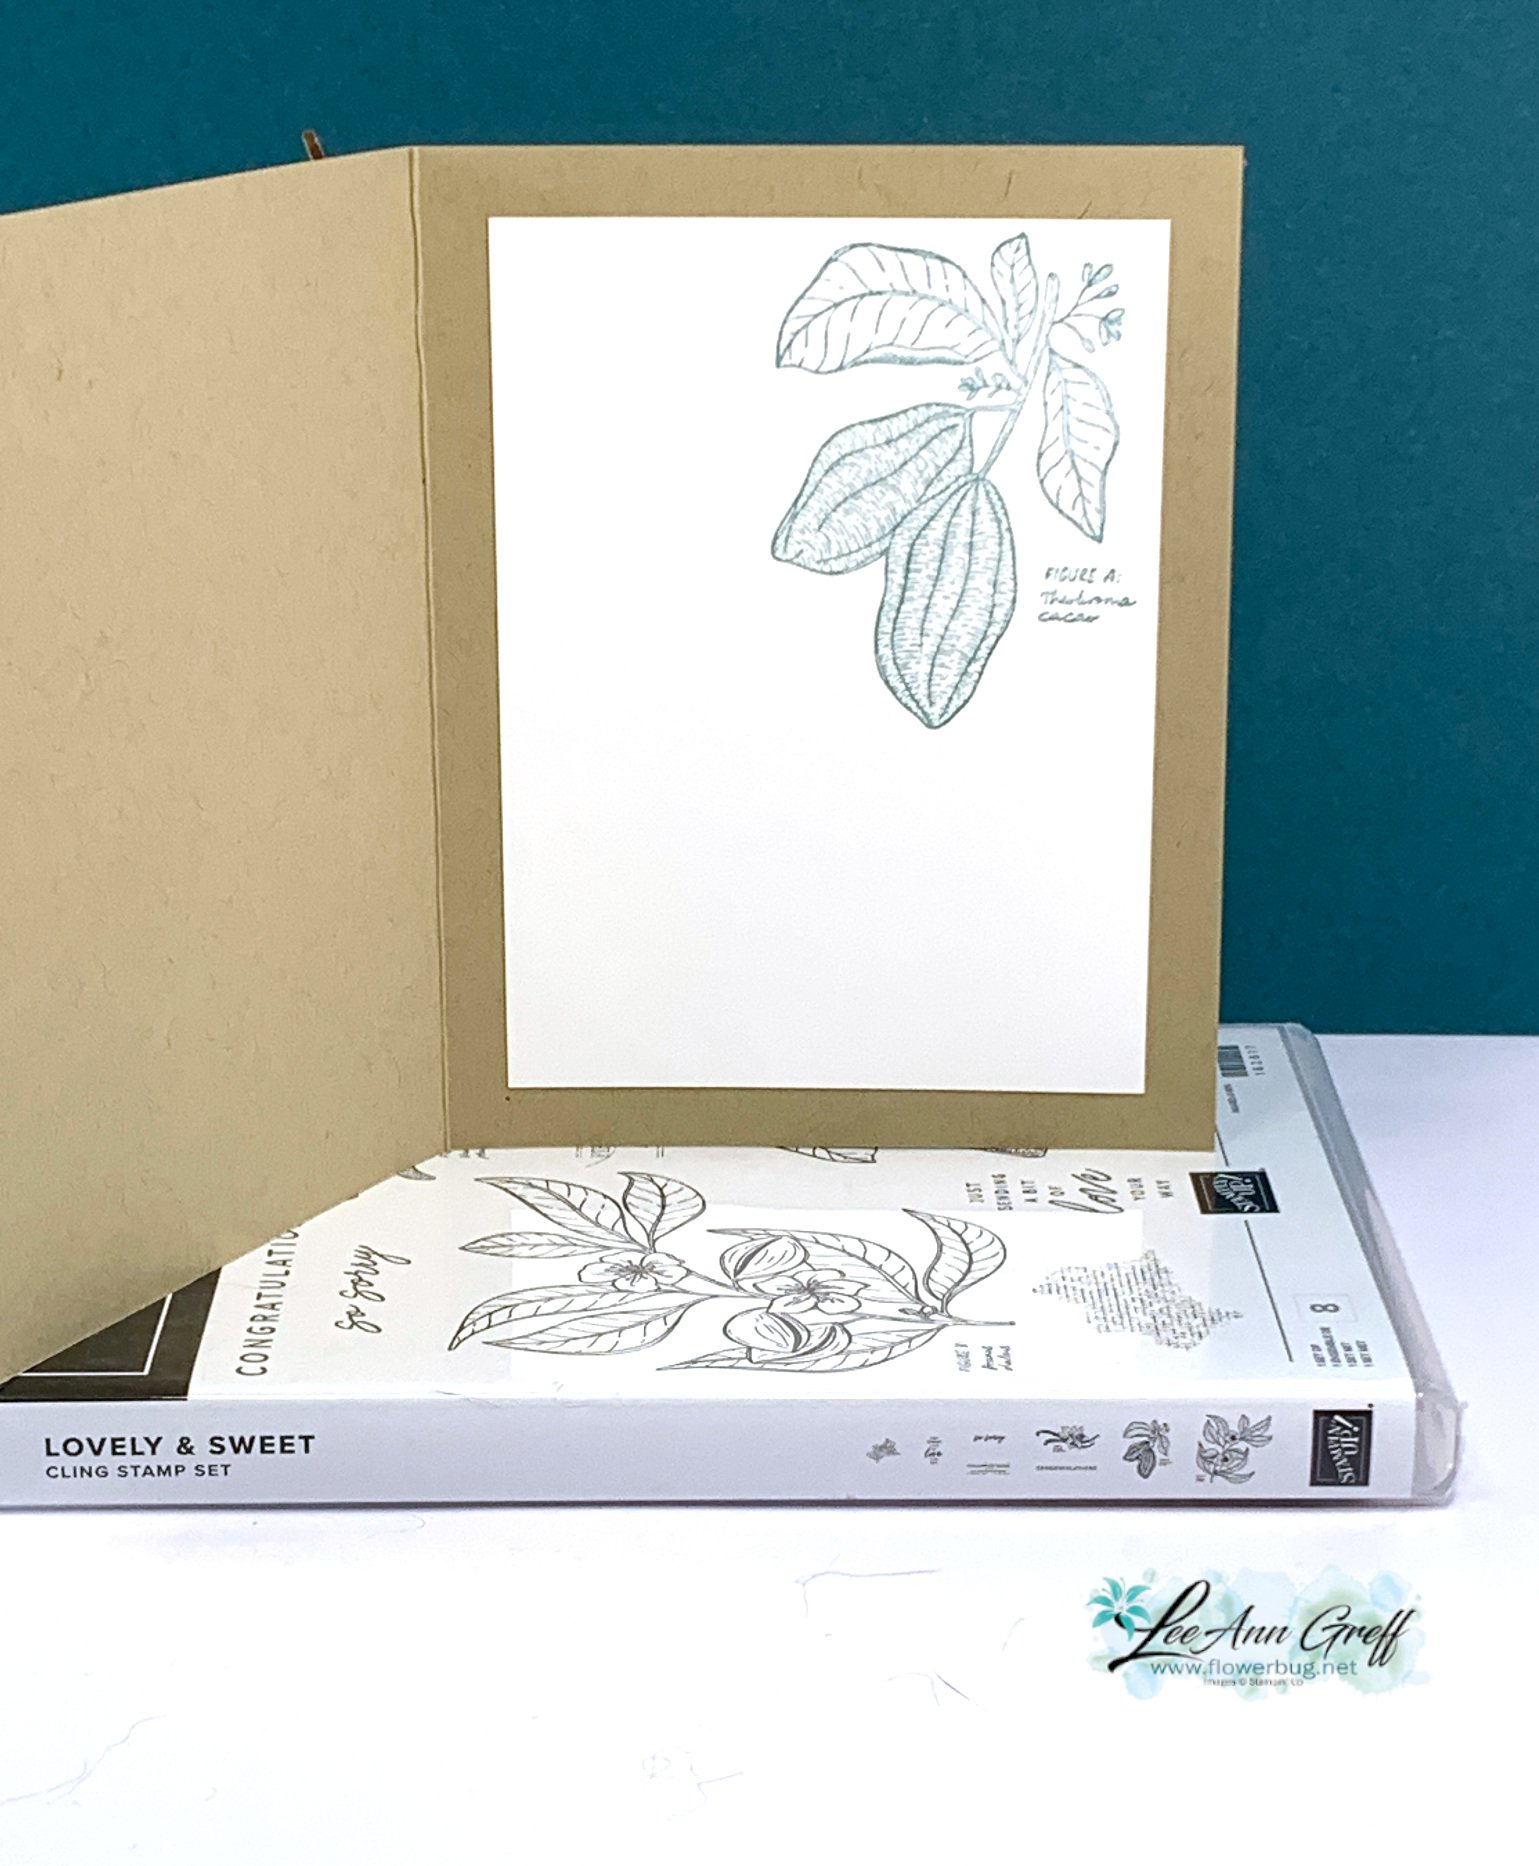
    Here's how I stamped the inside:

    You can see how I put this card together and two more in the video replay here.  Or click on the photo below to watch it. 

    ~~~

    January Specials: 

    Earn FREE products with your Stampin' Up! purchase during

    Sale-a-Bration! *click here

    *current host code link:  M7NAN4HT

    It's the best time to get a pre-paid Sale-a-Bration subscription

    & earn free Sale-a-Bration products!  


    ~~~

    Get a free embellishment from the 2024 Spring catalog

    with an online order over $55

    Leave a Reply

    Your email address will not be published. Required fields are marked *


Notice: LeeAnn Greff, Independent Stampin’ Up! Demonstrator, Manager. The content of this website is my sole responsibility as an independent Stampin’ Up! demonstrator and the use of, and content of, the classes, services, or products offered on this website is not endorsed by Stampin’ Up! Copyright 2025