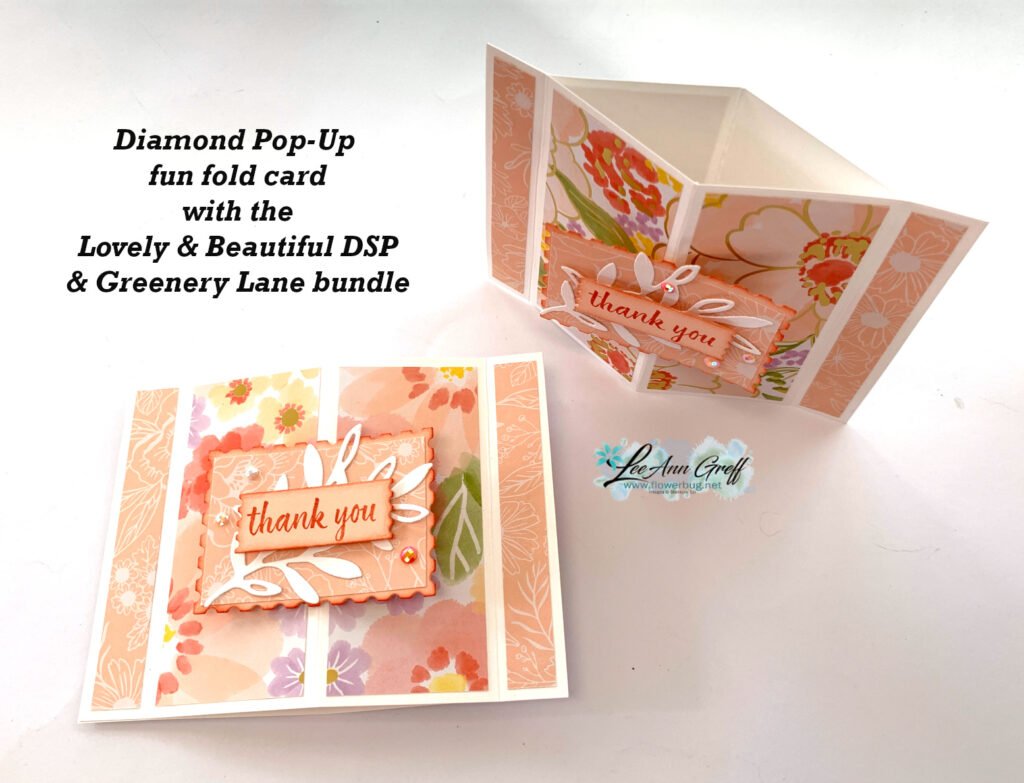
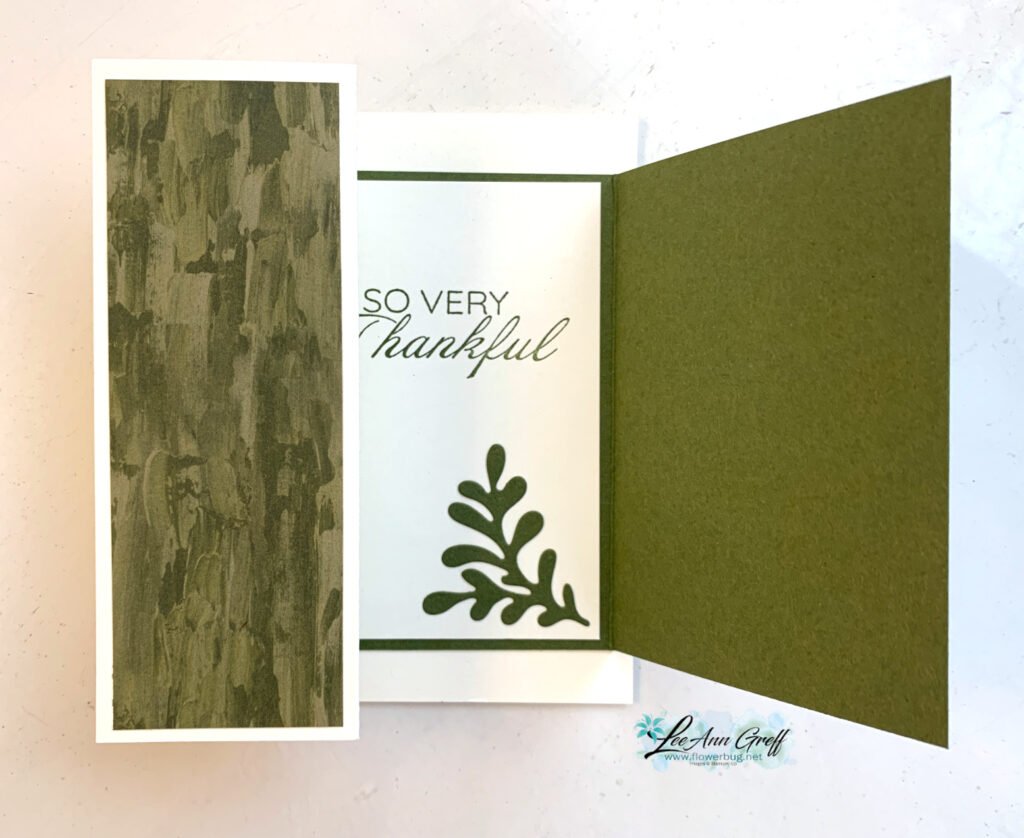
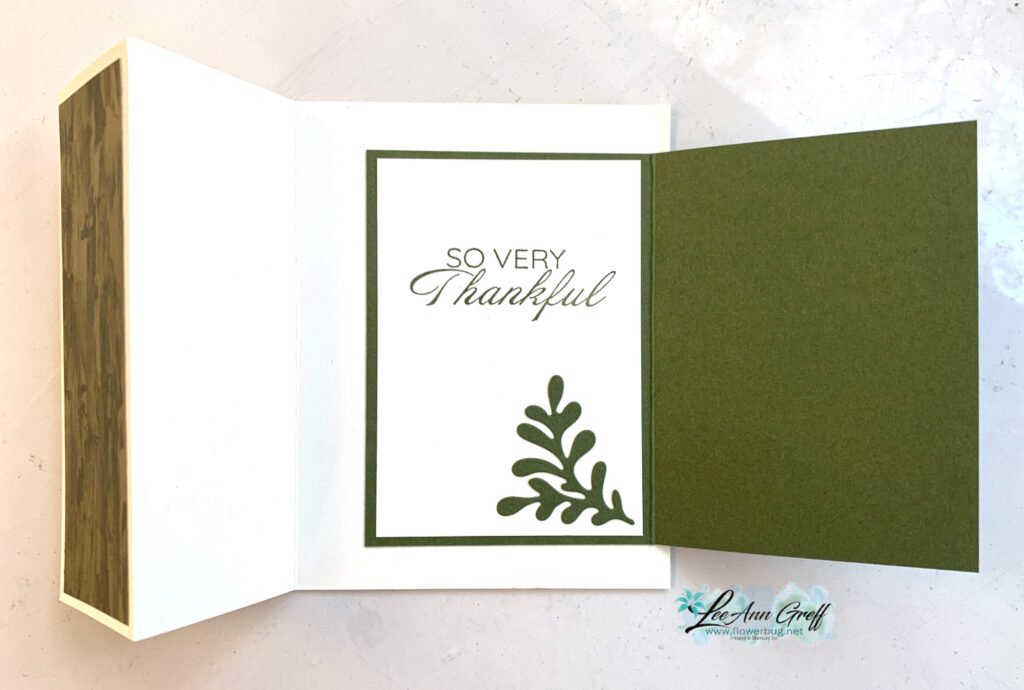
Isn’t it a neat card fold? And it’s super easy to make. I also love that it shows off our coordinating designer series paper so well. Here I used the Lovely & Beautiful Specialty DSP seen here. It’s gorgeous prints include gold foil accents.
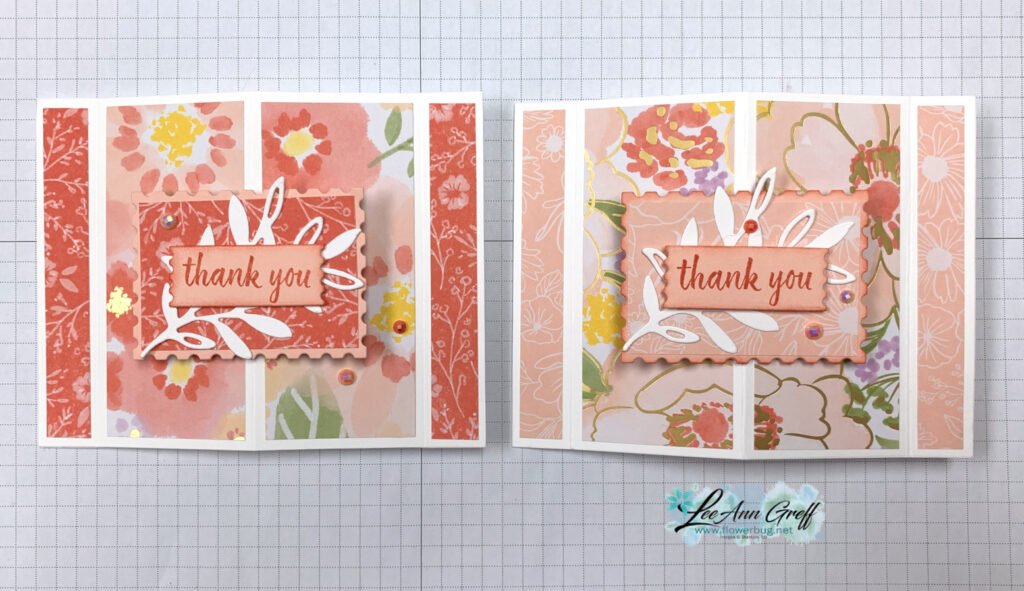
I made two different versions because I needed multiples of them for our January Team swap with my Flowerbug’s.
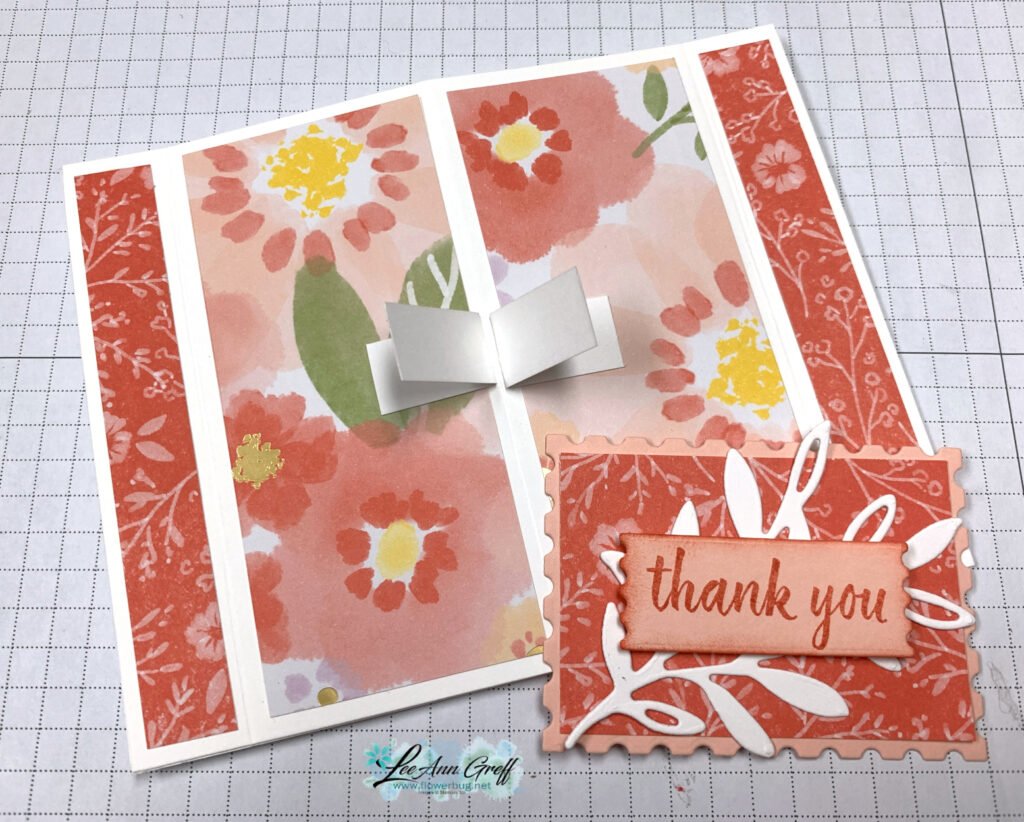
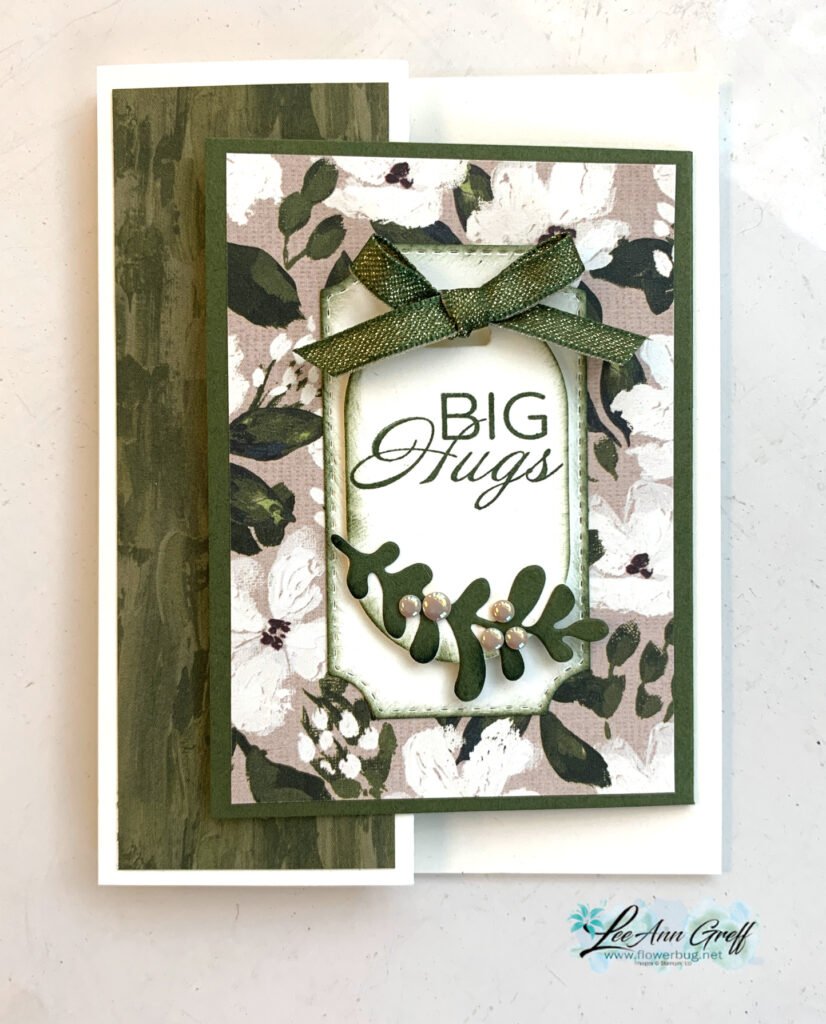
The center greeting layer is added with two folded strips of paper positioned next to the center score line. This allows the greeting to pivot and pop-up when you flex the card. These are about 1 1/2″ X 1/2″ and I simply fold them in half and placed with the score lines next to each other.
The colors include Very Vanilla with Mossy Meadow. Isn’t that designer paper beautiful? It’s called Brushed with Beauty and is one of the new products coming out on November 4th. I also used a new stamp set called Delicate Framing. The greeting is stamped on a new set of dies called Creative Haven dies and that’s layered on a die from Branching Out.
You’ll be able to order these new products on November 4th. However if you wanted them earlier you can add them to your starter kit now. See that opportunity below:
I created a free project sheet with measurements & photos for you. Click here to print or download it.
And get the Starter kit here.*Choose your deal – $35 or $99 plus $90 in free products including free shipping, free Paper Pumpkin kit & free catalogs/business supplies!
~~~
All online orders from me will receive a beautiful PDF of projects featuring the Modern Christmas suite.
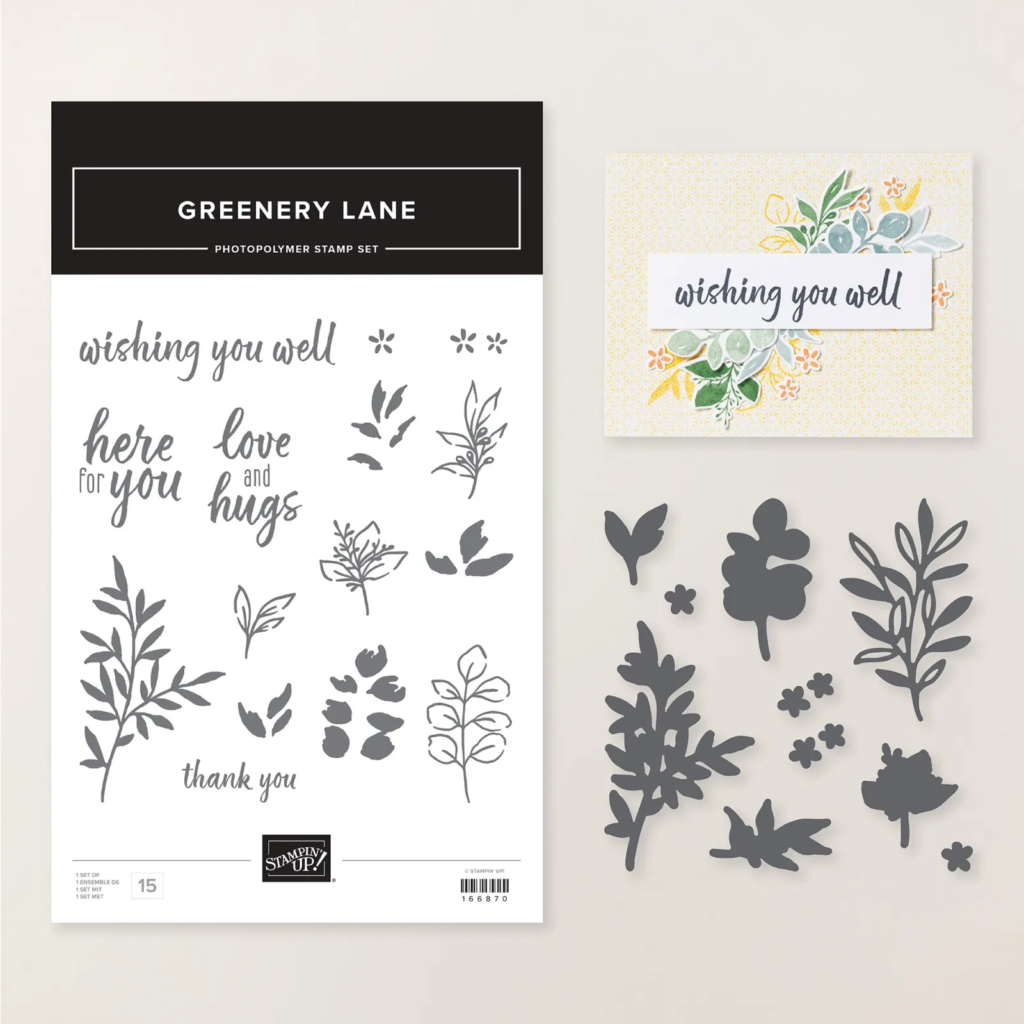
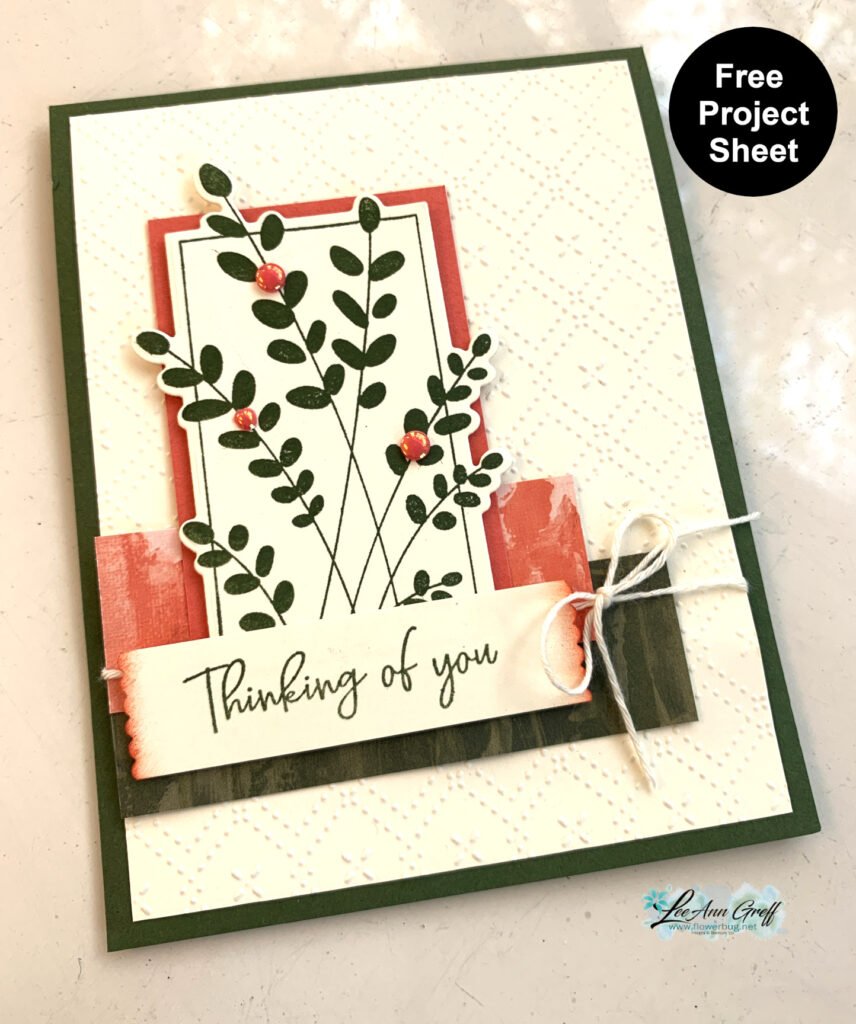
Can you spy some of the new products here? There are 4 of them…..
I’ll help you out…. One is the stamp & die bundle of course; it’s called Friendly Foliage. The other is the designer paper called Brushed with Beauty. Next is that pretty embossing folder called Pretty Patterns of course! Lastly is the gems.
I changed up the card above to use the other coordinating die in this bundle. It cuts out the center of the foliage.
And get the Starter kit here.*Choose your deal – $35 or $99 plus $90 in free products including free shipping, free Paper Pumpkin kit & free catalogs/business supplies!
~~~
All online orders from me will receive a beautiful PDF of projects featuring the Modern Christmas suite.
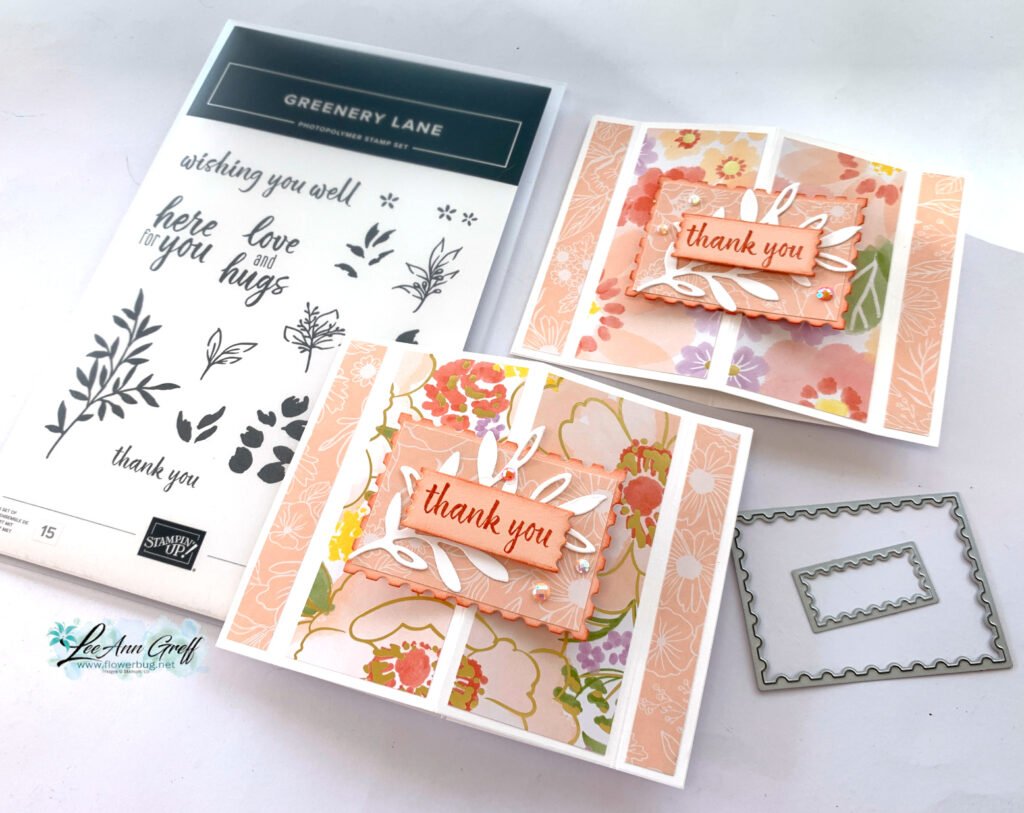
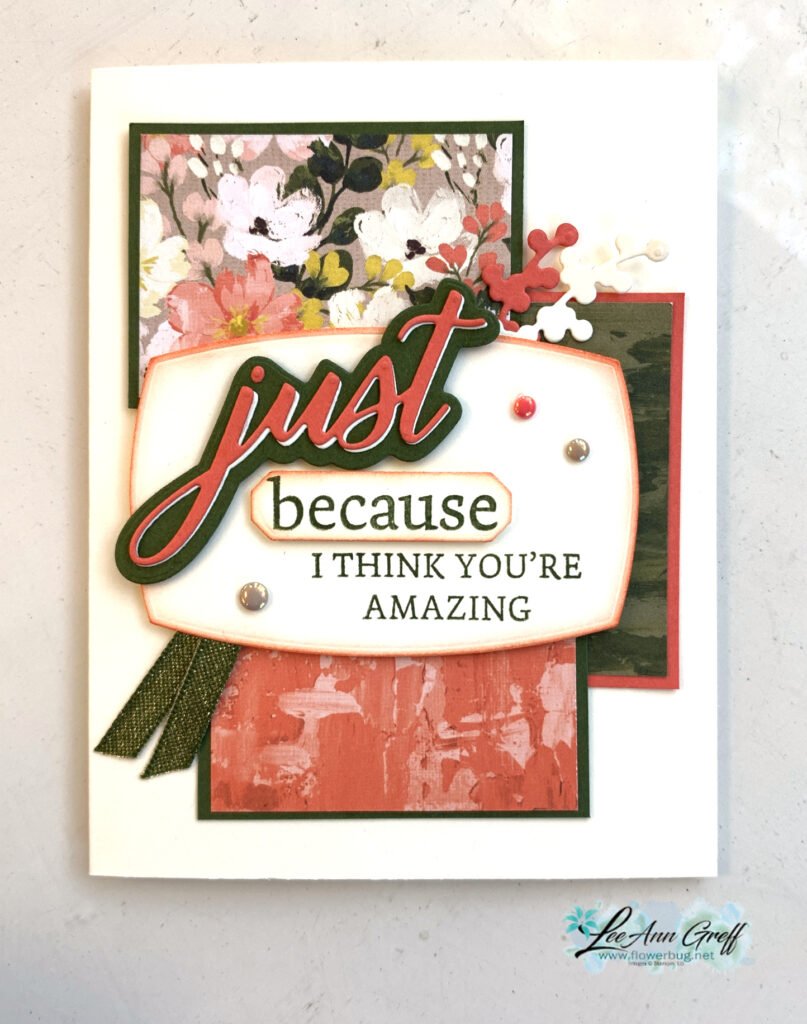
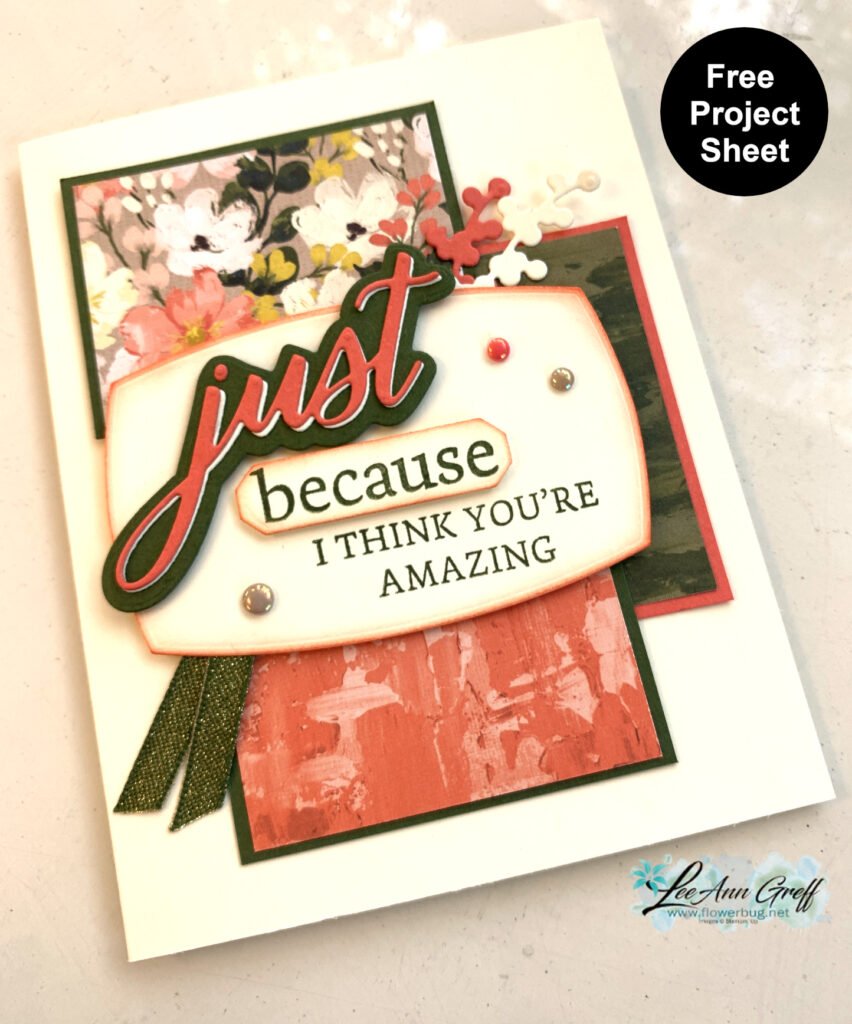
My colors include Very Vanilla, Mossy Meadow & Calypso Coral. The stamp & dies bundle is called Words of Beauty and is part of the Brushed with Beauty suite. Demonstrators (& new team members) are able to order it early but you can see and order these new products on November 4th. They’re part of our Online Exclusives – new products released every other month.
This layout was inspired by a sketch. Every month my Flowerbug’s have a creative challenge involving sketches or a color combo. This will be our November sketch inspiration. Sketches are a fabulous start to creating a card or scrapbook page. And they’re just an inspiration. As you can see I did not use a circle but the die from the Label Me Grateful dies seen here. I also flipped the center rectangle on it’s side.
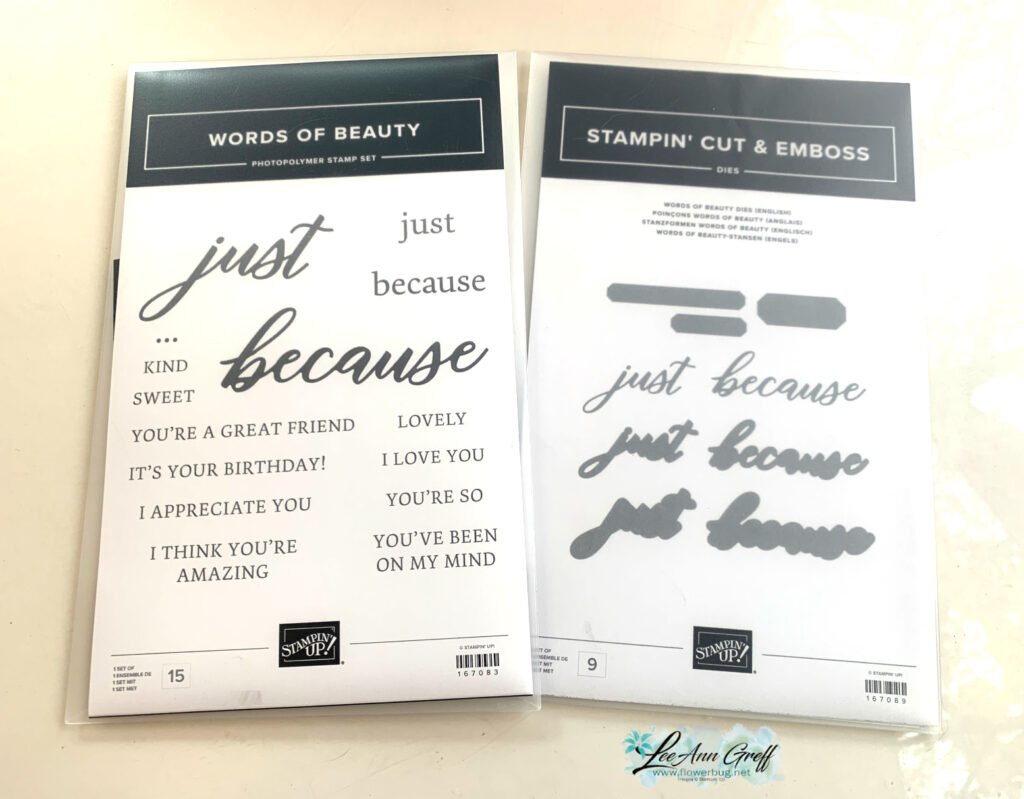
The Words of Beauty bundle will be a great option for greeting phrases. It includes two large sets of dies with the words ‘just’ and ‘because’ and then plenty of words to create your greeting. Plus the die I used with the word ‘because’ below is one of three in the package.
You’ll notice the new packaging in the photo below. All new stamps & dies will be in these envelopes. Also all new stamps will be clear photopolymer and not red rubber.
Here’s the free project sheet for this card; click here to print or download it. Did you know I have a category at the top of my blog where you can see lots of these? They’re great inspiration and include many fun fold cards.
And get the Starter kit here.*Choose your deal – $35 or $99 plus $90 in free products including free shipping, free Paper Pumpkin kit & free catalogs/business supplies!
~~~
All online orders from me will receive a beautiful PDF of projects featuring the Modern Christmas suite.
Notice: LeeAnn Greff, Independent Stampin’ Up! Demonstrator, Manager. The content of this website is my sole responsibility as an independent Stampin’ Up! demonstrator and the use of, and content of, the classes, services, or products offered on this website is not endorsed by Stampin’ Up! Copyright 2025


Leave a Reply