/


Latest Post

A Mystery Card Floating technique with the pretty Dainty Flowers


Every few months we have a Mystery Card challenge with my Flowerbug's Team.  I put together packets of papers and elements and send them to those who opt in. They have a month to make a project using the supplies in their 'Mystery' packet and of course there are prizes too.    

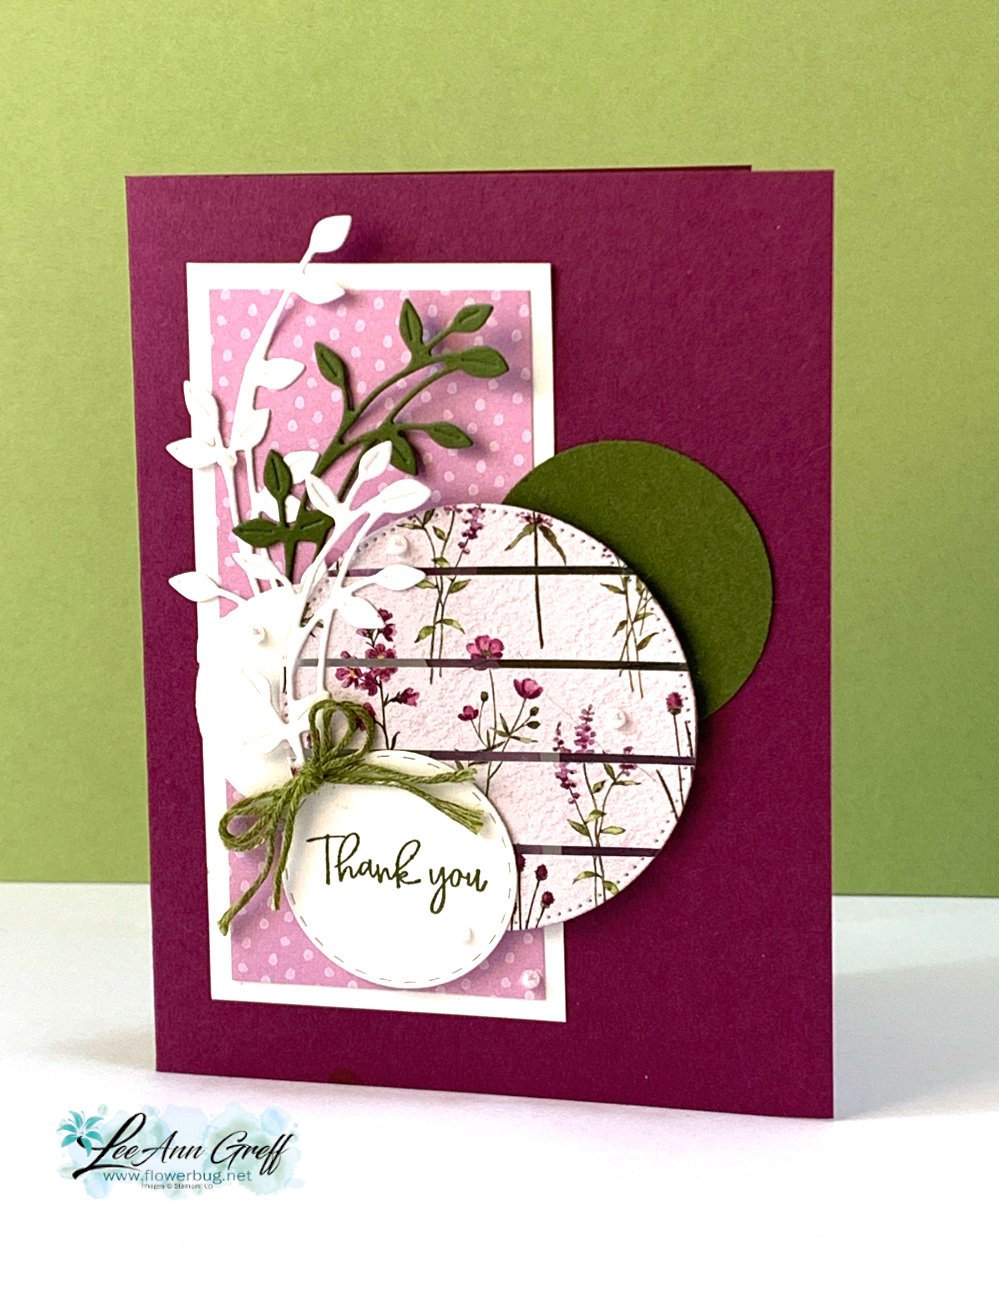
This month I featured papers from the Dainty Flowers designer paper from the Sale-a-Bration catalog.  Here's my card:
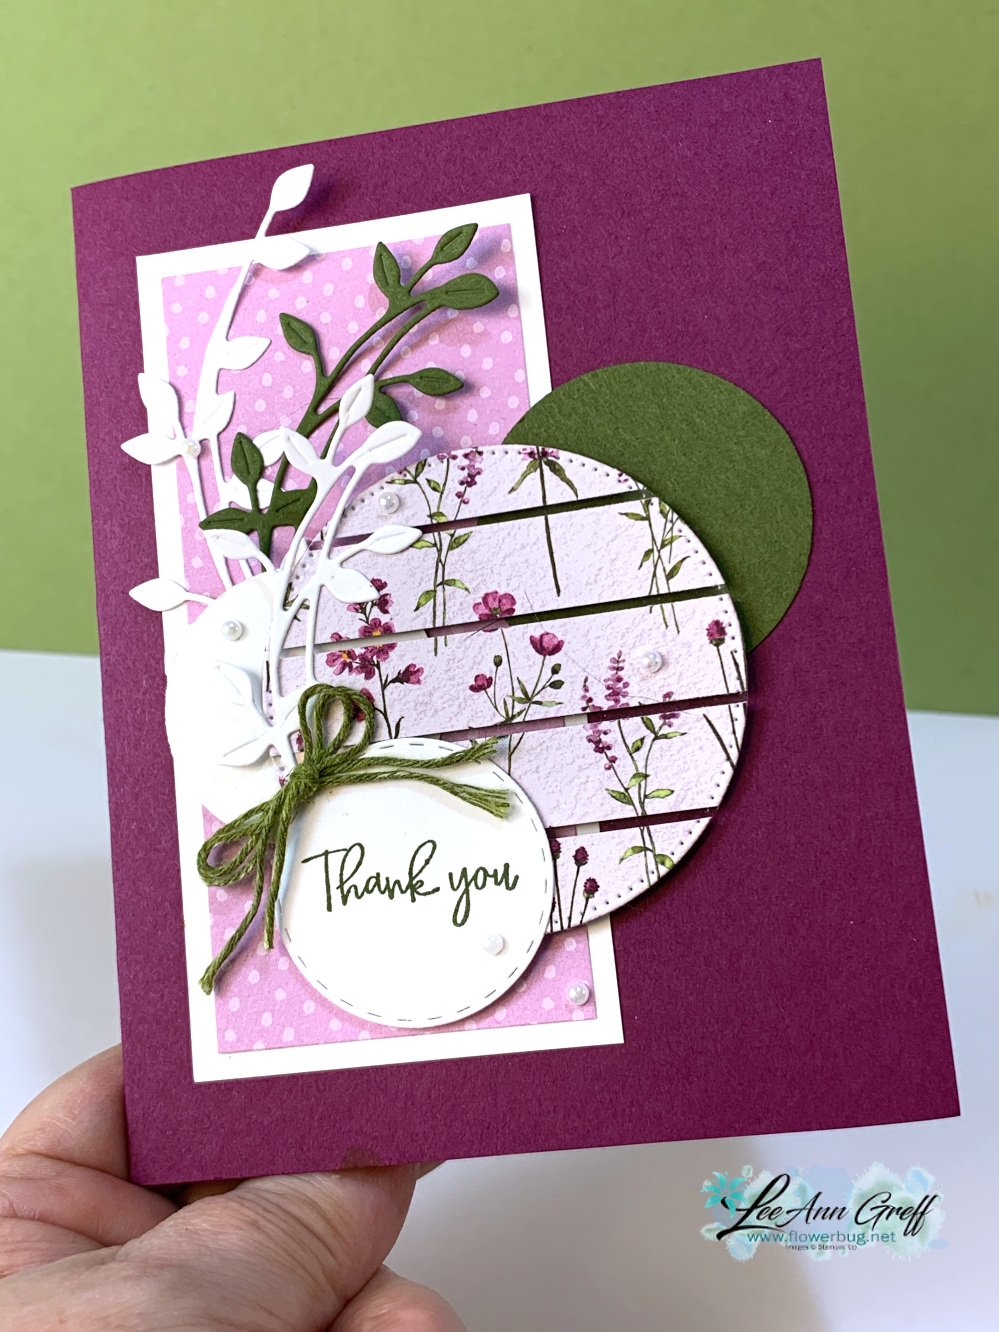
I had multiple pieces of the designer paper, pieces of Mossy Meadow, a white and Mossy circle and the Rich Razzleberry card base.  They could use as many or as few of the elements that they wanted or add extras too.  

Floating Technique: I cut one of my DSP layers into 1/2" strips and adhered them to a piece of window sheet.  Then I cut it out with a stitched circle die from the Stylish Shapes dies.  

It's such a unique & unexpected element to a card.  I added some die-cuts from the Dainty Delight dies too.  
Measurements:

  • Rich Razzleberry card base 5 1/2" X 8 1/2" 
  • DSP 2" X 4 1/4", circle element is 2 1/2"
  • White layer 2 1/4" X 4 1/2" 

~~~

February specials:
February Host code links:

  CNV2VCBT or 7EUM6NB9 or N9YXCDAD 

Get free Pastel Sequins with online orders over $55 when using the host code above!

 Earn free products with my loyalty rewards! 
Click here to download yours and earn a $50 shopping spree!

~~~

Best Deal Ever on the Starter kit here!

Choose $175 in products for just $129 plus the new mini machine!

Or choose $175 for $99 without a new Mini.  AMAZING!

All Posts

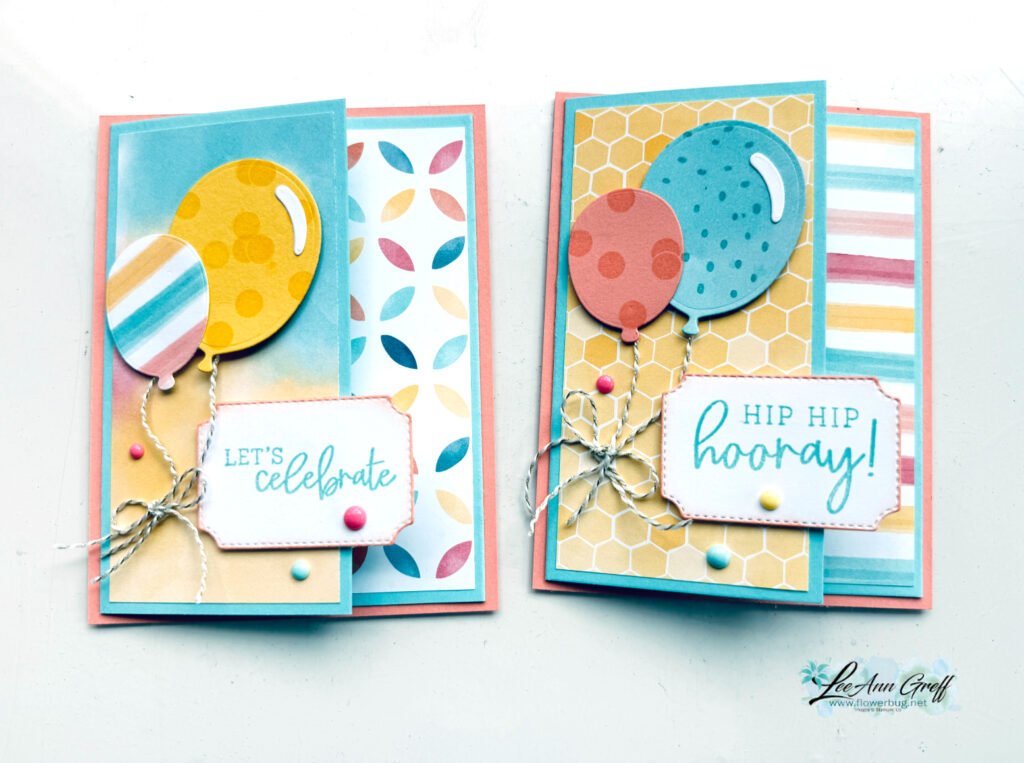
  • Balloon Festoon surprise slider card with video tutorial


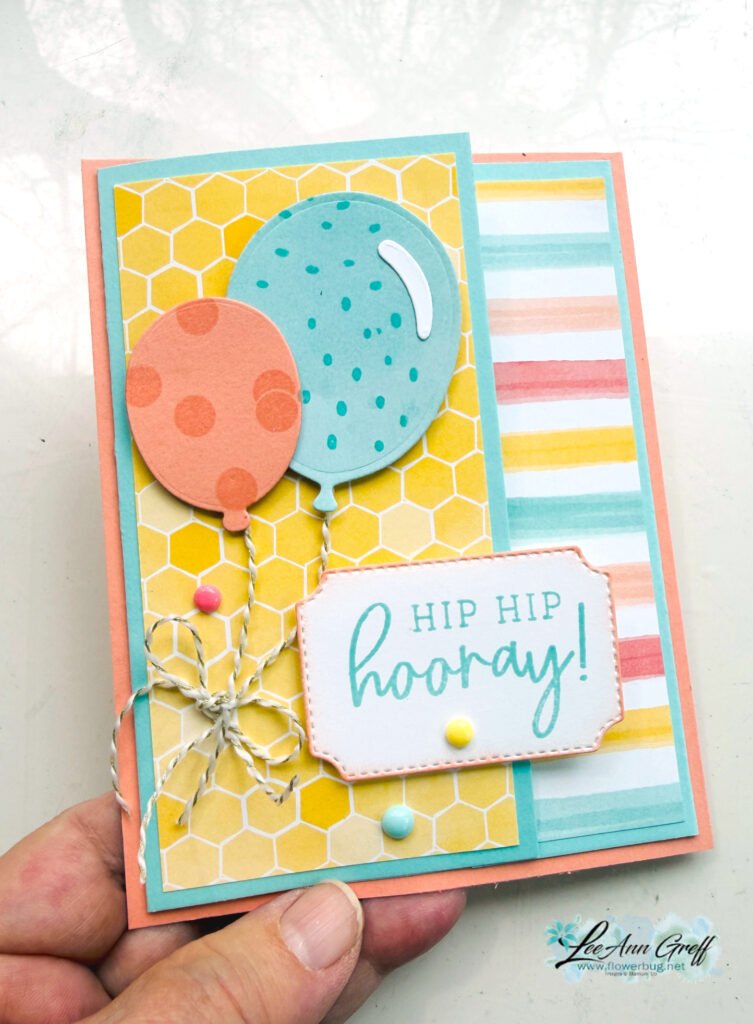
    I shared this CUTE card on last week’s Live video. We made it at my May card clubs:

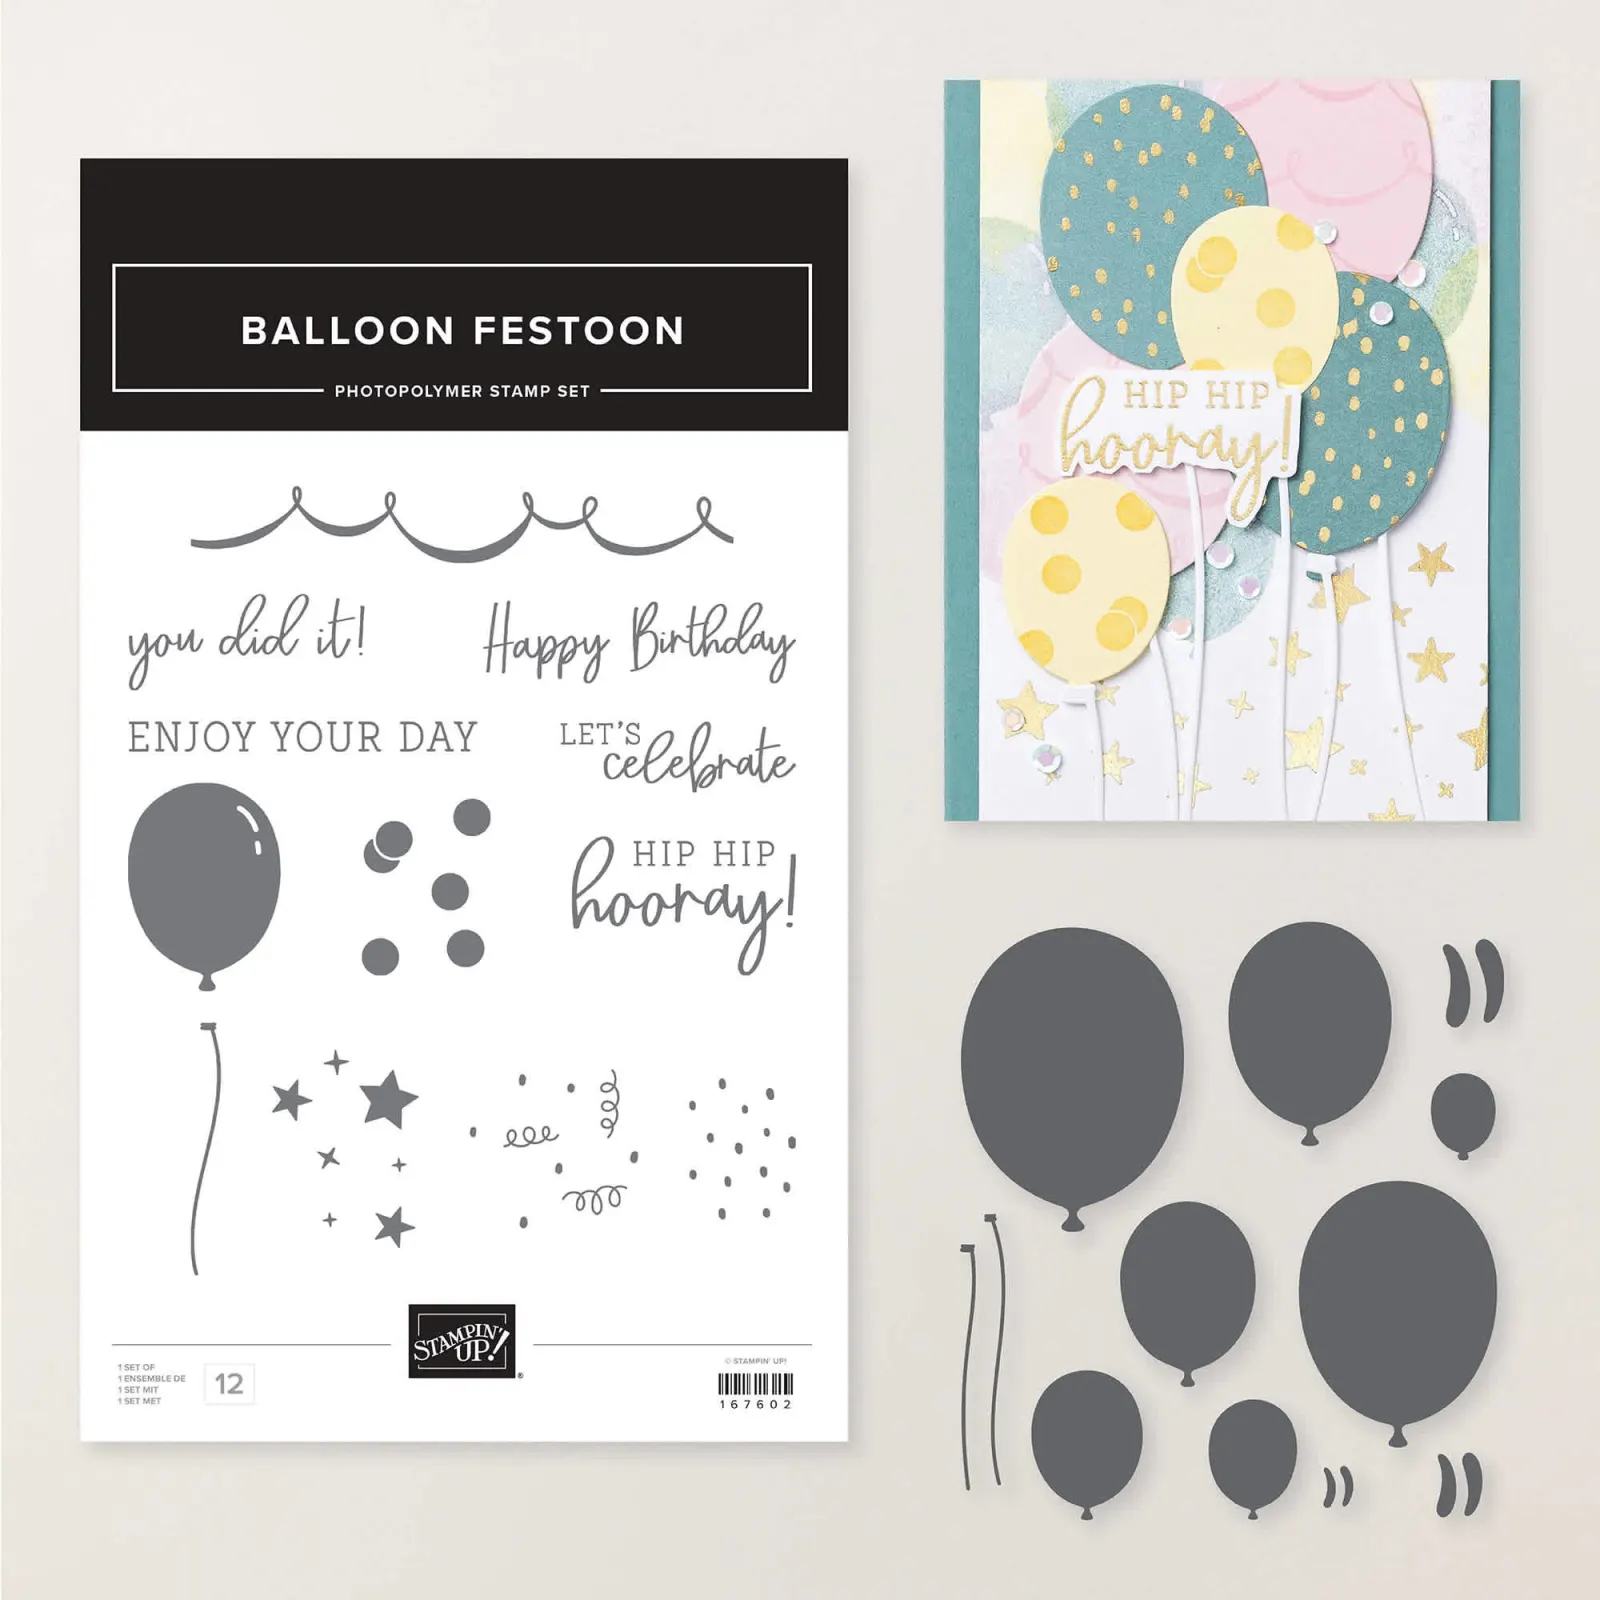
    It features the Balloon Festoon bundle seen here and the Beautiful Ordinary Life designer series paper. Both are in the 2026 May – August catalog by Stampin’ Up! They pair up wonderfully together!

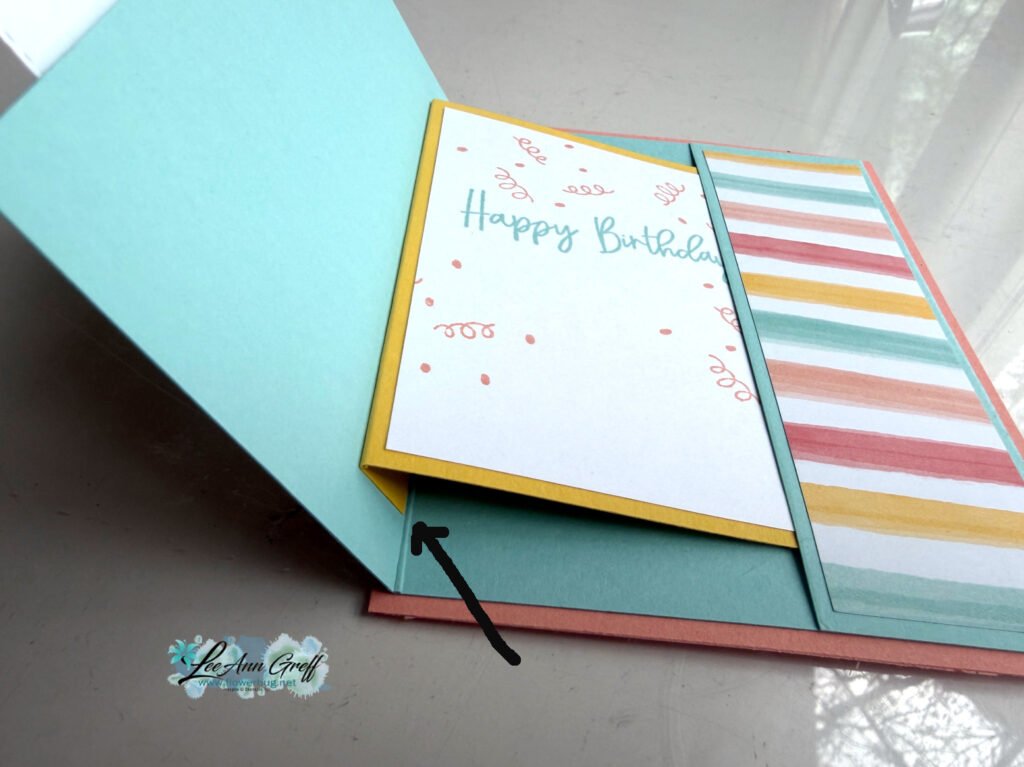
    It might look like a simple fun fold card but look how it opens:

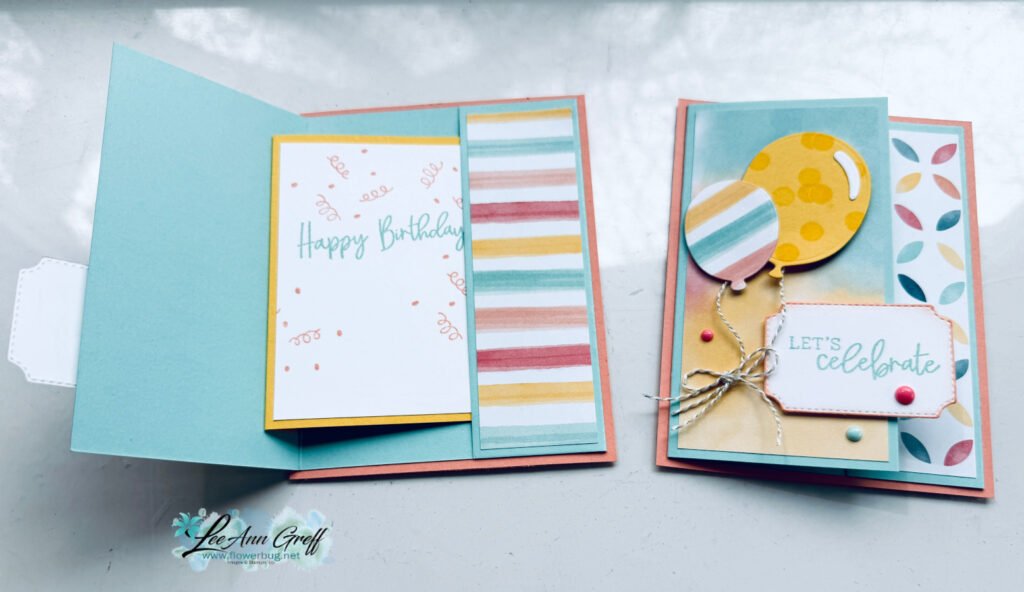
    The inside greeting layer slides out when you open the front of the card. It’s super easy! Watch the video below to see my tips & tricks on this card fold.

    My colors include Pool Party, Crisp Cantaloupe, White & Daffodil Delight. I used the colors in the Beautiful Ordinary Life DSP as a guide.

    Here’s the free project sheet for this card; click here. Feel free to download it to print or save in your files for later.

    Below is the video tutorial; I hope you watch it! There’s a second card I share as well; I’ll feature that project in tomorrow’s post.

    June Specials:

    Leave a Reply

    Your email address will not be published. Required fields are marked *

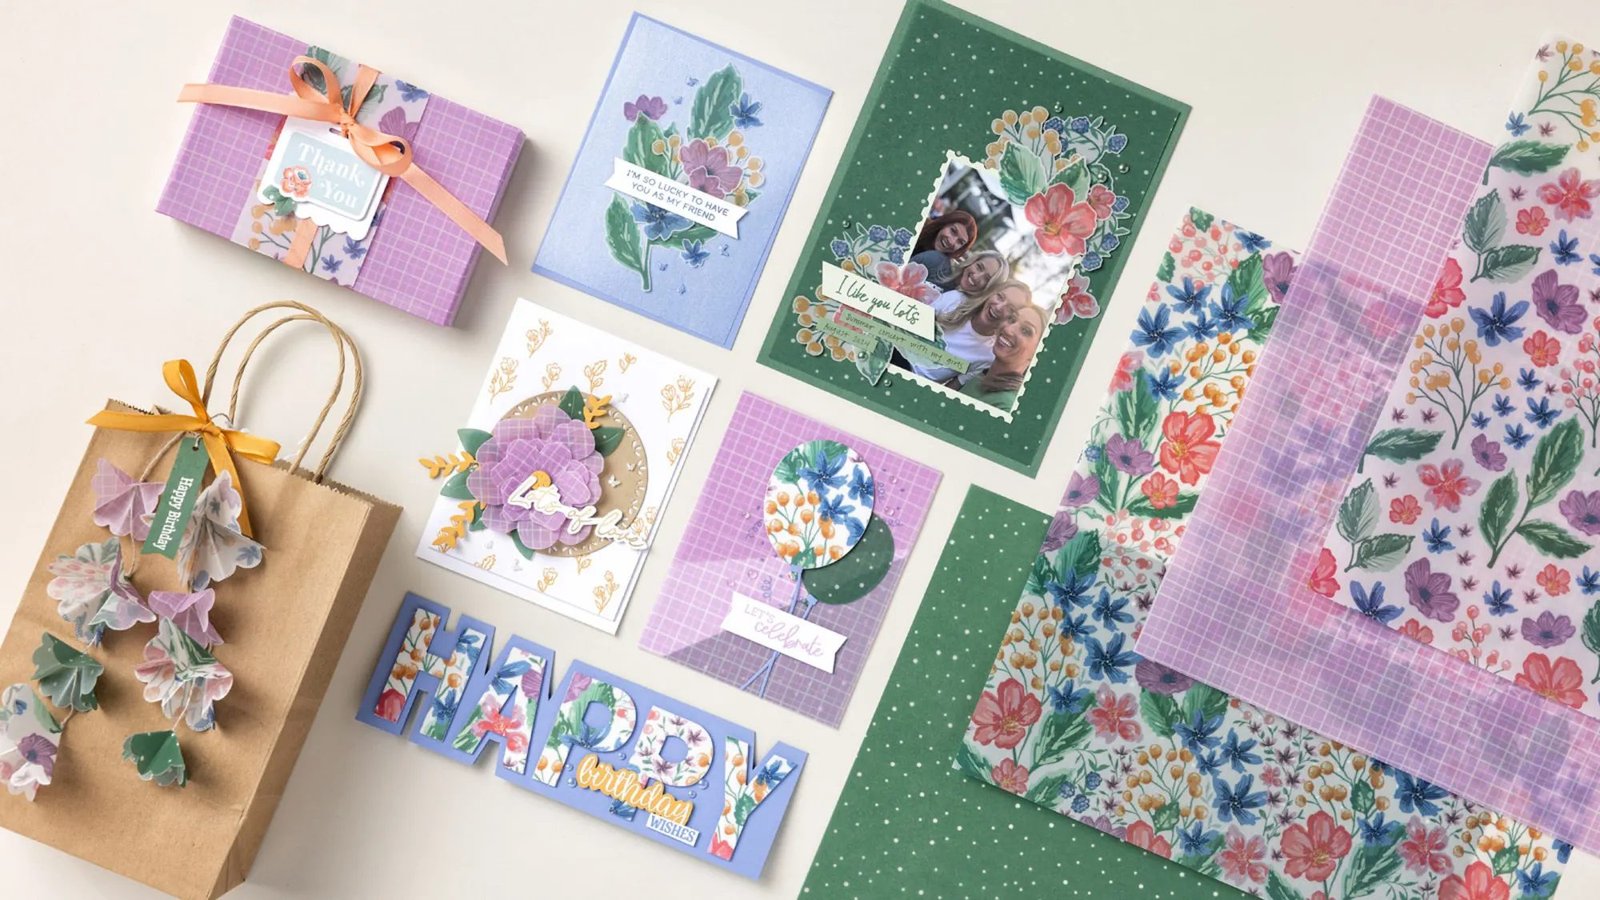
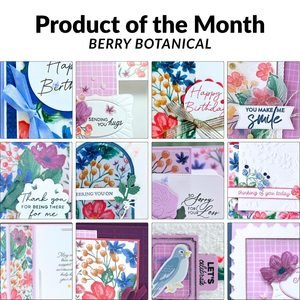
  • Beautiful Berry Botanical Vellum; it’s our Product of the Month and just $5!


    May is ending in a few days. Have you seen the beautiful Berry Botanical Vellum yet? It’s the May POM – Product of the Month.

    You can redeem this pretty vellum paper once your order hits the $75 mark. And when you order it from me you’ll receive a nice big PDF tutorial filled with a bunch of special cards featuring this vellum paper. *see the sneak peek below

    See this specialty paper here.

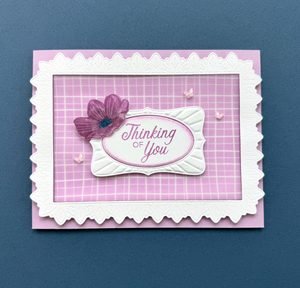
    Here’s a pretty card I made with it:

    I chose to feature the Fresh Freesia vellum from the pack with the Phrases & Frames bundle seen here. It’s one of our newest set of Impression dies. They give a super deep impression when used with our new Impression plate seen here.

    ~~~

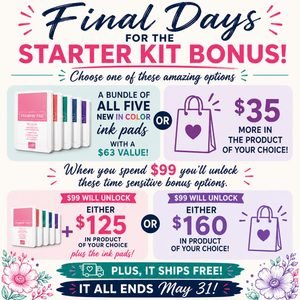
    Don’t forget to consider the Starter Kit Deal in May; time is almost up!

    You’ll get either all 5 new Magnetic ink pads or an extra $35 in product of your choice; all for $99!

    Leave a Reply

    Your email address will not be published. Required fields are marked *

  • Cool technique for a background made with our new shimmer brushes


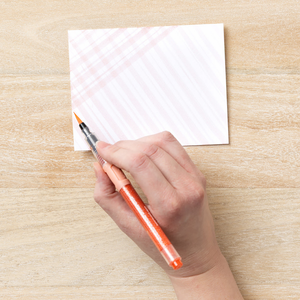
    Take your new Shimmer Brushes for a test drive with this darling DIY background idea. Stampin’ Up! posted this card idea; what a super neat plaid background!

    Here’s how you do it:

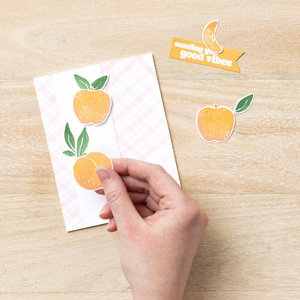
    Step 1: Draw diagonal lines on Basic White Cardstock using the Barely Blush Shimmer Brush. (Use the Clear Block F as a guide.) Apply light pressure to create fine lines; increase pressure for thicker lines.

     Step 2: Rotate your cardstock and (using the Clear Block F) draw additional lines to create a plaid pattern.

     Step 3: Decorate your sparkling background with images, sentiments, and embellishments, then adhere the finished piece to the card base.

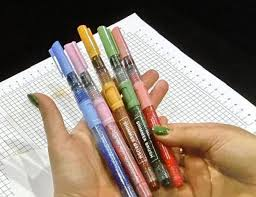
    We now have 5 colors of these Shimmer Brushes in each of our new In Colors. See them all here.

    I hope this technique inspires you to try it. I think you could also do it with our Wink of Stella on any color CS.

    I have one Mystery Box left!
    Place an order over $100 to grab it before it’s gone.
    Message me before you order to be sure it’s still available.

    Don’t forget to consider the Starter Kit Deal in May; time is almost up!

    You’ll get either all 5 new Magnetic ink pads or an extra $35 in product of your choice; all for $99!

    Leave a Reply

    Your email address will not be published. Required fields are marked *


Notice: LeeAnn Greff, Independent Stampin’ Up! Demonstrator, Manager. The content of this website is my sole responsibility as an independent Stampin’ Up! demonstrator and the use of, and content of, the classes, services, or products offered on this website is not endorsed by Stampin’ Up! Copyright 2025