/


Latest Post

A fun way to add color to the Happy Place stamp with video tutorial


I shared how to add color to the large ‘Happy’ from the Happy Place stamp set on last week’s Live video. What do you think?

We made this cute card at my September card clubs. The colors include Lost Lagoon, Calypso Coral & White. You might wonder how I achieved the two-toned inking on the Happy image. I used inks – Lost Lagoon for the water and Calypso Coral for the sky. For this sample I used large ink pads. But for my Clubs we used smaller ink spots. It was a lot easier this way!

You might also wonder where I got the rectangle Perennial Postage die shape. I had to die-cut a larger rectangle twice to get this size. It was pretty easy and I share how in the video below.

We textured the Lost Lagoon layer with the Wave 3D embossing folder and the curvy leaf dies are from the Label Me Grateful dies seen here. I love them! The inside greeting is from the With You in Mind stamp set.

It’s an easy fold that shows off the inside of the card and the designer paper we added. This DSP is the Subtles 6″ designer paper which has some great patterns.

I really enjoyed playing with this fun stamp set. I’ll share another project from the video tomorrow. See the Happy Place set here.

I created a free project sheet for you with measurements, photos, directions and a supply list with links. Click on this link to print or download it.

Below is the video tutorial for this card and one more. Don’t forget to subscribe to my YouTube Channel while you’re there!

~~~

  To see all of the new Online items click here.  Or download & save the Download Online Exclusives flyer 

Get a free project tutorial with any online order in September! 

All Posts

  • More fabulous Flowerbug’s Christmas cards


    I shared some of my Team Christmas card swaps yesterday here.  And today there's more beauties; all made with stamps from the 2021 Holiday Stampin' Up! catalog.

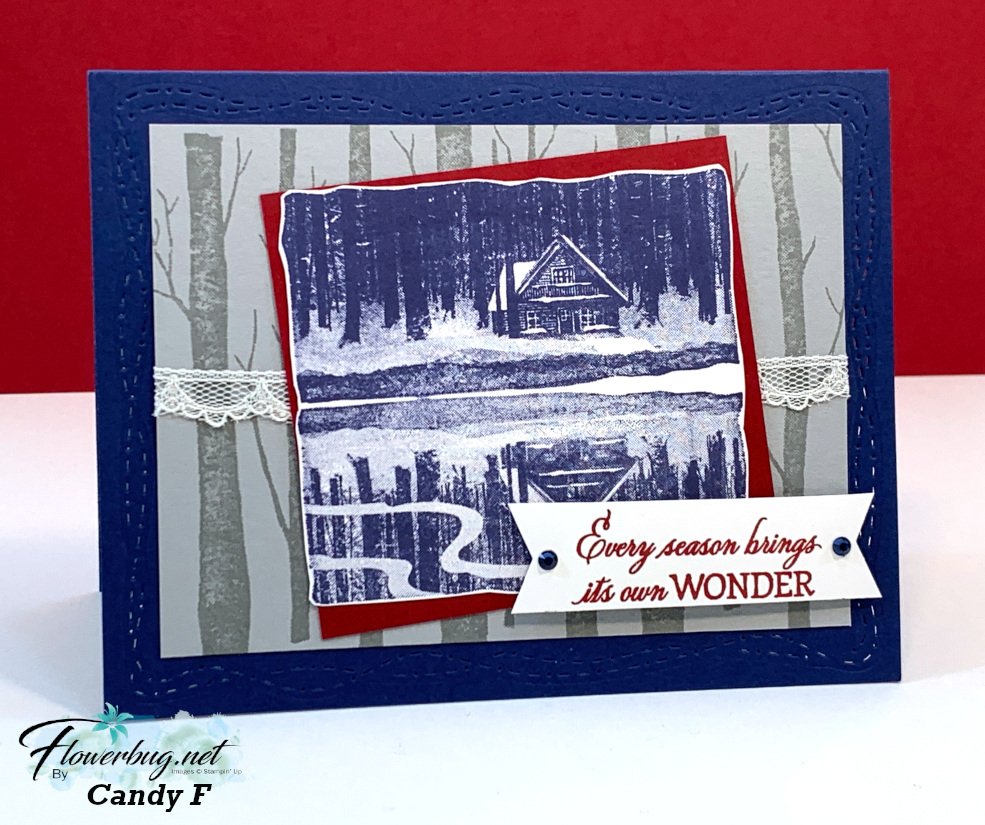
    this first card was made by Candy using the Reflected in Nature stamp set & Welcoming Woods.  I LOVE her colors of Navy, Cherry Cobbler, White & Smoky Slate.  A gorgeous card!

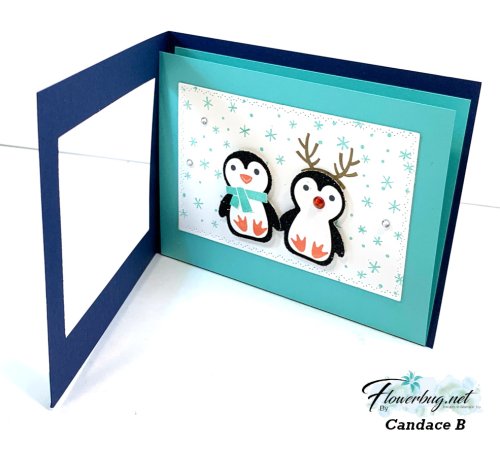
    Next is a super neat fun-fold window card made by Candace.  She used the Penguin Place bundle in Navy, Coastal Cabana, White & Black. The penguins are extra special punched from Black glimmer paper. 

    At first glance it looks like a regular card front.  But wait…. look!

    She cut a window on the front using our Stitched Rectangle dies revealing the cute penguin layer inside.  They're actually attached to a second card base inside that flips down. 

    She used the Whimsy dies to add a stitched border to each inside layer. Love this detail. 

    Isn't it cool?!  

    Measurements:

    • Navy card base 4 1/4" X 11" scored at 5 1/2"
    • Coastal Cabana inside card base 5 1/4" X 8" scored at 4"
    • White pieces 4 3/8" X 2 7/8", Navy layer is also 4 3/8" X 2 7/8" inside

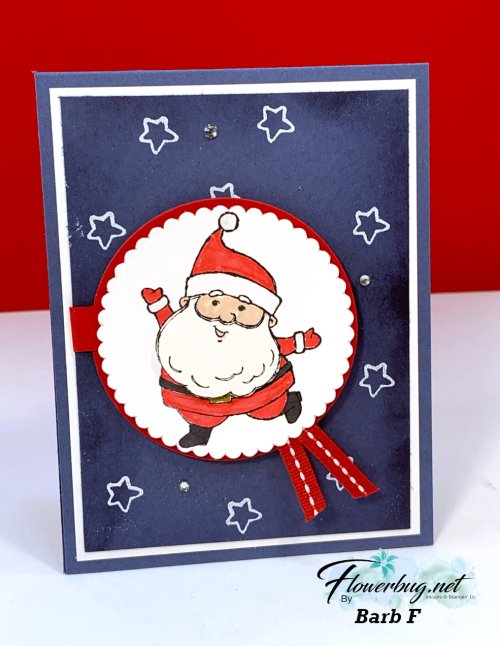
    Barb made this unique card using the Be Jolly stamp set.  Her colors are Misty Moonlight, Red & White.  

    She heat embossed the stars on the front layer with White embossing powder. She also sponged the edge.  She used our Layering Circle dies for her Santa.  But look how it flips open to reveal a greeting!

    Such a fun surprise and it's just a 1/2" flap hidden under the front layers.  So smart! 

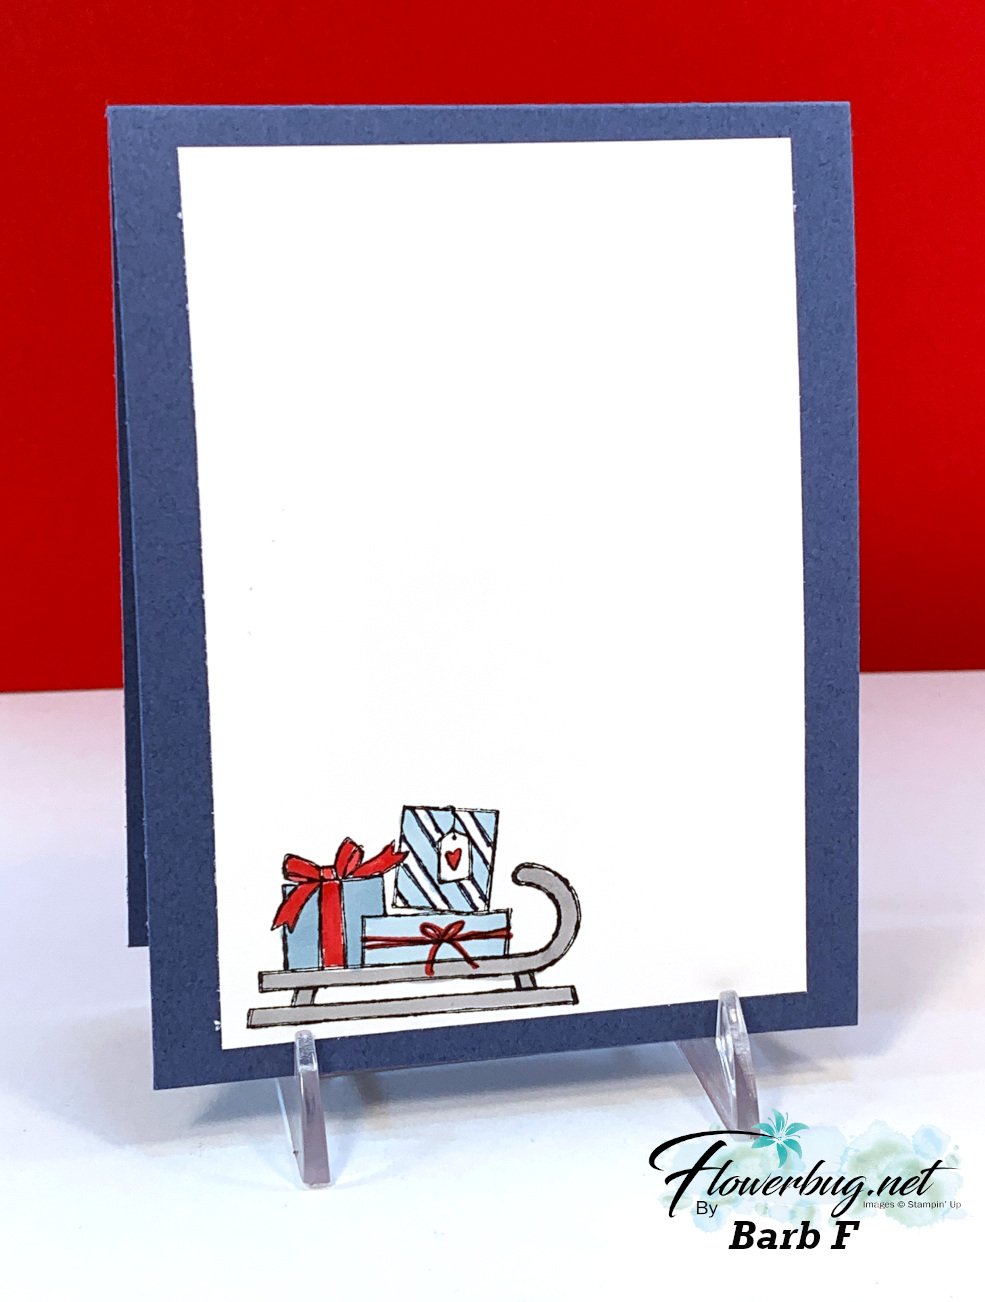
    Here's the inside view: 

    I love sharing what my Flowerbug's Team make; they're fabulous stampers! 

    ~~~

    October Specials

    Host code: EXBDBRGY

    *click here to order

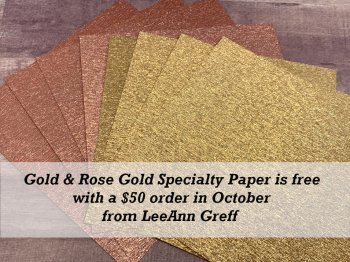
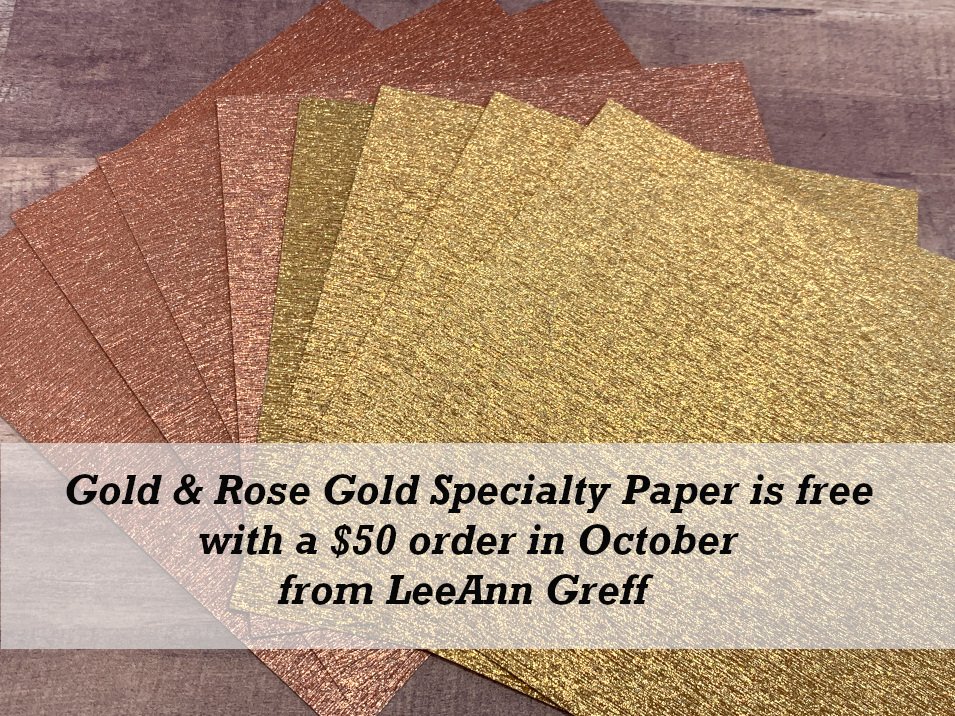
    Get a free package of Gold & Rose Gold Metallic specialty paper from me with a $50 online order in October! 
    All online orders will receive my October Gingerbread & Peppermint PDF tutorial free! 


    Leave a Reply

    Your email address will not be published. Required fields are marked *

  • Christmas card swaps!


    I love sharing the cards my Flowerbug's make for our Team swaps.  We had a great turnout for the October meeting and swap. 

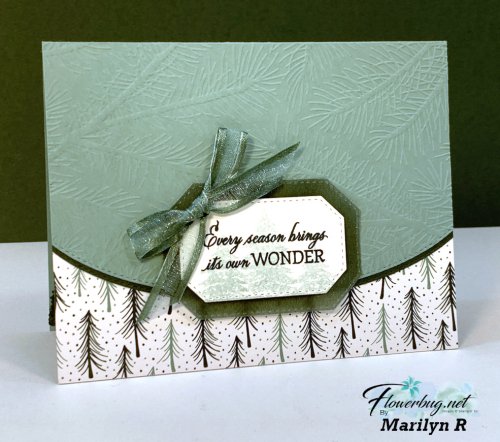
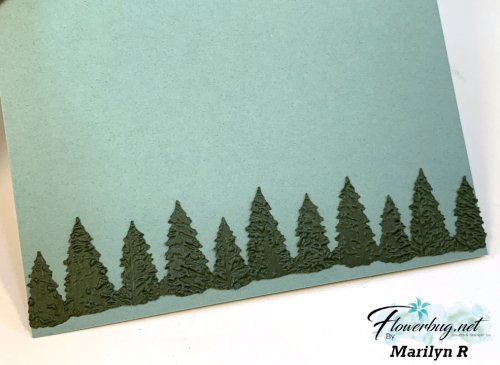
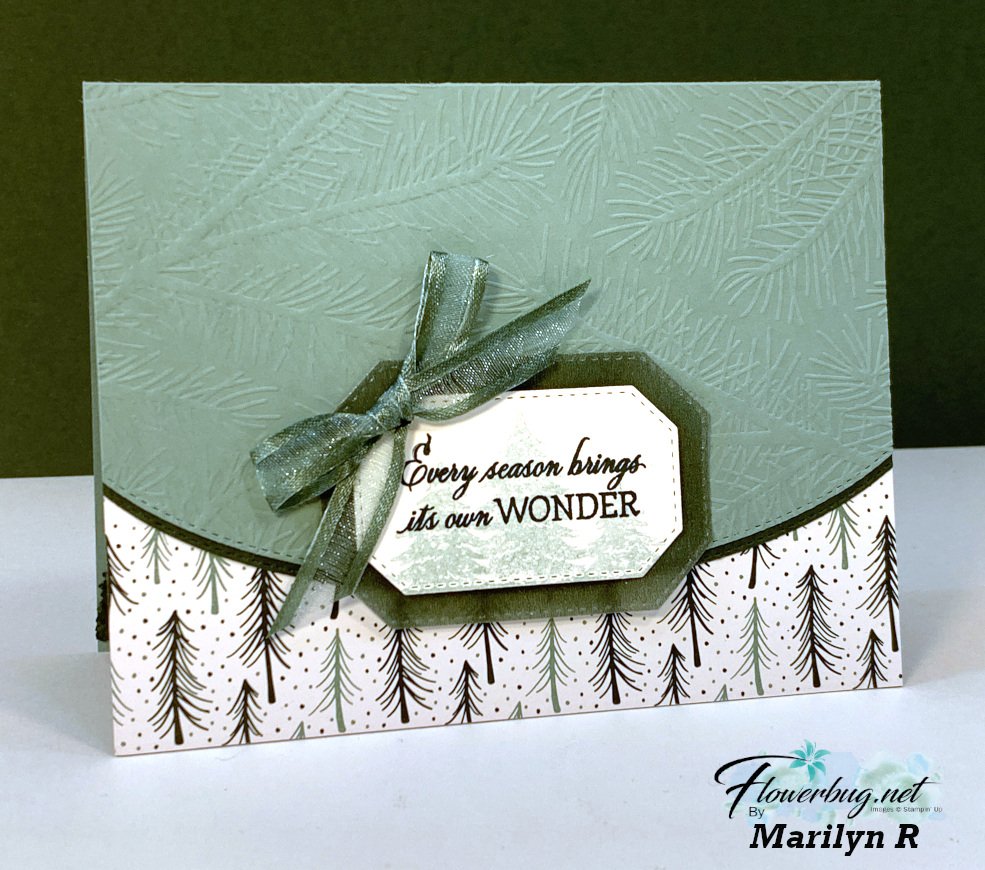
    Marilyn made this first card using the Welcoming Woods stamp set.  Her colors are Soft Succulent, White & Evening Evergreen.

    Products used are all from the 2021-22 Annual Stampin' Up! catalog:

    • Wintry 3D embossing pair seen here
    • Hippo & Basic Border dies
    • Tidings of Christmas 6 X 6" DSP 
    • 2021-23 In Color Shimmer Vellum
    • Soft Succulent ribbon

    And here's the inside. She punched a strip of Evening Evergreen CS with the Evergreen Border punch and then textured it with the Evergreen Forest 3D embossing folder! 
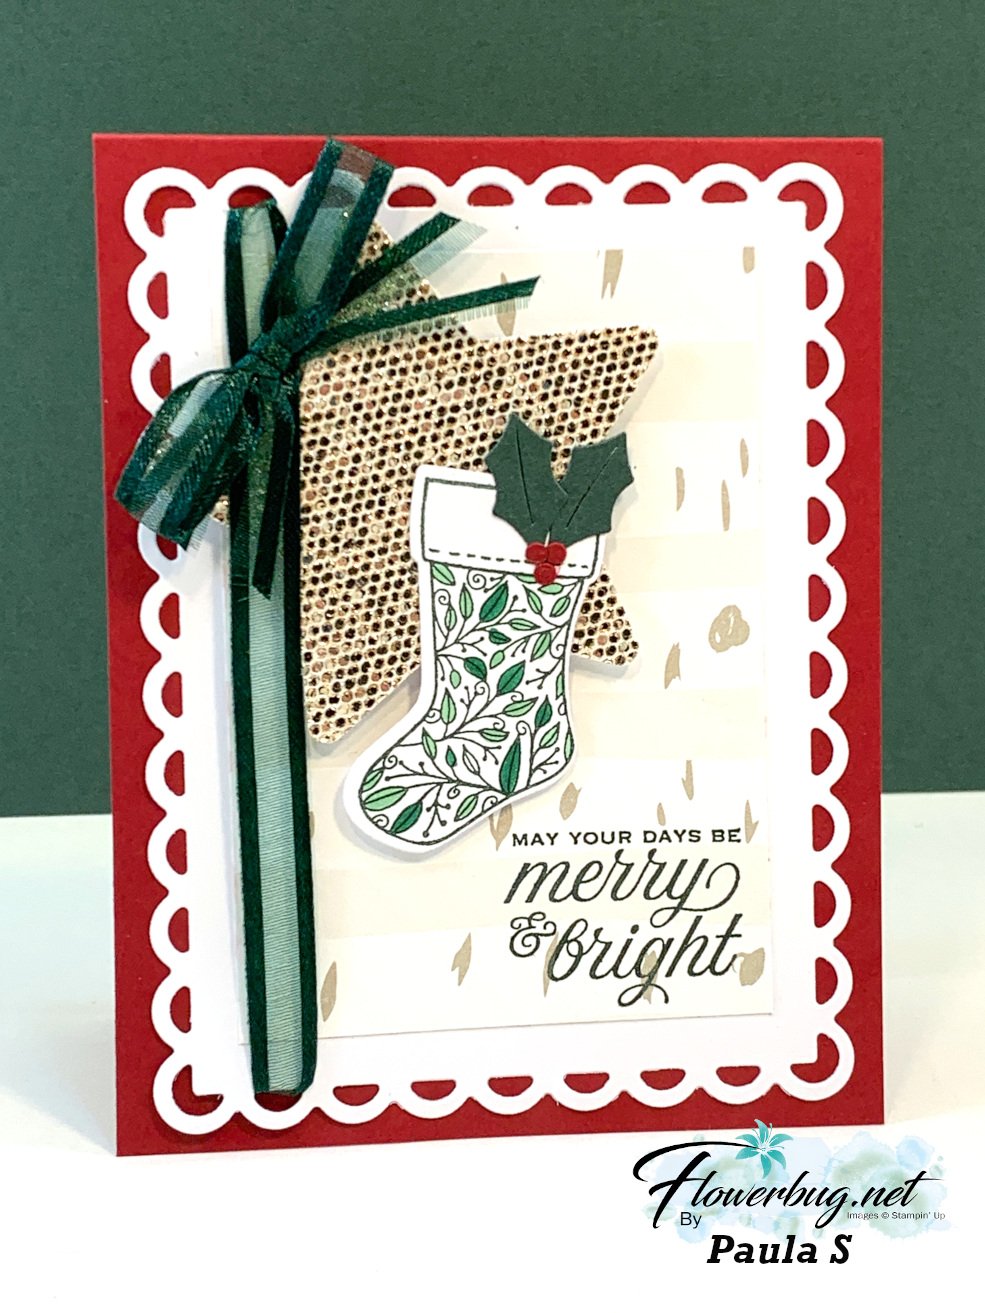
    Next is a card made by Paula featuring the Tidings & Trimmings bundle in the Annual catalog.  

    Her colors include Real Red, Evening Evergreen & White. The star is cut from the Be Dazzling specialty paper in the previous Sale-a-Bration catalog. 

    I love how she wove the ribbon through the scalloped openings in the die-cut.  This die is from the Scalloped Contour dies seen here. 

    ~~~

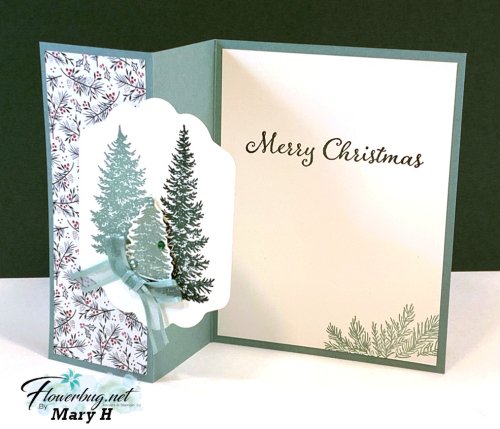
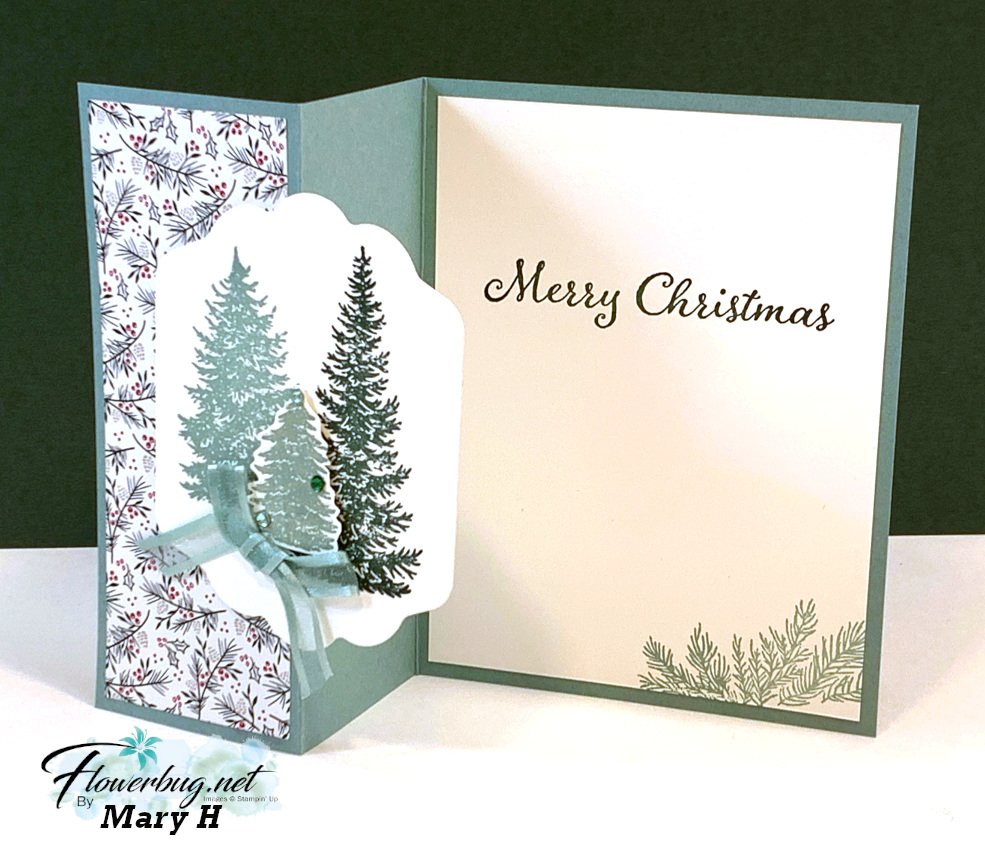
    Next is a pretty card made by Mary featuring the Evergreen Elegance stamp set; also in the Annual Catalog.  

    It's a fun fold card where you fold back the front flap of the card.  

    The designer paper is also the Tidings of Christmas and that nice large White die-cut is from the Seasonal Labels dies seen here.  They coordinate with the wonderful Christmas Season stamp set. 

    ~~~

    October Specials

    Host code: EXBDBRGY

    *click here to order

    Get a free package of Gold & Rose Gold Metallic specialty paper from me with a $50 online order in October! 

    All online orders will receive my October Gingerbread & Peppermint PDF tutorial free! 
     

    Leave a Reply

    Your email address will not be published. Required fields are marked *

  • Nature’s Harvest card with embossed vellum


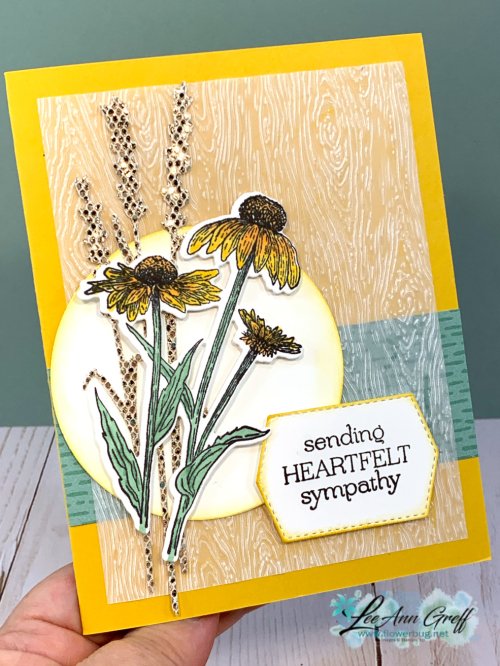
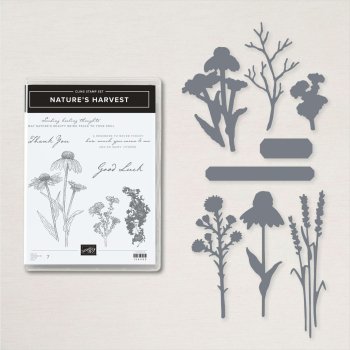
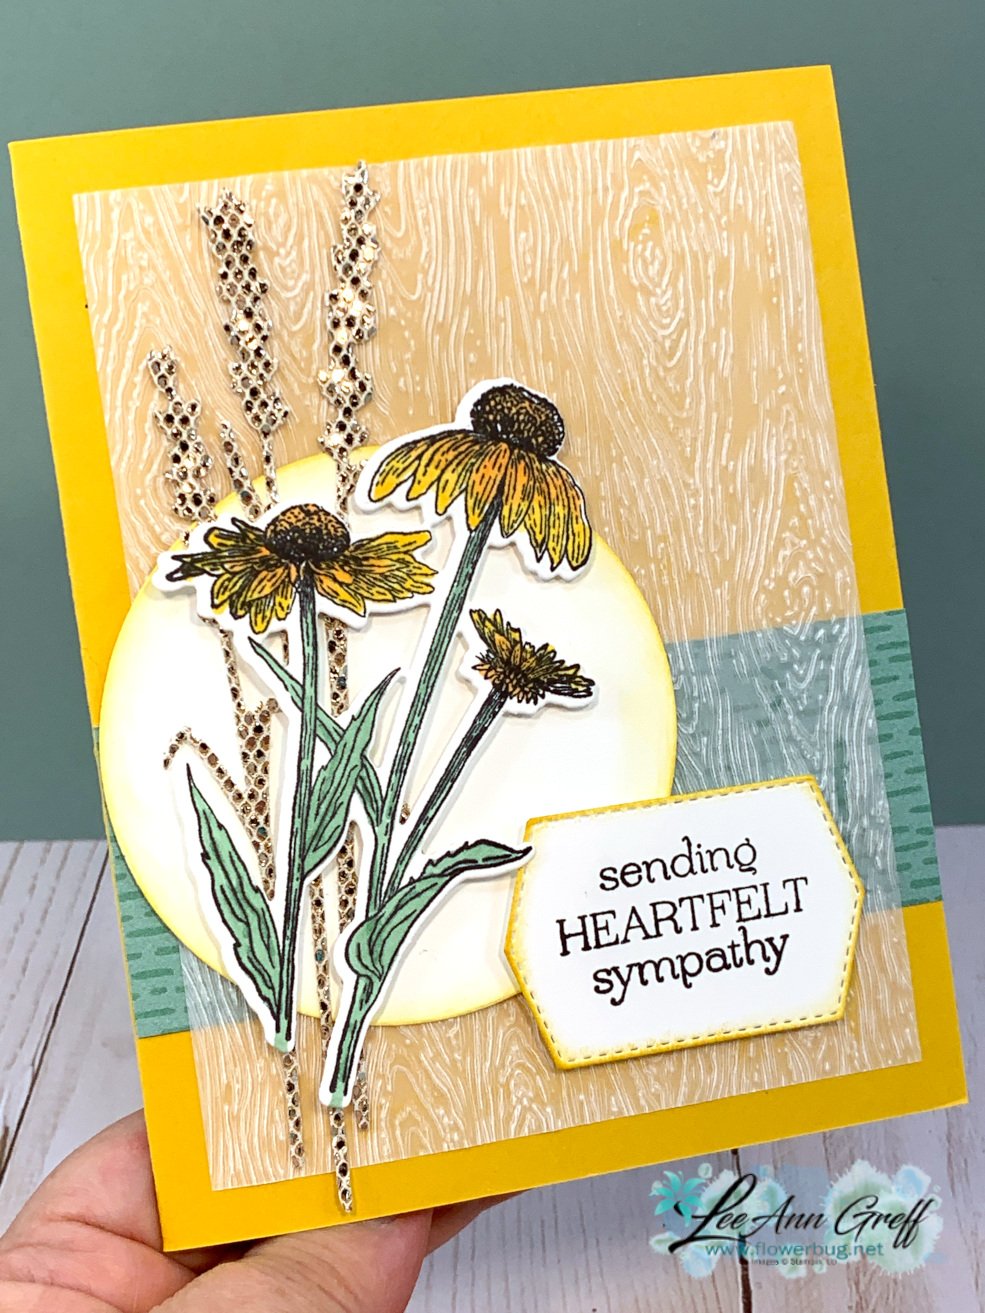
    I just realized I hadn't shared this pretty card we made in September at my Card Clubs.  It features the Nature's Harvest bundle seen here in the 2021 Stampin' Up! Holiday catalog. 

    The colors include Bumblebee, Just Jade, White, Gold & Vellum. When I use vellum I always think 'Why don't I use it more?'  It can be the perfect layer without adding 'too much'. 

    Details:

    • The Vellum card stock is embossed with the Timber 3D embossing folder.
    • The coneflowers are colored with Stampin' Blends markers. 
    • That glitzy wheat stalk is part of the Harvest dies and from the Be Dazzling specialty paper that was available during Sale-a-Bration. 
    • The greeting is from the Delicate Dahlias (Sale-a-Bration) stamp set on a Tasteful Label die-cut 


    Measurements:

    • Bumblebee card stock 5 1/2" X 8 1/2" scored at 4 1/4"
      • Vellum CS 3 3/4" X 5"
      • White scraps for circle, greeting and flower
      • Be Dazzling paper scrap for stems
      • Penguin Playmates DSP 1 1/2" X 4 1/4"

    And here's the video!  

    ~~~

    October Specials

    Host code: EXBDBRGY

    *click here to order

    Get a free package of Gold & Rose Gold Metallic specialty paper from me with a $50 online order in October! 

    All online orders will receive my October Gingerbread & Peppermint PDF tutorial free! 


    Leave a Reply

    Your email address will not be published. Required fields are marked *


Notice: LeeAnn Greff, Independent Stampin’ Up! Demonstrator, Manager. The content of this website is my sole responsibility as an independent Stampin’ Up! demonstrator and the use of, and content of, the classes, services, or products offered on this website is not endorsed by Stampin’ Up! Copyright 2025