/


Latest Post

A fun way to add color to the Happy Place stamp with video tutorial


I shared how to add color to the large ‘Happy’ from the Happy Place stamp set on last week’s Live video. What do you think?

We made this cute card at my September card clubs. The colors include Lost Lagoon, Calypso Coral & White. You might wonder how I achieved the two-toned inking on the Happy image. I used inks – Lost Lagoon for the water and Calypso Coral for the sky. For this sample I used large ink pads. But for my Clubs we used smaller ink spots. It was a lot easier this way!

You might also wonder where I got the rectangle Perennial Postage die shape. I had to die-cut a larger rectangle twice to get this size. It was pretty easy and I share how in the video below.

We textured the Lost Lagoon layer with the Wave 3D embossing folder and the curvy leaf dies are from the Label Me Grateful dies seen here. I love them! The inside greeting is from the With You in Mind stamp set.

It’s an easy fold that shows off the inside of the card and the designer paper we added. This DSP is the Subtles 6″ designer paper which has some great patterns.

I really enjoyed playing with this fun stamp set. I’ll share another project from the video tomorrow. See the Happy Place set here.

I created a free project sheet for you with measurements, photos, directions and a supply list with links. Click on this link to print or download it.

Below is the video tutorial for this card and one more. Don’t forget to subscribe to my YouTube Channel while you’re there!

~~~

  To see all of the new Online items click here.  Or download & save the Download Online Exclusives flyer 

Get a free project tutorial with any online order in September! 
All Posts

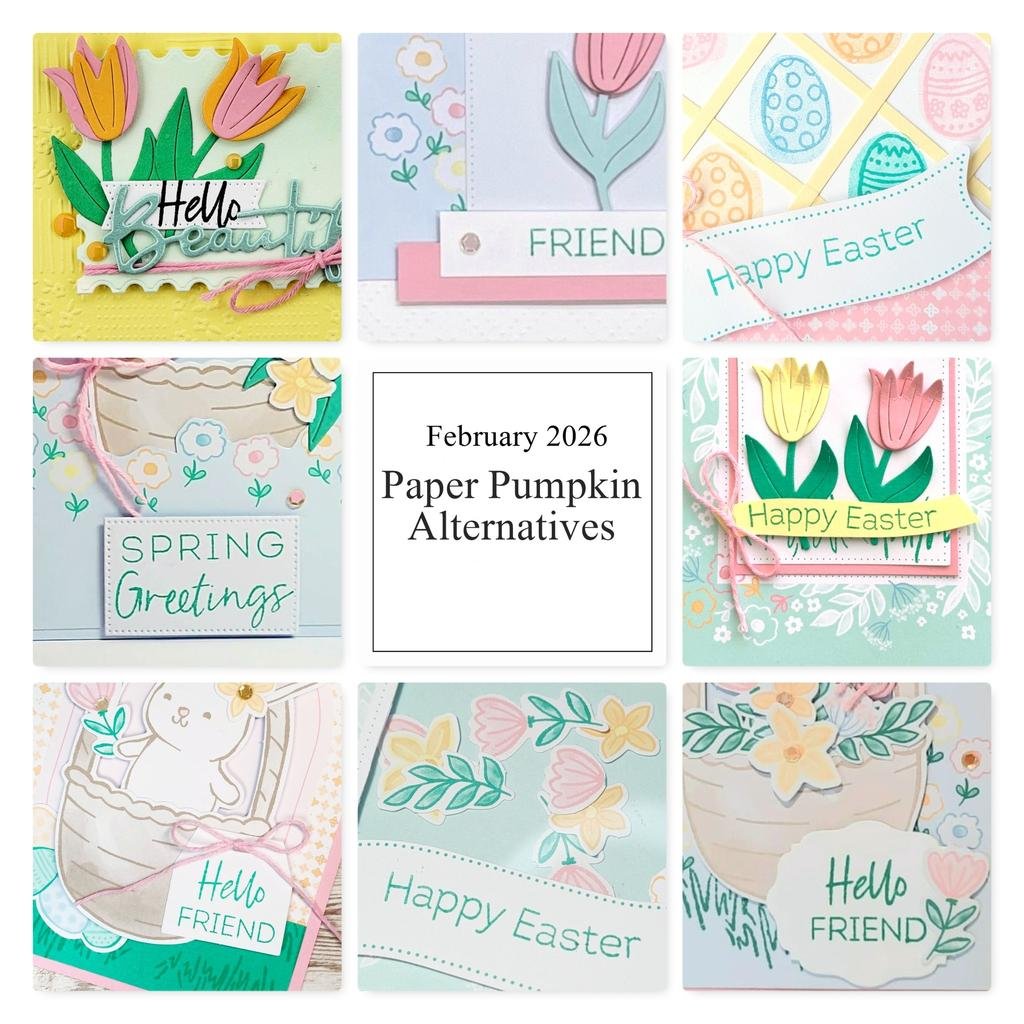
  • Paper Pumpkin kits; get a pre-paid subscription now before the price goes up!


    It seems most prices are going up these days and unfortunately Paper Pumpkin is raising their price for each kit by a few dollars. This will take effect on March 11th..

    These kits in the mail are a great value and are filled with lots of product to create with. I suggest you get a pre-paid subscription before March 11th to save $$. Go here to subscribe.

    Remember you are in full control over which kits you will receive. Once you create your account you can skip a month or add an extra kit. Plus, once you’re a subscriber you get to purchase any of the extras Stampin’ Up! offers like refill kits, add-ons & more.

    Here’s one of my bonus projects with the February kit.

    I used the add-on dies that were available; but are sadly out of stock now.

    Each month I send a bunch of bonus project ideas to my subscribers and my Team. You’ll love using them for creative inspiration.

    Here are the details on getting Paper Pumpkin kits:

    • Each all-inclusive kit comes with everything you need to create fun all-occasion or seasonal handcrafted projects—precut paper pieces, stamps, ink, embellishments, adhesives, and step-by-by-step instructions (contents vary depending on the kit). Kits autoship monthly, but if you need to take a break, you can skip a month. Crafting has never been so fun and convenient!
    • Plus, as a subscriber, you can buy refills, past kits, and add-ons (when available) and connect with your Paper Pumpkin community to share projects and ideas.
    • Select the Pay As You Go option to be billed monthly; you can cancel anytime. Or select the Prepay option if you want to receive kits for a specific number of months; you’ll be billed the entire amount now.

    March Specials!

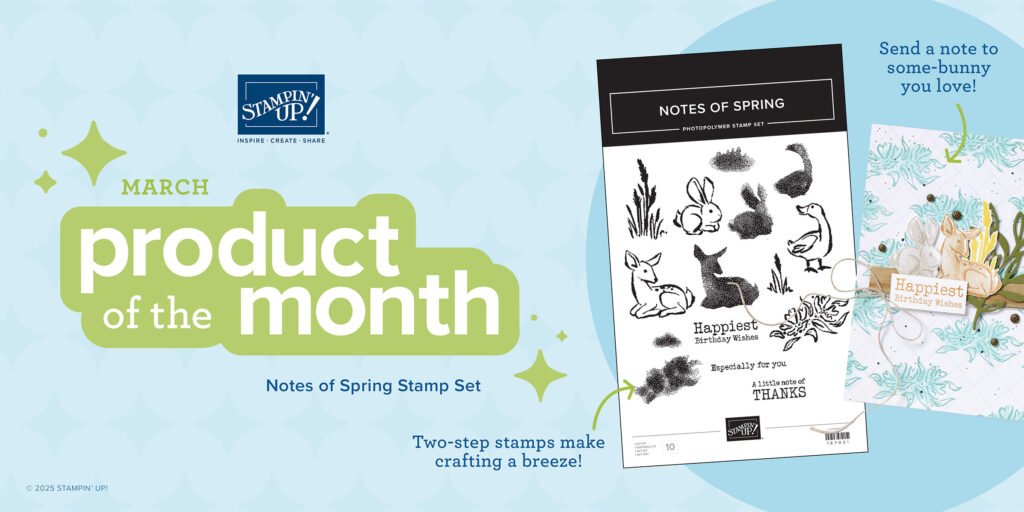
    March Product of the Month is the Notes of Spring stamp set!

    It’s just $5 with a $75 purchase.

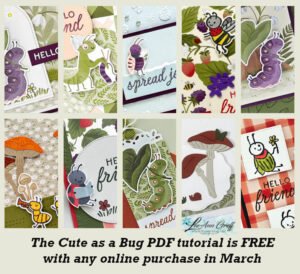
    Get my March PDF free with any Online purchase!

    NEW Online Exclusives are here!

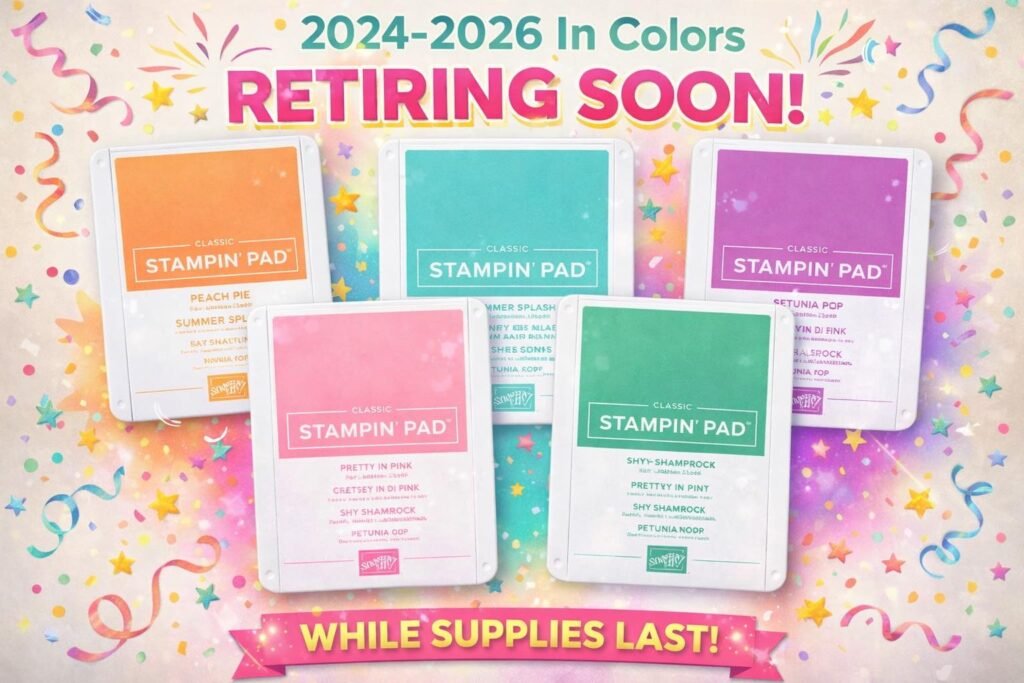
    Get the retiring In Colors while you can; they’re already going fast!

    Leave a Reply

    Your email address will not be published. Required fields are marked *

  • More Specialty Paper swaps for you.


    From easy to complex I think you’ll find inspiration among these three swap card samples.

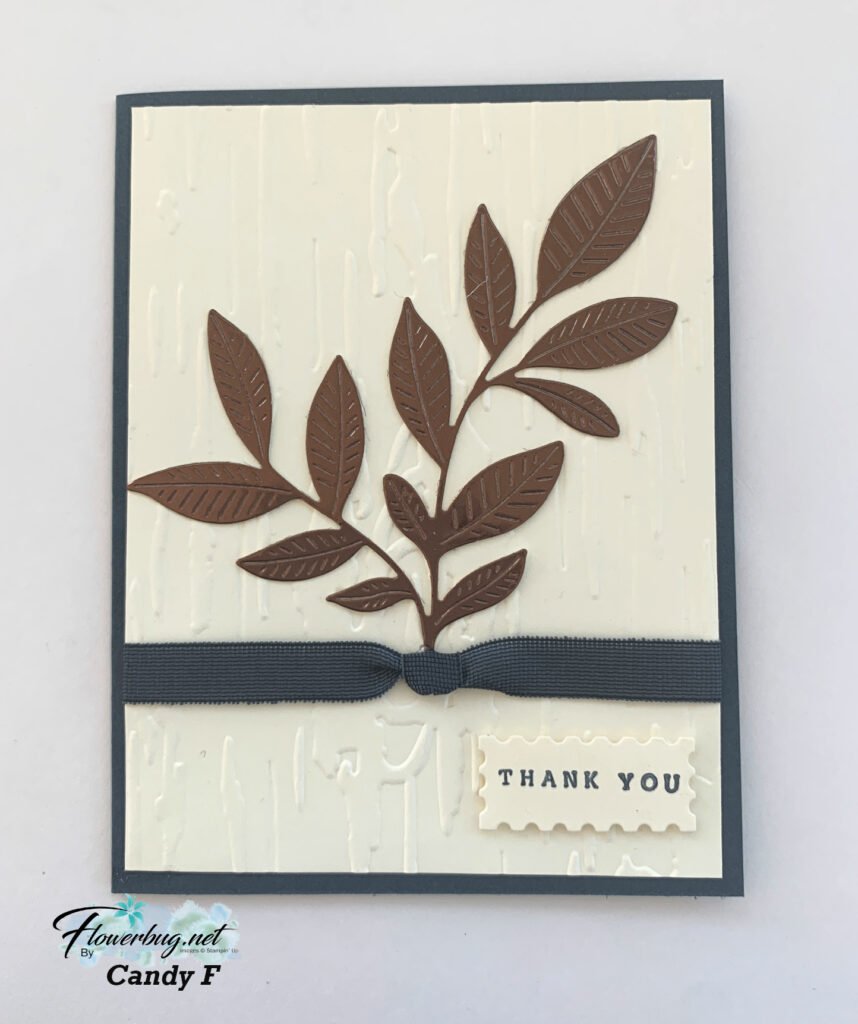
    First is Candy’s card. She kept is clean and simple and made the die-cut leaf the star of her card.

    She chose to use Secret Sea as her card base and Vanilla as her textured layer. That pretty leaf die-cut is from the Nature’s Symphony bundle and is cut from our Earthen Metallic specialty paper seen here.

    The embossing folder is the Birch Wood 3D; the greeting is from the Perennial Postage dies.

    ~~~

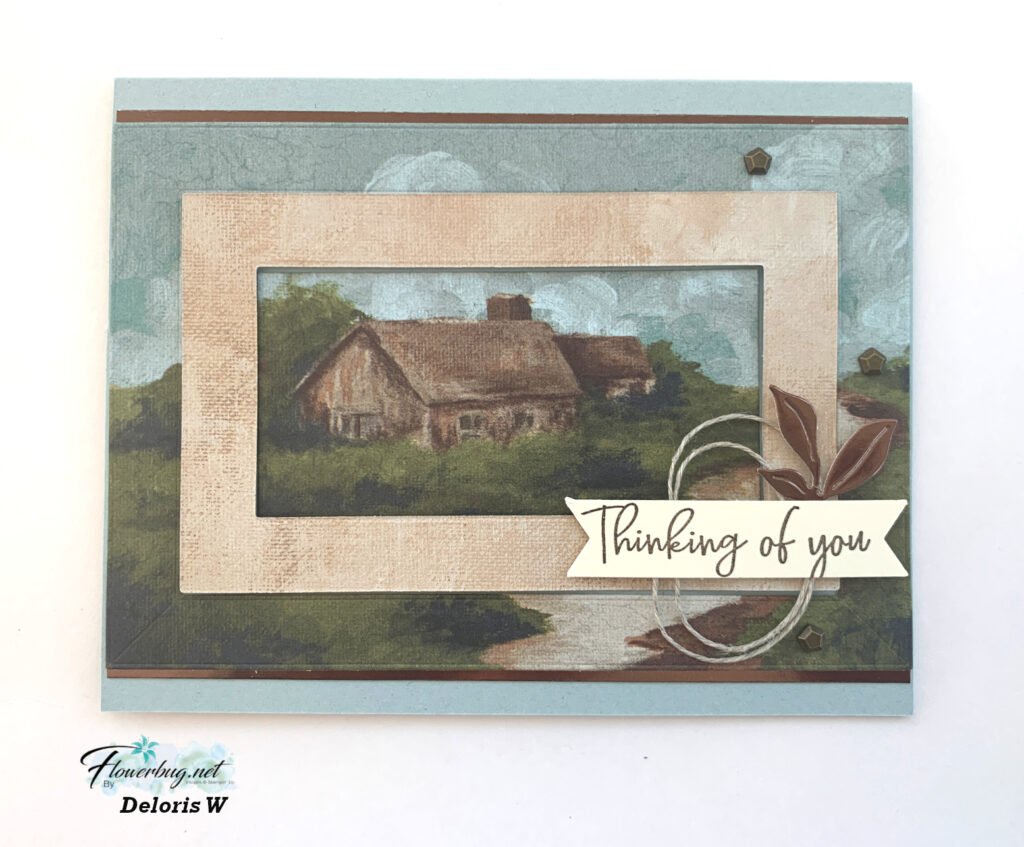
    Next is a beautiful, serene card scene made by Deloris. She did a neat framing technique!

    Beautiful Gallery Suite seen here; from the Beautiful Gallery DSP to the Gallery Blooms dies to create the frame.

    What she did was to use the smaller frame die-cut on the DSP scene and then flip over that frame to reveal the opposite side as a contrast to the main scene. She popped this frame up on Dimensionals too. The greeting is from the Beautiful Motifs stamp set. The leaf die-cut is also from the Gallery Blooms dies using the Earthen Metallic specialty DSP. Gorgeous and so smart!!

    ~~~

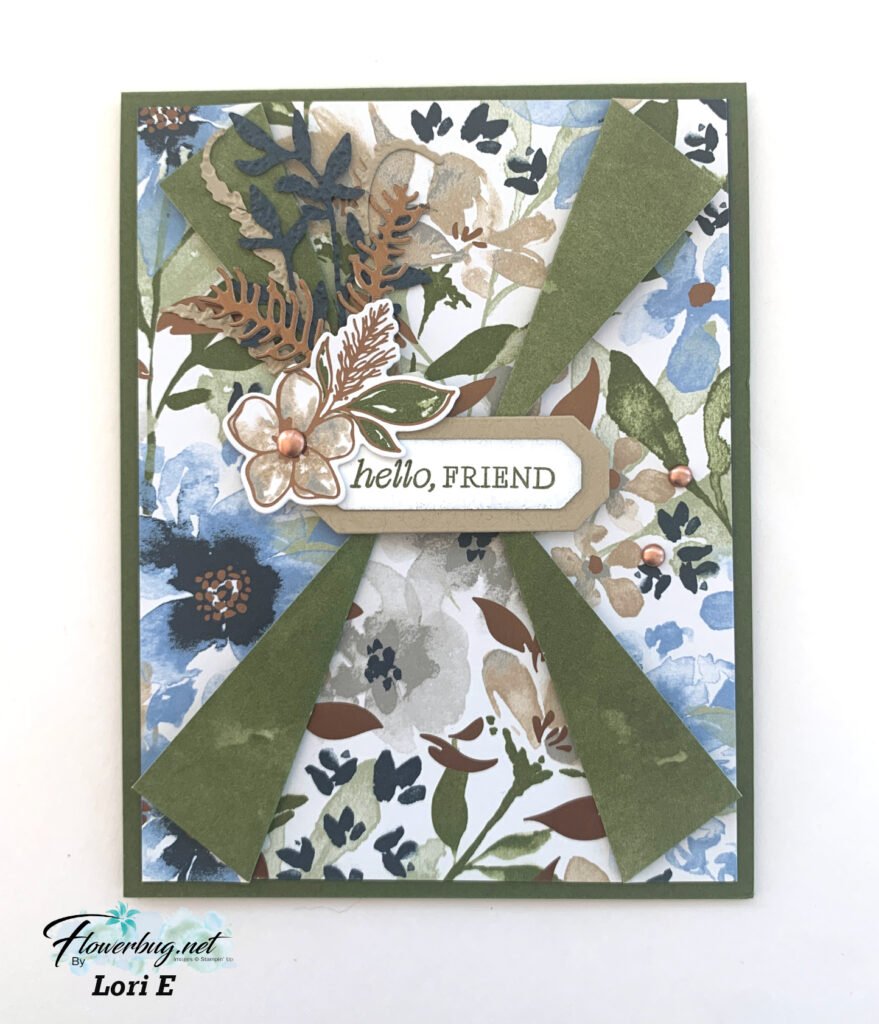
    Lastly is a neat fun fold card made by Lori who used a brand new suite just released in our Online Exclusives.

    Isn’t this fold fabulous?! She has a base layer of DSP under the scored layers. The scored layers are 1 1/2″ X 5 1/4″ tall. She scored from the top or bottom at 3/4″ from the edge up to the middle and folded it outwards. Super cool!

    This pretty DSP is called Delicate Dreams and can be seen here. The pretty flower is die-cut from this pretty DSP too. The stamp & dies bundle is called Delicate Whispers and can be seen here. So beautiful!

    More swaps coming soon!

    ~~~

    March Specials!

    March Product of the Month is the Notes of Spring stamp set!

    It’s just $5 with a $75 purchase.

    Get my March PDF free with any Online purchase!

    NEW Online Exclusives are here!

    Get the retiring In Colors while you can; they’re already going fast!

    Leave a Reply

    Your email address will not be published. Required fields are marked *

  • More Specialty Paper Team swaps with measurements!


    Here are a few more team swaps featuring Stampin’ Up!’s specialty papers:

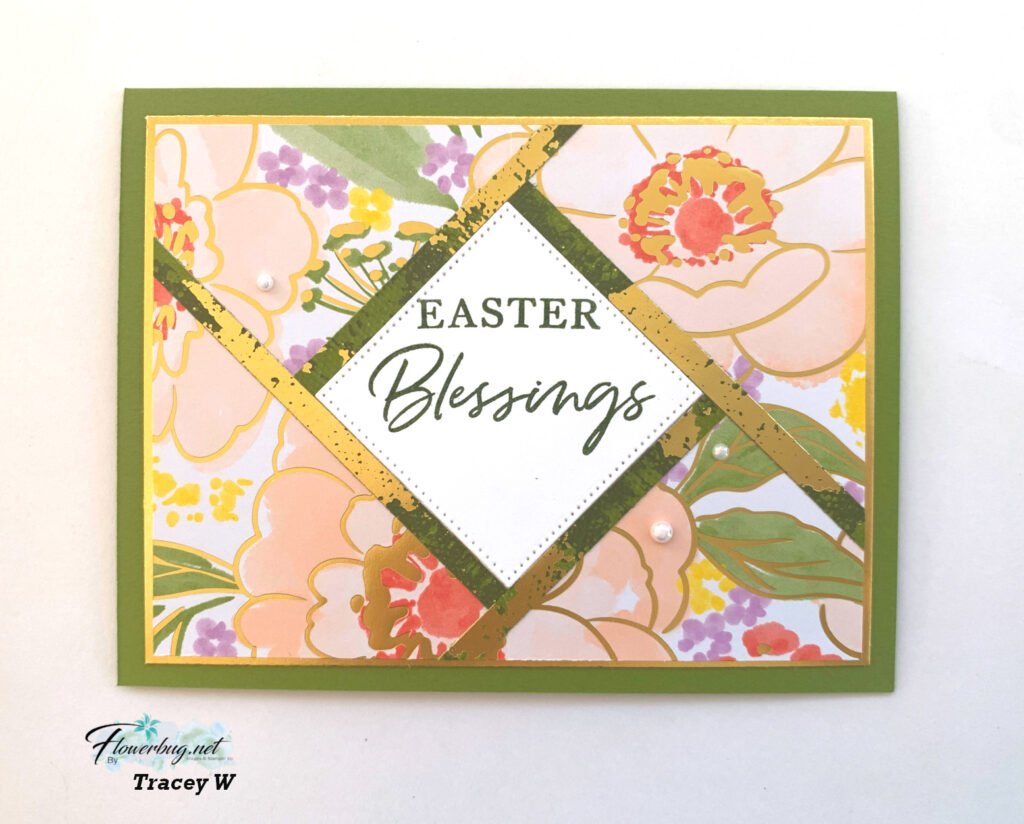
    First up today is Tracey’s card who used the fractured technique.

    This technique starts with a large piece of designer paper. Then add the diagonal square layer. Next you simply start adding the thin strips of DSP around the edges of the square piece; trimming off the excess on the outer edges. So easy!

    She chose the Lovely & Beautiful DSP for the main piece and the strips are the Season of Elegance specialty DSP found in the Annual Catalog.
    The greeting is from Blessed Beginnings stamp set. I love the thin layer of gold on the outer edge!

    Measurements:

    • Olive card base 5 1/2″ X 8 1/2″ score at 4 1/4″
    • Gold layer 5 1/8″ X 3 7/8″
    • DSP is 3 3/4″ X 5″, inside DSP 5 1/4″ X 4″
    • thin DSP strips are 1/4″ thick.
    • White square is1 7/8″, inside is 5″ X 3 3/4″

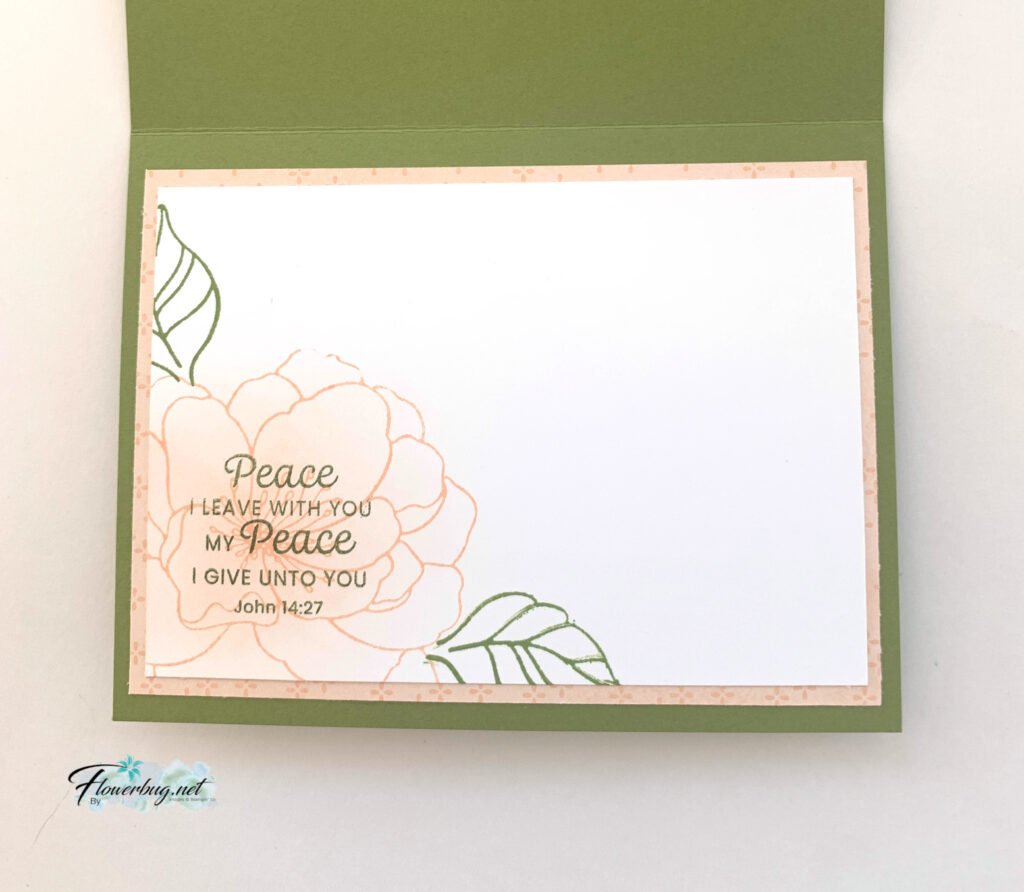
    The inside greeting is from Prayers & Promises, the flower and leaves are from the Simply Beautiful stamp set.

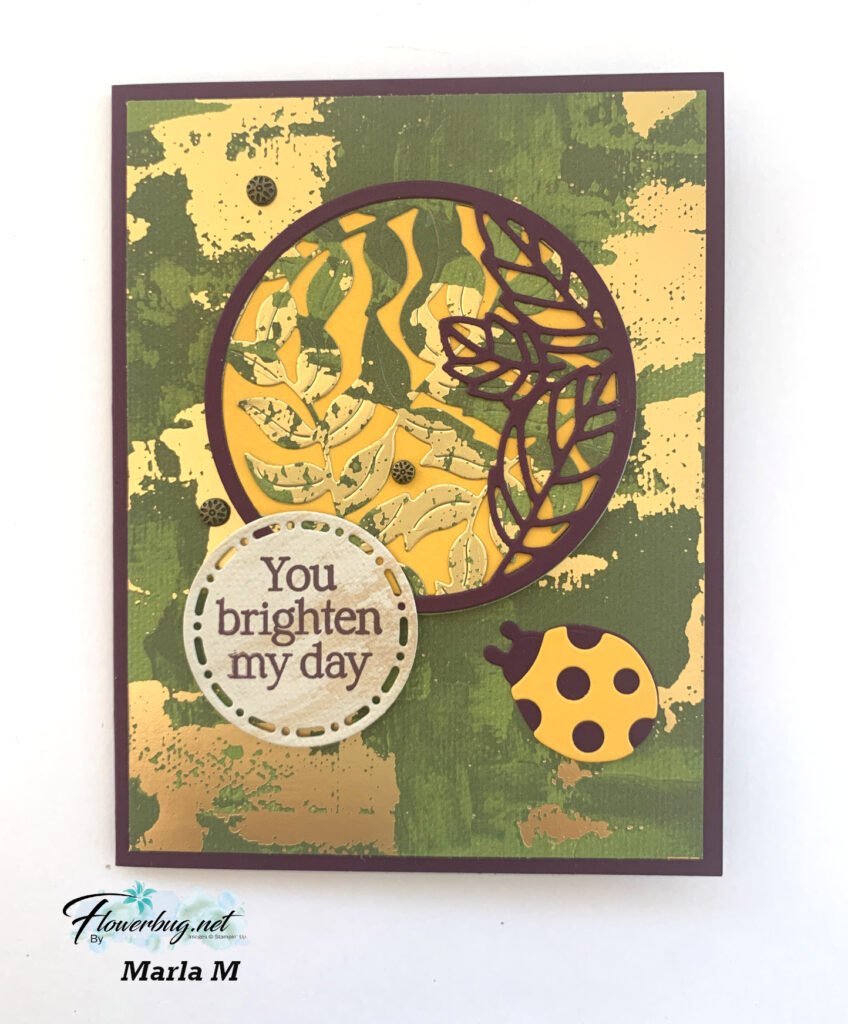
    Next is a pretty card made by Marla who also used the Season of Elegance DSP.

    The main circle dies are from the brand new Springtime Scenes bundle which is currently out of stock. The greeting circle is from the Spotlight on Nature dies.
    Her colors are Blackberry Bliss, Crushed Curry & Basic Beige.

    Card base is 8 1/2″ X 5 1/2″ scored at 4 1/4″. DSP is 4″ X 5 1/4″

    More swaps are coming tomorrow!

    ~~~

    March Specials!

    March Product of the Month is the Notes of Spring stamp set!

    It’s just $5 with a $75 purchase.

    Get my March PDF free with any Online purchase!

    NEW Online Exclusives are here!

    Get the retiring In Colors while you can; they’re already going fast!

    Leave a Reply

    Your email address will not be published. Required fields are marked *


Notice: LeeAnn Greff, Independent Stampin’ Up! Demonstrator, Manager. The content of this website is my sole responsibility as an independent Stampin’ Up! demonstrator and the use of, and content of, the classes, services, or products offered on this website is not endorsed by Stampin’ Up! Copyright 2025