/


Latest Post

A fun way to add color to the Happy Place stamp with video tutorial


I shared how to add color to the large ‘Happy’ from the Happy Place stamp set on last week’s Live video. What do you think?

We made this cute card at my September card clubs. The colors include Lost Lagoon, Calypso Coral & White. You might wonder how I achieved the two-toned inking on the Happy image. I used inks – Lost Lagoon for the water and Calypso Coral for the sky. For this sample I used large ink pads. But for my Clubs we used smaller ink spots. It was a lot easier this way!

You might also wonder where I got the rectangle Perennial Postage die shape. I had to die-cut a larger rectangle twice to get this size. It was pretty easy and I share how in the video below.

We textured the Lost Lagoon layer with the Wave 3D embossing folder and the curvy leaf dies are from the Label Me Grateful dies seen here. I love them! The inside greeting is from the With You in Mind stamp set.

It’s an easy fold that shows off the inside of the card and the designer paper we added. This DSP is the Subtles 6″ designer paper which has some great patterns.

I really enjoyed playing with this fun stamp set. I’ll share another project from the video tomorrow. See the Happy Place set here.

I created a free project sheet for you with measurements, photos, directions and a supply list with links. Click on this link to print or download it.

Below is the video tutorial for this card and one more. Don’t forget to subscribe to my YouTube Channel while you’re there!

~~~

  To see all of the new Online items click here.  Or download & save the Download Online Exclusives flyer 

Get a free project tutorial with any online order in September! 
All Posts

  • Framed & Festive for an easy Christmas card


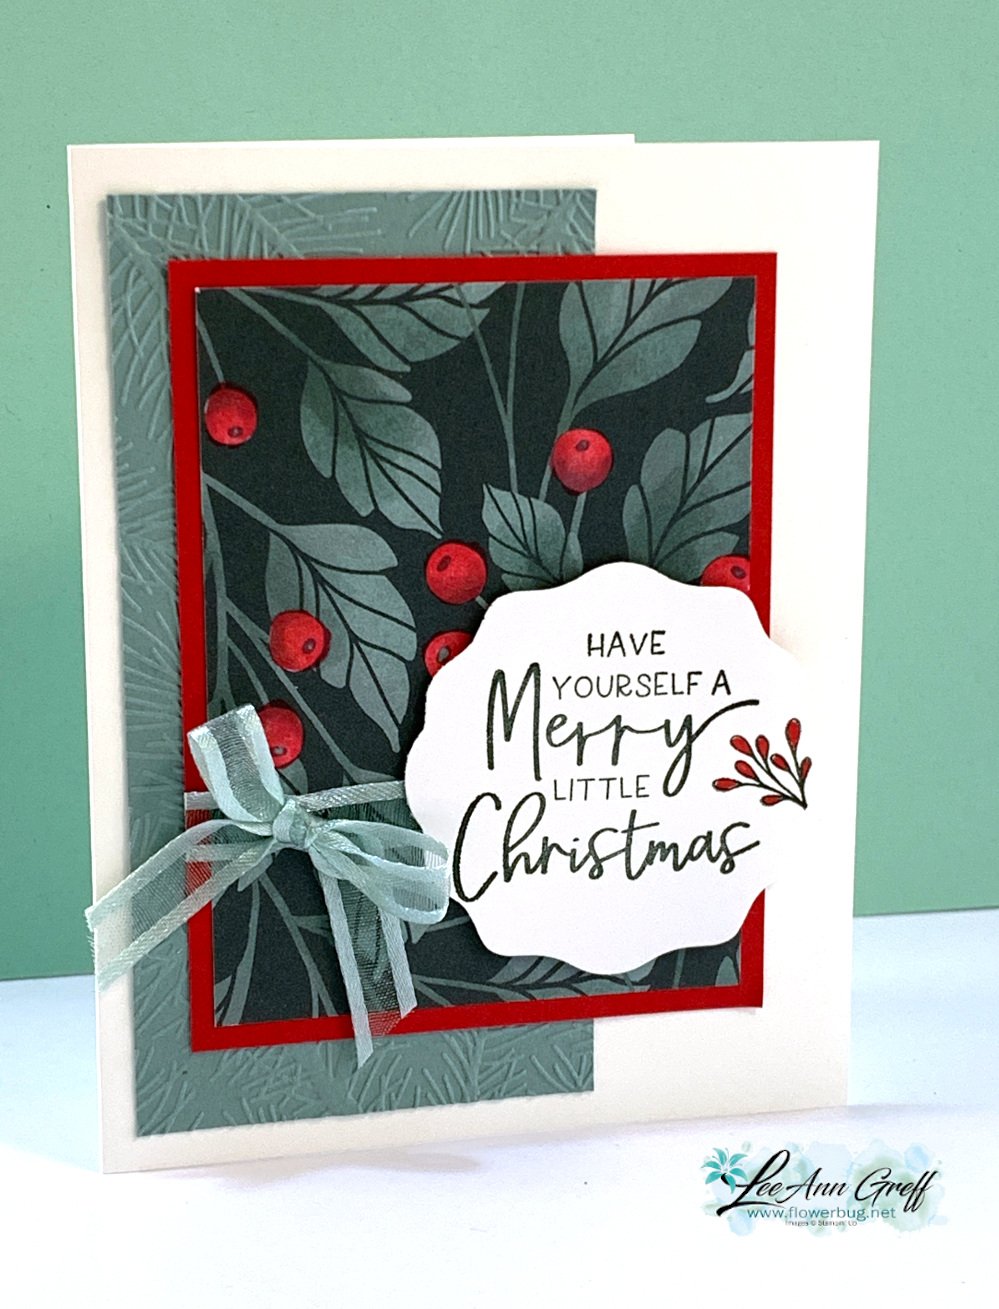
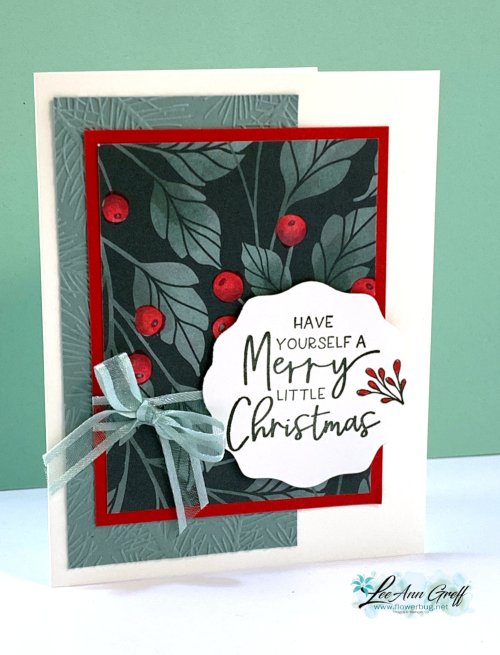
    I shared this pretty card on last week's FB Live video.  I LOVE this pretty DSP.  

    For this card I colored the white berries on the DSP Red with a Blends marker.  You can change the color of these berries so easily! They could be pink for a birthday card or red for Christmas. 

    The greeting is from the Framed & Festive stamp set seen here; available through early January or while supplies last.

    I love this card layout because of it's simplicity.  It has a textured layer, a layered piece of designer paper, ribbon and a punched greeting.  Everything most of us want to add to our cards.  Here are the measurements, in the photo below. 

    The greeting punch is the Decorative Circle punch from the Annual Catalog. 

    This DSP is a limited time products; available through early January or while supplies last.  It's featured in this month's kit to go seen here. 

    You can see all of these new products here. 

    ~~~

    Order online here

    Host code link: XZPZ6TDV  or BMGZZDPU

    November Specials: 

      1. Get a stack of designer papers from me with online orders over $50!
      2. All orders in November will receive a big project tutorial – a collection of 12 cards featuring this new collection of products.


    Earn free products with my loyalty rewards! 

    Click here to download yours and earn a $50 shopping spree!


    Leave a Reply

    Your email address will not be published. Required fields are marked *

  • Last set of my Christmas card class kits this year; while supplies lasts


    Update on blog issues:  I think it's working again; but if you're looking at this from a phone or tablet you may not see any photos.  But they may show up on a computer.  

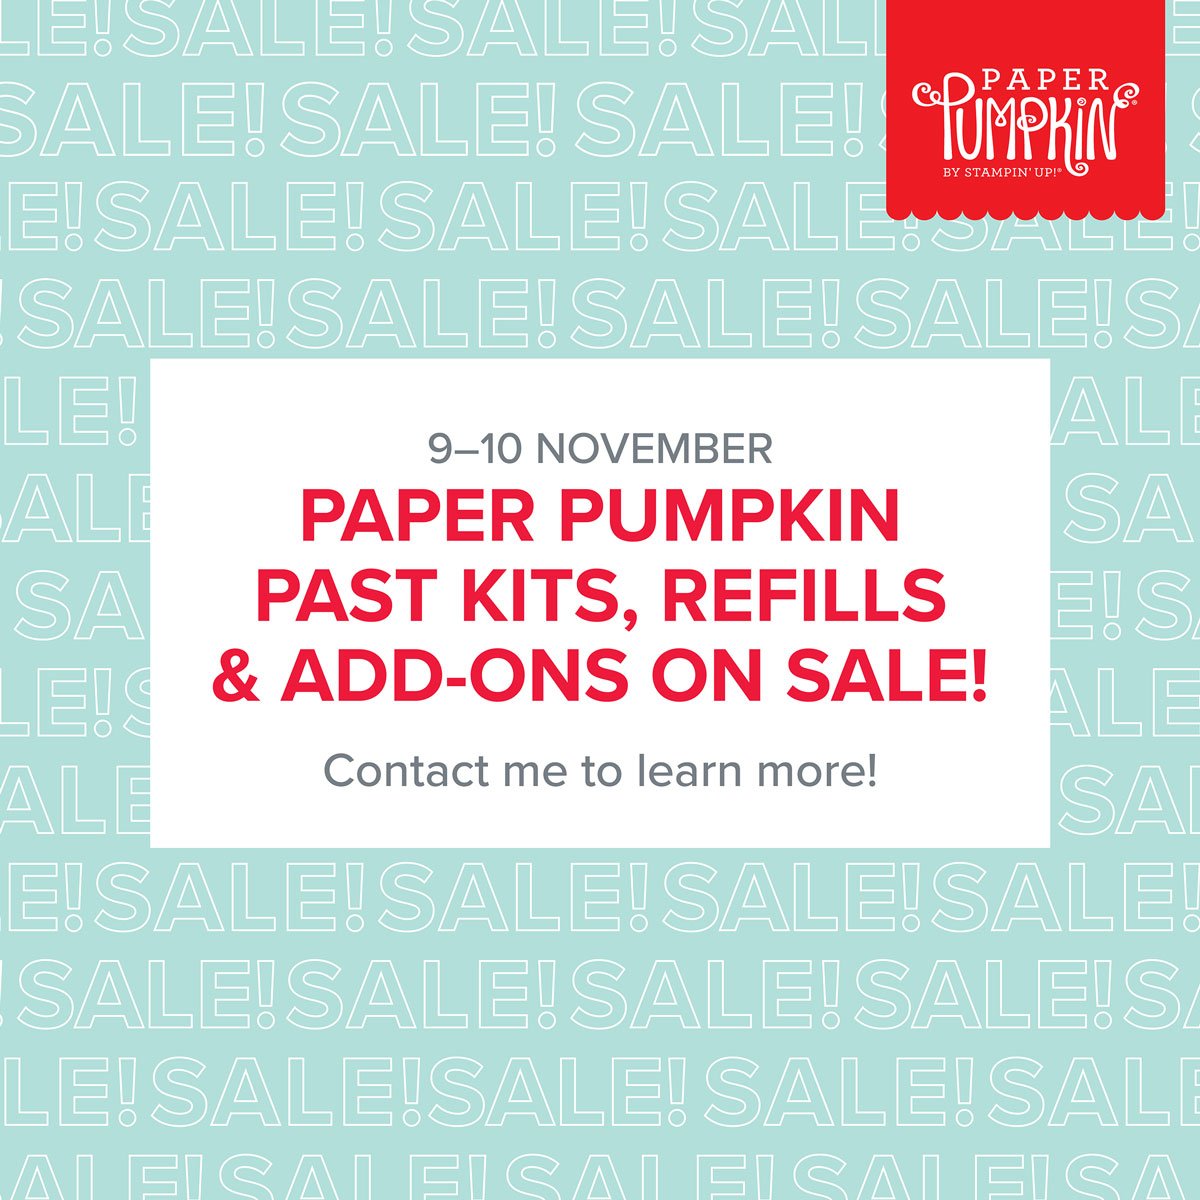
    Today & tomorrow only!!! 


    All Paper Pumpkin past kits, refills and add on's are 50% off!!  


    *click on any of the photos below to see them online.  Don't forget to use the host codes below: 

    ~~~

    Below is the last set of cards in my Christmas cards class series this fall.  I sure do enjoy creating them with our beautiful Stampin' Up! products!

    There's a nice variety – from cute to beautiful; they satisfy all of your holiday card needs.  

    The local class is on Saturday, November 19th at 10 am.  Cost is $25 and you'll make 3 of each card with stamped, coordinating envelopes too.  RSVP to attend by Thursday, November 16th please.  

    The pre-cut kit to go includes 12 cards, all cut, die-cut & punched pieces.  It includes ribbons but not gems, texturing or stamped images. The cost is $25 plus shipping. 

    For these cards I used these stamp sets: Trees for Sale, Cottage Wreaths, Christmas Lights, Handmade Wishes and Joyful Flurry; all from the 2022 Holiday catalog plus a few greeting images.  You can substitute other sets for these if you'd like to.  Inks: Evening Evergreen, Soft Succulent, Cherry Cobbler, Shaded Spruce, Versamark, Red, Garden Green, Pool Party & Poppy Parade

    Go here to get the kit to go by November 16th or while supplies last.  *The PDF tutorial is sent to you via email immediately after payment. 

    You can combine kits and save on shipping. You can see them all here.  

    I also have a PDF tutorial for every card in my Christmas card series – all seen below.  See that here.   

    ~~~

    Order online here

    Host code link: SVBHWRCY or BMGZZDPU

    November Specials: 

      1. Get a stack of designer papers from me with online orders over $50!
      2. All orders in November will receive a big project tutorial – a collection of 12 cards featuring this new collection of products.

    Earn free products with my loyalty rewards! 

    Click here to download yours and earn a $50 shopping spree!

    Leave a Reply

    Your email address will not be published. Required fields are marked *

  • Framed Florets card in blues; an easy layout idea


    And the blog issues continue….. If you're looking at this from a phone or tablet you may not see any photos.  But as of yesterday they did show up on a computer.  I hope Typepad figures this out soon!  

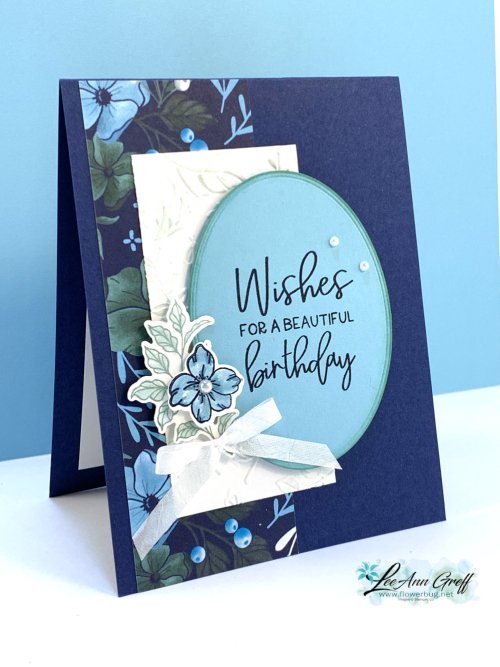
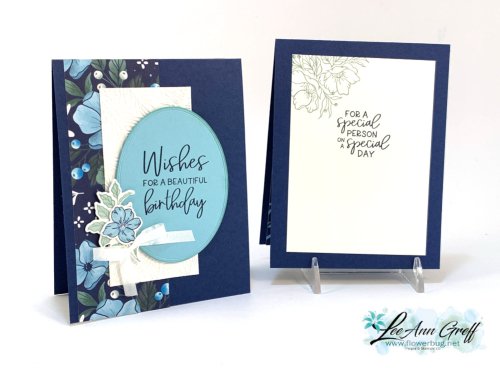
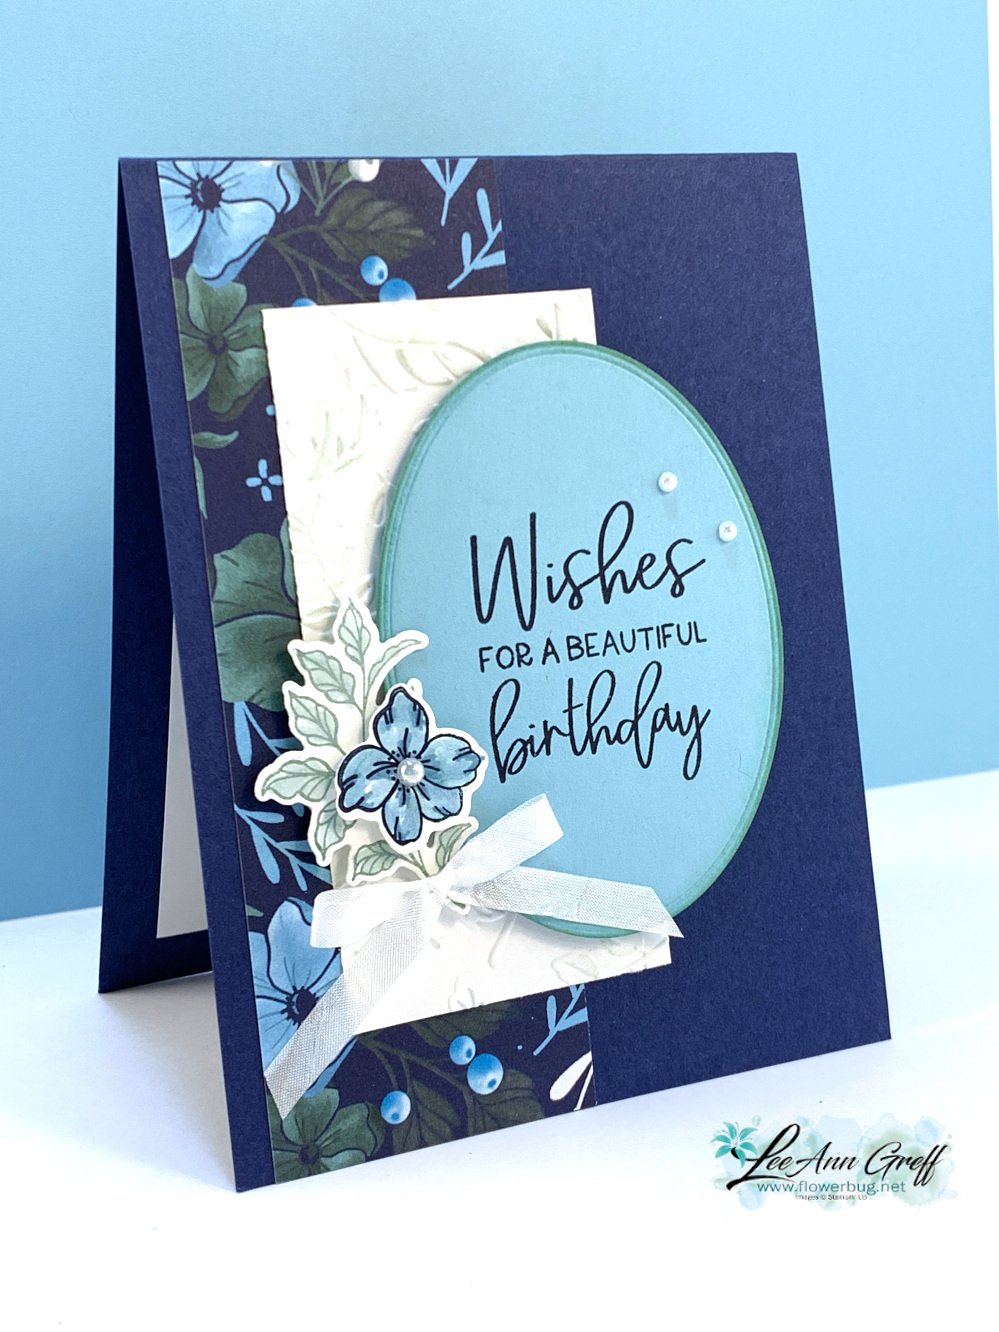
    This is one of the cards I demonstrated on last week's FB Live video. Each one features the new Fitting Florets collection of products. 


    The card was inspired by the colors in the pretty floral designer paper. I chose Night of Navy, Balmy Blue & Soft Succulent with White.  The oval is from the Framed Florets dies; the flower & leaves are from the Framed Florets bundle. I colored them in with Blends markers.  

    The greeting images are so pretty; I love the mixed font.  

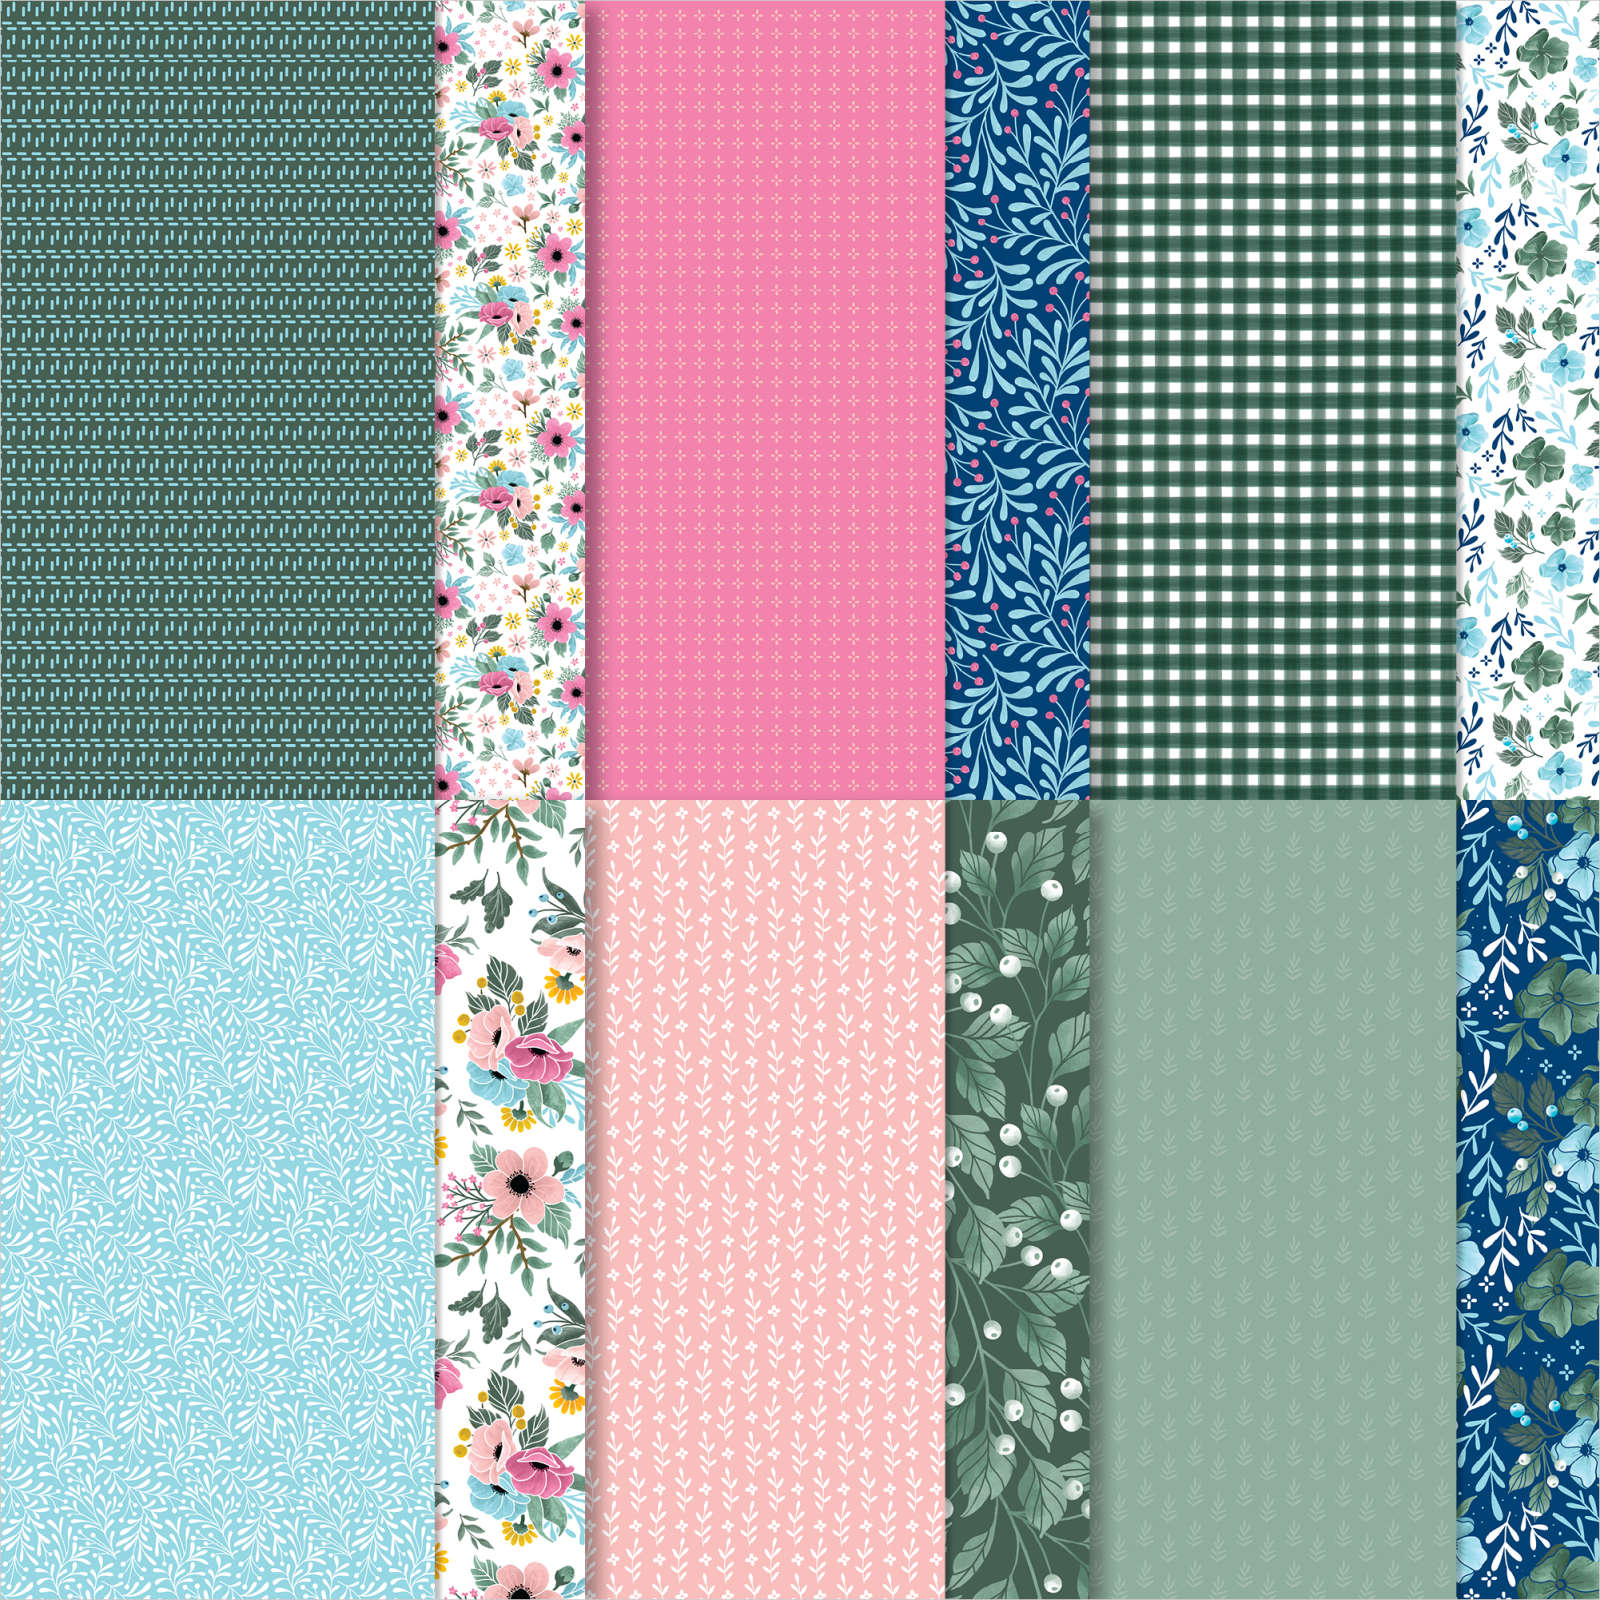
    In the video below, I shared three cards featuring the Framed Florets bundle and the Fitting Florets DSP seen here.  This DSP is a limited time products; available through early January or while supplies last.  It's featured in this month's kit to go seen here. 

    You can see all of these new products here. 


    ~~~

    Order online here

    Host code link: SVBHWRCY or BMGZZDPU

    November Specials: 

      1. Get a stack of designer papers from me with online orders over $50!
      2. All orders in November will receive a big project tutorial – a collection of 12 cards featuring this new collection of products.

    Earn free products with my loyalty rewards! 

    Click here to download yours and earn a $50 shopping spree!

    Leave a Reply

    Your email address will not be published. Required fields are marked *


Notice: LeeAnn Greff, Independent Stampin’ Up! Demonstrator, Manager. The content of this website is my sole responsibility as an independent Stampin’ Up! demonstrator and the use of, and content of, the classes, services, or products offered on this website is not endorsed by Stampin’ Up! Copyright 2025