/


Latest Post

A fun way to add color to the Happy Place stamp with video tutorial


I shared how to add color to the large ‘Happy’ from the Happy Place stamp set on last week’s Live video. What do you think?

We made this cute card at my September card clubs. The colors include Lost Lagoon, Calypso Coral & White. You might wonder how I achieved the two-toned inking on the Happy image. I used inks – Lost Lagoon for the water and Calypso Coral for the sky. For this sample I used large ink pads. But for my Clubs we used smaller ink spots. It was a lot easier this way!

You might also wonder where I got the rectangle Perennial Postage die shape. I had to die-cut a larger rectangle twice to get this size. It was pretty easy and I share how in the video below.

We textured the Lost Lagoon layer with the Wave 3D embossing folder and the curvy leaf dies are from the Label Me Grateful dies seen here. I love them! The inside greeting is from the With You in Mind stamp set.

It’s an easy fold that shows off the inside of the card and the designer paper we added. This DSP is the Subtles 6″ designer paper which has some great patterns.

I really enjoyed playing with this fun stamp set. I’ll share another project from the video tomorrow. See the Happy Place set here.

I created a free project sheet for you with measurements, photos, directions and a supply list with links. Click on this link to print or download it.

Below is the video tutorial for this card and one more. Don’t forget to subscribe to my YouTube Channel while you’re there!

~~~

  To see all of the new Online items click here.  Or download & save the Download Online Exclusives flyer 

Get a free project tutorial with any online order in September! 
All Posts

  • Trip photos of London & Norway


    I thought I'd share a few photos of our trip to London and the Norway cruise we just returned from.  The cruise was this year's Incentive trip courtesy of Stampin' Up!  There were over 300 achievers on this trip: I am so proud to be one of them! To stay within direct sales compliance I need to add that this milestone is not typical for Stampin’ Up! Demonstrators. Fewer than 1% of demonstrators actually achieve this extraordinary result.

    We spent a few days in London before starting the cruise to Norway.  

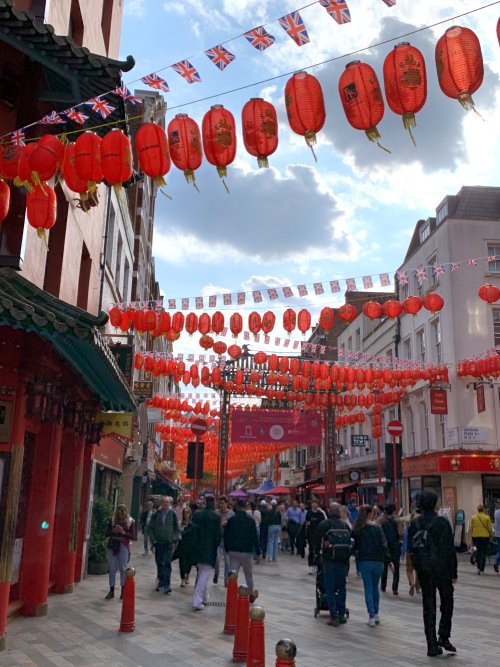
    The first day we did a food tour in Soho, London. We love doing food tours – besides tasting local favorites we learn a lot about the area from our guide.  I highly recommend doing one when traveling.  

    This is Chinatown in London. 

    We had a steamed bun filled with barbecue pork inside.  It was really tasty and so unusual!  

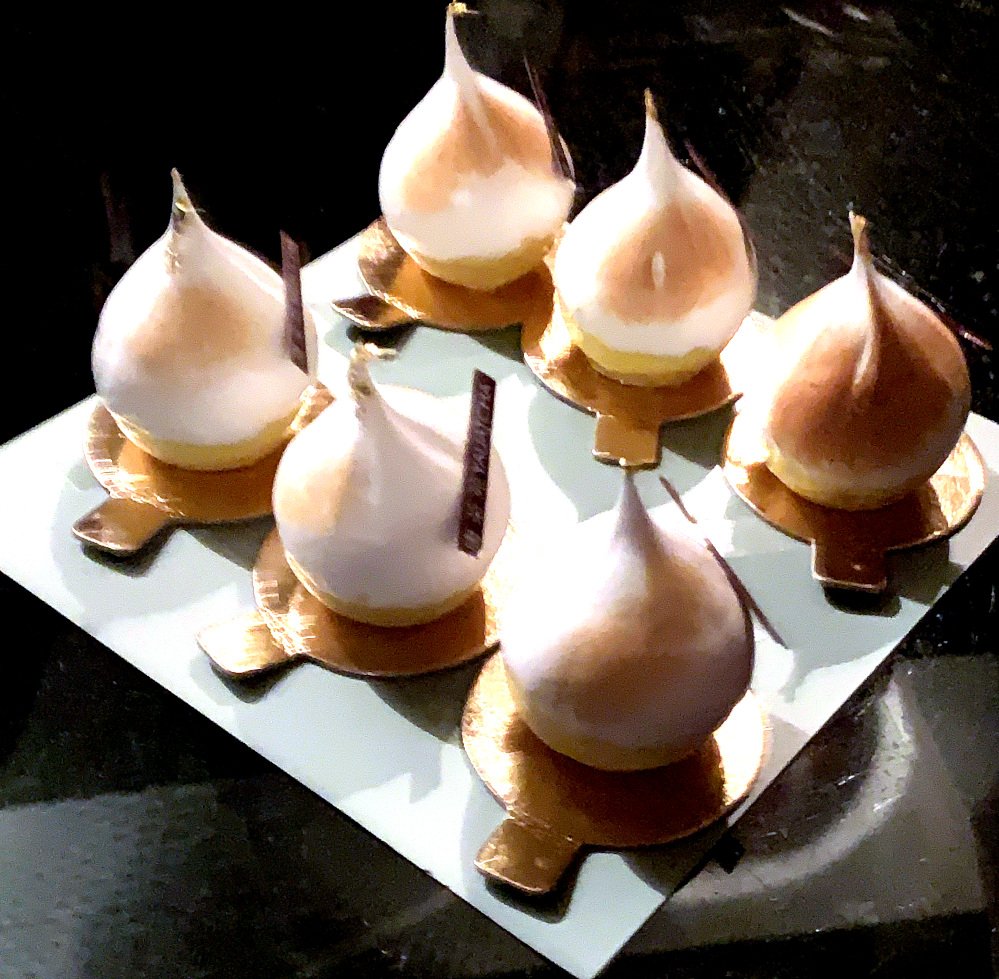
    Our last stop was for desert.  These are lemon twists from a local patisserie.  The outside is white chocolate. So delicate and yummy. 

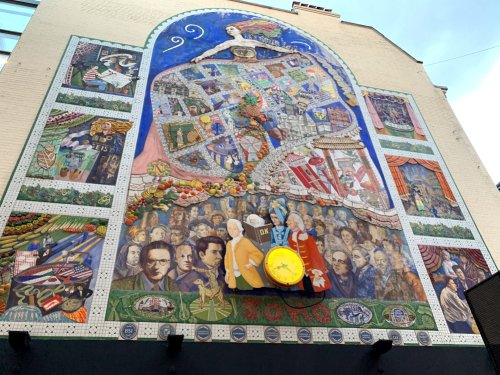
    Below is a huge tiled wall of the history of Soho where we toured. 


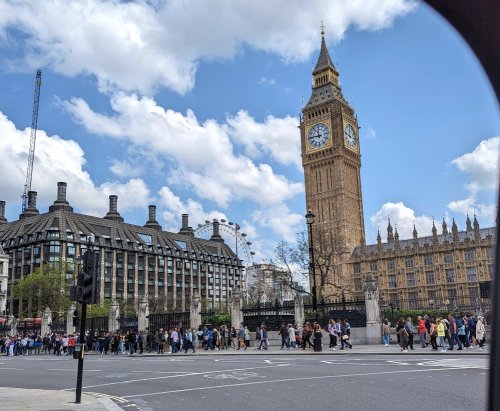
    The next day we did a personal tour of London where our driver took us anywhere we wanted to go.  My friend Dawn Olchefske and our husbands enjoyed a relaxing drive all over the city.  Below is Big Ben. 


    This is our driver, David.  He let me sit in his black cab for a photo.  The steering wheel was on the right! 

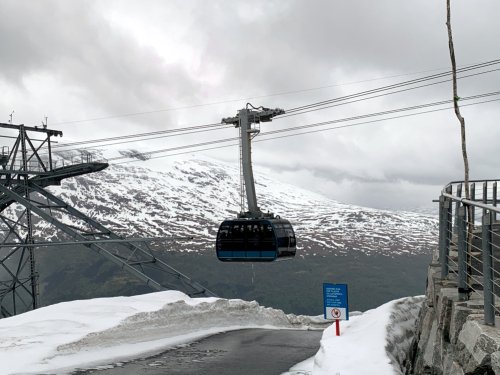
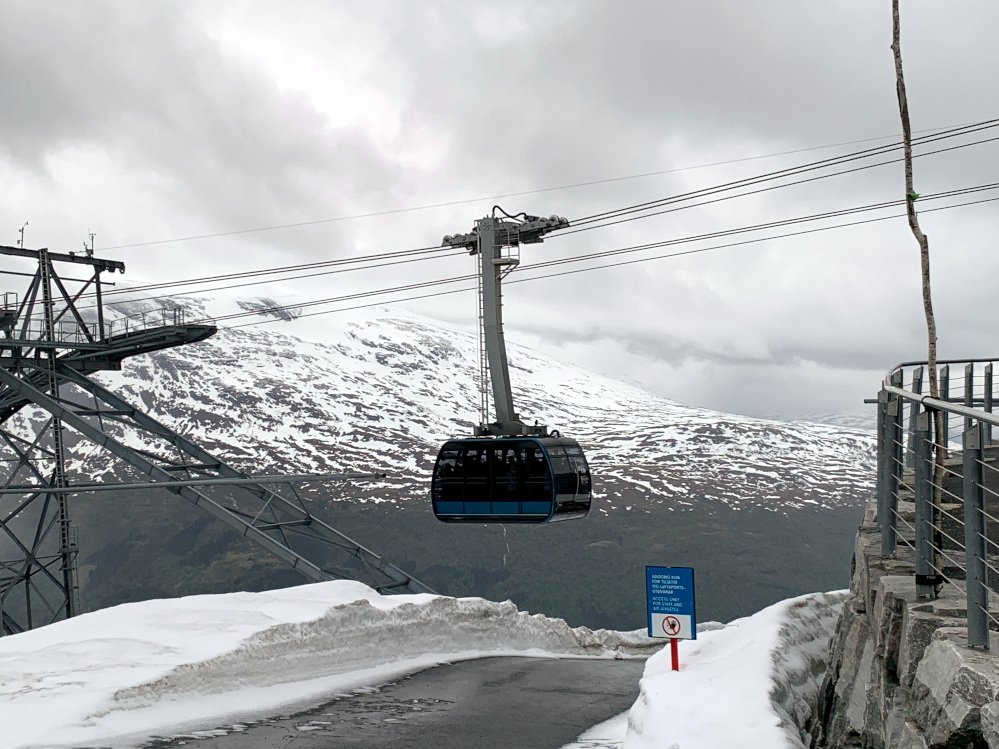
    One of our favorite things was a gondola ride in Olden, Norway.  

    I am not a fan of heights but for some reason this didn't bother me. We traveled up the mountain over 1000 feet in just 5 minutes!  Here's a view of us at the top: 


    This was one of the many, many waterfalls we saw while cruising the fjords in Norway.  It was amazingly beautiful! 

    We had a wonderful time on this trip – seeing the sights, visiting with our friends & being pampered! We are very glad to be back home.  But we miss the food we didn't have to cook ourselves and the room steward who cleans our room each day!

    Back to reality!  

    ~~~

    June Specials:

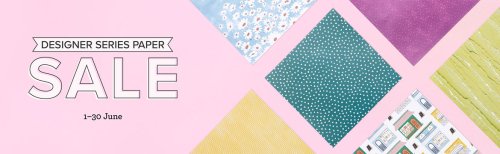
    Designer Paper is 15% off in June!

    WOW – get $155 in product for $99 with free shipping! click here!

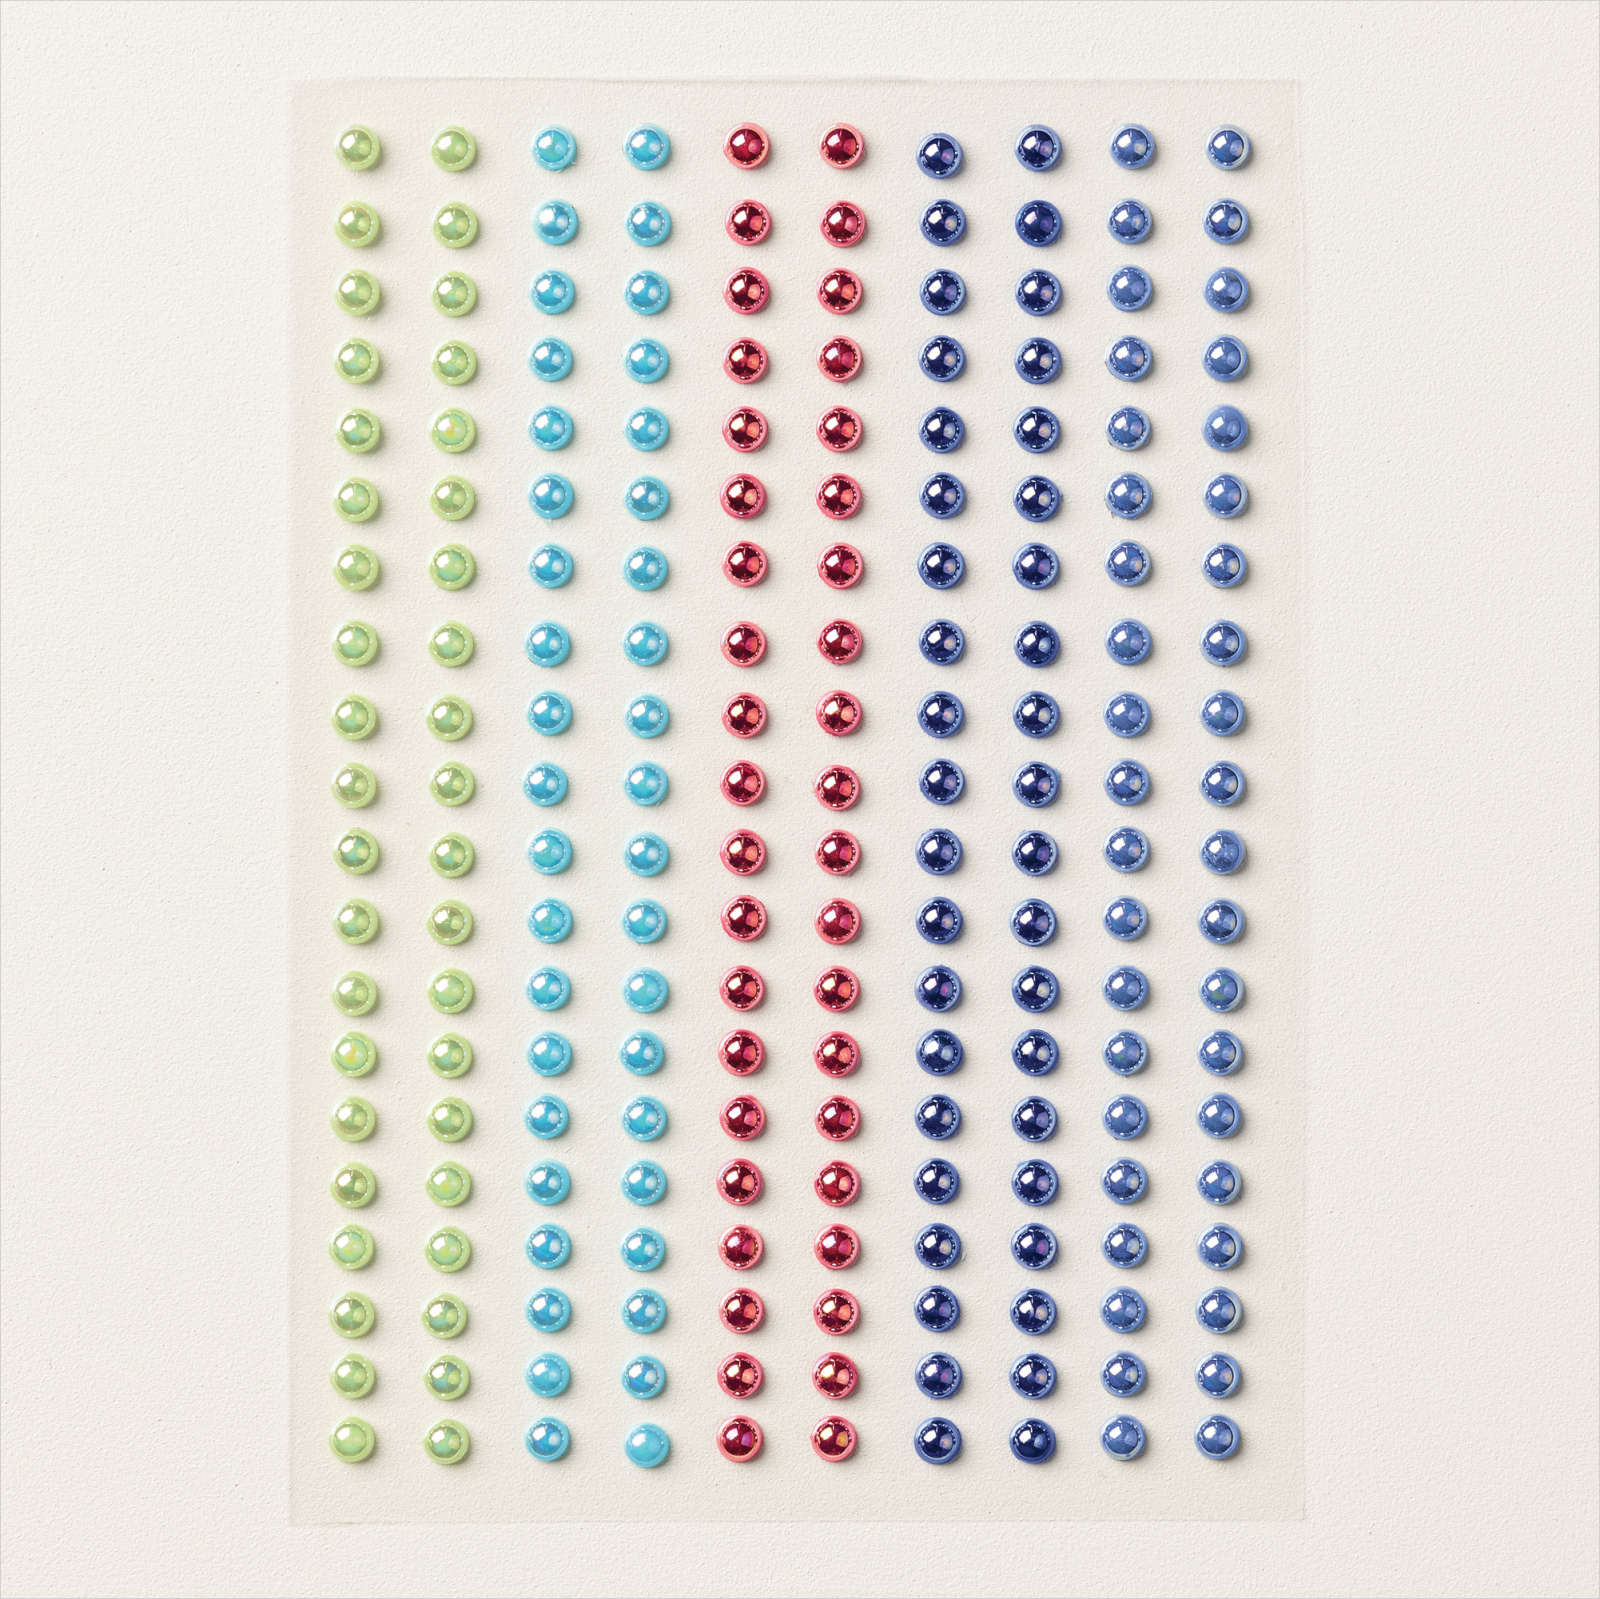
    Get a package of In Color pearls with online orders over $55 using a host code.

    *current host codes: ZHZ6CPYU or AJVB3B3V 

     Earn free products with my loyalty rewards! 

    Click here to download yours and earn a $50 shopping spree!

    Leave a Reply

    Your email address will not be published. Required fields are marked *

  • CUTE Zoo Crew cards


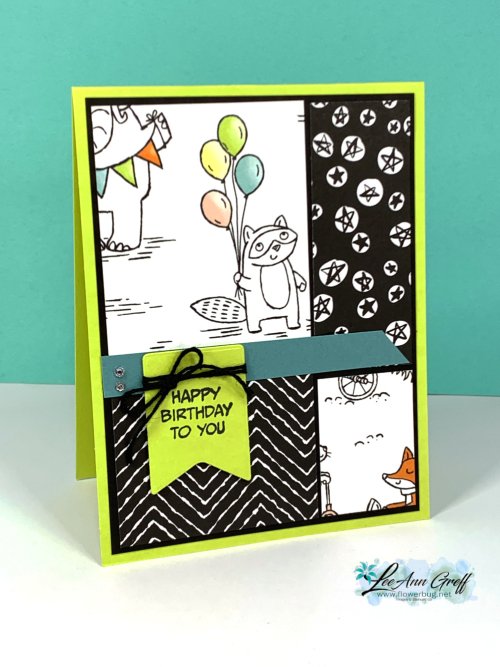
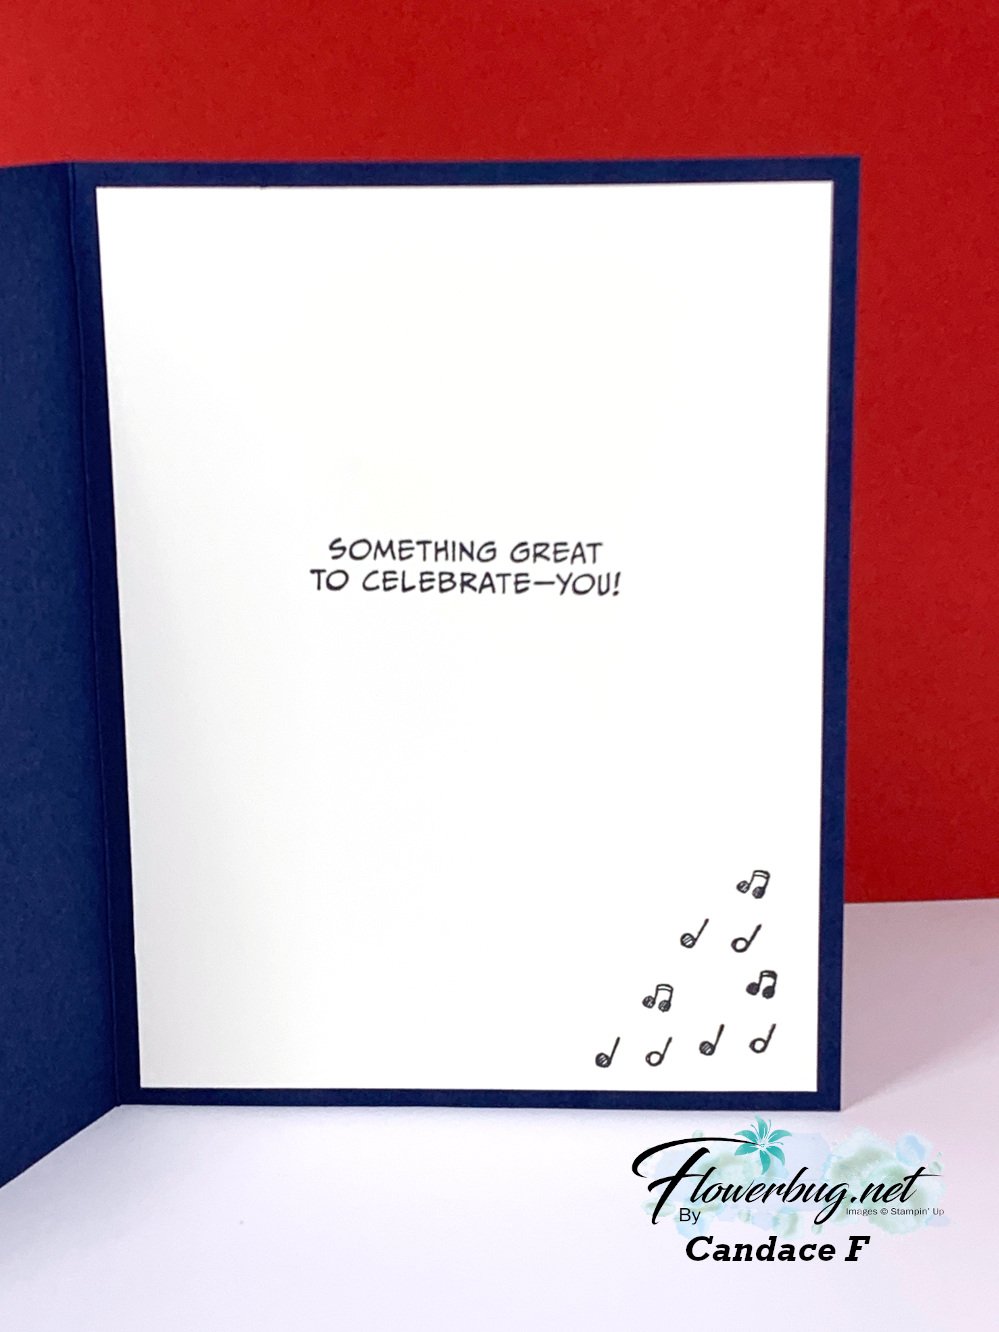
    Continuing on to share another adorable swap card made by Candy. She used the Zoo Crew bundle.  I love her primary, happy colors!

    Details:

    • She used Night of Navy, Real Red & Granny Apple Green
    • the embossing folder is called Merry Melody 3D
    • the stitching on the Red square is from the Stitched with Whimsy dies seen here
    • The ribbon is the Navy bordered 3/8" and the greetings are from the Double Oval punch

    Here's the inside:

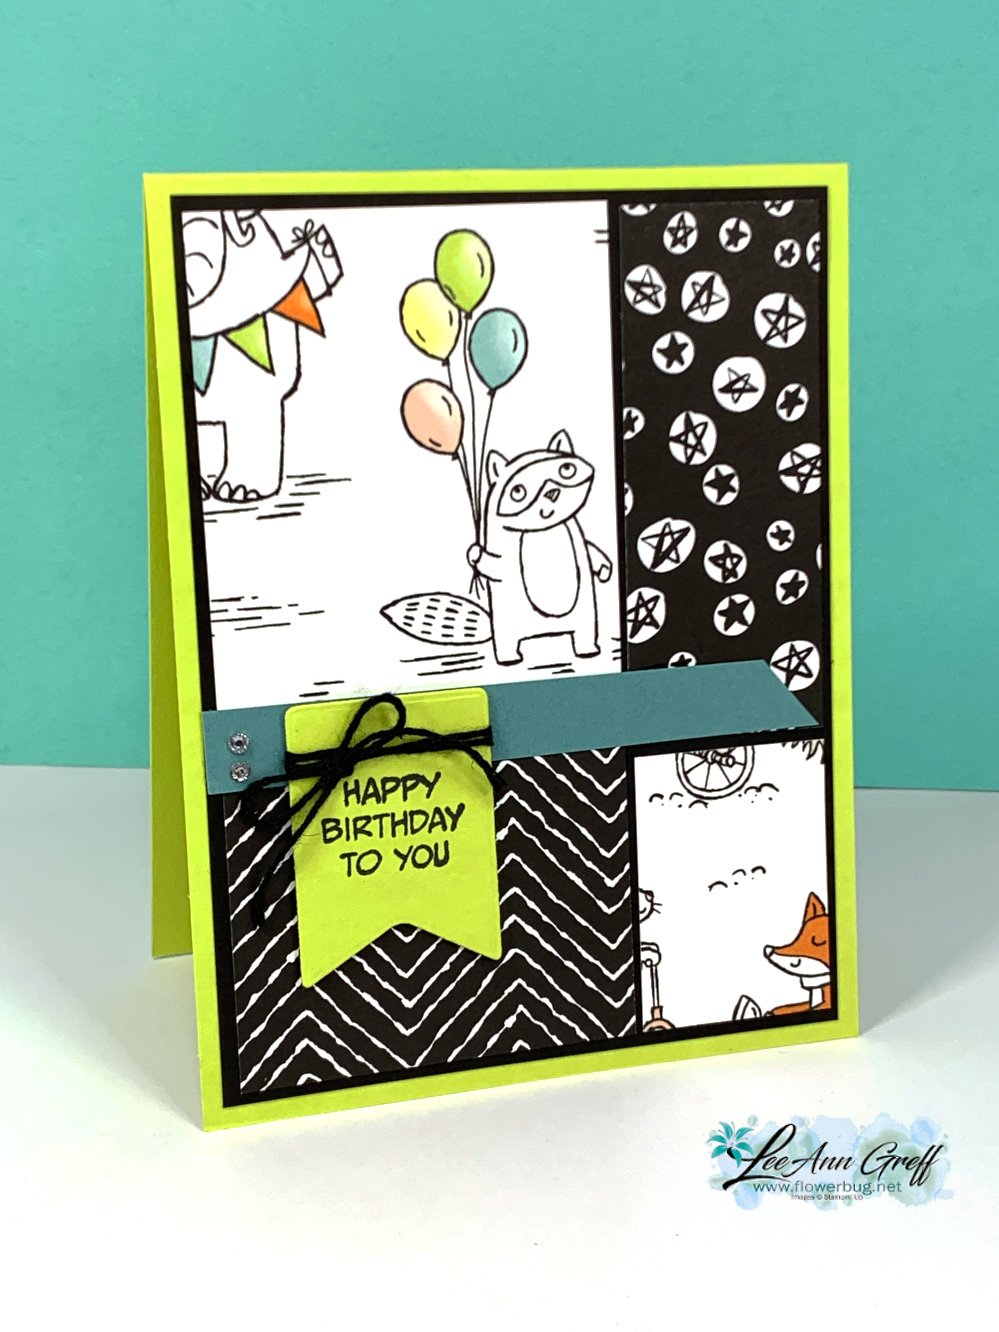
    Here's one I made when I was preparing samples for my new catalog open house event: 

    I simply used a few pieces of the Zoo Crew designer paper and added a stamped flag greeting with twine on a long strip of Lost Lagoon.  Cute & Quick! 

    ~~~

    May Specials:

    *current host codes: ZHZ6CPYU or AJVB3B3V 

    Get a stack of handmade cards with online orders over $55 using a host code.

     Earn free products with my loyalty rewards! 

    Click here to download yours and earn a $50 shopping spree!

    Leave a Reply

    Your email address will not be published. Required fields are marked *

  • Forever Friends kit; a beautiful set of foil accented cards & envelopes


    Two weeks ago I had time to create at a stamping get together at our church.  I took 3 kits and make them in about an hour and a half.  Stress free and fun!  I love using our kits because I have everything I need to make the cards; I simply need adhesives and a bone folder.!

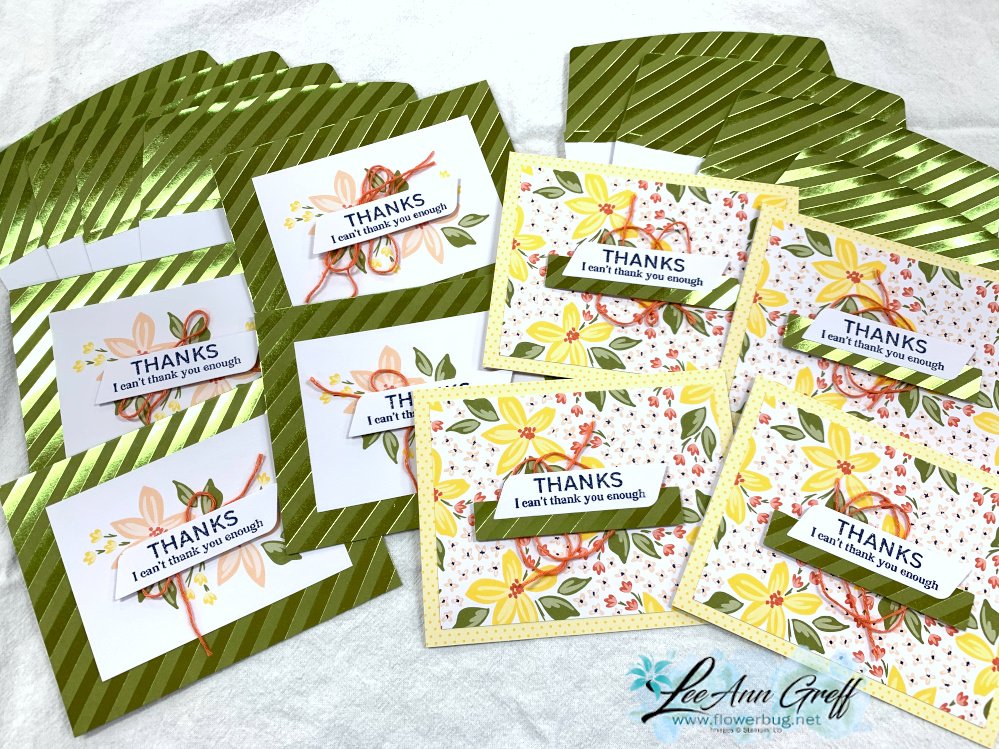
    Here's the start of my 9 cards.

    And here are the finished cards!  I did change up the greetings because I needed a bunch of thank you cards.  I kept the kit mostly as is since they were so pretty as designed.  

    This kit is called Forever Friends and can be seen here.  It's $21 and includes everything you need to create 9 cards with coordinating envelopes like stamps, a block, ink, embellishments & more.  

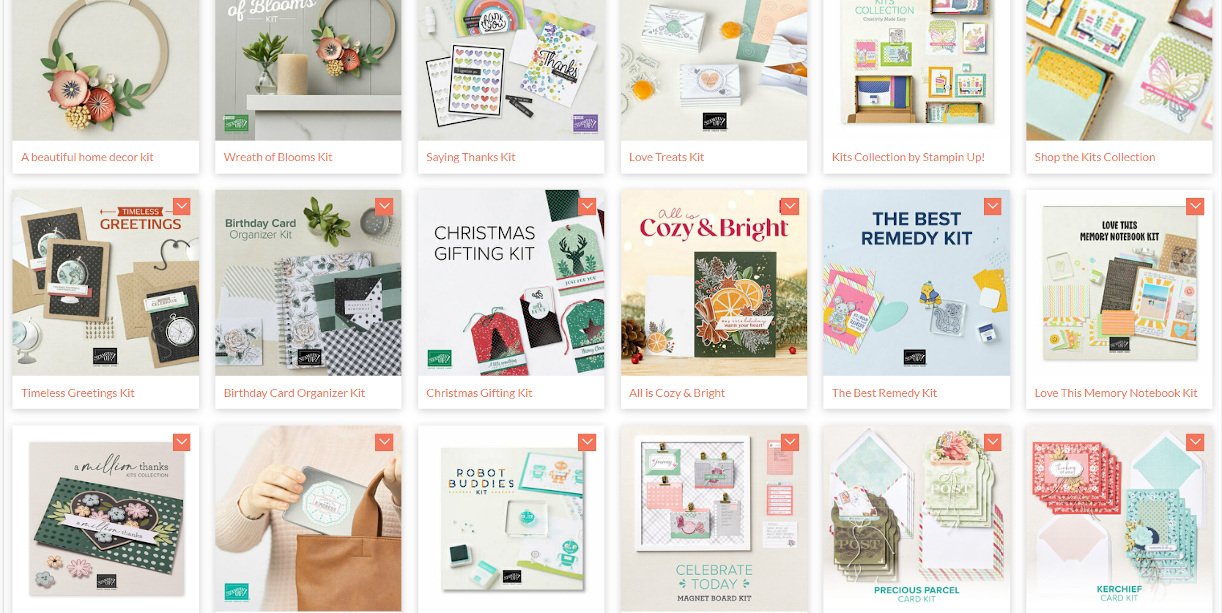
    It's just one of our many kit available in our Kit Collection online.  

    Each kit includes pre-cut pieces and printed images. Some kits include stamps, ink and a block. Others do not and are ready to finish without any stamping.  You can choose what fits your needs.  

    Below is a snapshot of some of the kits in our collection.  They are available from one year; but supplies can run out within that year. But they'll restock them once they do for up to that year.  See them all here. 

    Have a wonderful Memorial weekend!  

    ~~~

    May Specials:

    *current host codes: ZHZ6CPYU or AJVB3B3V 

    Get a stack of handmade cards with online orders over $55 using a host code.

    Earn free products with my loyalty rewards! 

    Click here to download yours and earn a $50 shopping spree!

    Leave a Reply

    Your email address will not be published. Required fields are marked *


Notice: LeeAnn Greff, Independent Stampin’ Up! Demonstrator, Manager. The content of this website is my sole responsibility as an independent Stampin’ Up! demonstrator and the use of, and content of, the classes, services, or products offered on this website is not endorsed by Stampin’ Up! Copyright 2025