/


Latest Post

A fun way to add color to the Happy Place stamp with video tutorial


I shared how to add color to the large ‘Happy’ from the Happy Place stamp set on last week’s Live video. What do you think?

We made this cute card at my September card clubs. The colors include Lost Lagoon, Calypso Coral & White. You might wonder how I achieved the two-toned inking on the Happy image. I used inks – Lost Lagoon for the water and Calypso Coral for the sky. For this sample I used large ink pads. But for my Clubs we used smaller ink spots. It was a lot easier this way!

You might also wonder where I got the rectangle Perennial Postage die shape. I had to die-cut a larger rectangle twice to get this size. It was pretty easy and I share how in the video below.

We textured the Lost Lagoon layer with the Wave 3D embossing folder and the curvy leaf dies are from the Label Me Grateful dies seen here. I love them! The inside greeting is from the With You in Mind stamp set.

It’s an easy fold that shows off the inside of the card and the designer paper we added. This DSP is the Subtles 6″ designer paper which has some great patterns.

I really enjoyed playing with this fun stamp set. I’ll share another project from the video tomorrow. See the Happy Place set here.

I created a free project sheet for you with measurements, photos, directions and a supply list with links. Click on this link to print or download it.

Below is the video tutorial for this card and one more. Don’t forget to subscribe to my YouTube Channel while you’re there!

~~~

  To see all of the new Online items click here.  Or download & save the Download Online Exclusives flyer 

Get a free project tutorial with any online order in September! 

All Posts

  • A pretty Regal Winter Tent card with free project sheet & video tutorial. So easy!


    I haven't made a tent card in a long time! It can also be called an easel card too. 

    This card layout really shows off our pretty designer paper. And it's sooo easy too!  As you can see it's basically 3 layers and an embellishment.  See the Regal Winter DSP here. 

    My colors were inspired by the pretty DSP and include Pretty Peacock, Cherry Cobbler & White. That Cherry Cobbler gold edged ribbon is new; it's fine and easy to work with. 

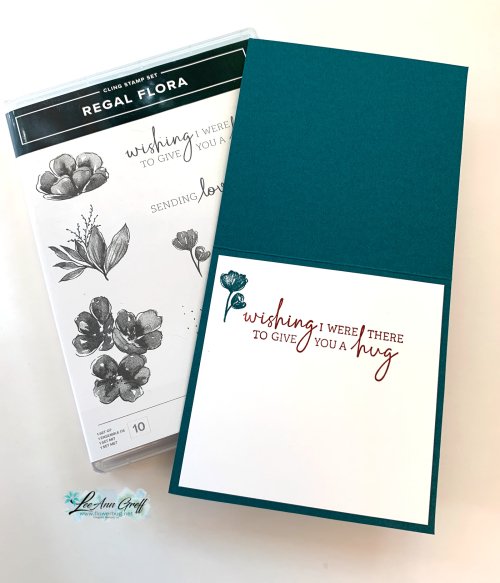
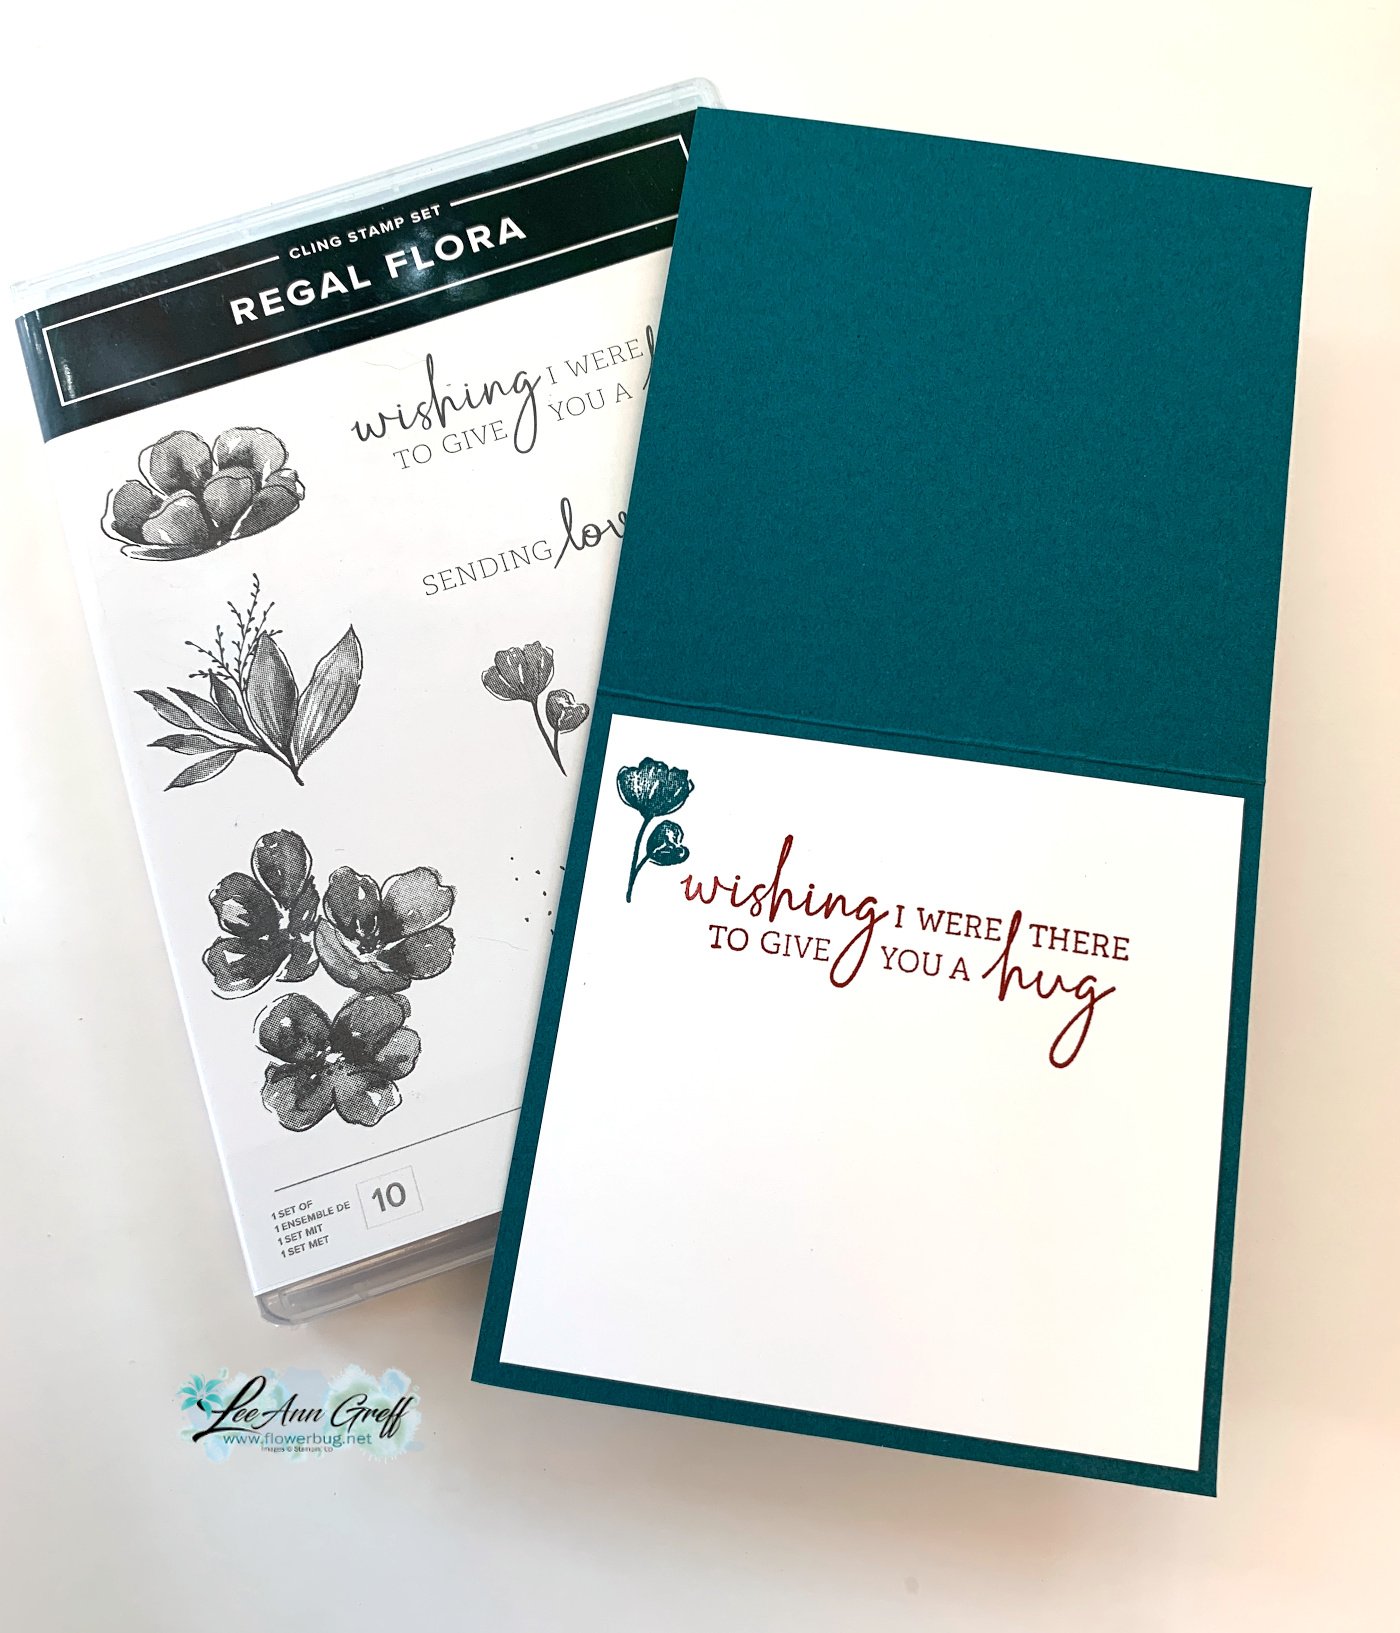
    The greeting is from the Regal Flora stamp set however the greeting is originally all in one row.  I cut it in half and stamped them separately to fit on my die-cut. They're easy to reposition back together like it came. 

    Here's a view of the inside: 

    Click on the following link to download or print the free project sheet: Download Regal Flora Easel card

    Below is the video for this card and another. Be sure to follow me on my YouTube channel here.  I shared another gorgeous card with this suite 2 weeks ago.  

    ~~~

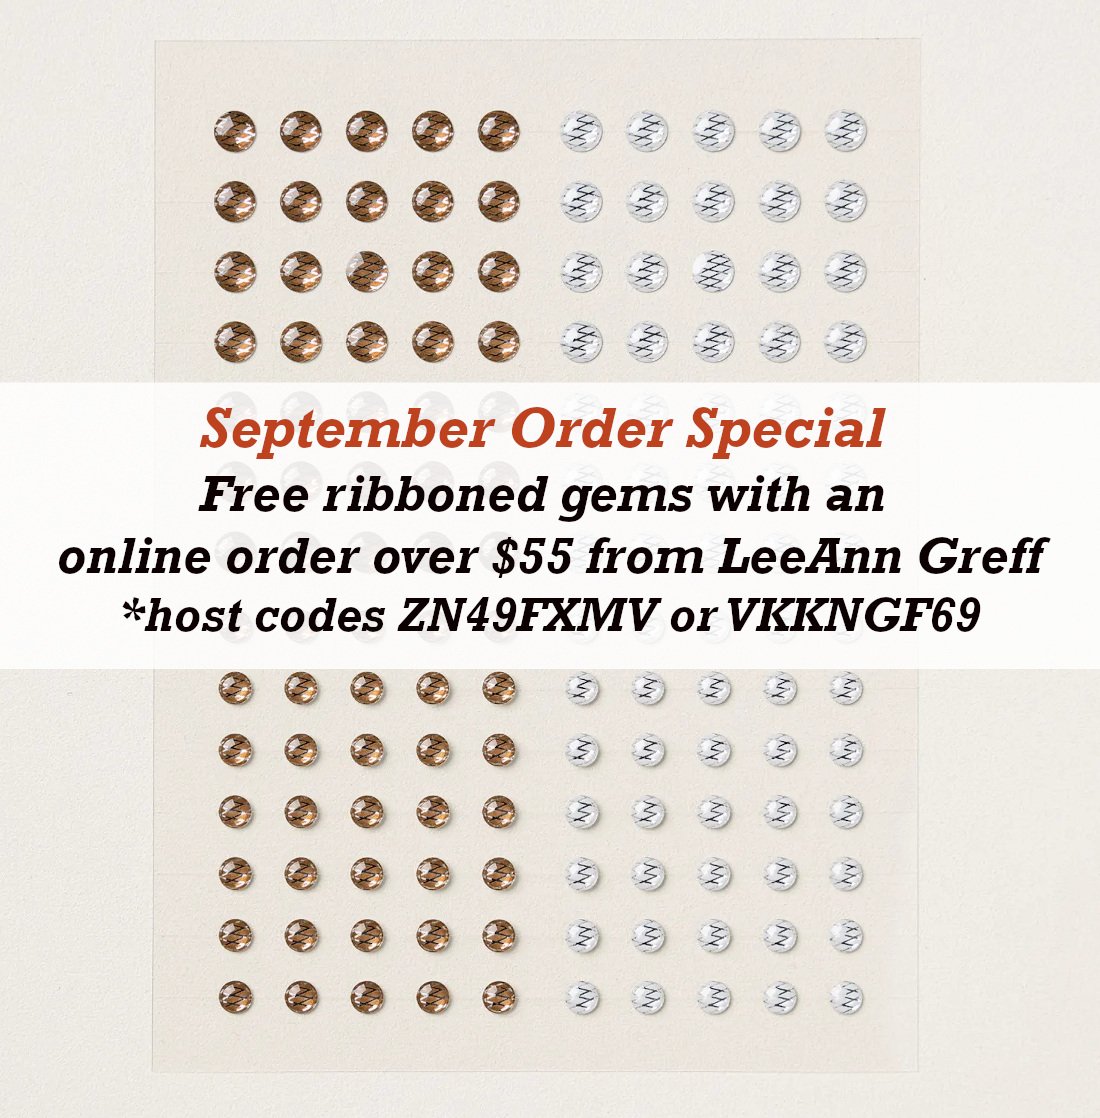
    September Specials:

    *current host code links: ENS36KE4 or ZN49FXMV


    ~~~

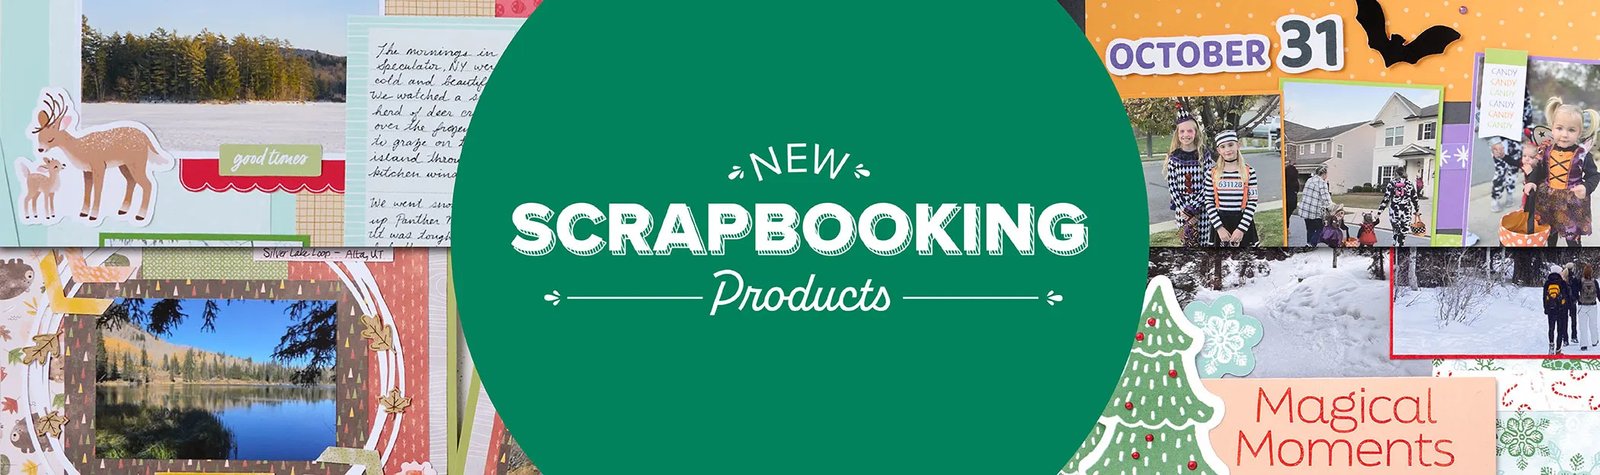
    Check out the new Scrapbooking Line from Stampin' Up! 

    See the Brochure here

    ~~~

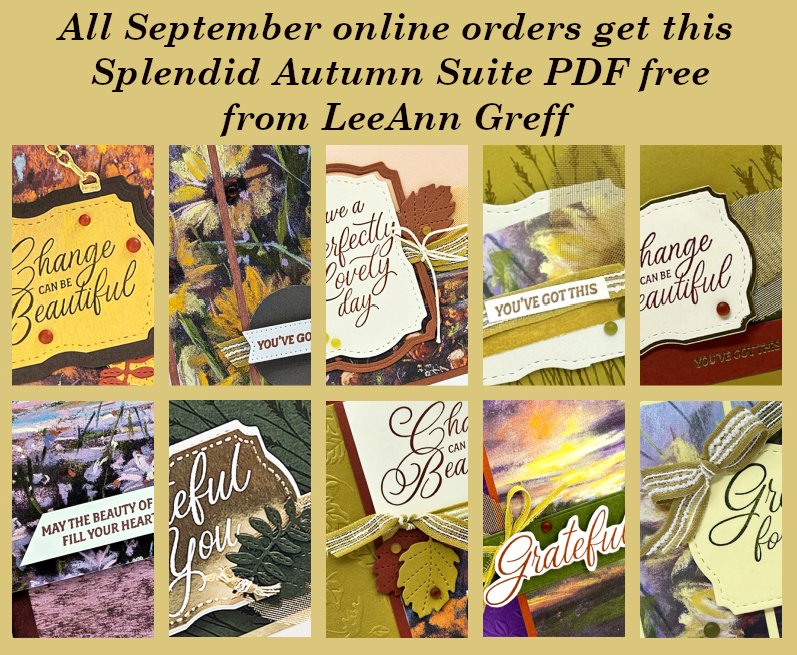
    All online orders will receive a free PDF tutorial featuring the

    Splendid Autumn suite

    Leave a Reply

    Your email address will not be published. Required fields are marked *

  • Easy stack & cut layout with Regal Winter with free project sheet & video


    This is one of the cards I shared on last week's Live video.  I chose to feature the beautiful Regal Winter suite seen here. It's new from our 2024 Holiday catalog by Stampin' Up! 

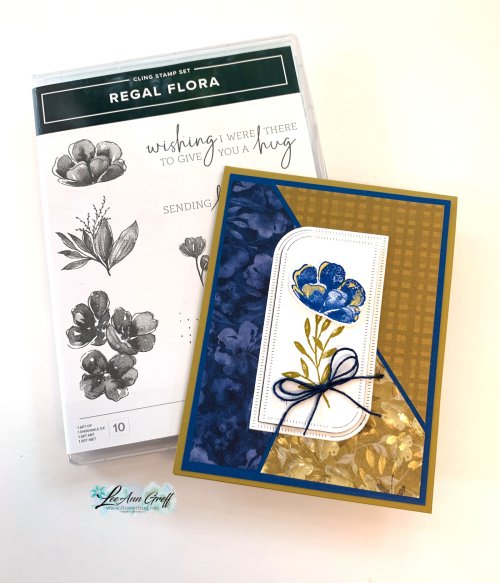
    Isn't the color combination pretty?  It's Blueberry Bushel with Wild Wheat & White.  It's interesting that I chose the color combo from the pretty Regal Winter designer series paper but afterwards I realized they are complimentary colors.  Check out pages 132-133 in the 2024-25 Annual Catalog. Blues & purple are complimentary colors with yellow hues. I explain how to do this this in my video seen here. 

    If you have trouble combining colors together start with two main colors.  Using our designer papers as a starting point can make it quite easy. I tend to grab the card stock and hold them next to each other.  I can usually tell if they work well.  But if you can't try using our color wheel information on the pages above.  

    Isn't that double die-cut pretty?  It comes as one die but cuts the main and the outer frame all at once. Click here to see the Regal Flora bundle and here for the Regal Winter designer paper. 

    I stamped the leaf image in Wild Wheat and the blue flower is stamped & die-cut. Next I colored the white areas with a Wild Wheat Blends marker.  Love the golden highlights!  

    Click here to print or download the free project sheet. Download Regal Flora Golden Hues of Blue

    How did I cut the three pieces of designer paper for this card? I explain in the video below and in the tutorial above.  But basically you stack 3 pieces of designer paper measuring 3 3/4" X 5" and cut into 3 pieces. It's incredibly gorgeous designer paper! 

    As long as you cut them all together it does not matter where your cuts are. You'll get 3 card fronts from the pieces you'll get.  These are layered onto another 4" X 5 1/4" piece of card stock. 

    Below is the video tutorial for this and one other card. I hope you watch it AND follow me on my YouTube channel too!
    ~~~

    September Specials:

    *current host code links: ENS36KE4 or ZN49FXMV


    ~~~

    Check out the new Scrapbooking Line from Stampin' Up! 

    See the Brochure here

    ~~~

    All online orders will receive a free PDF tutorial featuring the

    Splendid Autumn suite

    Leave a Reply

    Your email address will not be published. Required fields are marked *

  • Holiday Catalog Launch Party with lots of new product displays


    My new Holiday Catalog open house event went wonderfully on Wednesday; it was a big smash with lots of people attending.  I was ready with fabulous displays and yummy food.  Of course I forgot to take photos of the food but I did remember to grab some of the displays. 

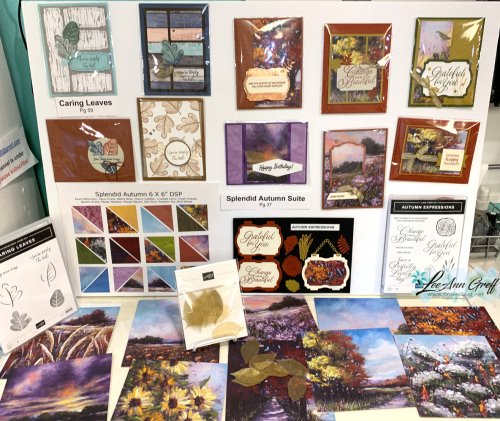
    First is the Splendid Autumn display: 

    I also included swaps from the Caring Leaves stamp set in the upper left. 

    I made samples of some of the die-cuts I have to help showcase how they can be used.  

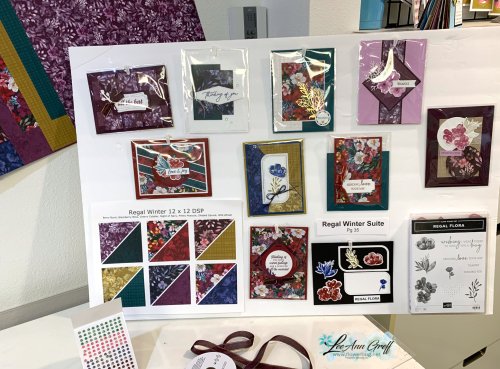
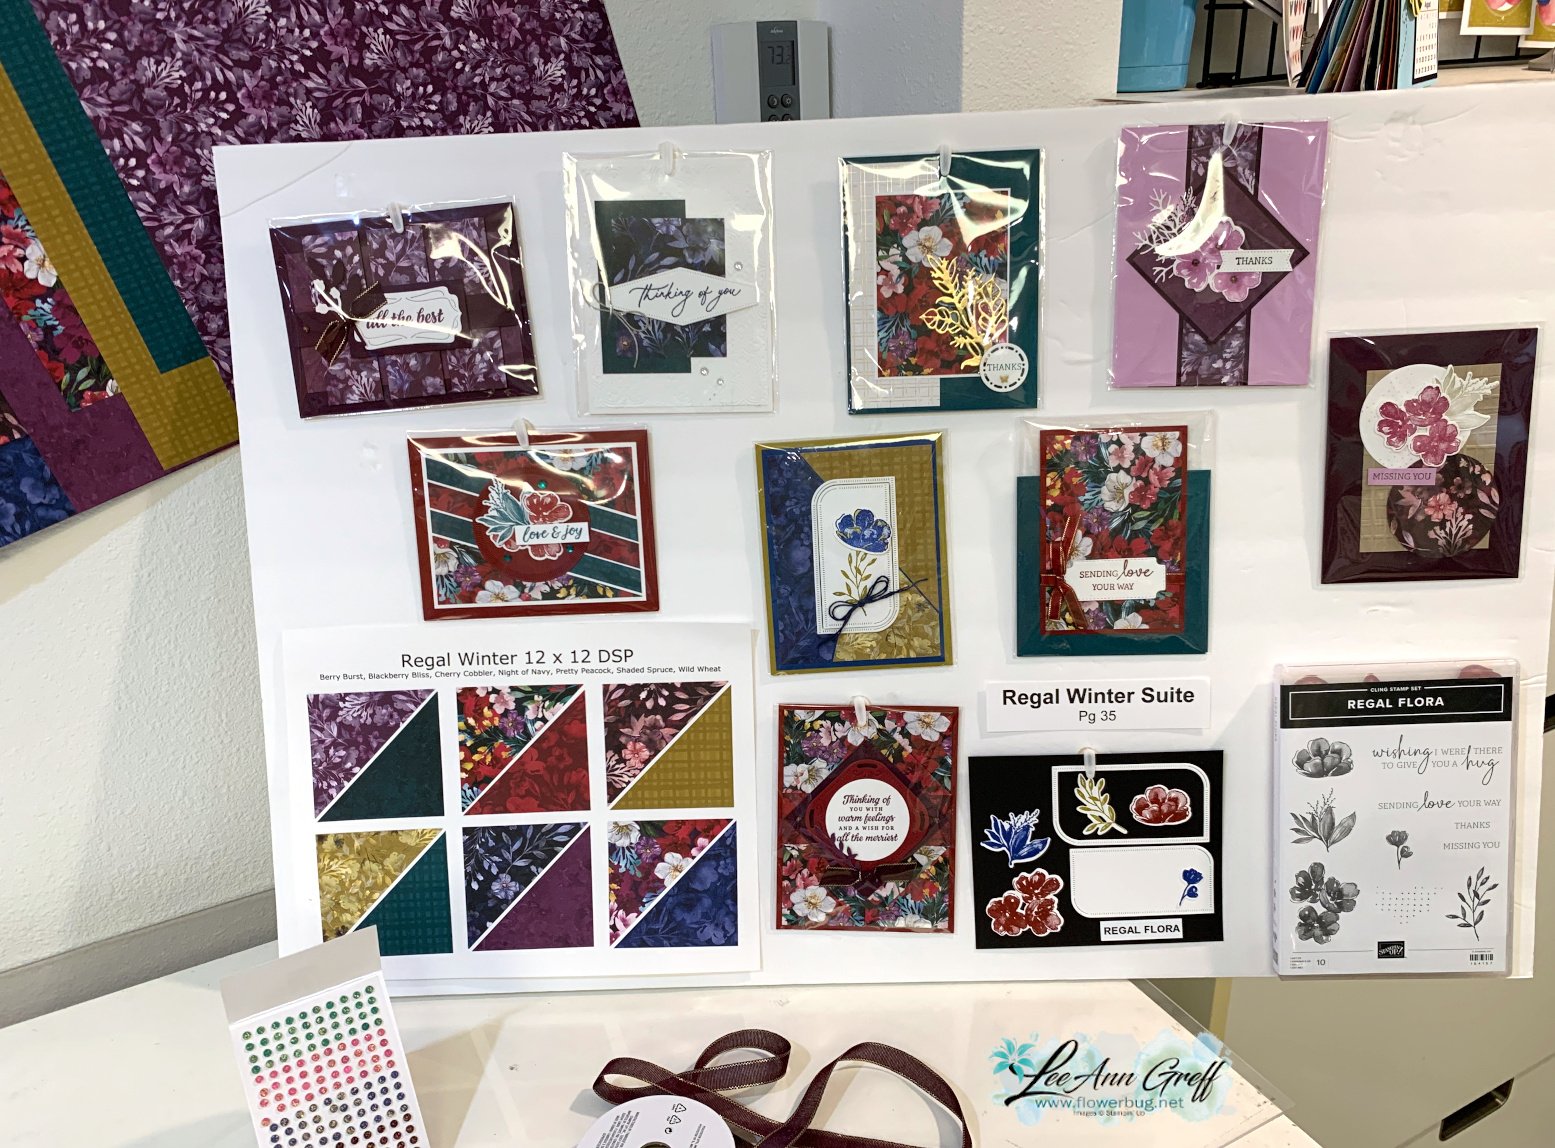
    Next is my Regal Winter display: 

    I shared a few of these cards on last week's Live video which you can here and another one here.

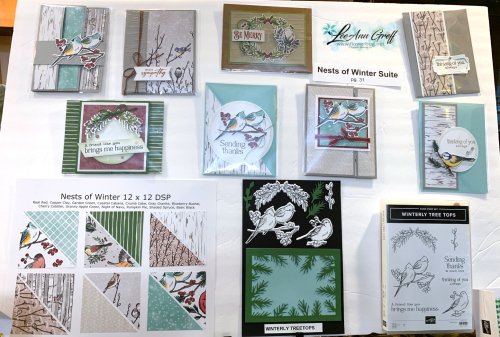
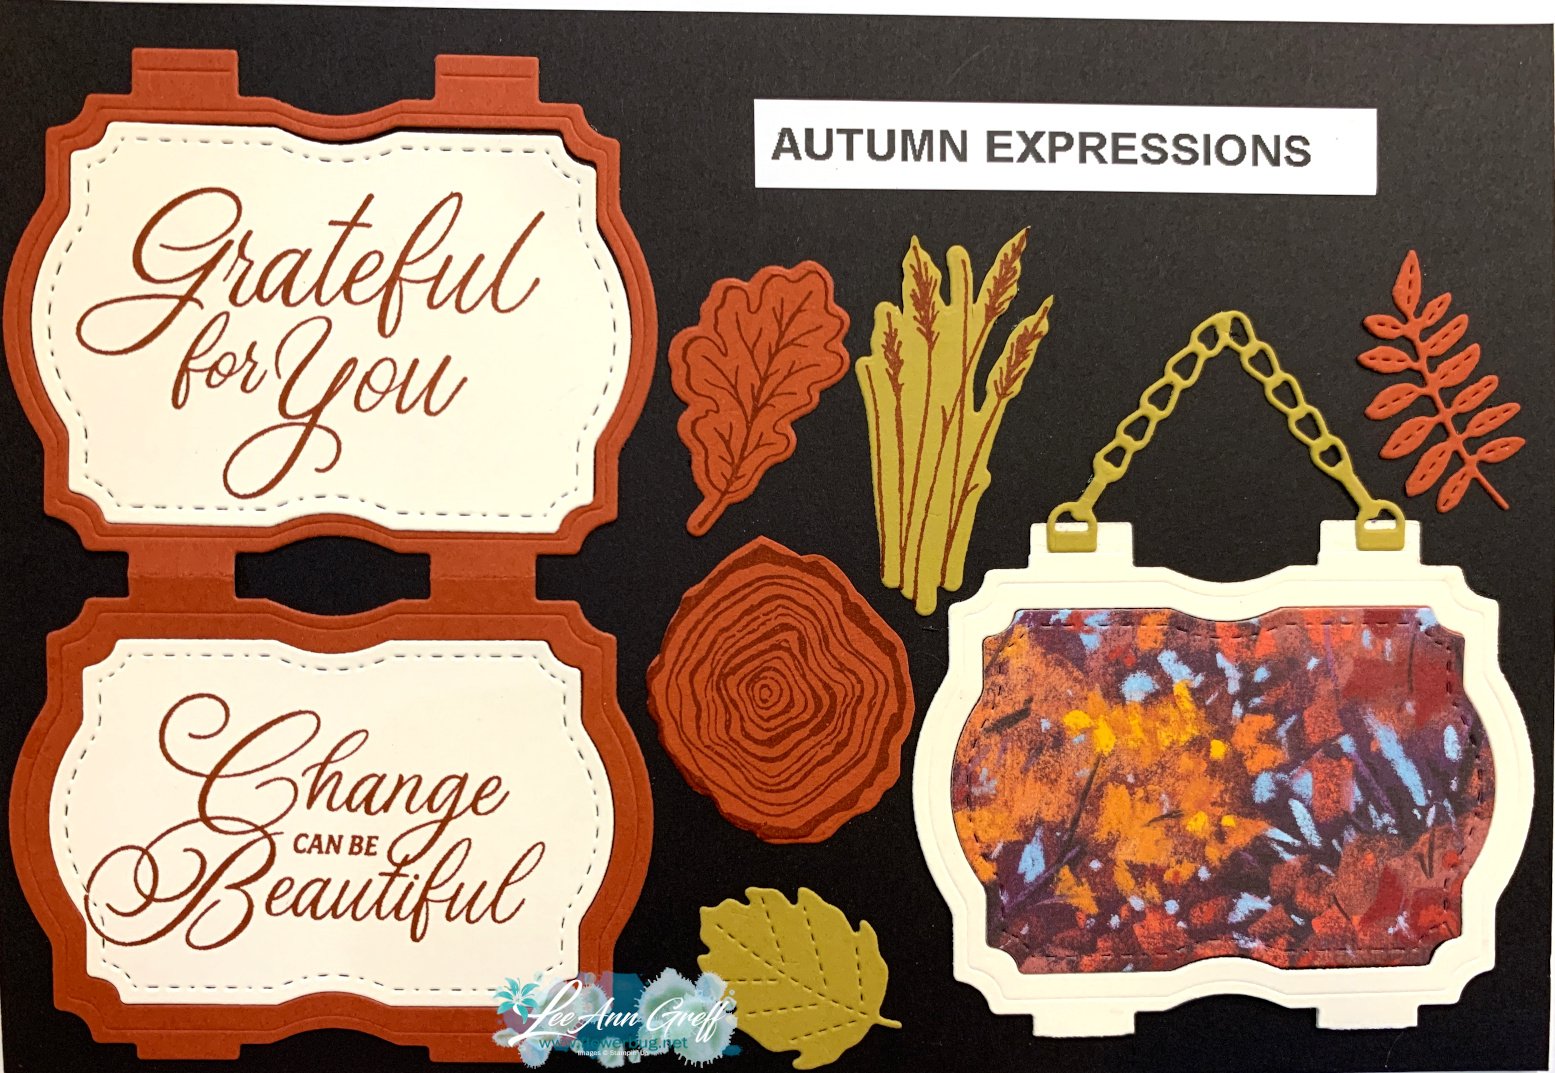
    Next is the Nest of Winter suite which is filled with wood grains, birds and nature. 

    I shared some of these cards in this video seen here. 

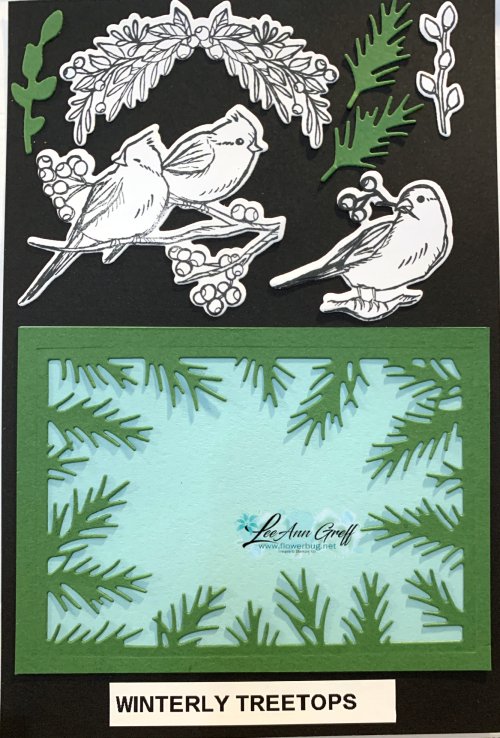
    I created a sample for the dies in this suite too.  I should have colored them in but I didn't take the time. 

    I'll share more soon! 

    ~~~

    September Specials:

    *current host code links: ENS36KE4 or ZN49FXMV


    ~~~

    Check out the new Scrapbooking Line from Stampin' Up! 

    See the Brochure here

    ~~~

    All online orders will receive a free PDF tutorial featuring the

    Splendid Autumn suite

    Leave a Reply

    Your email address will not be published. Required fields are marked *


Notice: LeeAnn Greff, Independent Stampin’ Up! Demonstrator, Manager. The content of this website is my sole responsibility as an independent Stampin’ Up! demonstrator and the use of, and content of, the classes, services, or products offered on this website is not endorsed by Stampin’ Up! Copyright 2025