/


Latest Post

A fun way to add color to the Happy Place stamp with video tutorial


I shared how to add color to the large ‘Happy’ from the Happy Place stamp set on last week’s Live video. What do you think?

We made this cute card at my September card clubs. The colors include Lost Lagoon, Calypso Coral & White. You might wonder how I achieved the two-toned inking on the Happy image. I used inks – Lost Lagoon for the water and Calypso Coral for the sky. For this sample I used large ink pads. But for my Clubs we used smaller ink spots. It was a lot easier this way!

You might also wonder where I got the rectangle Perennial Postage die shape. I had to die-cut a larger rectangle twice to get this size. It was pretty easy and I share how in the video below.

We textured the Lost Lagoon layer with the Wave 3D embossing folder and the curvy leaf dies are from the Label Me Grateful dies seen here. I love them! The inside greeting is from the With You in Mind stamp set.

It’s an easy fold that shows off the inside of the card and the designer paper we added. This DSP is the Subtles 6″ designer paper which has some great patterns.

I really enjoyed playing with this fun stamp set. I’ll share another project from the video tomorrow. See the Happy Place set here.

I created a free project sheet for you with measurements, photos, directions and a supply list with links. Click on this link to print or download it.

Below is the video tutorial for this card and one more. Don’t forget to subscribe to my YouTube Channel while you’re there!

~~~

  To see all of the new Online items click here.  Or download & save the Download Online Exclusives flyer 

Get a free project tutorial with any online order in September! 

All Posts

  • Are you on my list to receive a new Annual Catalog?


    I'm preparing my annual catalog mailing list this week. Customers who have ordered from me recently will get theirs mailed free. 

    My local customers will get theirs at my events. If you believe you're on my list but you're not sure, be sure to check in with me.  Email me here by Saturday, March 30th. 

    If you're not on my list and would like to be; just place an online order over $35 by Saturday, March 30th.  Here's the link to order online. 

    If you'd like to get one without placing an order it costs $5 for mailing.  You can pay via Venmo or PayPal. 

    ~~~

    March Specials:

    *current host code link:  

    VGAQKH7J

    Get a free Floral Delight tutorial with any online order in March!

     Free Iridescent Foil gems!

    Leave a Reply

    Your email address will not be published. Required fields are marked *

  • Wow! Check out this fabulous fun fold that’s actually easy! Video & free project sheet too


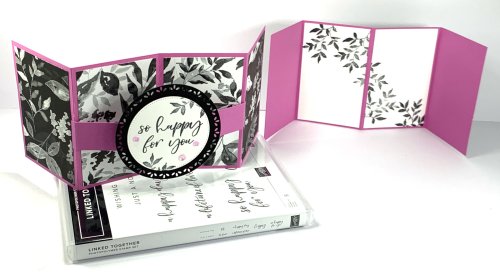
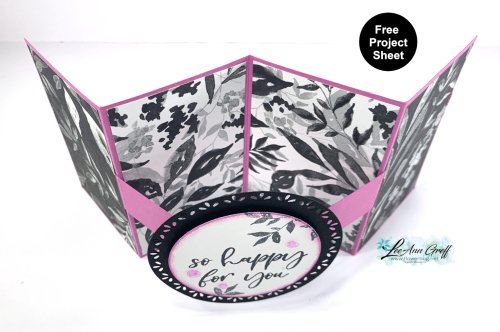
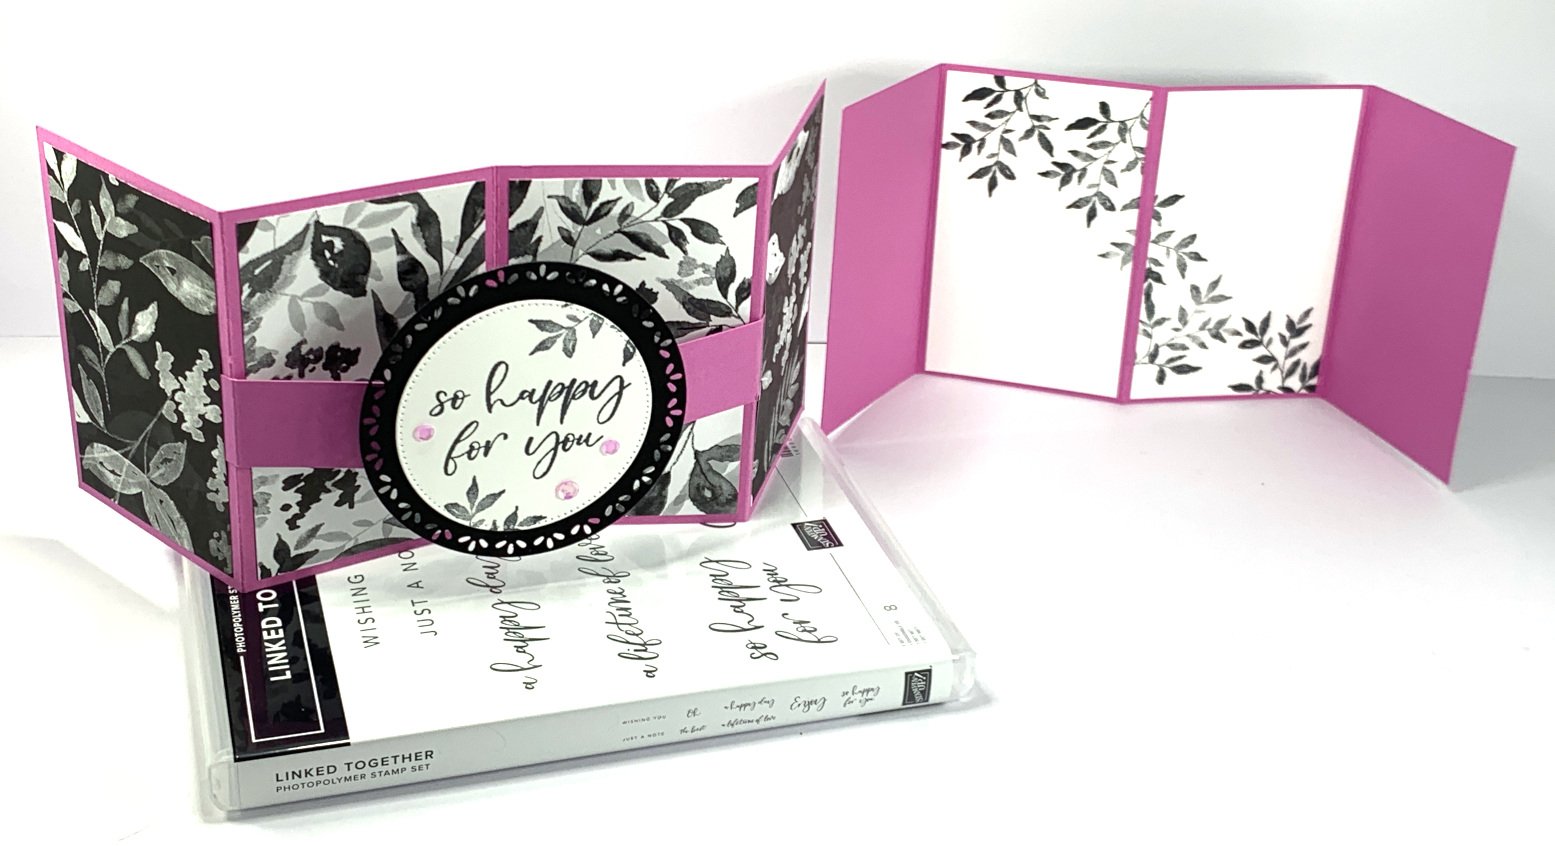
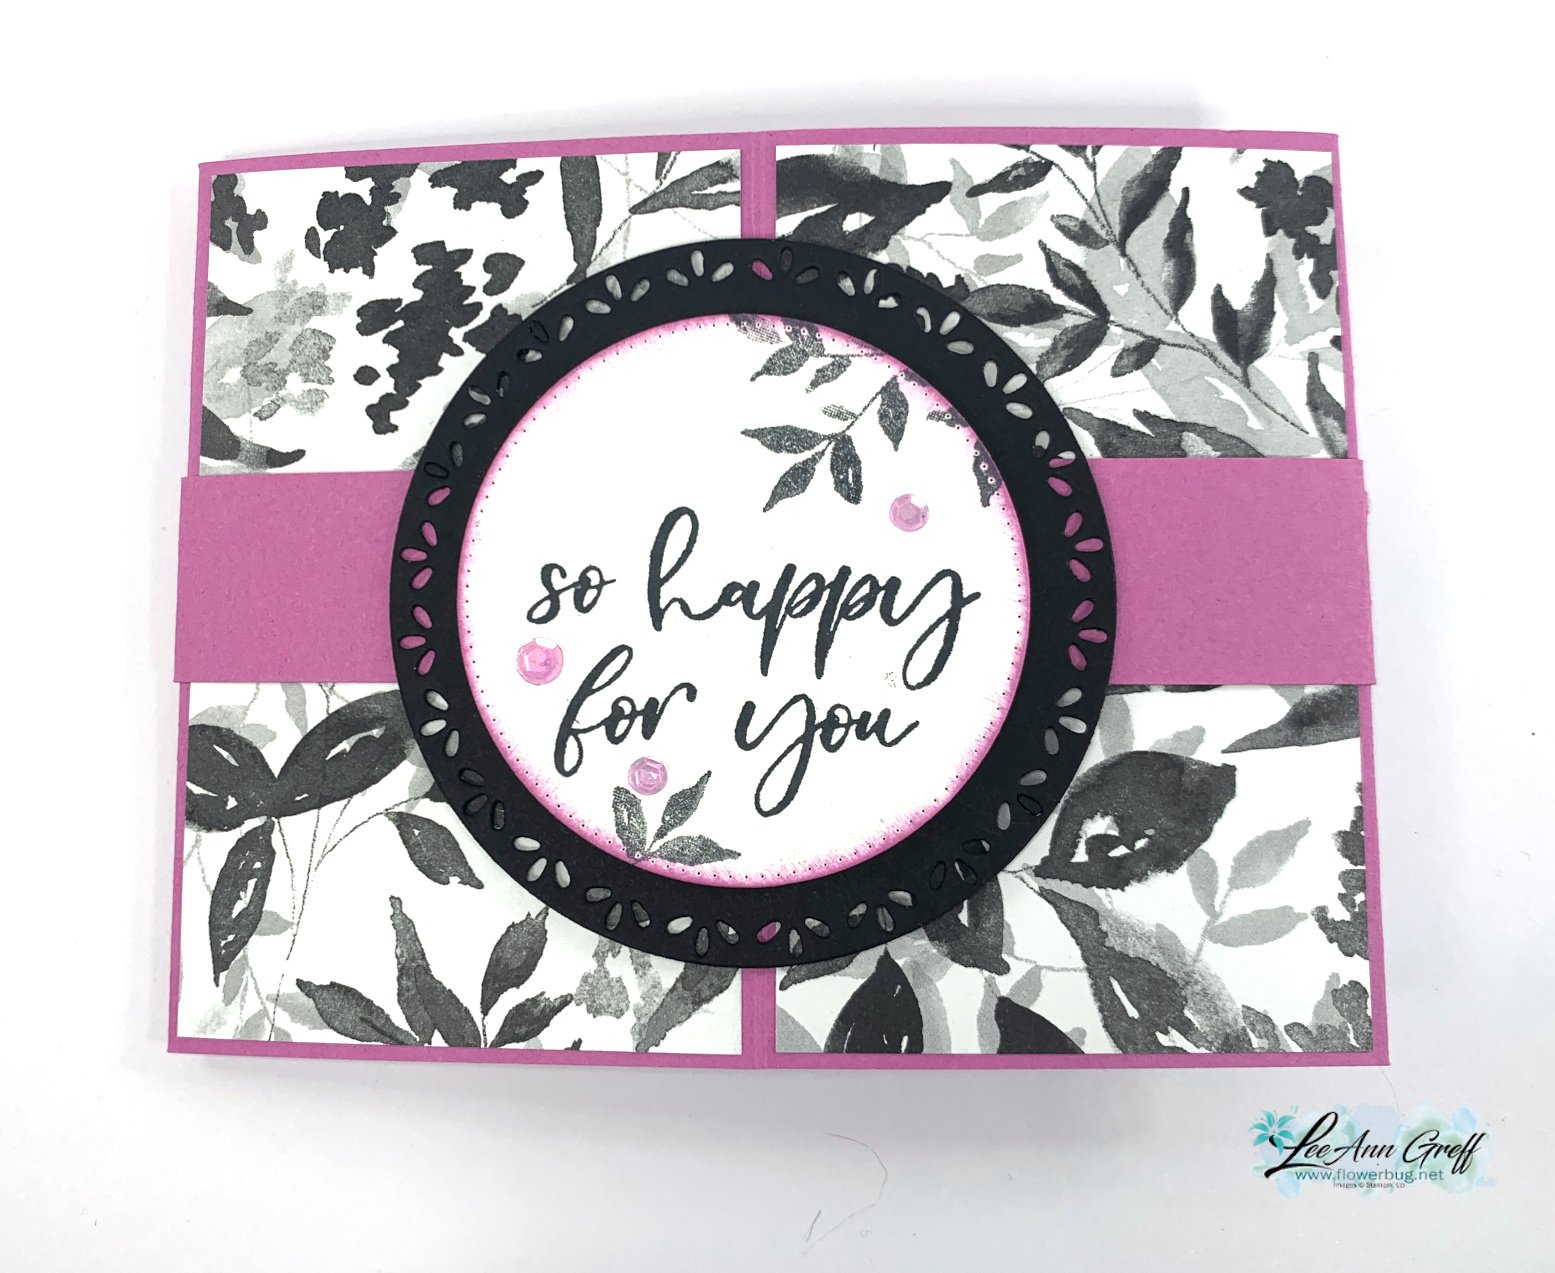
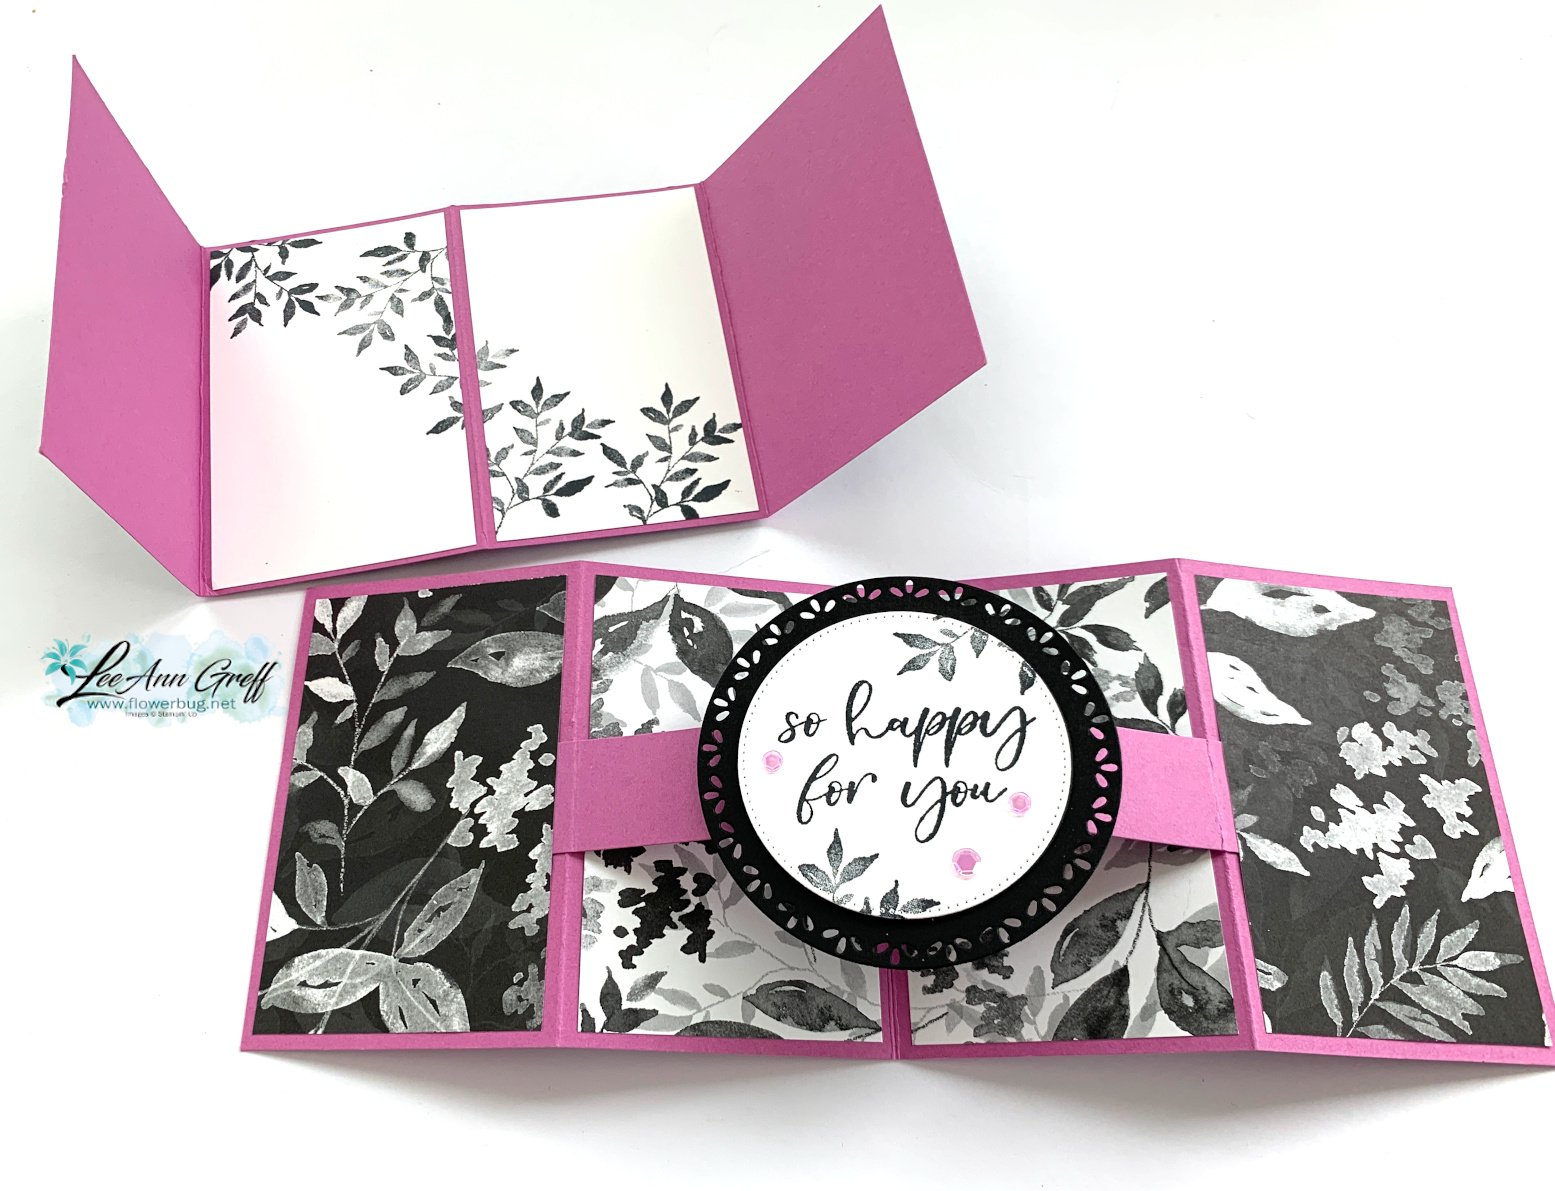
    I'm super excited to share this neat fancy fold card with you today.  I made it on a recent video which I've added towards the bottom of this post.  

    I chose to use the beautiful Botanical Textures DSP seen here with Petunia Pop, Black & White.

    It starts out with a 11" X 4 1/4" piece of card stock that you score three times.  Then you add a 'bridge or brace' in the center that does the fun pop-up work.  Watch the video to see how it's done. And check out the free project sheet below too.  

    I stamped the greeting with the Linked Together stamp set and the leaves with the Textured Notes stamp set. The greeting die-cuts are from the Stylish Shapes and Spotlight on Nature dies. 

    It folds perfectly flat for mailing too!  

    I hope you'll watch the video below to see how to assemble this neat card. It's super fun to play with.  

    Here is the free project sheet with measurements & directions. Click on the following link to print or download it.  Download Floating Center pop out card


    Below is the video tutorial: I hope you watch it and see the other really special fancy fold.  I'll share that tomorrow! 

    ~~~

    March Specials:

    *current host code link:  

    PNQMAWXD

    Get a free Floral Delight tutorial with any online order in March!

     Free Iridescent Foil gems!

    Leave a Reply

    Your email address will not be published. Required fields are marked *

  • Double Easel fun fold card with video & free project sheet


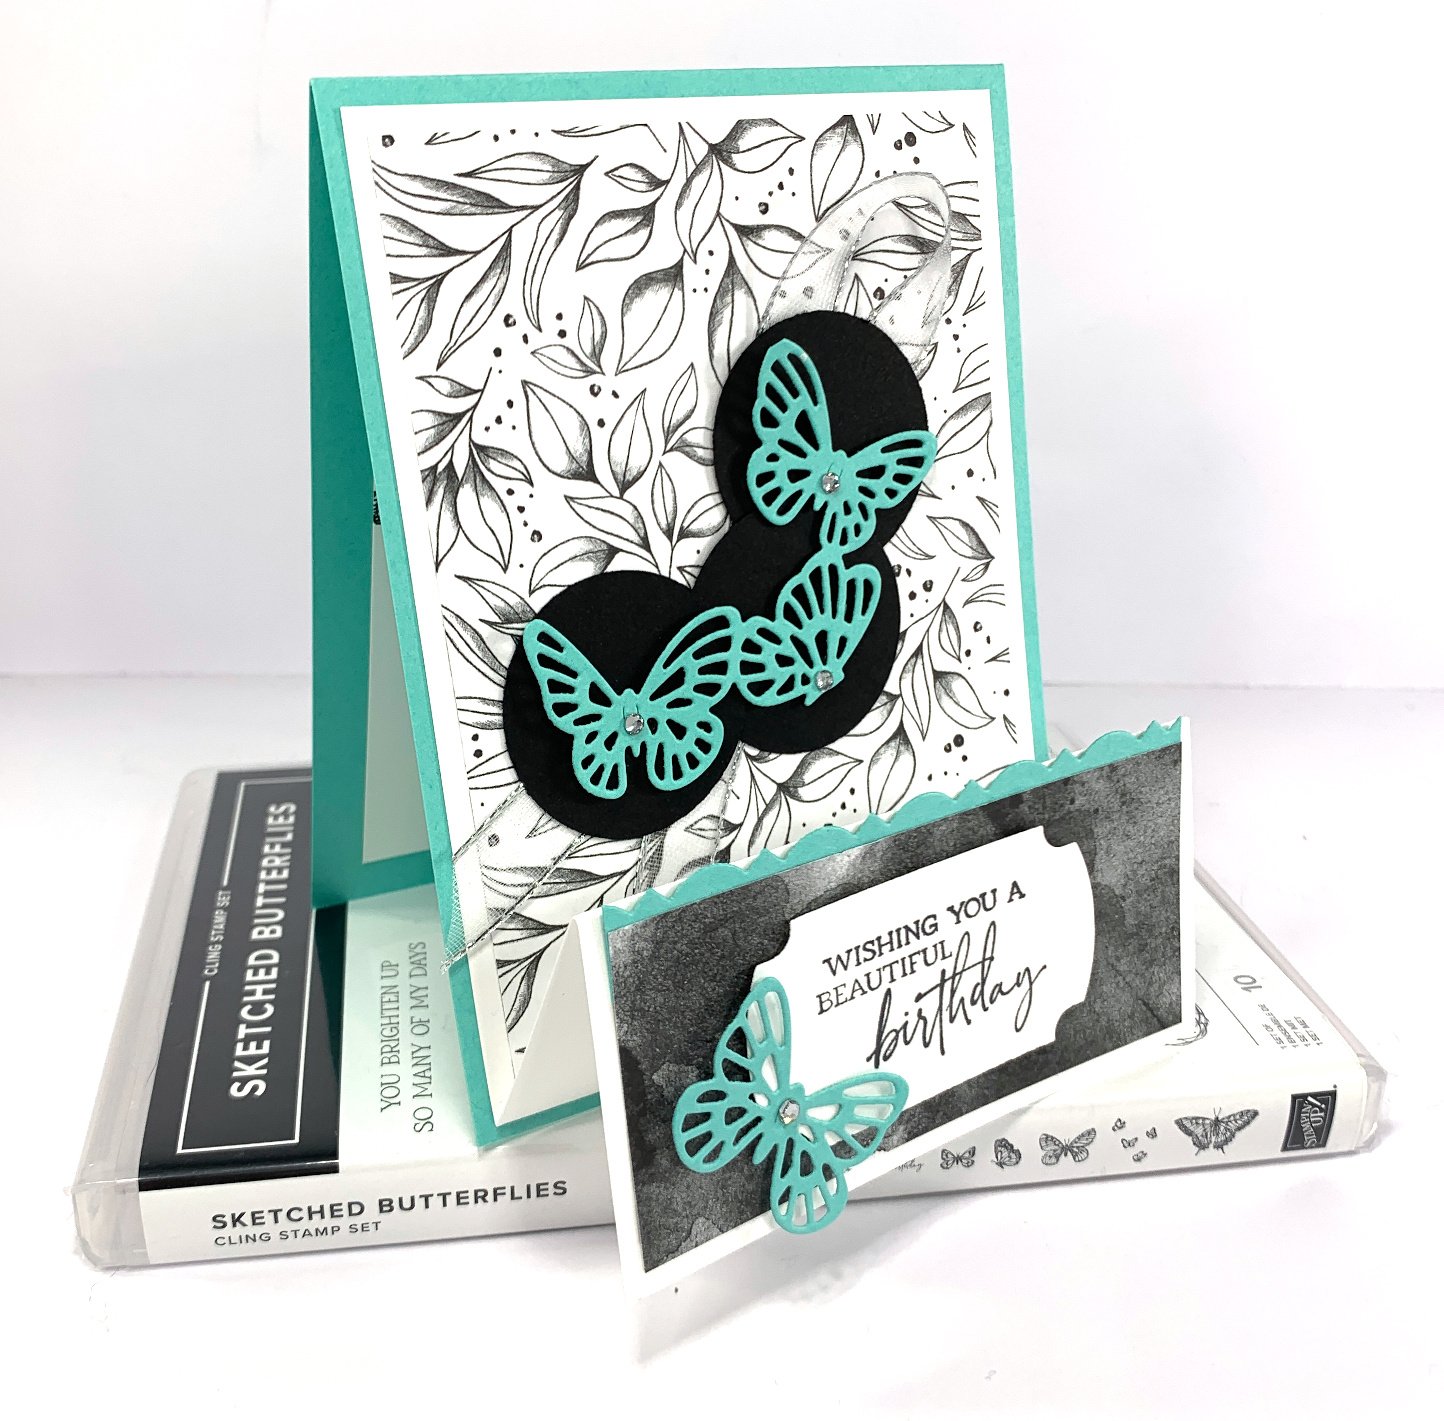
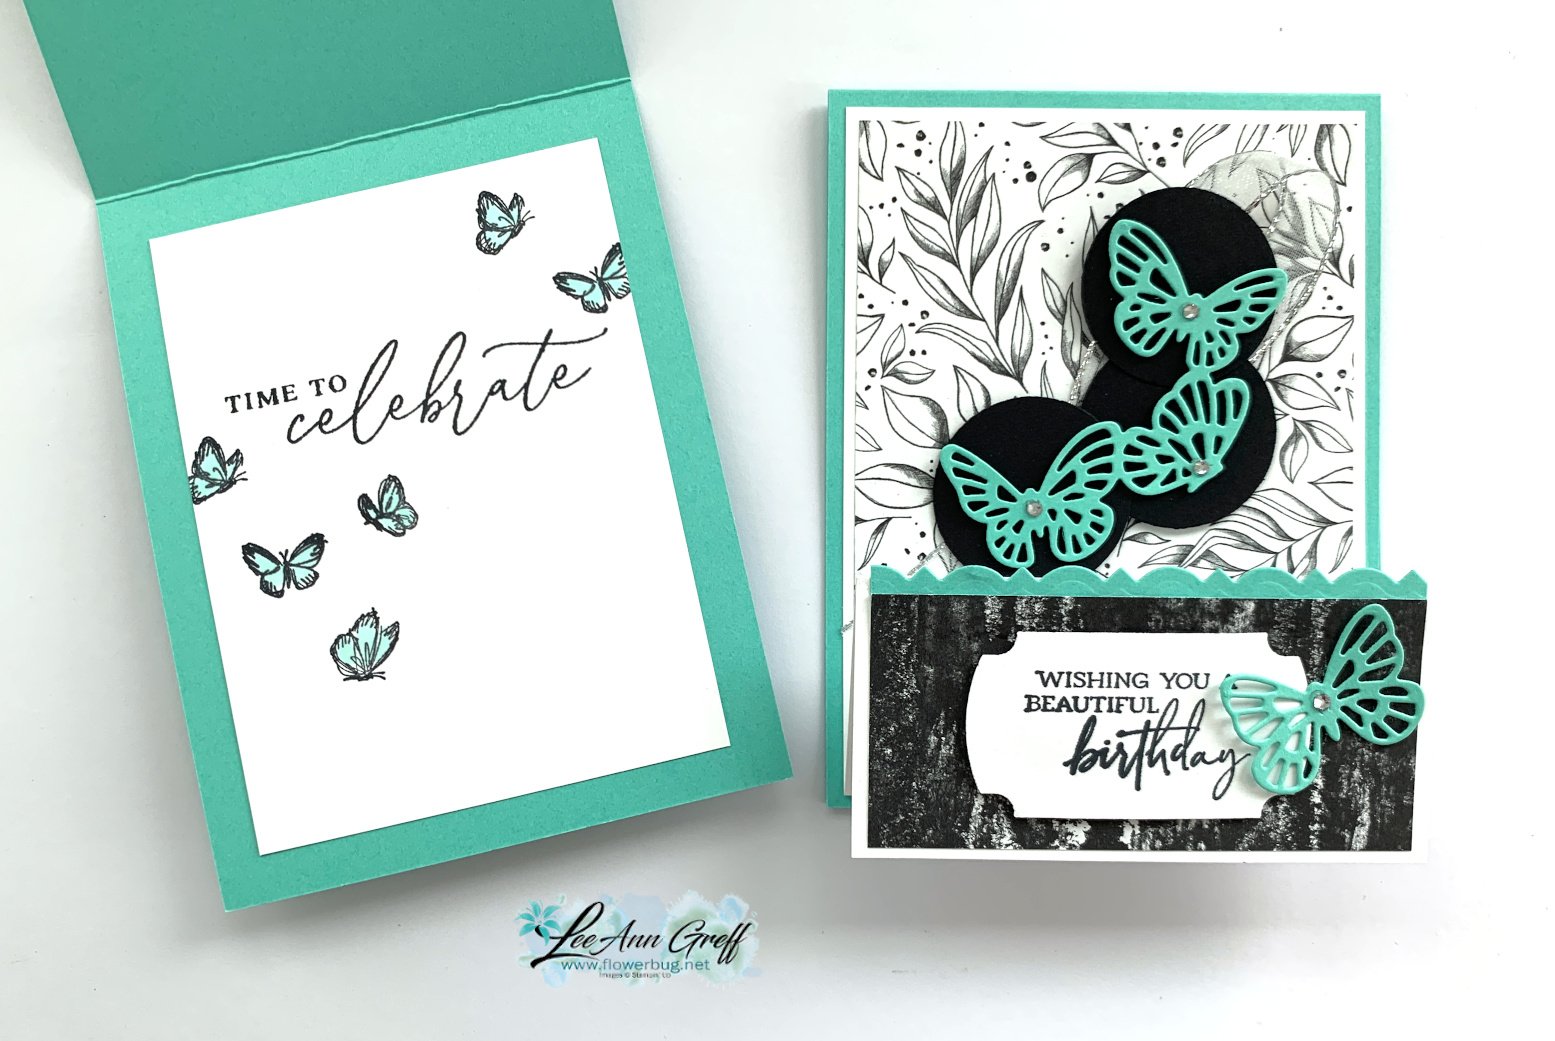
    I shared this neat fun fold on last week's Live video.  I record them on Facebook Live then upload to YouTube so you can view them either place. 

    My color combination is Summer Splash with Black & White.  The new Botanical Textures DSP inspired this fun fold card. 
    I love how the three butterflies die-cut is placed on 3 Black circles; they would have been lost if placed directly on the DSP. 
    We made this project at last week's Team gathering.  They loved it! 
     
    Products used:
    • Botanical Textures DSP seen here
    • Sketched Butterfly bundle
    • Beautiful Butterflies stamp set
    • Fancy Border dies (seen here) 
    • Label punch

    I created a free project sheet with measurements & directions for you. Click on this link to download or print it.  Download Botanical Butterfly Easel card

    I also included the video below. What do you think of it?  I hope you'll try one!

    Below is the video tutorial: I hope you watch it and see the other really special fancy fold.  I'll share that tomorrow! 

    ~~~

    March Specials:

    *current host code link:  

    PNQMAWXD

    Get a free Floral Delight tutorial with any online order in March!

     Free Iridescent Foil gems!


    Leave a Reply

    Your email address will not be published. Required fields are marked *


Notice: LeeAnn Greff, Independent Stampin’ Up! Demonstrator, Manager. The content of this website is my sole responsibility as an independent Stampin’ Up! demonstrator and the use of, and content of, the classes, services, or products offered on this website is not endorsed by Stampin’ Up! Copyright 2025