/


Latest Post

A few favorite craft storage tips


I thought I'd share some of my favorite ways to store my stamping products.  Some people enjoy organizing more than creating! 

First is how I store my stamp sets.  In a dresser drawer.  I purchased a few dressers from IKEA many years ago and they've held up very well despite multiple moves.  

Here's a photo of my craft studio.  I am very, very lucky to have such a beautiful room in our home for my business and classes. 


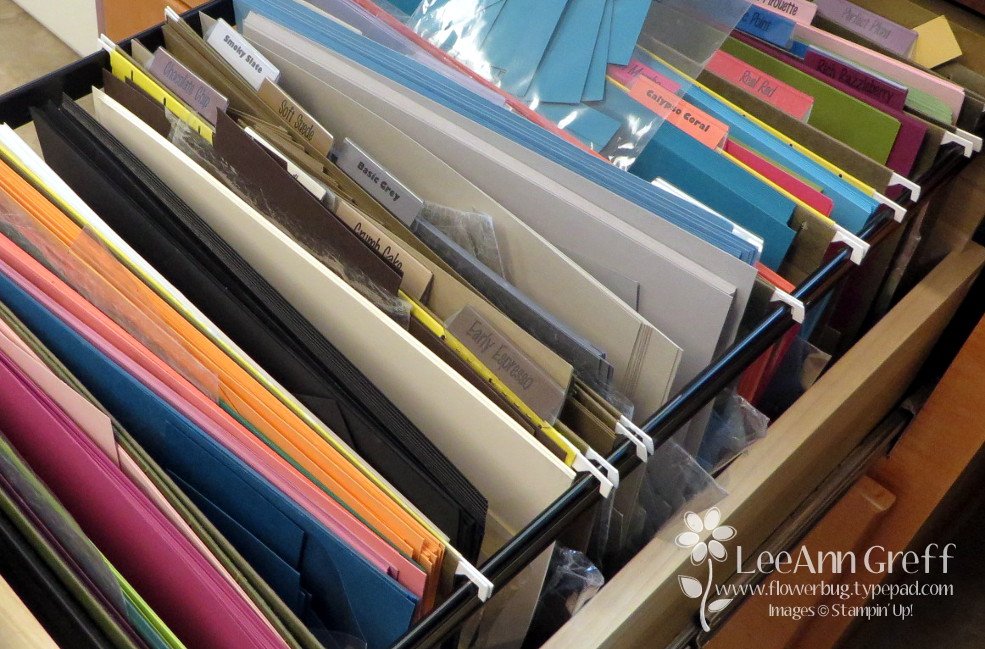
Here's how I store my 8 1/2" X 11" card stock and paper scraps.  In front of each color of card stock I keep a cello bag for the scraps in that color. I've used this method for years and it really helps me use my scraps.
Next is how I store my 12 X 12" designer paper and scrapbook pages. 
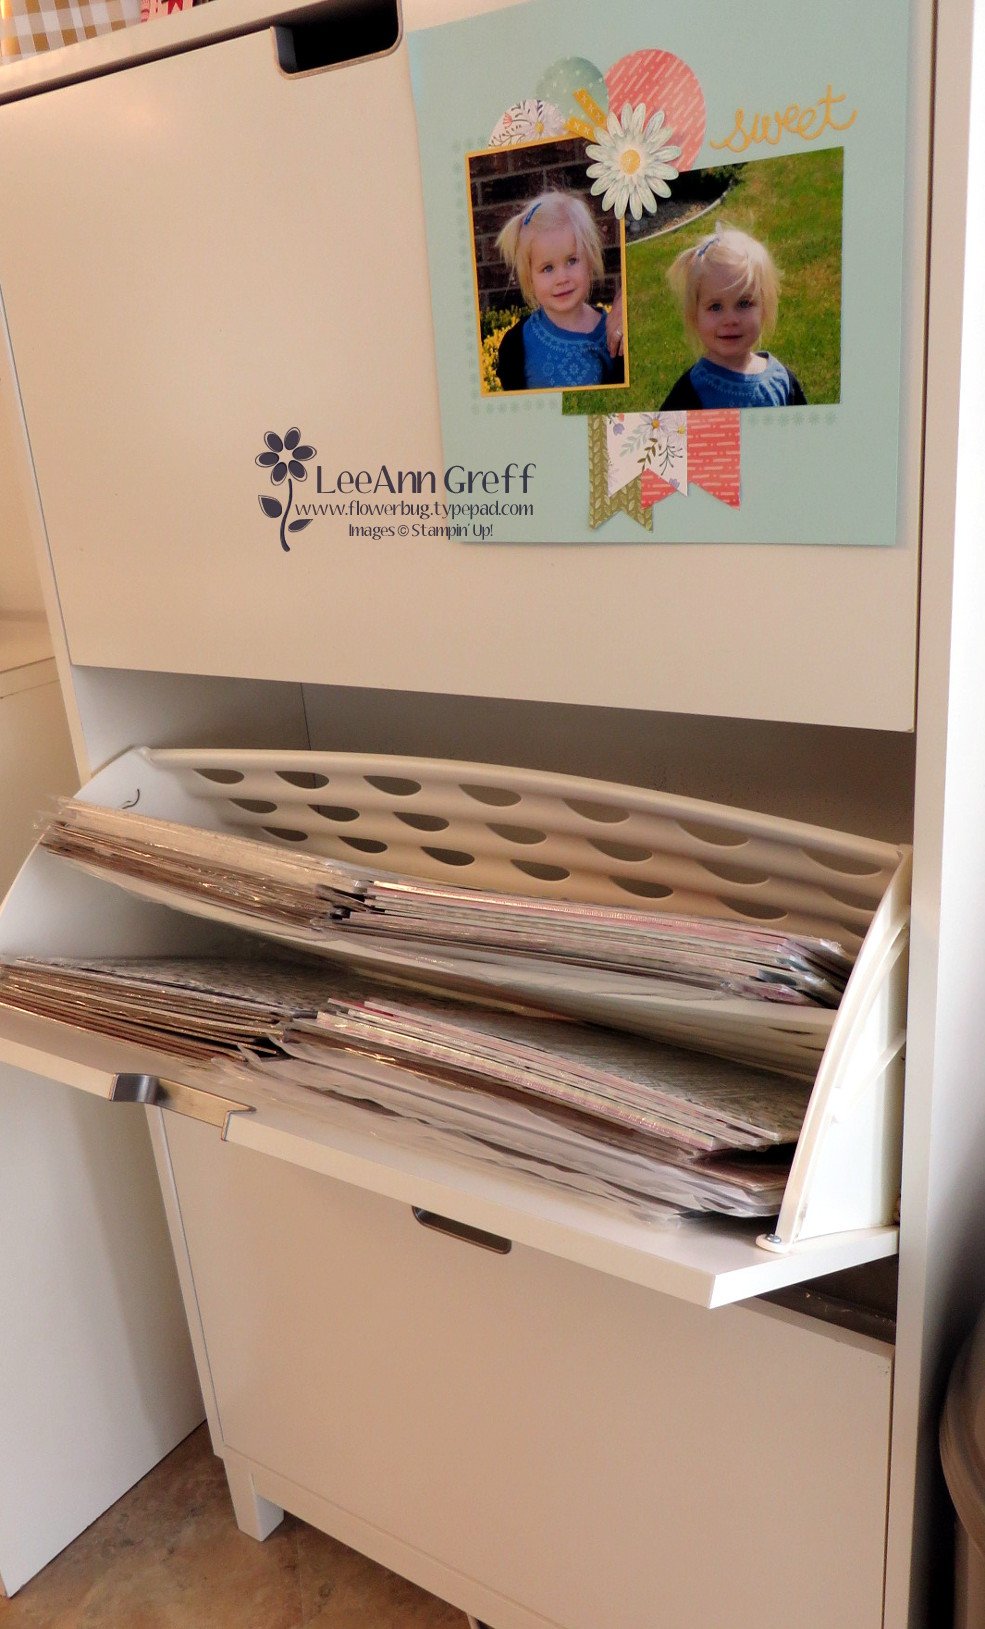
It's a shoe storage cabinet! My 12 X 12" paper fits like it was made just for it!  You can get two stacks side by side in it since it's about 30" wide.    Plus it has a divider to fit even more paper above it.  I love the way the doors hinge open.  There are three doors and it's only about a foot deep.

Lastly here's how I store my inks, markers and ribbon. These are Stampin' Up! storage and they're fully customizable to fit what you need.  Click here to see the options. 

I love that it fits right on my work area for easy reach. As you can see I organize my inks in rainbow order. I'm not sure why my Blends aren't but I know my granddaughter will love to do that for me this week while she's here.  

~~~

December Specials:

*current host code link:  

P243X6VH

3 new designer papers!

~~~

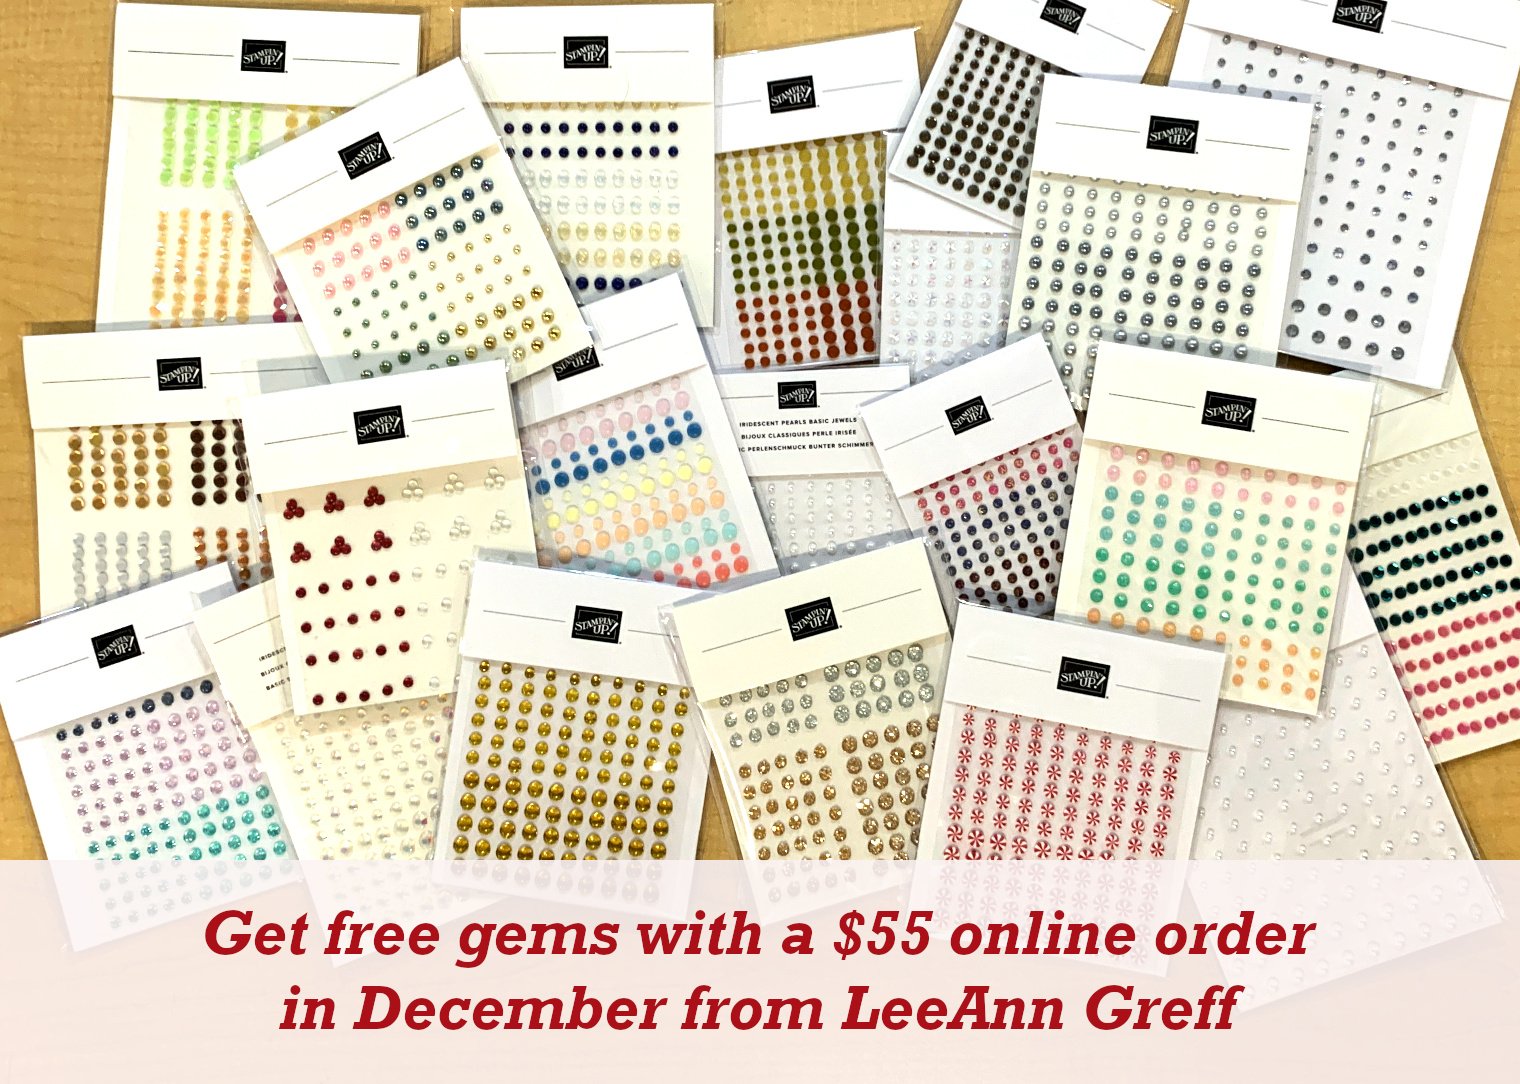
Available December 3rd; while supplies last!
~~~
~~~

All Posts

  • A striking technique with the Naturally Gilded specialty paper; with video & free project sheet!


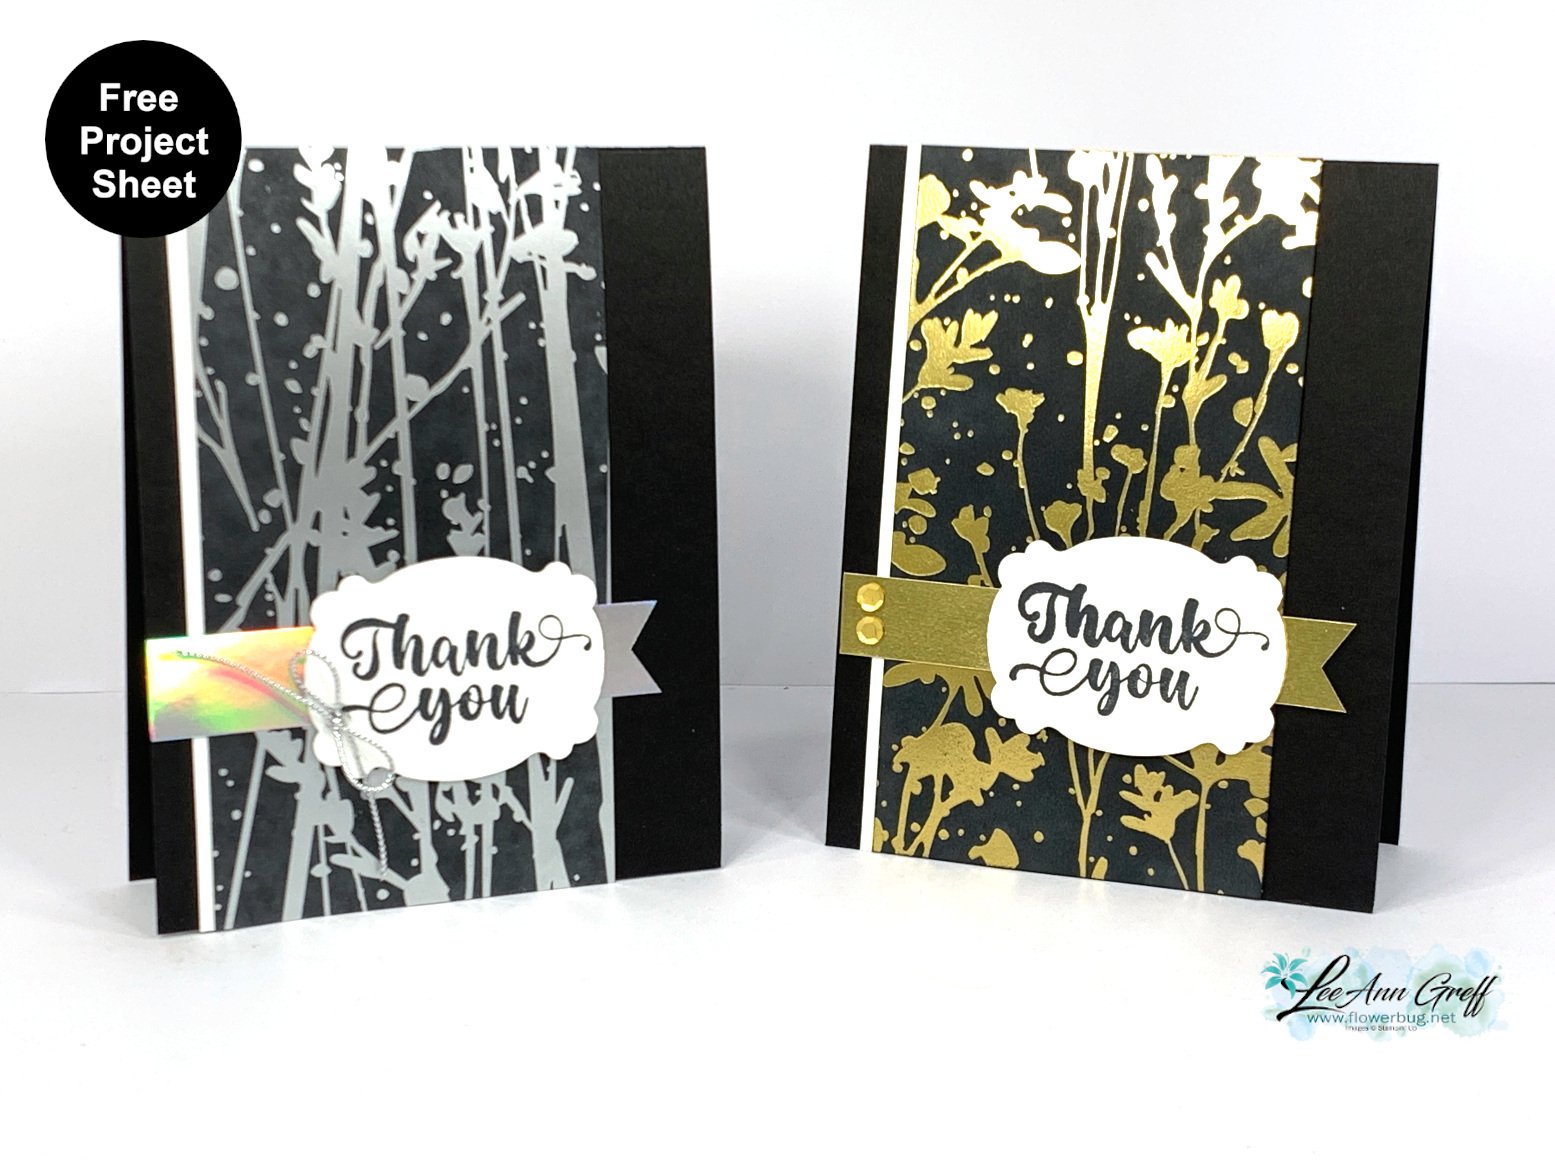
    I shared how to make this card on last week's video. It features the Naturally Gilded designer paper seen here.  

    This pretty paper has a white background and Silver, Gold or Copper foil patterns. You can see it in the Online Exclusives while supplies last. 

    I decided to do a direct to paper resist technique and change the White background to Black.  You can do this technique on any foil printed designer paper. The foil resists the ink so you can wipe it off once the background is saturated. 

    I used a Black Memento ink pad which is water-based. You can use any water-based ink but not Stazon. Stazon ink would cover the foil patterns. 

    How did I do it?  I had my paper laying face up and rubbed or tapped my Memento ink pad all over the specialty paper. Once you're done adding ink simply wipe the ink off the foil prints with a tissue or paper towel.  

    I created a free project sheet for these cards; you can download or print it here: Download Naturally Gilded Ink Resist technique

    *Below is the video where I shared this technique.  I also shared my new Annual Catalog products and lots of amazing swaps too.  Be sure to follow me on YouTube here. 

    ~~~

    March Specials: 

    See over 20 brand new Online Exclusive products here!

    *current host code links:   ZDUGF6KY or TQWBXR4T

    ~~~

    Get a free package of Rainbow Dots

    with online orders over $55 in March

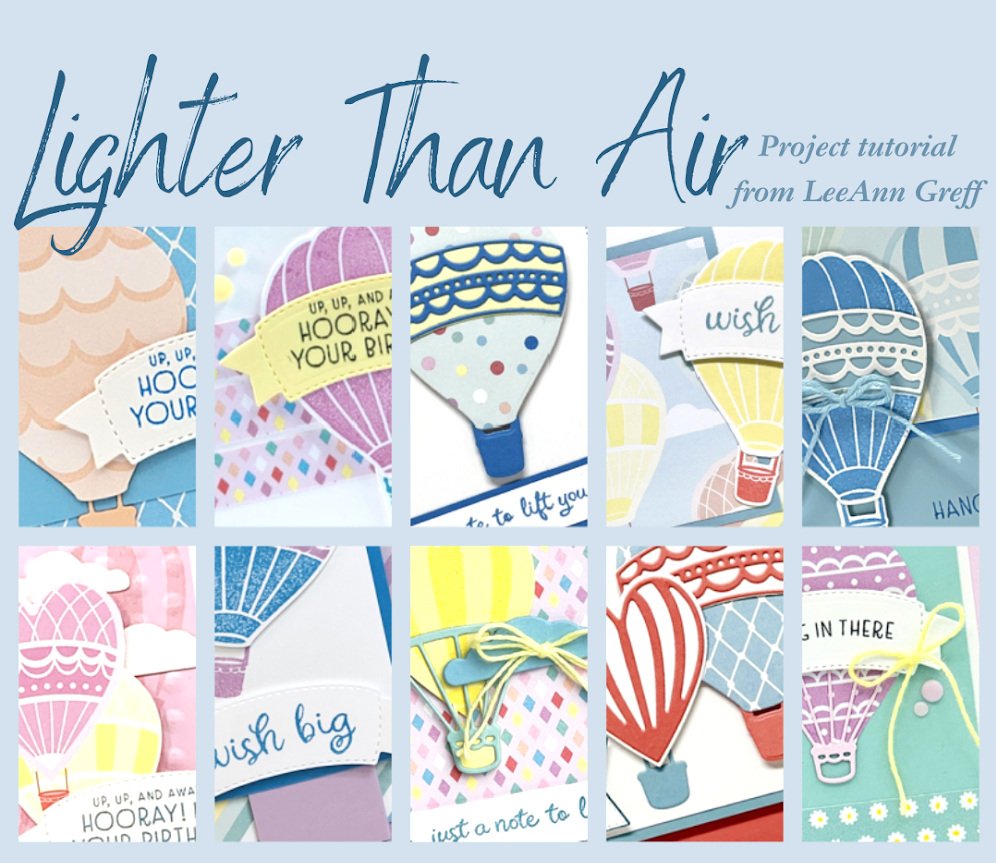
    All online orders in March will receive this free Hot Air Balloon tutorial with 8 projects!

    Leave a Reply

    Your email address will not be published. Required fields are marked *

  • Poetic Expression fun fold swap card


    Last week I shared this image on Facebook.  It was a bit of a tease to guess what the finished card would be like. 

    It has Pool Party, White, Lost Lagoon and some Poetic Expressions designer paper (retiring in April). 

    It also shows the greeting die-cut from the Thoughtful Moments Hybrid embossing folder seen here.  I feel like it makes my greetings extra special.  They're a pretty font and give texture and dimension to your projects. (I shared how to use this folder here in a video.)

    And that is the finished card.  I made 12 of these for an organized fun fold swap. I am a huge fan of monochromatic cards and these colors are at the top of my favorites list.  

    The tag is from the Something Fancy dies seen here.  I love the many label & greeting shapes this set has. 

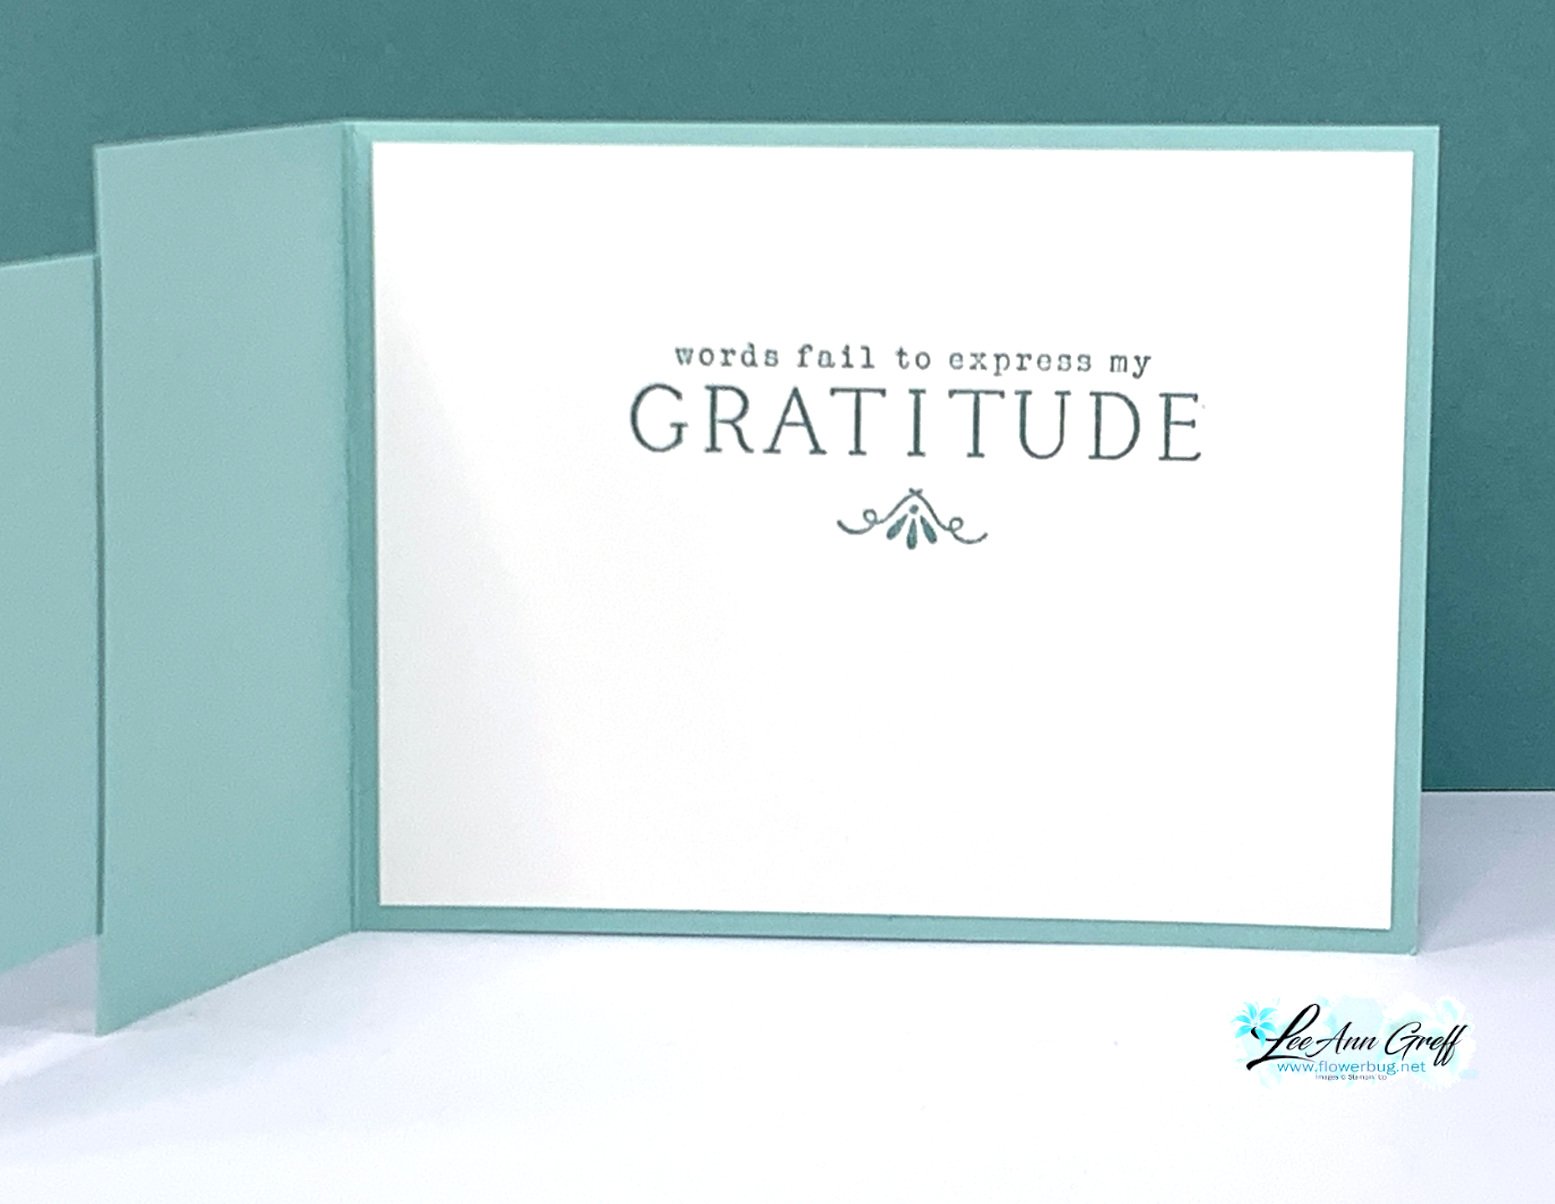
    Here's the inside view. 

    Measurements are so simple!  Once you cut off the end of the card front you flip it 90 degrees and use it as the front layer. 

    • Card base – 11" X 4 1/4" score at 5 1/2"; cut off one end at 2 3/4"
    • DSP – 1 piece at 2" X 4", 2nd piece at 4" X 3" 
    • Inside White 5 1/4" X 4" 

    Here's the inside view.  This greeting is from the Simply Zinnia set seen here. 

    ~~~

    March Specials: 

    See over 20 brand new Online Exclusive products here!

    *current host code links:   ZDUGF6KY or TQWBXR4T

    ~~~

    Get a free package of Rainbow Dots

    with online orders over $55 in March

    All online orders in March will receive this free Hot Air Balloon tutorial with 8 projects!

    Leave a Reply

    Your email address will not be published. Required fields are marked *

  • Last of the WOW Amazing Team swaps


    Last week (and yesterday) I shared many of our March Online Exclusive Team swaps and today is the last set. 

    This first card was made by Jacki who featured the Encircled in Nature bundle. You can find it here in the Online store.  


    Count the dies used here; she is never one to keep it simple!  Her colors include Pecan Pie, Shaded Spruce and Early Espresso. 

    The card is 8 1/2" X 5 1/2" scored at 4 1/4". Then she scored the front from bottom center to the upper left. And she added layers; two layers including the A Little Latte designer paper.  

    It opens as a stand up Easel card.  Isn't it fabulous?!!

    She also used the Sweetly Scripted stamp set seen here.  It's unavailable right now but should be back.  No date is known at this time.  She used the double oval punch to hold up the easel layers.  What an amazing card! 

    ~~~

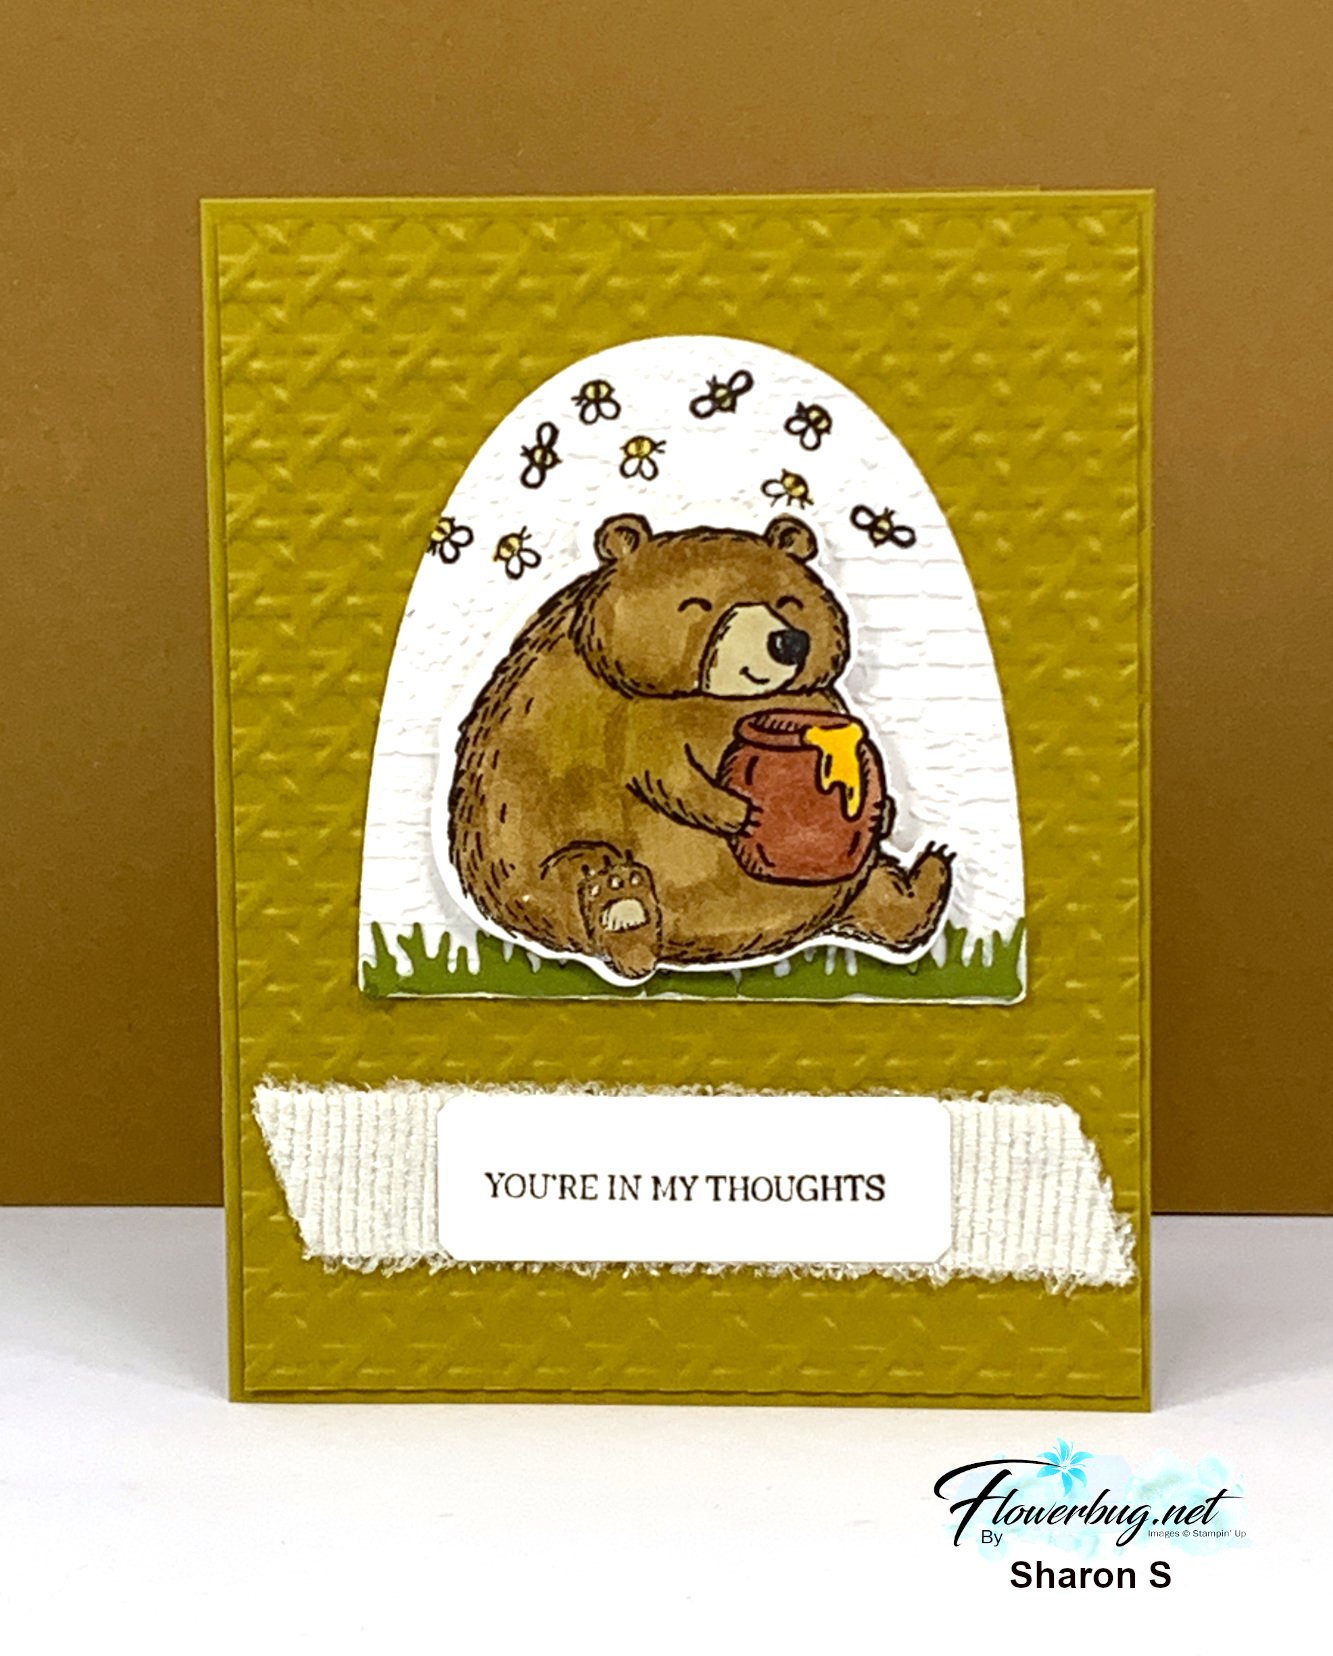
    Next is a sweet card made by Sharon who chose the Fluffiest Friends bundle seen here.

    Her colors include Wild Wheat, White & Old Olive. Lots of texture here with the Exposed Brick and Cane Weave 3D folders.

    I hope you enjoyed their creations.  I love seeing their styles and creativity! 

    ~~~

    March Specials: 

    See over 20 brand new Online Exclusive products here!

    *current host code links:   ZDUGF6KY or TQWBXR4T

    ~~~

    Get a free package of Rainbow Dots

    with online orders over $55 in March

    All online orders in March will receive this free Hot Air Balloon tutorial with 8 projects!

    Leave a Reply

    Your email address will not be published. Required fields are marked *


Notice: LeeAnn Greff, Independent Stampin’ Up! Demonstrator, Manager. The content of this website is my sole responsibility as an independent Stampin’ Up! demonstrator and the use of, and content of, the classes, services, or products offered on this website is not endorsed by Stampin’ Up! Copyright 2025