/


Latest Post

A colorful Joseph’s Coat technique with Layered Thoughts


Have you ever done the Joseph’s Coat technique?  It’s one of those techniques that makes you feel like an artist.
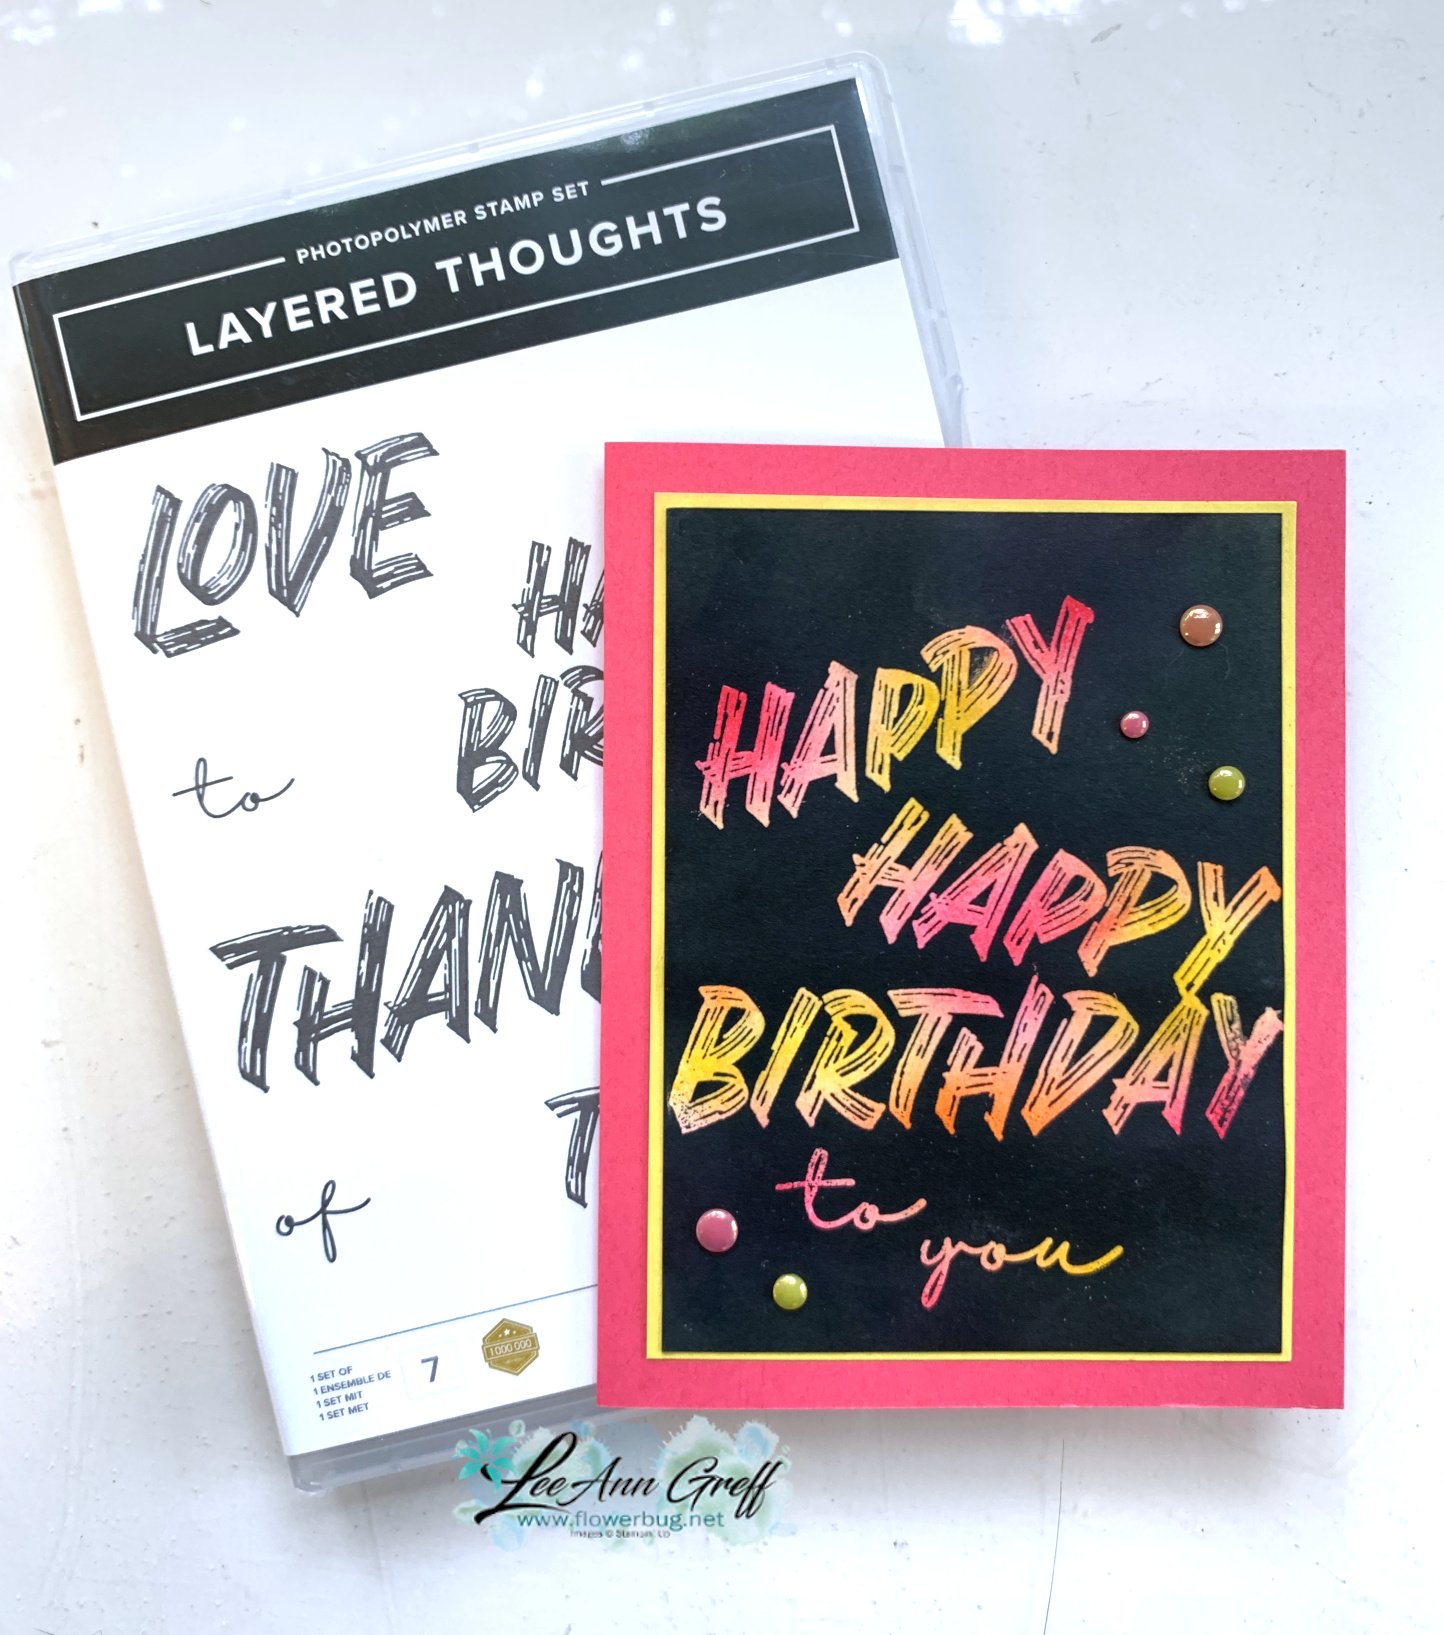
I shared how to do it on last week’s Live video. The card I’m featuring today uses the Layering Thoughts technique with three of our newest In Colors – Strawberry Slush, Darling Duckling and Timid Tiger.  

These colors – card stock, ink, refills, gems, markers and card stock are all 15% off in August. See these products and so much more here.  It’s a great time to grab these items while discounted. 

This technique involves a few steps:

  1. sponge colors over your neutral card stock – I used White. 
  2. Tap or rub the embossing buddy over the layer. 
  3. Stamp your images using Versamark ink. 
  4. Heat emboss with Clear embossing powder and your heat tool. Let dry. 
  5. Rub a dark ink (memento black here) over the entire layer.  The embossed areas will resist the water based ink. 
  6. Dab off excess ink with a tissue or paper towel.  Done!  

Here’s how I finished the inside.  I wanted to use all of the colors I colored on the front so I used my Stampin’ Write markers on the stamp before stamping. 
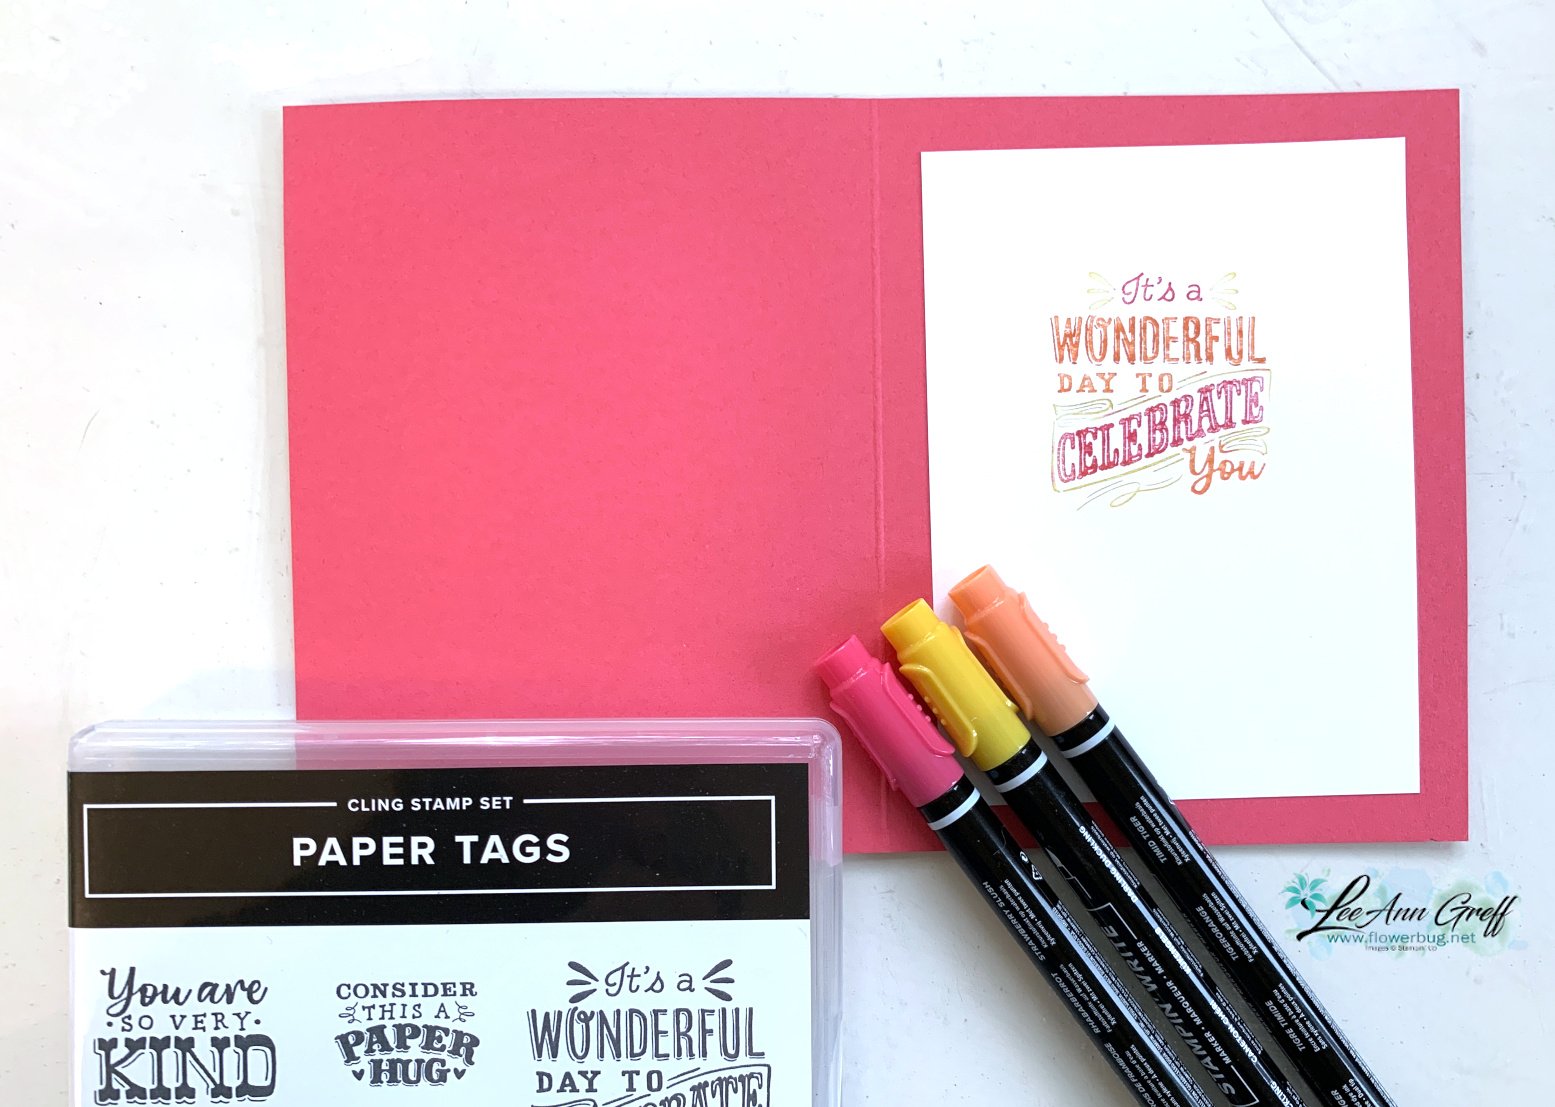
 

Here is the free project sheet for this card. Click on the following link to print or download it.  Download Layered Thoughts Joseph’s Coat Technique
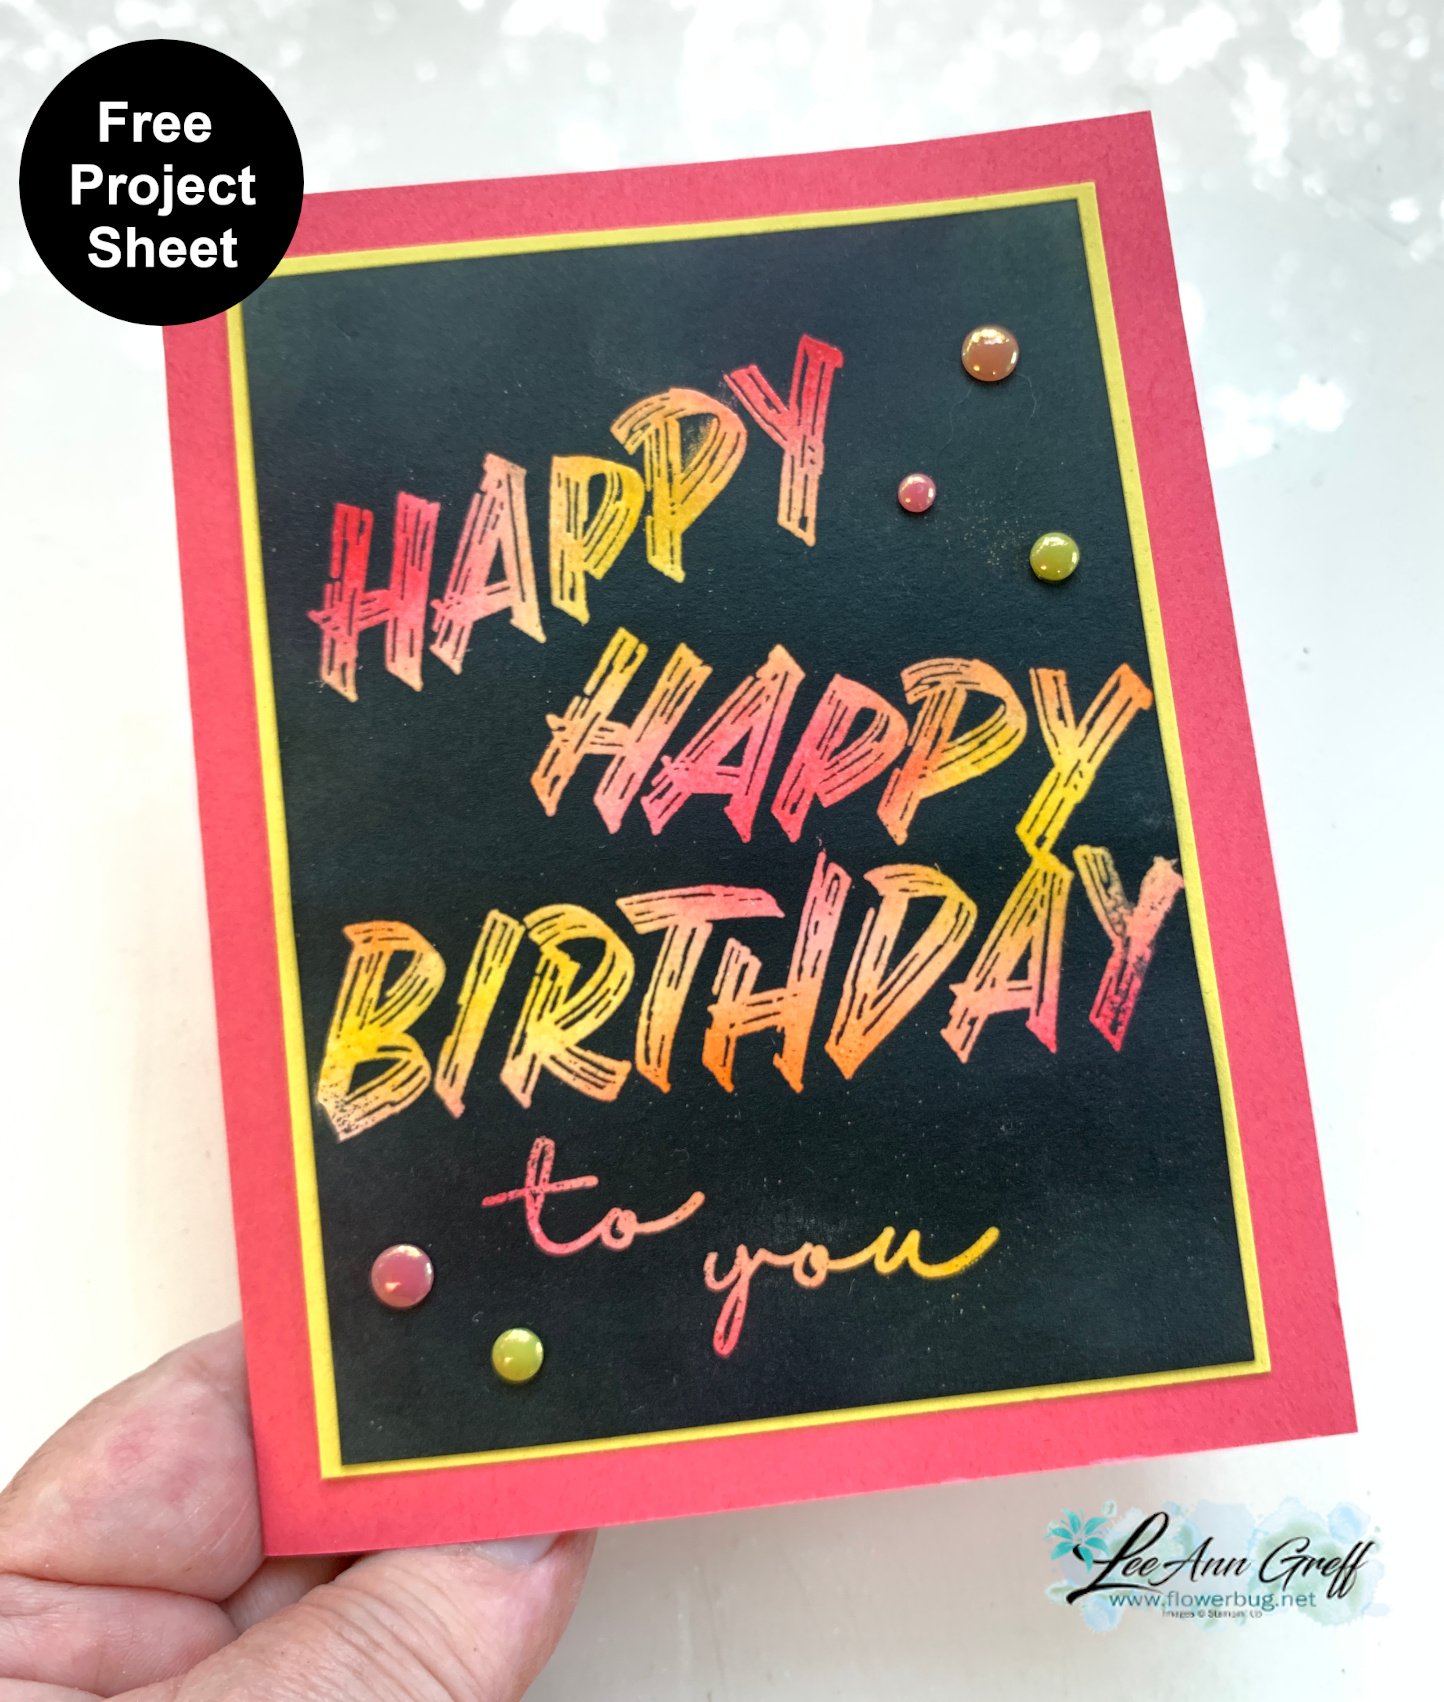
I’ll be sharing the other cards in the next few days. Stay tuned! 

The video tutorial for this card and two more versions is below.  Be sure to follow me on YouTube here so you don’t miss any of my tutorials. 

~~~

August Specials

Lots of In Color products are discounted in August!!

Go here to see them all. 

Get a free card class with any online order over $55 during August!

Order online here

The last chance list has new products! See them here. 

All Posts

  • Peaceful Nativity WOW card


    Look what happens when you combine a beautiful background with the Nativity Dies?!  

    Candace created this gorgeous card for our October Christmas cards swap with my Flowerbug's Team.  She is a master at sponging backgrounds.  I believe she used Pacific Point here.  She simply added a greeting (from For Unto Us set) embossed in Silver and the pretty scenic die-cuts in Black.  

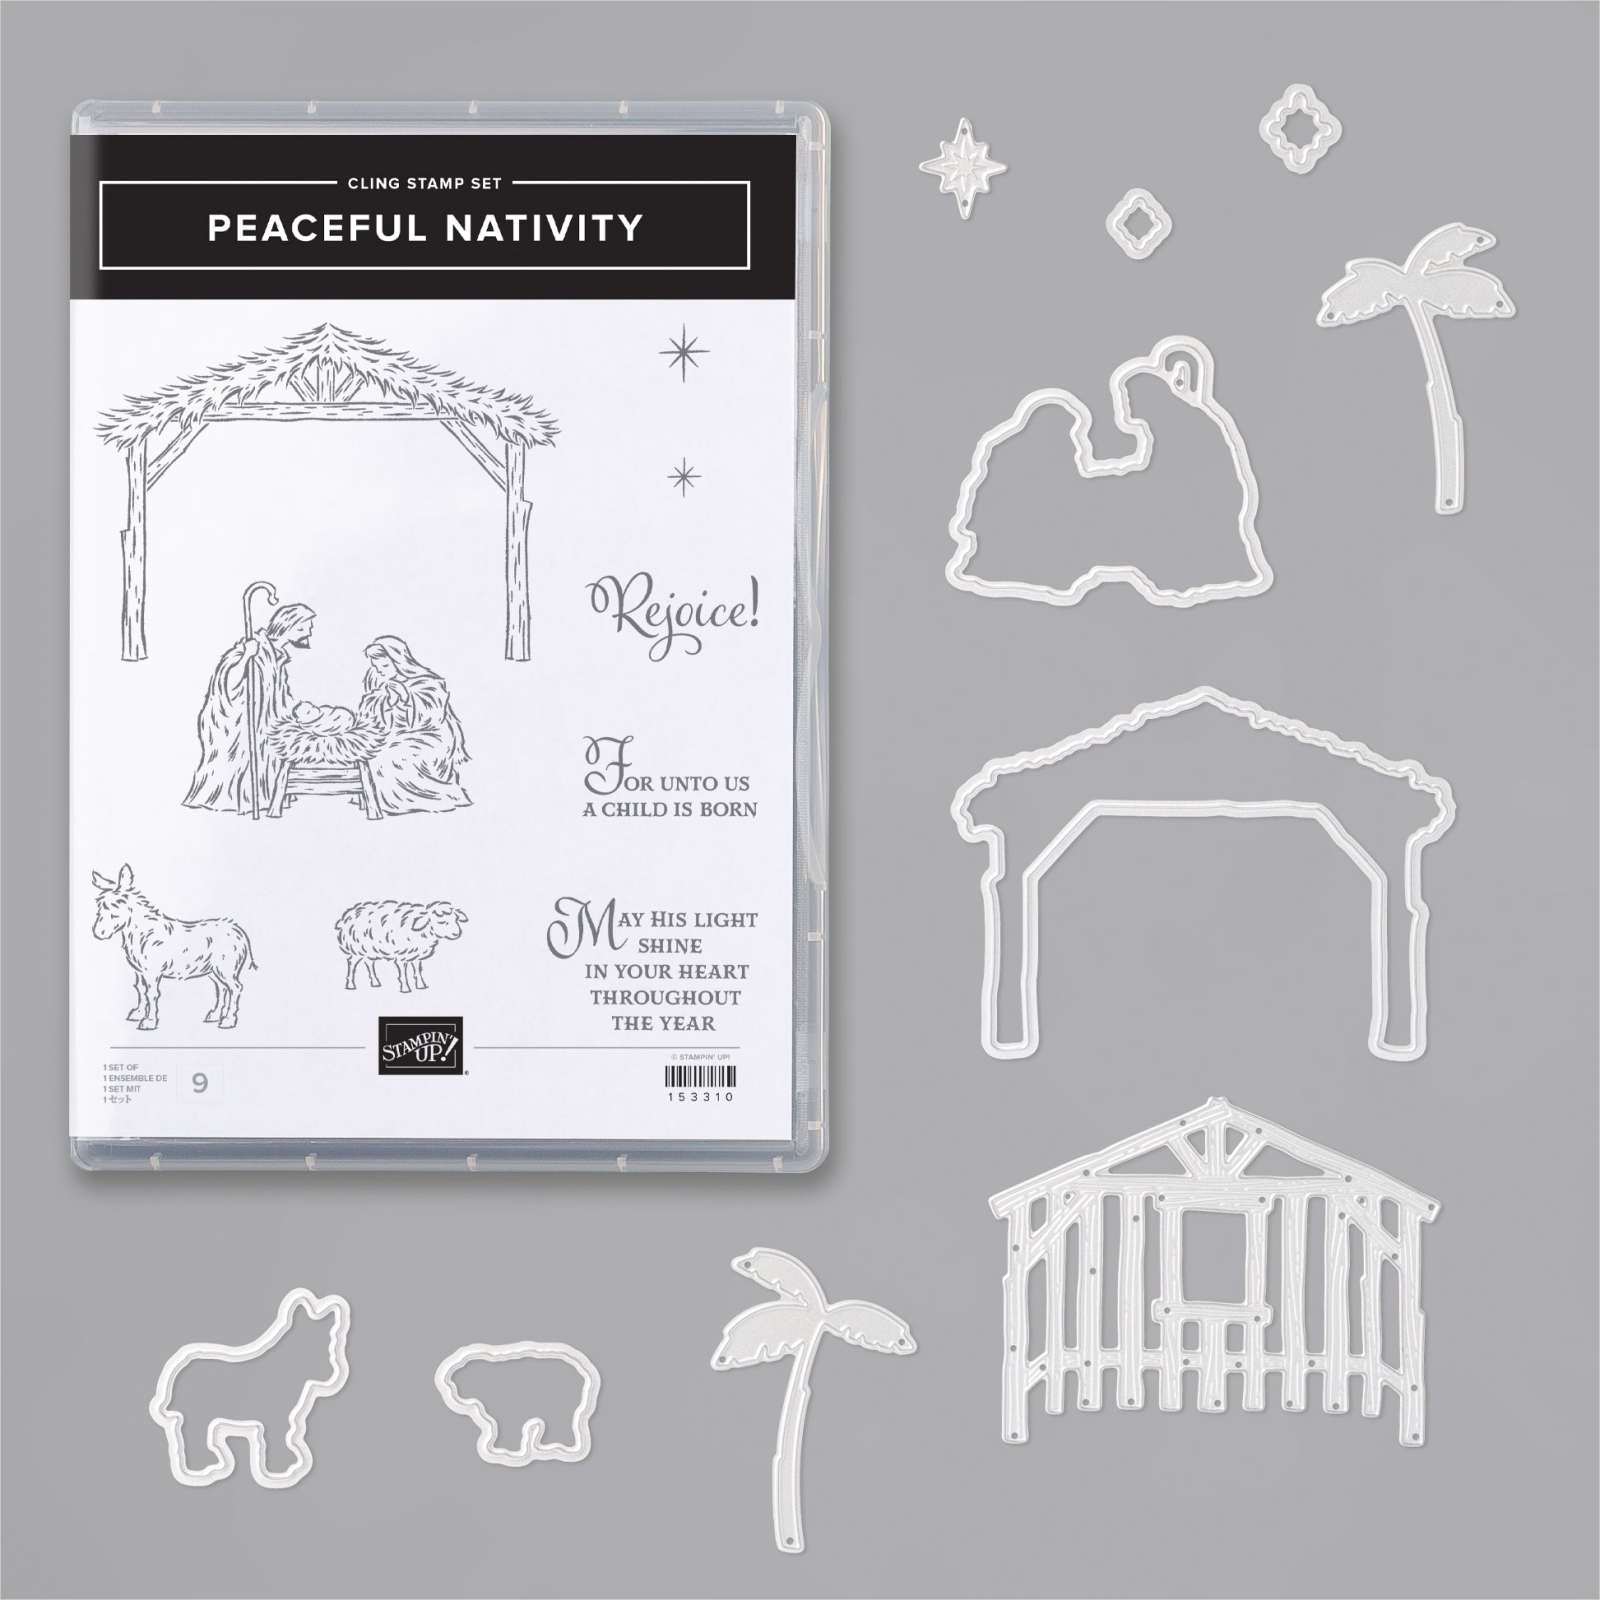
    Click here to see the For Unto Us stamp set and here for the Peaceful Nativity bundle. 

    More Team swaps tomorrow! 

    ~~~

    November Specials!

    Current Host code is GRC9VVUU


    All online orders receive my FREE Curvy Celebrations 22 project PDF Tutorial! 


    Leave a Reply

    Your email address will not be published. Required fields are marked *

  • Curvy Celebrations!! Woo hoo; it’s available today!


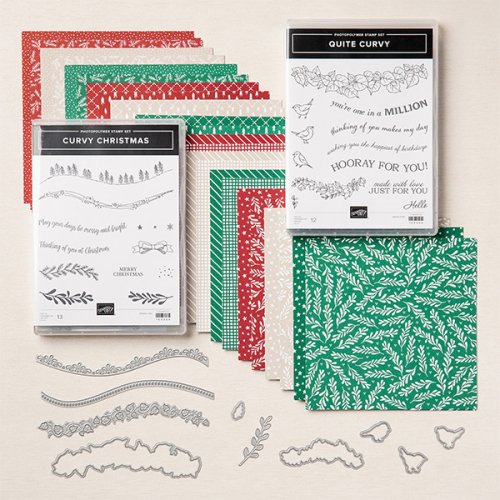
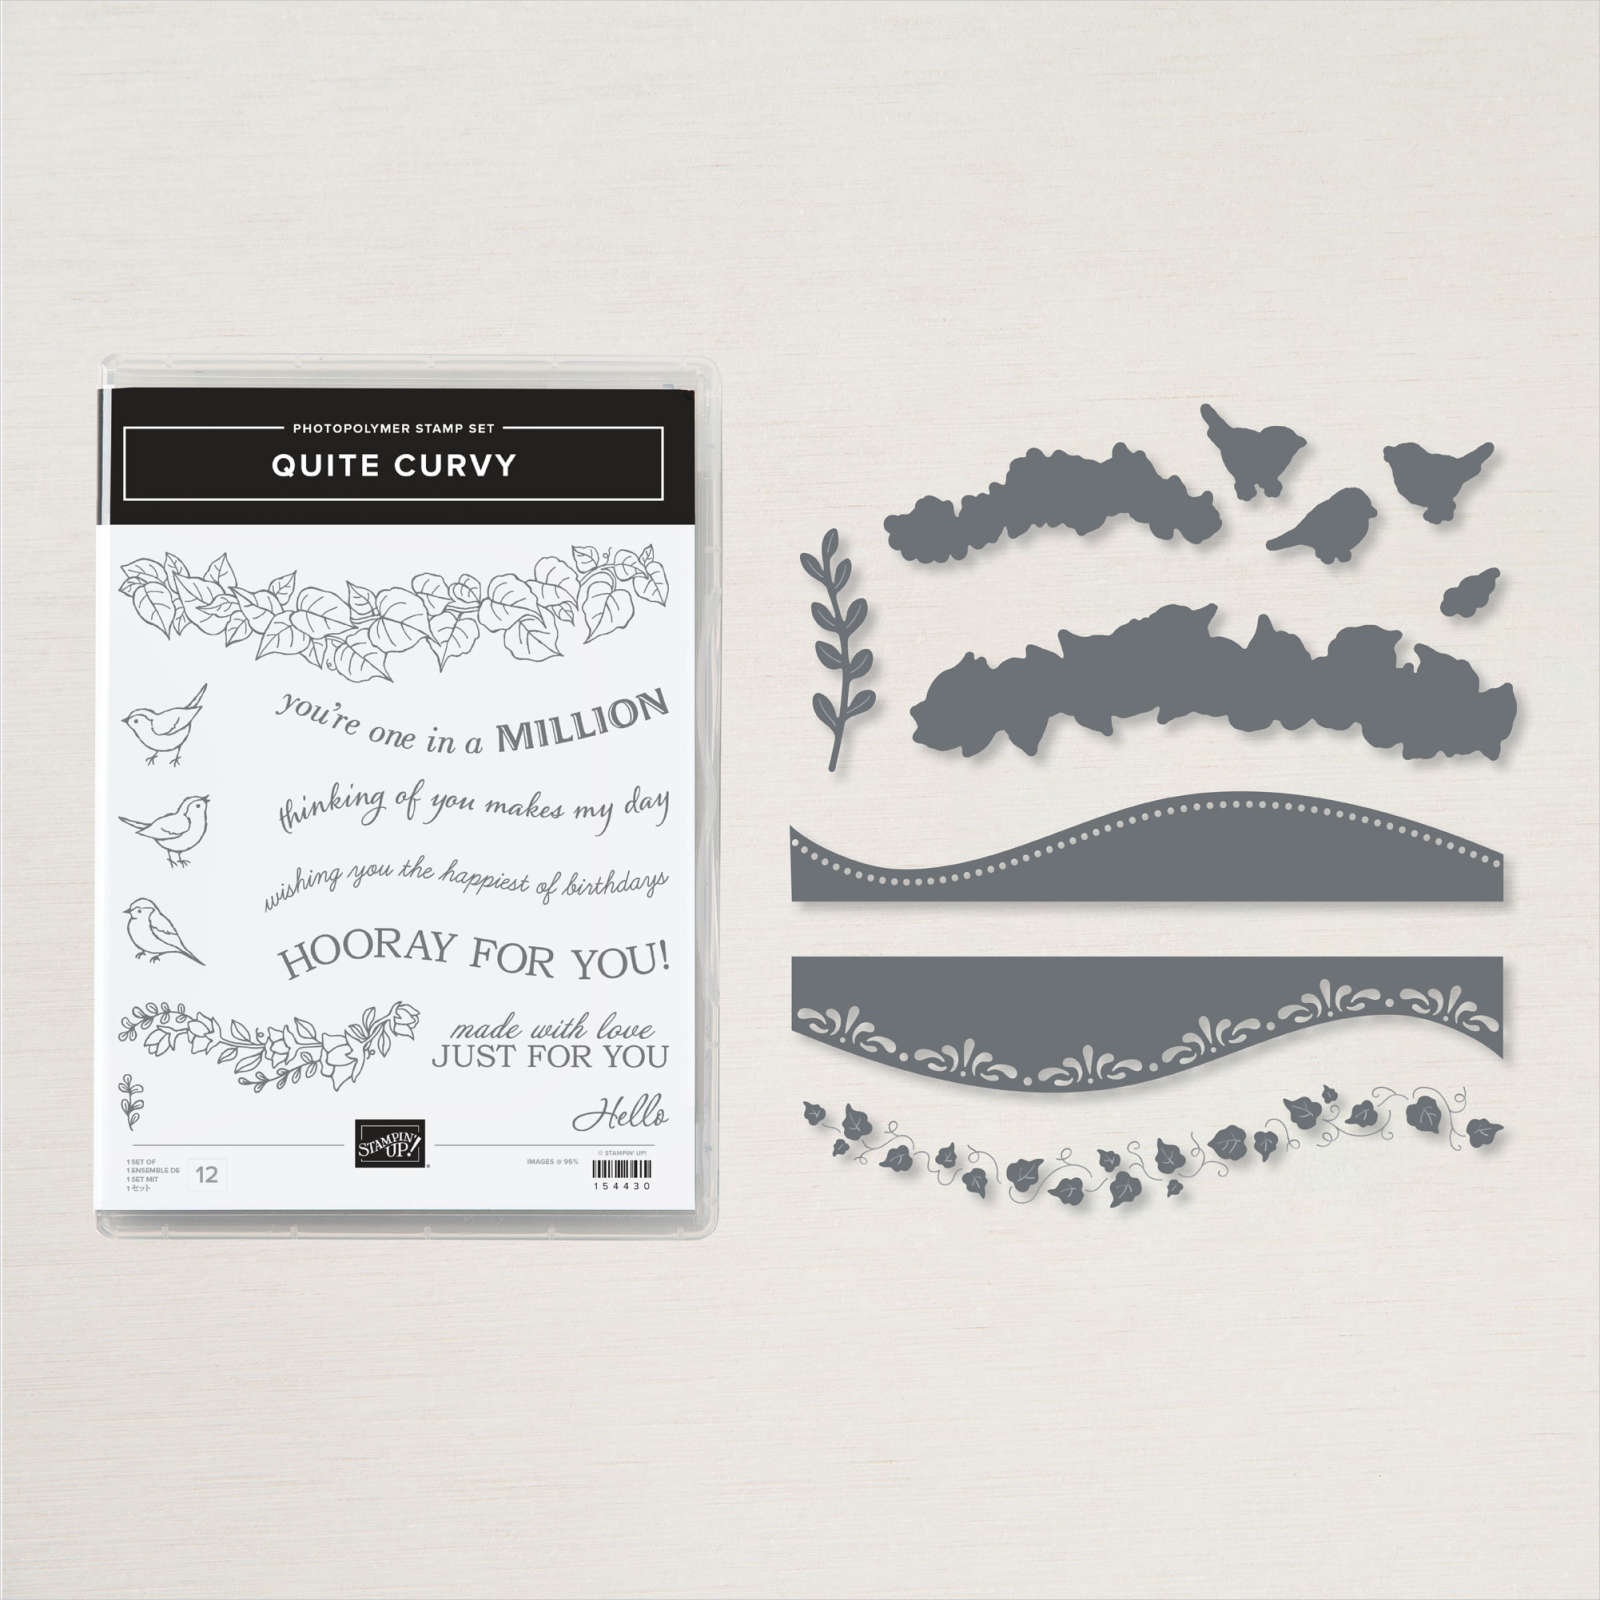
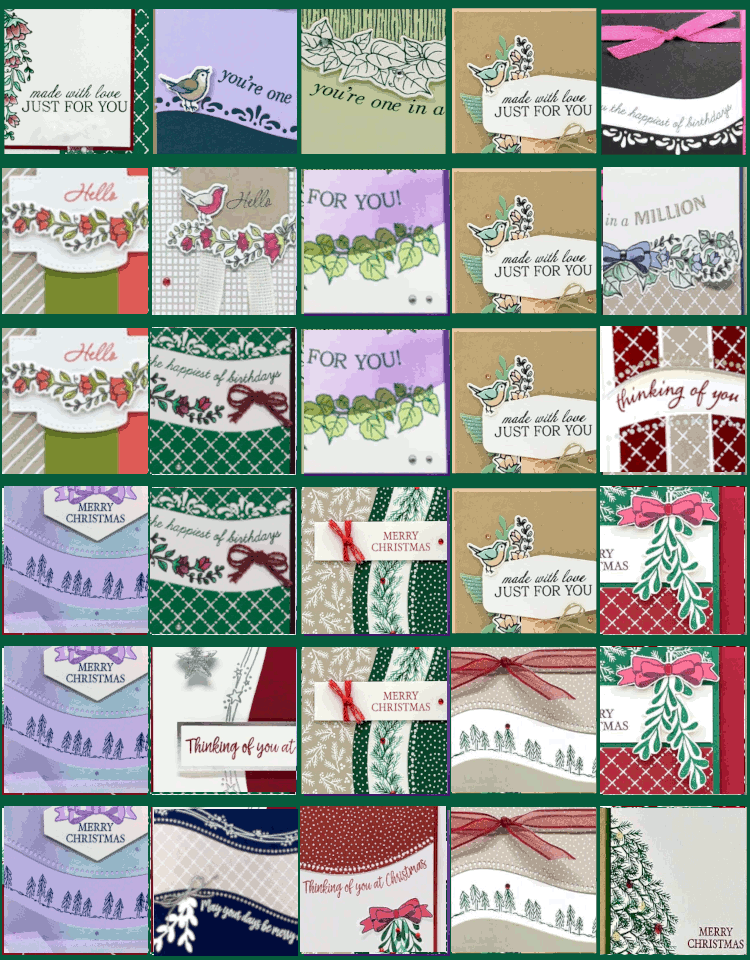
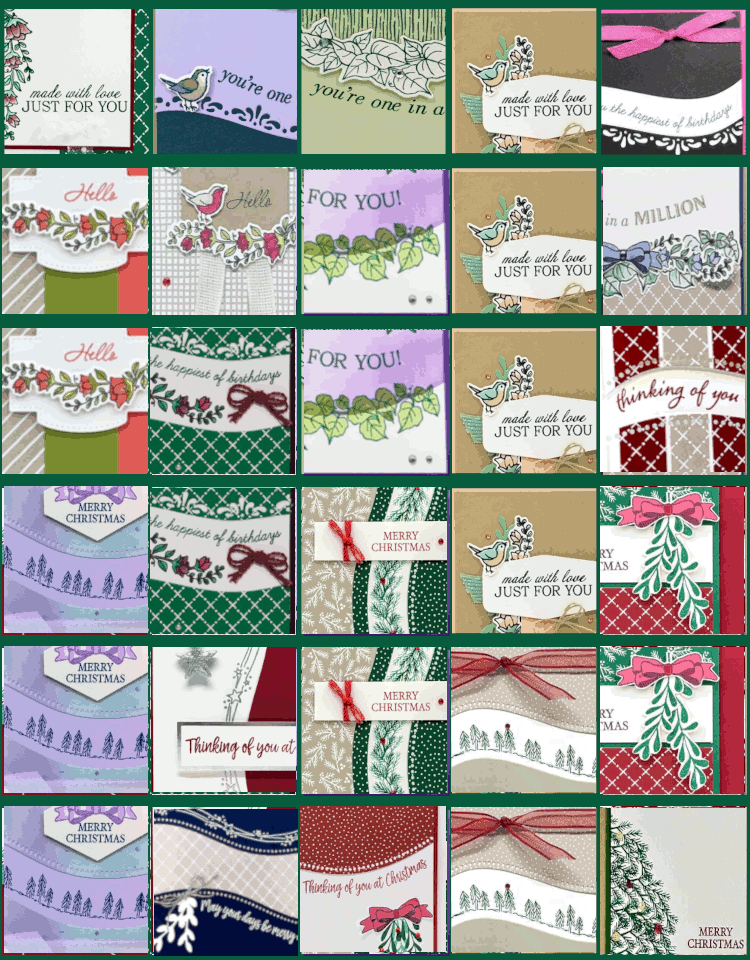
    Stampin' Up! is releasing brand new product today!!  Most of these Curvy Celebration items are from the upcoming spring catalog!  Demonstrators could pre-order these items early but now you can get them too.

    In fact you can get all of this for $70.50!   

    See them all here.
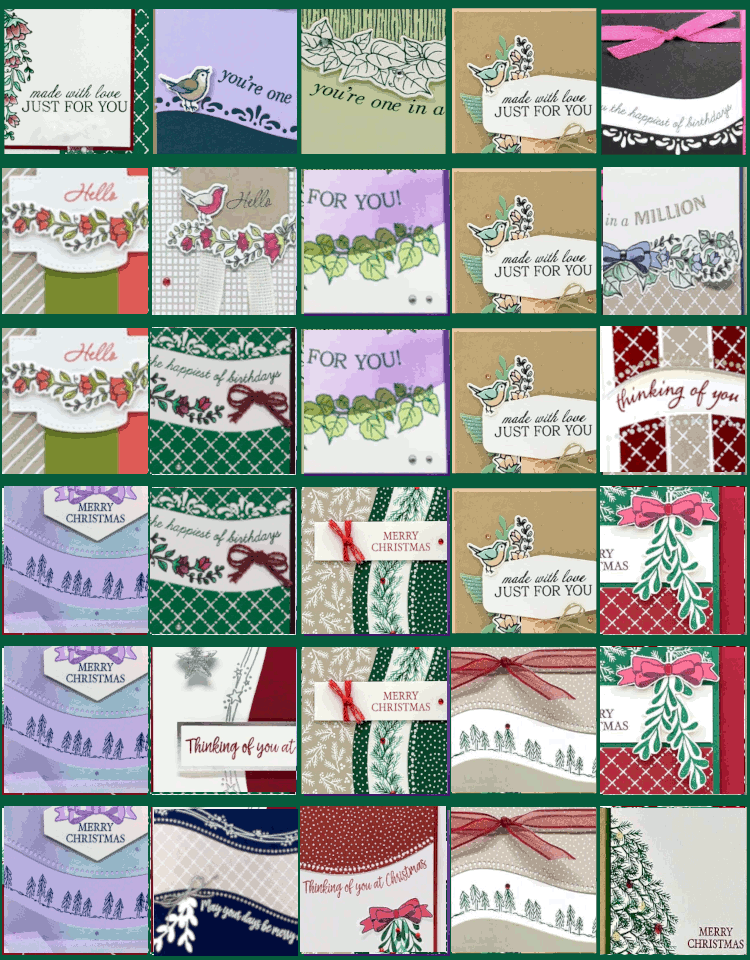
    I love these products so much I'm giving away a huge 22 project PDF tutorial to everyone who either purchases any of these items from me or places an online order in my store. 


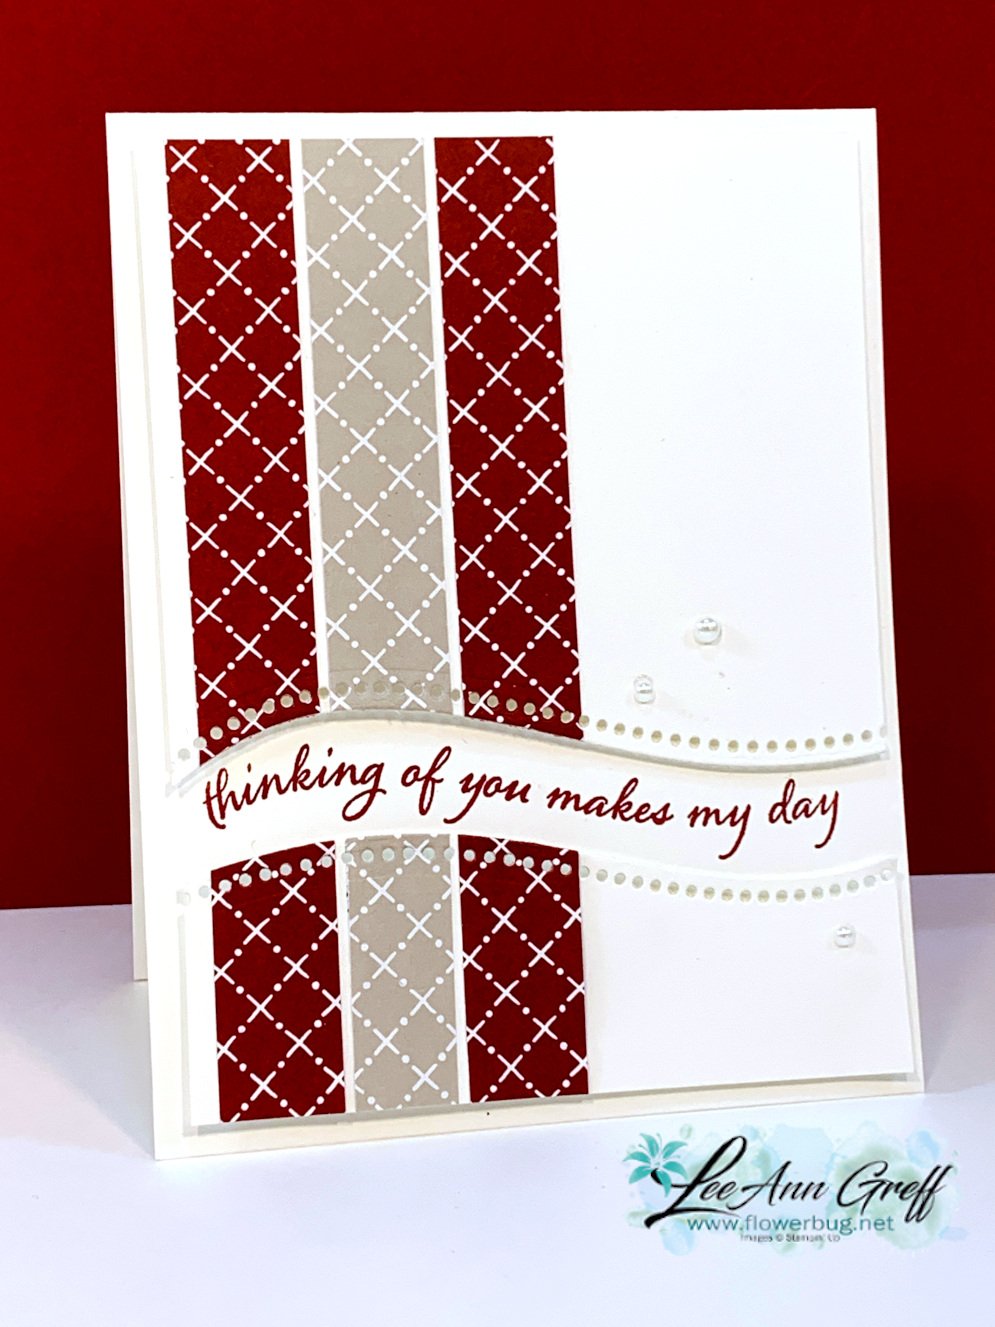
    I also joined a few online swaps with these products; here's one of my favorites!


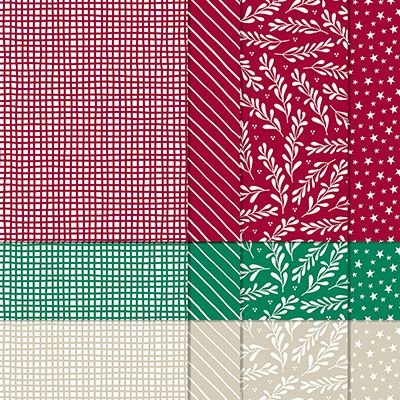
    I chose to use two of the colors in the Classic Christmas 6" designer paper pack; Cherry Cobbler & Sahara Sand.  I cut 3/4" long strips and adhered them to a 5 1/4" X 4" piece of White CS.  Then I used the dotted, curvy die to cut about 4" down from the top.  Then I turned the die over to cut the other end and trimmed it to fit the card. 

    The greeting is from the Quite Curvy stamp set which is available in the bundle at 10% off.   


    Get it whole bundle and I'll send you a free Winter Snow embossing folder

    and the 22 project PDF tutorial too!  

    ~~~

    November Specials!

    Current Host code is GRC9VVUU


    All online orders receive my FREE Curvy Celebrations 22 project PDF Tutorial! 

    Leave a Reply

    Your email address will not be published. Required fields are marked *

  • Festive Corners Triangle Christmas Tree Card


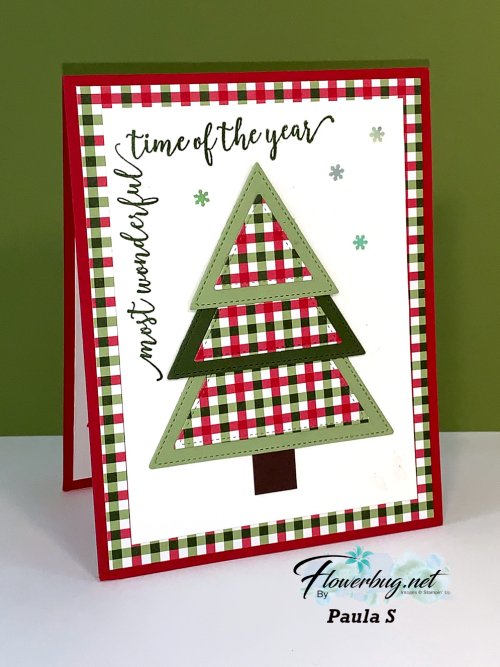
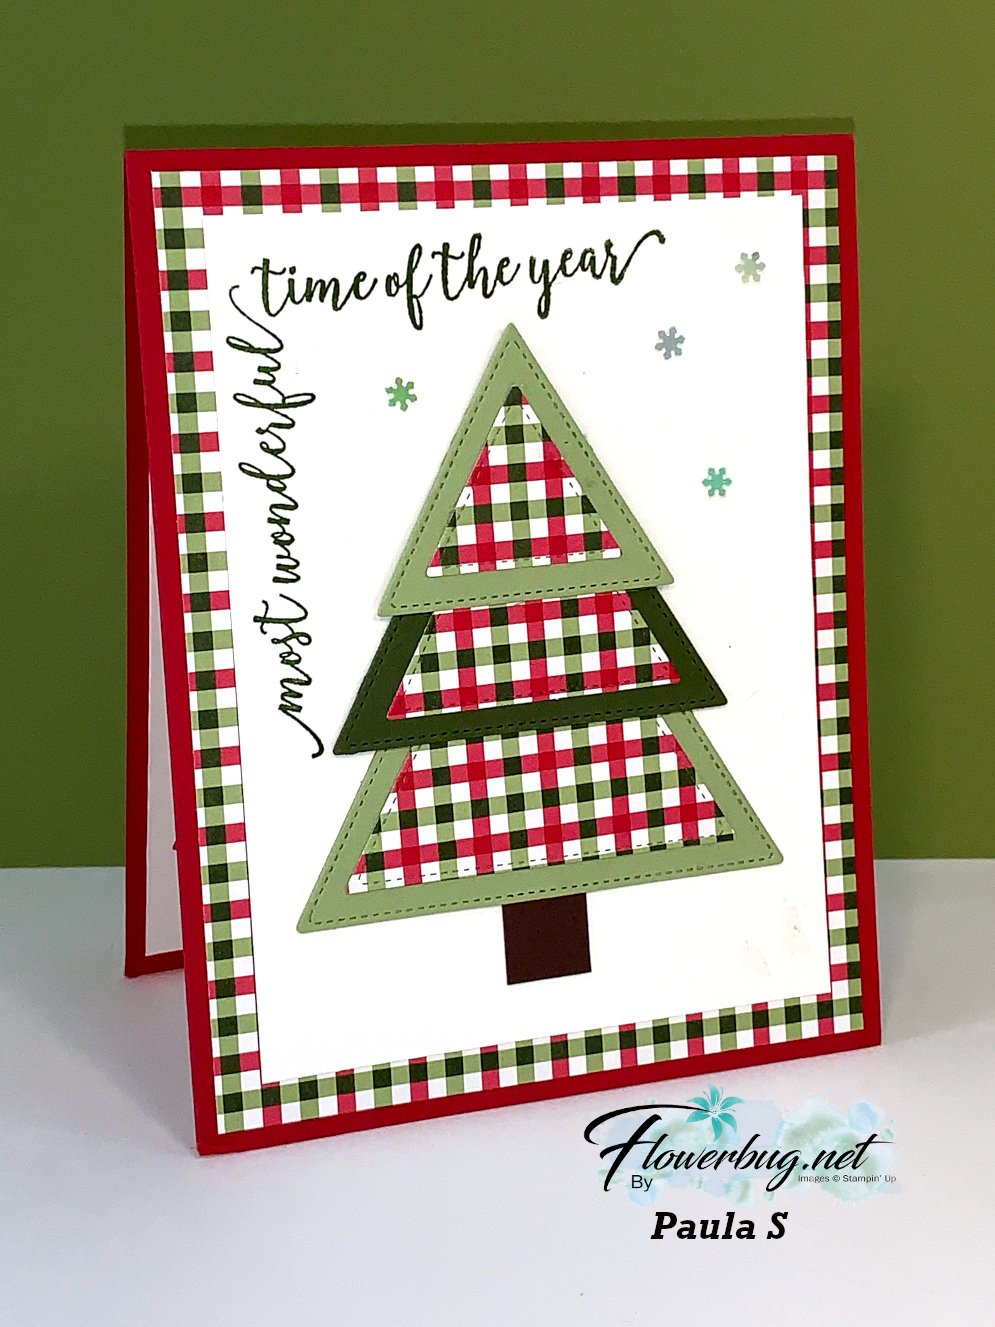
    Look at this cool swap card Paula made using the Festive Corners stamp set seen here and the Stitched Triangle dies! 

    She used Pear Pizzazz, Real Red & Mossy Meadow card stock and the classic Heartwarming Hugs Designer Paper.  And she saved paper by cutting out the DSP triangles from her large designer paper layer (behind the White CS).  I love that!!

    Check out the Triangle Dies here and the Heartwarming Hugs DSP here. 
    I'll be sharing lots of my Team swaps this week; stay tuned!

    ~~~

    November Specials!

    Current Host code is GRC9VVUU


    All online orders receive my FREE Curvy Celebrations 22 project PDF Tutorial! 

    Leave a Reply

    Your email address will not be published. Required fields are marked *


Notice: LeeAnn Greff, Independent Stampin’ Up! Demonstrator, Manager. The content of this website is my sole responsibility as an independent Stampin’ Up! demonstrator and the use of, and content of, the classes, services, or products offered on this website is not endorsed by Stampin’ Up! Copyright 2025