/


Latest Post

A colorful Joseph’s Coat technique with Layered Thoughts


Have you ever done the Joseph’s Coat technique?  It’s one of those techniques that makes you feel like an artist.
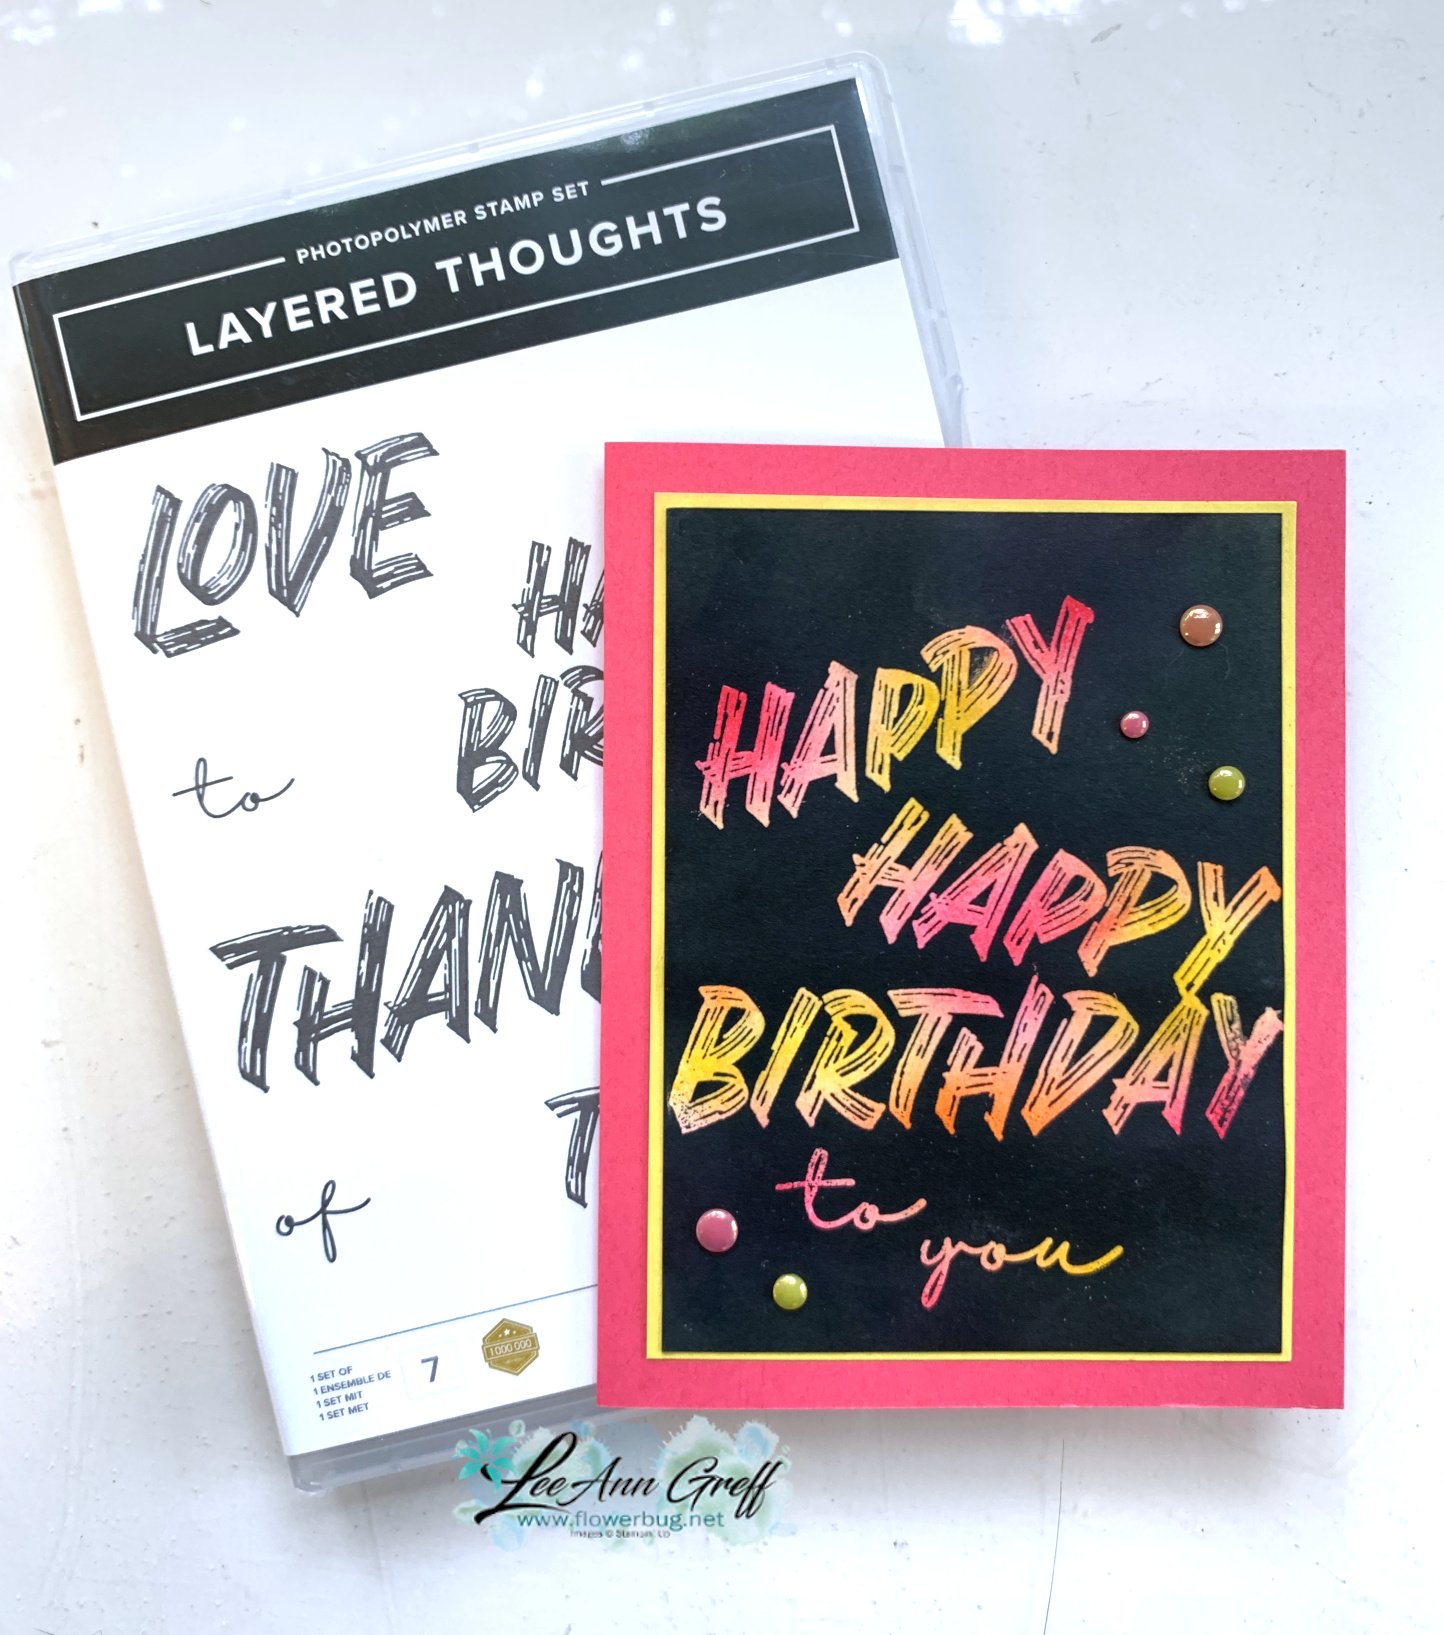
I shared how to do it on last week’s Live video. The card I’m featuring today uses the Layering Thoughts technique with three of our newest In Colors – Strawberry Slush, Darling Duckling and Timid Tiger.  

These colors – card stock, ink, refills, gems, markers and card stock are all 15% off in August. See these products and so much more here.  It’s a great time to grab these items while discounted. 

This technique involves a few steps:

  1. sponge colors over your neutral card stock – I used White. 
  2. Tap or rub the embossing buddy over the layer. 
  3. Stamp your images using Versamark ink. 
  4. Heat emboss with Clear embossing powder and your heat tool. Let dry. 
  5. Rub a dark ink (memento black here) over the entire layer.  The embossed areas will resist the water based ink. 
  6. Dab off excess ink with a tissue or paper towel.  Done!  

Here’s how I finished the inside.  I wanted to use all of the colors I colored on the front so I used my Stampin’ Write markers on the stamp before stamping. 
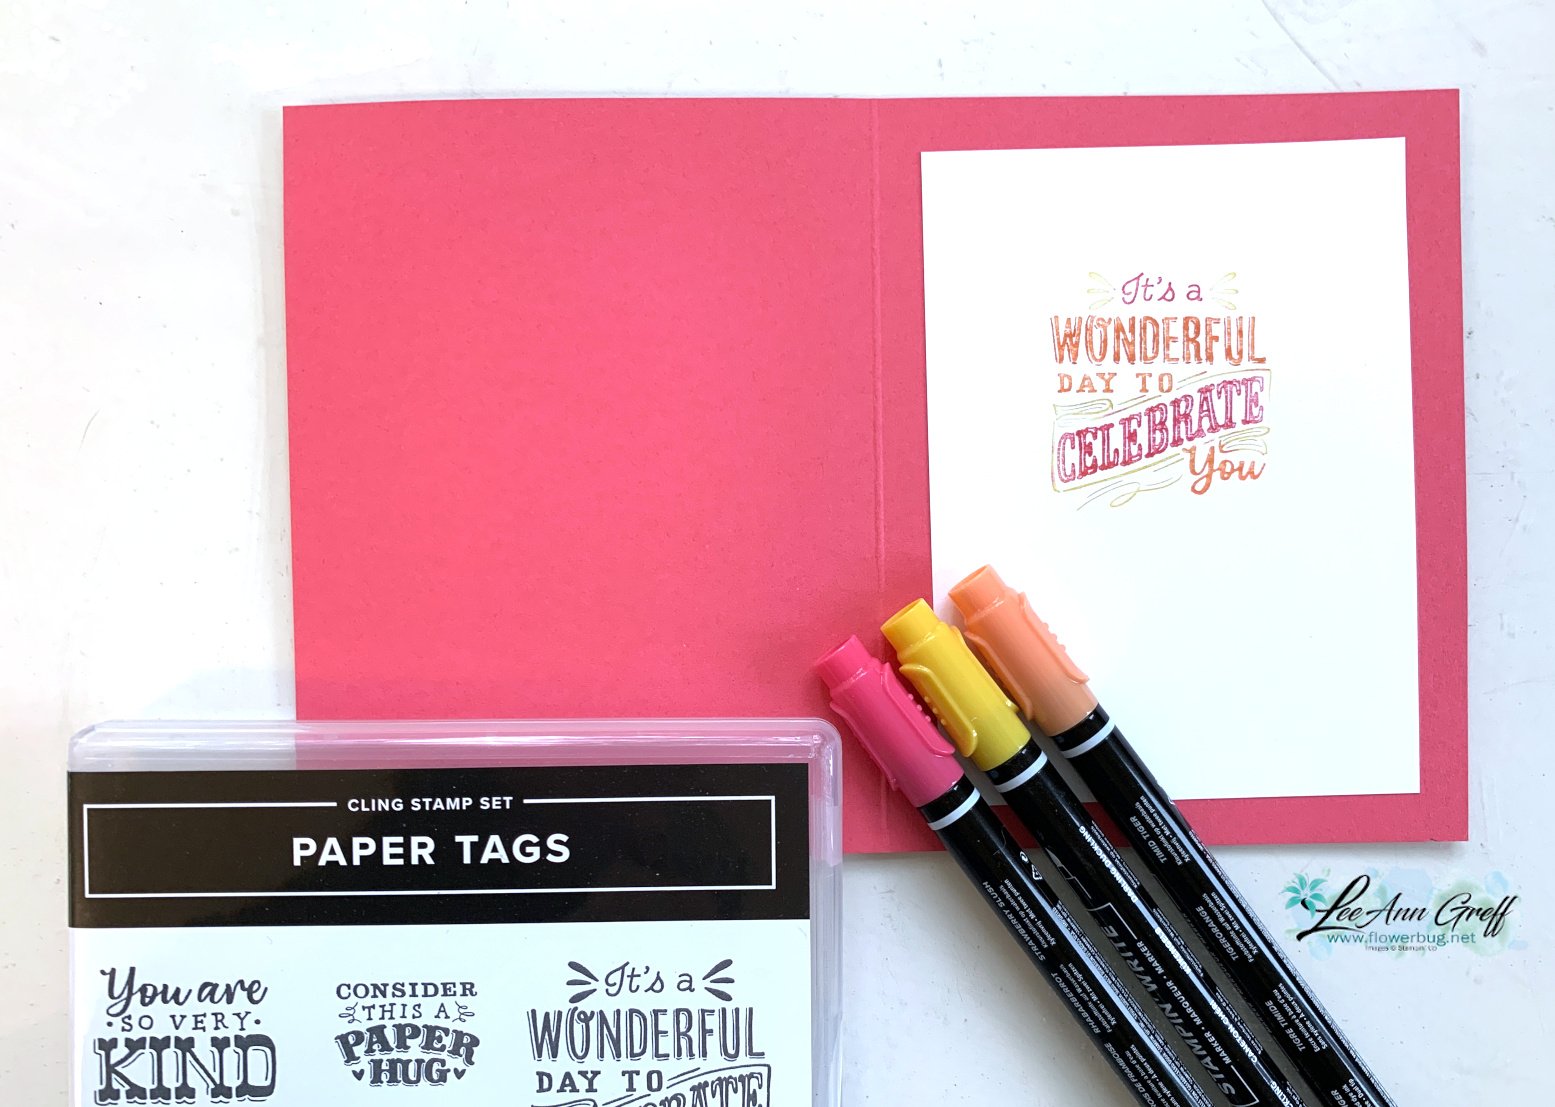
 

Here is the free project sheet for this card. Click on the following link to print or download it.  Download Layered Thoughts Joseph’s Coat Technique
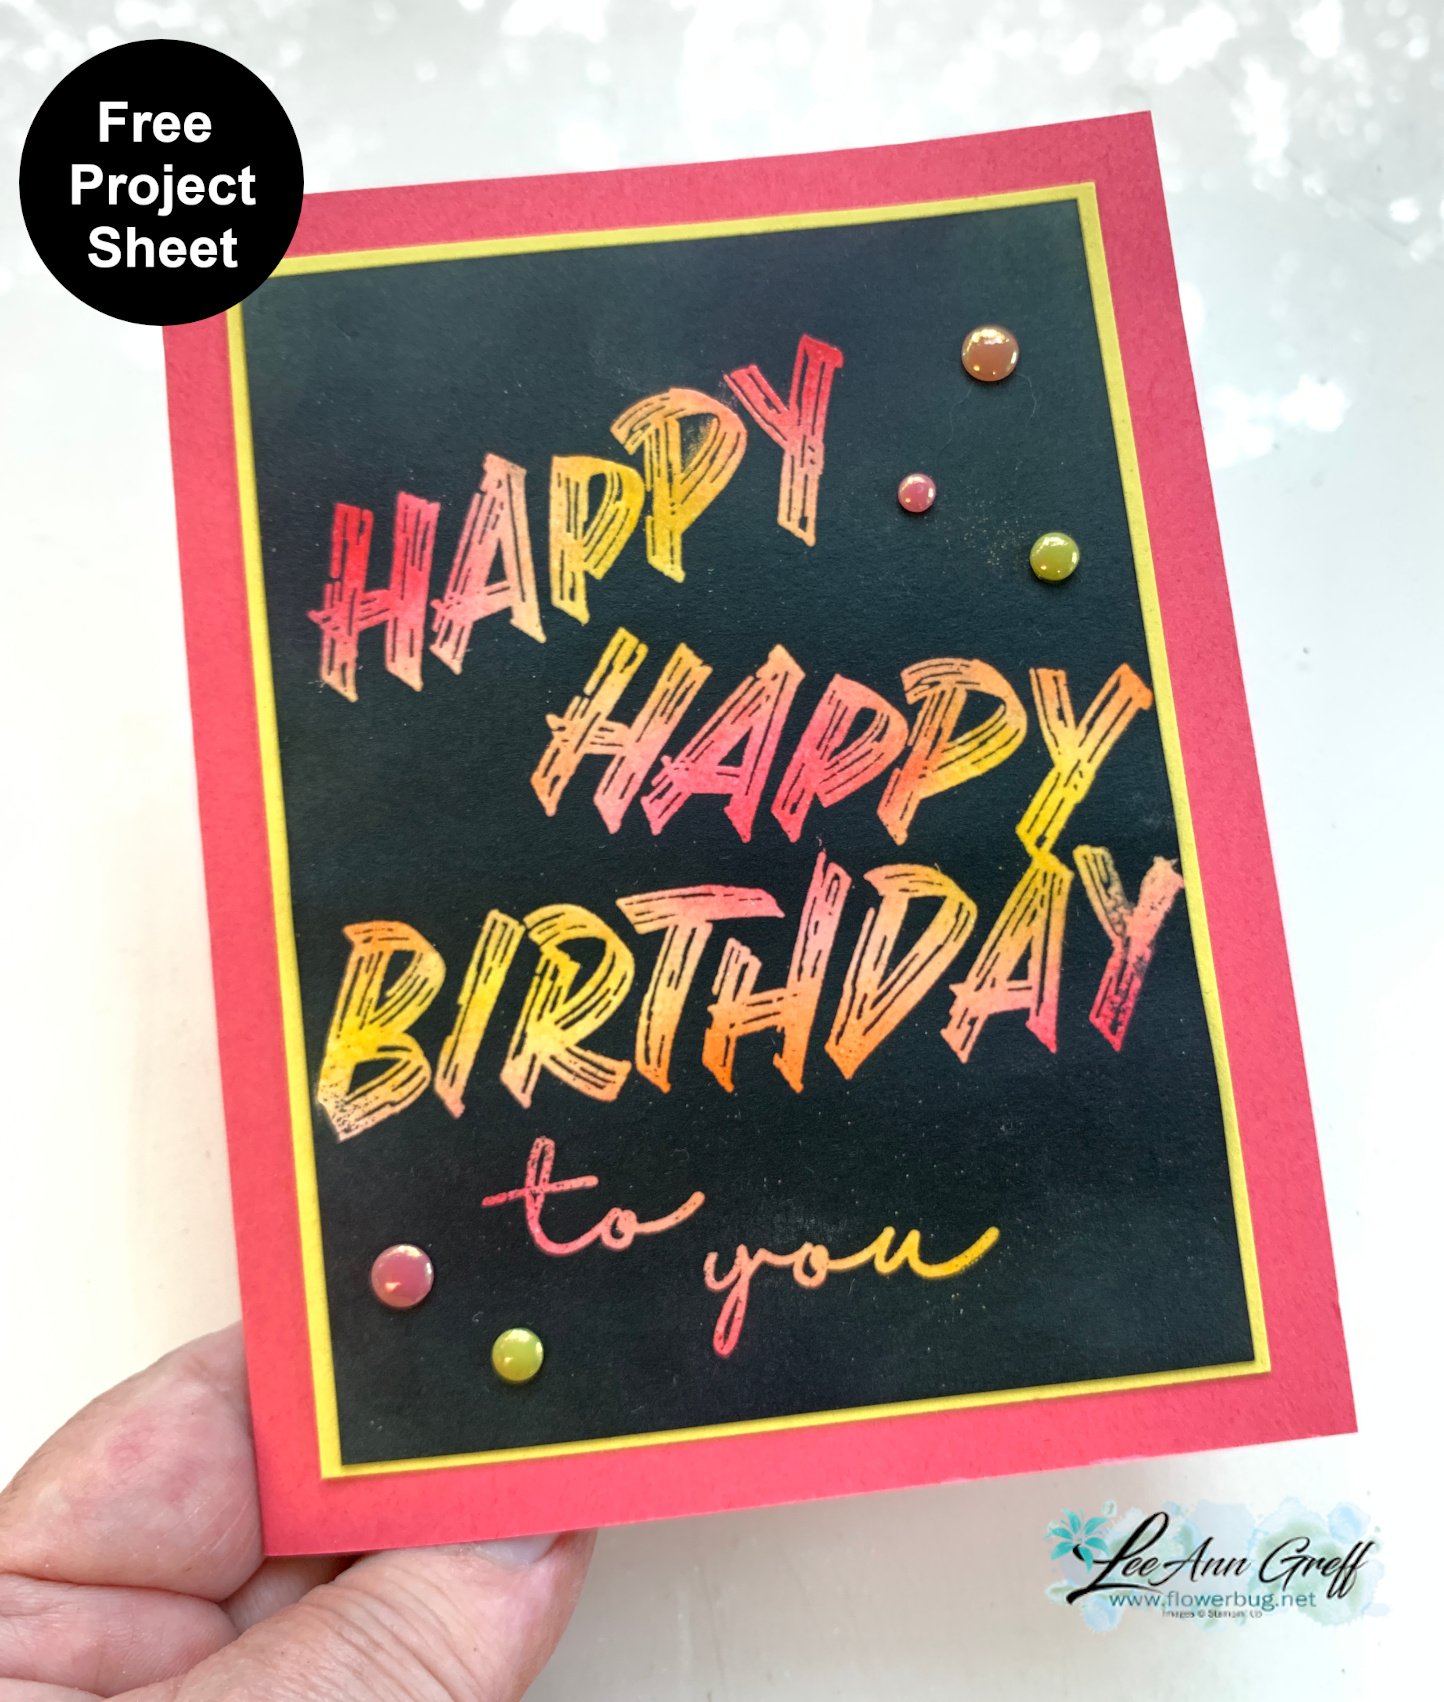
I’ll be sharing the other cards in the next few days. Stay tuned! 

The video tutorial for this card and two more versions is below.  Be sure to follow me on YouTube here so you don’t miss any of my tutorials. 

~~~

August Specials

Lots of In Color products are discounted in August!!

Go here to see them all. 

Get a free card class with any online order over $55 during August!

Order online here

The last chance list has new products! See them here. 

All Posts

  • Beautiful Fall card swaps!


    Look at these stunning swaps made by my Team.  Our theme for September's swap was autumn cards. 

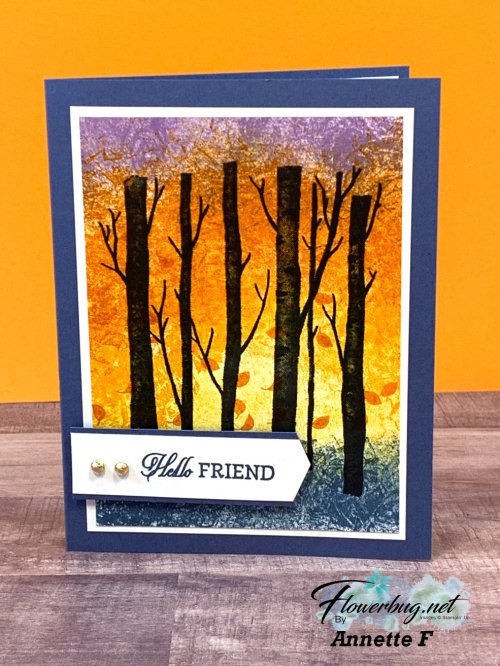
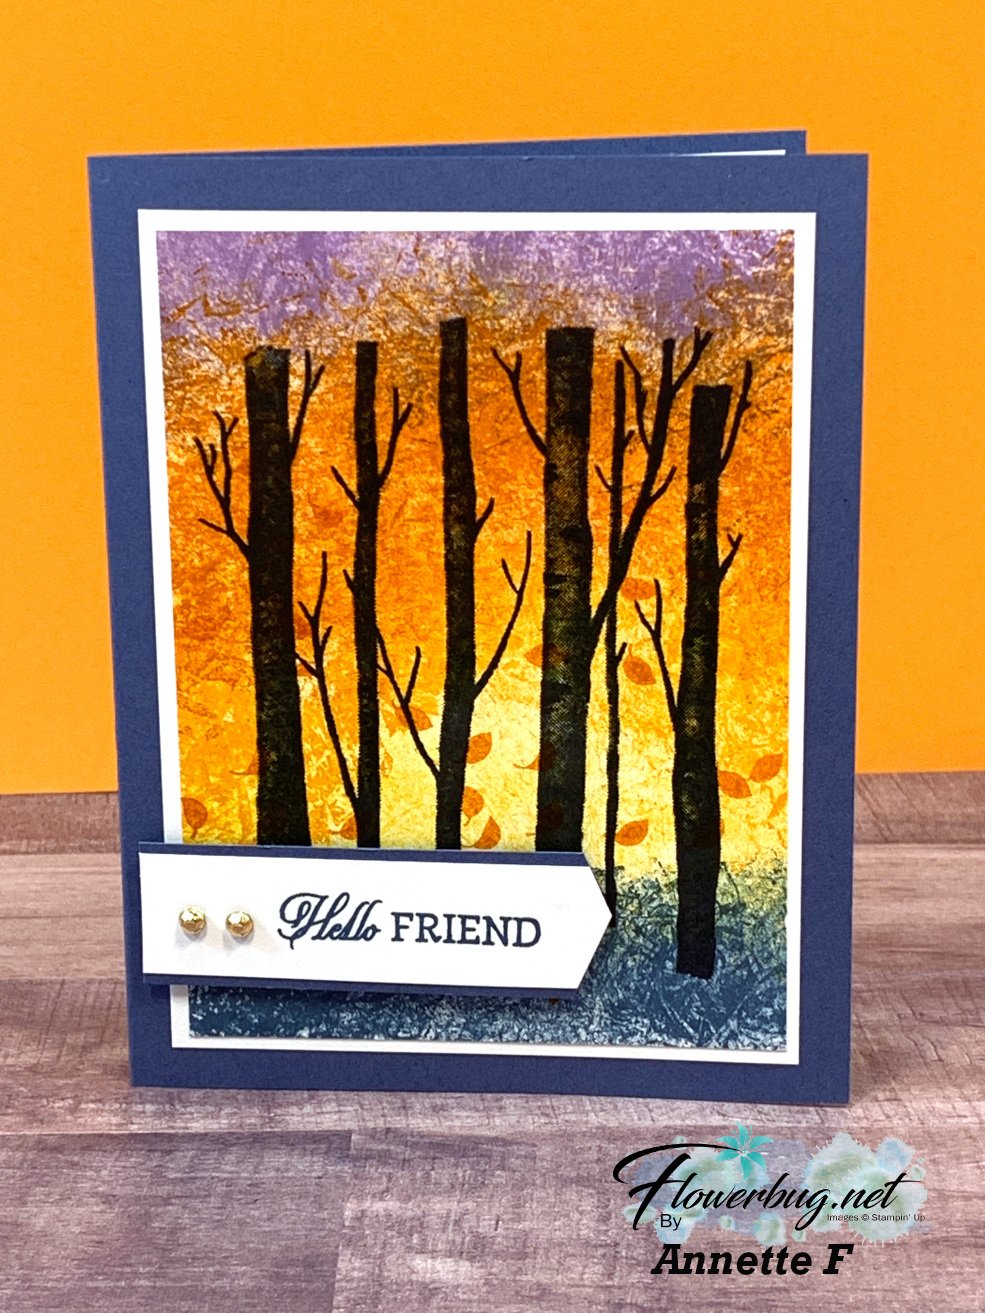
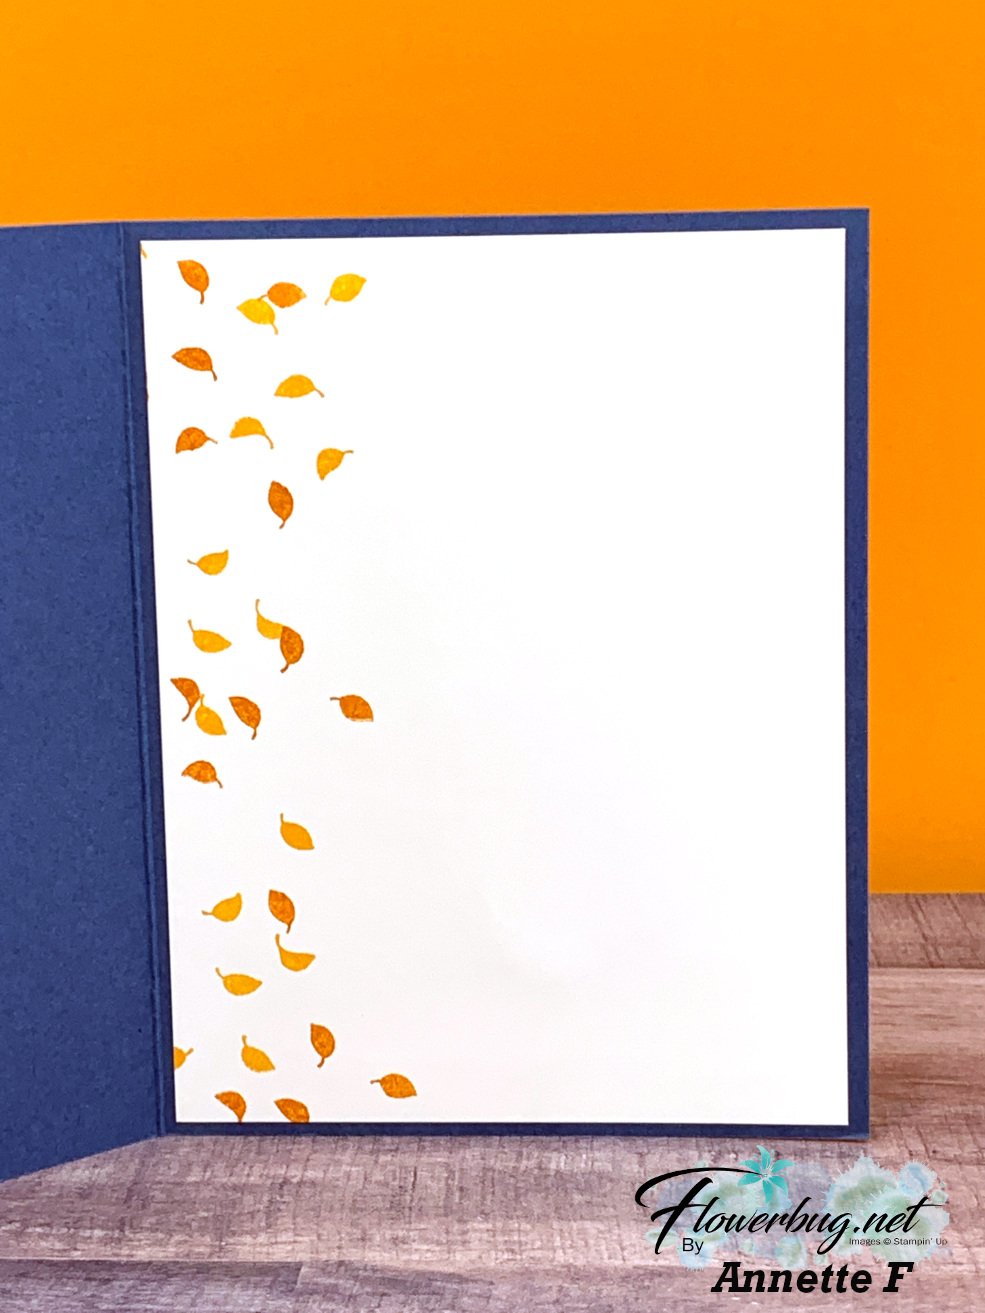
    Annette created this first one using a innovative sponging technique 

    I'm sure you cannot guess how she did this …..! 

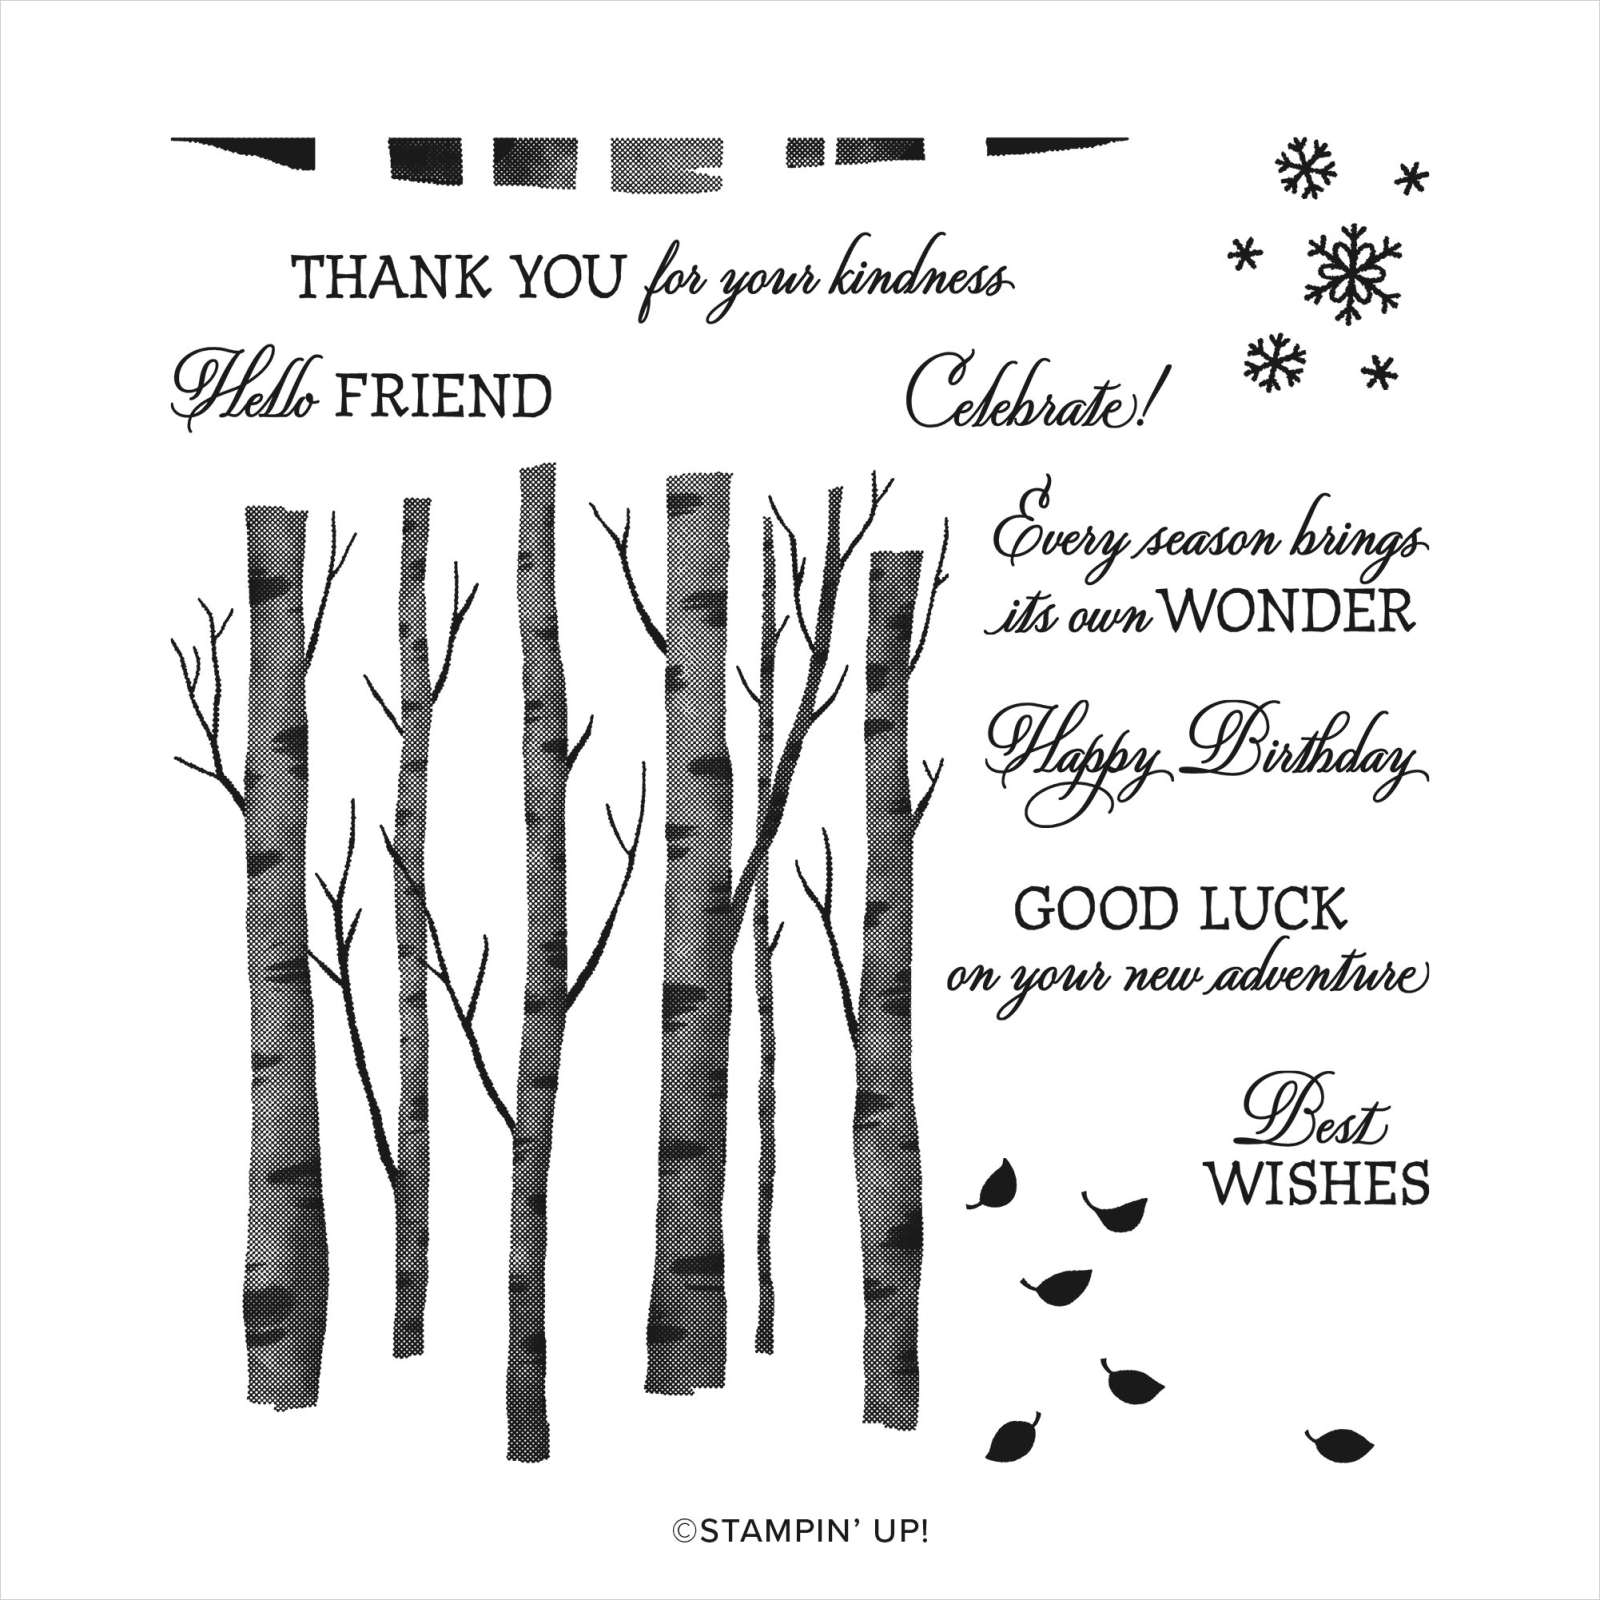
    It features the Welcoming Woods stamp set seen here. She used a variety of colors like Highland Heather, Pumpkin Pie, Crushed Curry and Misty Moonlight.  

    Here's how she did it: She gathered up a sheet of plastic wrap and dabbed it in ink a few times.  Then she dabbed it horizontally across her stamped image piece.  With each color change, she re-rolled the plastic wrap & blended the previous one a bit to achieve a beautiful sunset look. 

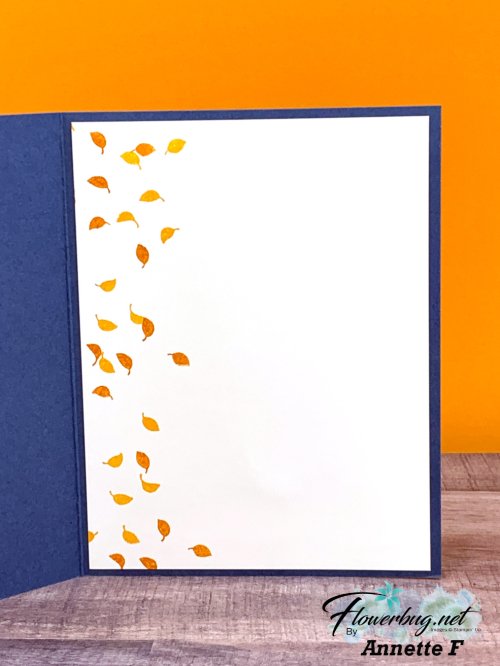
    She added some of the leaves from the stamp set to the inside as well.  

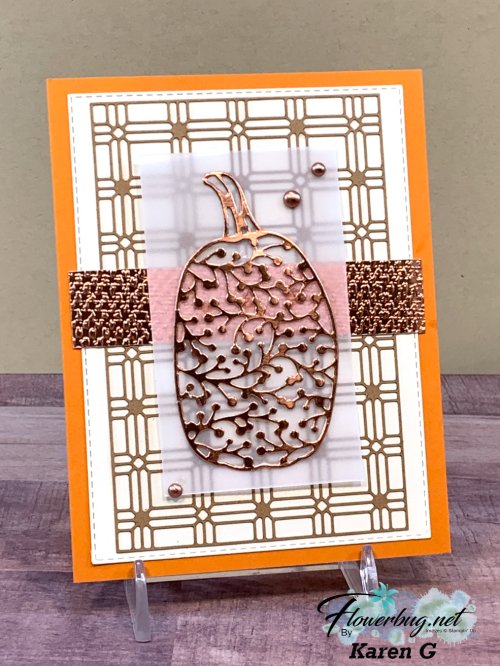
    This next card made by Karen features a bunch of beautiful metallic products!

    • Detailed Pumpkin dies seen here
    • Brushed Metallic Adhesive-Backed dots
    • Paper Lattice (annual catalog)
    • Copper Foil sheets (annual catalog)
    • Tasteful Textiles embossing folder 
    • Vellum card stock

    ~~~

    October Specials

    Host code: YYUAWBVA

    *click here to order

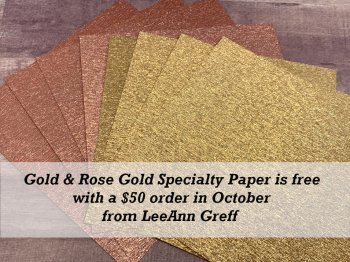
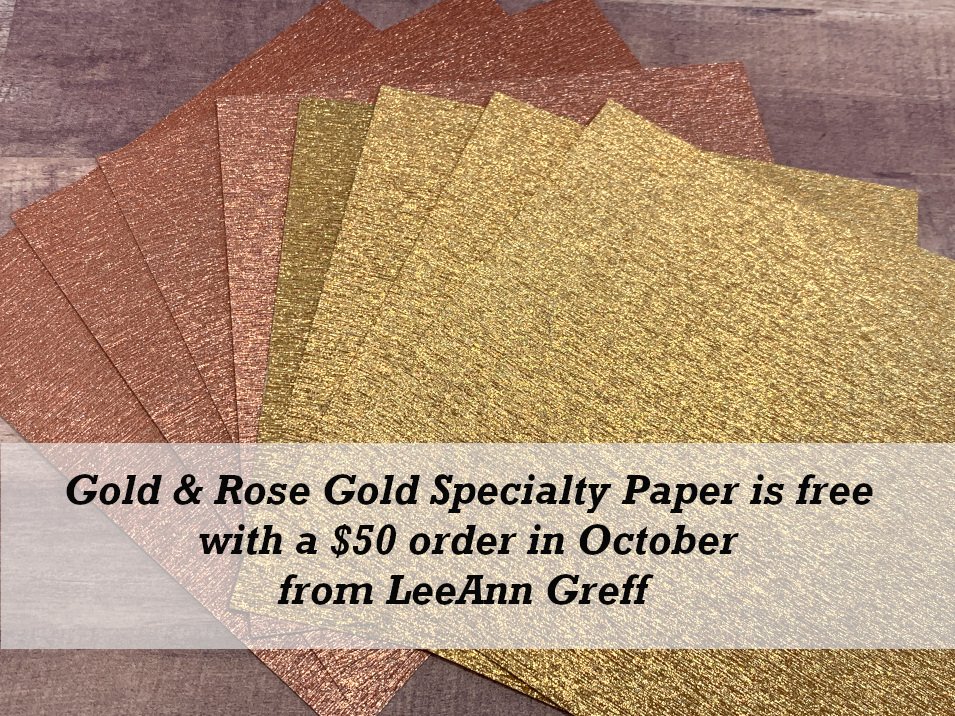
    Get a free package of Gold & Rose Gold Metallic specialty paper from me with a $50 online order in October! 

    All online orders will receive my October PDF tutorial free! 

    This month it features the Gingerbread & Peppermint suite.

    Leave a Reply

    Your email address will not be published. Required fields are marked *

  • 3 options for my Christmas Card class;, attend, kit to go or tutorial!


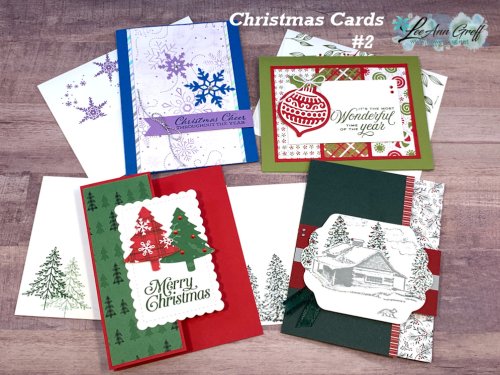
    Here's the 2nd of my 3 Christmas card classes I'm offering this year.  I love planning & designing for these classes!   

    *Opt in to attend this class by October 5th. 

    If you want the pre-cut kit to go click here.  Or just the PDF tutorial click here. 

    We'll make 3 of each card at class and of course you'll stamp your envelopes to coordinate as well.   

    Stamp sets: Tidings & Trimmings, Snowflake Wishes, Peaceful Cabin, Perfectly Plaid & Merry Snowflakes 

    Ink: Old Olive, Real Red, Highland Heather, Pacific Point, Smoky Slate, Cherry Cobbler, Evening Evergreen, Garden Green 

    **Click here to see all of my tutorials, kits to go and glue stands. 

    ~~~

    October Specials

    Host code: YYUAWBVA

    *click here to order

    Get a free package of Gold & Rose Gold Metallic specialty paper from me with a $50 online order in October! 

    All online orders will receive my October PDF tutorial free! 

    This month it features the Gingerbread & Peppermint suite.


    Leave a Reply

    Your email address will not be published. Required fields are marked *

  • Gorgeous Leaves paired with the Timber embossing folder


    Today I get to share two cards made by my talented Team members who used the beautiful Gorgeous Leaves bundle seen here.  I shared a bunch earlier this week as well. Click here to see them. 

    First is a beautiful card made by Marilyn.  Her colors include Crumb Cake, Cajun Craze, Old Olive & Crushed Curry. 

    It's hard to see in this photo but after she stamped the background she ran it through the die-cutting machine with the Timber embossing folder.  

    Her die-cut leaves are darker than the normal hues since she sponged the corresponding color over each one.  Neat effect! 

    Measurements: 

    • Crumb Cake 5 1/2" X 8 1/2"
    • Cajun Craze 3 3/4" X 5" & Stitched So Sweetly die-cut 2 1/2" X 3 5/8"
    • Vanilla 3 1/2" X 4 3/4" & 2 1/8" X 3 1/4" 

    ~~~

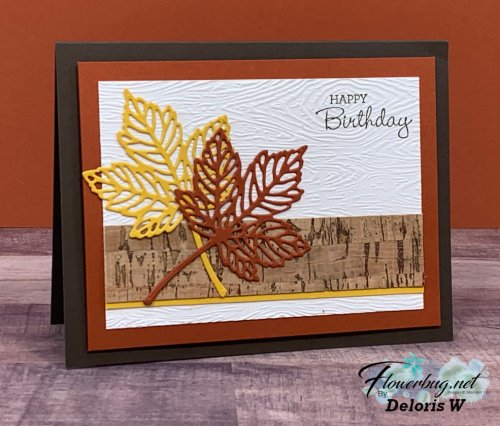
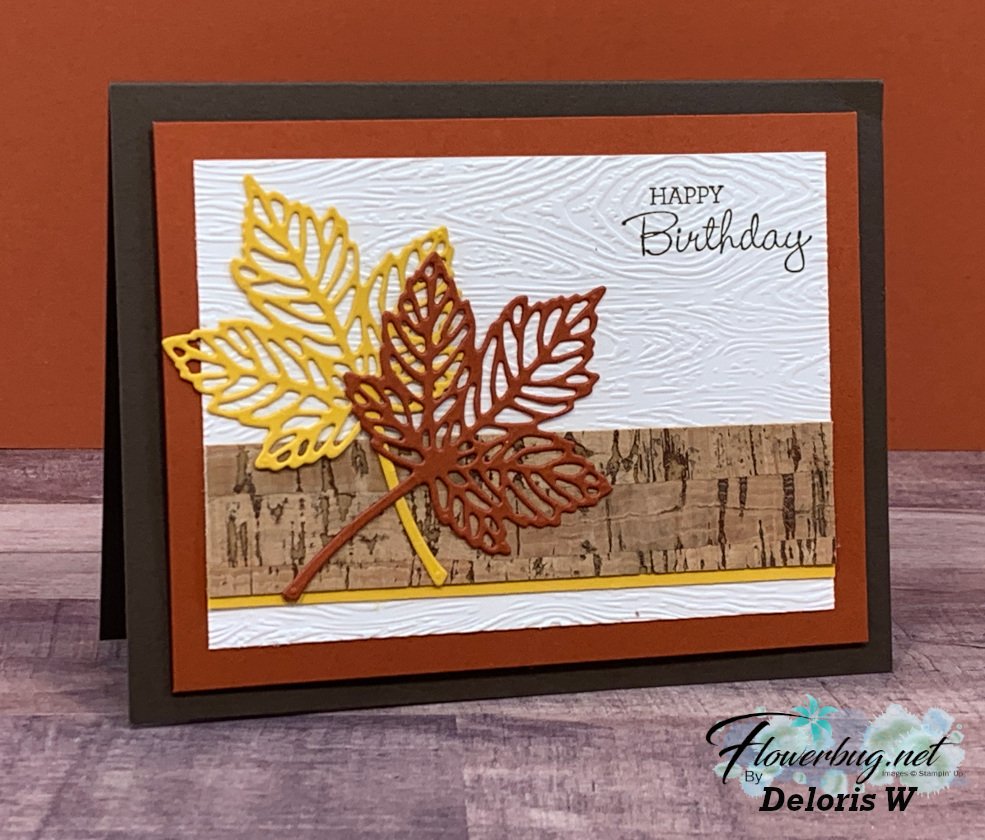
    Next is a lovely card made by Deloris. She also used the Timber embossing folder seen here. 

    She also added a strip of the Cork specialty paper.  This paper can be found in the Holiday catalog on page 55.  It sure adds a neat touch to autumn or men's cards! 

    Her colors include Early Espresso, Cajun Craze & Bumblebee. 

    Measurements:

    • Early Espresso card 5 1/2" x 8 1/2"
    • Cajun Craze 3 3/4" X 5"
    • White 3 1/4" X 4 1/2"
    • Cork 1" X 4 1/2"
    • Bumblebee 1/4" X 4 1/2" strip

    ~~~

    October Specials

    Host code: YYUAWBVA

    *click here to order

    Get a free package of Gold & Rose Gold Metallic specialty paper from me with a $50 online order in October! 

    Leave a Reply

    Your email address will not be published. Required fields are marked *


Notice: LeeAnn Greff, Independent Stampin’ Up! Demonstrator, Manager. The content of this website is my sole responsibility as an independent Stampin’ Up! demonstrator and the use of, and content of, the classes, services, or products offered on this website is not endorsed by Stampin’ Up! Copyright 2025