/


Latest Post

A colorful Joseph’s Coat technique with Layered Thoughts


Have you ever done the Joseph’s Coat technique?  It’s one of those techniques that makes you feel like an artist.
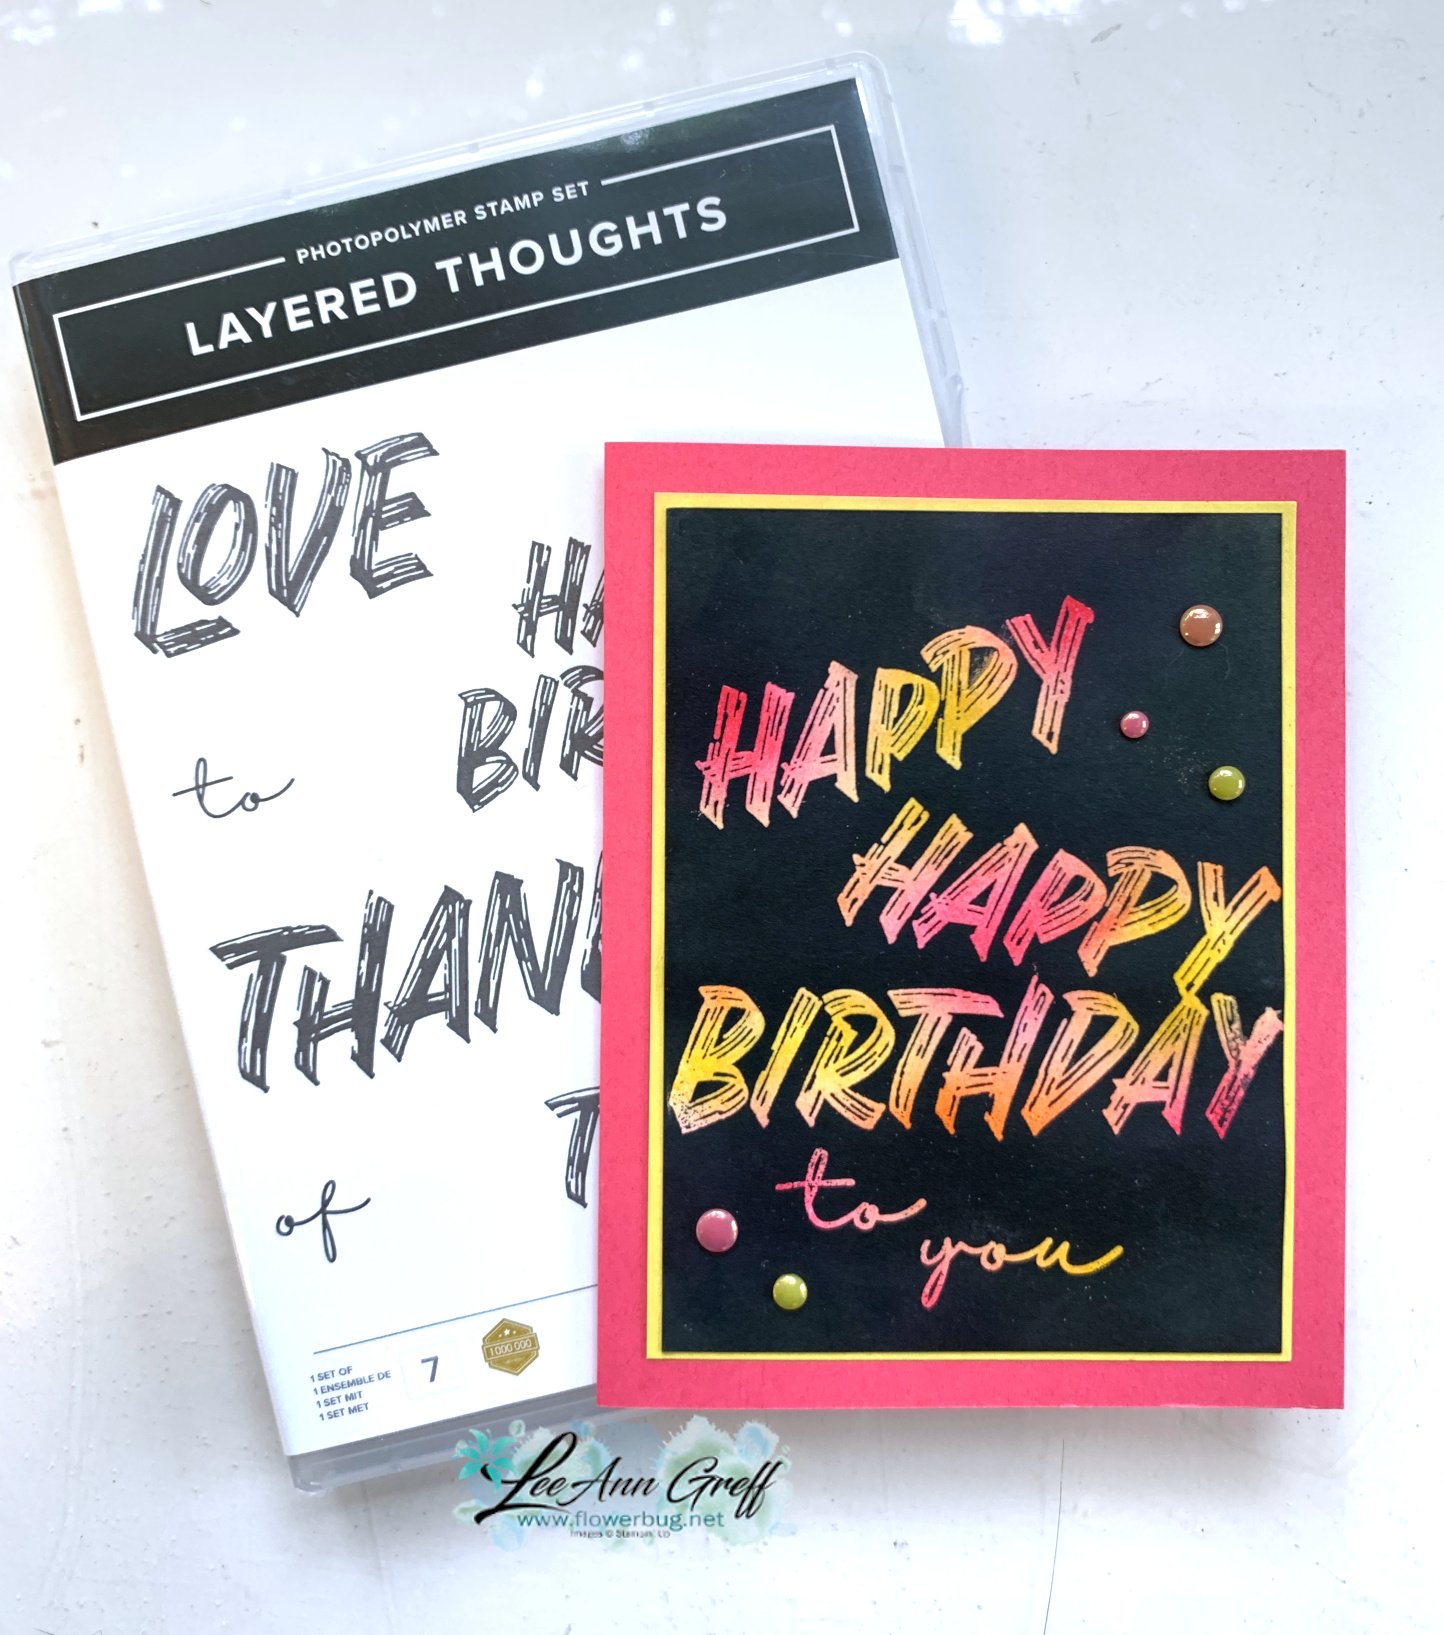
I shared how to do it on last week’s Live video. The card I’m featuring today uses the Layering Thoughts technique with three of our newest In Colors – Strawberry Slush, Darling Duckling and Timid Tiger.  

These colors – card stock, ink, refills, gems, markers and card stock are all 15% off in August. See these products and so much more here.  It’s a great time to grab these items while discounted. 

This technique involves a few steps:

  1. sponge colors over your neutral card stock – I used White. 
  2. Tap or rub the embossing buddy over the layer. 
  3. Stamp your images using Versamark ink. 
  4. Heat emboss with Clear embossing powder and your heat tool. Let dry. 
  5. Rub a dark ink (memento black here) over the entire layer.  The embossed areas will resist the water based ink. 
  6. Dab off excess ink with a tissue or paper towel.  Done!  

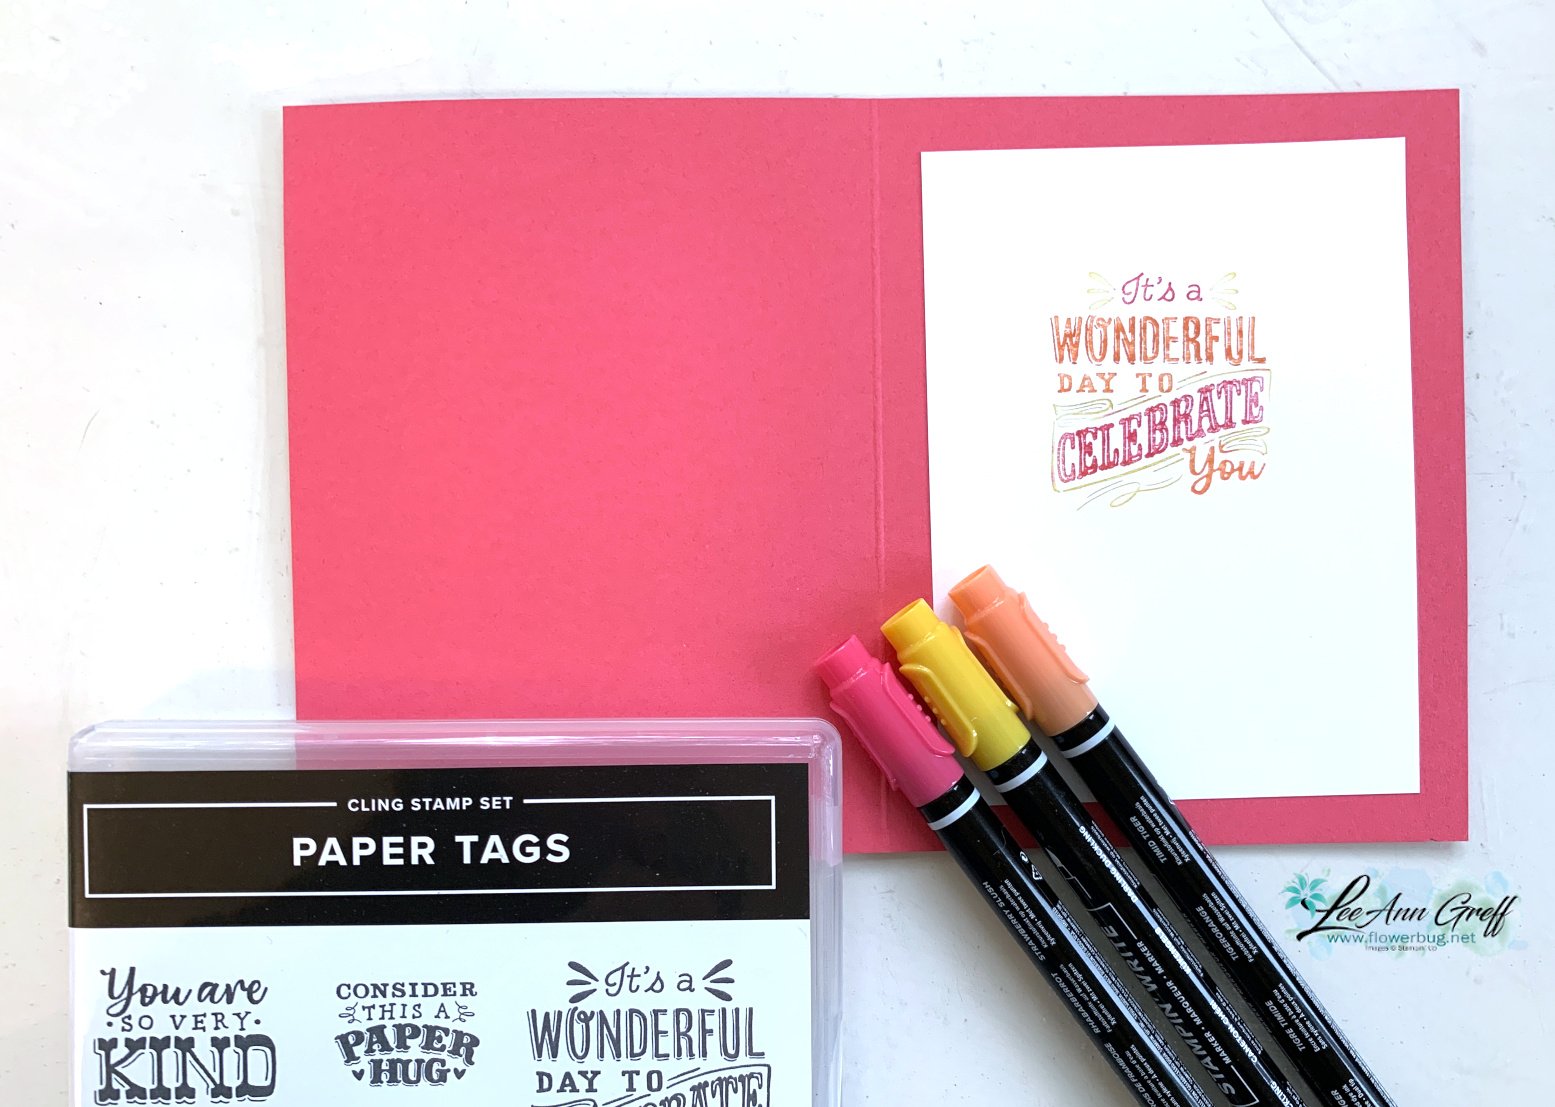
Here’s how I finished the inside.  I wanted to use all of the colors I colored on the front so I used my Stampin’ Write markers on the stamp before stamping. 
 

Here is the free project sheet for this card. Click on the following link to print or download it.  Download Layered Thoughts Joseph’s Coat Technique
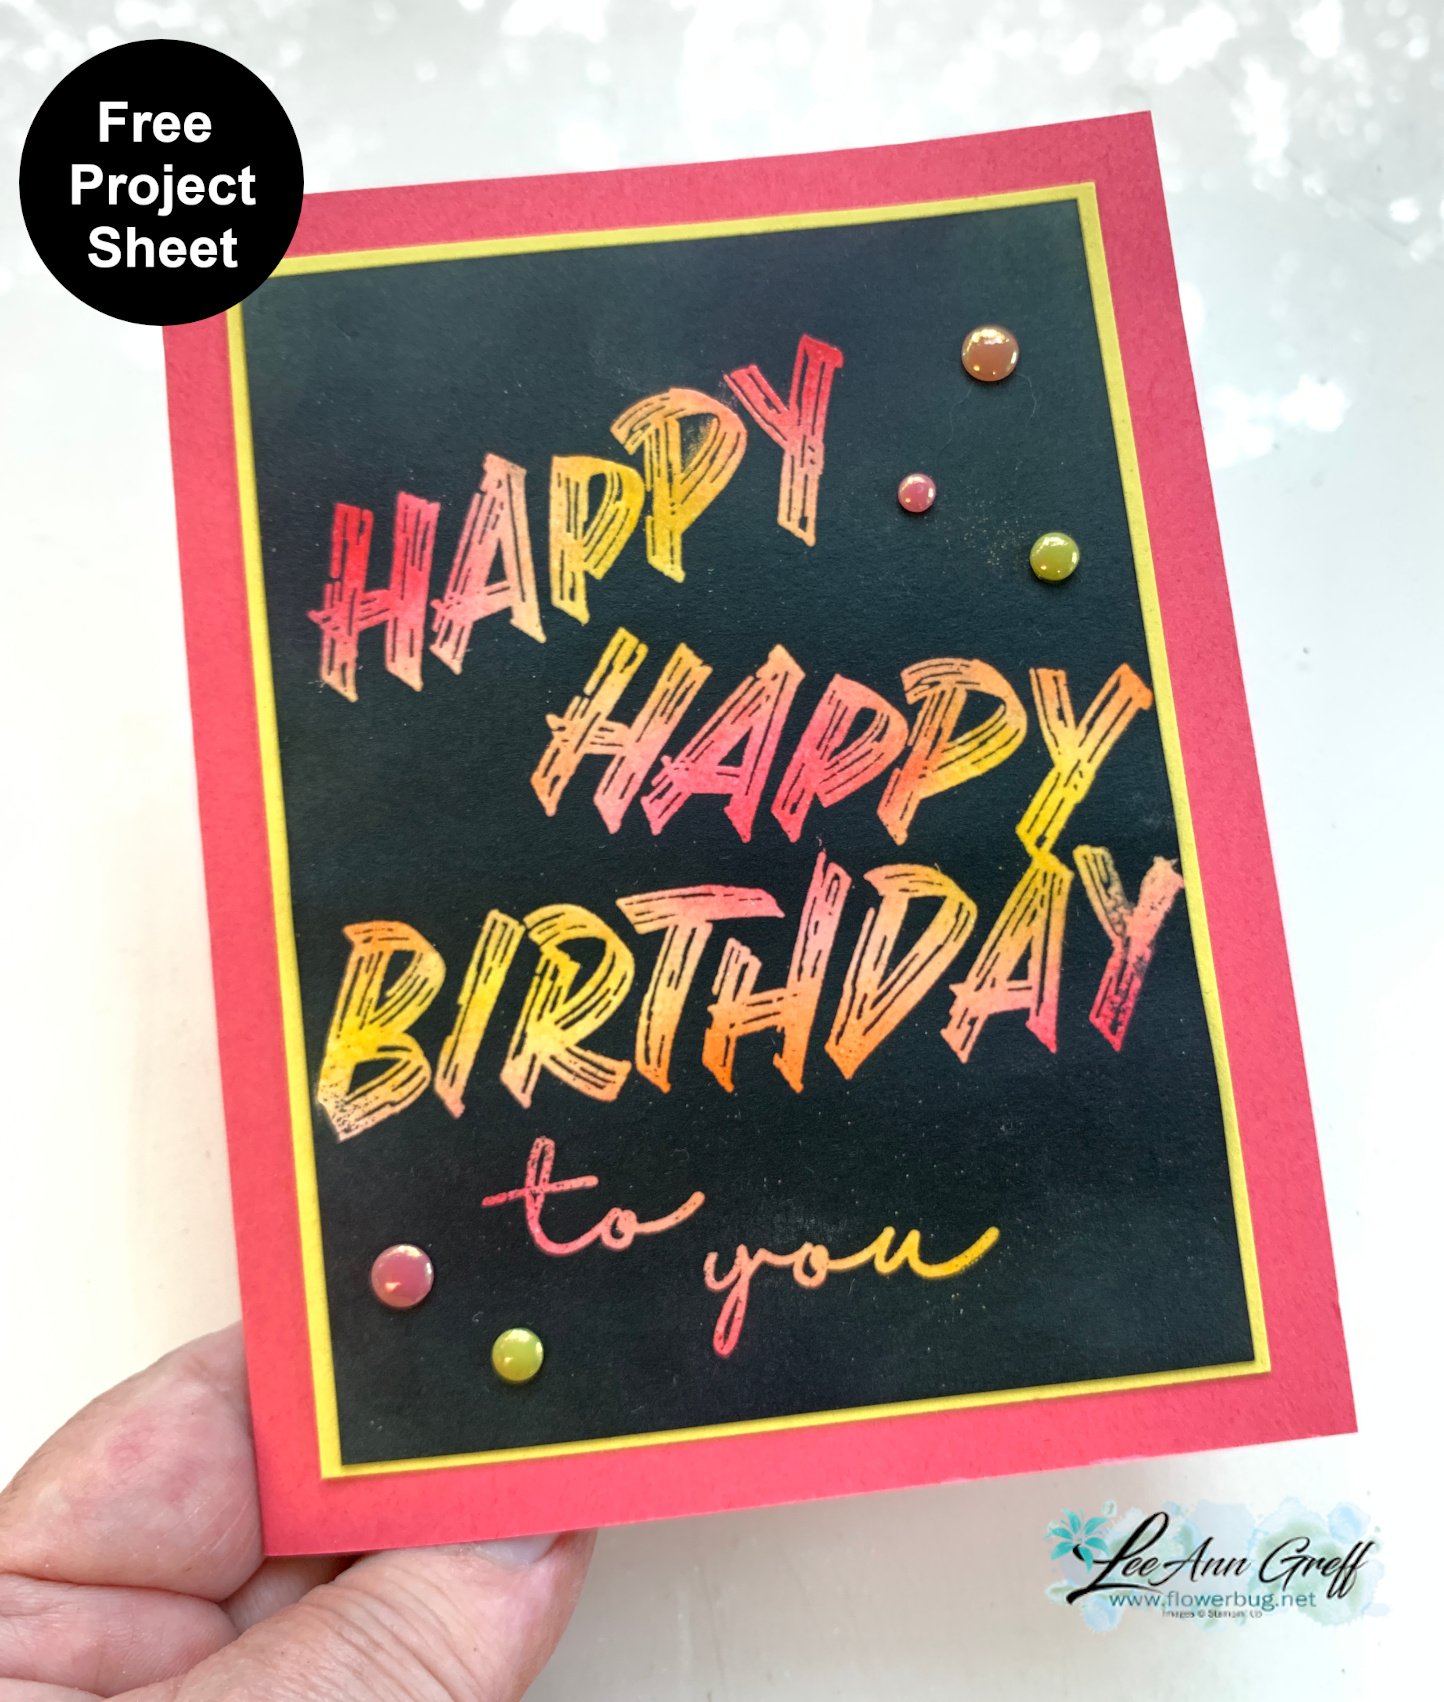
I’ll be sharing the other cards in the next few days. Stay tuned! 

The video tutorial for this card and two more versions is below.  Be sure to follow me on YouTube here so you don’t miss any of my tutorials. 

~~~

August Specials

Lots of In Color products are discounted in August!!

Go here to see them all. 

Get a free card class with any online order over $55 during August!

Order online here

The last chance list has new products! See them here. 

All Posts

  • Last of the unique ‘Gift Card’ ideas with video!


    I've shared two other special gift card ideas and today I have another.  It's the last one I shared in this video. 

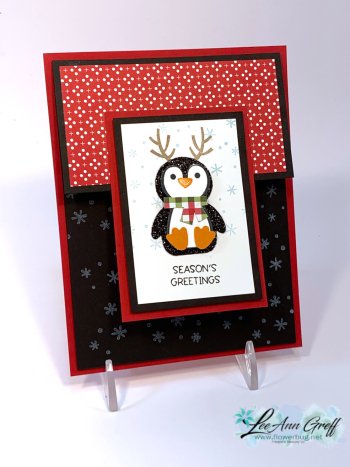
    It features the Penguin Place bundle seen here.   And it's now available but on low inventory; once more.  The punch was out of stock for a long time. 
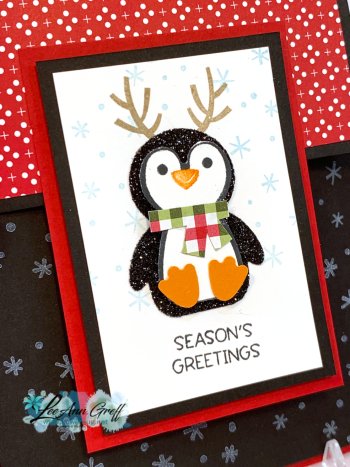
    This penguin is super cute and quite versatile.  Certainly not just for Christmas!

    Details:

    • His main body is punched out of Black glitter paper. 
    • I fussy cut his scarf from Heartwarming Hugs DSP. 
    • I stamped the snowflakes on the Black CS using our White Craft ink.  

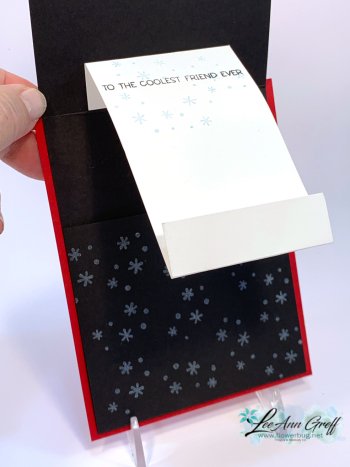
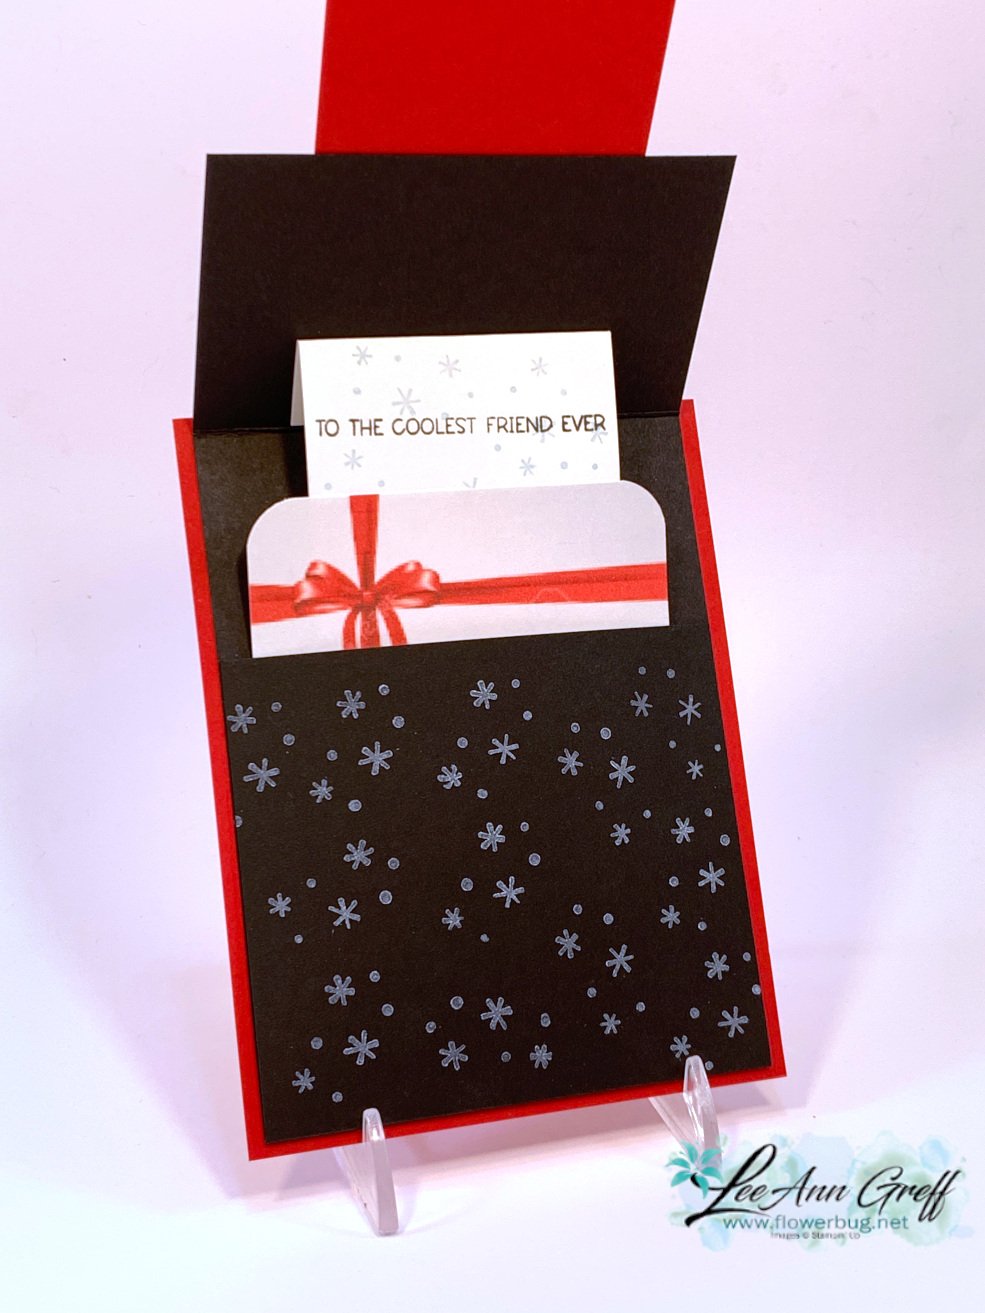
    This card opens up like this: 

    There's a fold inside that brings up the 'gift card' when you lift up the card front.  I did use Thick White CS for this so it stands up to lots of use. Isn't it fun?  It's quite easy too!

    Measurements for the Pull-Up Penguin Gift Card

    • Card base 4 ¼” X 5 ½”, DSP 2” X 3 ¾”
    • Black card 4” X 11” scored at 3 ½” & 8 ¾”
    • Inside Thick White 2 ½” X 5 ½” or 6” scored at 3/4" from each end
    • Front white 2” X 3”, Black 2 ¼” X 3 ¼”, Red 2 ½” X 3 ½”

    Below is the video tutorial.  It's the third & last project I share.  

    ~~~

    December Specials:

    Host code:  6YCWV7QN

     *click here to order 

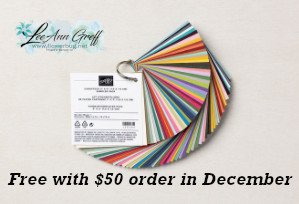
    Use the host code above & get a free card stock sampler ring with a $50 order in December! 

    See the last chance list here

    See the July-December catalog carry over list here

    Leave a Reply

    Your email address will not be published. Required fields are marked *

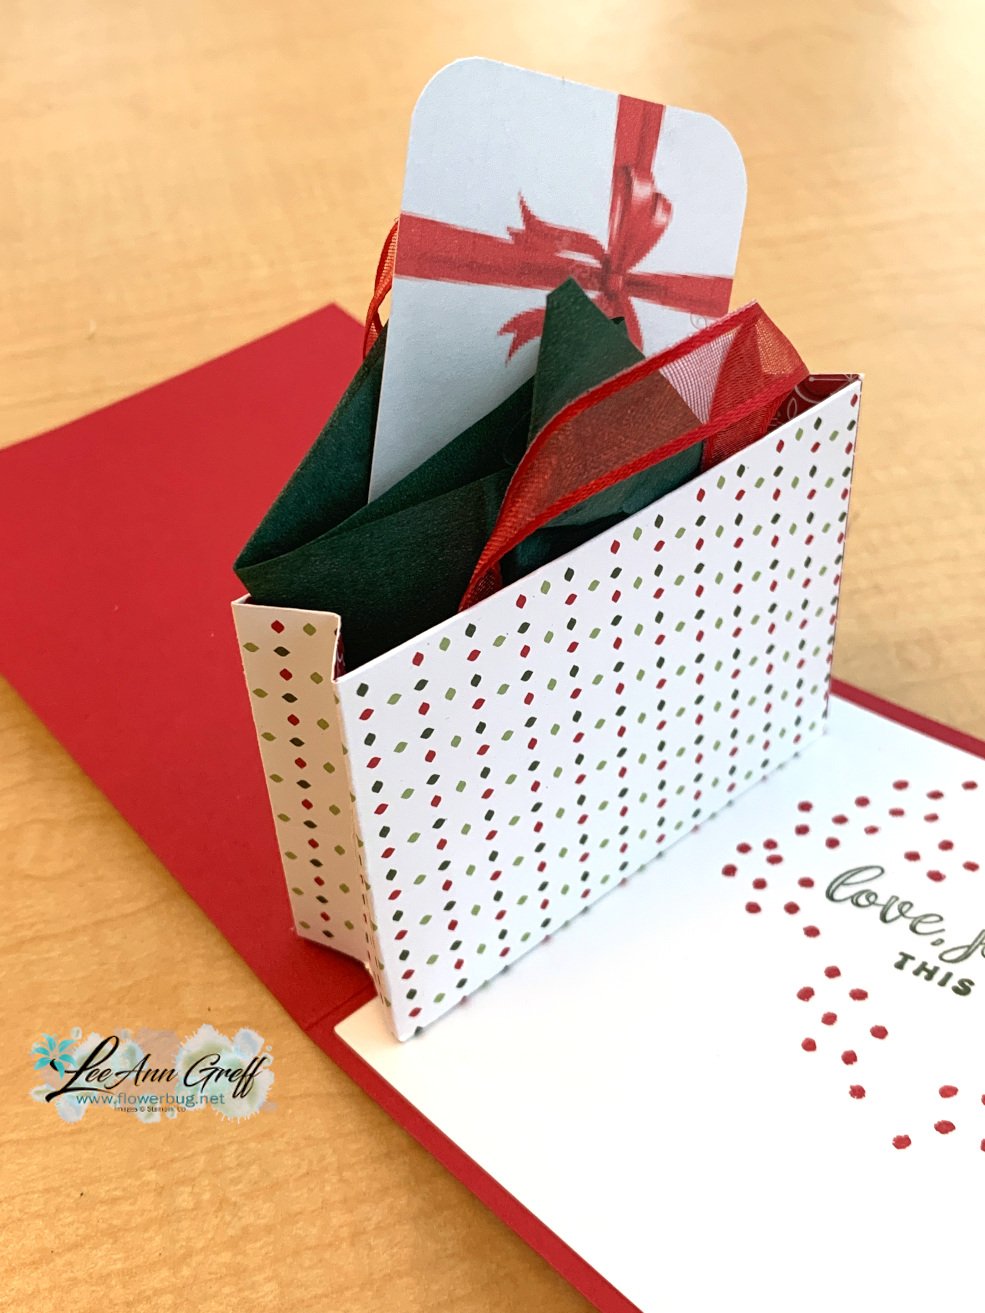
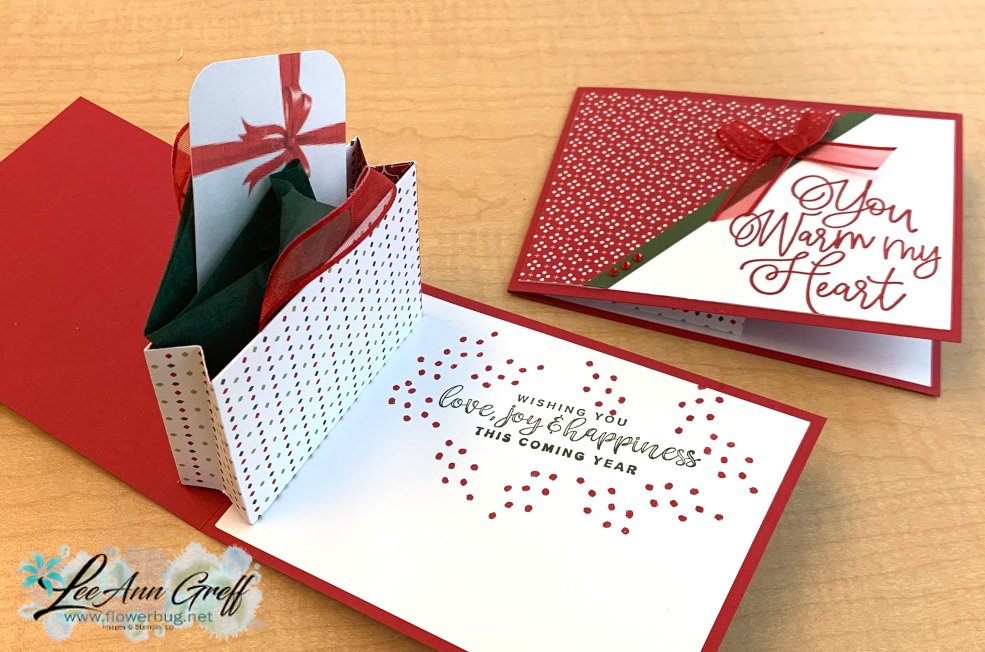
  • Extra special Gift Card idea with a pop up ‘gift bag’ inside the card!


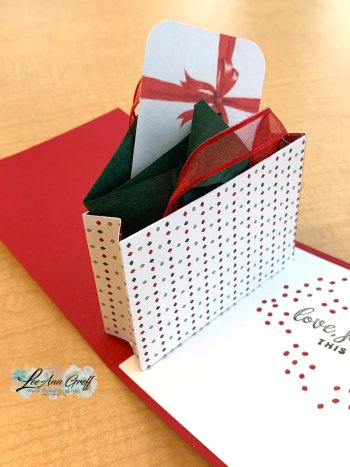
    Here's another gift card idea for you.  It looks harder than it is; honestly! It's a 'gift bag' inside the card! 


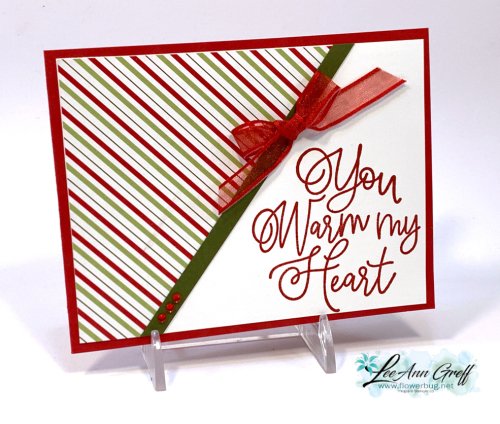
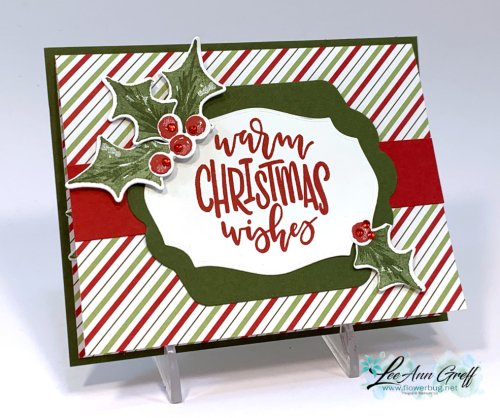
    Here's the front view:  I used the angled Heartwarming Hugs designer paper piece I cut off from this card I shared yesterday.  I love it when I can use my paper efficiently! 

    I kept the front very simple as you can see.  The greetings are from the Encircled in Warmth stamp set seen here.
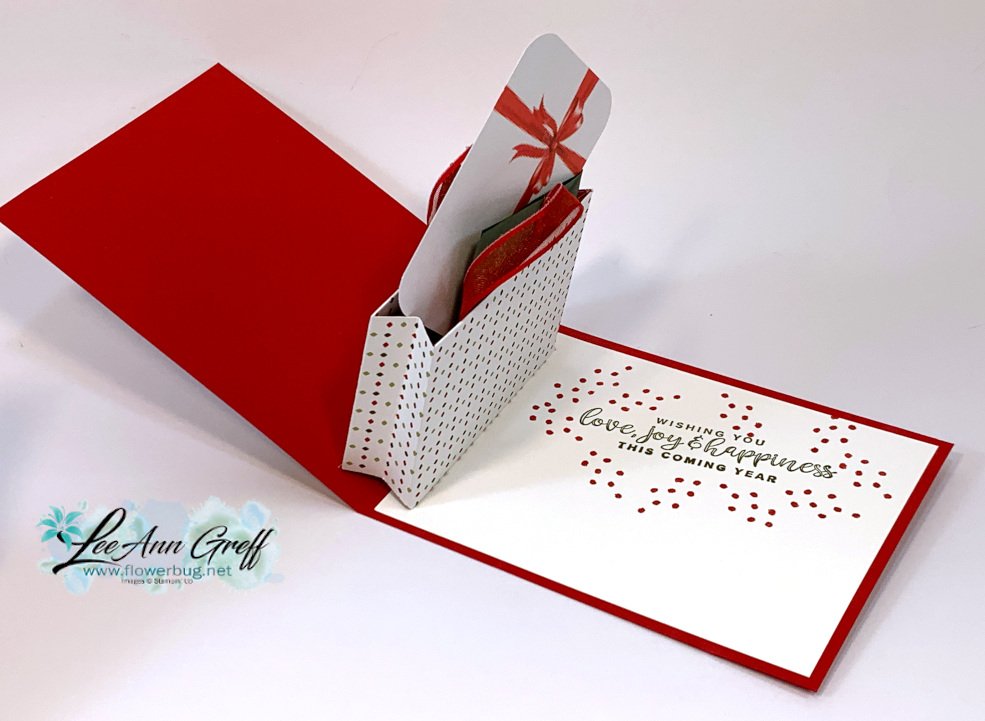
    I even added 'tissue' using the Ever Eden cotton paper!  It's a 6" piece I folded into points. 


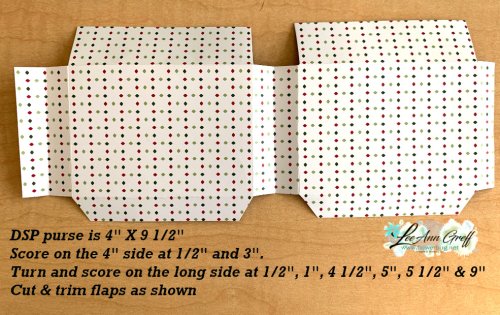
    I used our Real Red sheer ribbon on the front for both the bow and the 'handles' inside the bag. Below is a photo of the gift bag cut out.  Measurements are included. 

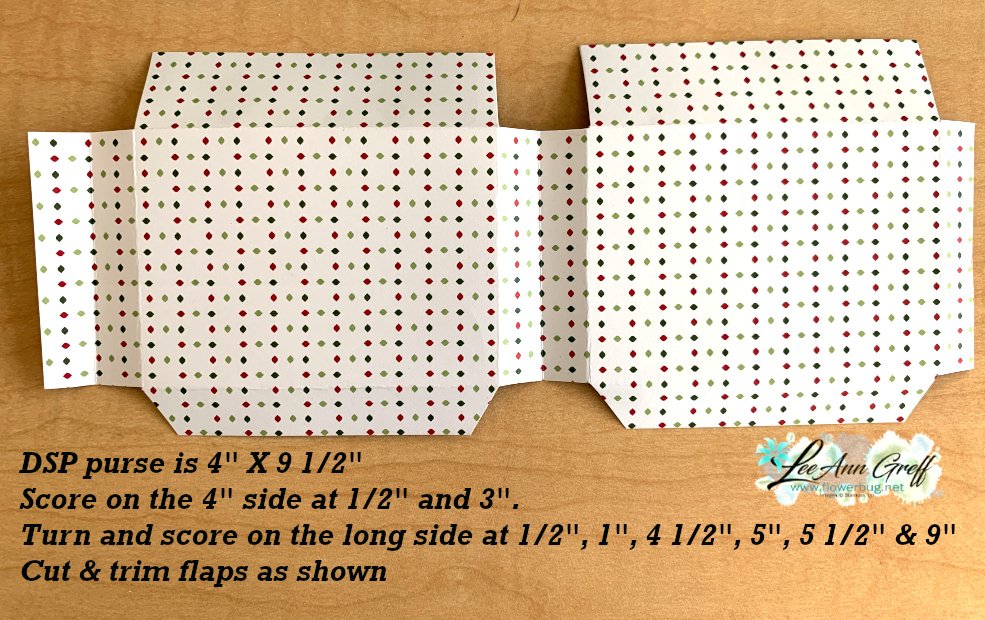
    Pop-up Gift Bag card measurements:

    • Card base 4 1/4" X 11"
    • White – two at 4" X 5 1/4"
    • DSP 4” X 5 ¼” cut one section off diagonally
    • Purse 4” X 9 ½” scored on the 4” side at ½” & 3”, scored on the long side at ½”, 1”, 4 ½”, 5”, 5 ½” & 9”


    Below is the video for 3 different gift card options.  I'll share details on one more unique card tomorrow. 

    ~~~

    December Specials:

    Host code: Z2RQ7BB6 or 6YCWV7QN

     *click here to order 

    Use the host code above & get a free card stock sampler ring with a $50 order in December! 

    See the last chance list here

    See the July-December catalog carry over list here

    Leave a Reply

    Your email address will not be published. Required fields are marked *

  • Need Gift card ideas? I have three!


    Last week I created 3 different gift card options on Facebook Live.  You can see it here.

    I'm sharing the first one today: 

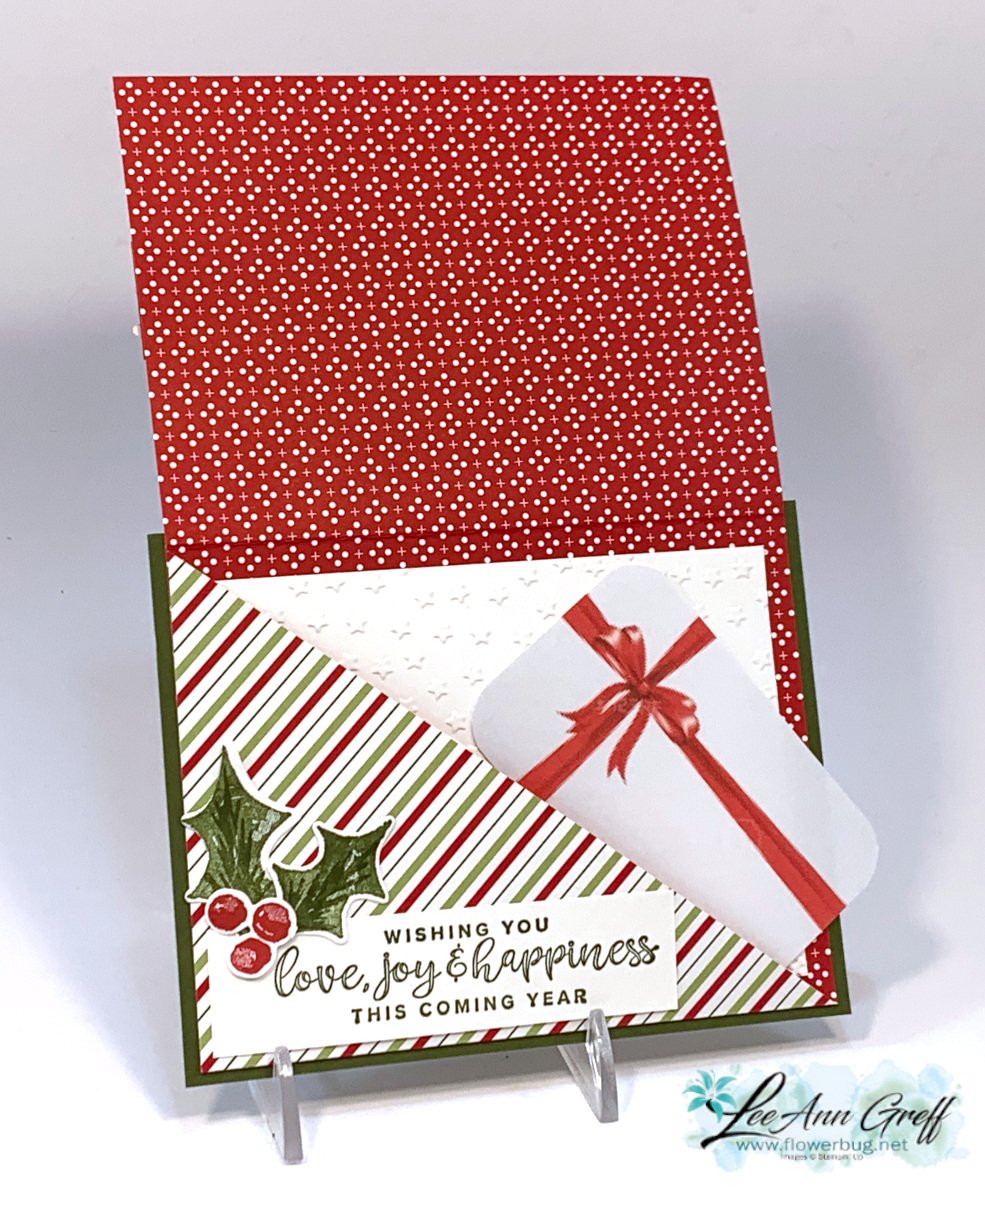
    I used the Heartwarming Hugs designer paper seen here) and the Encircled in Warmth & Christmas Season bundle. 

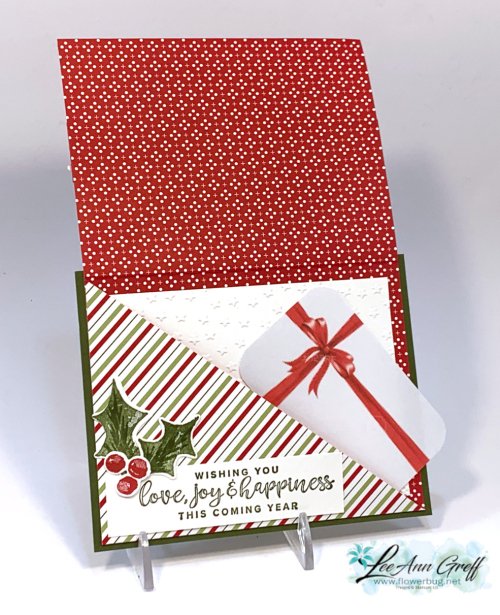
    It's made from a 5 1/4" X 12" piece of designer paper; score it every 4".  Trim off one angle for the pocket and adhere it to a 4 1/4" X 5 1/2" card base.  

    Inside I added a 4 3/4" X 3 1/2" piece of White CS that I textured with the Star-Crossed embossing folder. I decorated the front & inside with stamped & die-cut images from the Christmas Season bundle seen here. 

    Depending on how you decorate this card it can be quite easy to make!  Below is the video for this one & 2 more gift card options.  I'll share details on another tomorrow. 
    ~~~

    December Specials:

    Host code: 6YCWV7QN

     *click here to order 

    Use the host code above & get a free card stock sampler ring with a $50 order in December! 

    See the last chance list here

    See the July-December catalog carry over list here

    Leave a Reply

    Your email address will not be published. Required fields are marked *


Notice: LeeAnn Greff, Independent Stampin’ Up! Demonstrator, Manager. The content of this website is my sole responsibility as an independent Stampin’ Up! demonstrator and the use of, and content of, the classes, services, or products offered on this website is not endorsed by Stampin’ Up! Copyright 2025