/


Latest Post

5 beautiful cards the easy way; with my ‘5 at a time’ templates!


Check out these gorgeous cards made with my 5 at a time templates!

Aren’t they pretty? I chose this stamp set because of the pretty floral images. And I knew they’d make an easy, beautiful background. My colors include Hydrangea Hue, Peaceful Pine and Golden Glow.

My 5 at a time templates make creating 5 cards so effortlessly! This first template is what I used for my White stamped layer.

Vertically, make the first cut from an 8 1/2″ X 11″ White CS at 4 3/4″. Then cut 3 pieces from the left section at 3 1/2″. Now cut the other piece at 3 1/2″ wide and cut that into two pieces at 4 3/4″. Save the bottom piece for a greeting layer.

This next template is for the colored layer under the White stamped pieces. It’s just an 1/8″ larger than the White layers.

Cut in the same manner as the one above; starting vertically at 4 7/8″. Please watch the video here, or below to see how it’s done.


I cut 5 card bases for these stamped layers and you can see how I stamped the insides of some above. I love stamping backgrounds; our stamp images are fantastic! And this set has that distinktive feel to the images which gives multiple hues of colors when stamping.

It’s actually in a bundle with the amazing Tile Garden dies. See the stamp set here and the bundle here.

I created a free project sheet for these cards and it includes the two templates! Click here to print or download it.

And below is the video tutorial I shared last week with an entire different set of cards! I’ll share another version tomorrow.

The Starter kit deal ends on Saturday! I hope you’ll consider joining my team and taking advantage of the continual discount on all future Stampin’ Up! products!

Click here to get the deal!!

All Posts

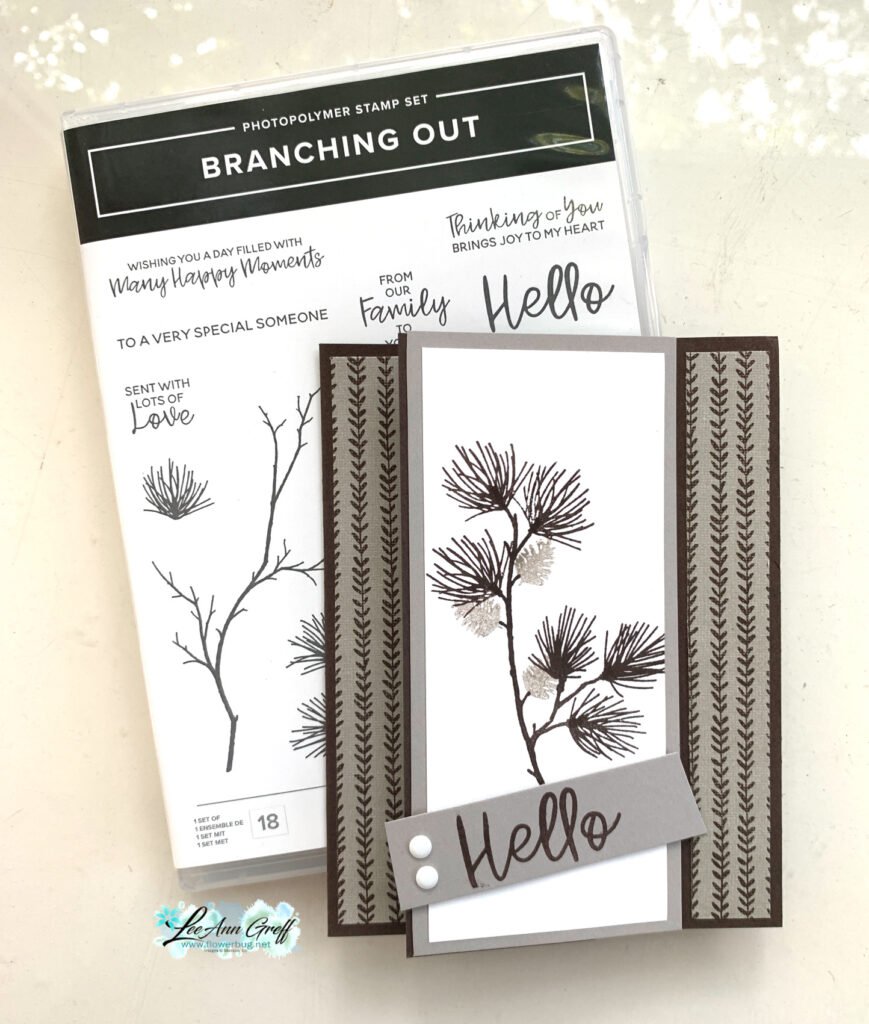
  • A neat vertical ‘Book Binding’ card fold with video tutorial


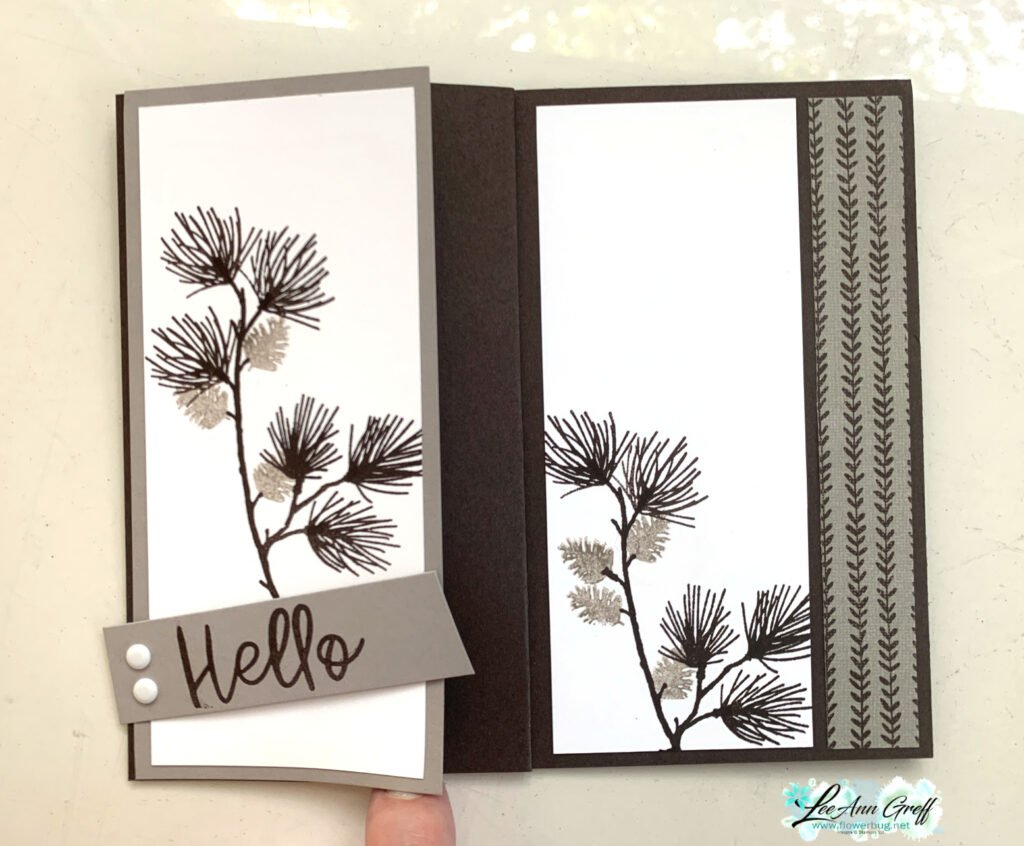
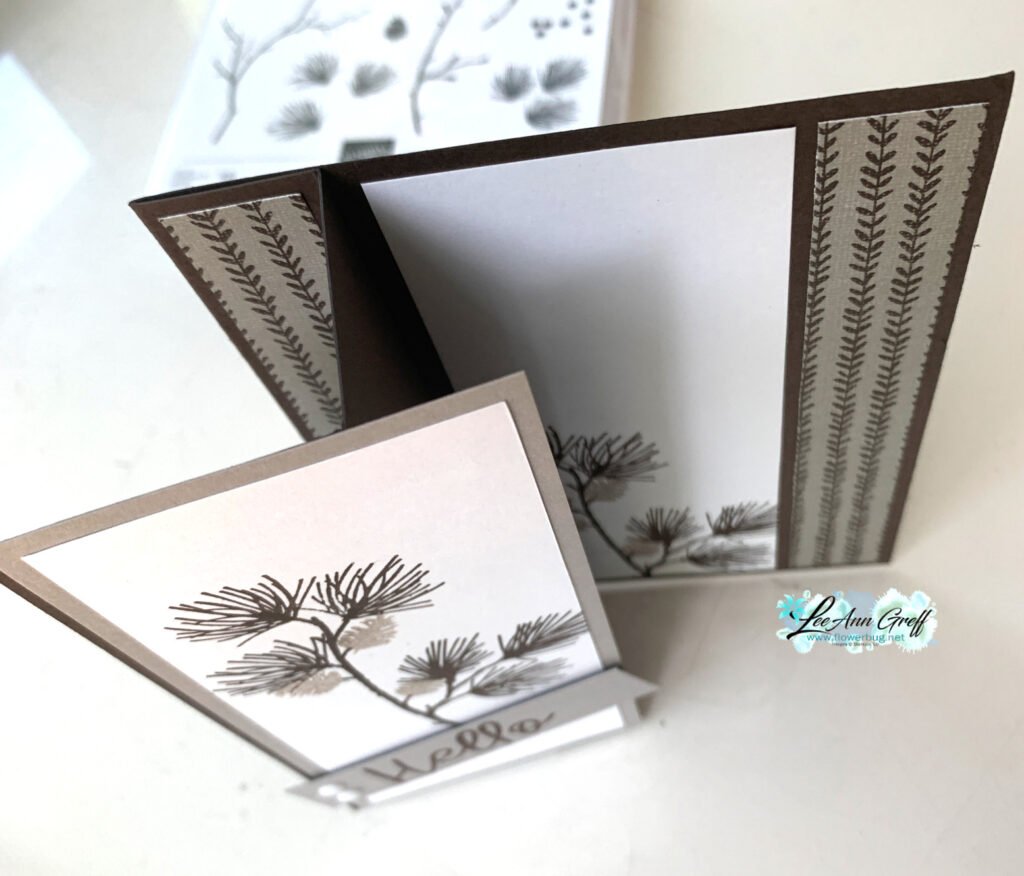
    Here’s the second card I shared on last week’s video. It’s a neat book binding card that’s vertical instead of the usual horizontal card.

    The colors include Gray Granite & Early Espresso with White. I chose these colors to match the Toile designer paper from the Holiday Catalog. See it here.

    The view above shows the card open. The card starts as a normal 8 1/2″ X 5 1/2″ card base but has two extra score lines. See the measurements and directions here on the free project sheet. Click on this link to download or print it.

    I made multiples of this card for an online swap I participated in. I love swapping and making multiples of the same card.

    Click play on the video below to see how it’s made.

    ~~~

      To see all of the new Online items click here.  Or download & save the Download Online Exclusives flyer 

    Get a free project tutorial with any online order in September! 

    Leave a Reply

    Your email address will not be published. Required fields are marked *

  • Double Flap fold with Branching Out with video & free project sheet


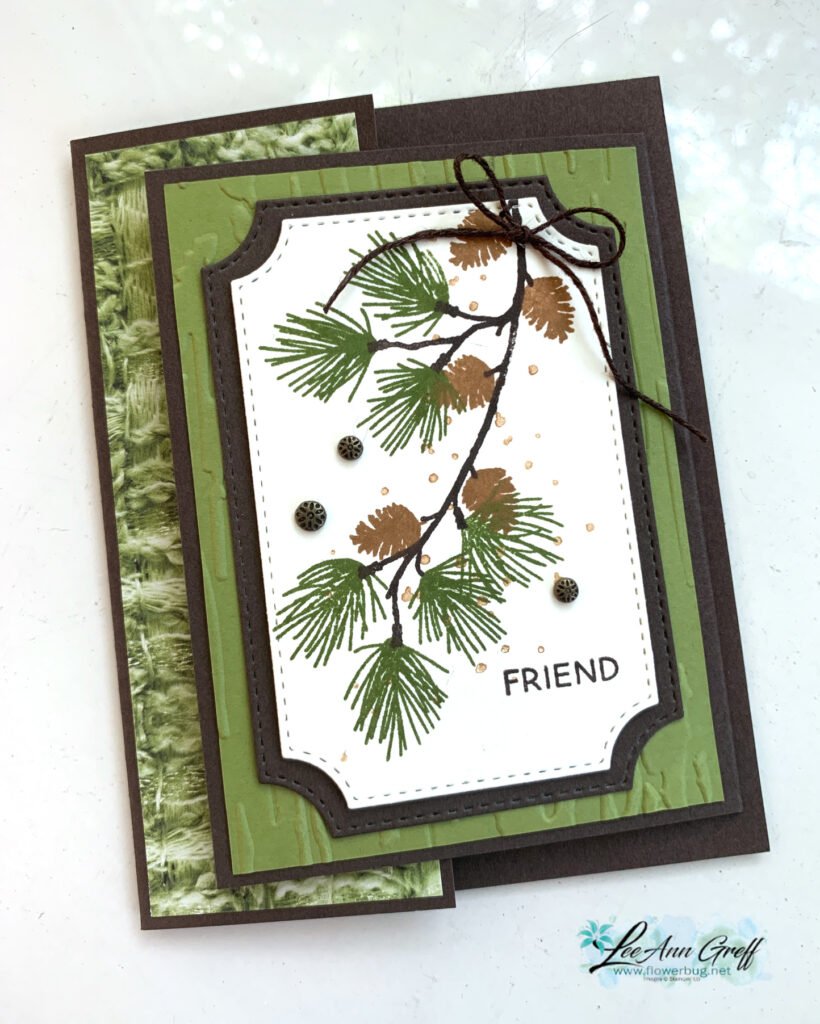
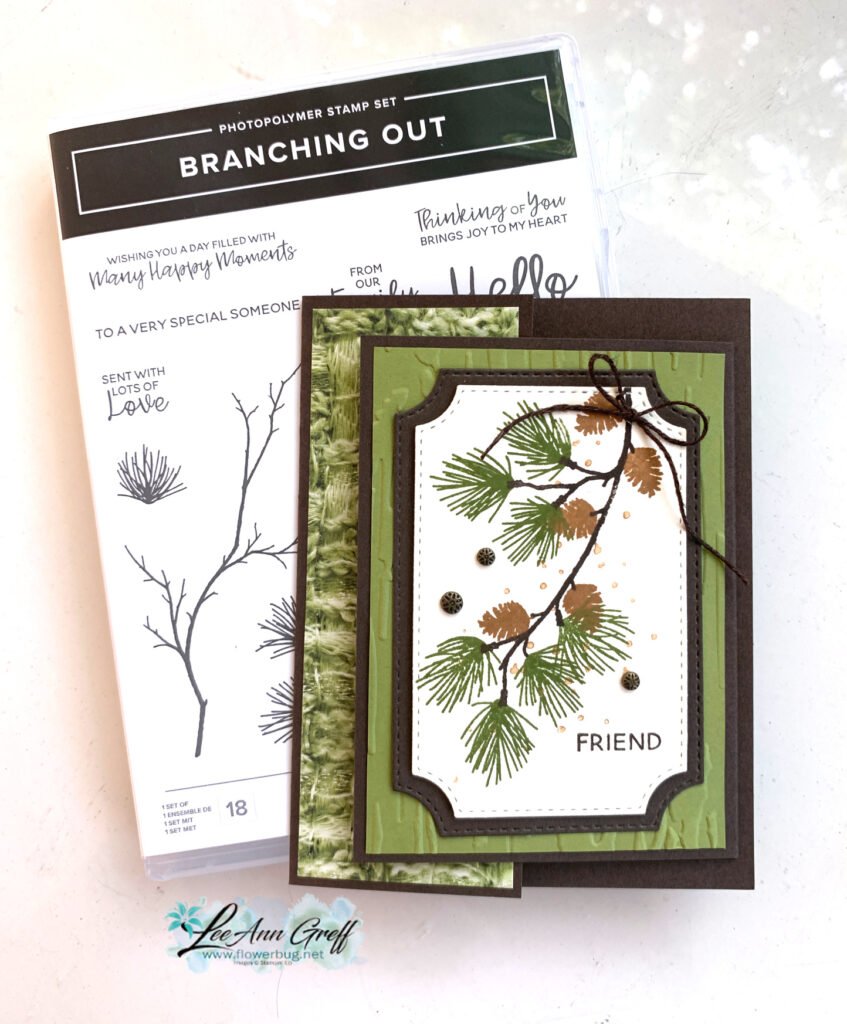
    I shared this card on last week’s Live:

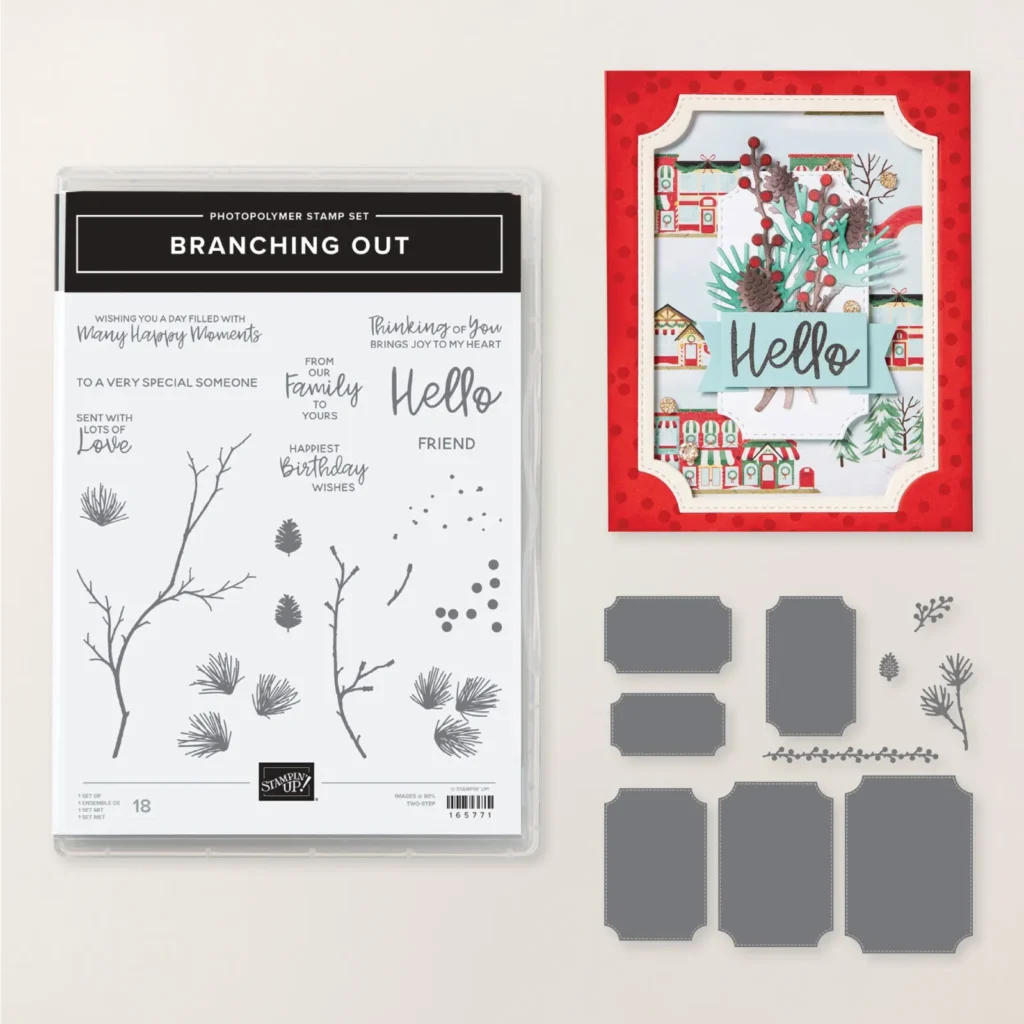
    It features the new Branching Out bundle from the 2025 Holiday catalog from Stampin’ Up! See the bundle here.

    My colors include Early Espresso with Old Olive, Pecan Pie & White.

    It opens with two flaps; one on the right opens first. Then the left does too. As you can see I textured the Olive layer with the Birch Wood 3D embossing folder. The notched frame dies are included in the Branching Out bundle.

    The designer paper on the left is the Need for Tweed seen here.

    I created a free project sheet for this card. Click on the following link to print or download it. Branching Out Double flap card

    Watch the video below to see how to make this card plus one more neat fun fold card too.

    ~~~

      To see all of the new Online items click here.  Or download & save the Download Online Exclusives flyer 

    Get a free project tutorial with any online order in September! 

    Leave a Reply

    Your email address will not be published. Required fields are marked *

  • Autumn Garland Kit


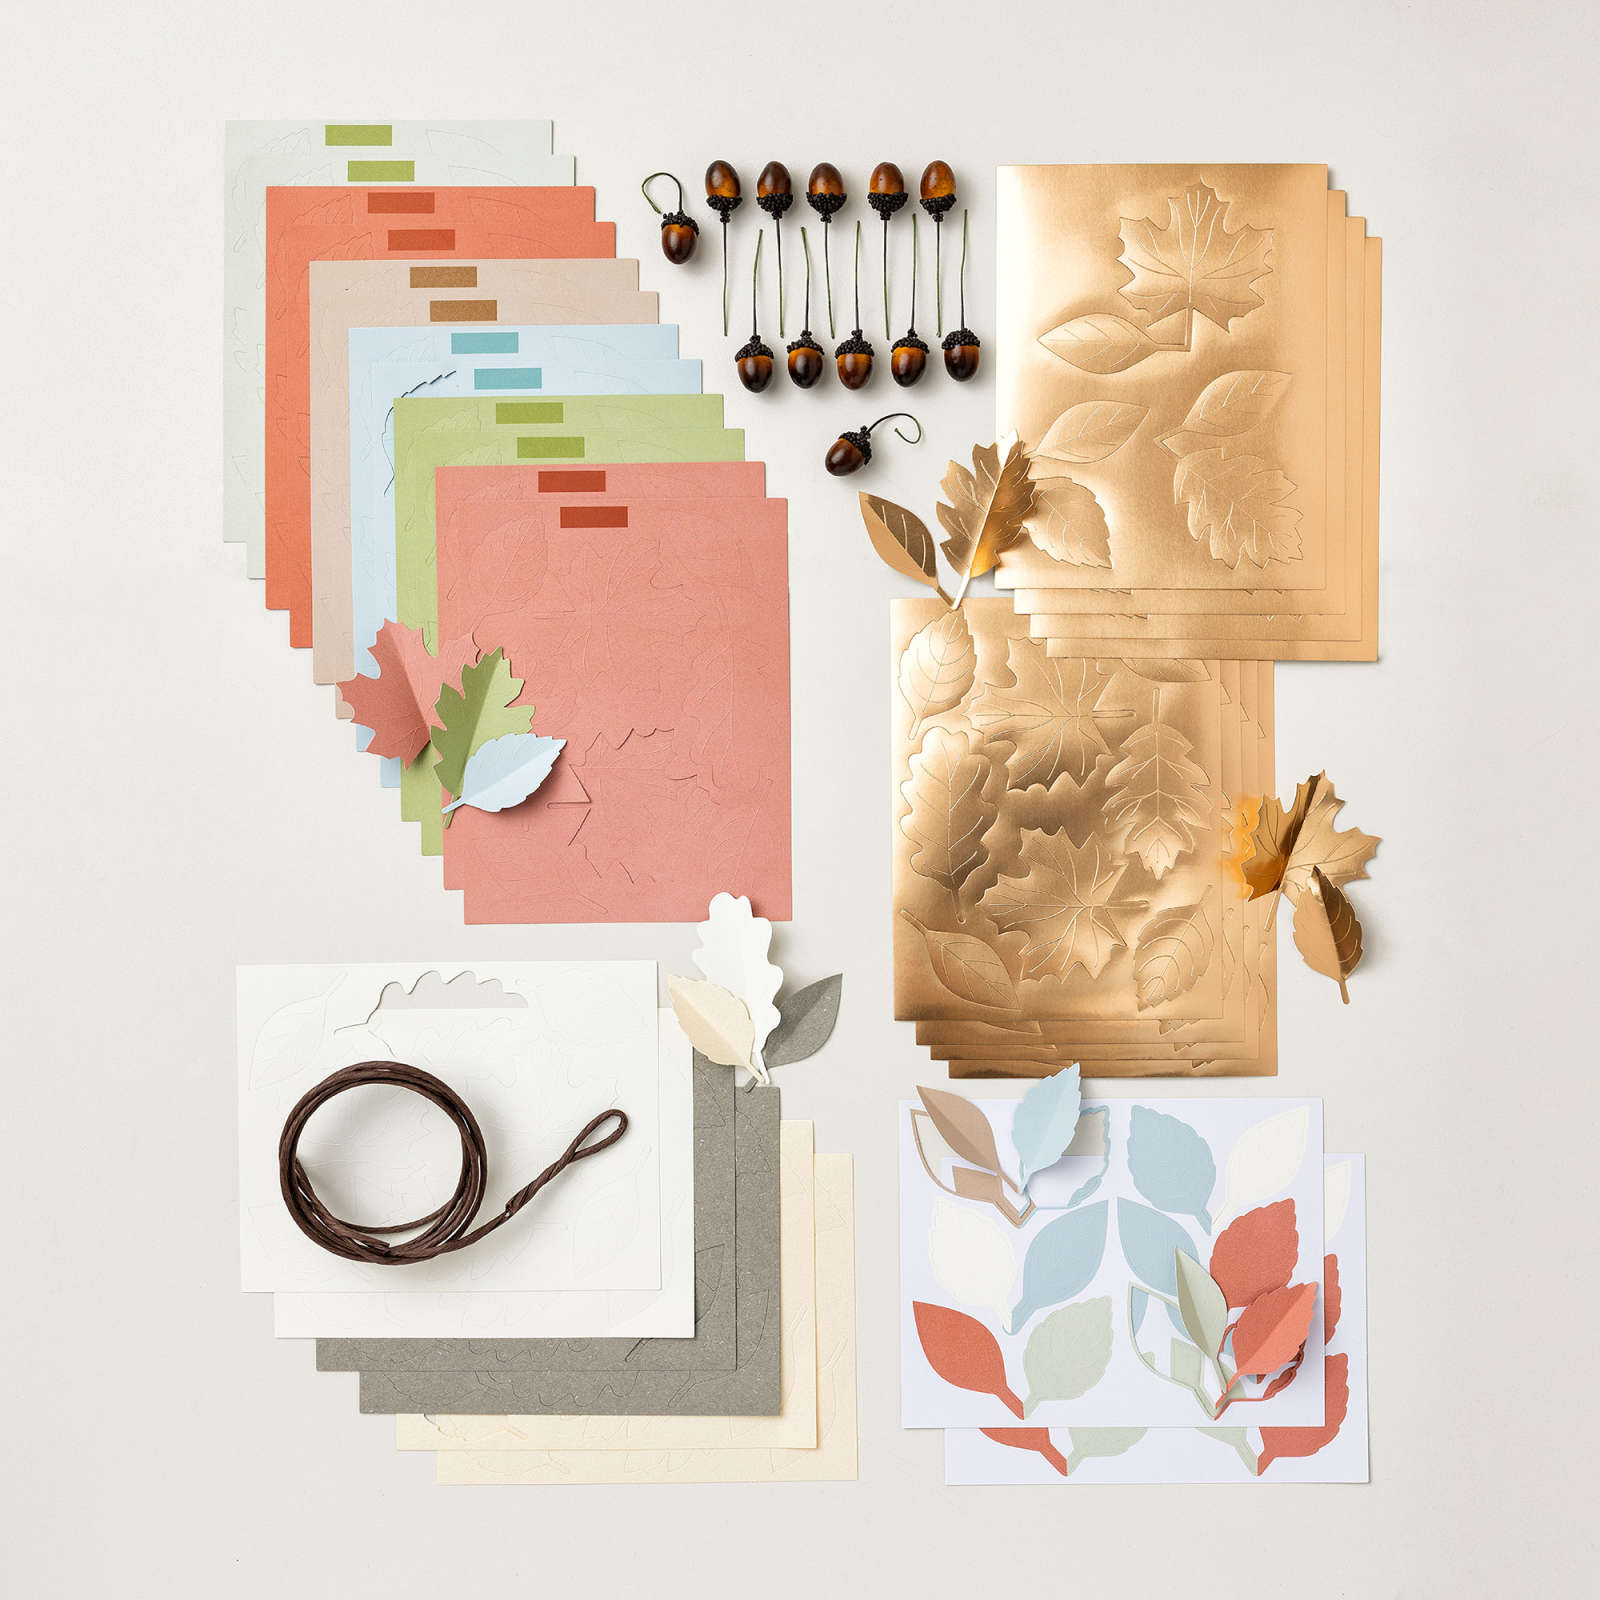
    I love this autumn garland kit!  I made it for my open house display and am in love! 

    I’ll show my own photos soon but wanted to share the video for it here.  It took me about 1 hour and 15 minutes to make and it’s huge & gorgeous!  I had many extra leaves left. The copper leaves and acorns add beautiful accents.  

    It comes with everything you need but hot glue. 

    You can see it online here.  

    ~~~

    ~~~

      To see all of the new Online items click here.  Or download & save the Download Online Exclusives flyer 

    Get a free project tutorial with any online order in September! 

    ~~~

      To see all of the new Online items click here.  Or download & save the Download Online Exclusives flyer 

    Leave a Reply

    Your email address will not be published. Required fields are marked *


Notice: LeeAnn Greff, Independent Stampin’ Up! Demonstrator, Manager. The content of this website is my sole responsibility as an independent Stampin’ Up! demonstrator and the use of, and content of, the classes, services, or products offered on this website is not endorsed by Stampin’ Up! Copyright 2025