/


Latest Post

5 beautiful cards the easy way; with my ‘5 at a time’ templates!


Check out these gorgeous cards made with my 5 at a time templates!

Aren’t they pretty? I chose this stamp set because of the pretty floral images. And I knew they’d make an easy, beautiful background. My colors include Hydrangea Hue, Peaceful Pine and Golden Glow.

My 5 at a time templates make creating 5 cards so effortlessly! This first template is what I used for my White stamped layer.

Vertically, make the first cut from an 8 1/2″ X 11″ White CS at 4 3/4″. Then cut 3 pieces from the left section at 3 1/2″. Now cut the other piece at 3 1/2″ wide and cut that into two pieces at 4 3/4″. Save the bottom piece for a greeting layer.

This next template is for the colored layer under the White stamped pieces. It’s just an 1/8″ larger than the White layers.

Cut in the same manner as the one above; starting vertically at 4 7/8″. Please watch the video here, or below to see how it’s done.


I cut 5 card bases for these stamped layers and you can see how I stamped the insides of some above. I love stamping backgrounds; our stamp images are fantastic! And this set has that distinktive feel to the images which gives multiple hues of colors when stamping.

It’s actually in a bundle with the amazing Tile Garden dies. See the stamp set here and the bundle here.

I created a free project sheet for these cards and it includes the two templates! Click here to print or download it.

And below is the video tutorial I shared last week with an entire different set of cards! I’ll share another version tomorrow.

The Starter kit deal ends on Saturday! I hope you’ll consider joining my team and taking advantage of the continual discount on all future Stampin’ Up! products!

Click here to get the deal!!

All Posts

  • Nothing’s Better Than fun fold card with video!


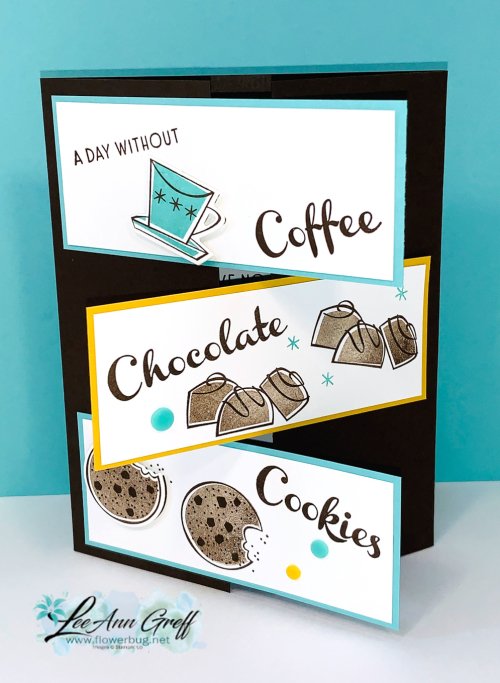
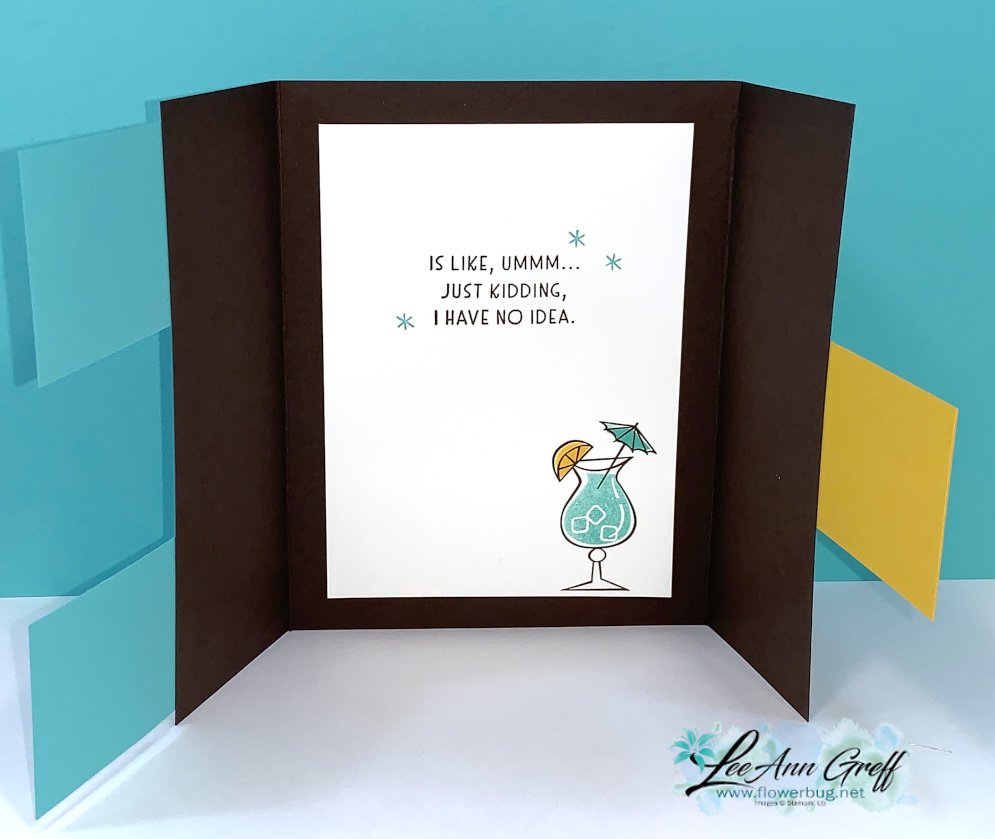
    We made this CUTE card at my August Card Clubs with the Nothing's Better Than bundle seen here.  

    It's a triple flap gate-fold card!  It's super easy to make and fun to open too.  Check out the measurements AND the video below. Be sure to read the front AND the inside below. This stamp set is just plain FUN! 

    I chose to use Early Espresso with Coastal Cabana and Crushed Curry. To get a lighter hue for the chocolate and cookies images I stamped off the Early Espresso ink first.  Is it just me or do some of these images remind you of the Jetsons cartoon show? 

    Measurements:

    – Early Espresso 5 1/2" X 8 1/2" scored at 2 1/8" from each end
    – Whisper White 1 1/2" X 3 3/4" (3 pieces) plus scraps for added die-cut images
    – Coastal Cabana & Crushed Curry 1 5/8" X 3 7/8" (3 total pieces)

    The Nothing's Better Than stamp set has a set of dies to coordinate with it; get them both and get 10% off.  

    ~~~

    Current Host code is 7VPEDARH

    Get a free package of new Iridescent Pearls in August with an online order over $55. 

    Order online here

     Get my Flowers for Every Season pdf tutorial free with all online order in August!


    It includes directions, photos and measurements for 12 cards!

    Redeem your $5 coupons now! 

    Leave a Reply

    Your email address will not be published. Required fields are marked *

  • I really did play with the ‘Playing with Patterns’! Check out the video!


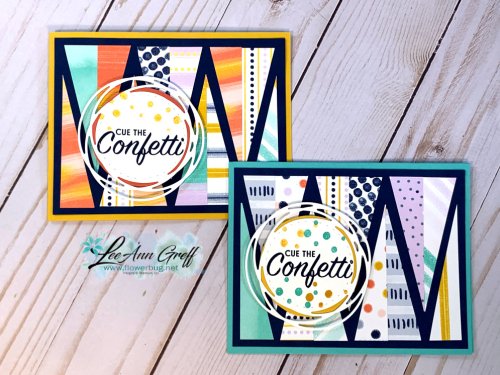
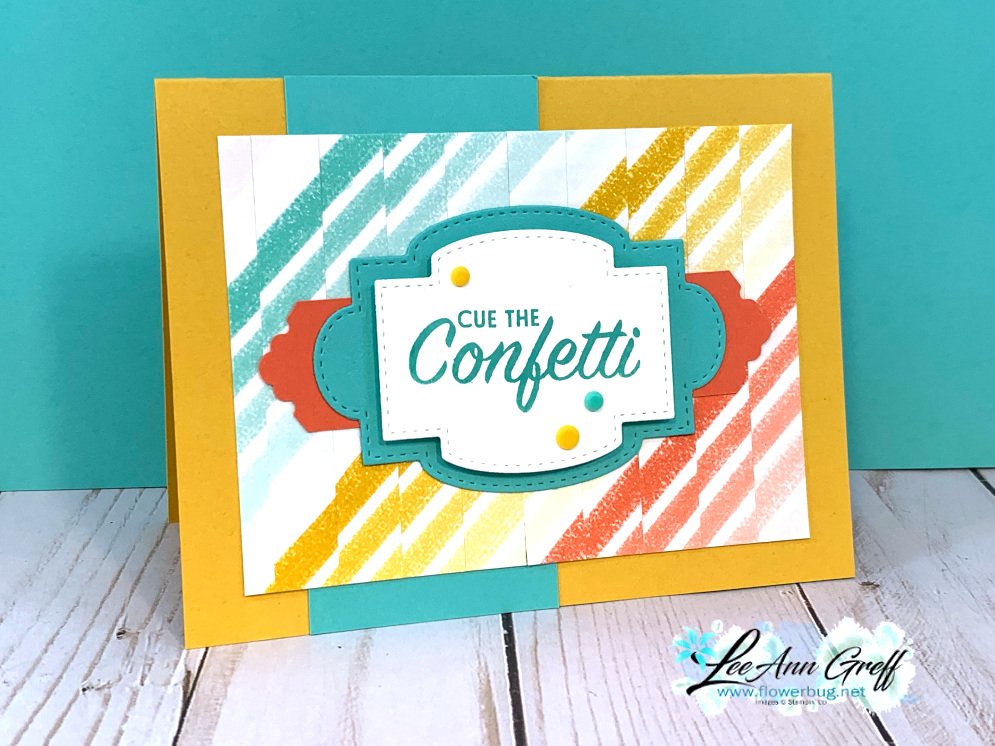
    I had a lot of fun mixing up the patterns in this super cute designer paper on a Facebook Live video.  *See it below. 

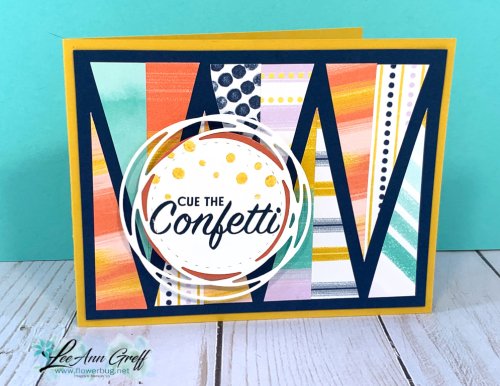
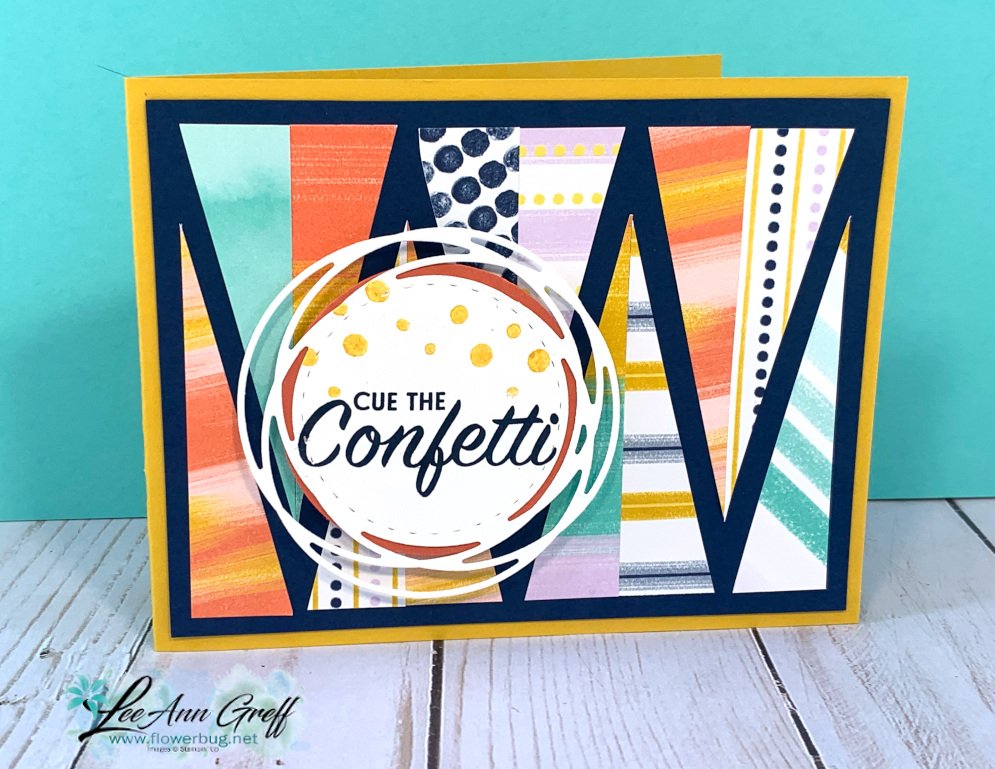
    First is a play on triangles. These pieces are just 3/4" wide X 3" long! What a fun way to use your scraps!!

    Cut 6 pieces of Designer Paper at 3/4" X 3" and then cut each one from one corner to the opposite one.  Now you can piece these together on a contrasting piece of card stock measuring 4" X 5 1/4".  Be sure to watch the video below to see how it's done.  

    The greeting circle is from the Painted Label dies and the greeting is from the Pattern Play stamp set.  See the entire suite of Playing with Patterns products here. 

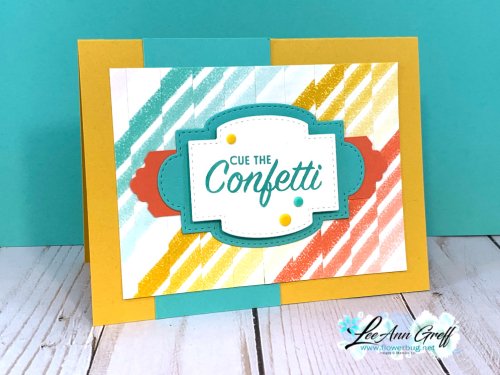
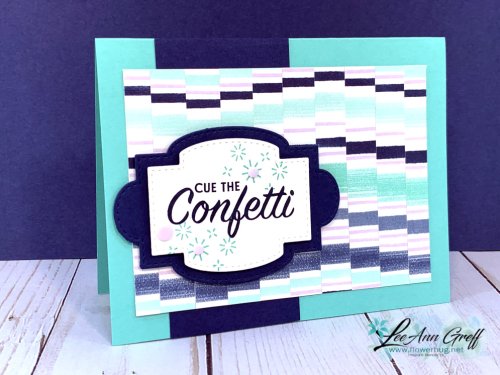
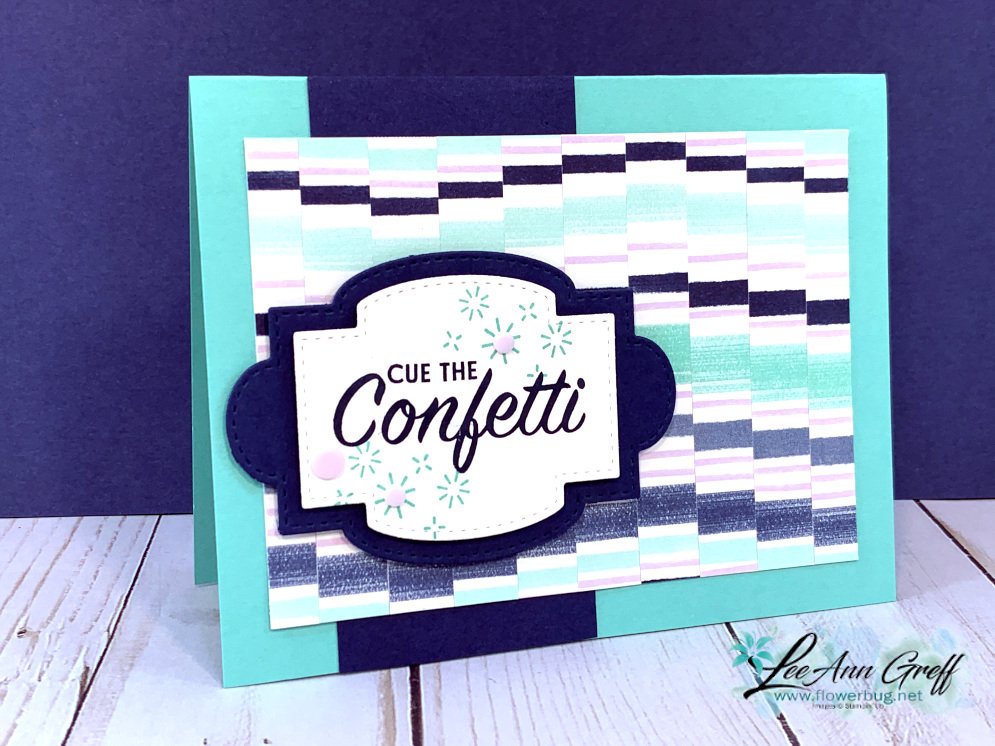
    Next is a fun card where you cut narrow strips of designer paper and piece them onto a background sheet.  Just offset them slightly to create a 'Bargello' look. This is a quilting technique perfect for striped paper! 

    Which one is your favorite?  The colors are Crushed Curry, Calypso Coral, Coastal Cabana and Night of Navy. 

    I like the one below as the Bargello look is more apparent with the dark Navy strips.   The greeting dies are from one of my favorites; the Stitched So Sweetly dies in the annual catalog seen here.  

    Get the details on creating these techniques in the video below.

    Remember I host Facebook Live videos 6 times a month!  Each Tuesday at 11 am Central Time and the 2nd & 4th Monday's at 7:30 pm CT.  Check them out here: 

    This video is from a few weeks ago and the card kits mentioned are sold out. The pdf tutorials are still available however. Click here to see them. 

    Aren't these just plain fun!!! 

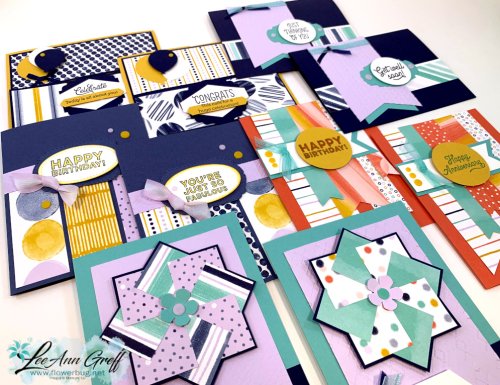
    Check out the Playing with Patterns cards (seen below) pdf tutorial here!


    ~~~

    Current Host code is 7VPEDARH

    Get a free package of new Iridescent Pearls in August with an online order over $55. 

    Order online here

     Get my Flowers for Every Season pdf tutorial free with all online order in August!


    It includes directions, photos and measurements for 12 cards!

    Redeem your $5 coupons now!  

    Leave a Reply

    Your email address will not be published. Required fields are marked *

  • A pretty home decor framed sampler with Life is Beautiful!


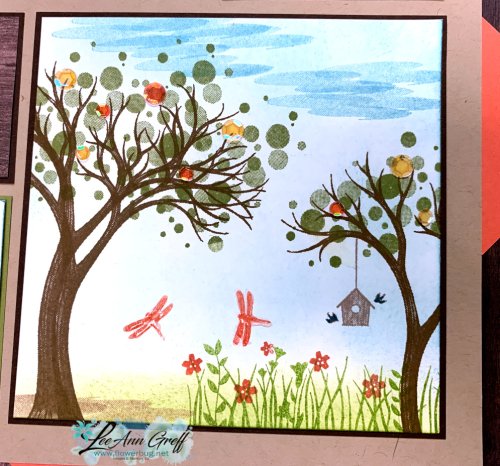
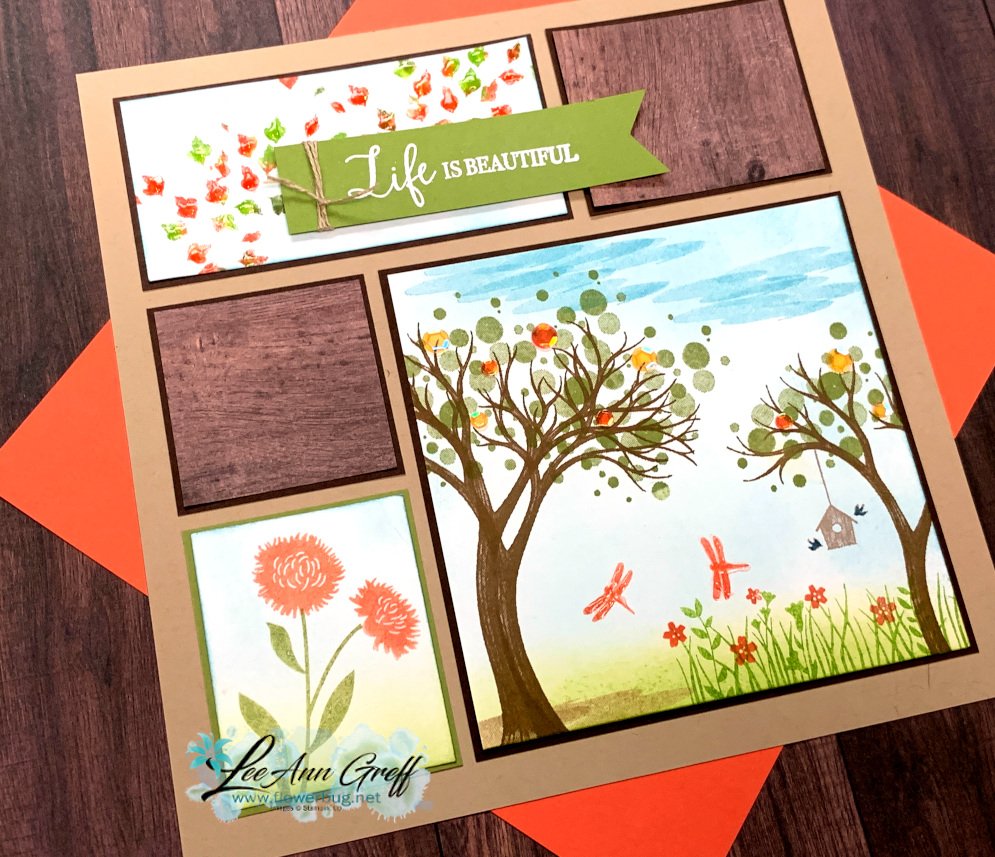
    I made this shadow box home decor piece with my Life is Beautiful stamp set.  It fits in a 12" shadow box frame. 


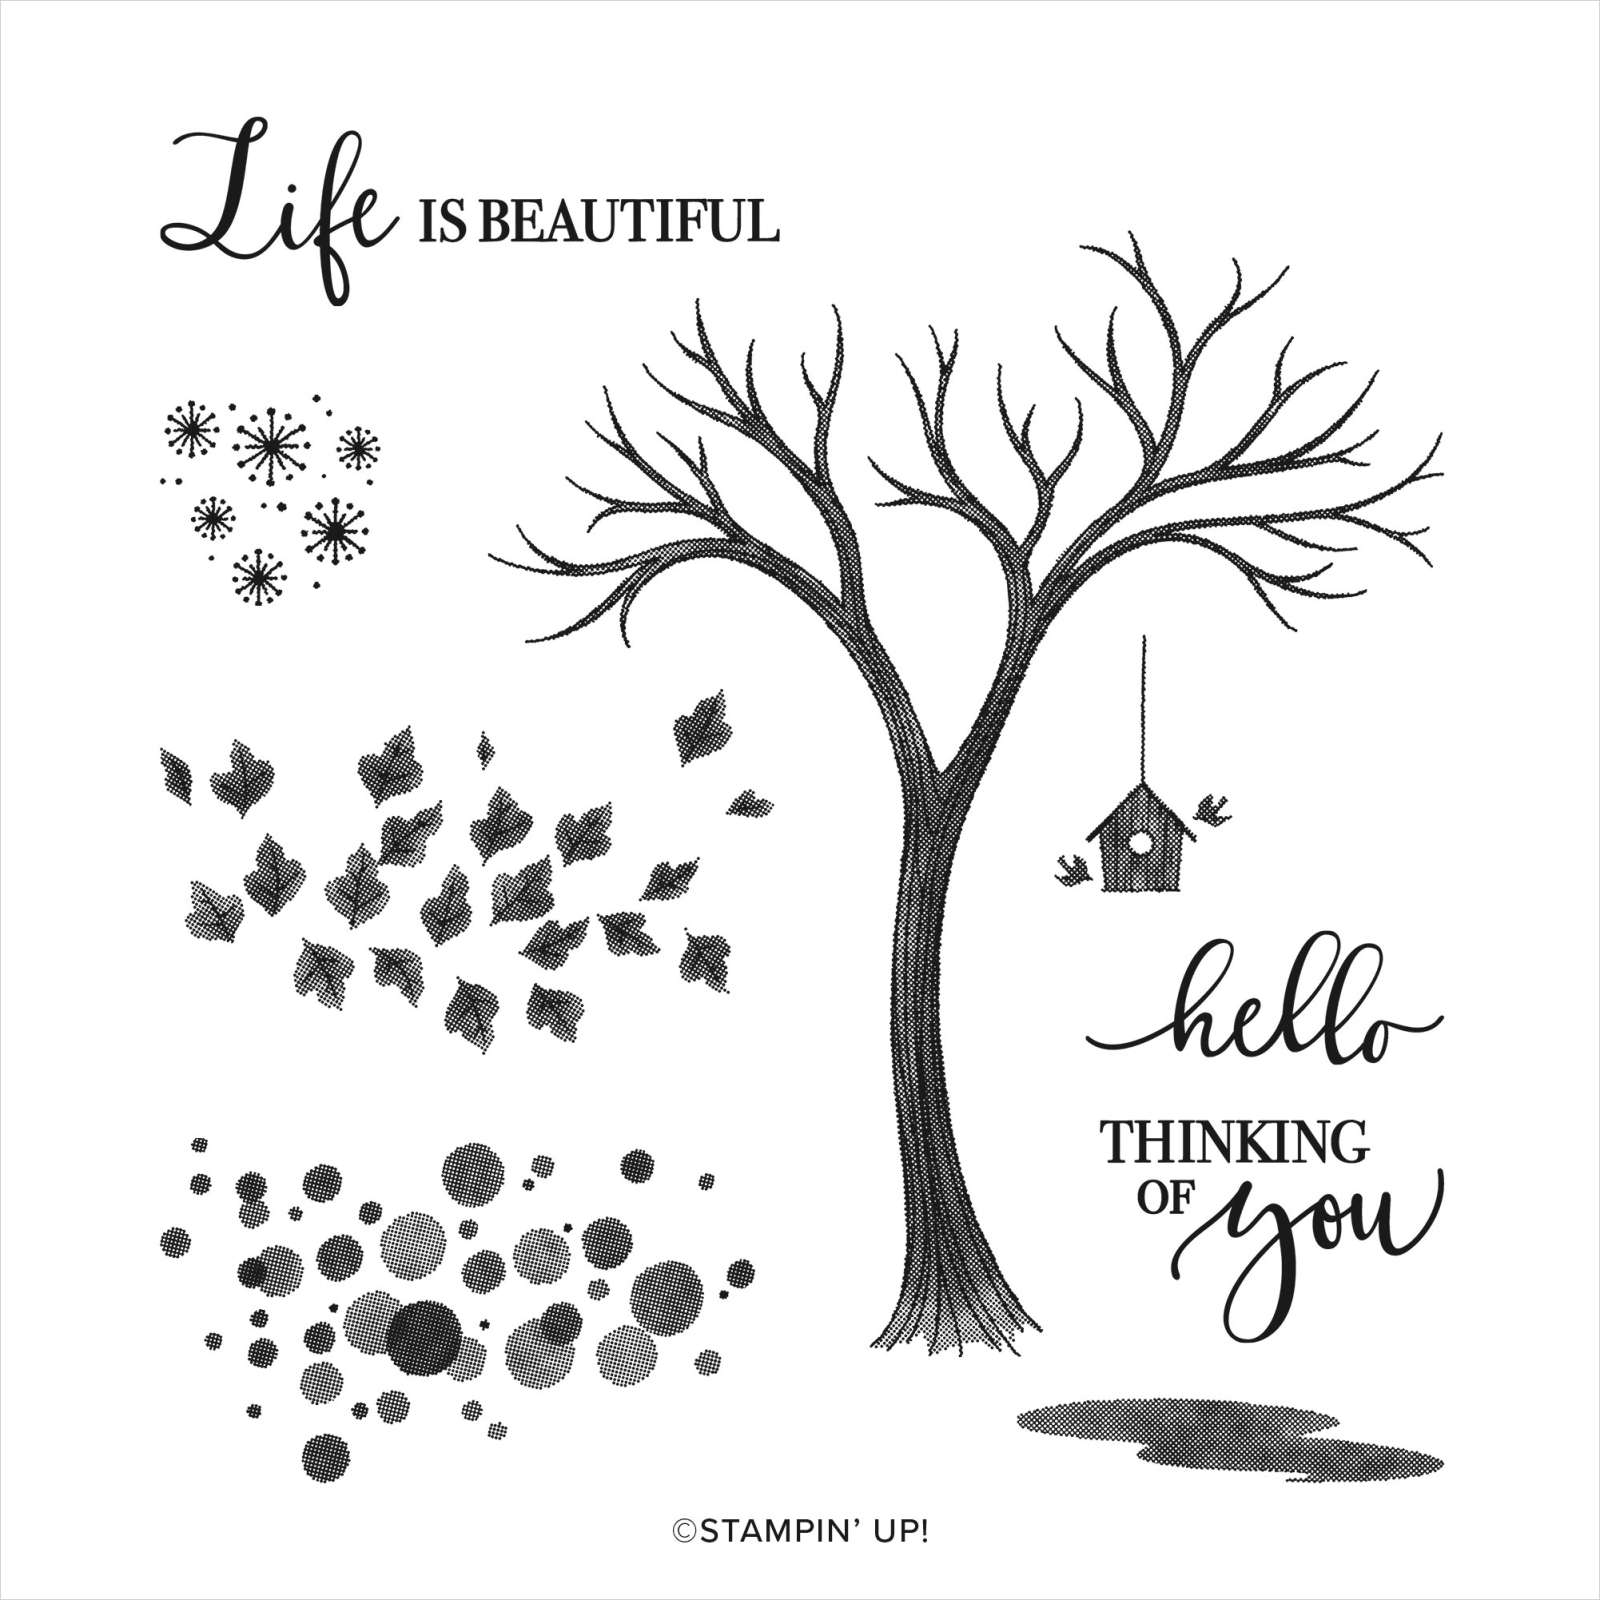
    Here's the Life is Beautiful stamp set I helped design as part of my Million Dollars in sales achievement with Stampin' Up!. You can order it here. 

    Two tips! 

    • The 'ground' image can also be clouds!  Cool, right?
    • And if you stamp the tree twice, you can achieve a 'thicker' trunk and fuller tree.  Just lower the image on the second stamping.  

    I did use the Field of Flowers stamp set for the grass, flowers & dragonflies.  I sponged the white card stock with Balmy Blue to remove the 'white' background.  I added Shimmery Crystal Effects on the dragonflies and leaves on the top greeting piece. 

    Colors used: Soft Suede, Granny Apple Green, Calypso Coral, Old Olive, Balmy Blue

    Products: In Good Taste Designer Paper, sponges, Linen Thread, Heat embossing in White, Shimmery Crystal Effects, Artistry Blooms adhesive backed sequins, 2 shades of Brown markers for bird house, 


    I hope you like it! Thanks for stopping in today!  


    ~~~

    Current Host code is 7VPEDARH

    Get a free package of new Iridescent Pearls in August with an online order over $55. 

    Order online here

     Get my Flowers for Every Season pdf tutorial free with all online order in August!


    It includes directions, photos and measurements for 12 cards!

    Redeem your $5 coupons now!  

    Leave a Reply

    Your email address will not be published. Required fields are marked *


Notice: LeeAnn Greff, Independent Stampin’ Up! Demonstrator, Manager. The content of this website is my sole responsibility as an independent Stampin’ Up! demonstrator and the use of, and content of, the classes, services, or products offered on this website is not endorsed by Stampin’ Up! Copyright 2025