/


Latest Post

5 beautiful cards the easy way; with my ‘5 at a time’ templates!


Check out these gorgeous cards made with my 5 at a time templates!

Aren’t they pretty? I chose this stamp set because of the pretty floral images. And I knew they’d make an easy, beautiful background. My colors include Hydrangea Hue, Peaceful Pine and Golden Glow.

My 5 at a time templates make creating 5 cards so effortlessly! This first template is what I used for my White stamped layer.

Vertically, make the first cut from an 8 1/2″ X 11″ White CS at 4 3/4″. Then cut 3 pieces from the left section at 3 1/2″. Now cut the other piece at 3 1/2″ wide and cut that into two pieces at 4 3/4″. Save the bottom piece for a greeting layer.

This next template is for the colored layer under the White stamped pieces. It’s just an 1/8″ larger than the White layers.

Cut in the same manner as the one above; starting vertically at 4 7/8″. Please watch the video here, or below to see how it’s done.


I cut 5 card bases for these stamped layers and you can see how I stamped the insides of some above. I love stamping backgrounds; our stamp images are fantastic! And this set has that distinktive feel to the images which gives multiple hues of colors when stamping.

It’s actually in a bundle with the amazing Tile Garden dies. See the stamp set here and the bundle here.

I created a free project sheet for these cards and it includes the two templates! Click here to print or download it.

And below is the video tutorial I shared last week with an entire different set of cards! I’ll share another version tomorrow.

The Starter kit deal ends on Saturday! I hope you’ll consider joining my team and taking advantage of the continual discount on all future Stampin’ Up! products!

Click here to get the deal!!

All Posts

  • Artist of the Month Sending Smiles cards!

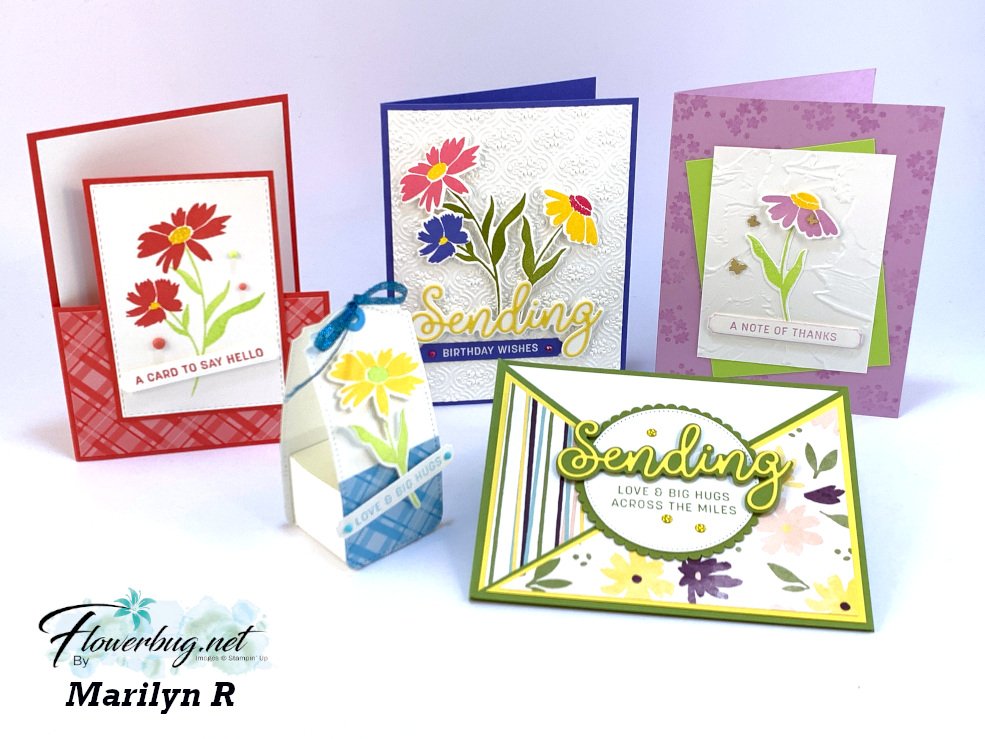
    Each month my Flowerbug's Team has a featured 'Artist of the Month'.  For June, Marilyn chose to use the Sending Smiles bundle seen here.  

    She made 5 projects and I'm showing the first three here: 

    Her card base is Orchid Oasis and the flowers are stamped in Orchid, Polished Pink, Daffodil Delight and Old Olive.  The flower centers and leaves are separate images so it's easy to have multiple colors on your flowers.  

    She layered the two 'Sending' dies using our awesome Adhesive Sheets; no glue mess!  The Birthday Wishes greeting is heat embossed and die-cut with one of the long dies in the bundle.  The background texture is the Quatrefoil embossing folder seen here.  

    ~~~

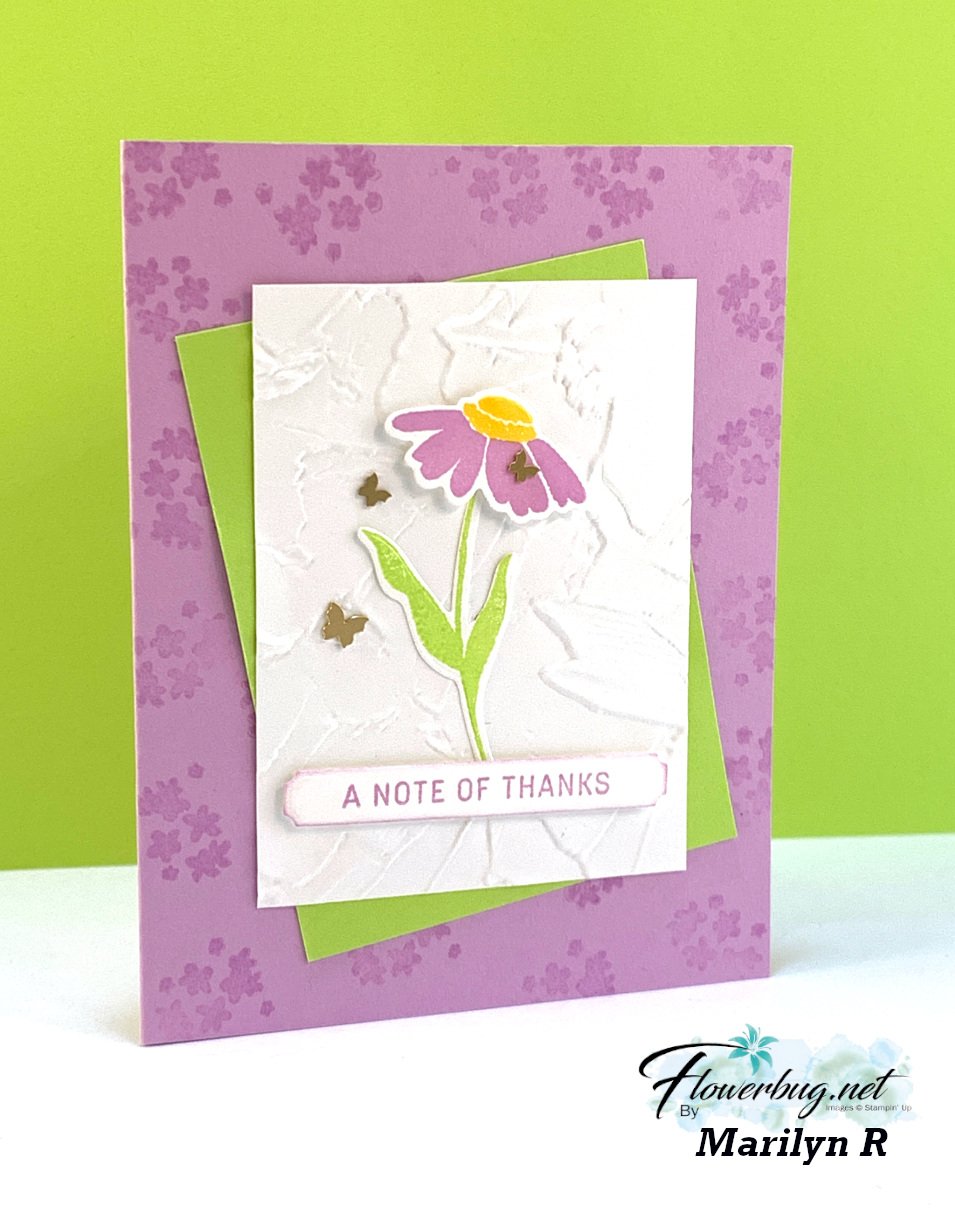
    Next is a simple card with just a few layers using Fresh Freesia and Parakeet Party.  


    I love the stamped background she did using Versamark.  The White layer is textured with the Painted Texture folder.  The Brass Butterflies are the perfect finishing touch!  

    Her measurements are 2 7/8" X 3 7/8" for the White and 3" X 4" for the Parakeet Party. 

    ~~~

    Next is a fun fold card featuring the new hostess paper pack called Design a Daydream.  Anyone can get this with hostess benefits if the order is over $150. 

    Here's a tip on making this diagonal fun fold card.  Cut your card base at 4 1/4" X 11" and score it at 5 1/2".  Now with your card base laying flat and horizontally, cut off the upper left half of this card base on a diagonal.  You'll add the layers of card stock and DSP to that but flip it before adhering it to the main card.  

    She used the Layering Circles dies for her greeting.  I love that you can personalize your greetings with so many options.  This was one of my top 3 sets in the new Annual Catalog.  In fact it was one of the ideas I shared with Stampin' Up! for my Million Dollar stamp set!  

    There are 22 stamps in the set and 14 dies!  

    ~~~

    Last Chance items are selling out!  


    Kits Collection BOGO – buy 1 get 1 50% off!  

    Host codes: 9F9AJHYG

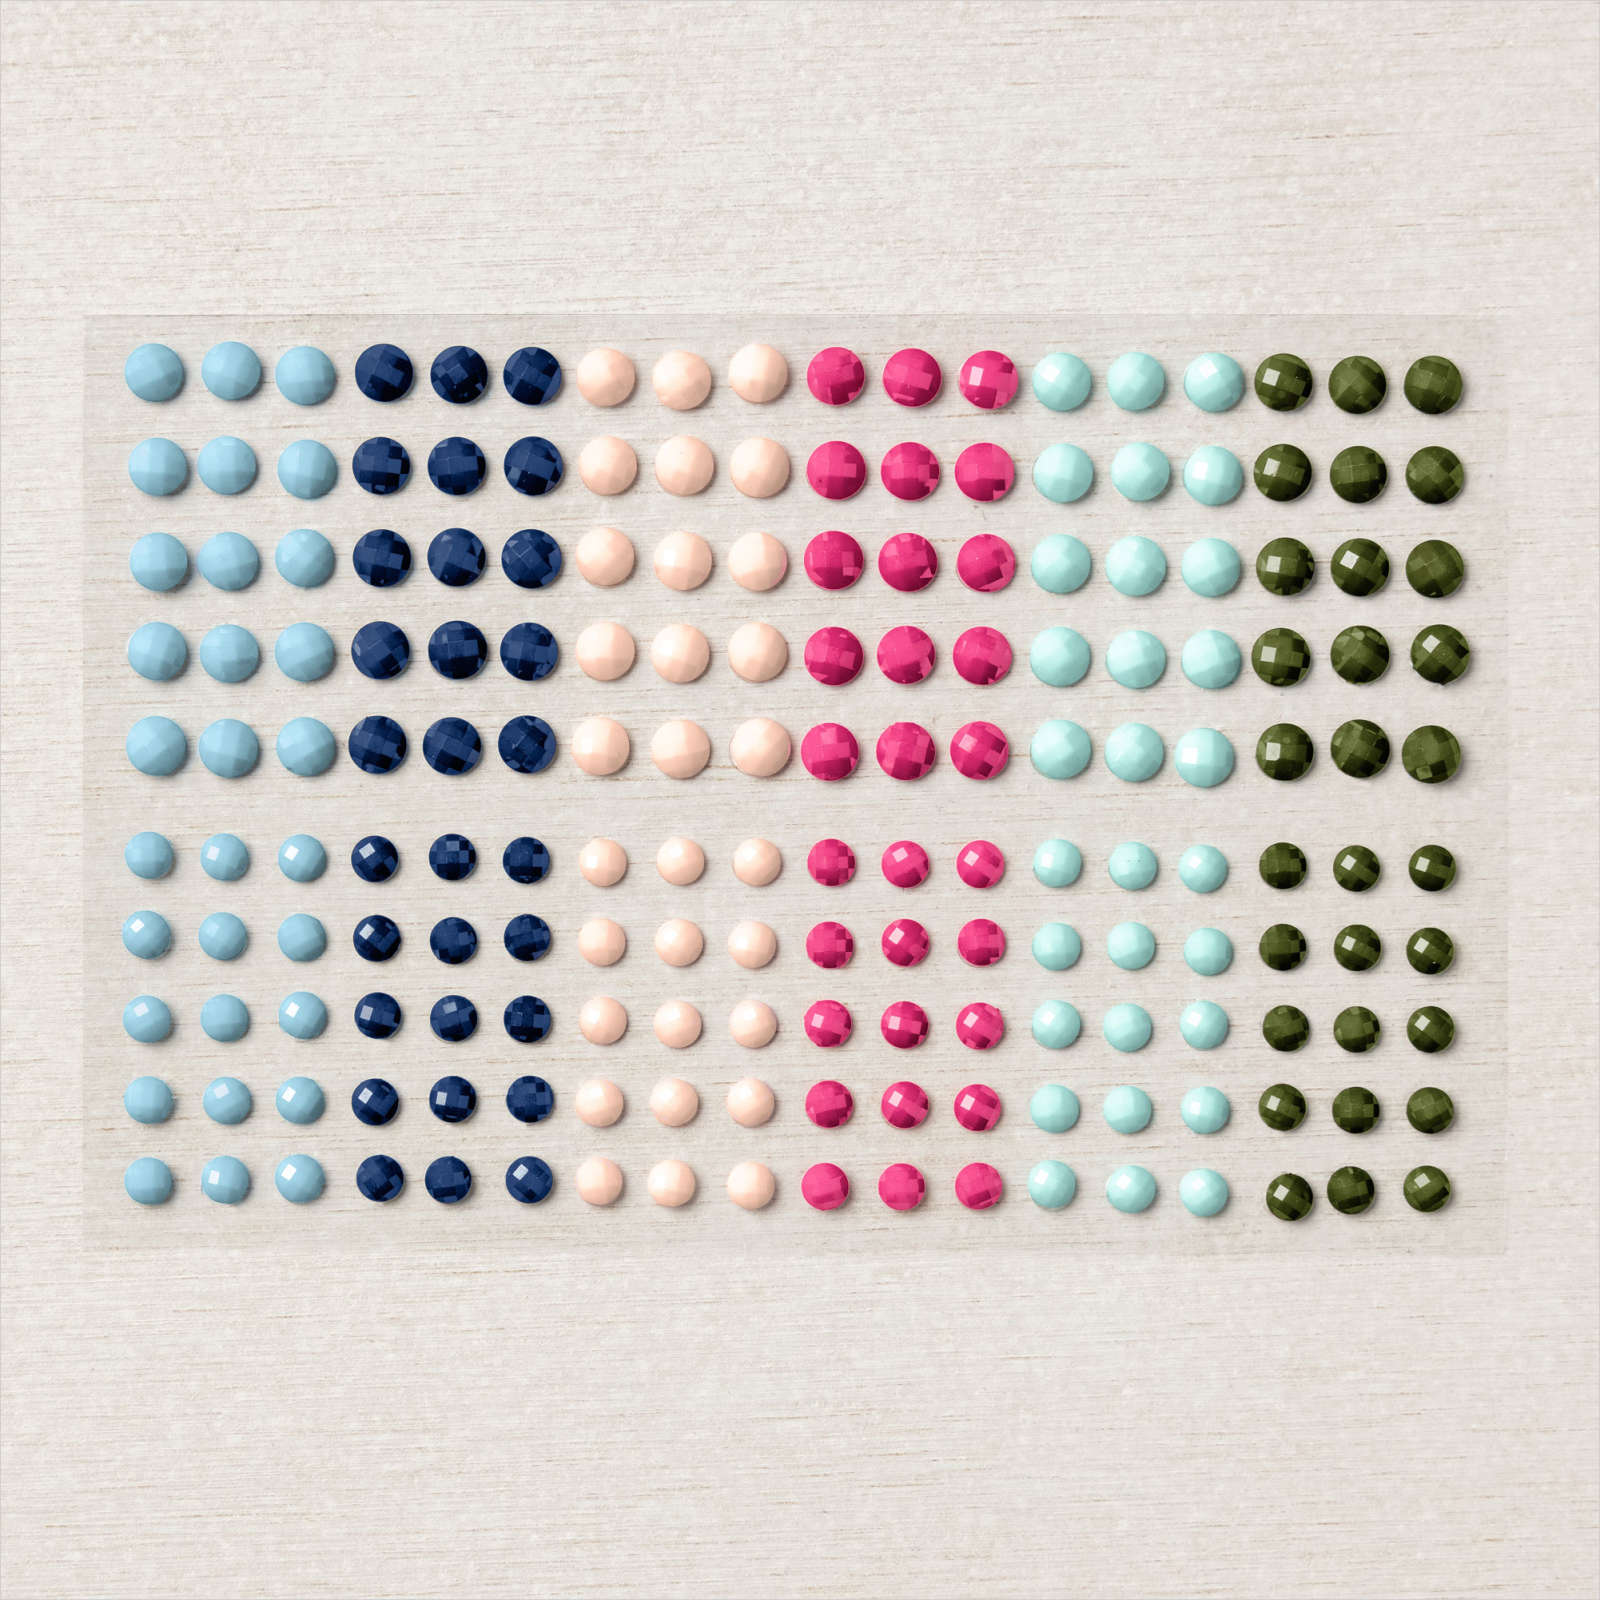
    If your order is over $50 you'll receive a set of Solid Faceted Gems from me. *click here to order 


    Earn free products with my loyalty rewards! 

    Click here to download yours and earn a $50 shopping spree!  

    Leave a Reply

    Your email address will not be published. Required fields are marked *

  • How to make a forest of trees from the Wisteria Wishes stamp set!


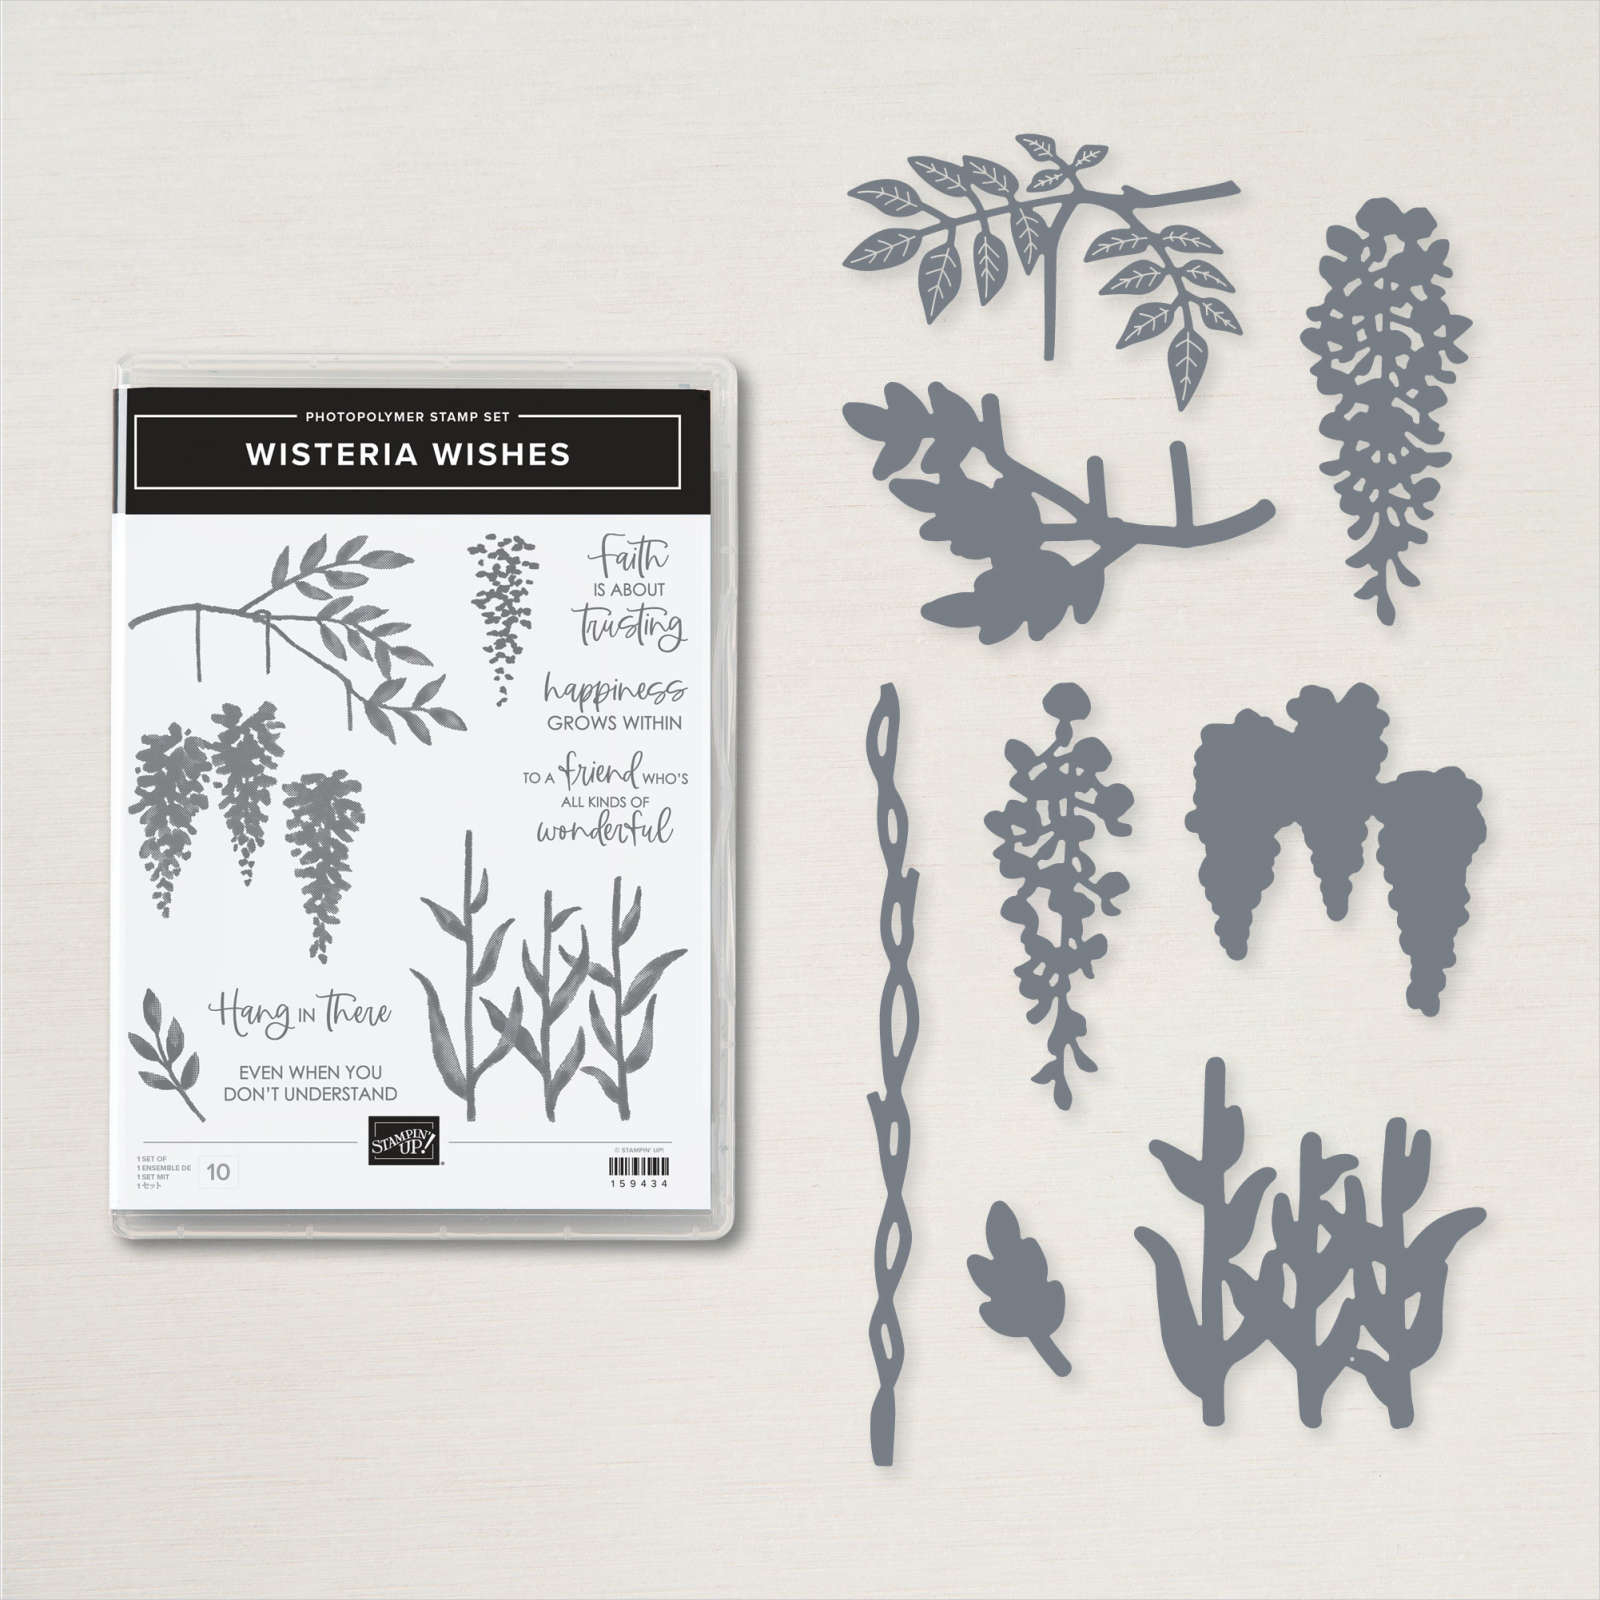
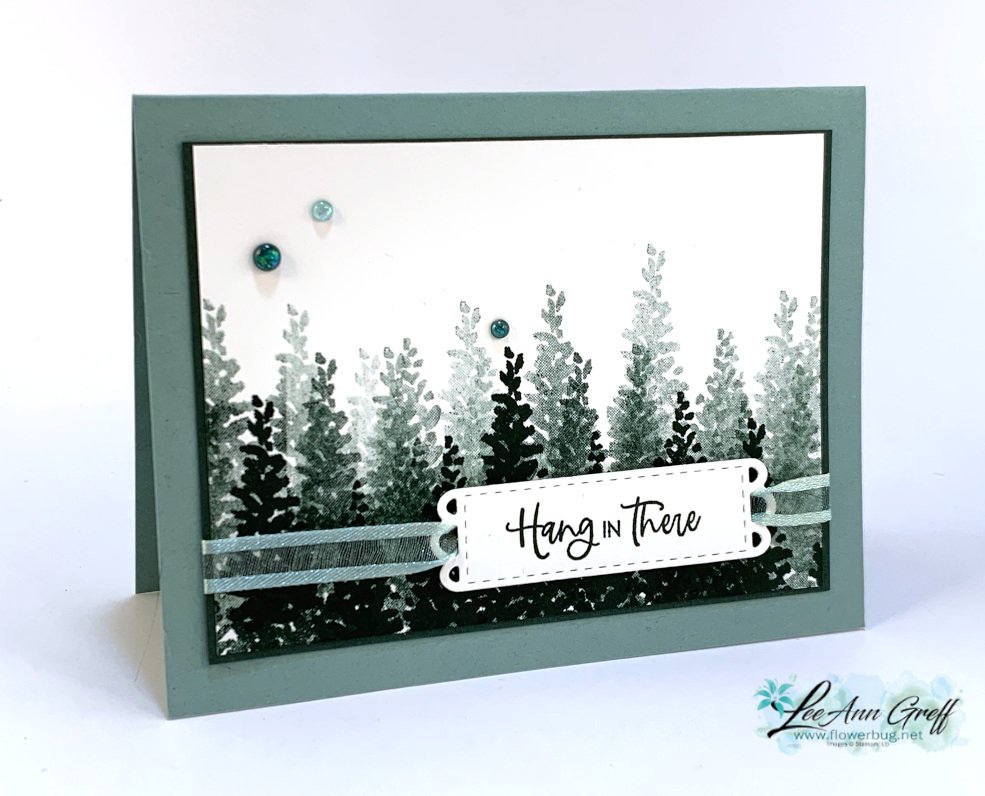
    I thought the flower image in the Wisteria Wishes stamp set would make wonderful trees. So I played around and here's the finished card: 

    I chose to use just one ink color of Evening Evergreen. I made this card in the video below; or click here to see it. 

    Tips on creating the trees:

    • Starting at the bottom with the 3 flower image (turned point side up) stamp in full strength Evening Evergreen ink making sure you stamp some images higher and some lower.  Ink every time filling in the very bottom fully.
    • Now ink the same image and stamp off once before stamping slightly higher than the first 'trees'.  
    • Now ink the image again and stamp off twice before stamping even higher making sure you alter the height now & then.  
    • Wallah; you've created a forest of trees!  

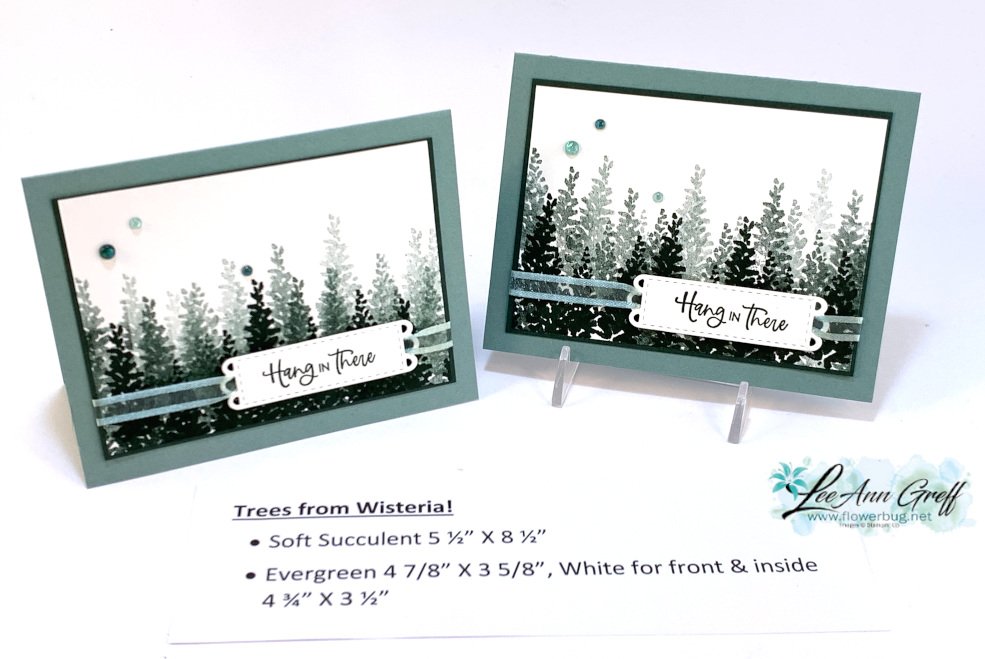
    Did you know that Evening Evergreen and Soft Succulent are a perfect color combination?  Stamping off once or twice can give you almost an exact Soft Succulent color tone.  

    You could make a bunch of these cards quickly and they're perfect for any occasion but to me they'd be great sympathy or men's cards. 

    Here are the other two cards I made with this bundle.  It was super fun to play with! 

    Click on the photo below to watch the video. 

    ~~~

    Last Chance items are selling out!  


    Kits Collection BOGO – buy 1 get 1 50% off!  

    Host codes: 9F9AJHYG

    If your order is over $50 you'll receive a set of Solid Faceted Gems from me. *click here to order 

    Earn free products with my loyalty rewards! 

    Click here to download yours and earn a $50 shopping spree!  

    Leave a Reply

    Your email address will not be published. Required fields are marked *

  • Wisteria Wishes with the new Split Card Textures dies; with video!


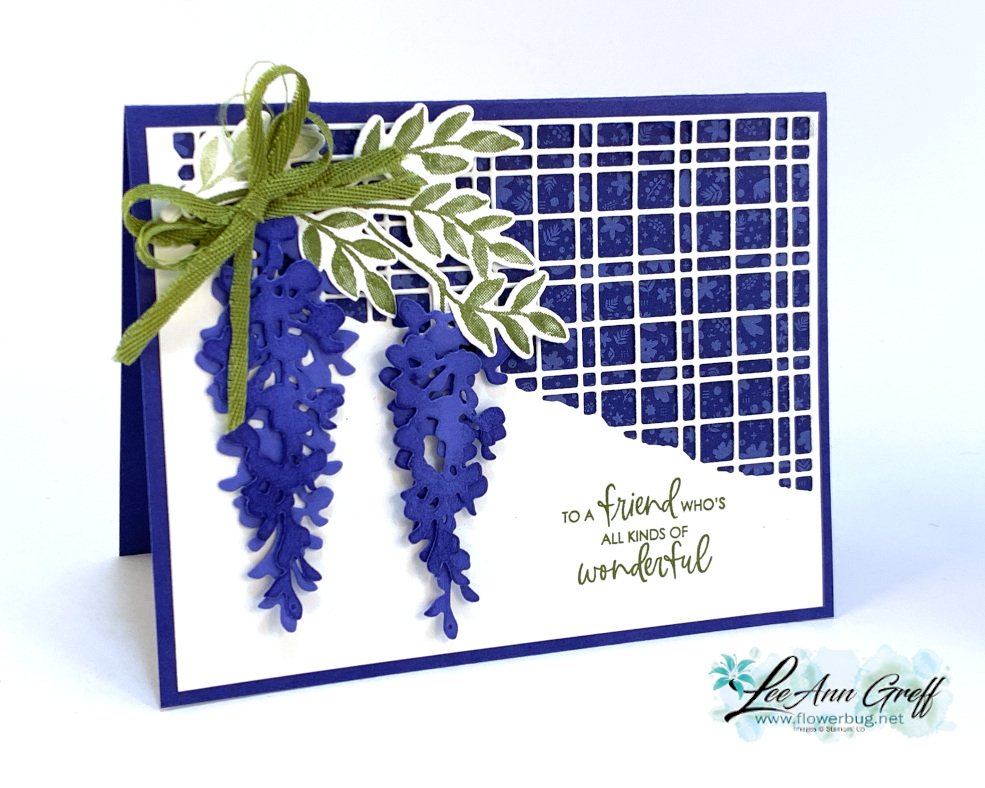
    Today I'm sharing another card featuring the Wisteria Wishes bundle.  I paired it with the Split Card Textures dies seen here:  

    I have to say that I think it's gorgeous!  The Split Card Textures dies are an easy & unique addition to your card projects.  There are two dies in this set; you can see them here.  

    **Get both the Wisteria Wishes bundle and the Split Card Texture dies today

    and you'll get your shipping FREE! 

    My colors are Starry Sky, Old Olive and White.  I cut two sets of Wisteria with the Wisteria Dies and trimmed the smaller one a bit shorter. Then I sponged them with Starry Sky ink on the edges.  I adhered them together with bits of Stampin' Dimensionals for lift.  

    I stamped the greeting in Old Olive directly on the White CS and the leaves are stamped & die-cut. 

    I wanted a fuller bow so I split the Old Olive twill ribbon into two long pieces and tied together in a bow. 

    The photo below includes the measurements. 

    Below are all of the cards I made on the video.  

    Click on the photo below to watch the video. 

    ~~~

    Last Chance items are selling out!  


    Kits Collection BOGO – buy 1 get 1 50% off!  

    Host codes: 9F9AJHYG or SX67P4XQ

    If your order is over $50 you'll receive a set of Solid Faceted Gems from me. *click here to order 

    Earn free products with my loyalty rewards! 

    Click here to download yours and earn a $50 shopping spree!  

    Leave a Reply

    Your email address will not be published. Required fields are marked *


Notice: LeeAnn Greff, Independent Stampin’ Up! Demonstrator, Manager. The content of this website is my sole responsibility as an independent Stampin’ Up! demonstrator and the use of, and content of, the classes, services, or products offered on this website is not endorsed by Stampin’ Up! Copyright 2025