/


Latest Post

5 beautiful cards the easy way; with my ‘5 at a time’ templates!


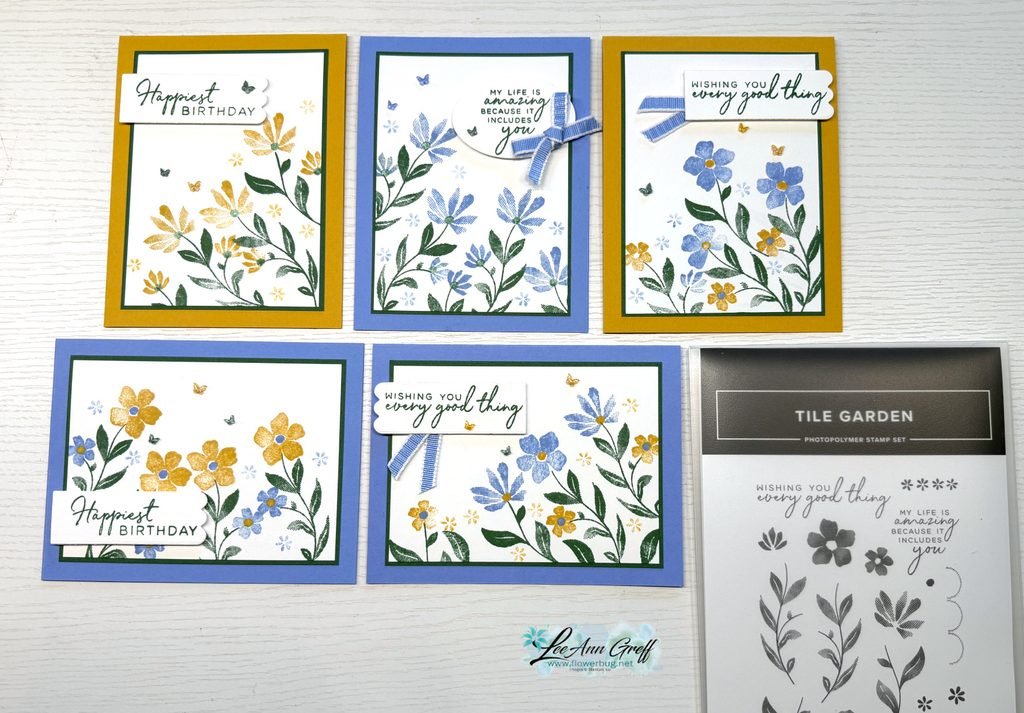
Check out these gorgeous cards made with my 5 at a time templates!
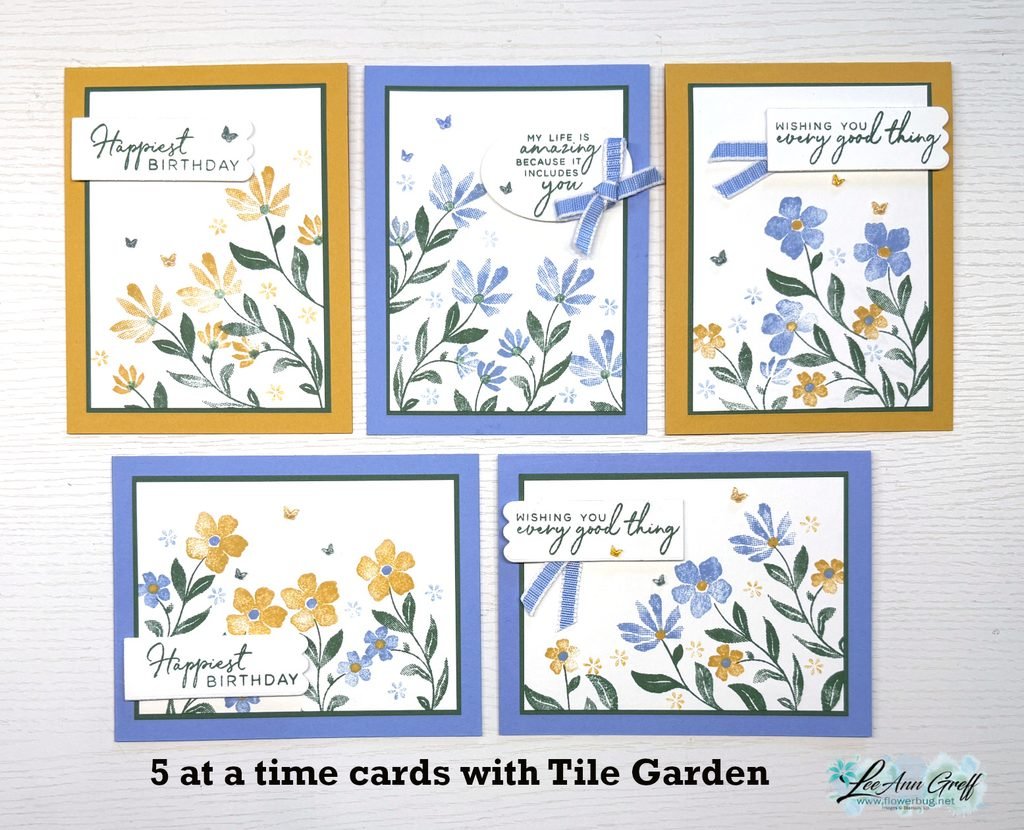
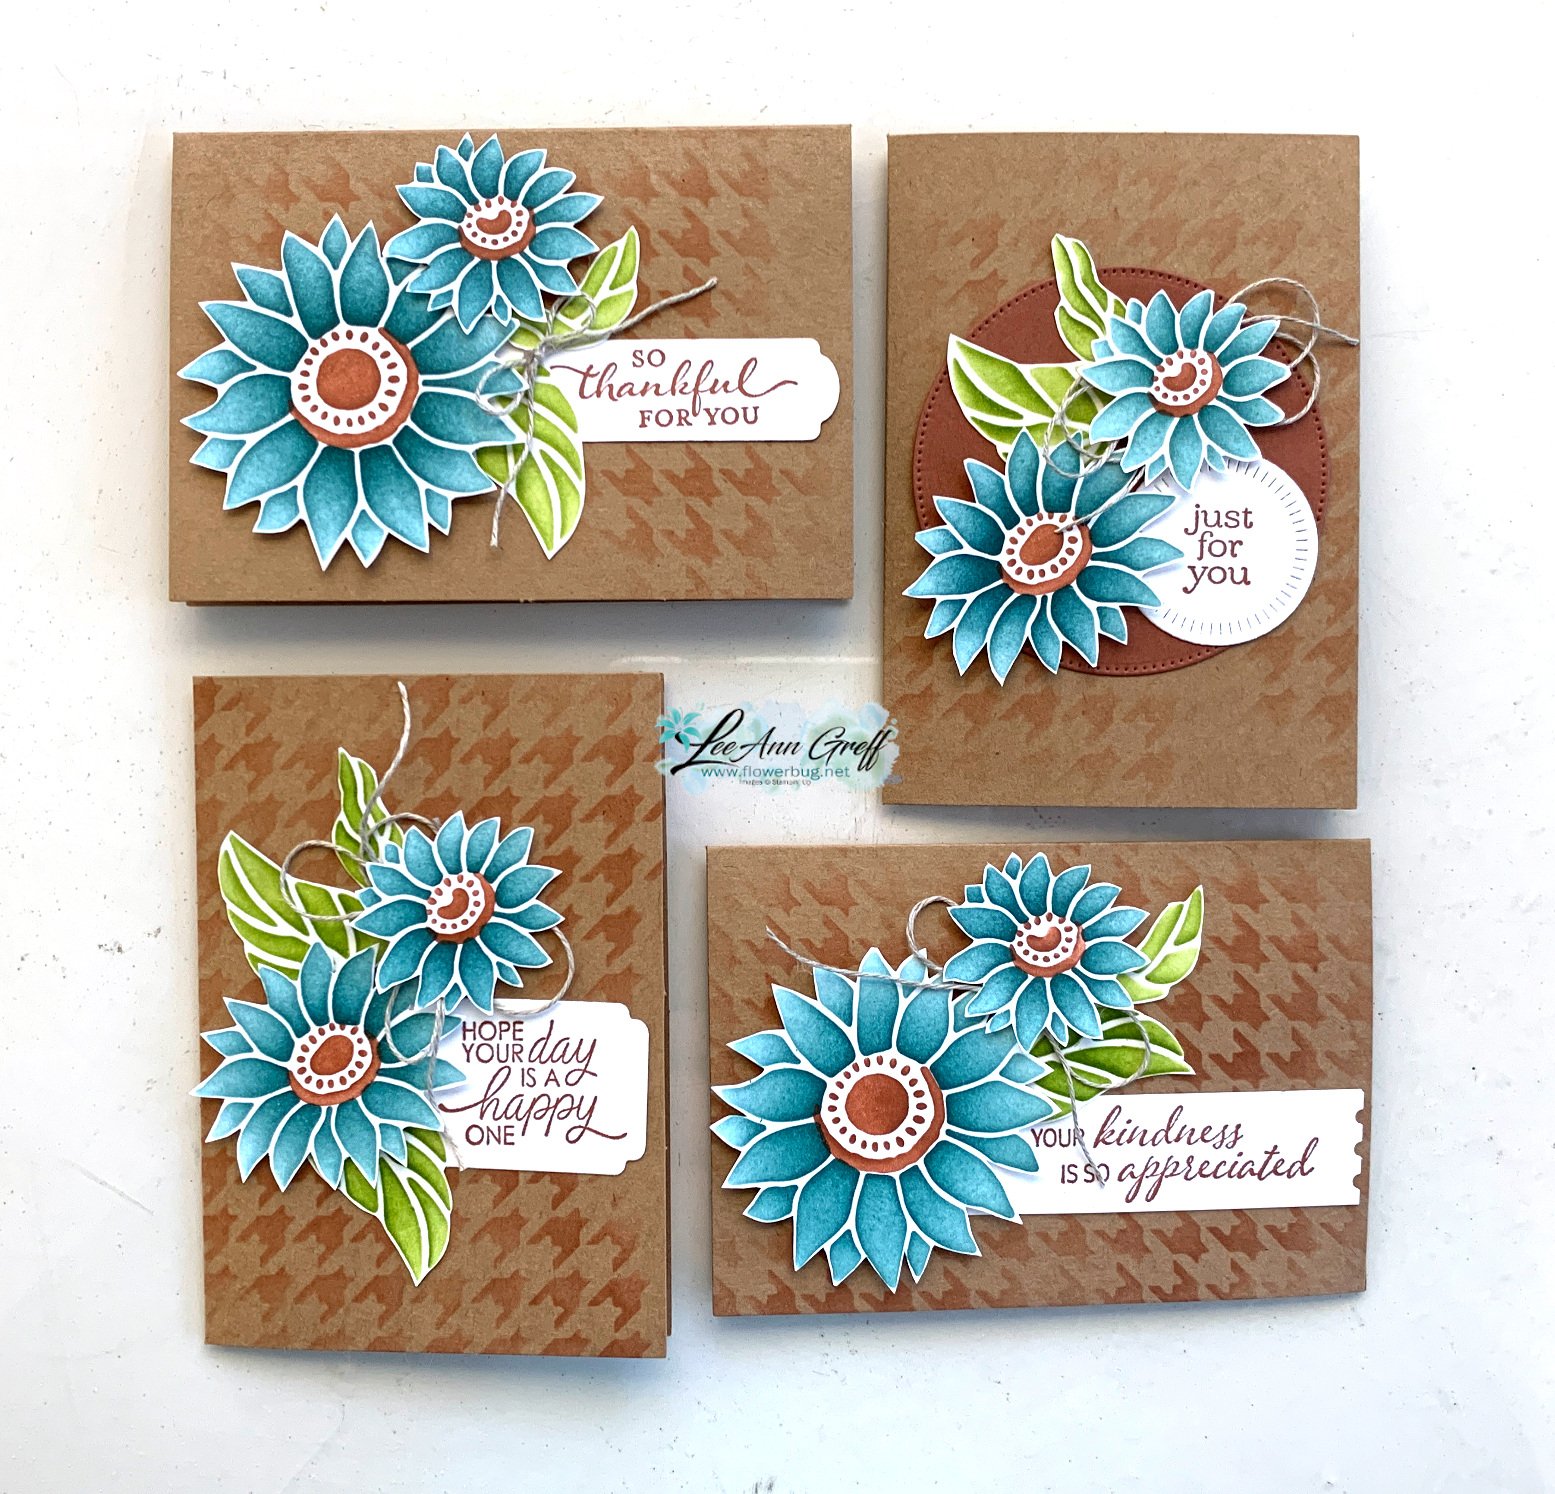
Aren’t they pretty? I chose this stamp set because of the pretty floral images. And I knew they’d make an easy, beautiful background. My colors include Hydrangea Hue, Peaceful Pine and Golden Glow.

My 5 at a time templates make creating 5 cards so effortlessly! This first template is what I used for my White stamped layer.
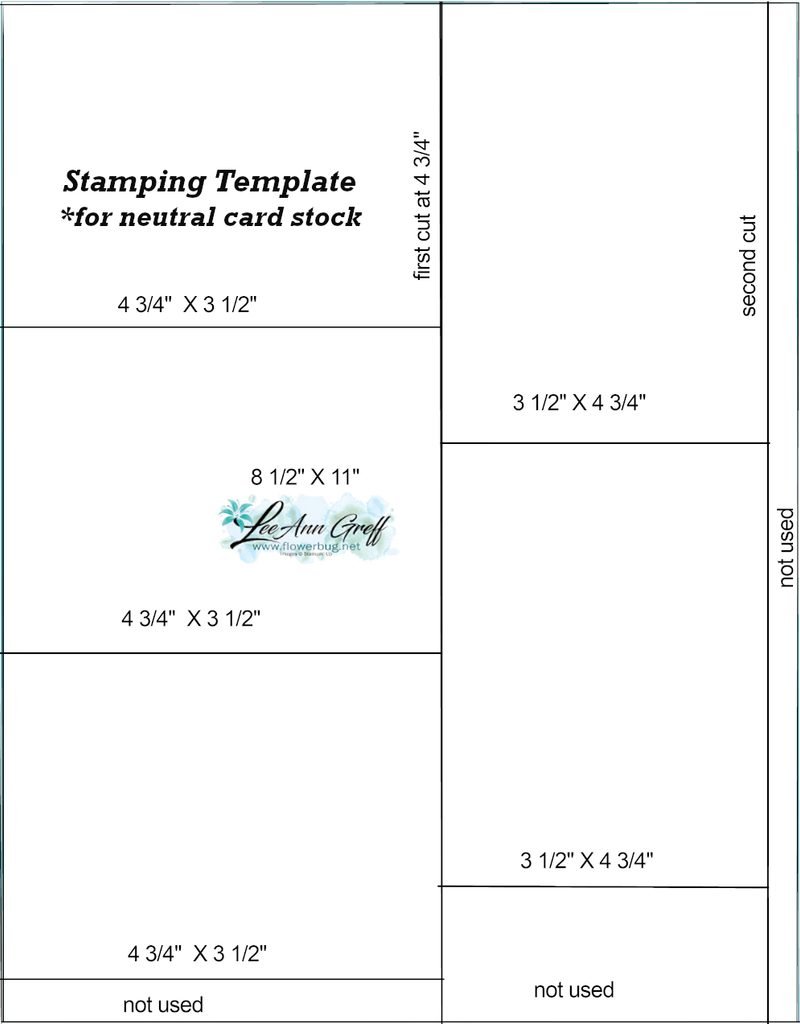
Vertically, make the first cut from an 8 1/2″ X 11″ White CS at 4 3/4″. Then cut 3 pieces from the left section at 3 1/2″. Now cut the other piece at 3 1/2″ wide and cut that into two pieces at 4 3/4″. Save the bottom piece for a greeting layer.

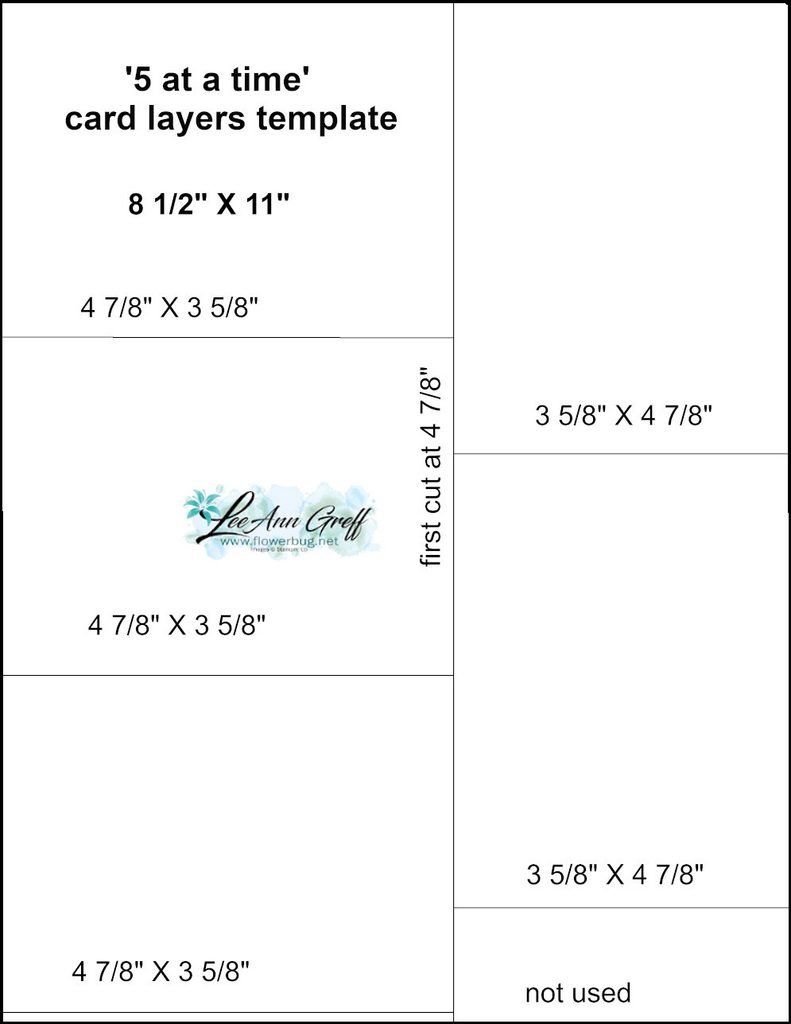
This next template is for the colored layer under the White stamped pieces. It’s just an 1/8″ larger than the White layers.

Cut in the same manner as the one above; starting vertically at 4 7/8″. Please watch the video here, or below to see how it’s done.
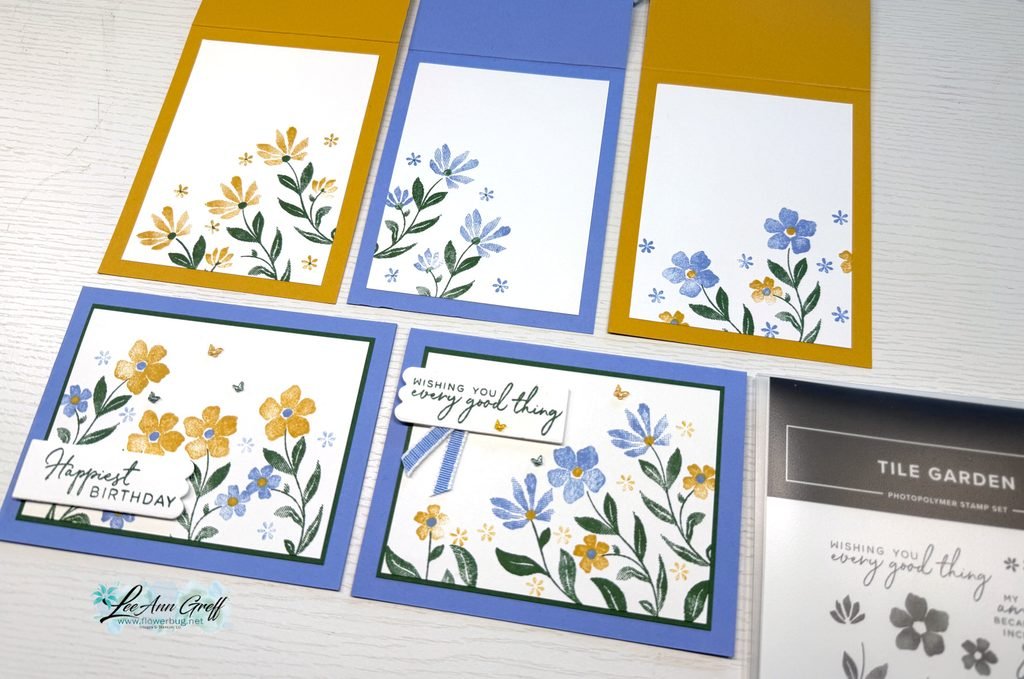
I cut 5 card bases for these stamped layers and you can see how I stamped the insides of some above. I love stamping backgrounds; our stamp images are fantastic! And this set has that distinktive feel to the images which gives multiple hues of colors when stamping.
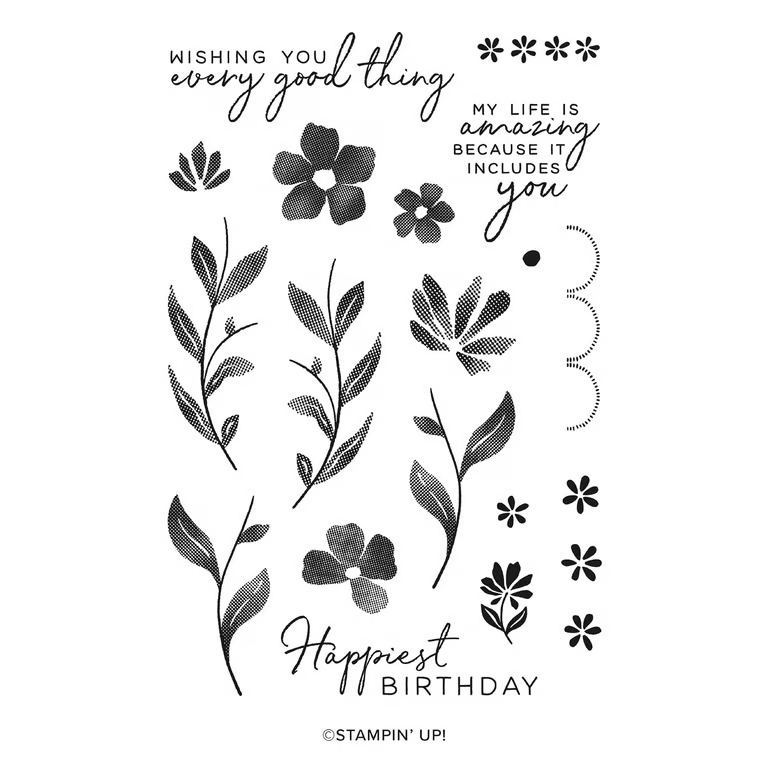
It’s actually in a bundle with the amazing Tile Garden dies. See the stamp set here and the bundle here.
I created a free project sheet for these cards and it includes the two templates! Click here to print or download it.

And below is the video tutorial I shared last week with an entire different set of cards! I’ll share another version tomorrow.

The Starter kit deal ends on Saturday! I hope you’ll consider joining my team and taking advantage of the continual discount on all future Stampin’ Up! products!

Click here to get the deal!!
All Posts

  • Gorgeous Abundant Beauty Kraft notecards with gift box


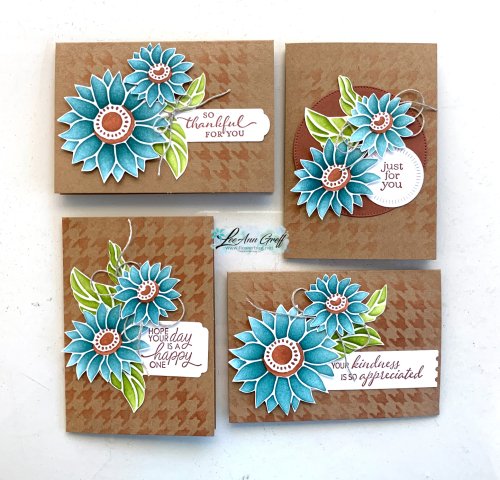
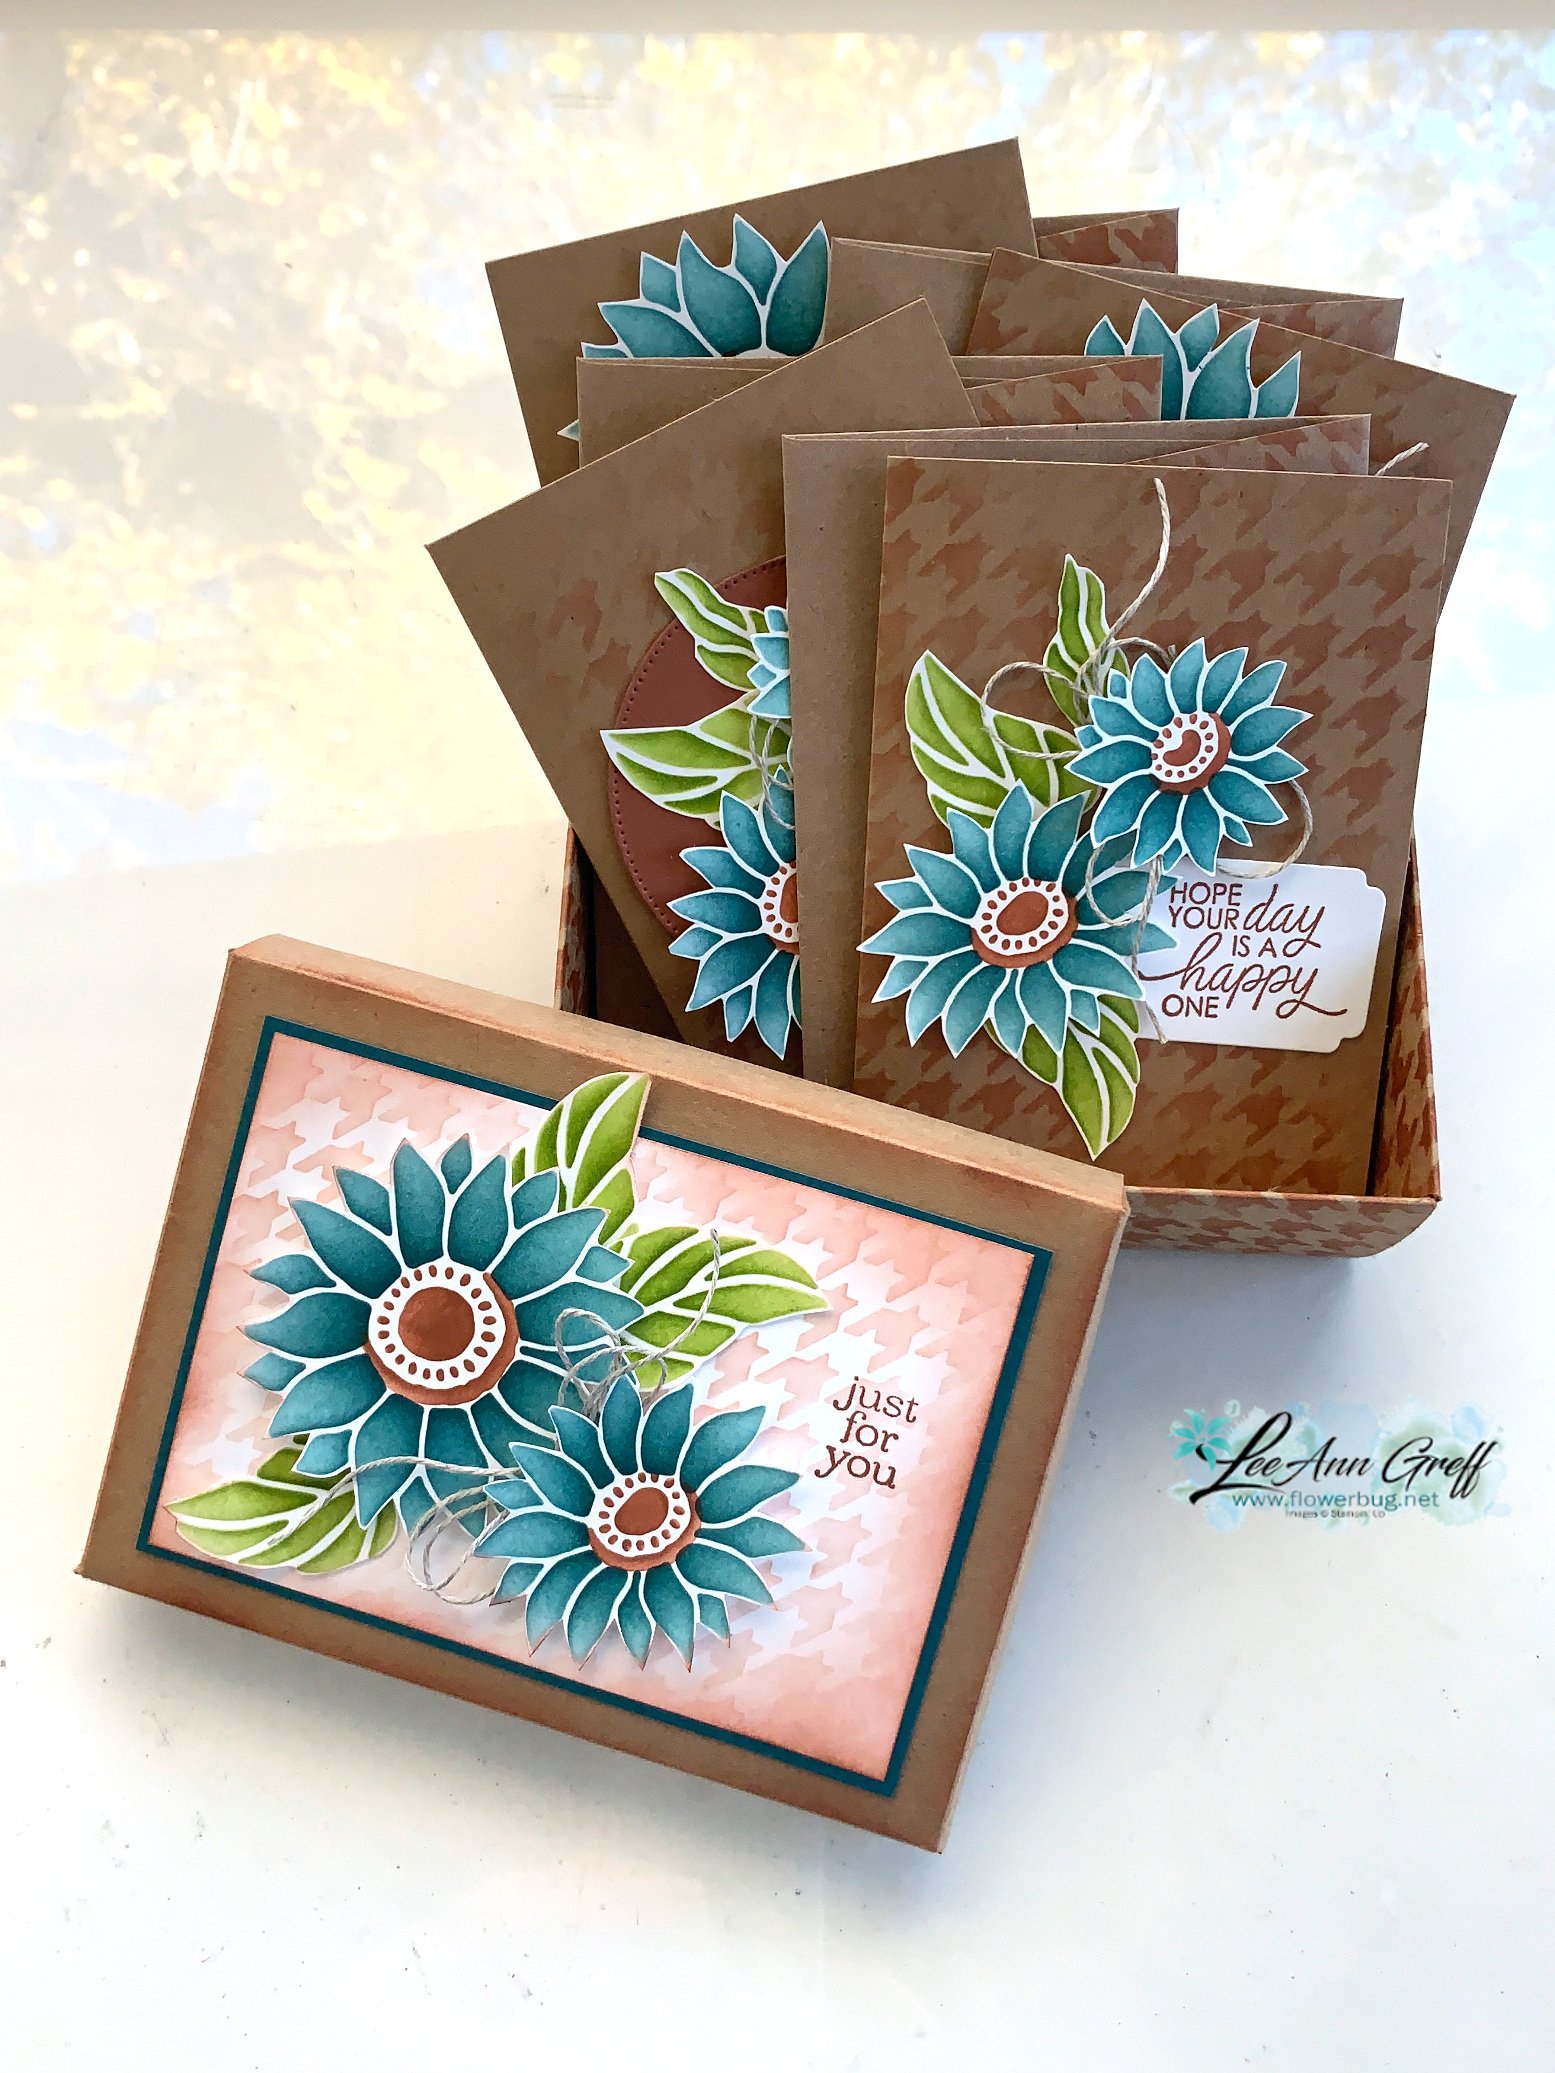
    I was inspired by this set of cards & box by a project shared online. I changed up the colors to 'my' favorites and created this:

    I absolutely LOVE the Abundant Beauty Decorative masks seen here! The sunflowers are my favorite of course, but I also used the houndstooth mask here as well. Unfortunately these masks are out of stock right now. They'll be back around November 13th. 

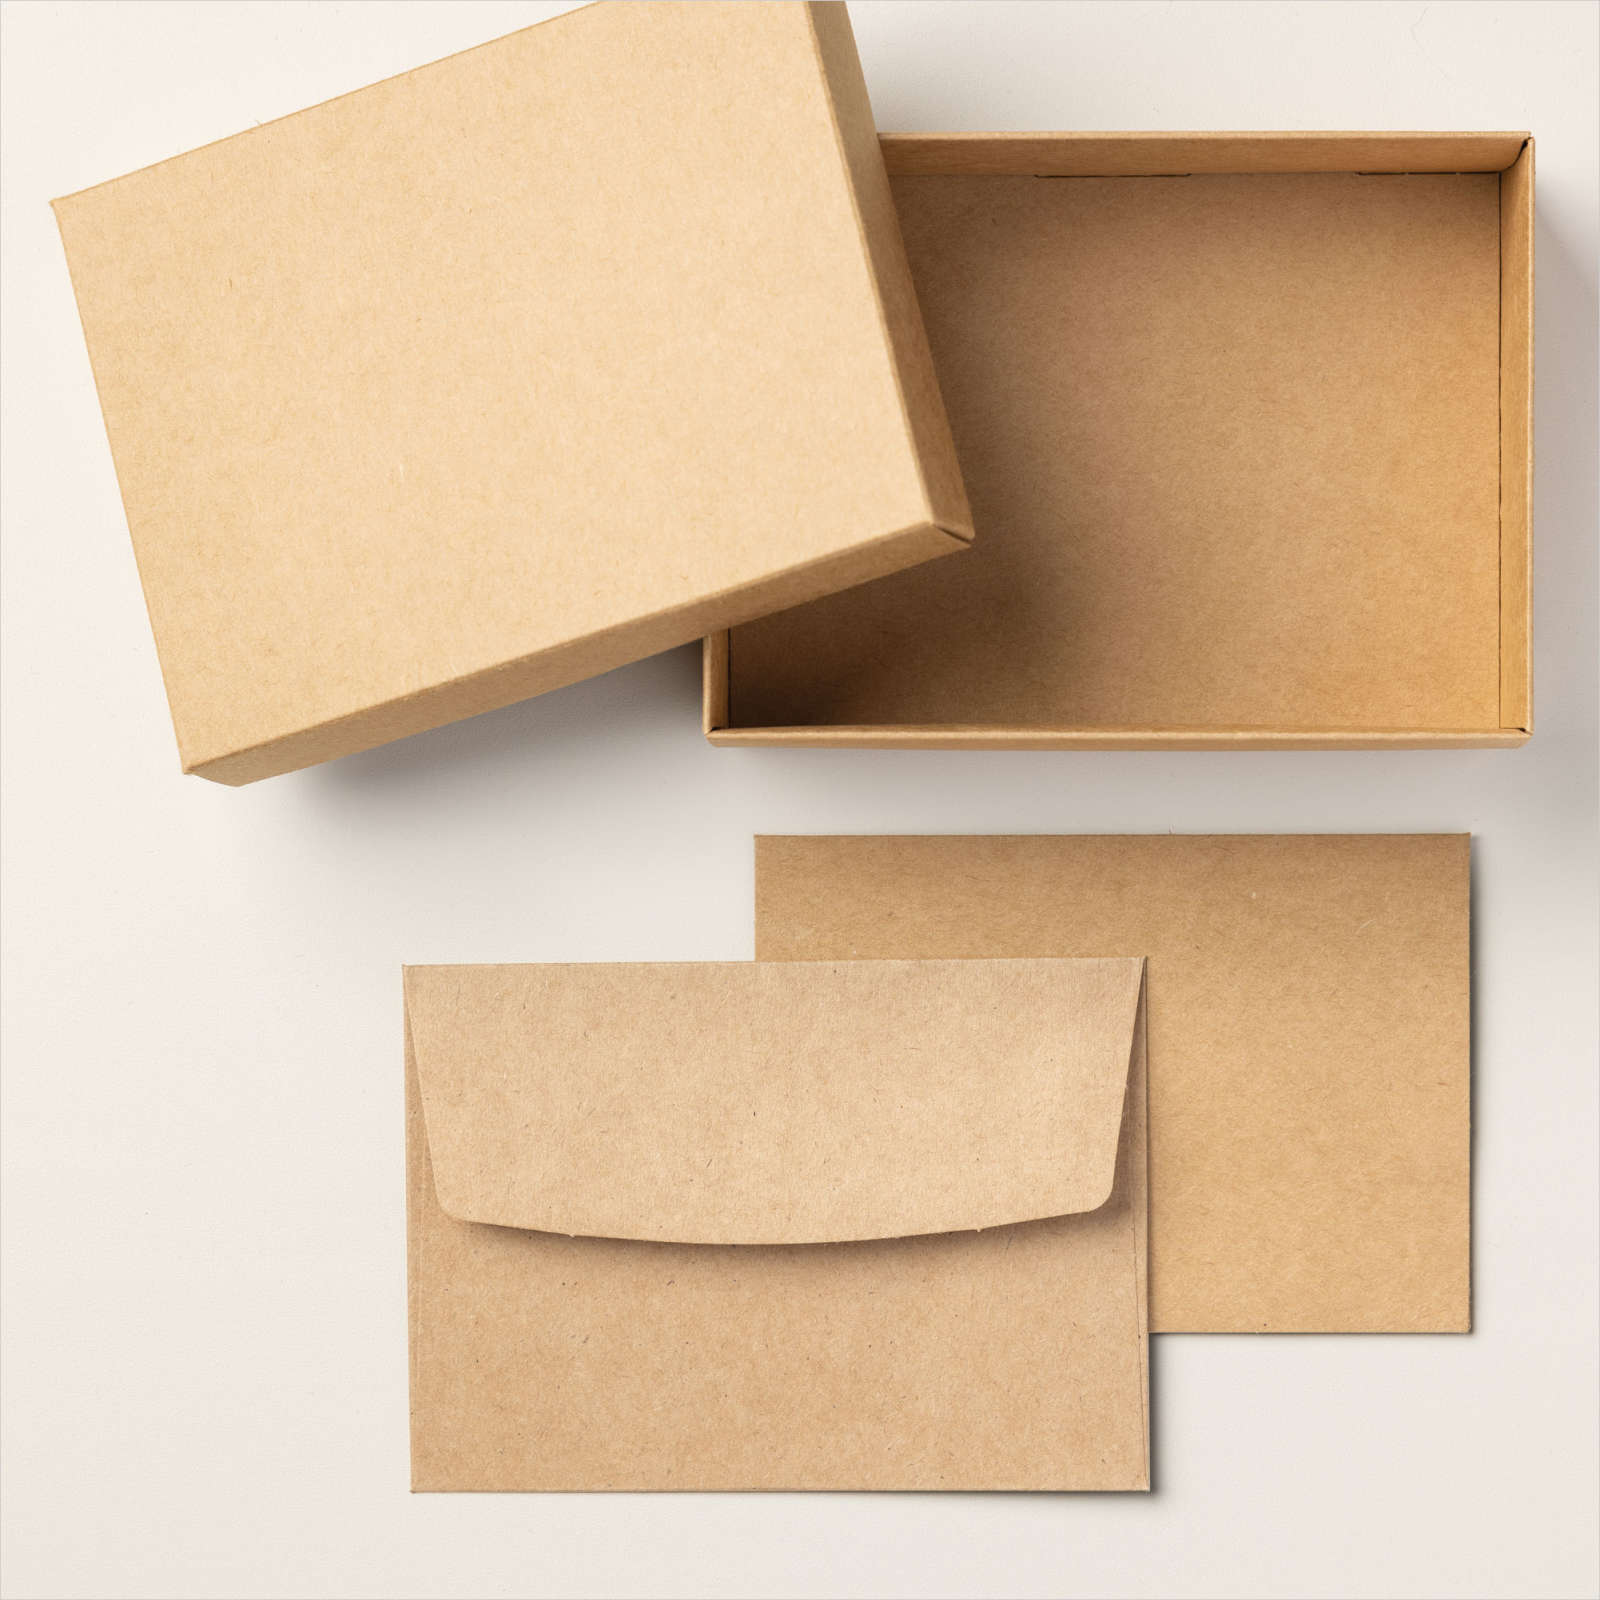
    You might think I made this box but I sure didn't!  It's found on page 135 of our Annual Catalog. It includes 20 cards & 20 envelopes and one box for gifting cards in; all in Kraft paper.  The cards are notecard side which is 5" X 3 1/2". See it here online. 

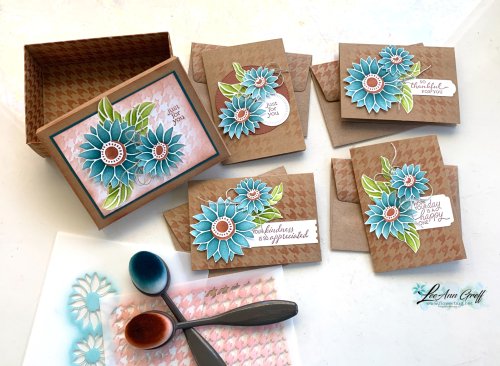
    As you can see in the photo below I used the houndstooth mask to add a soft background to each notecard.  I used a blending brush and Copper Clay ink.  

    The sunflowers are made with Pretty Peacock ink and the leaves are Granny Apple Green on White cardstock. Yes; they are all fussy cut! I did some but my friend Pat did the rest for me; she loves to fussy cut things! 

    The greetings are from the So Sincere stamp set from the 2023 Holiday catalog.  It's my favorite greeting set right now. See it here. 


    You can see in the photo below that I added the houndstooth pattern to the entire box, inside & out.  Because it comes flat it's easy to do. 

    I hope you're inspired by this project.  I'm not sure who will receive it yet, but it will be someone special! 

    ~~~

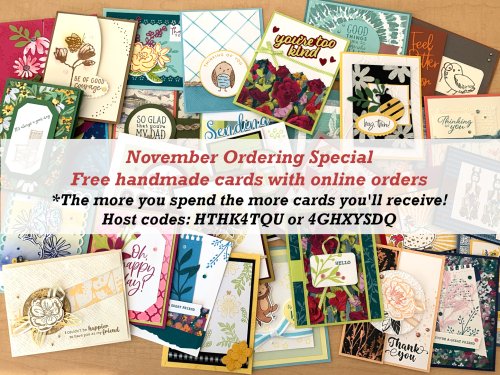
    November Specials: 

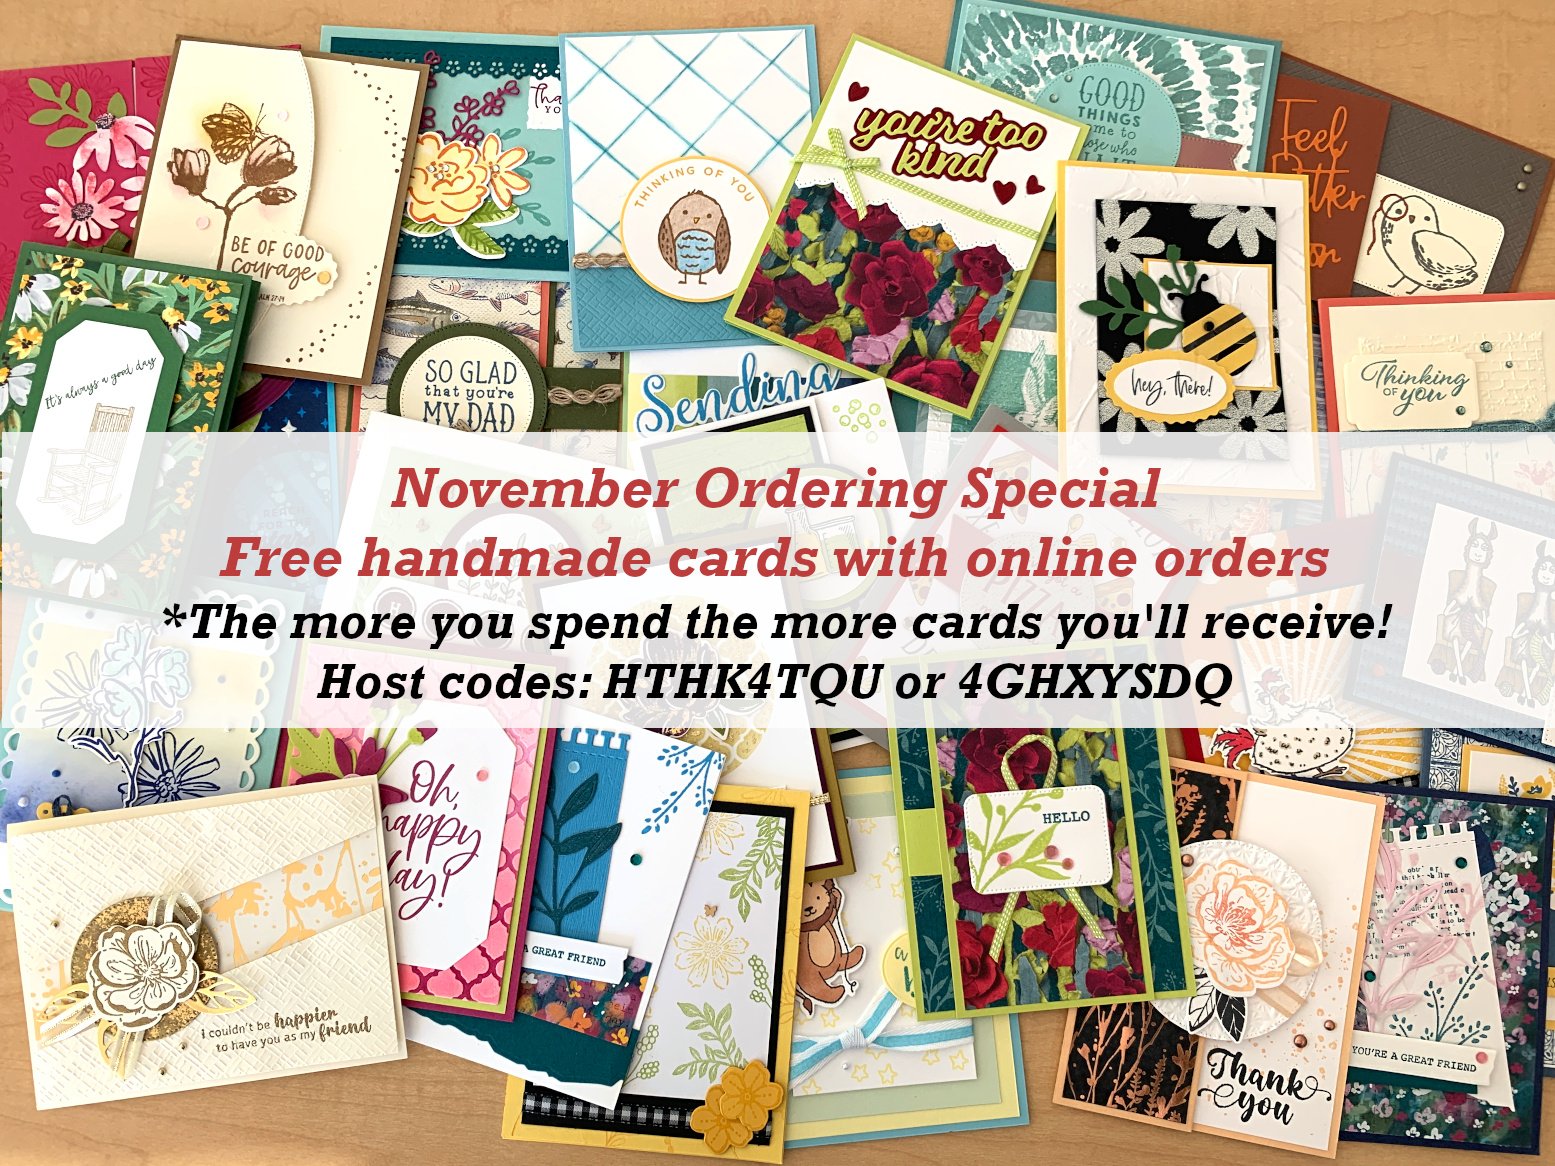
    *current host code: HTHK4TQU or 4GHXYSDQ

    Leave a Reply

    Your email address will not be published. Required fields are marked *

  • Neat card fold that shows off your double-sided designer paper! Free project sheet & video too


    Happy Halloween!  

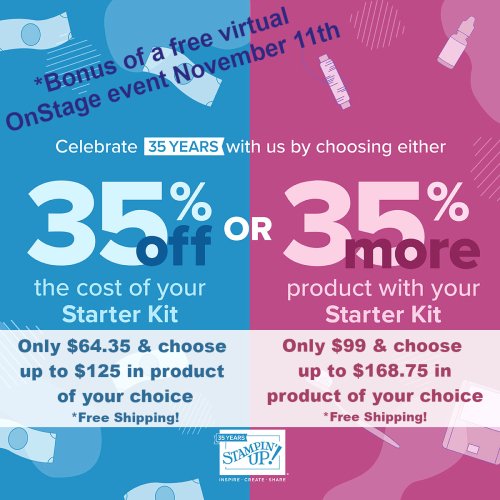
    Today is the last day of the October Starter kit special of 35 % off or 35 % more! 

    If you have a wish list more than $65 I hope you consider it!  For the next 6 months all of your Stampin' Up! orders will be at a 20% discount!  I'd love to see you save some money and get the starter kit.  

    ~~~

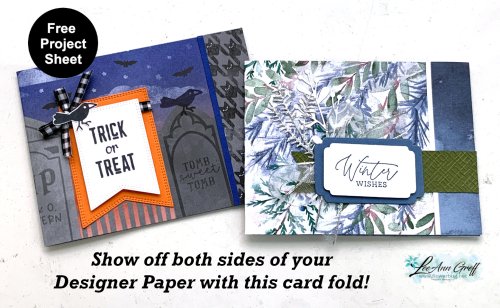
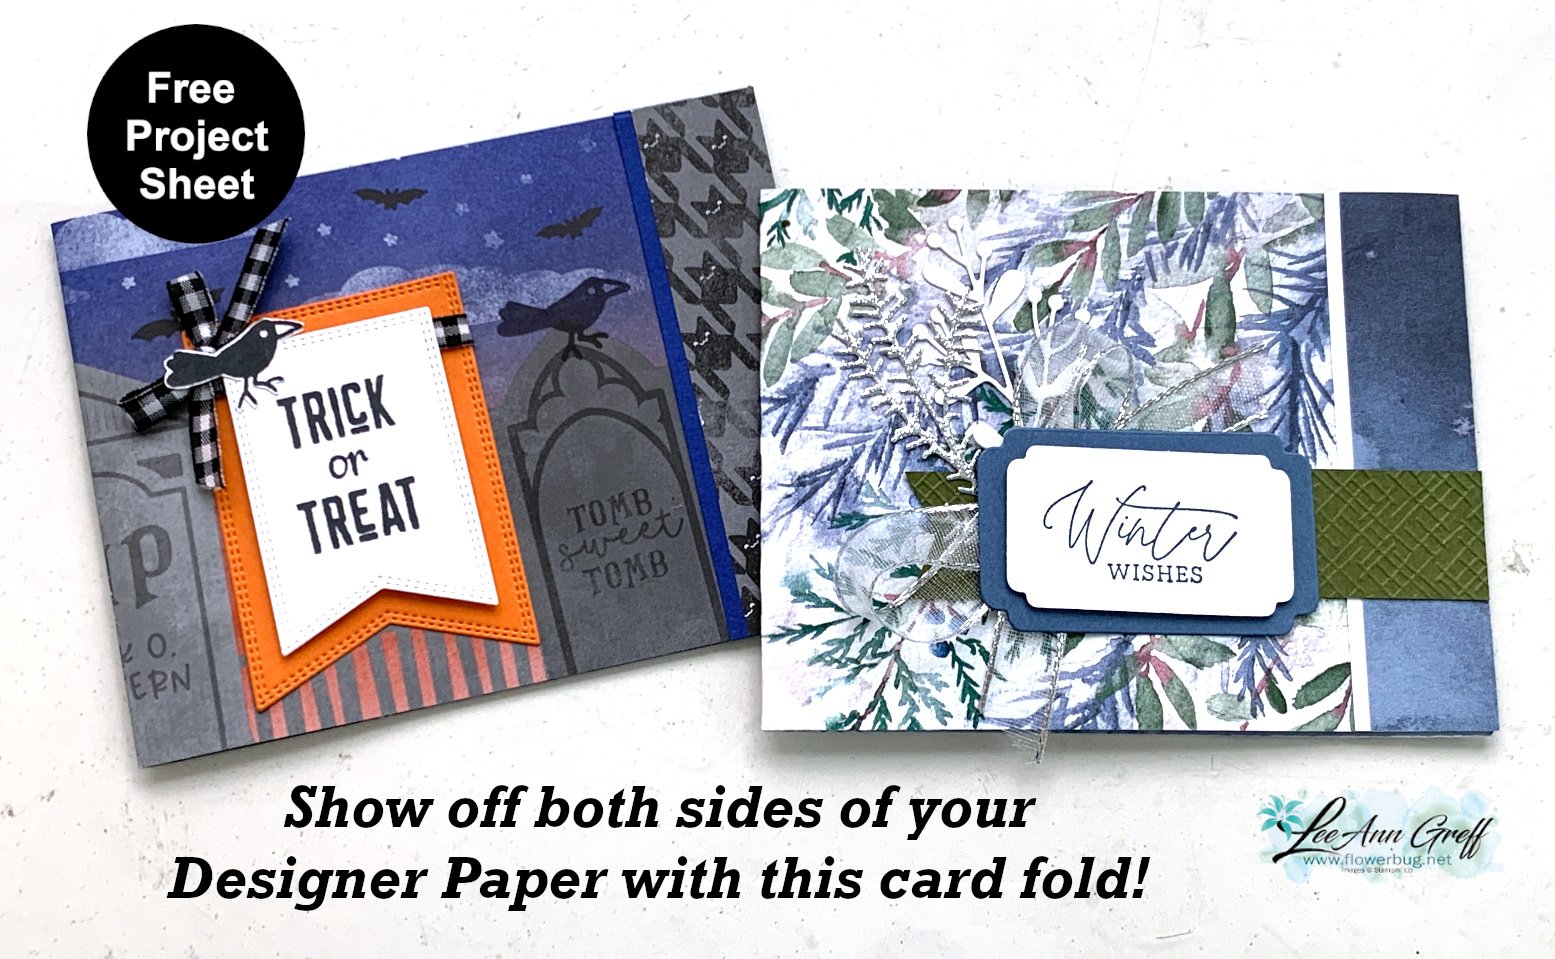
    I shared these neat cards on last week's video.  This layout truly shows off both sides of your double-sided designer paper!

    I made the Trick or Treat card before the video and the Winter Wishes card during the video that you can watch here.

    Trick or Treat card details:

    • Them bones designer paper seen here
    • Greeting is from Throughout the Year set (2023 Holiday catalog)
    • Greeting die-cuts are from the Nested Essential dies
    • Black & White Gingham ribbon

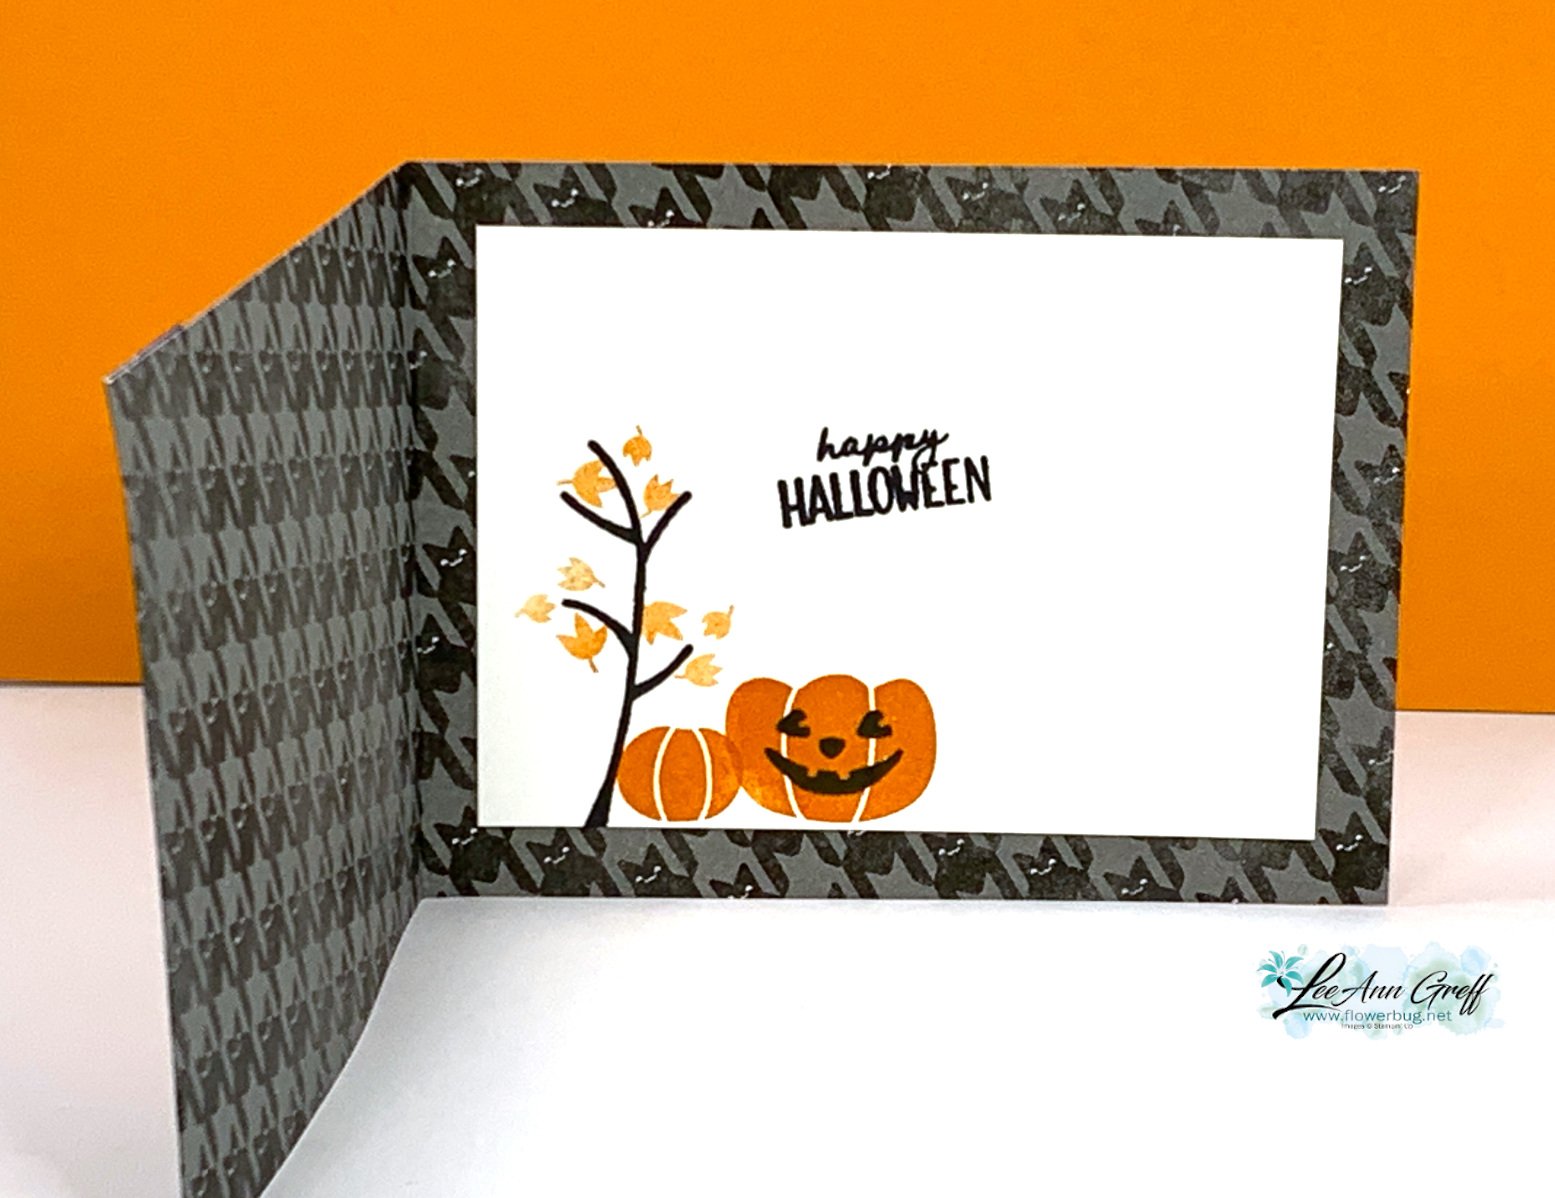
    Here's the inside view.  I chose the Pick of the Patch stamp set here. I love the look of the designer paper in the inside of the card!

    *Download or print the free project sheet here: Download Designer Paper card base; shows both sides!

    Here is the other card I shared:

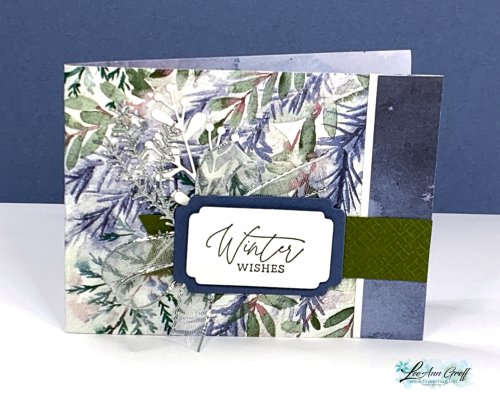
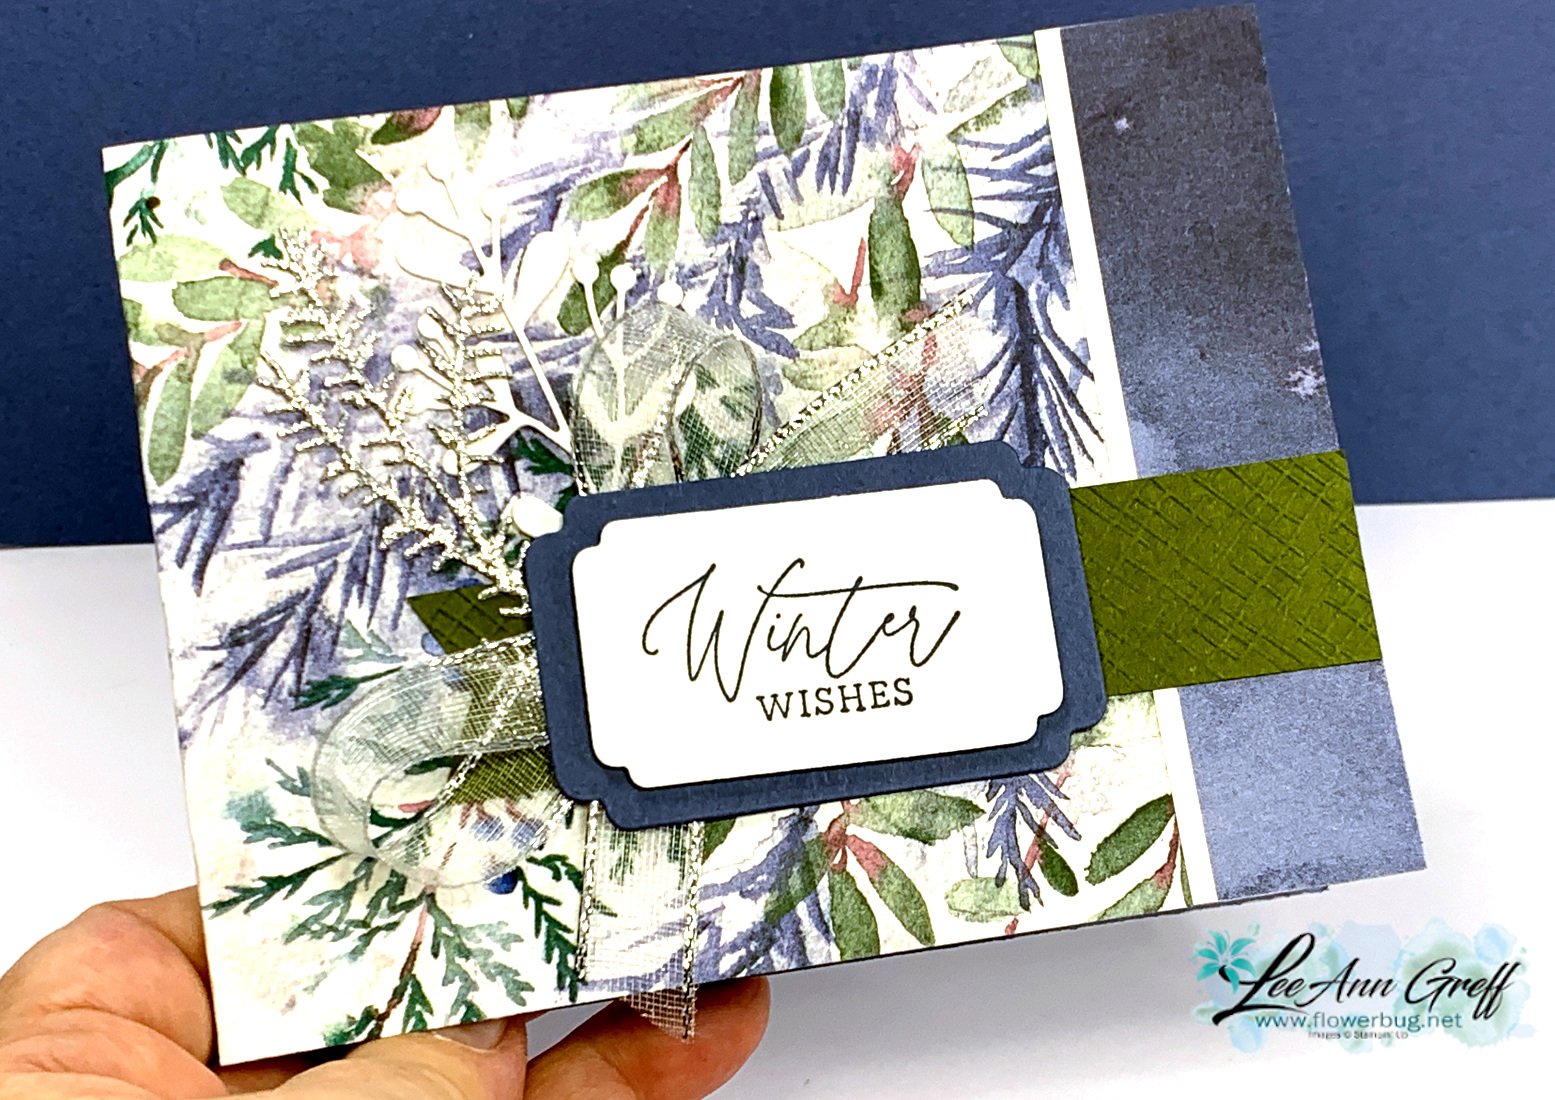
    This card shows off the Magical Meadow bundle in the greeting and pretty die-cuts. 

    Details:

    • Winter Meadow designer paper seen here – 11" X 4 1/4" scored at 1" and 6 1/2"
    • Mossy Meadow, Basic White & Misty Moonlight card stock plus Adhesive-backed silver glimmer paper for the pretty foliage die-cut

    Here's the inside view; stamped with the Magical Meadow stamp set. 

    The Magical Meadow bundle has been one of my favorites this season.  I seem to reach for it often. See it here. 

    Here is the video for these neat cards.  You'll also find another fun fold card and a quick treat bag too! 

    *For some reason I'm not able to add a photo of the video but click on the link above to watch it. 

    ~~~

    October Specials: 

    Amazing Starter Kit choices! 

    Choose one and enjoy the 20% discount on all future orders! Click here

    *current host code: HTHK4TQU or 4GHXYSDQ

    *Get free glitter gems with online orders over $55 (Please use a host code)

    Leave a Reply

    Your email address will not be published. Required fields are marked *

  • Easy Treat Bag with video & free project sheet!


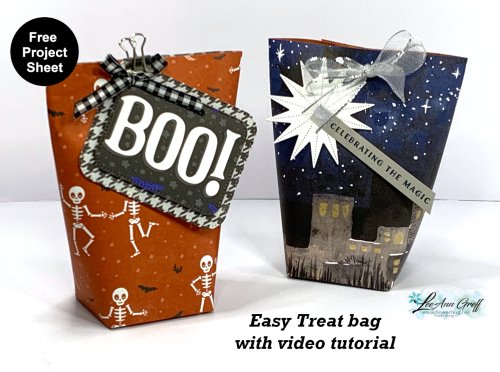
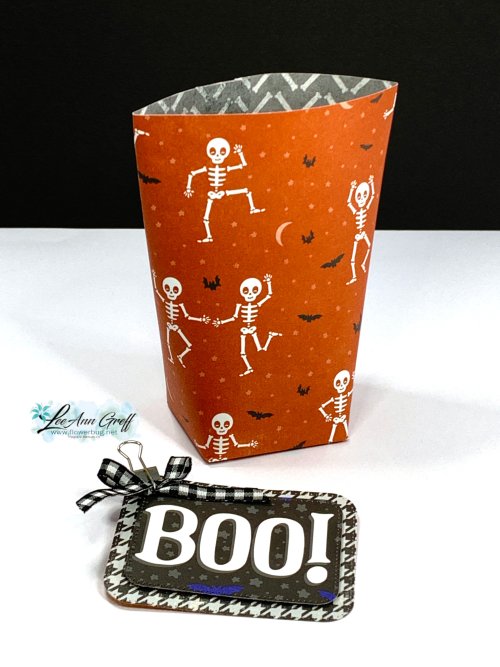
    If you ever need a fast & easy way to gift treats or a small gift I recommend this quick treat bag. I shared how to make it in a recent video and you can scroll down to get the free project sheet. 

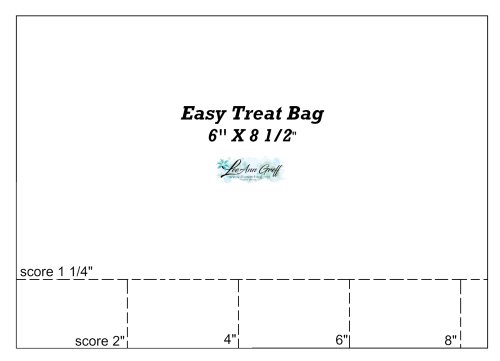
    It's made from a piece of designer paper that's 8 1/2" wide X 6" tall.  The bag is 4 3/4" tall and about 4" wide at the top.  A nice size!

    The 'Boo' bag is made from the Them Bones designer paper and the tag is also from the paper.  It's part of a full sheet of individual panels you can use for cards etc.  

    I made the Boo bag before the video and the Christmas bag during the video. See this video here.  

    Below is a photo of it open.  I added about 6 small candy bars inside and there was room for more yet! The layered greeting tag holds the bag closed with a mini clip. 

    *Download the free project sheet with template here: Download Easy Treat bag with template

    Below is the template but it will help quite a bit to watch the video tutorial here. 

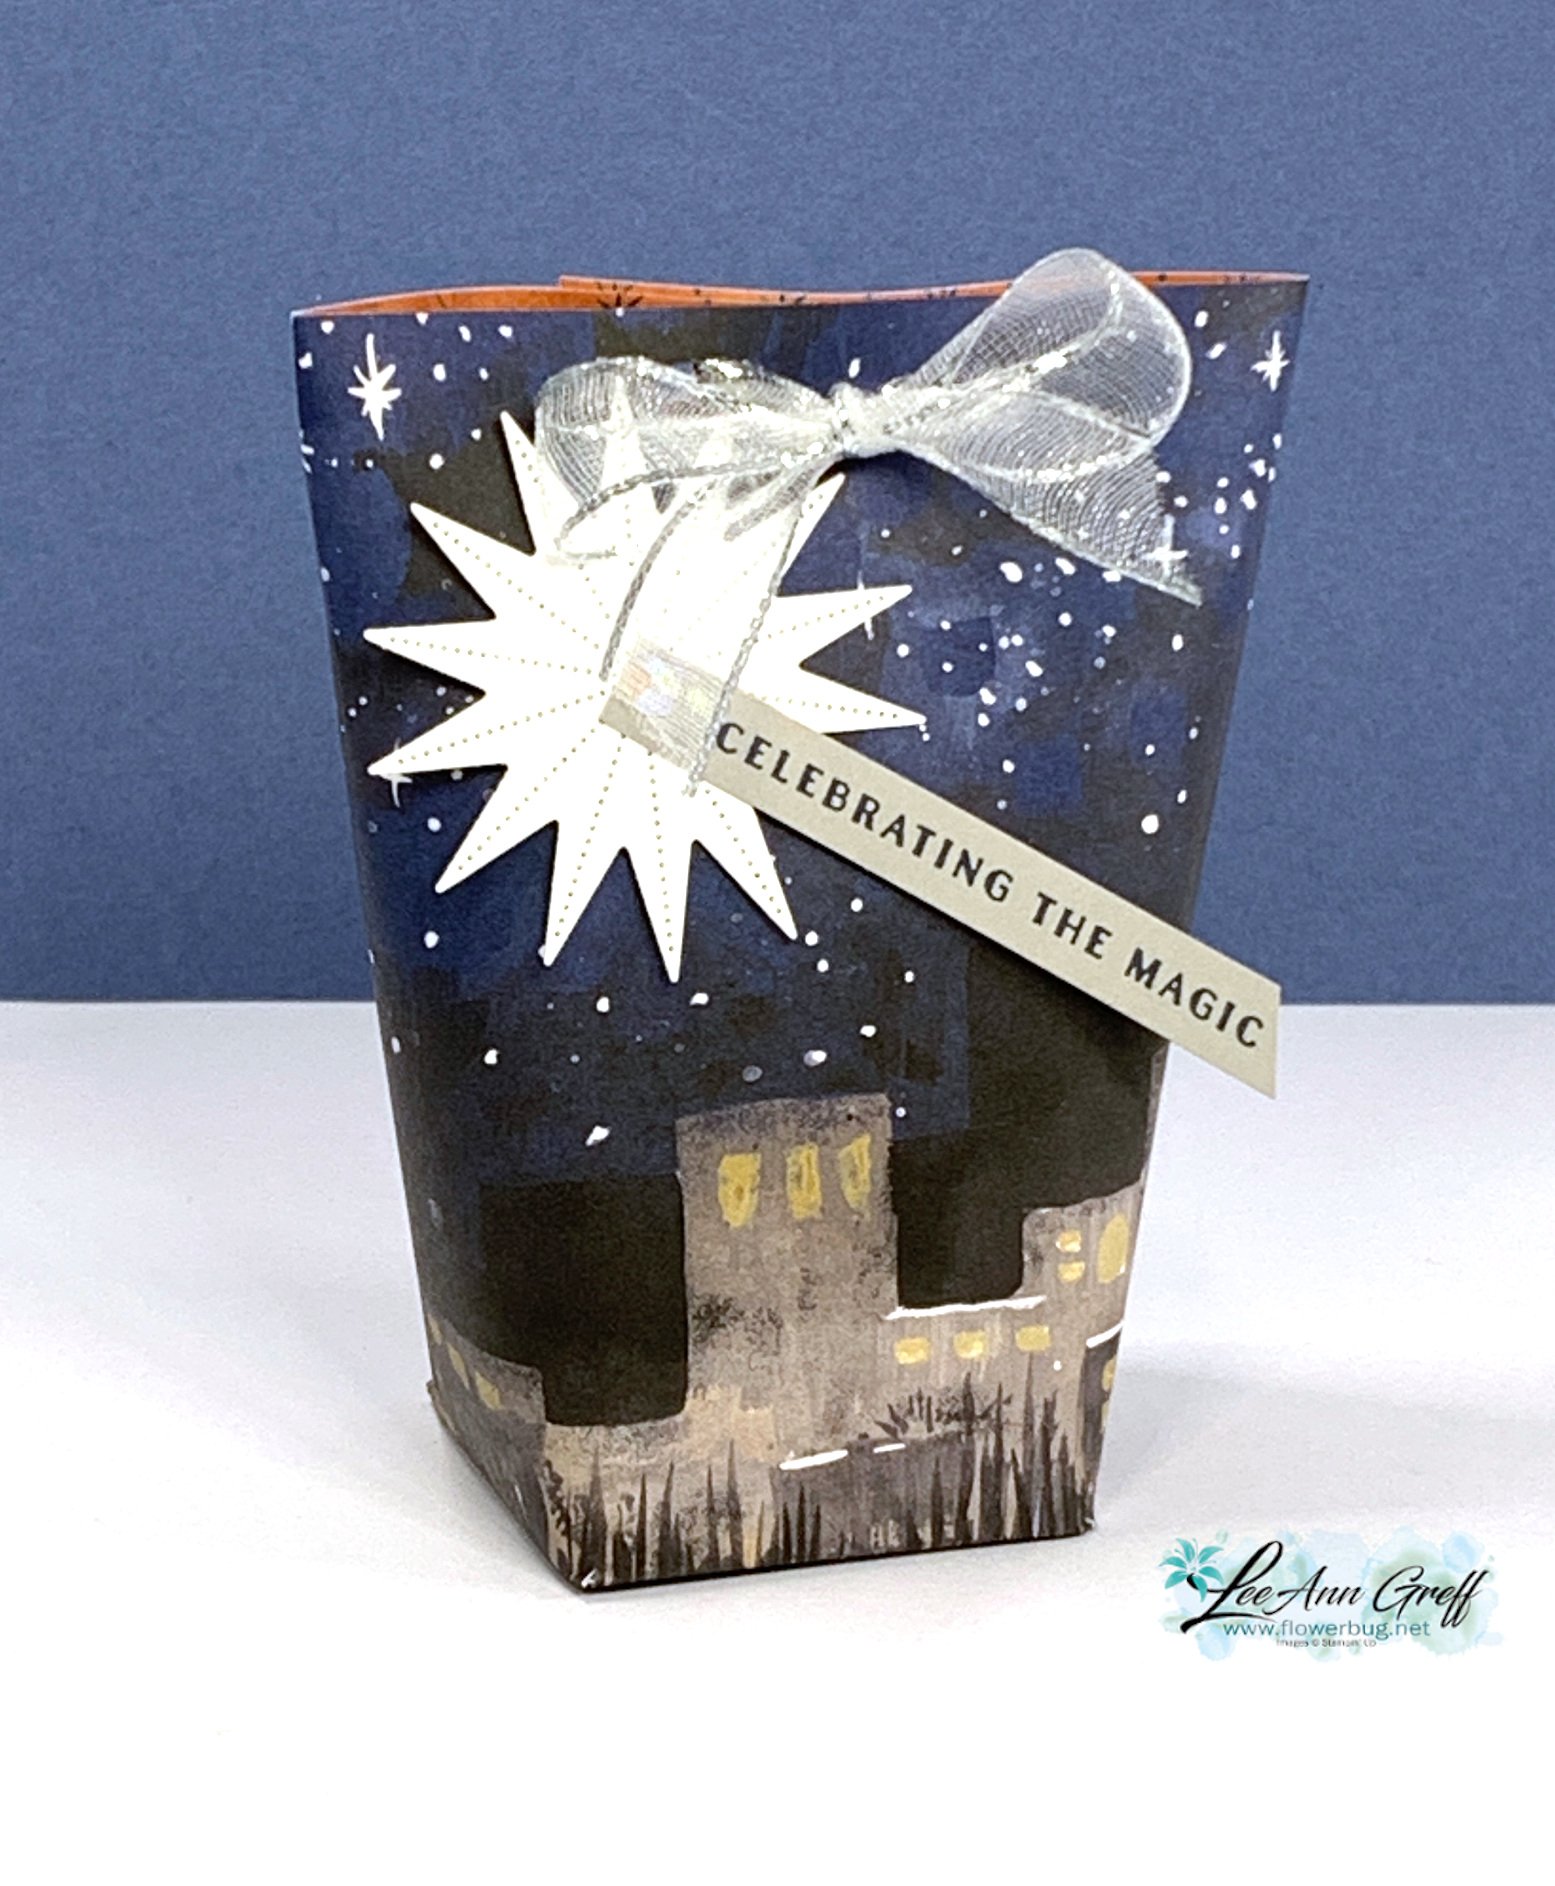
    The treat bag below is made from the O Holy Night designer paper and the Stars at Night bundle.  This pretty paper has the beautiful nighttime scene printed on it!

    I punched two holes in the top of the bag to thread the Silver & White ribbon through for a tied bow. This ribbon is a new favorite; it's sparkly and thin so it's easy to work with. Unfortunately it's out of stock until mid November. 

    Click here to watch the video you can watch to see this and two fun fold cards as well. 

    ~~~

    October Specials: 

    The Amazing Starter Kit deal ends Tuesday! 

    Choose one and enjoy the 20% discount on all future orders! Click here

    *current host code: HTHK4TQU or 4GHXYSDQ

    *Get free glitter gems with online orders over $55 (Please use a host code)

    Leave a Reply

    Your email address will not be published. Required fields are marked *


Notice: LeeAnn Greff, Independent Stampin’ Up! Demonstrator, Manager. The content of this website is my sole responsibility as an independent Stampin’ Up! demonstrator and the use of, and content of, the classes, services, or products offered on this website is not endorsed by Stampin’ Up! Copyright 2025