/


Latest Post

3 ways to use the Layered Floral on one card!


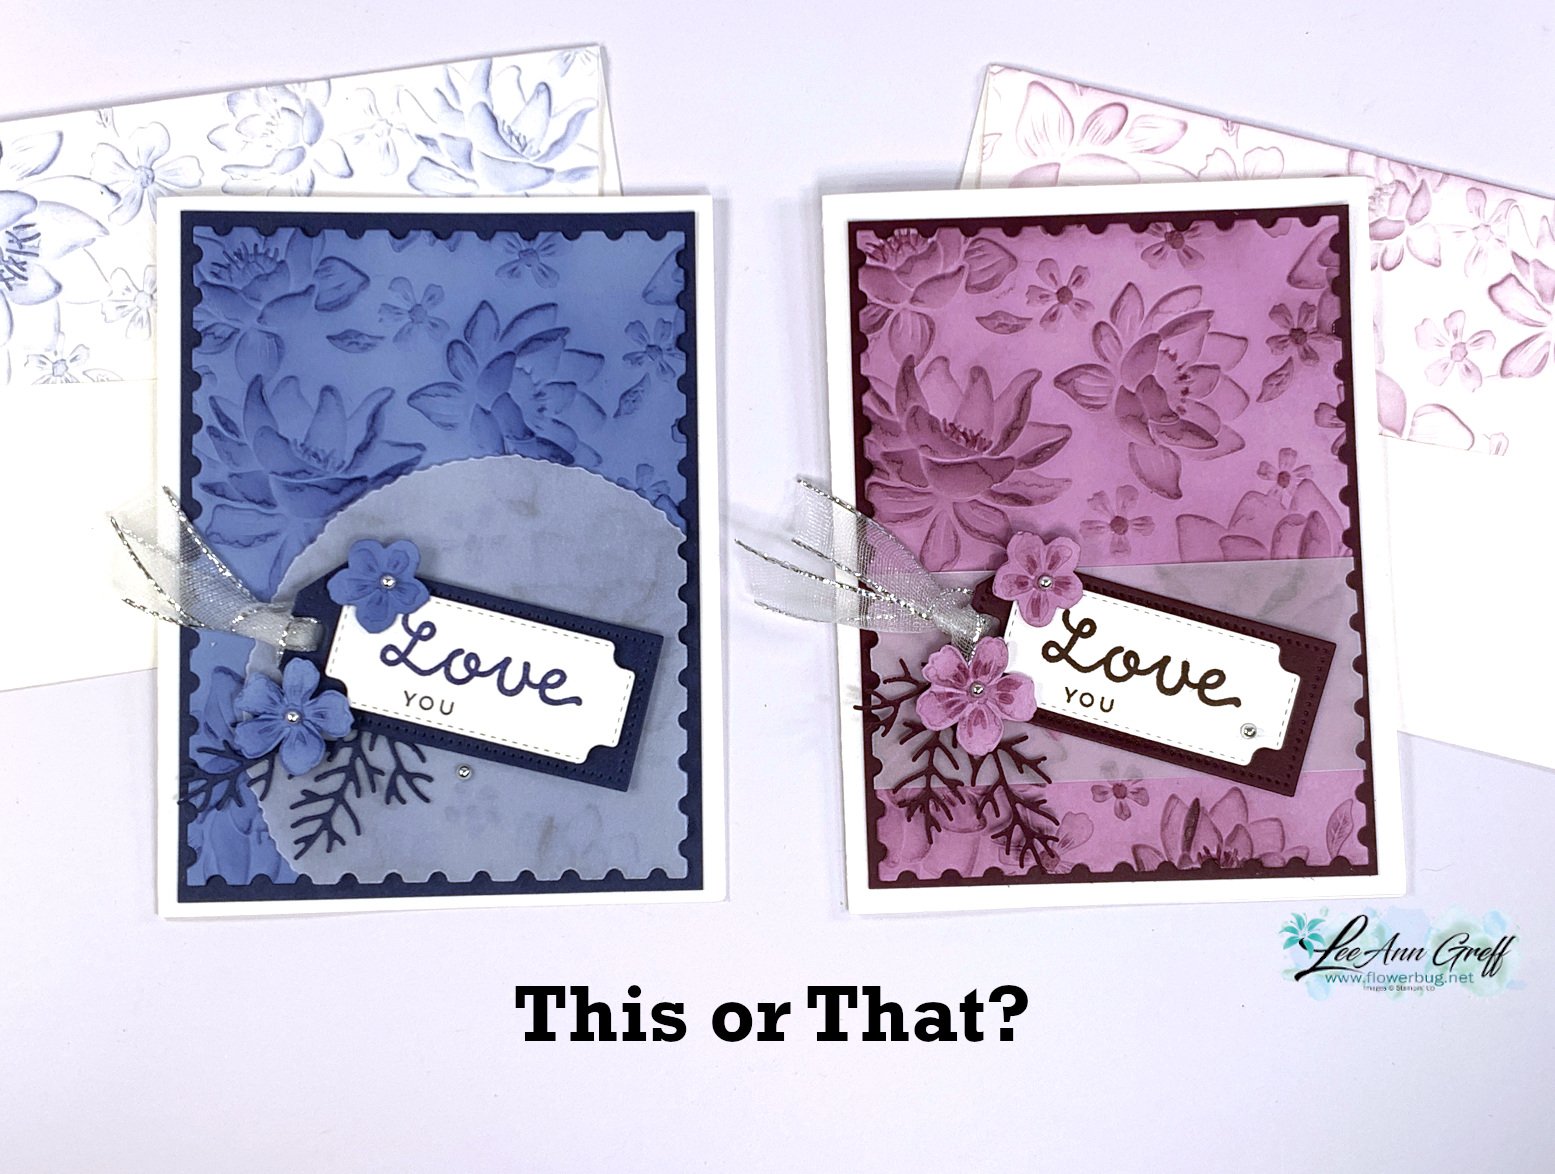
I shared this pretty textured card on last week's FB live video: 

The textured card stock is Fresh Freesia.  I used a Blending Brush with Blackberry Bliss ink to highlight the gorgeous texture. The Layered Floral 3D embossing folder is amazing; it has super deep texture! 

I made a second card during the video with another rich color combination of Night of Navy with Boho Blue. Note the different ways I added vellum to these two cards. 

Also note the pretty texture added to the envelope flap; why don't we do this more often!? 

Here are the 3 ways I featured this pretty Layered Floral 3D embossing folder:

  1. Textured, then added ink with a Blending Brush.
  2. I textured the envelope flap and add a very light ink, again with a Blending Brush.
  3. Cut out a large flower from a separate piece of textured card stock; and I punched a smaller flower using the Petal Park Builder punch – yes it coordinates!!
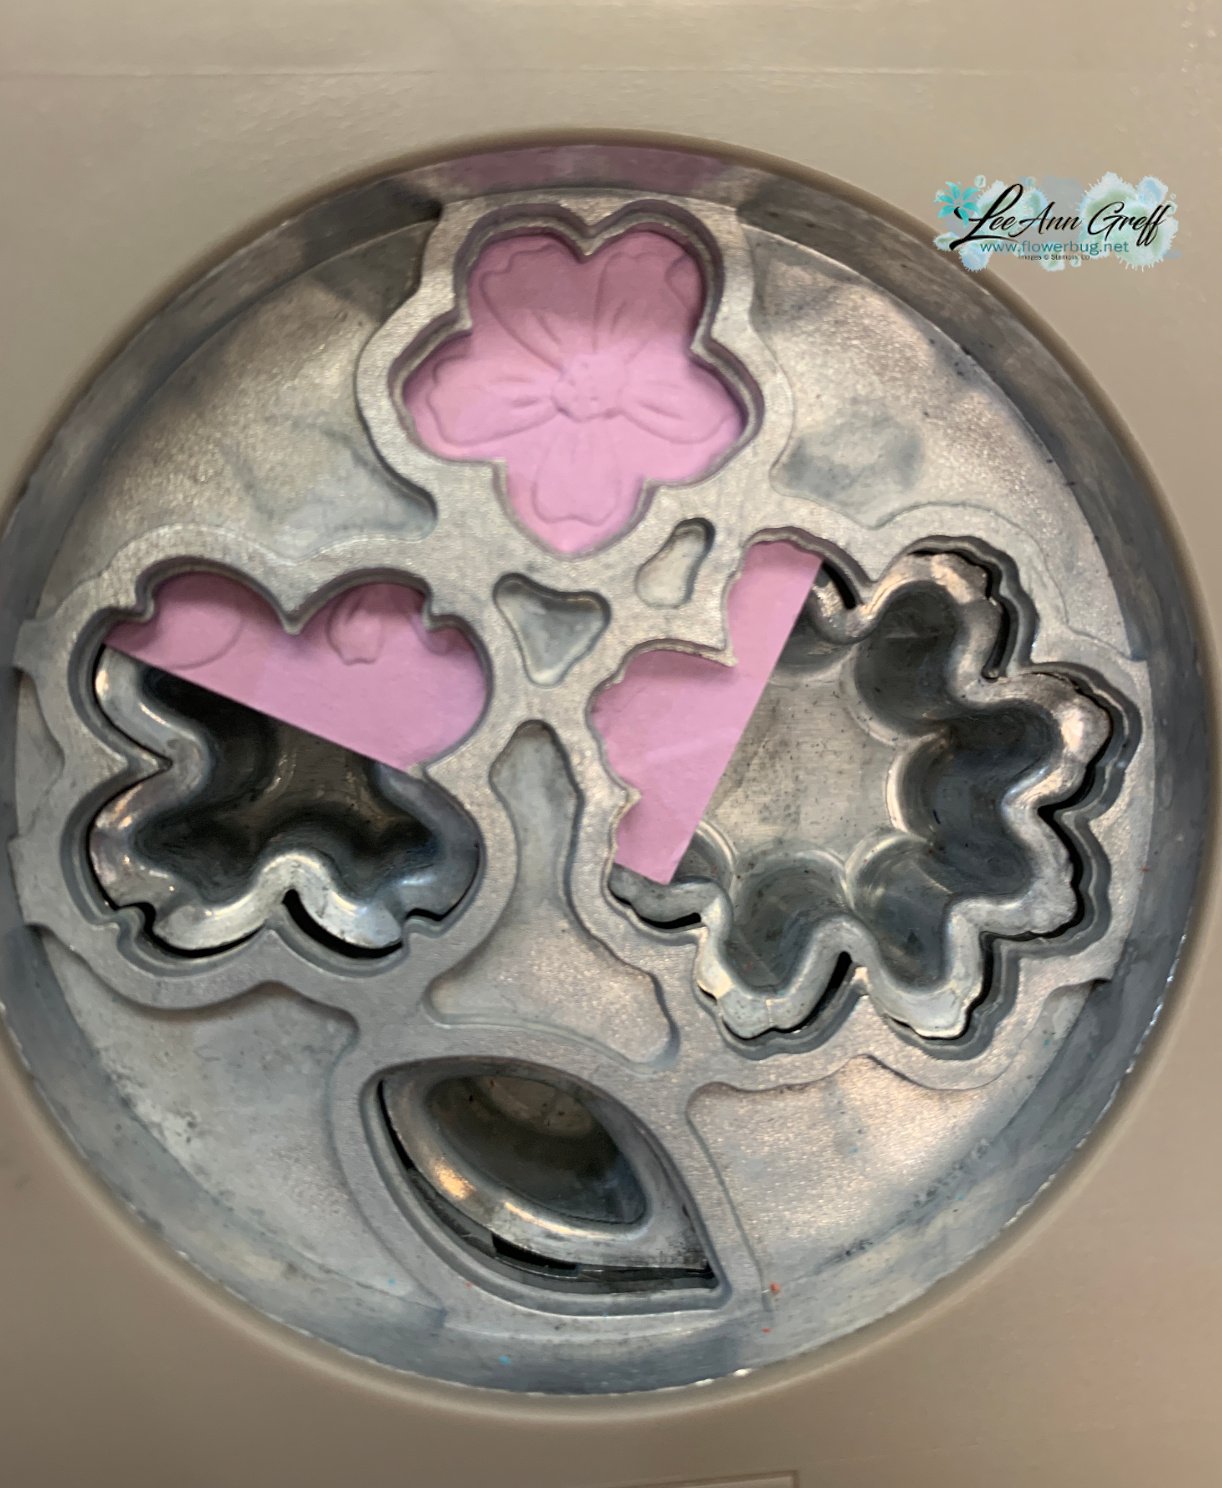
Products used here:

  • Layered Floral 3D embossing folder; seen here
  • Deckled Circle dies seen here
  • Vellum card stock
  • Cheerful Daisy dies
  • Heartfelt Hellos stamp set from Sale-a-Bration catalog seen here; free with a $50 order

Which is your favorite?
Click on this link to download the free project sheet: Download Layered Floral & Perennial Postage cards
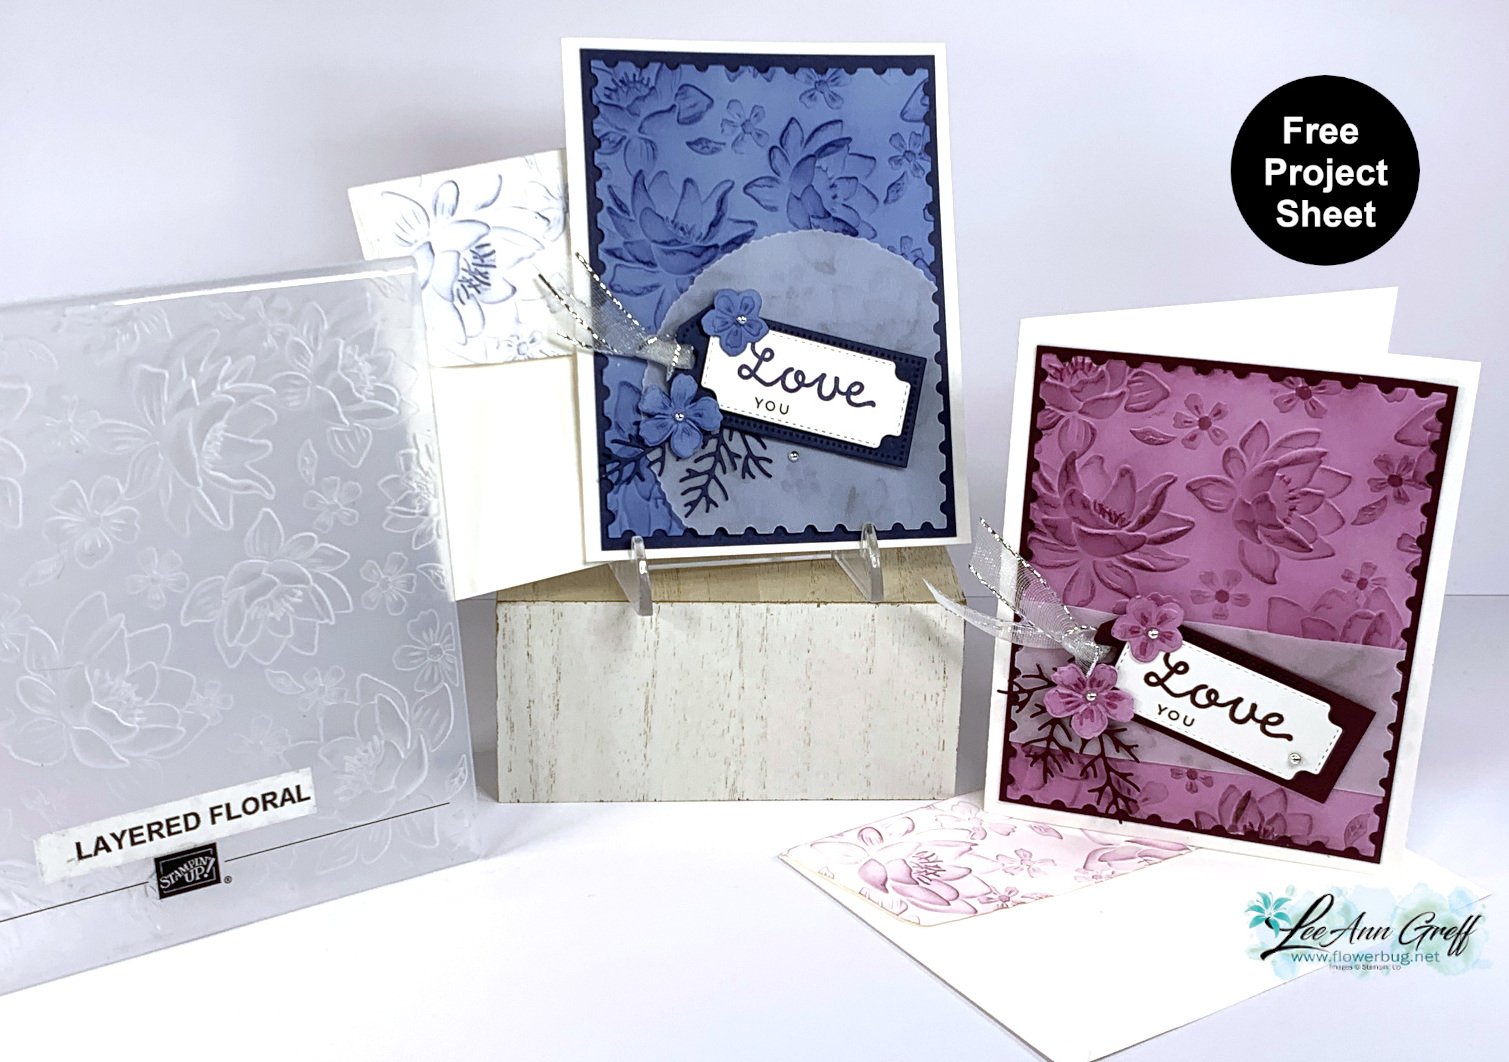

You can see the video below. I share another way to use this beautiful folder too! 

~~~

February Specials: 

Earn FREE products with your Stampin' Up! purchase during

Sale-a-Bration! *click here

*current host code link: 4BXU7SGH 

It's the best time to get a pre-paid Sale-a-Bration subscription

& earn free Sale-a-Bration products!  


~~~

Get a free Gold Foiled cards & envelopes kit

with online orders over $55 in February

All online orders in February will receive this free tutorial with 8 projects!

All Posts

  • Crazy HUGE BOGO & Fundraiser Event; Septemer 29th.


    Tuesday, September 29th I'm holding a HUGE Birthday BOGO Sale!  (It's my birthday today!)  I'm selling 100's of retired Stampin' Up! products at this event.  I don't save any of my retired items and have to clear it all out to make room for new!  *I've vowed to myself I won't store anything outside of my studio. 

    If you're local to me in Minot, tell your friends about this amazing event where you get FREE product with purchase of retired items.  Yes!  It's crazy! 

    I may be able to offer some extras to long distance customers after the event.  There's just too much to list until some is sold.  

    It's at my home studio at 429 Cedon Drive in Minot, ND from 4-7 pm.  

    • Come with a wish list for quick ordering
    • Stock up on card stock, In Colors or anything in our three catalogs!
    • Masks are encouraged! 
    • There should be plenty of room to shop; retired items are outside and ordering is in! 
    • Orders can be shipped to your home or mine; your choice!

    At the same time we're holding a Medical fundraiser for my stamping friend Donna who has had multiple hospitalizations and surgeries.  Insurance isn't covering much at all.  We're selling hand made cards, gifts, baked goods and more. Free will offerings accepted! 

    Remember this is a rare event; don't miss it! 

    ~~~

    Current Host code is HYSHW6QB

    Get a free package of All the Trimming embellishments in September with an

    online order over $55. 

    *Remember that if your order is over $99 you should consider purchasing the Starter kit here.

    And if it's over $150 you should definitely get the Starter kit.  

    Order online here

     Get my Beautiful Autumn pdf tutorial free with any online order in September!


    It includes directions, photos and measurements for 13 cards!

    Leave a Reply

    Your email address will not be published. Required fields are marked *

  • Queen Anne’s Lace cards


    I was playing with the Queen Anne's Lace stamp set and was in the mood for purple.  I combined Gorgeous Grape with Purple Posy to make the card below.

    There are just three pieces on this card but it looks like there's more!  Sometimes you don't need to add an extra layer for the sentiment. You can stamp it on the main piece below the image usually divided by a ribbon.  But this time I added the flower image on an additional layer of Purple Posy for an extra layered look.

    This Queen Anne's Lace stamp set is one of two you get free this month when you purchase the Starter Kit.  Read about that here!  It's such a great deal with over $75 in free product!  Pay just $99 and get $200!  And FREE Shipping too!  

    I added a piece of the Brights DSP on the left.  That tricolor ribbon sure brings it all together!  Tying a knot and securing the ends in the back is easy and with soft ribbon there isn't a thick bump at all. 

    Measurements:

    • Gorgeous Grape main card 5 1/2" X 8 1/2" scored in half at 4 1/4"
    • Purple Posy 2 3/4" X 3" tall
    • Whisper White 4 1/4" X 3" 

    I also made this additional card on the right using a sketch I found.  It's very similar but this time I stamped all on one layer and added a 3/4" strip of Playing with Patterns Designer paper between the main image and the greeting. Easy! 

    Hopefully these easy cards inspire you to stamp this week.  Using two shades of the same color sure makes it easy to choose colors!  Think of blues, pinks, greens, etc.  

    ~~~

    Current Host code is HYSHW6QB

    Get a free package of All the Trimming embellishments in September with an

    online order over $55. 

    *Remember that if your order is over $99 you should consider purchasing the Starter kit here.

    And if it's over $150 you should definitely get the Starter kit.  

    Order online here

     Get my Beautiful Autumn pdf tutorial free with any online order in September!


    It includes directions, photos and measurements for 13 cards!


    Leave a Reply

    Your email address will not be published. Required fields are marked *

  • Life is Beautiful Halloween card; masking & bats galore!


    Fall is in the air around here in North Dakota.  Each week it's getting cooler, the leaves are changing and it's getting dark so early! That means Halloween is coming soon!

    I was creating squares for a Halloween framed sampler for a Team swap (see this post) and had an extra one. So I decided to create a card with it.   

    To make the square I first stamped the tree image from Life is Beautiful onto a 2 3/4" piece of White CS using Smoky Slate ink.  Then I used a 1 1/2" mask over the center and sponged on Pretty Peacock ink.  Next I placed the window/mask over the sponged area and added Cajun Craze ink in the 'hole' to create the moon.   It's layered onto a 2 7/8" piece of Whisper White CS.

    Other details:

    • The bats are fussy cut from the Magic in This Night Designer paper.  I did sponge the edges with Black ink. 
    • The greeting is from the Banner Year stamp set and is on a Tasteful Labels die-cut. 
    • The main card is Cajun Craze and the designer paper strip is 2" X 5 1/2" 

    I can't wait for you to see the amazing Halloween samplers tomorrow!  

    ~~~

    Current Host code is HYSHW6QB

    Get a free package of All the Trimming embellishments in September with an

    online order over $55. 

    *Remember that if your order is over $99 you should consider purchasing the Starter kit here.

    And if it's over $150 you should definitely get the Starter kit.  

    Order online here

     Get my Beautiful Autumn pdf tutorial free with any online order in September!


    It includes directions, photos and measurements for 13 cards!

    Leave a Reply

    Your email address will not be published. Required fields are marked *


Notice: LeeAnn Greff, Independent Stampin’ Up! Demonstrator, Manager. The content of this website is my sole responsibility as an independent Stampin’ Up! demonstrator and the use of, and content of, the classes, services, or products offered on this website is not endorsed by Stampin’ Up! Copyright 2025