/


Latest Post

3 ways to use the Layered Floral on one card!


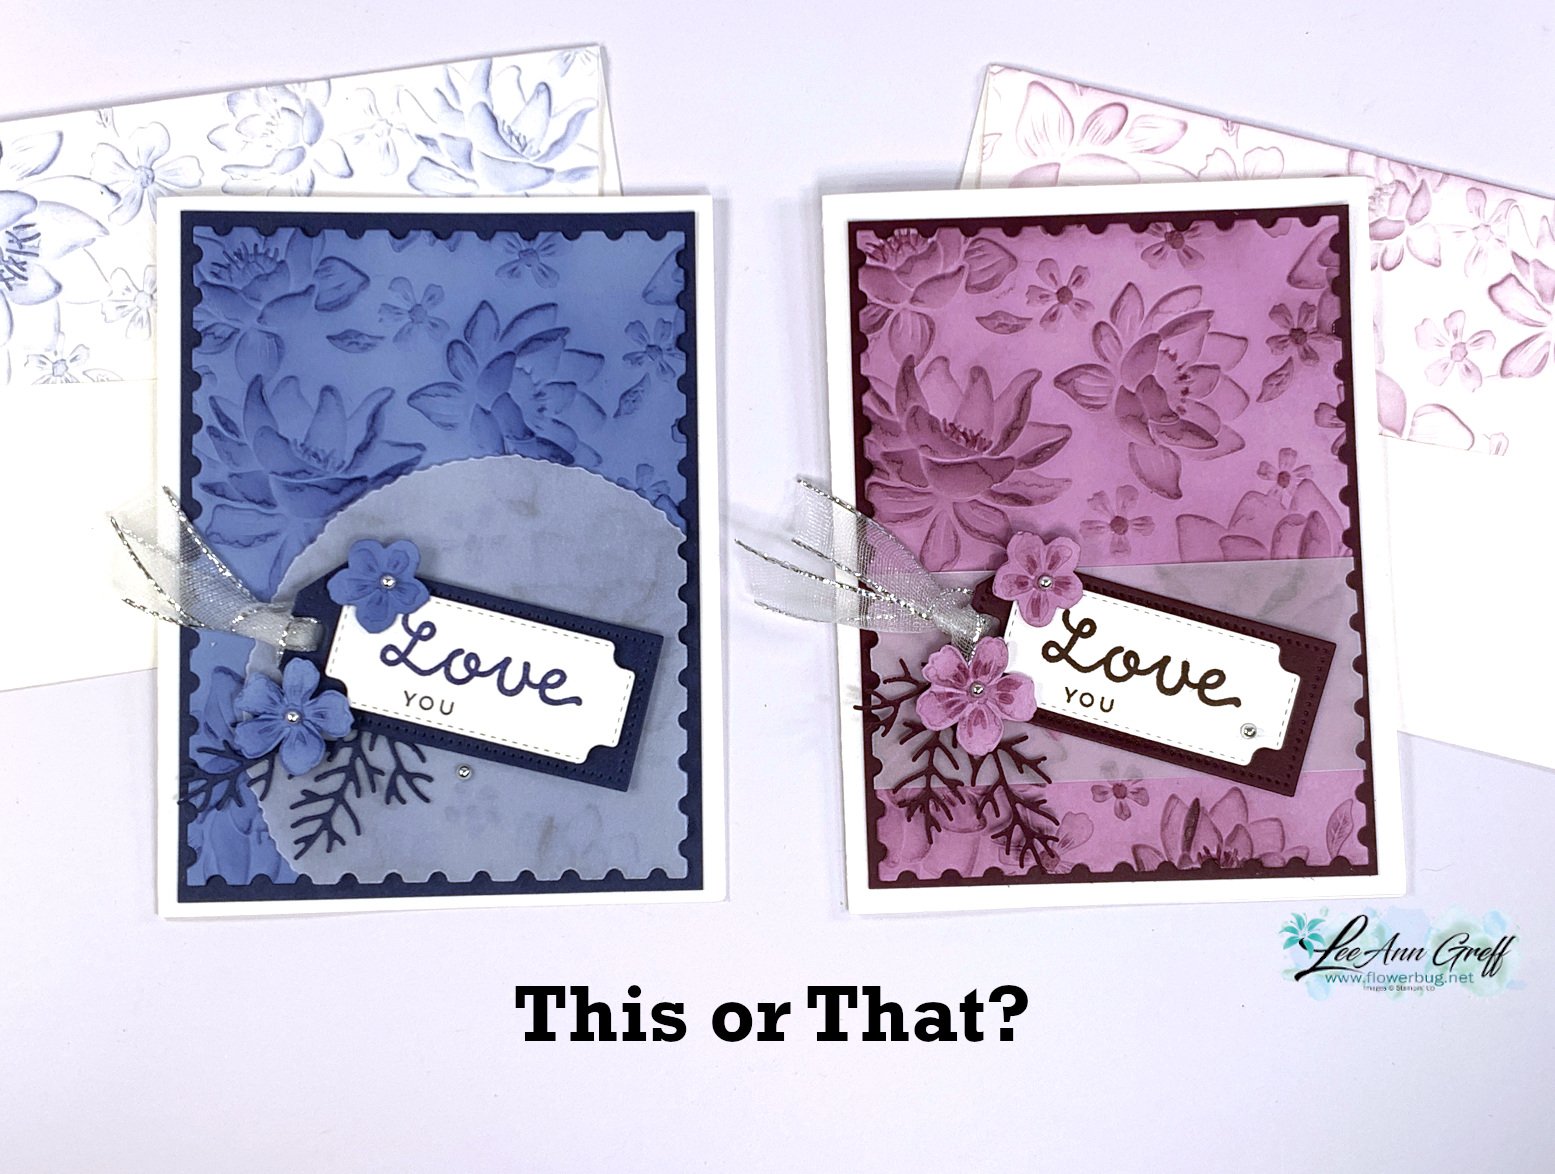
I shared this pretty textured card on last week's FB live video: 

The textured card stock is Fresh Freesia.  I used a Blending Brush with Blackberry Bliss ink to highlight the gorgeous texture. The Layered Floral 3D embossing folder is amazing; it has super deep texture! 

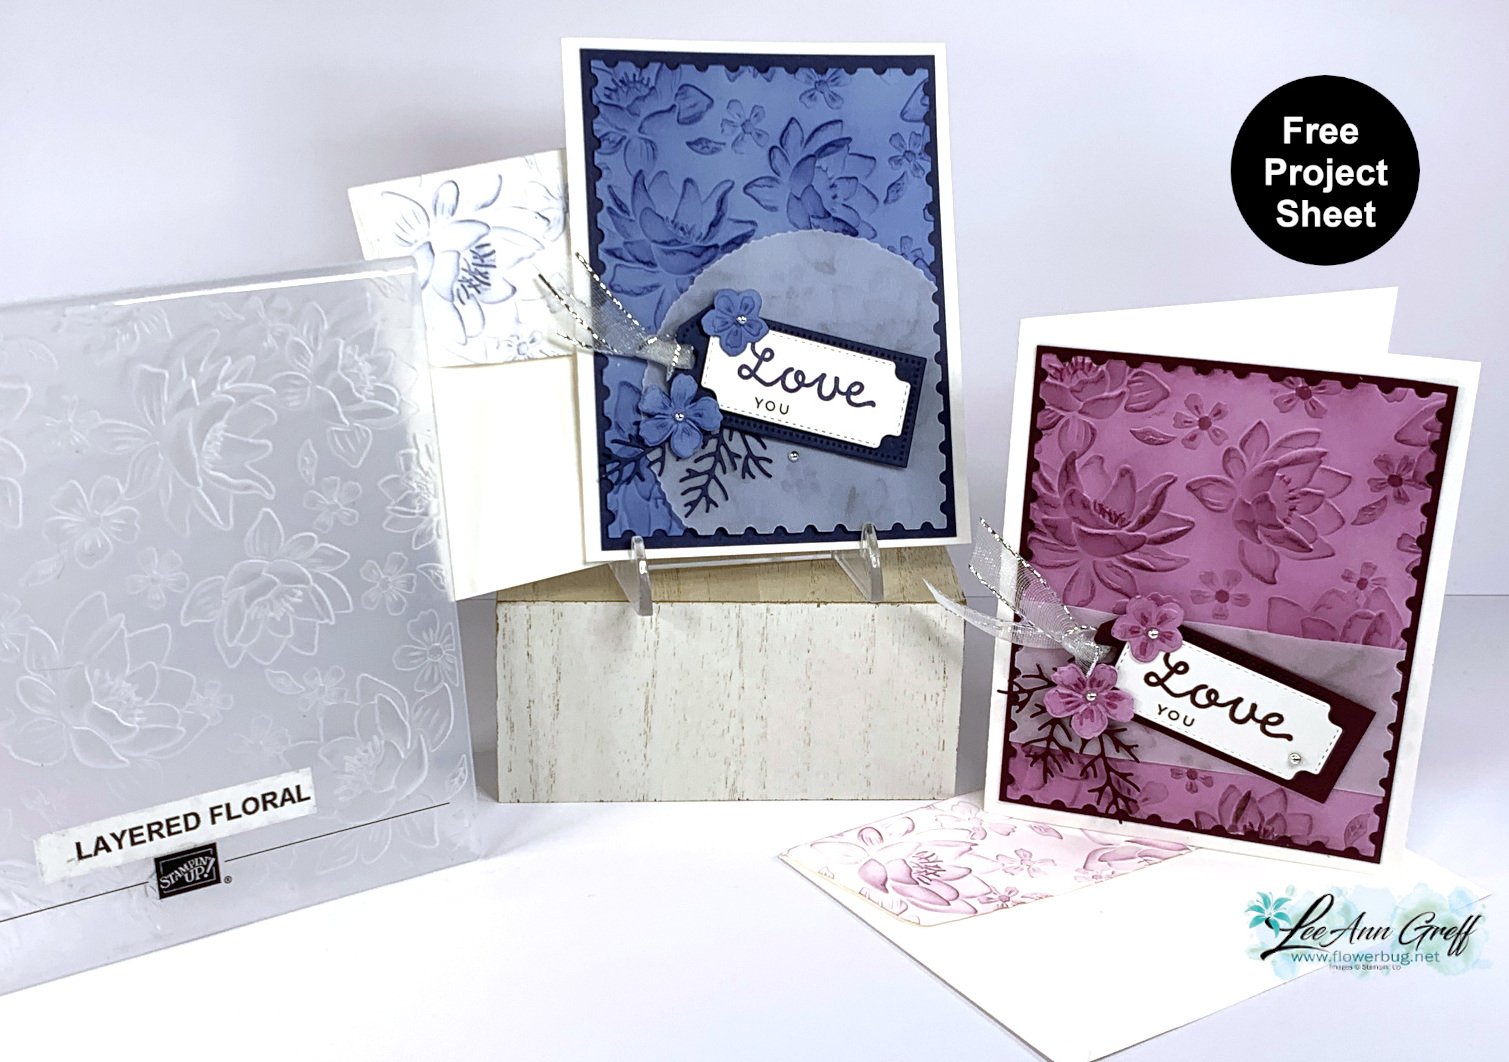
I made a second card during the video with another rich color combination of Night of Navy with Boho Blue. Note the different ways I added vellum to these two cards. 

Also note the pretty texture added to the envelope flap; why don't we do this more often!? 

Here are the 3 ways I featured this pretty Layered Floral 3D embossing folder:

  1. Textured, then added ink with a Blending Brush.
  2. I textured the envelope flap and add a very light ink, again with a Blending Brush.
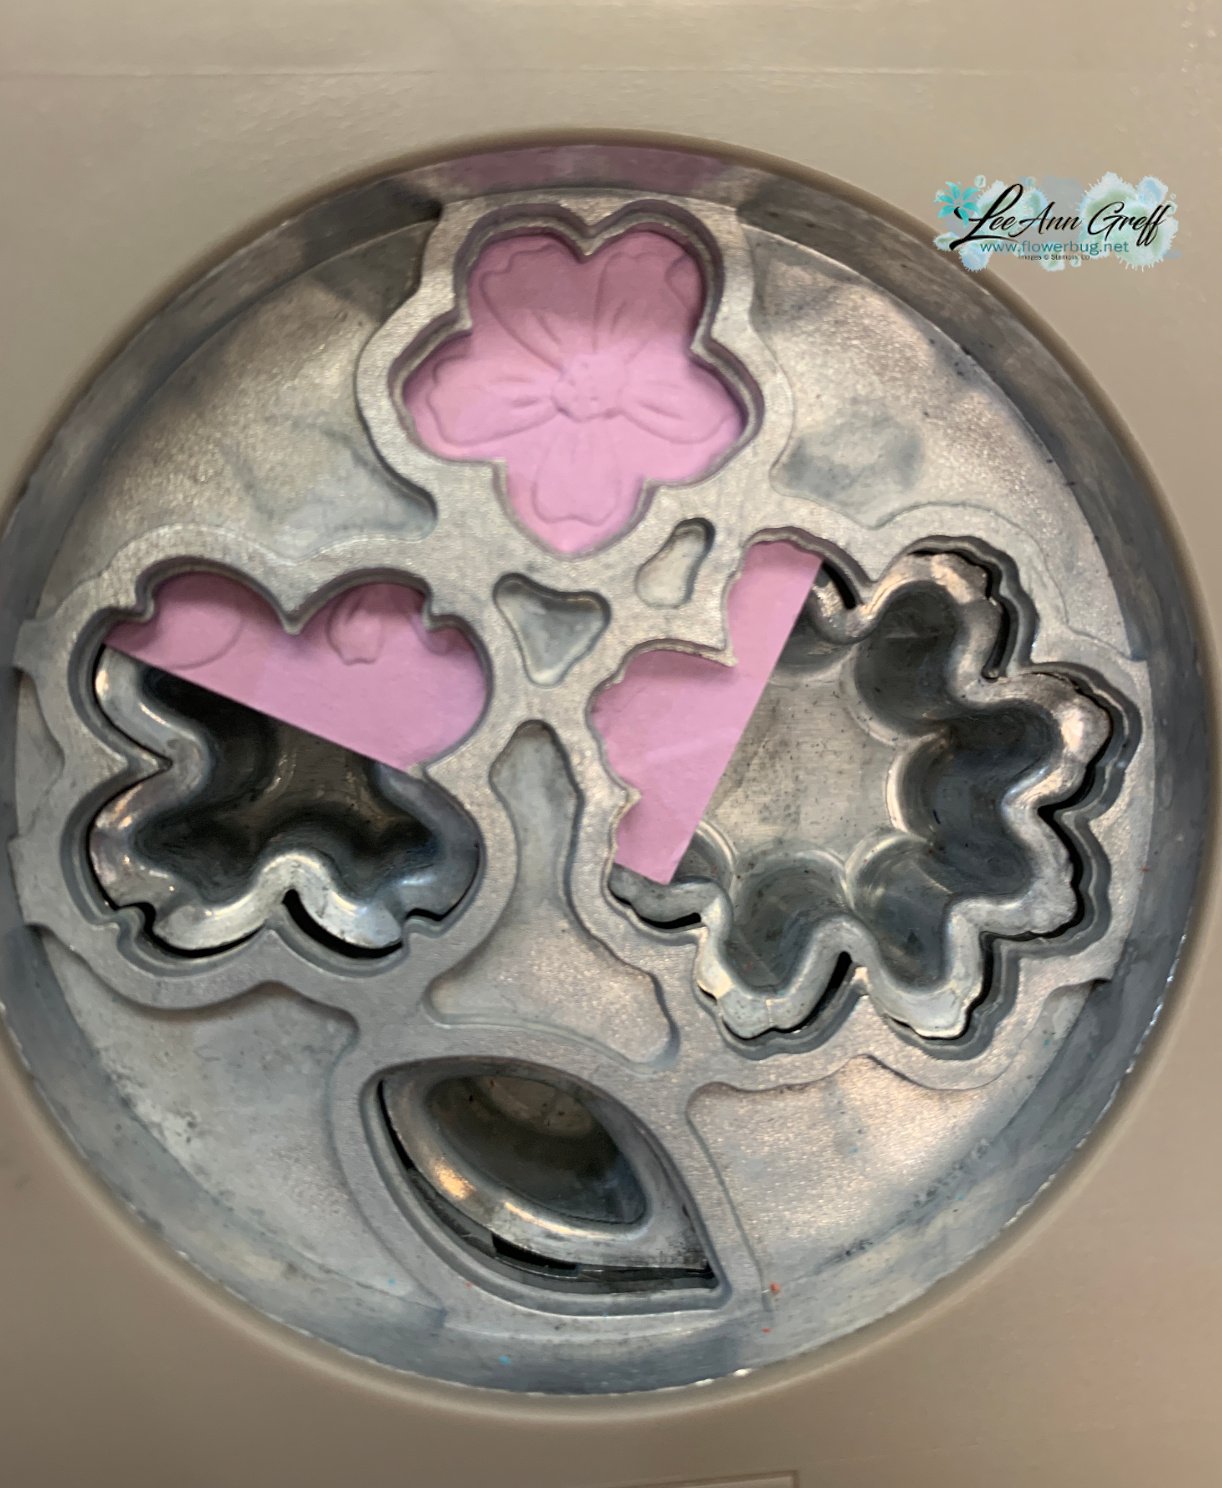
  3. Cut out a large flower from a separate piece of textured card stock; and I punched a smaller flower using the Petal Park Builder punch – yes it coordinates!!
Products used here:

  • Layered Floral 3D embossing folder; seen here
  • Deckled Circle dies seen here
  • Vellum card stock
  • Cheerful Daisy dies
  • Heartfelt Hellos stamp set from Sale-a-Bration catalog seen here; free with a $50 order

Which is your favorite?
Click on this link to download the free project sheet: Download Layered Floral & Perennial Postage cards

You can see the video below. I share another way to use this beautiful folder too! 

~~~

February Specials: 

Earn FREE products with your Stampin' Up! purchase during

Sale-a-Bration! *click here

*current host code link: 4BXU7SGH 

It's the best time to get a pre-paid Sale-a-Bration subscription

& earn free Sale-a-Bration products!  


~~~

Get a free Gold Foiled cards & envelopes kit

with online orders over $55 in February

All online orders in February will receive this free tutorial with 8 projects!

All Posts

  • Inspired Thoughts Bundle; a beautiful scene


    I created this card for an online swap I participated in last month.  I just love it!

    The main 4 trees die-cut can be cut apart which opens a whole world of possibilities! 

    Here's how I made it:

    1. Die-cut the trees and hill using the Inspiring Canopy dies (seen below).  
    2. Cut the 4 trees apart at the bottom connection point. Set aside.
    3. Sponge clouds using Pool Party ink onto the 4" X 5 1/4" Basic White CS.  I used the Basic Border dies (cloud).
    4. Sponge Calypso Coral ink onto the bottom third of this piece. 
    5. Adhere the trees to the edge of each side. 
    6. Add the hill piece; trim off excess from hill and trees. Adhere to the Calypso Coral card base. 
    7. Finish with Genial Gems.  

    You can see the beautiful Inspired Thoughts bundle here.  

     ~~~

    May Specials & Promotions!

    Get $55 in free product with purchase of the Stampin' Up! Starter Kit!  Choose $155 in product of your choice for just $99 and get FREE SHIPPING as well! 


    Earn an extra $25 in free product if your order is over $250!  That means you get $50 in free product!  *combine your order with a friend.

    Get a NEW embellishment from the Annual Catalog with an online order

    over $50 before tax & shipping. 

    Host code: JDZNQ7PP  Click here to order

    Use this host code if your order is under $150. If it's over you'll still get the jewels but you'll also earn host benefits! Better yet, choose the Starter Kit and get $55 in FREE product and FREE Shipping as well!  Click here!

    *All online orders in May receive a free PDF full of project ideas with 2 new catalog suites! 

    Leave a Reply

    Your email address will not be published. Required fields are marked *

  • Fresh In colors with new Shimmer Vellum flowers


    I'm not sure if I'll ever get tired of playing with the new 2021-23 In colors.  They are fresh and spring-like; almost fruity. 

    For today's card I added four 1 1/4" X 4" strips of the new 6 X 6" In Color designer paper to a standard 5 1/2" X 8 1/2" white card base. It had prominent placement on my In Color display last week at my New Catalog Launch party.  

    I cut out a die-cut label from the Scalloped Contours dies and stamped my greeting (from the Sweet Ice Cream set) using Soft Succulent ink.  

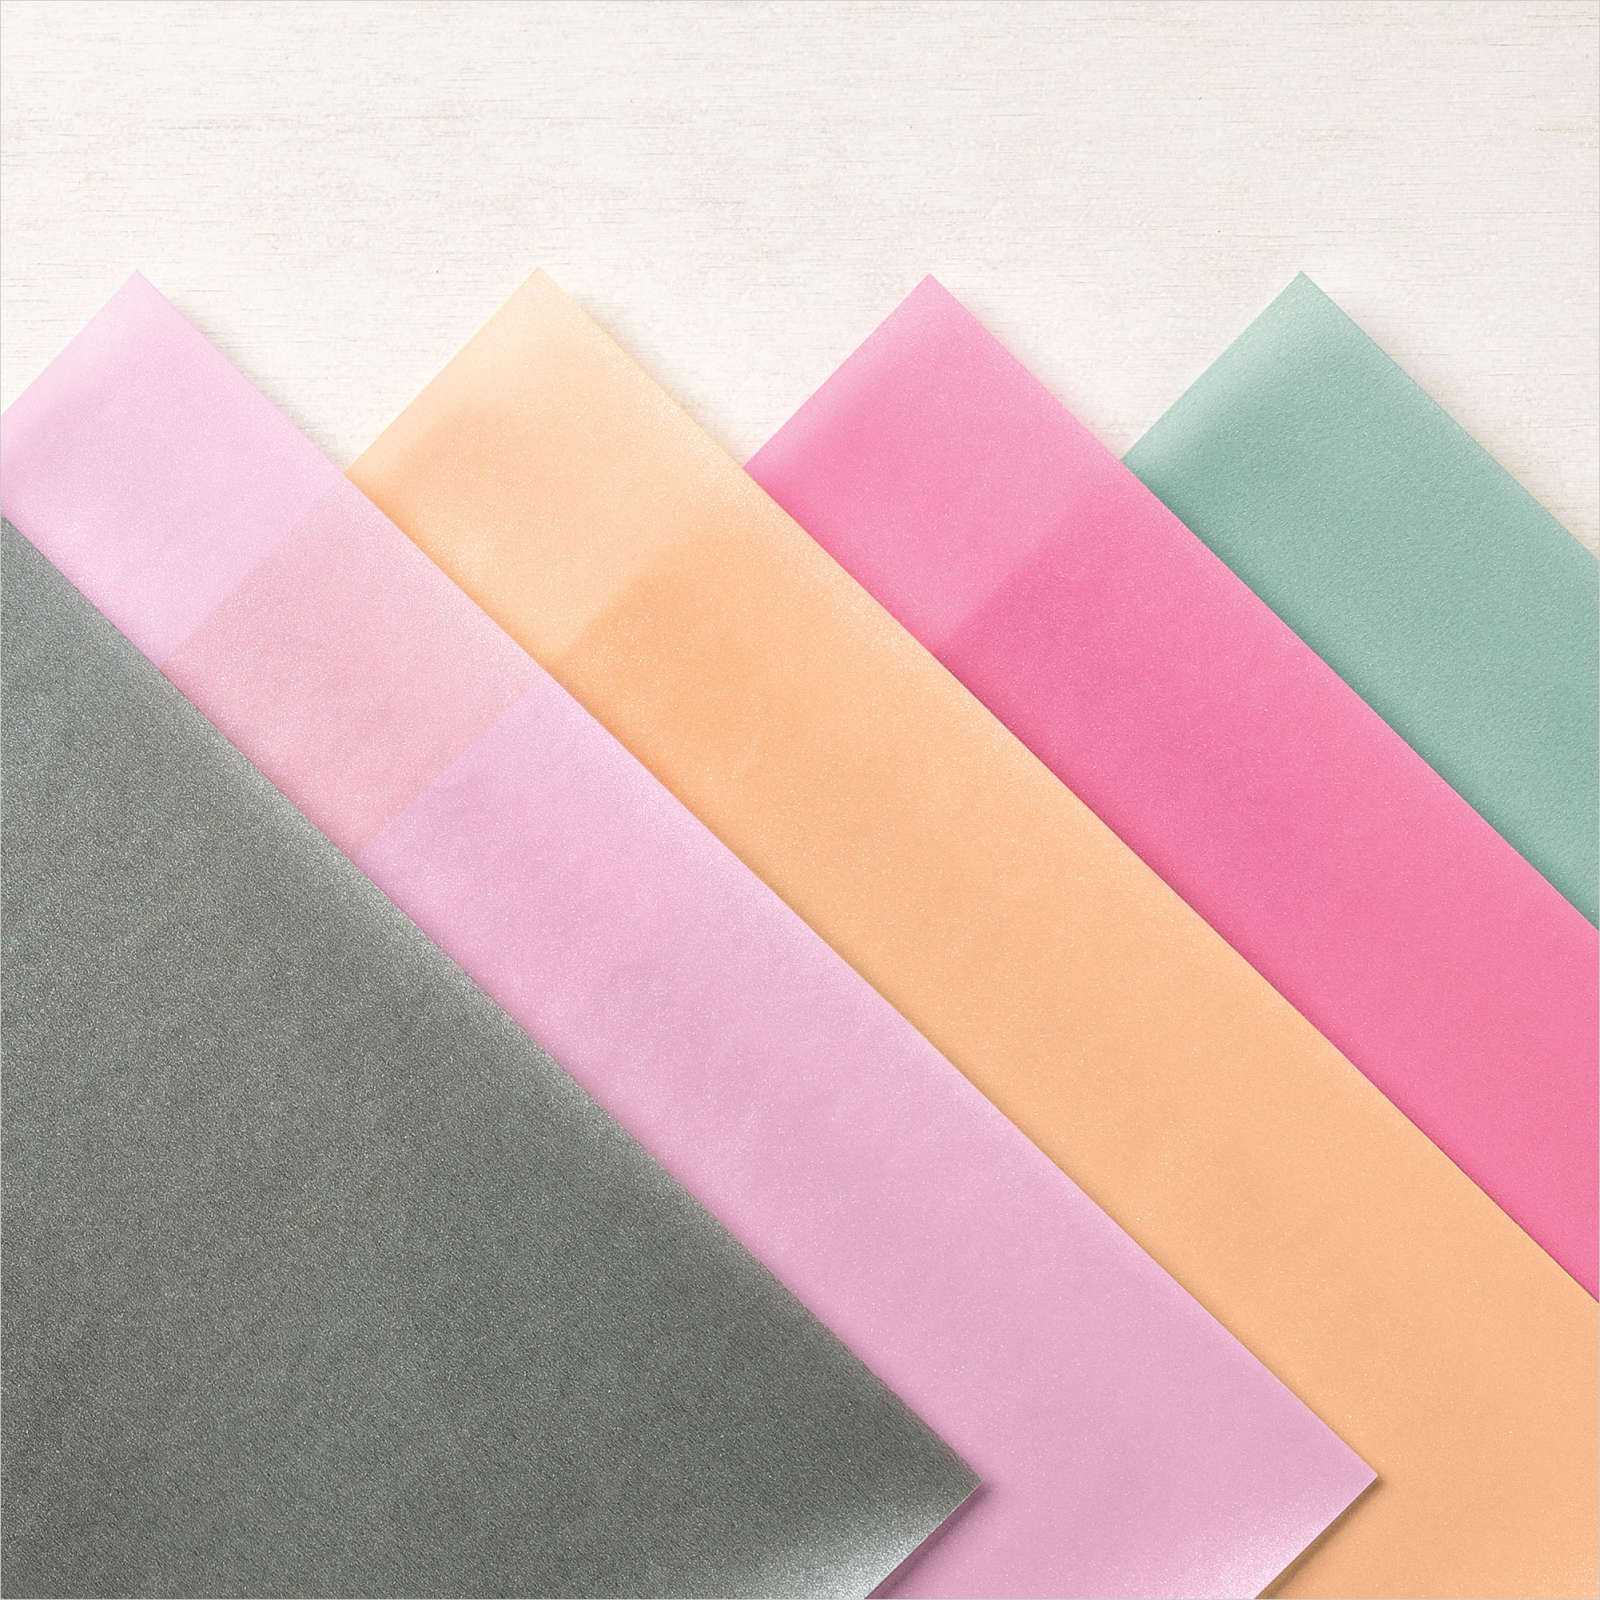
    The flowers are from the soon to retire (June 2021) Perennial dies.  The colored flowers are cut from the new Shimmer Vellum; available here in all 5 of our In Colors!  So pretty!!  

    I colored the pearls on the flowers with the In Color Blends markers. Having these coordinating Blends markers means I can color any gem I want to match! Two of these Blends are already on back-order!  They are HOT items! 

    See all of our new 2021-23 In Color products here. 

     ~~~

    May Specials & Promotions!

    Get $55 in free product with purchase of the Stampin' Up! Starter Kit!  Choose $155 in product of your choice for just $99 and get FREE SHIPPING as well! 

    Earn an extra $25 in free product if your order is over $250!  That means you get $50 in free product! 

    Get a NEW embellishment from the Annual Catalog with an online order

    over $50 before tax & shipping. 

    Host code: JDZNQ7PP  Click here to order

    Use this host code if your order is under $150. If it's over you'll still get the jewels but you'll also earn host benefits! Better yet, choose the Starter Kit and get $55 in FREE product and FREE Shipping as well!  Click here!

    *All online orders in May receive a free PDF full of project ideas with 2 new catalog suites! 

    Leave a Reply

    Your email address will not be published. Required fields are marked *

  • Circle Celebration Easy 8 Card Wonder Kit to Go!


    As you know I love creating One Sheet Wonders.  I have created lots of them in the years I've been a demonstrator.  I create the cards and my husband makes the templates.  You can see them all here in my Shop.  

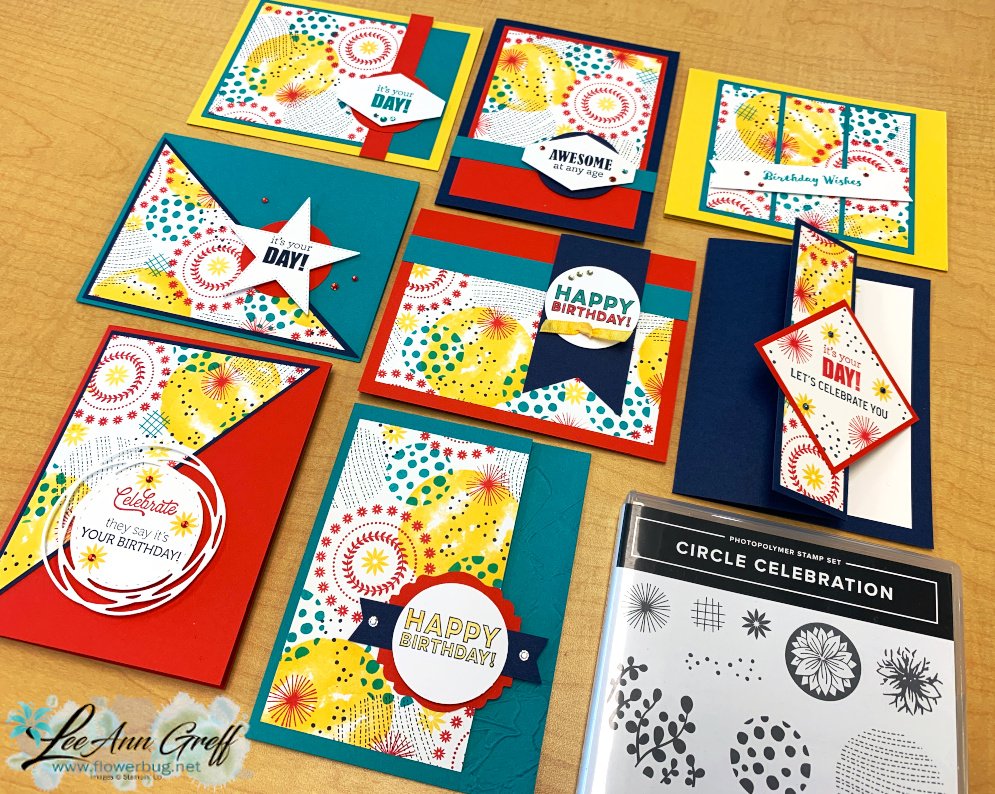
    For these cards I used my Easy 8 Card Wonder template and the Circle Celebration stamp set.  You can see the stamp set here.  

    The colors are Poppy Parade, Night of Navy, Bermuda Bay and Daffodil Delight.  I wanted them to be bright and happy celebratory cards. I think I succeeded! 

    For the greetings I used the stamp sets Many Mates & Itty Bitty Birthdays but you can easily substitute what you own. 

    Here's a look at how I made the main 'wonder' piece.  I used slightly different colors on this sheet, but it gives you the idea. 

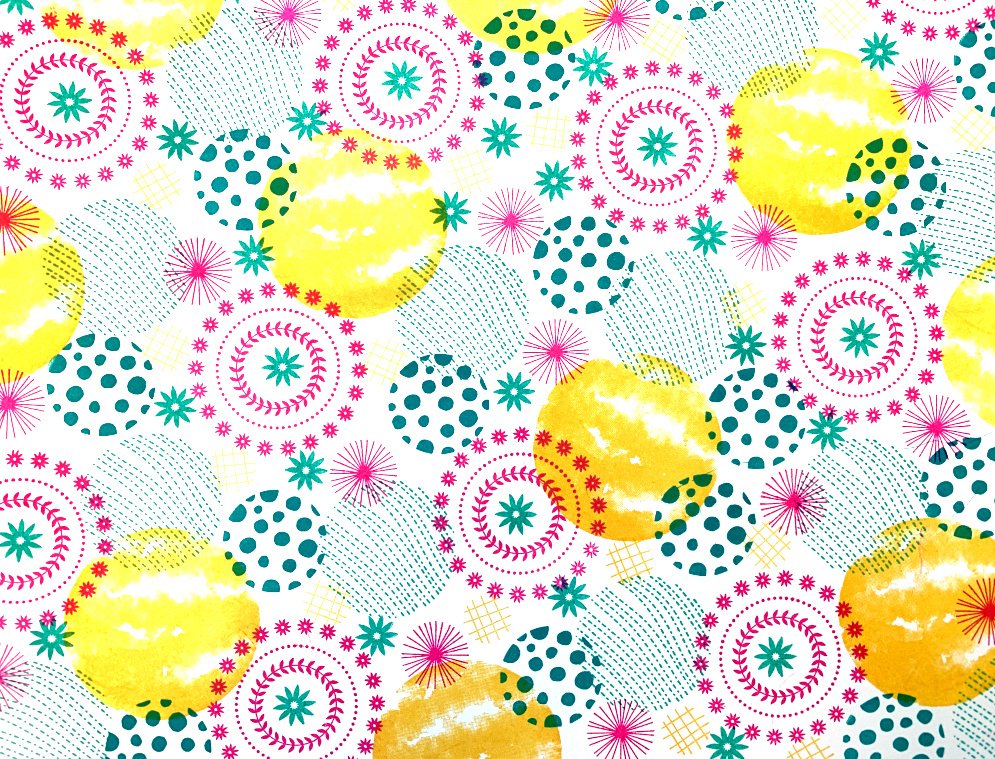
    I stamped all over a sheet of 8 1/2" X 11" White card stock; the printed template is on the reverse side.  After stamping I flip it over and cut on the printed lines. Each piece is numbered so I know which one goes with which card in the tutorial.  The PDF tutorial includes measurements for other pieces needed. 

    You can purchase the PDF tutorial here.

    There is also a kit to go option for $28.  It includes the following:

    • Circle Celebration photopolymer stamp set
    • 8 pre-cut cards including layers, punched and die-cut pieces
    • The printed 8 1/2" X 11" White card stock
    • The complete PDF sent via email

    *You will need the inks in the colors stated above (or similar colors), a paper trimmer and adhesive. The kit does not include stamped images, gems or ribbon.

    If you want the pre-cut kit to go contact me at lagreff60@gmail.com. I cannot give a link to purchase here due to SU regulations. 

    I have two kits to go this month; see the other one here.  Opt in for both and save on shipping! 

     ~~~

    May Specials & Promotions!

    Get $55 in free product with purchase of the Stampin' Up! Starter Kit!  Choose $155 in product of your choice for just $99 and get FREE SHIPPING as well! 

    Earn an extra $25 in free product if your order is over $250!  That means you get $50 in free product! 

    Get a NEW embellishment from the Annual Catalog with an online order

    over $50 before tax & shipping. 

    Host code: JDZNQ7PP  Click here to order

    Use this host code if your order is under $150. If it's over you'll still get the jewels but you'll also earn host benefits! Better yet, choose the Starter Kit and get $55 in FREE product and FREE Shipping as well!  Click here!

    *All online orders in May receive a free PDF full of project ideas with 2 new catalog suites! 

    Leave a Reply

    Your email address will not be published. Required fields are marked *


Notice: LeeAnn Greff, Independent Stampin’ Up! Demonstrator, Manager. The content of this website is my sole responsibility as an independent Stampin’ Up! demonstrator and the use of, and content of, the classes, services, or products offered on this website is not endorsed by Stampin’ Up! Copyright 2025