/


Latest Post

3 ways to use the Layered Floral on one card!


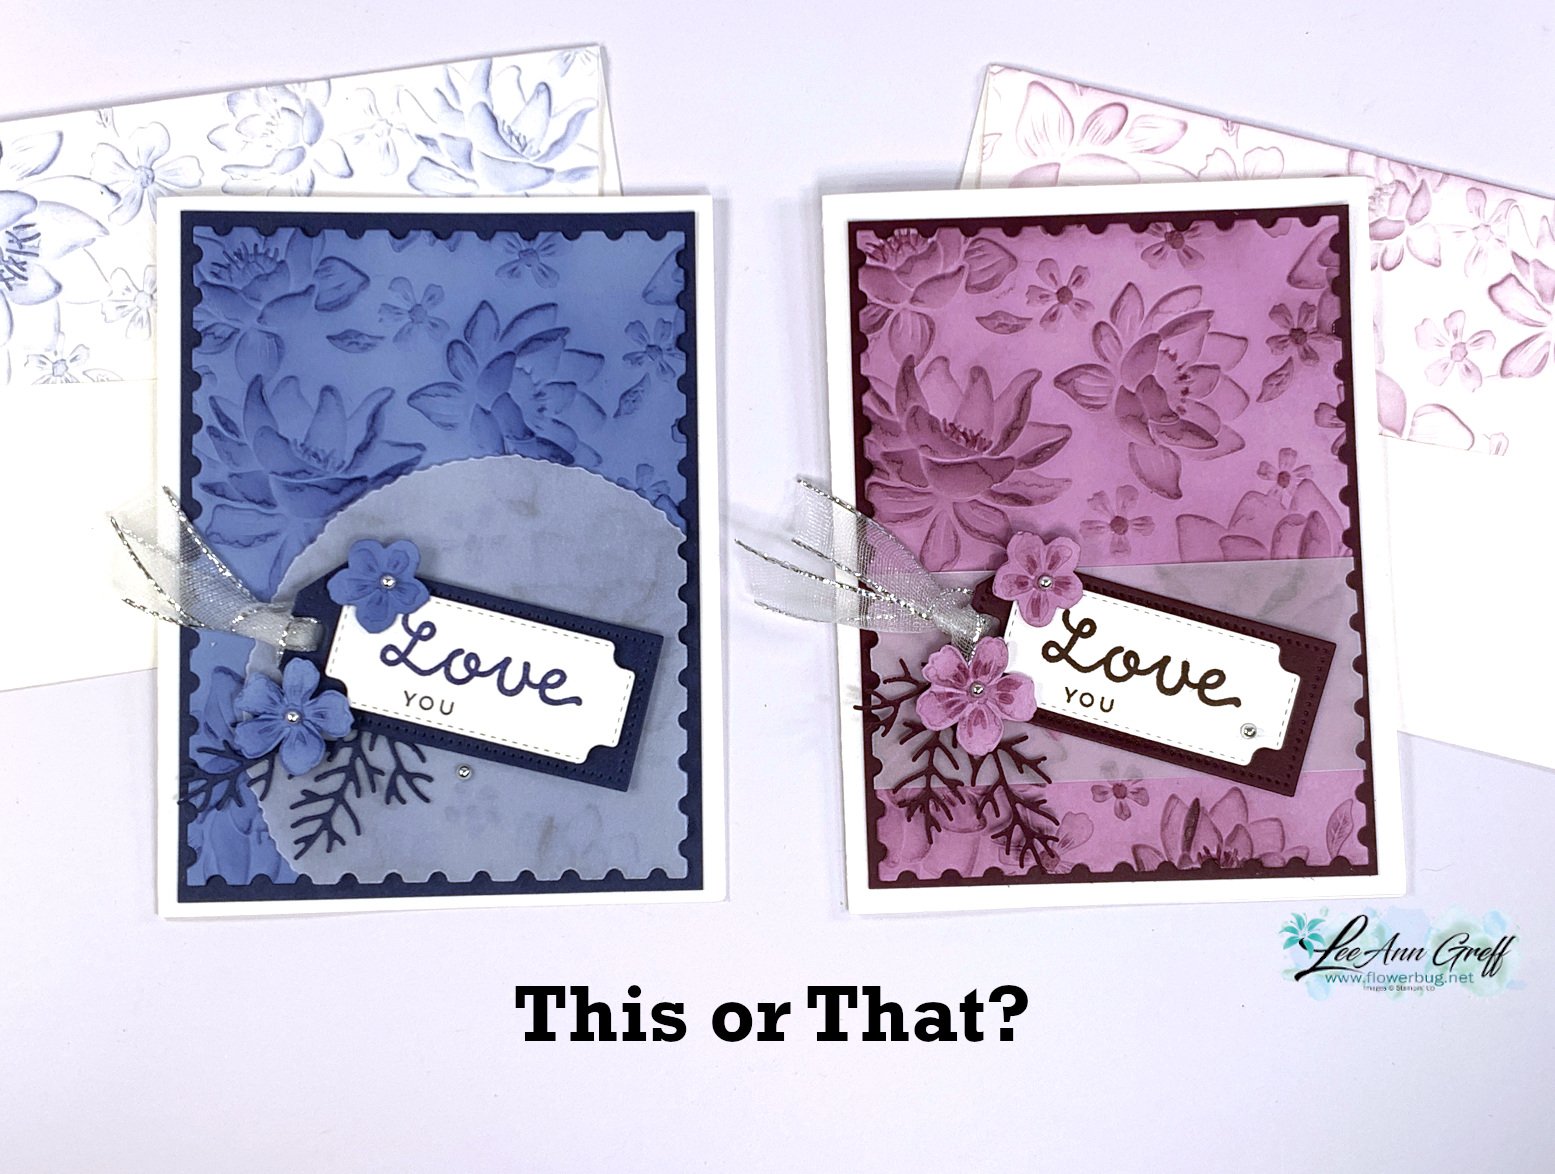
I shared this pretty textured card on last week's FB live video: 

The textured card stock is Fresh Freesia.  I used a Blending Brush with Blackberry Bliss ink to highlight the gorgeous texture. The Layered Floral 3D embossing folder is amazing; it has super deep texture! 

I made a second card during the video with another rich color combination of Night of Navy with Boho Blue. Note the different ways I added vellum to these two cards. 

Also note the pretty texture added to the envelope flap; why don't we do this more often!? 

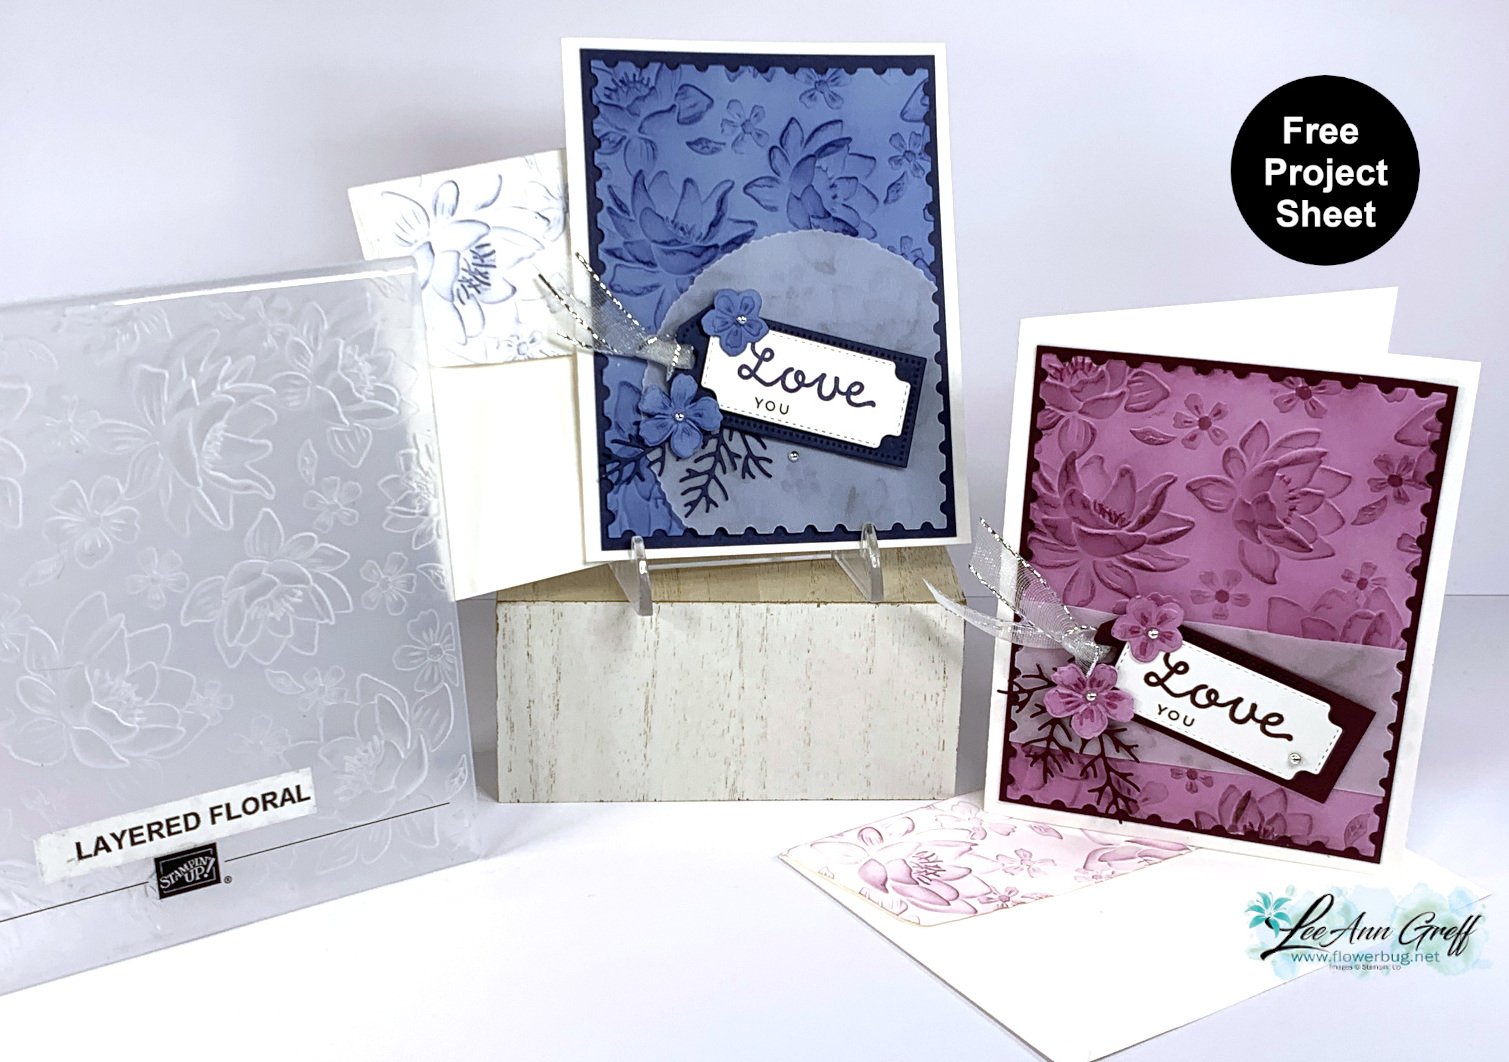
Here are the 3 ways I featured this pretty Layered Floral 3D embossing folder:

  1. Textured, then added ink with a Blending Brush.
  2. I textured the envelope flap and add a very light ink, again with a Blending Brush.
  3. Cut out a large flower from a separate piece of textured card stock; and I punched a smaller flower using the Petal Park Builder punch – yes it coordinates!!
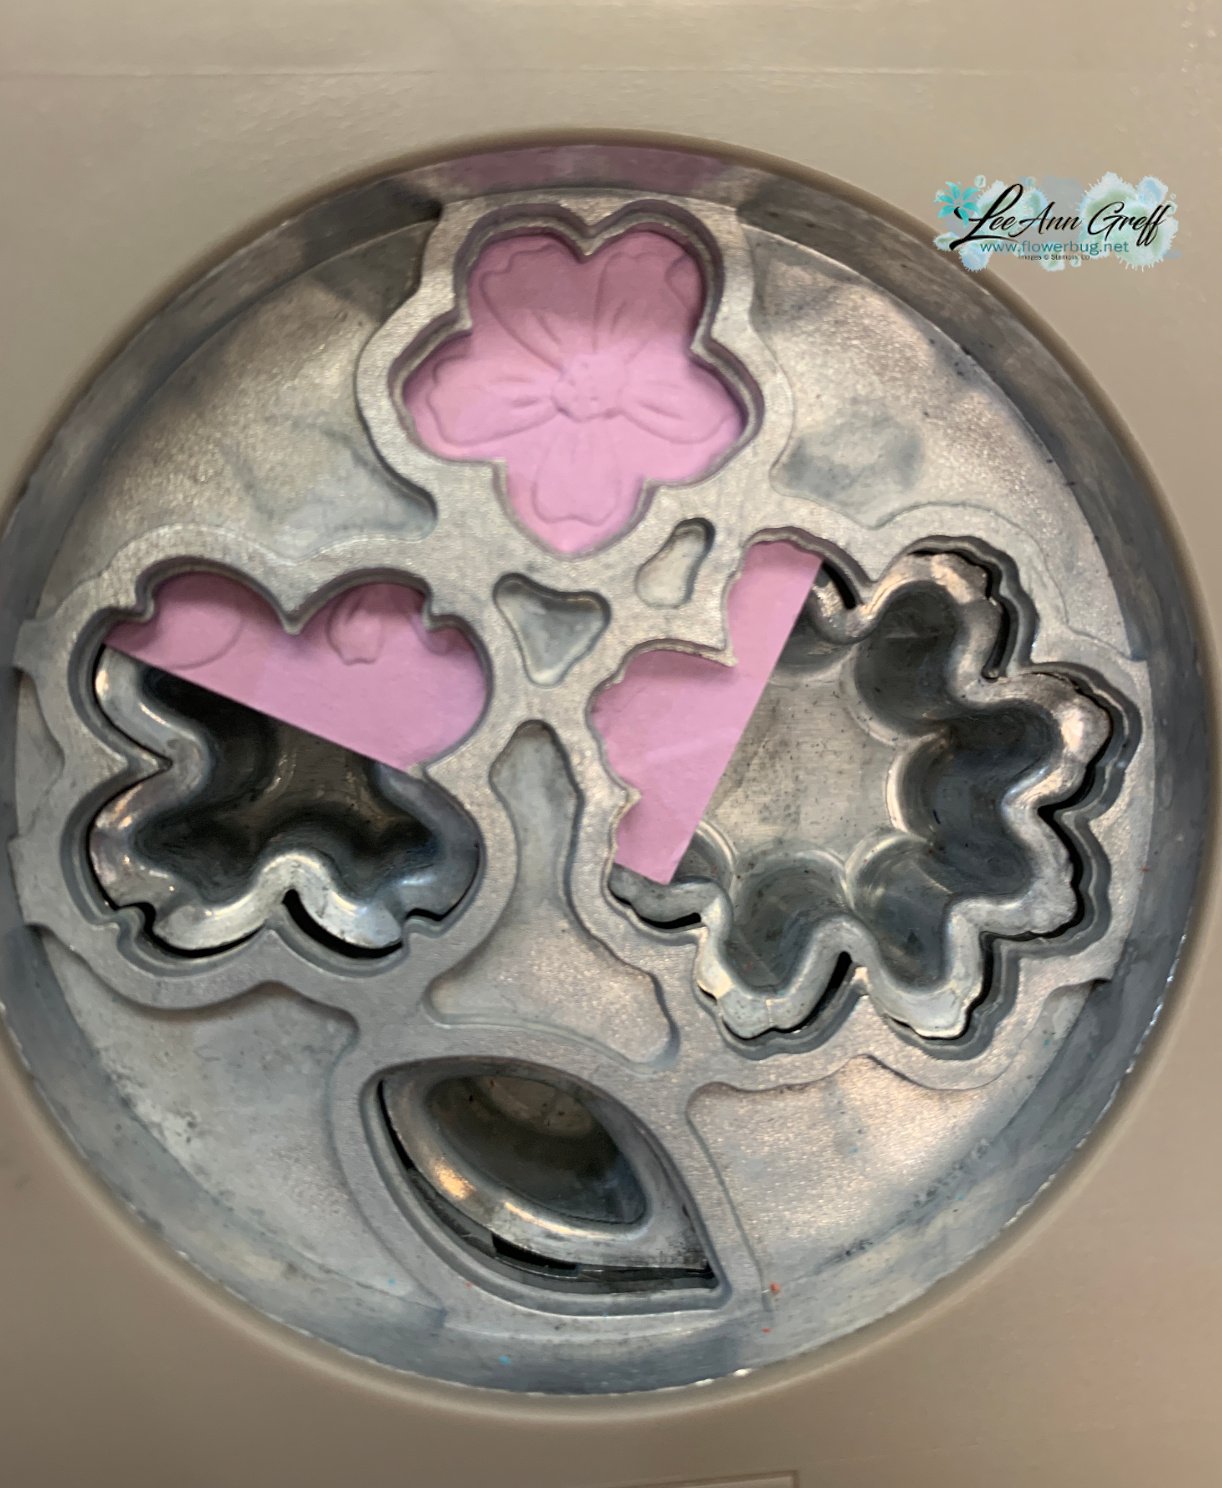
Products used here:

  • Layered Floral 3D embossing folder; seen here
  • Deckled Circle dies seen here
  • Vellum card stock
  • Cheerful Daisy dies
  • Heartfelt Hellos stamp set from Sale-a-Bration catalog seen here; free with a $50 order

Which is your favorite?
Click on this link to download the free project sheet: Download Layered Floral & Perennial Postage cards

You can see the video below. I share another way to use this beautiful folder too! 

~~~

February Specials: 

Earn FREE products with your Stampin' Up! purchase during

Sale-a-Bration! *click here

*current host code link: 4BXU7SGH 

It's the best time to get a pre-paid Sale-a-Bration subscription

& earn free Sale-a-Bration products!  


~~~

Get a free Gold Foiled cards & envelopes kit

with online orders over $55 in February

All online orders in February will receive this free tutorial with 8 projects!

All Posts

  • Pretty & Iridescent Whimsy & Wonder Team card swaps!


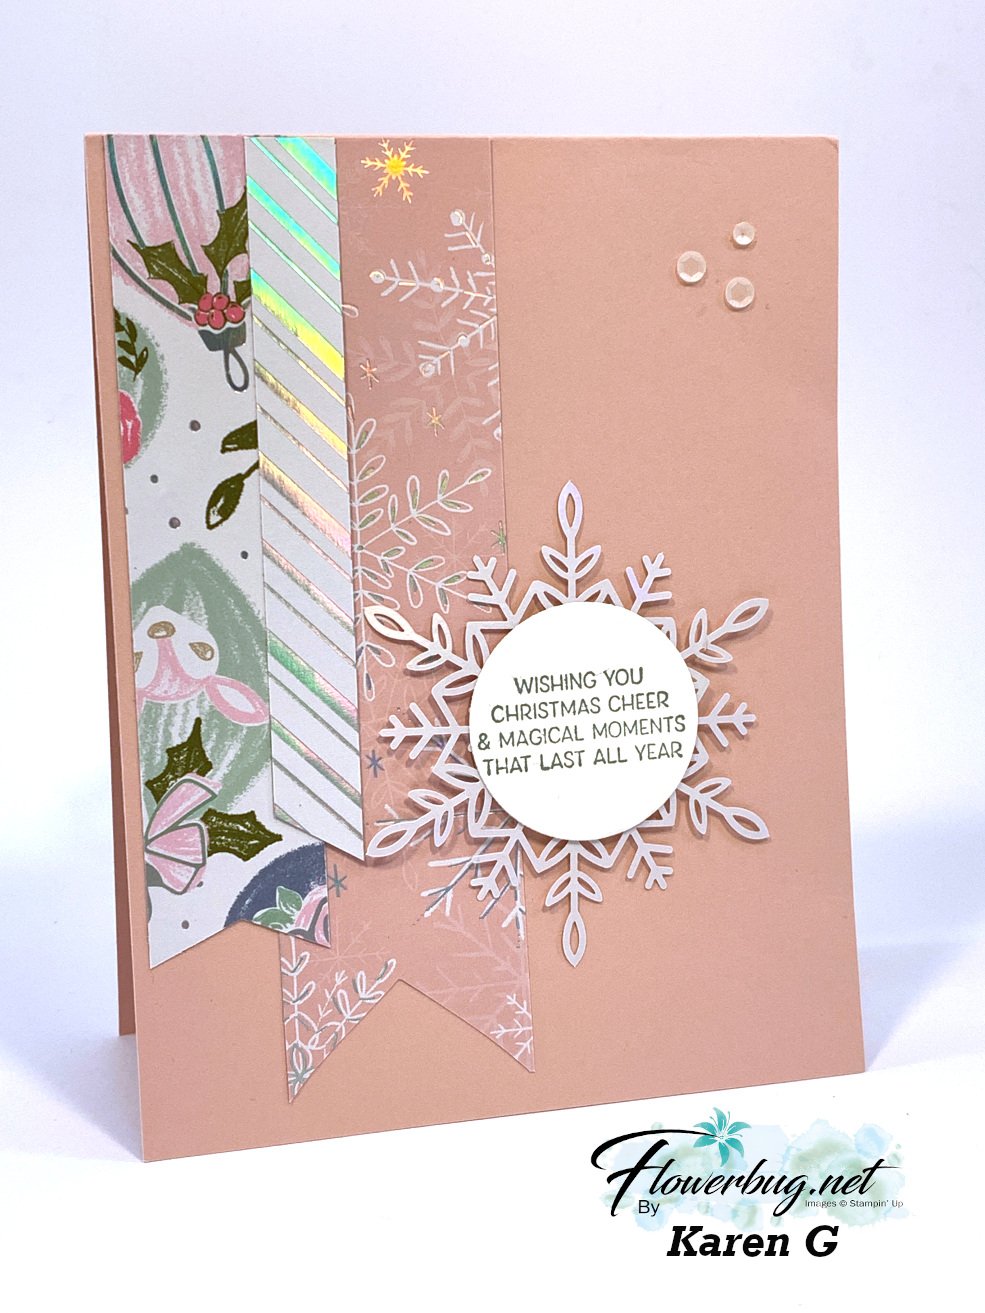
    Check out these pretty cards made with the Whimsy & Wonder specialty designer paper and the Whimsical Trees bundle.

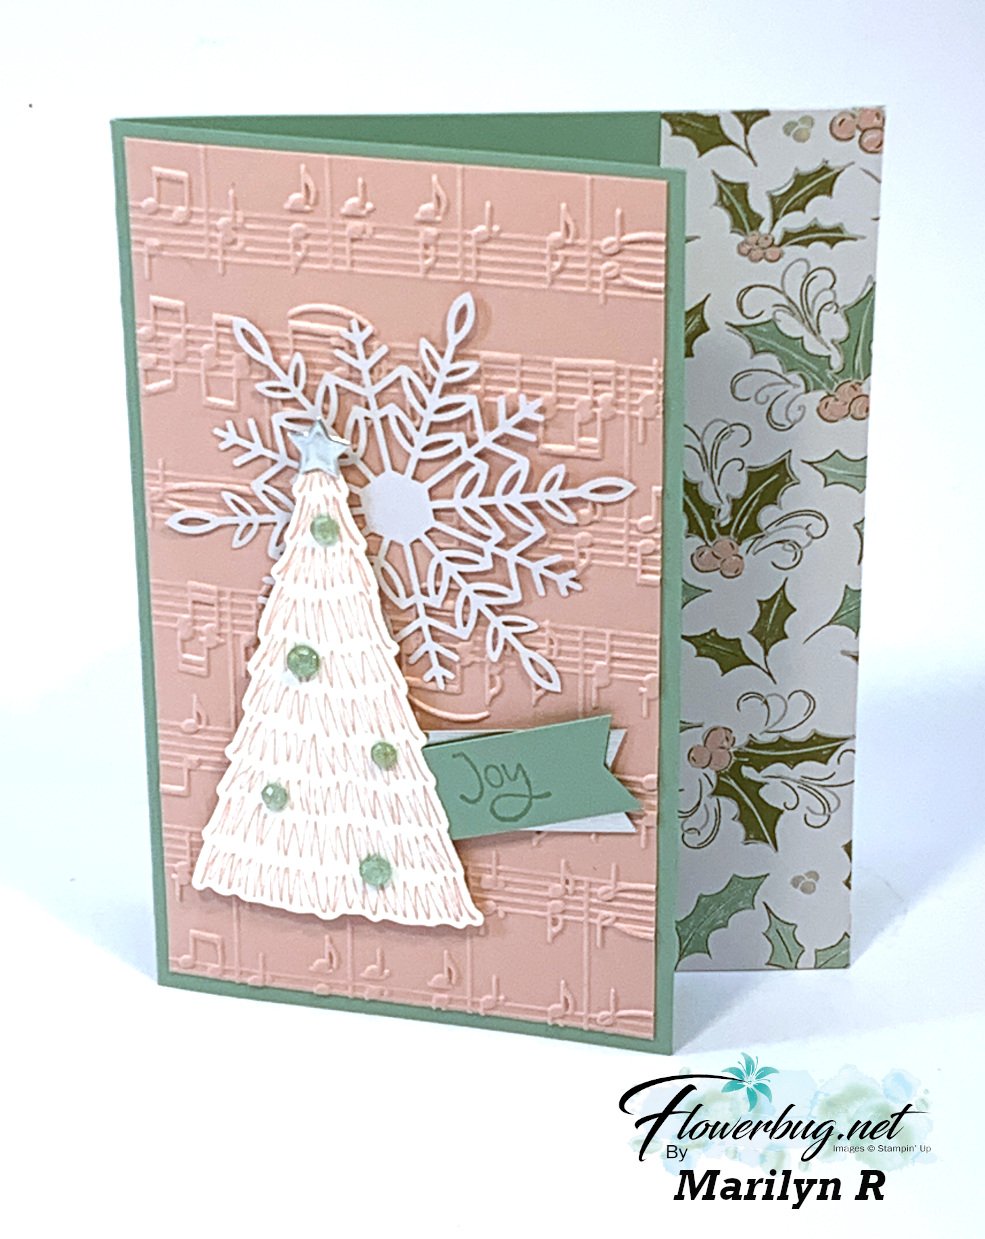
    This first one was made by Marilyn.  She trimmed off an inch on the right side of her card front so it shows off the pretty Whimsy & Wonder specialty paper. 

    Other features here are the Iridescent Snowflakes, the Merry Melody embossing folder and the Genial Gems from the Annual catalog. 

    This Whimsy & Wonder specialty designer paper has been on low inventory multiple times.  It is not carrying over so get it while you can here. 

    Next is Karen's pretty card.  I love the three banners showing off this pretty paper. And the greeting in the center of the snowflake too!  

    Here's a link to a video featuring many projects using the Whimsy & Wonder suite you may want to watch. 

    Have a wonderful & Happy Thanksgiving!!

    ~~~

    November Specials: 

    Host codes: Z2RQ7BB6

    *click here to order

    Online orders over $50 get a pre-cut card kit of 4 cards & PDF tutorial.
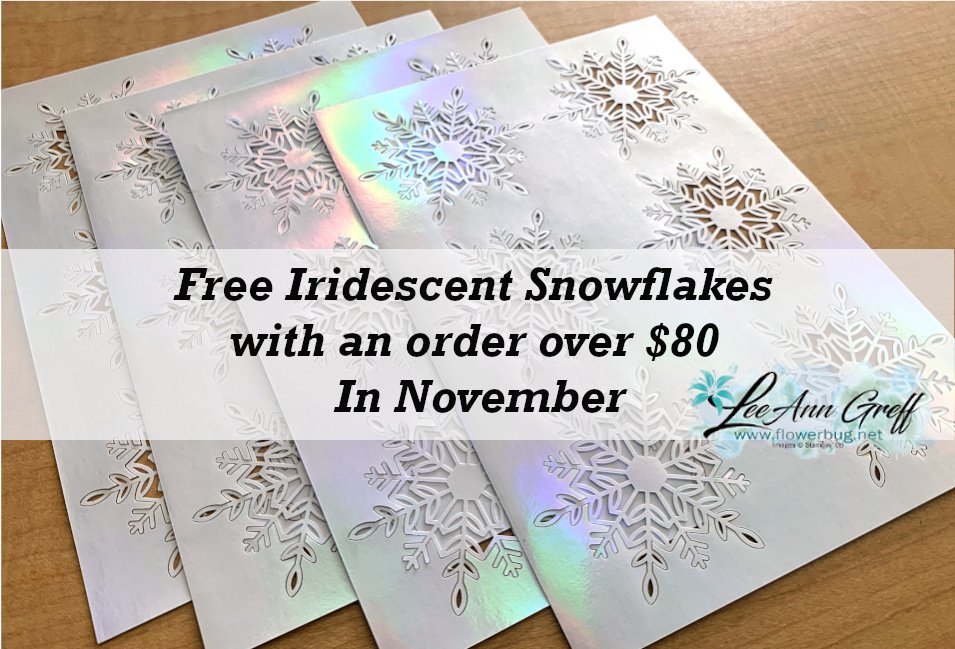
    *Orders over $80 will receive the card kit PLUS 24 Iridescent snowflakes!

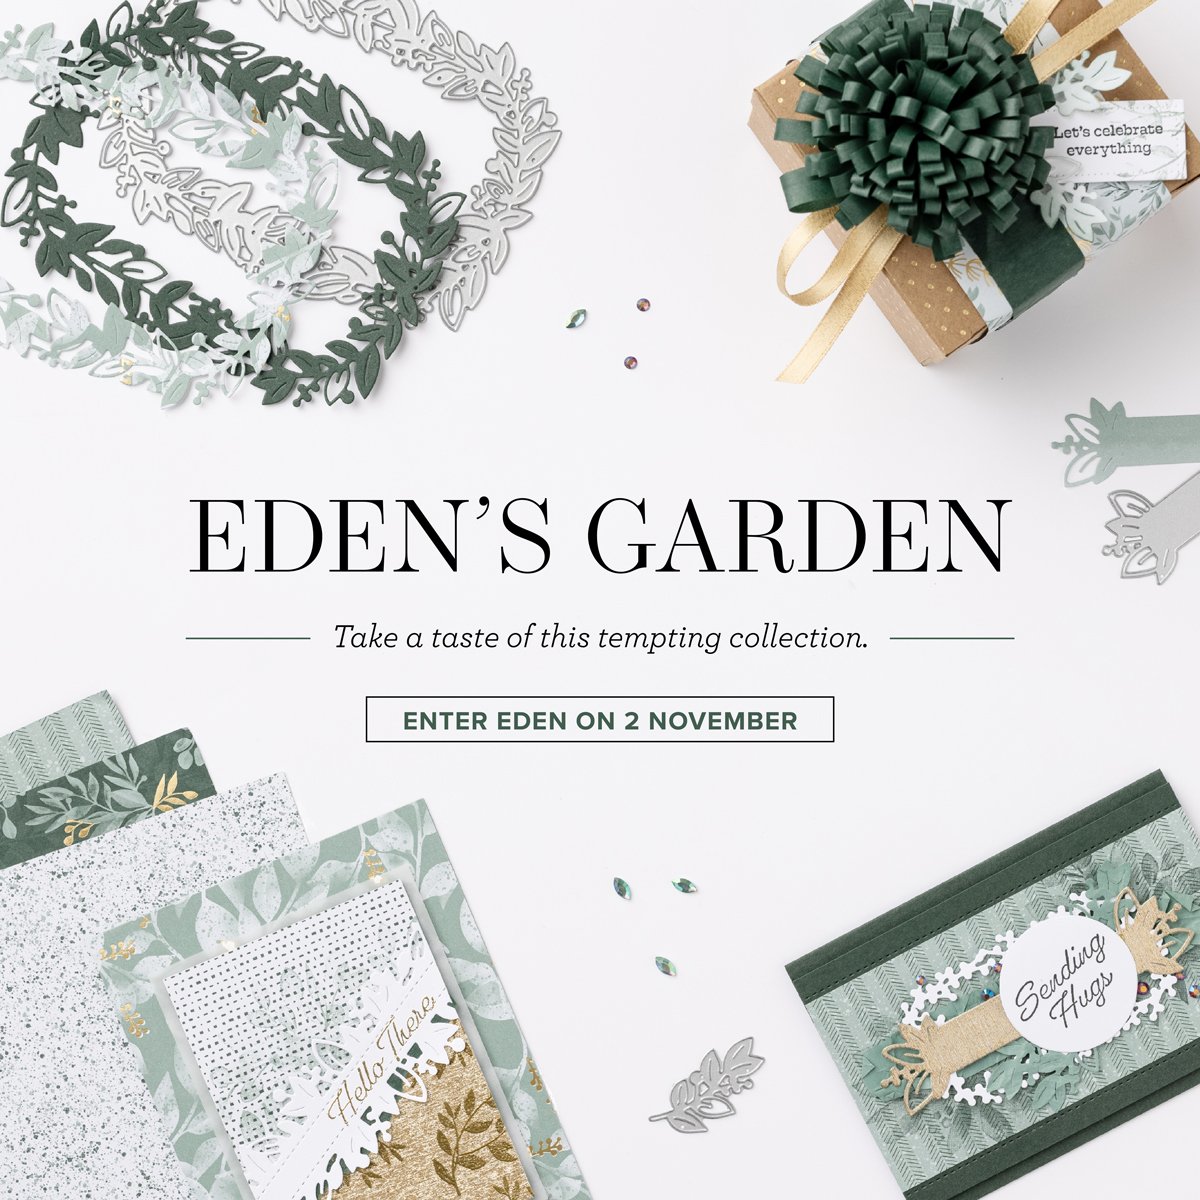
    All online orders will receive my Eden's Garden PDF 22 project tutorial free! 

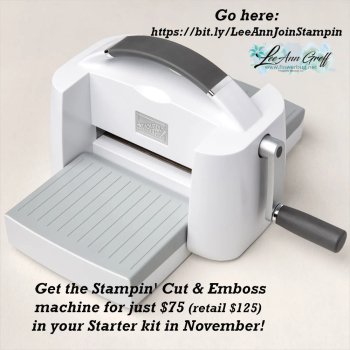
    Get the deal on the Starter kit here!  $125 in product for $75 plus free shipping!

    Get any of the tutorials or kits to go below in my Kit & Tutorial shop here:

    Peaceful Wishes Christmas – limited supply available; 20 cards!


    Christmas cards stamp a stack; limited supply! 

    Leave a Reply

    Your email address will not be published. Required fields are marked *

  • A Shaker Card anyone can make with the Peaceful Deer bundle


    Have you ever made a shaker card?  Have you thought it was too much work to bother with or maybe you thought you needed special supplies? 

    Well today I'm sharing a fun & EASY shaker card idea. The only special thing you need is a clear envelope or cello bag.  

    And the Deer Punch is now available!!!  Get it here. 

    These cards are so fun and interactive.  You will be so proud to give one of these. One of my favorite things about this type of shaker card is that it isn't thick so it requires no extra postage. 

    1st step: add a white punched deer from the Deer Builder punch popped up with a Dimensional. 

    2nd: Insert into your clear envelope and add a good pinch of Subtle Shimmer sequins. 

    3rd: Fold the envelope over tightly to keep the sequins on the side of the DSP you want. Secure the flap. 

    Here's a photo of the back of the shaker part.  You can see the back side of the designer paper and where I folded the clear envelope over to secure.  A small cello bag would also work here.  

    After the shaker part is done just add your frame over it securing with adhesive.  Add to the card and finish! 

    Here's a version featuring the Whimsy & Wonder specialty designer paper; it works wonderfully here.  The card base and ink are Mint Macaron. The greeting is from the Peaceful Deer stamp set and the die-cut is from Tasteful Labels dies. 

    And below is the video; or click here to see it on YouTube.  I sure hope you watch it AND make one yourself!  

    ~~~

    November Specials: 

    Host codes: Z2RQ7BB6

    *click here to order

    Online orders over $50 get a pre-cut card kit of 4 cards & PDF tutorial.
    *Orders over $80 will receive the card kit PLUS 24 Iridescent snowflakes!

    All online orders will receive my Eden's Garden PDF 22 project tutorial free! 

    Get the deal on the Starter kit here!  $125 in product for $75 plus free shipping!

    Get any of the tutorials or kits to go below in my Kit & Tutorial shop here:

    Peaceful Wishes Christmas – limited supply available; 20 cards!


    Christmas cards stamp a stack; limited supply! 

    Leave a Reply

    Your email address will not be published. Required fields are marked *

  • Live tonight! Show off your Designer Paper with this fun layout!


    We're making these cards tonight on Facebook Live here.  Every other Monday I host a 'Stamp with Me' Live where we use our Designer Paper in fun ways.  

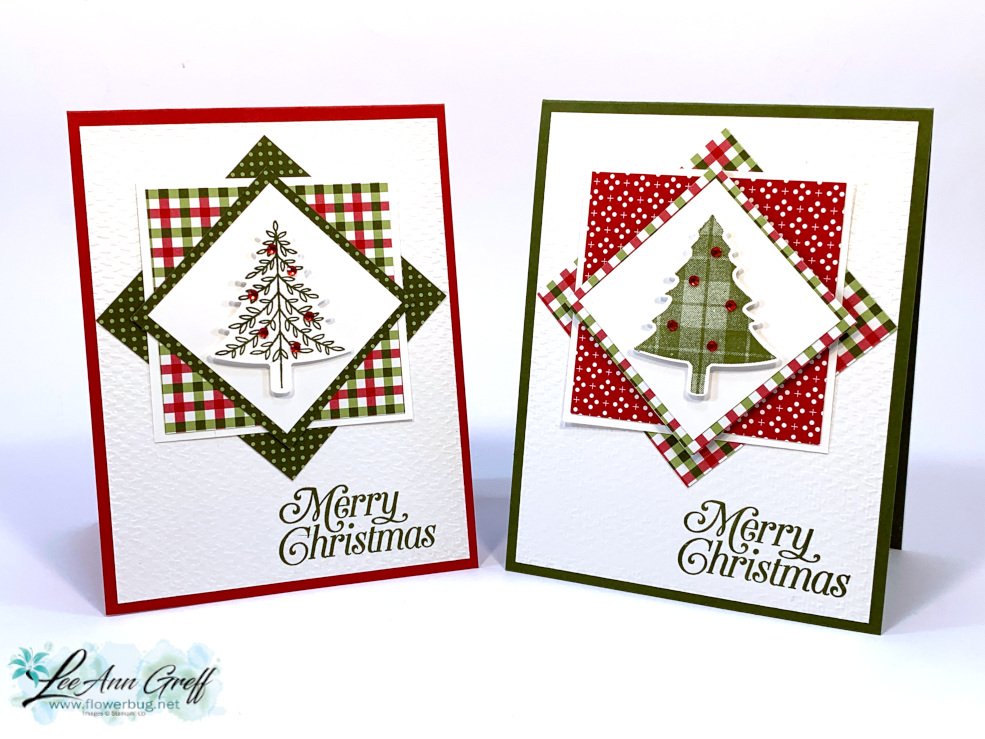
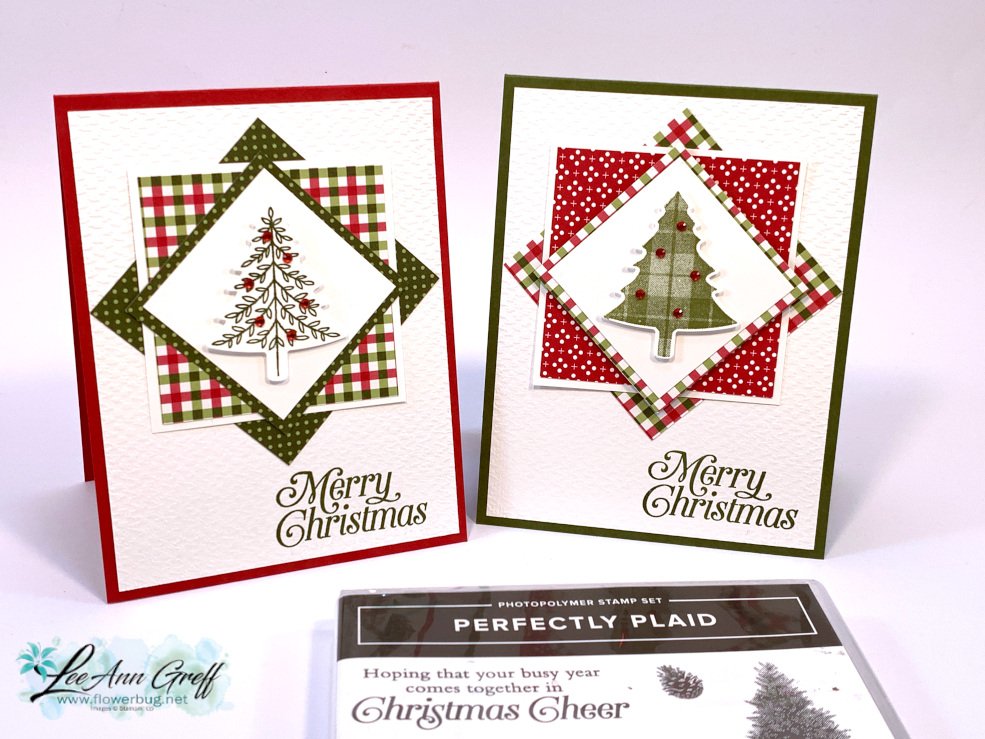
    I love this layout!  It is perfect for small patterns of Designer Paper. Turning squares on the angle adds a lot of playful interest to your card and showcases one main image, die-cut or punch in the center. 

    I post the measurements a few days before the Live event so you have the time to prep your pieces so we can complete them together.  

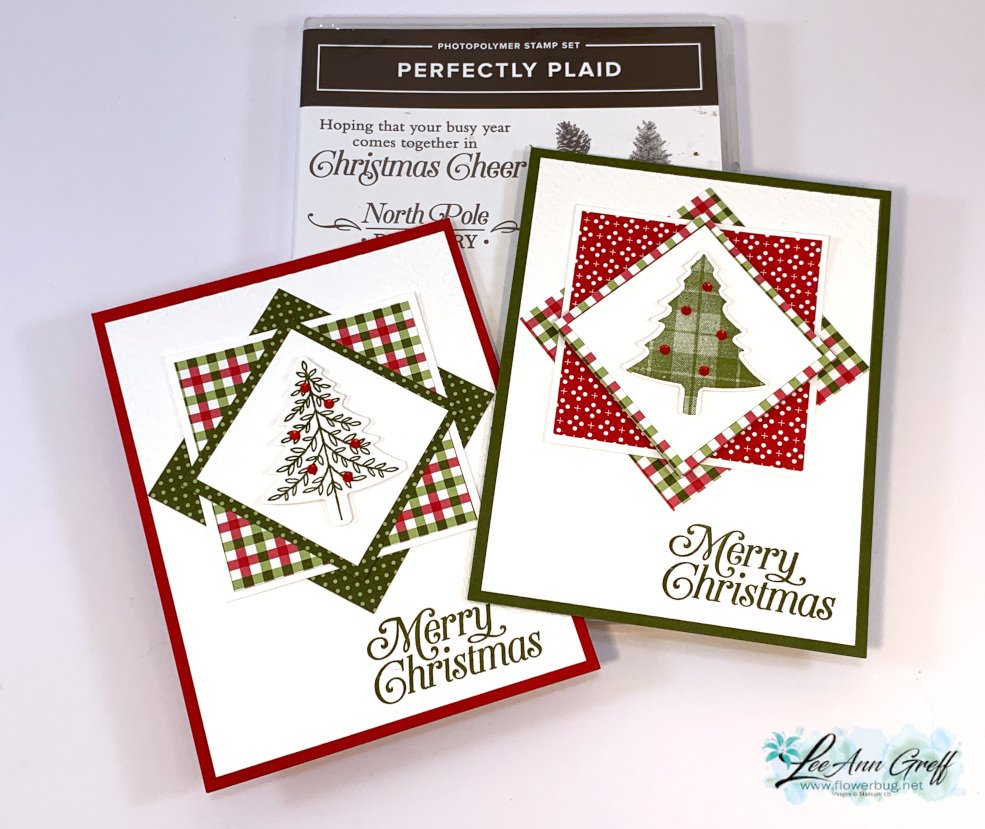
    I chose to use the Heartwarming Hugs designer paper from the Holiday catalog. (see it here)  And the Perfectly Plaid stamp set & Pine Tree punch.  

    Card stock is Real Red, Mossy Meadow & Basic White; ink is Mossy Meadow. 

    Measurements:
    Card base 4 1/4" X 11" scored at 5 1/2" 
    White CS – 2" square, 2 7/8" square, 4" X 5 1/4" plus a scrap for the punched piece
    DSP (Heartwarming Hugs) – 2 1/4", two different patterns at 2 3/4"

    See all of my videos here on my YouTube channel. 

    You can see this one here; click on the photo below: 

    ~~~

    November Specials: 

    Host codes: Z2RQ7BB6

    *click here to order

    Online orders over $50 get a pre-cut card kit of 4 cards & PDF tutorial.
    *Orders over $80 will receive the card kit PLUS 24 Iridescent snowflakes!

    All online orders will receive my Eden's Garden PDF 22 project tutorial free! 

    Get the deal on the Starter kit here!  $125 in product for $75 plus free shipping!

    Get any of the tutorials or kits to go below in my Kit & Tutorial shop here:

    Peaceful Wishes Christmas – limited supply available; 20 cards!


    Christmas cards stamp a stack; limited supply! 

    Leave a Reply

    Your email address will not be published. Required fields are marked *


Notice: LeeAnn Greff, Independent Stampin’ Up! Demonstrator, Manager. The content of this website is my sole responsibility as an independent Stampin’ Up! demonstrator and the use of, and content of, the classes, services, or products offered on this website is not endorsed by Stampin’ Up! Copyright 2025