/


Latest Post

3 ways to use the Layered Floral on one card!


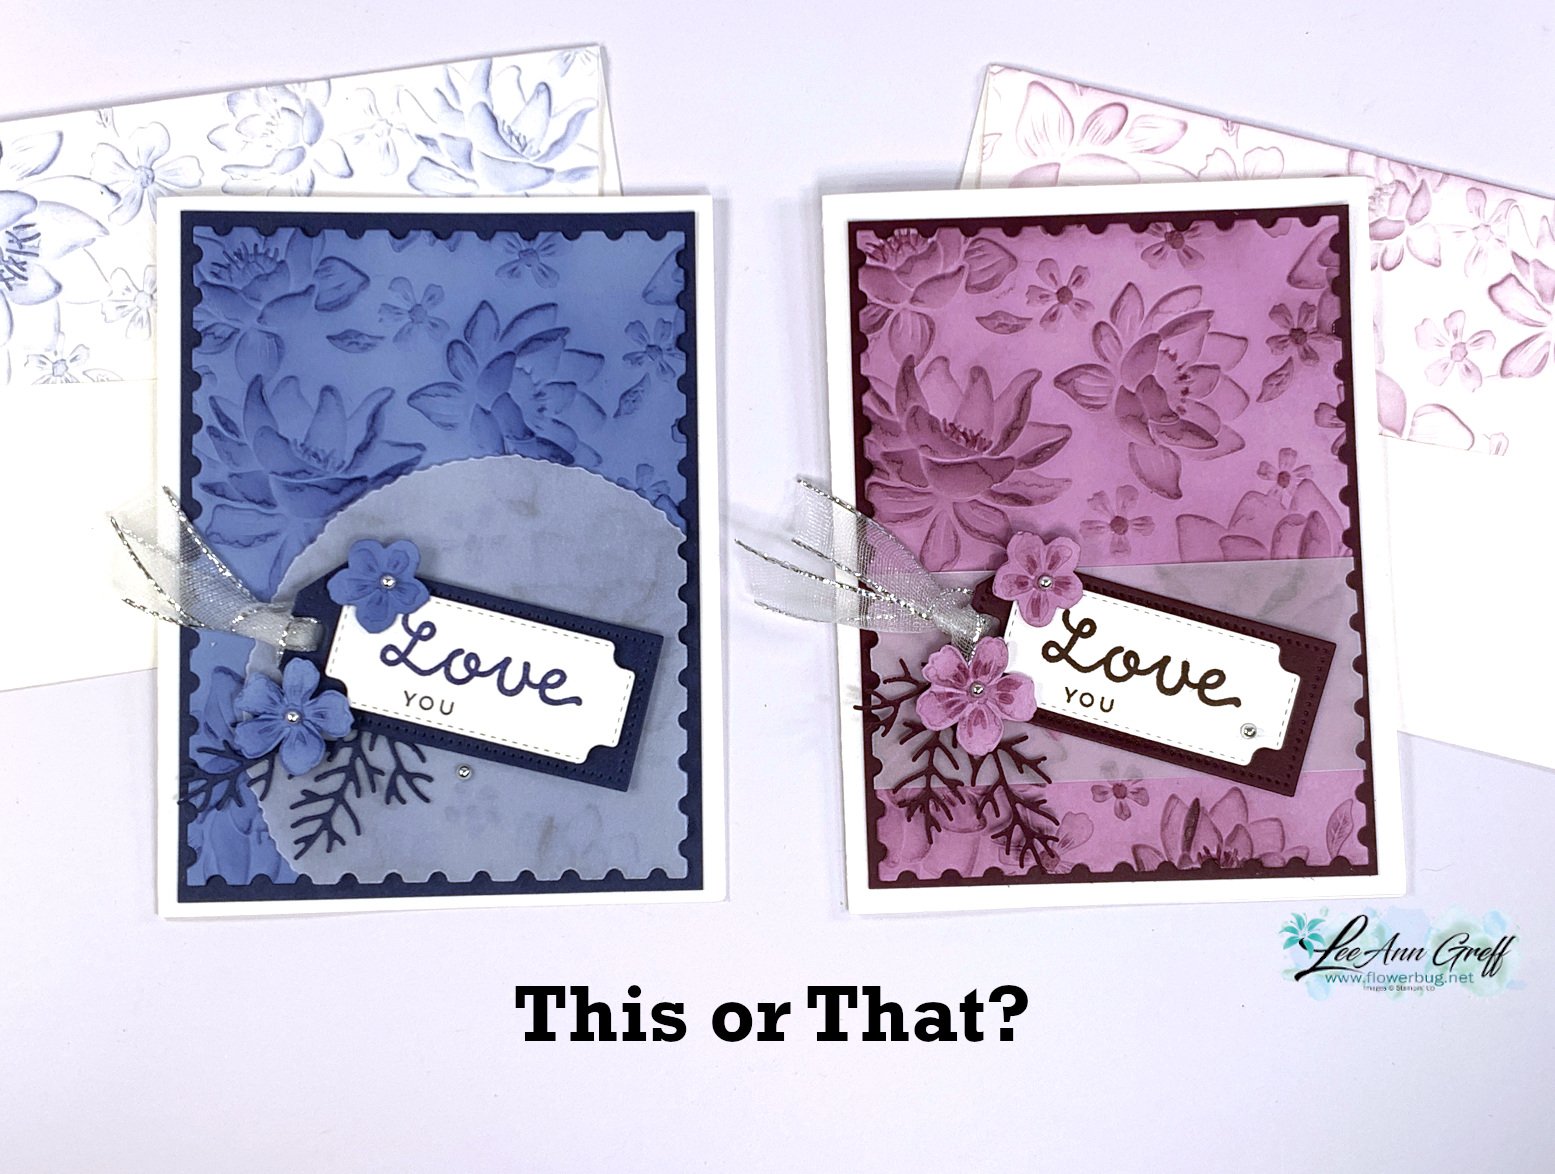
I shared this pretty textured card on last week's FB live video: 

The textured card stock is Fresh Freesia.  I used a Blending Brush with Blackberry Bliss ink to highlight the gorgeous texture. The Layered Floral 3D embossing folder is amazing; it has super deep texture! 

I made a second card during the video with another rich color combination of Night of Navy with Boho Blue. Note the different ways I added vellum to these two cards. 

Also note the pretty texture added to the envelope flap; why don't we do this more often!? 

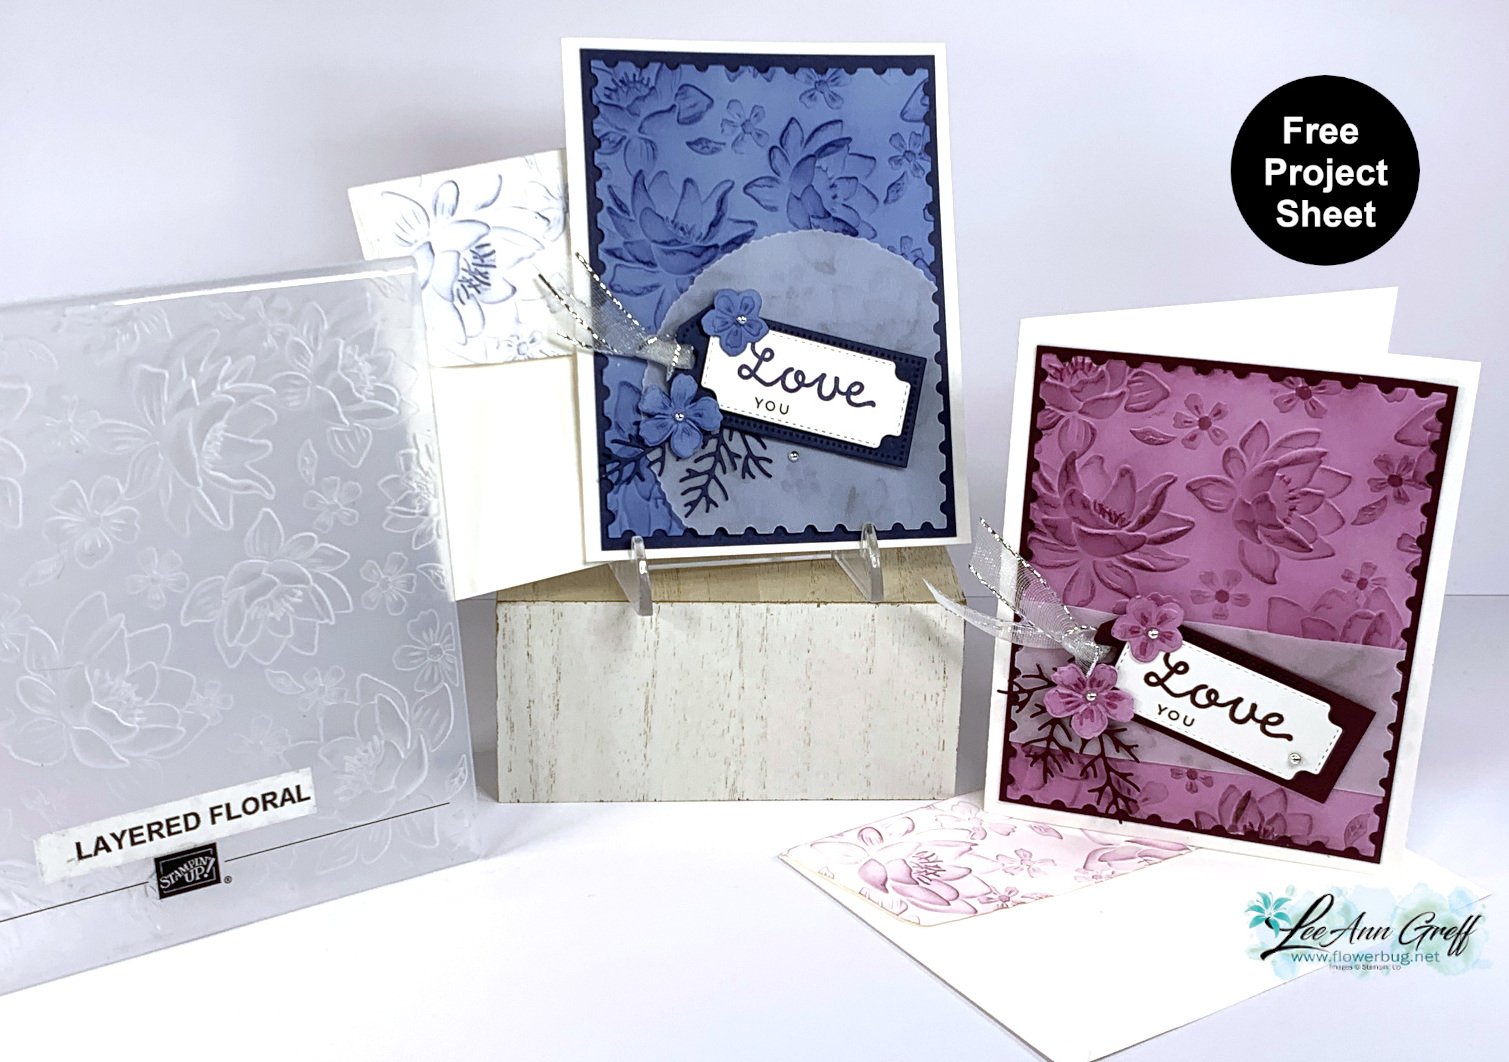
Here are the 3 ways I featured this pretty Layered Floral 3D embossing folder:

  1. Textured, then added ink with a Blending Brush.
  2. I textured the envelope flap and add a very light ink, again with a Blending Brush.
  3. Cut out a large flower from a separate piece of textured card stock; and I punched a smaller flower using the Petal Park Builder punch – yes it coordinates!!
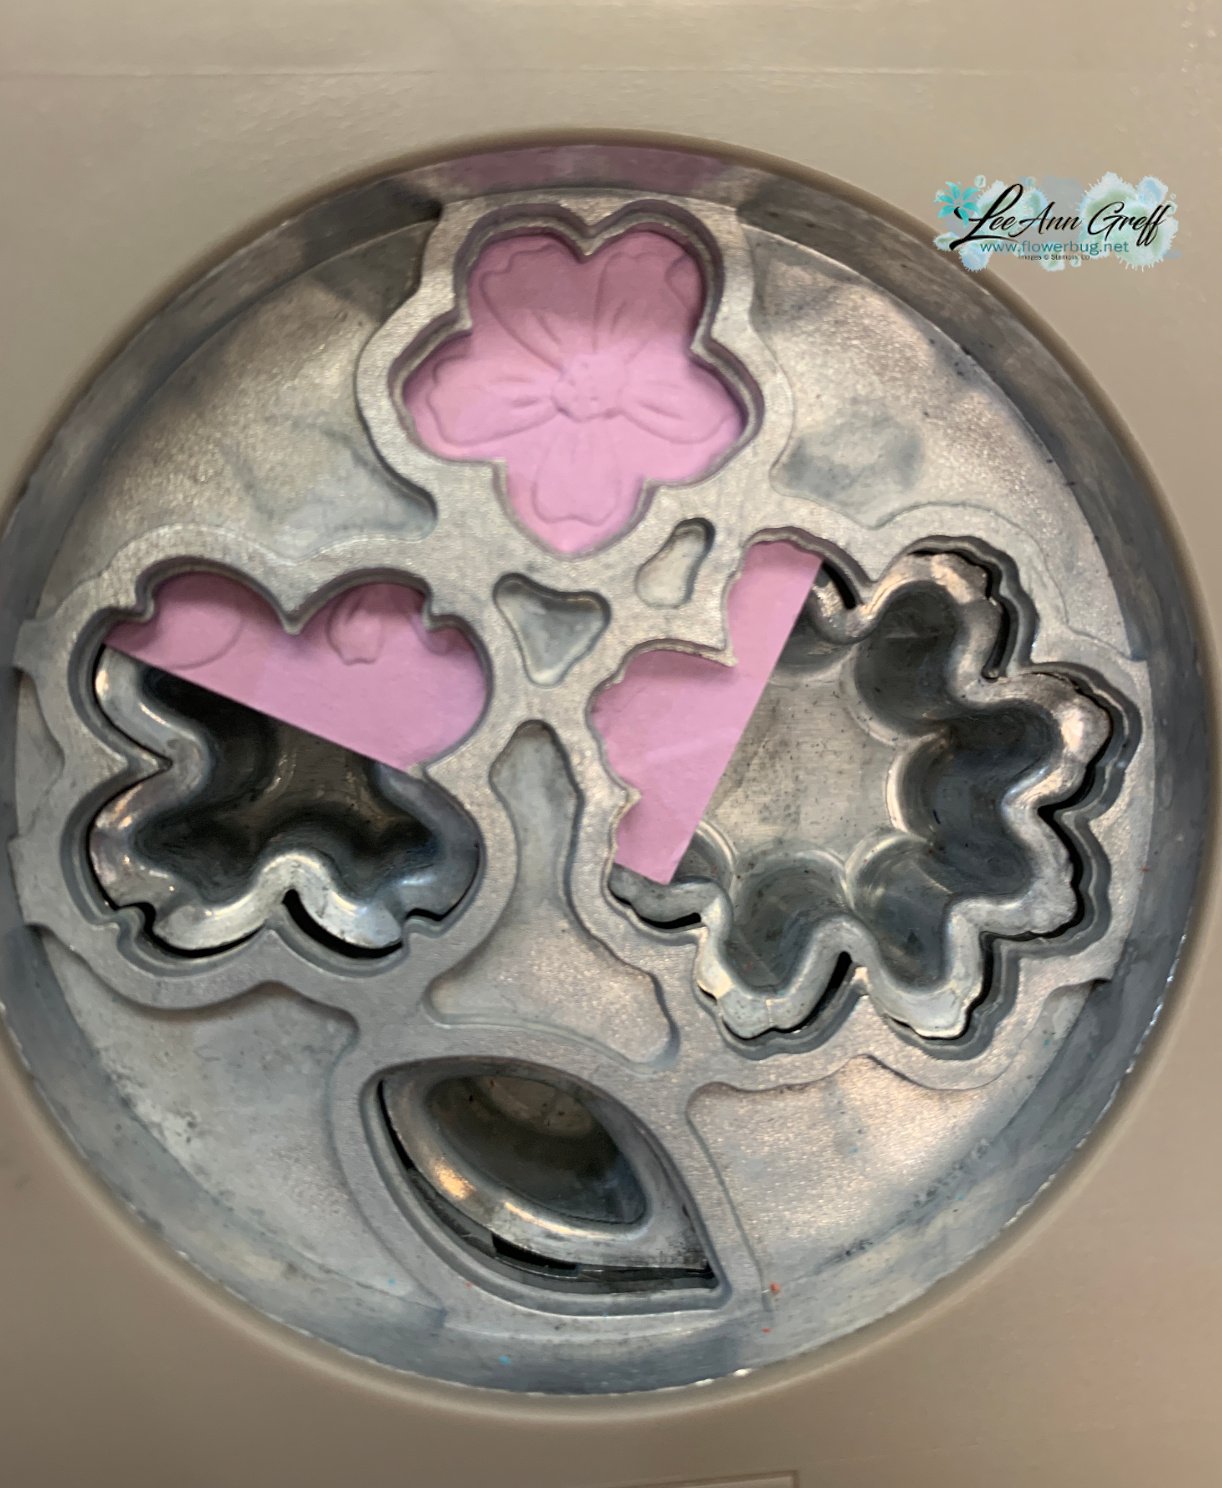
Products used here:

  • Layered Floral 3D embossing folder; seen here
  • Deckled Circle dies seen here
  • Vellum card stock
  • Cheerful Daisy dies
  • Heartfelt Hellos stamp set from Sale-a-Bration catalog seen here; free with a $50 order

Which is your favorite?
Click on this link to download the free project sheet: Download Layered Floral & Perennial Postage cards

You can see the video below. I share another way to use this beautiful folder too! 

~~~

February Specials: 

Earn FREE products with your Stampin' Up! purchase during

Sale-a-Bration! *click here

*current host code link: 4BXU7SGH 

It's the best time to get a pre-paid Sale-a-Bration subscription

& earn free Sale-a-Bration products!  


~~~

Get a free Gold Foiled cards & envelopes kit

with online orders over $55 in February

All online orders in February will receive this free tutorial with 8 projects!

All Posts

  • Easiest way to create a scene; the Oceanfront stamp set!


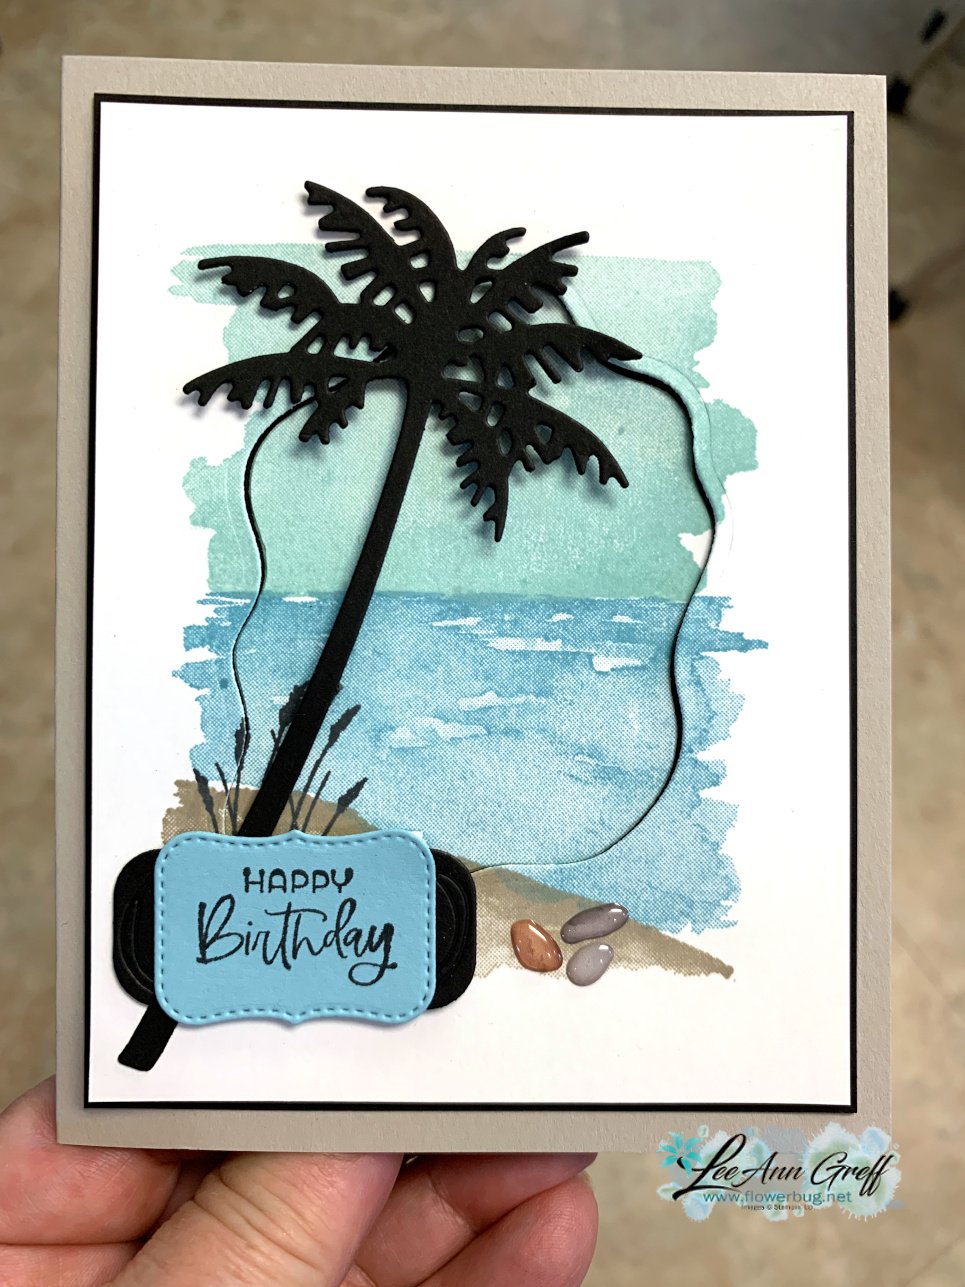
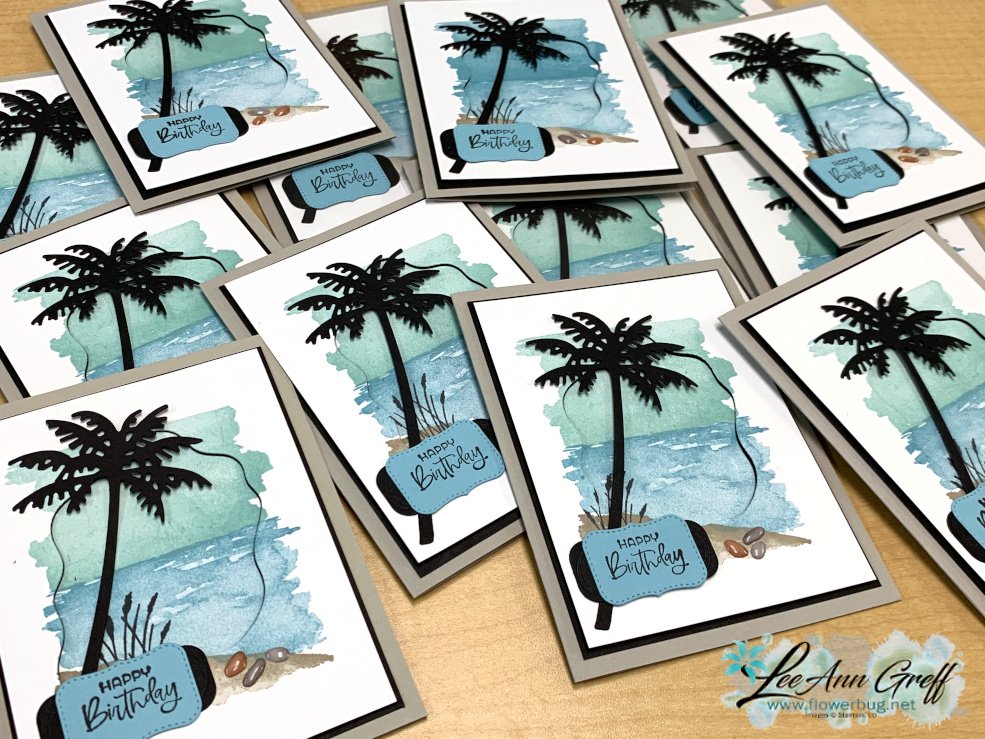
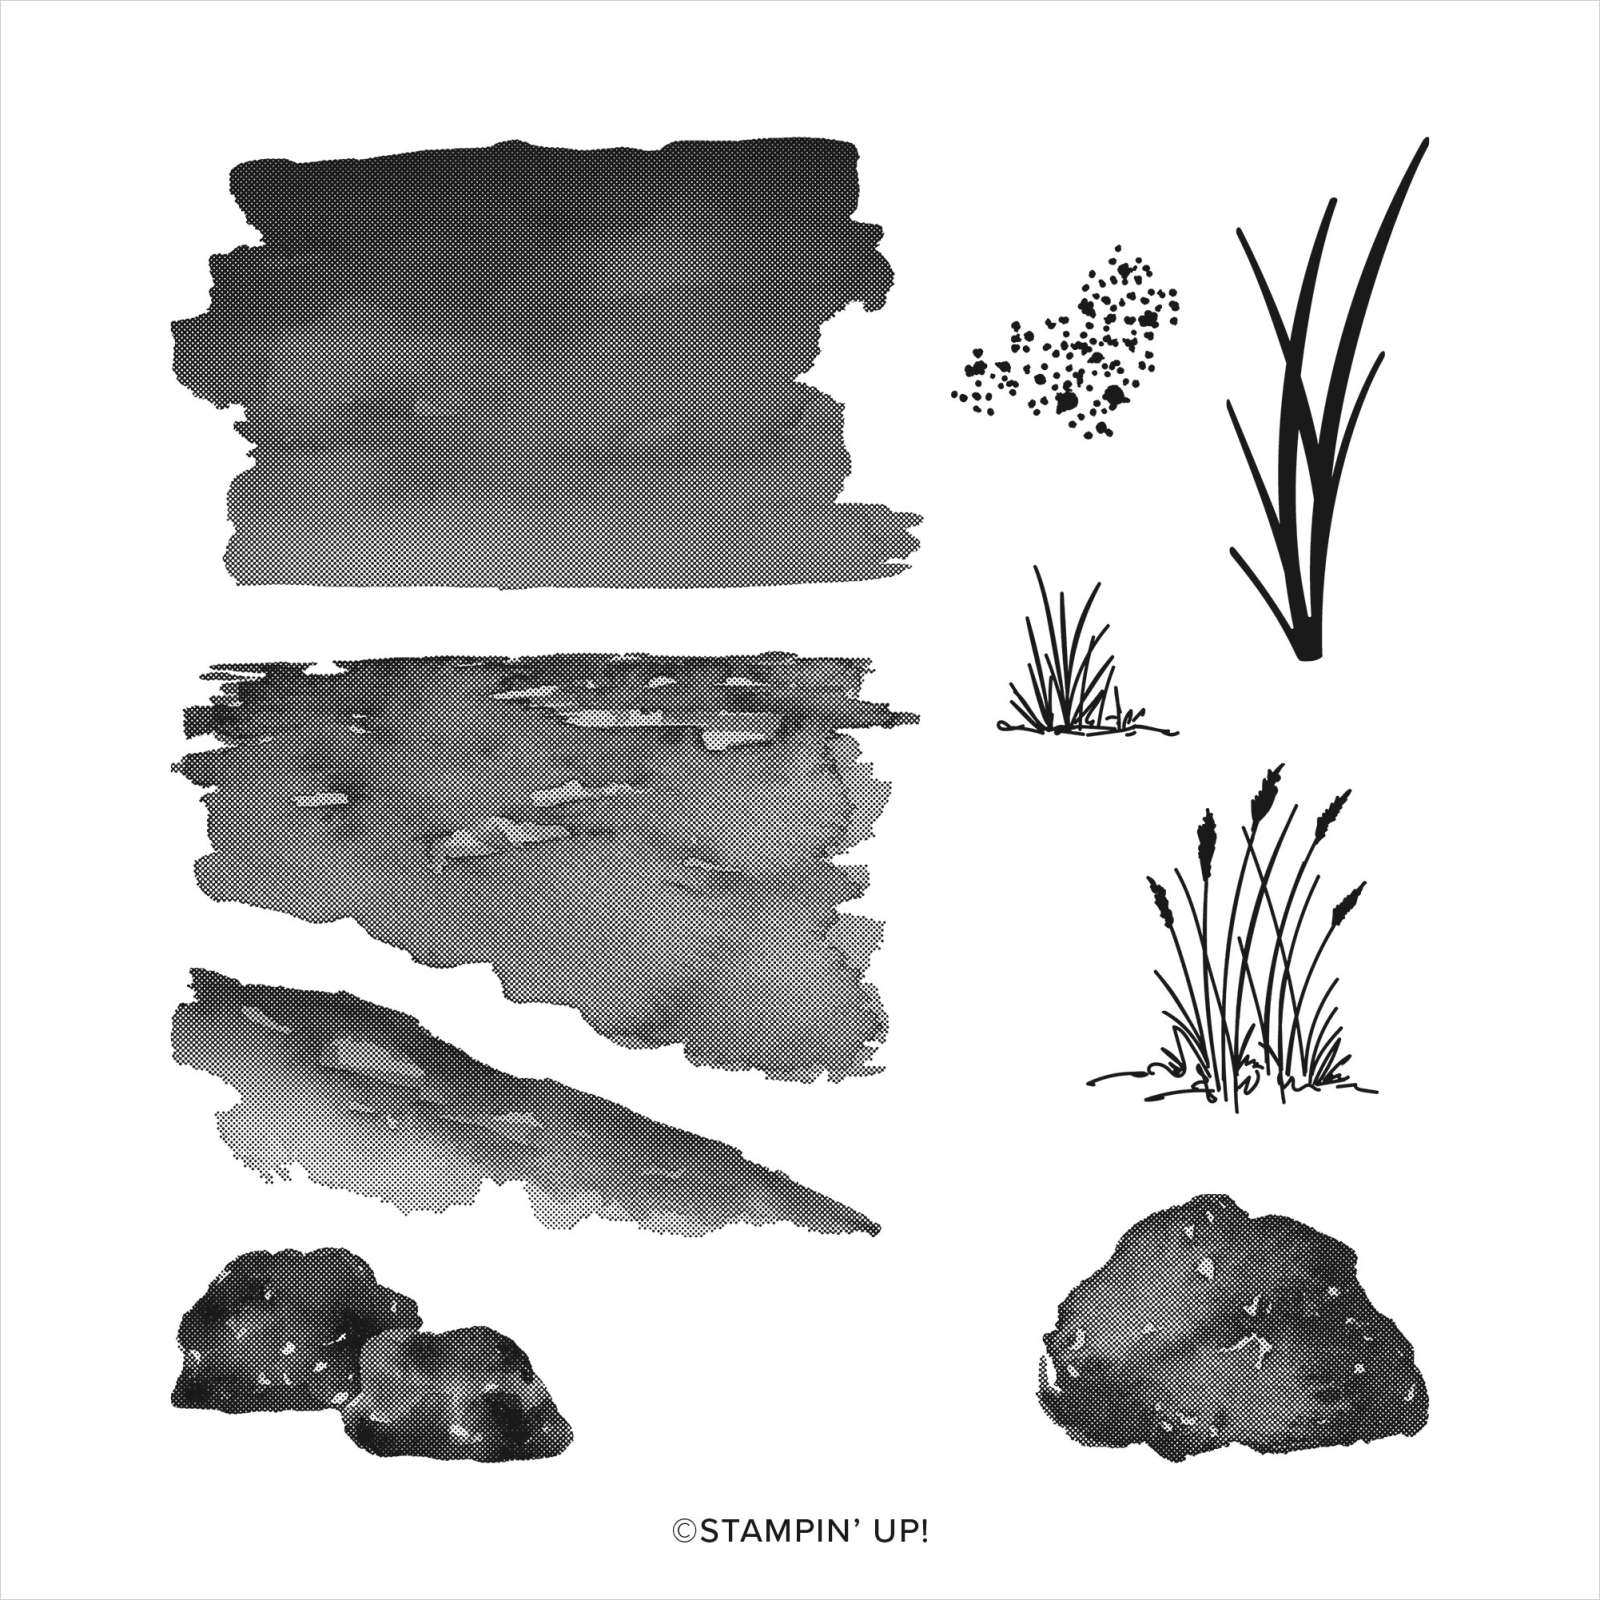
    Making swaps with a 'water theme' for my Flowerbug's Team was my first play with the Oceanfront stamp set seen here. I found out how easy it is to create a beautiful scene with just 4 stamped images.  

    My colors include Pool Party, Balmy Blue, Black & Sahara Sand.  


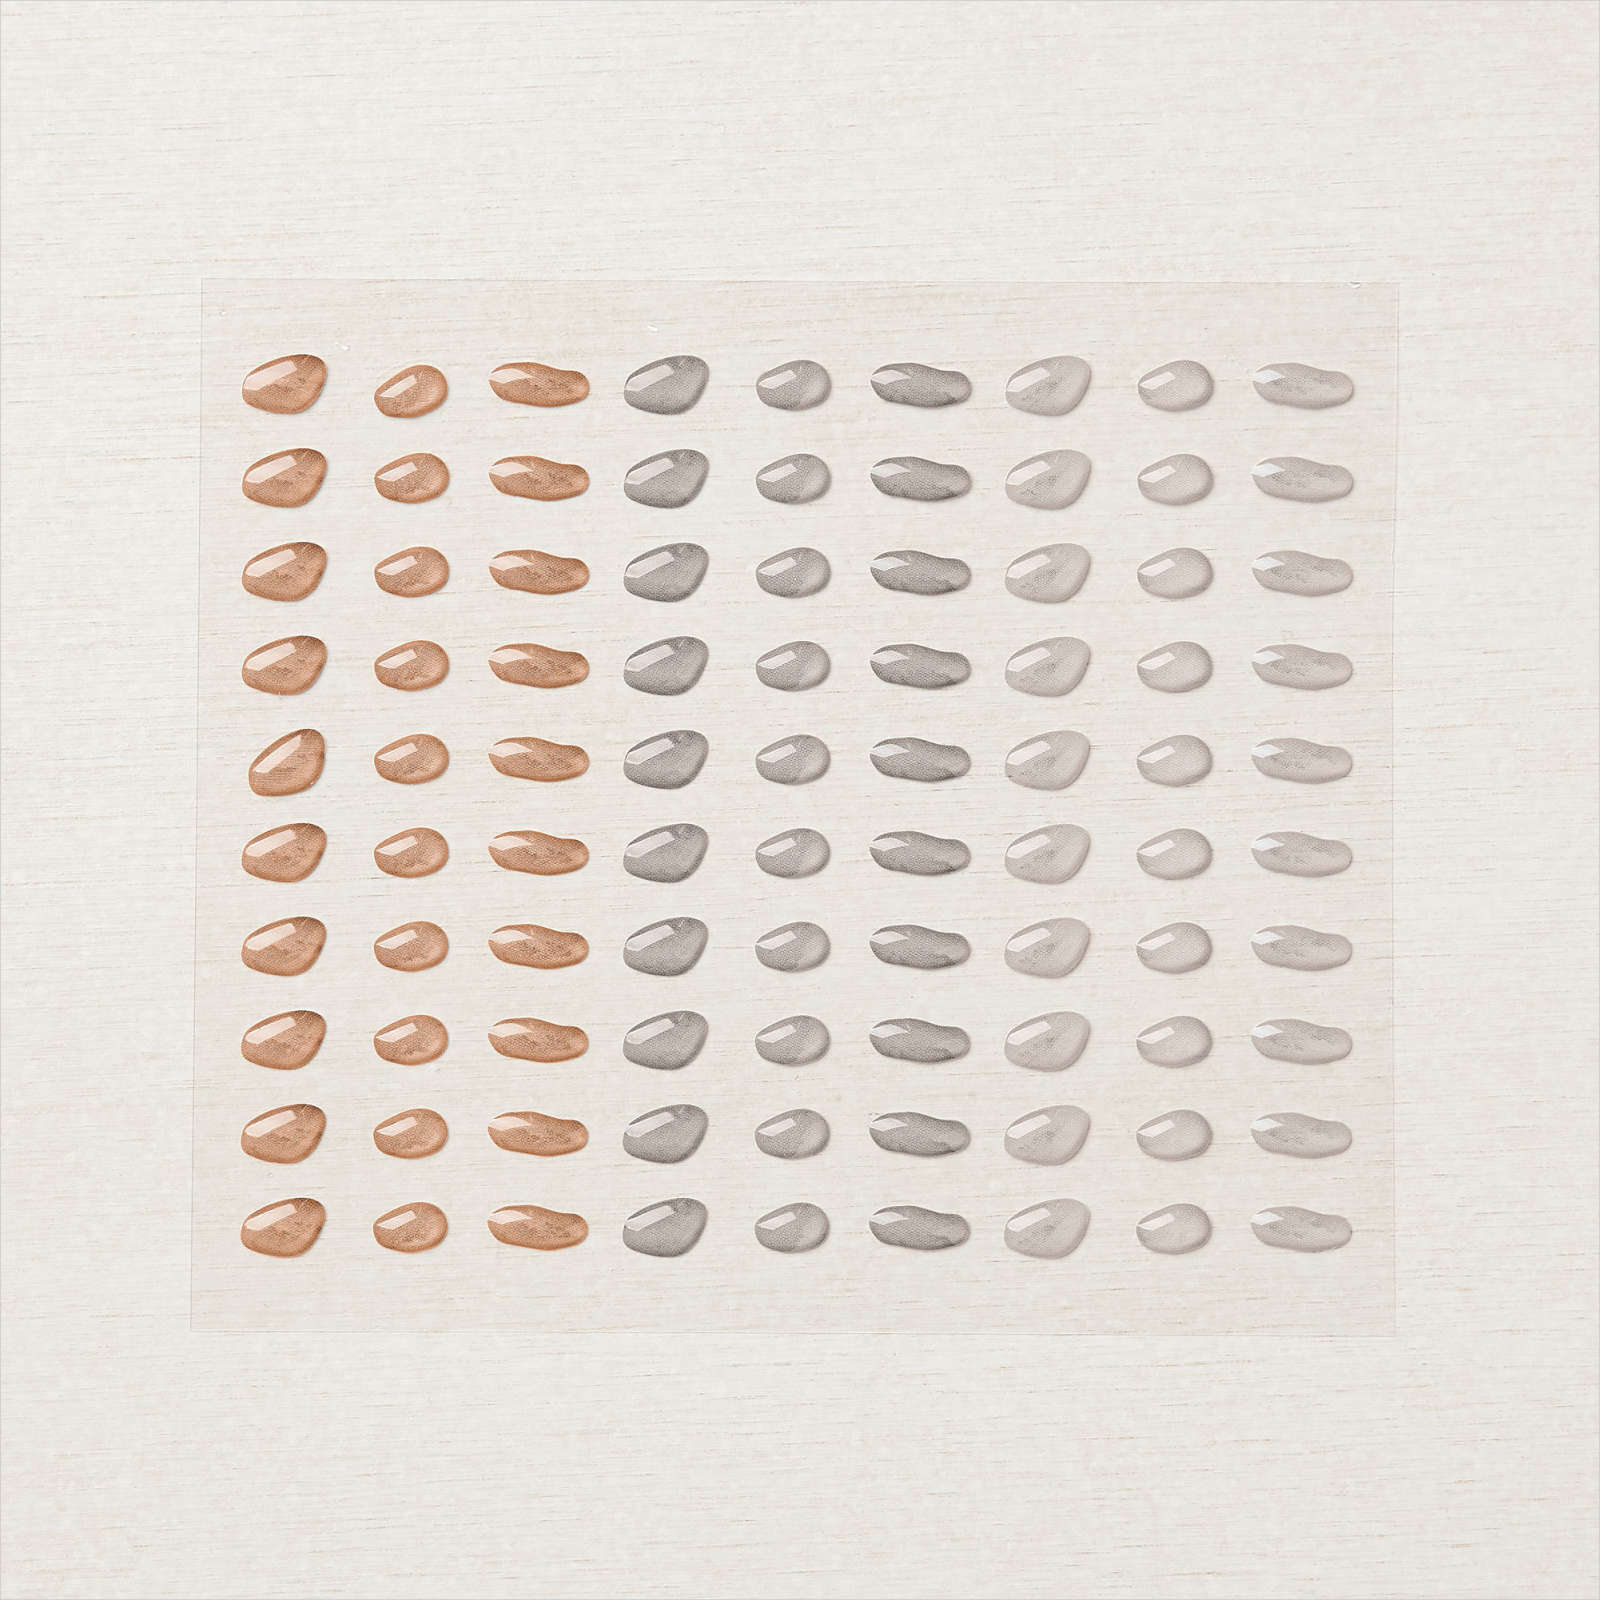
    The Pebbles Enamel Shapes embellishments are so perfect for the faux stones on the beach.  They were unavailable for quite awhile but they're now back! 

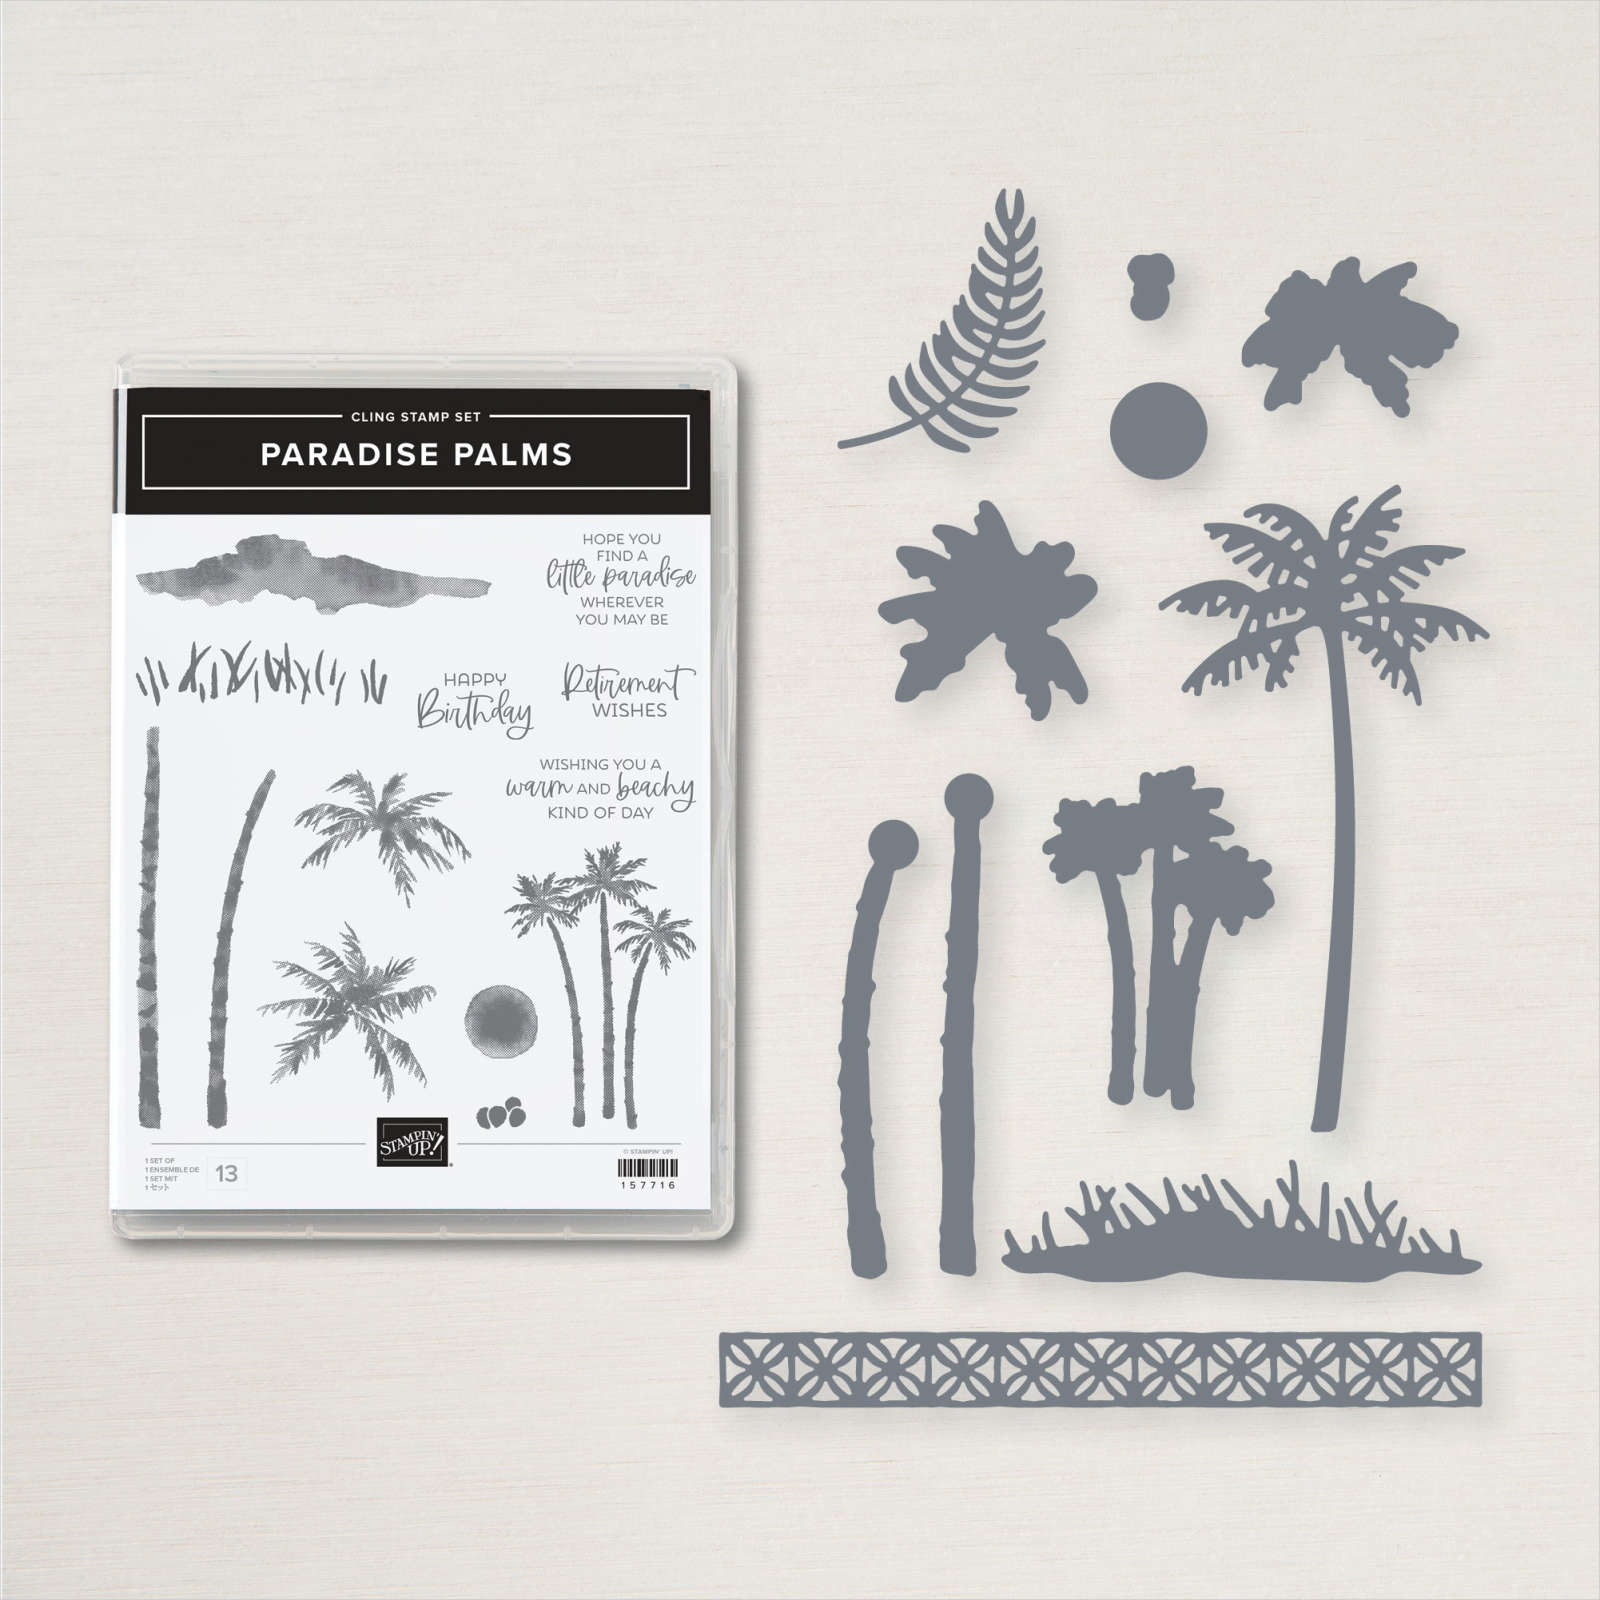
    The greeting & Palm tree are from the Paradise Palms bundle seen here.  It pairs wonderfully with the Oceanfront stamp set.  

    The Diorama dies make this card even more unique.  I added Stampin' Dimensionals to the outer 'frame' of the scene and adhered the center down flat. This reveals just a bit of the Black layer and gives dimension or depth to the scene.  

    Using the Stamparatus helped make these 14 swap cards quick work!  I love that we can reverse the plates on our Stamparatus so I could stamp all 4 images; one on each side of the 2 plates.  

    I think these cards are a great 'guy' card or for those who love the beach.  

    ~~~

    The Last Chance list is out!
    Tons of items from the 2021-22 Annual Catalog are retiring and many are deeply discounted from 20-50% off.
     
    Remember that these items are while supplies last and may run out. 
    Click here to see it all online along with the discounts.

    Host codes: QHCSU9RX

     *click here to order 

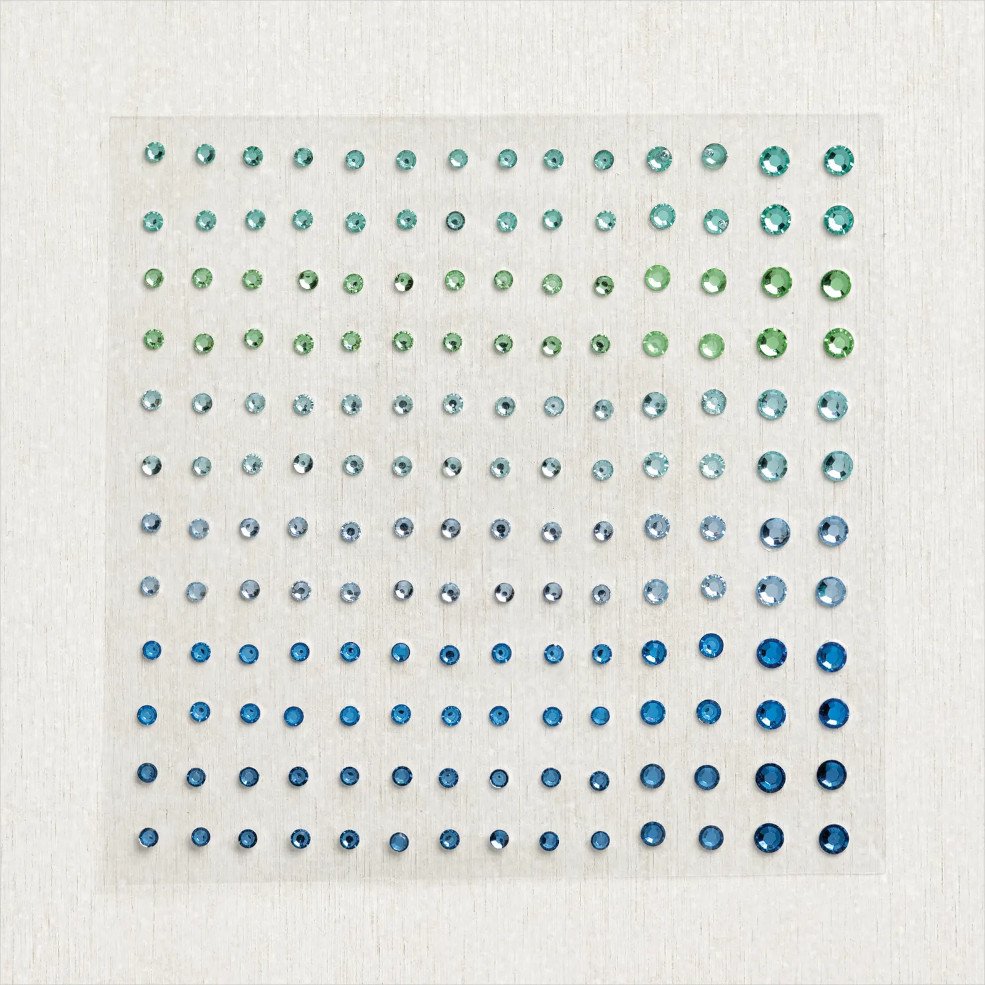
    If your order is over $50 you'll receive free In Color jewels and 3 hand made cards from me.


    Don't forget about my loyalty rewards! 

    Click here to download yours and earn a $50 shopping spree!  

    Leave a Reply

    Your email address will not be published. Required fields are marked *

  • Stack & Cut card technique; make 4 quick cards with your Designer Paper


    On tonight's FB Live we're making Stack & Cut cards!  Monday, April 25th at 7:30 pm here on my FB page.  

    If you can't watch it live it will be on my YouTube channel here. 

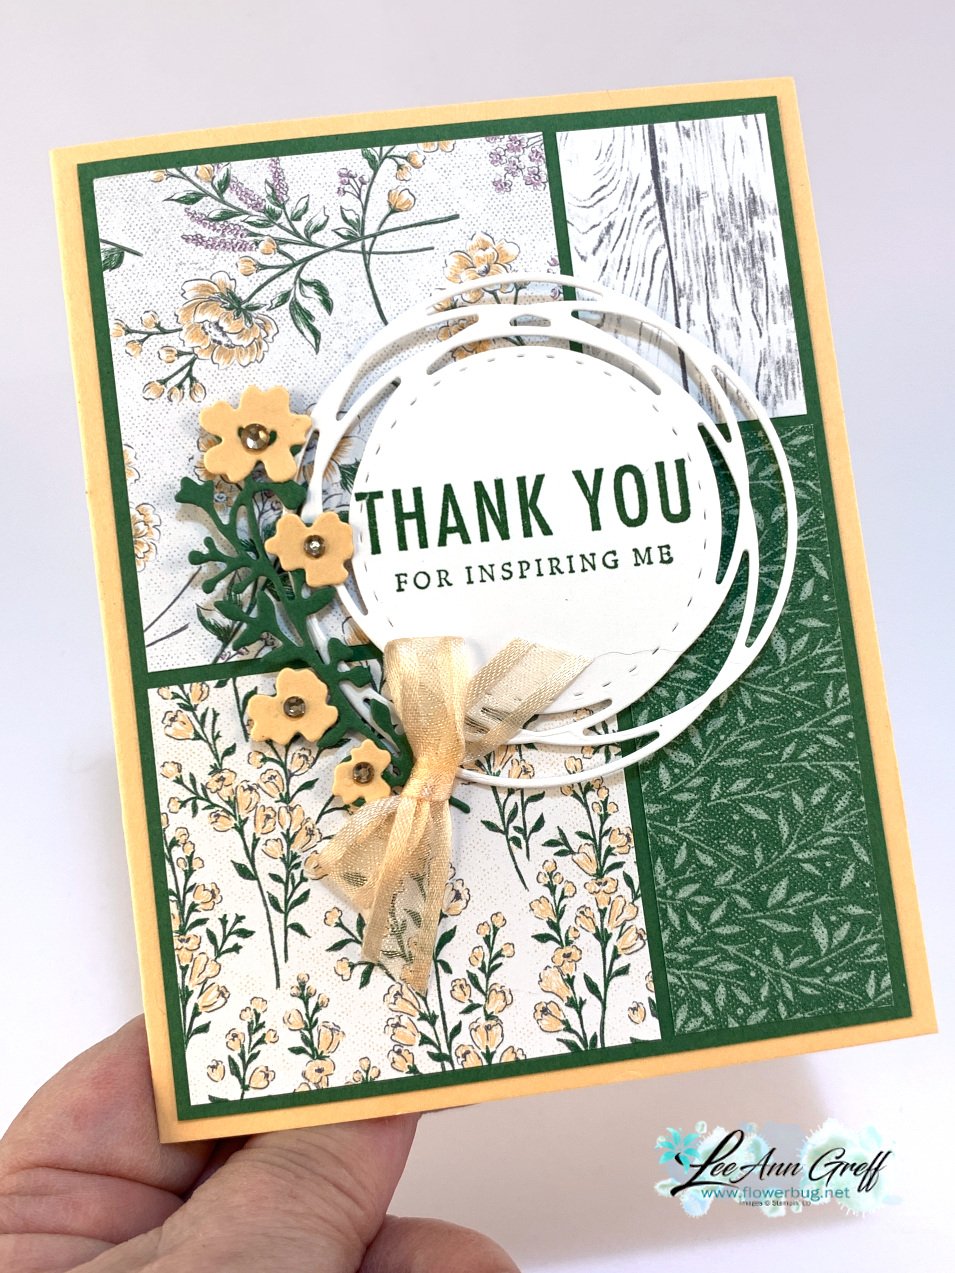
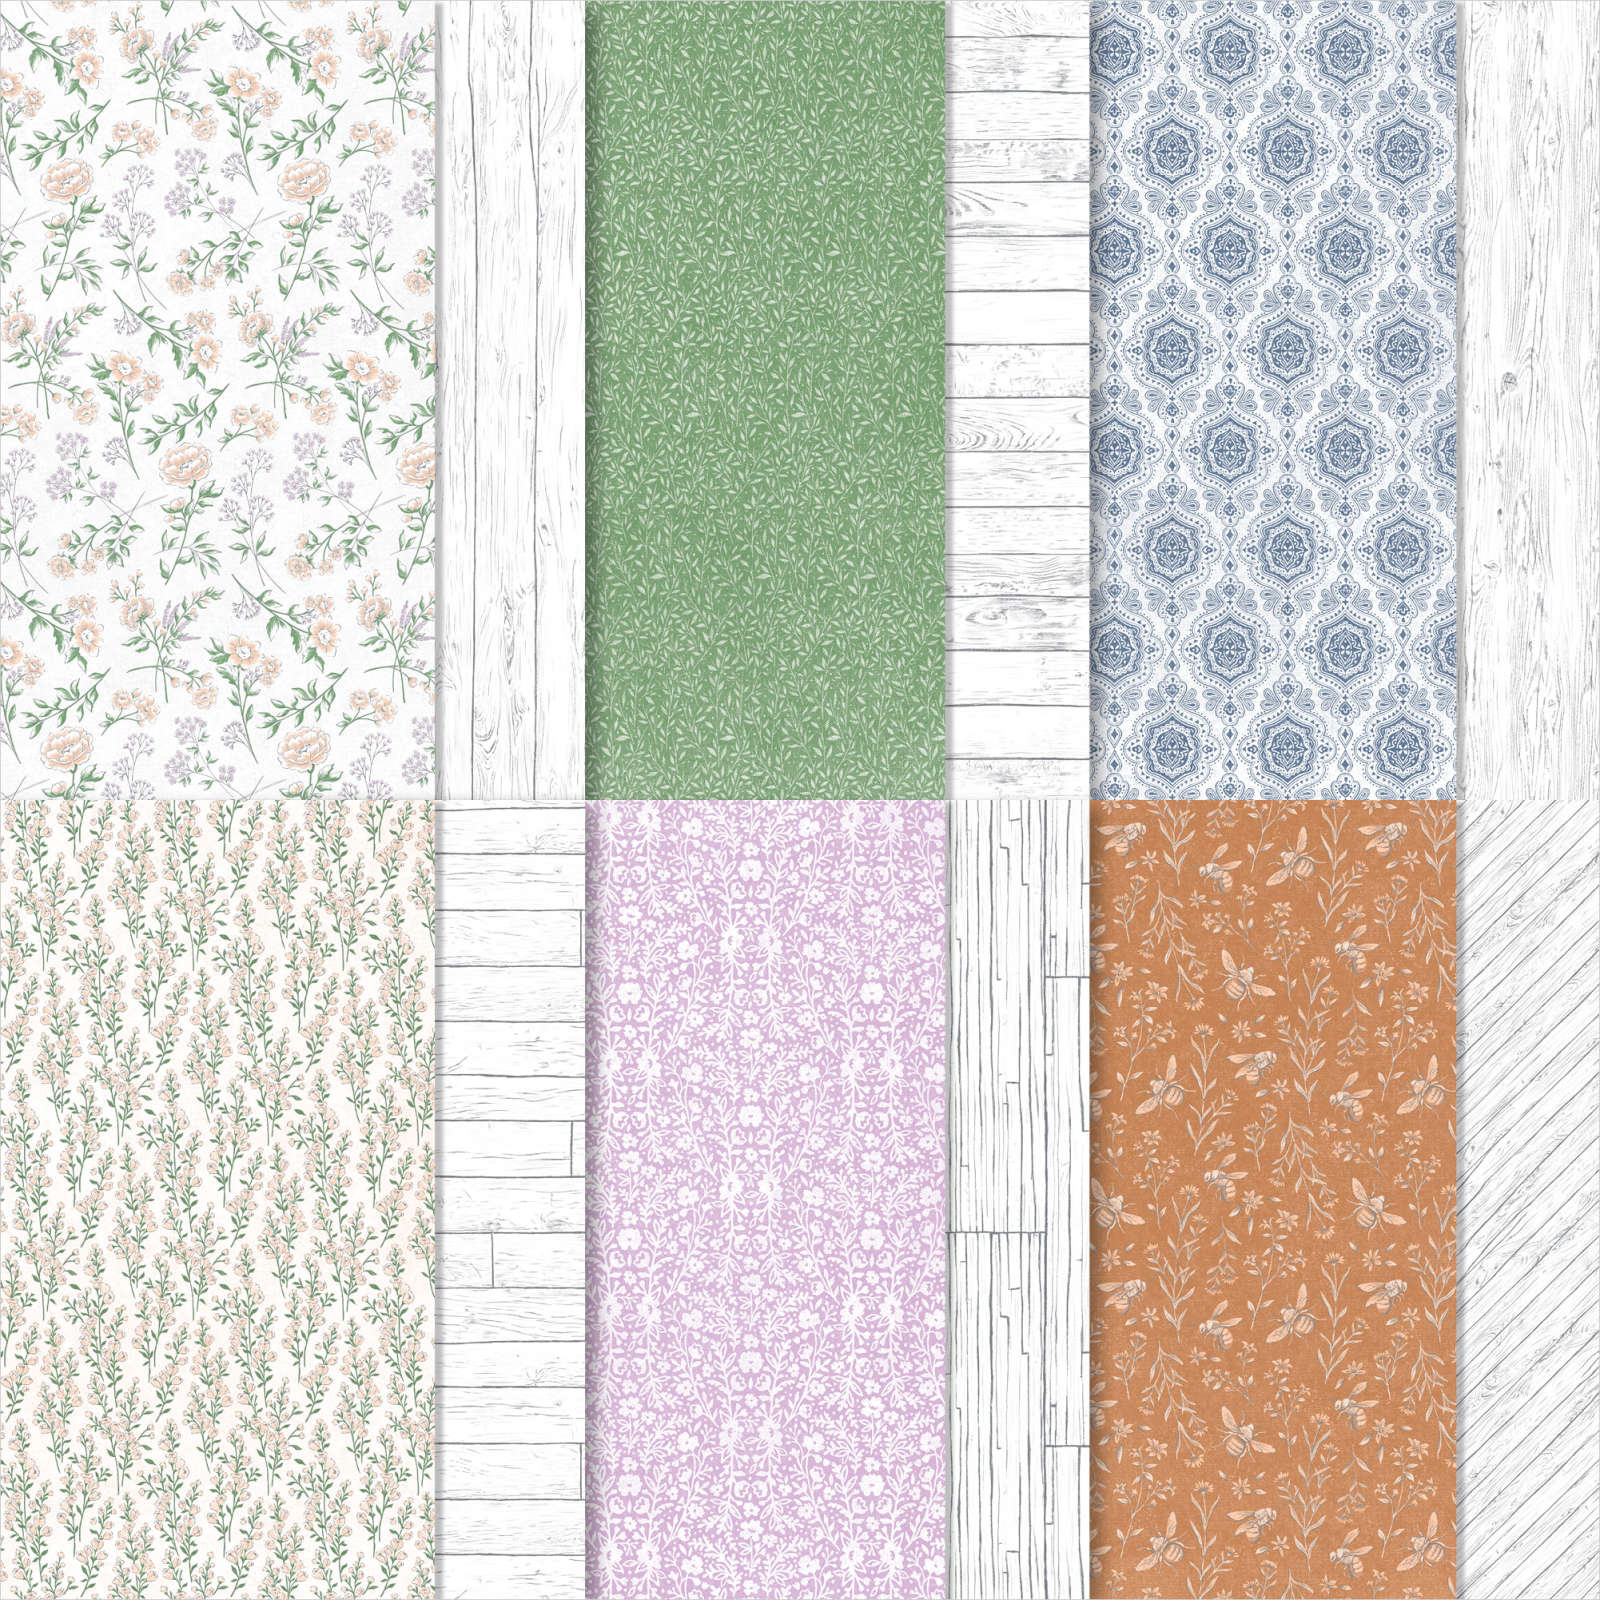
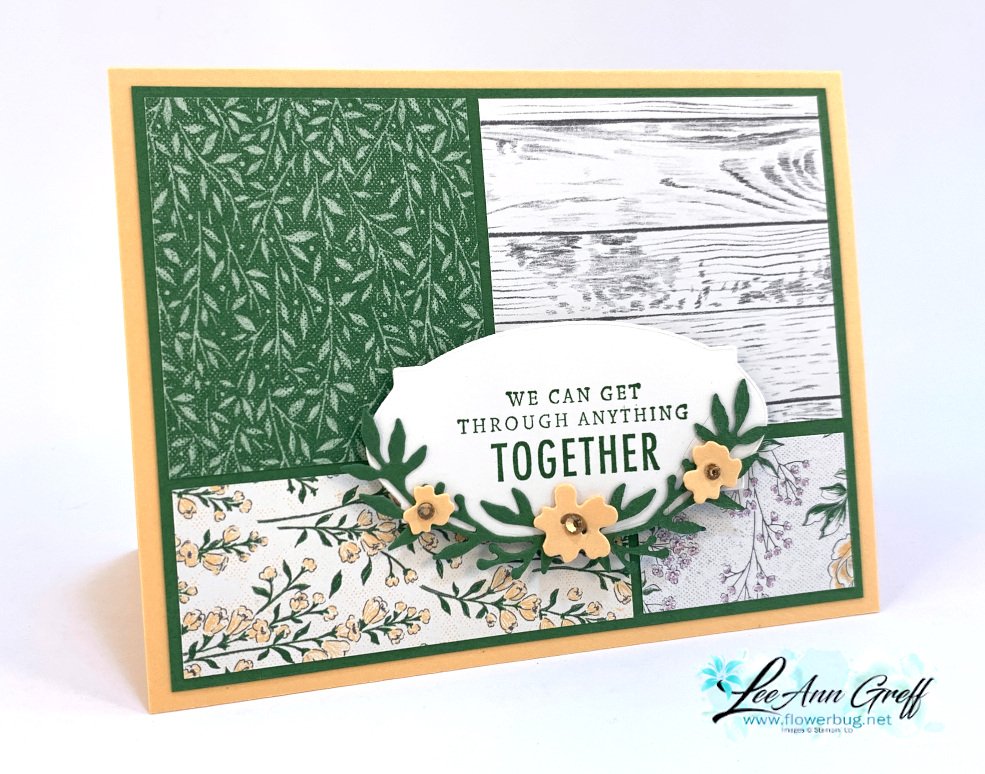
    I chose to use the Heart & Home designer paper and the Blessings of Home stamp & dies bundle (seen here) for these pretty cards.  This designer paper is retiring at the end of May. I like the fact that each sheet has a white wood pattern on one side. 

    Here's now to make these Stack & Cut cards:  Choose 4 different patterns of Designer Paper and then cut them into pieces using the template below.  

    Sort the pieces so one piece of each pattern fits on each card front.  You'll create 4 different but similar cards quickly!  Embellish as you'd like.  

    Here's a photo of the pieces I started with.  

    • 4 full cards of Pale Papaya – 5 1/2" X 8 1/2", scored at 4 1/4"
    • 4 Garden Green pieces at 4" X 5 1/4"
    • the 16 pieces of Designer Paper – cut from the 4 pieces of DSP you started with

    Here's the template I used for the 4 pieces of Designer Paper.  Choose patterns that coordinate in color.  I love this way of using our beautiful double sided designer paper!  

    Tip: it's best if the patterns have a variety of sizes in their patterns.  

    The Flowers of Home dies (seen here) are delicate with many leaves & flower options. 

    Join me here tonight at 7:30 pm CT to see how easy it is to make 4 quick cards with the Stack & Cut technique.  

    ~~~

    The Last Chance list is out!
    Tons of items from the 2021-22 Annual Catalog are retiring and many are deeply discounted from 20-50% off.
     
    Remember that these items are while supplies last and may run out. 
    Click here to see it all online along with the discounts.

    Host codes: QHCSU9RX

     *click here to order 

    If your order is over $50 you'll receive free Polished Dots or In Color jewels and 3 hand made cards from me.


    Don't forget about my loyalty rewards! 

    Click here to download yours and earn a $50 shopping spree!  

    Leave a Reply

    Your email address will not be published. Required fields are marked *

  • Artfully Layered birthday card with video


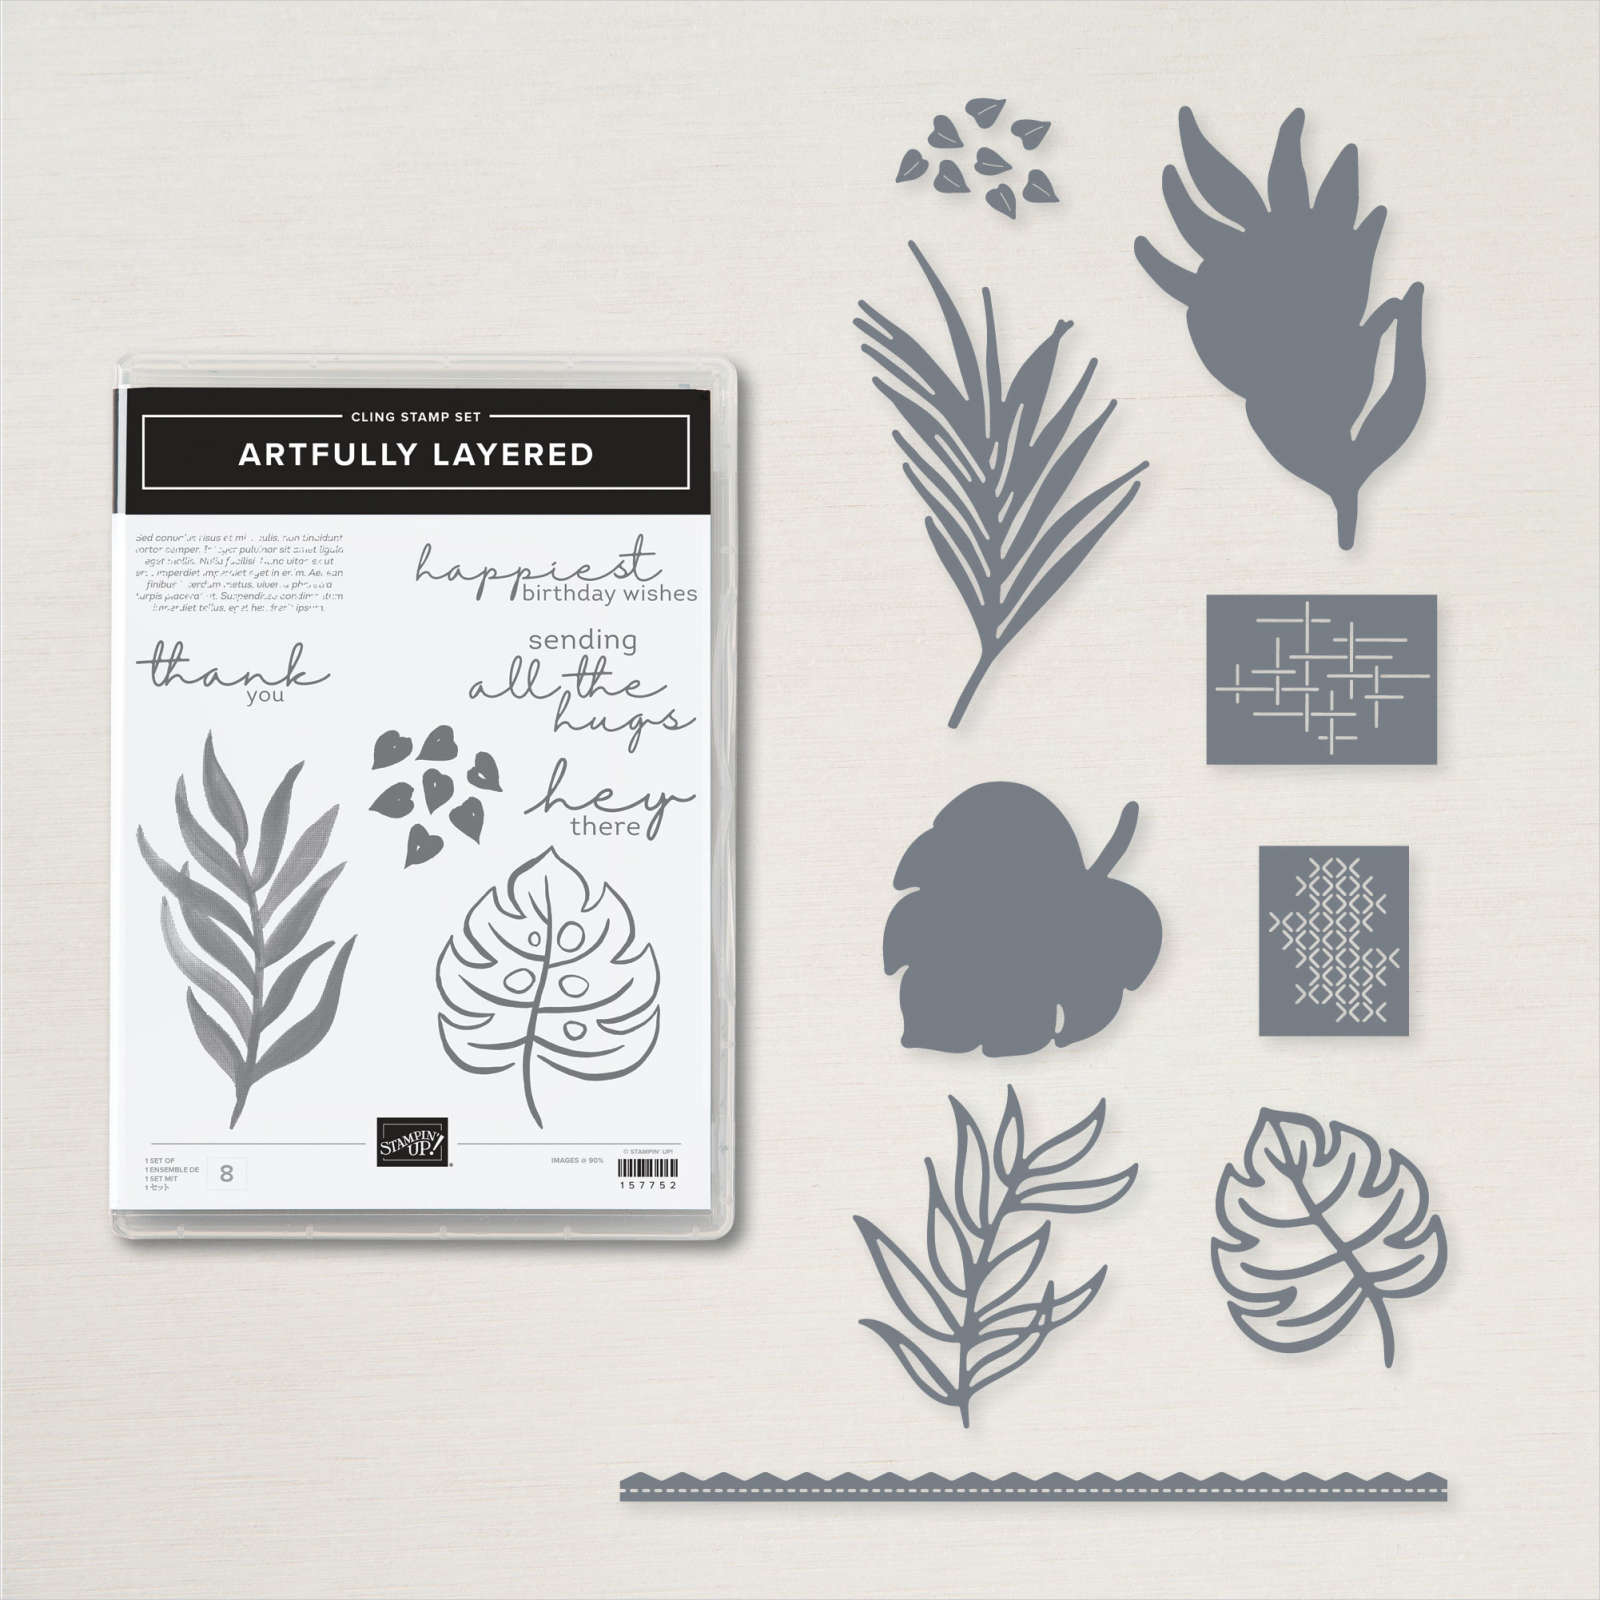
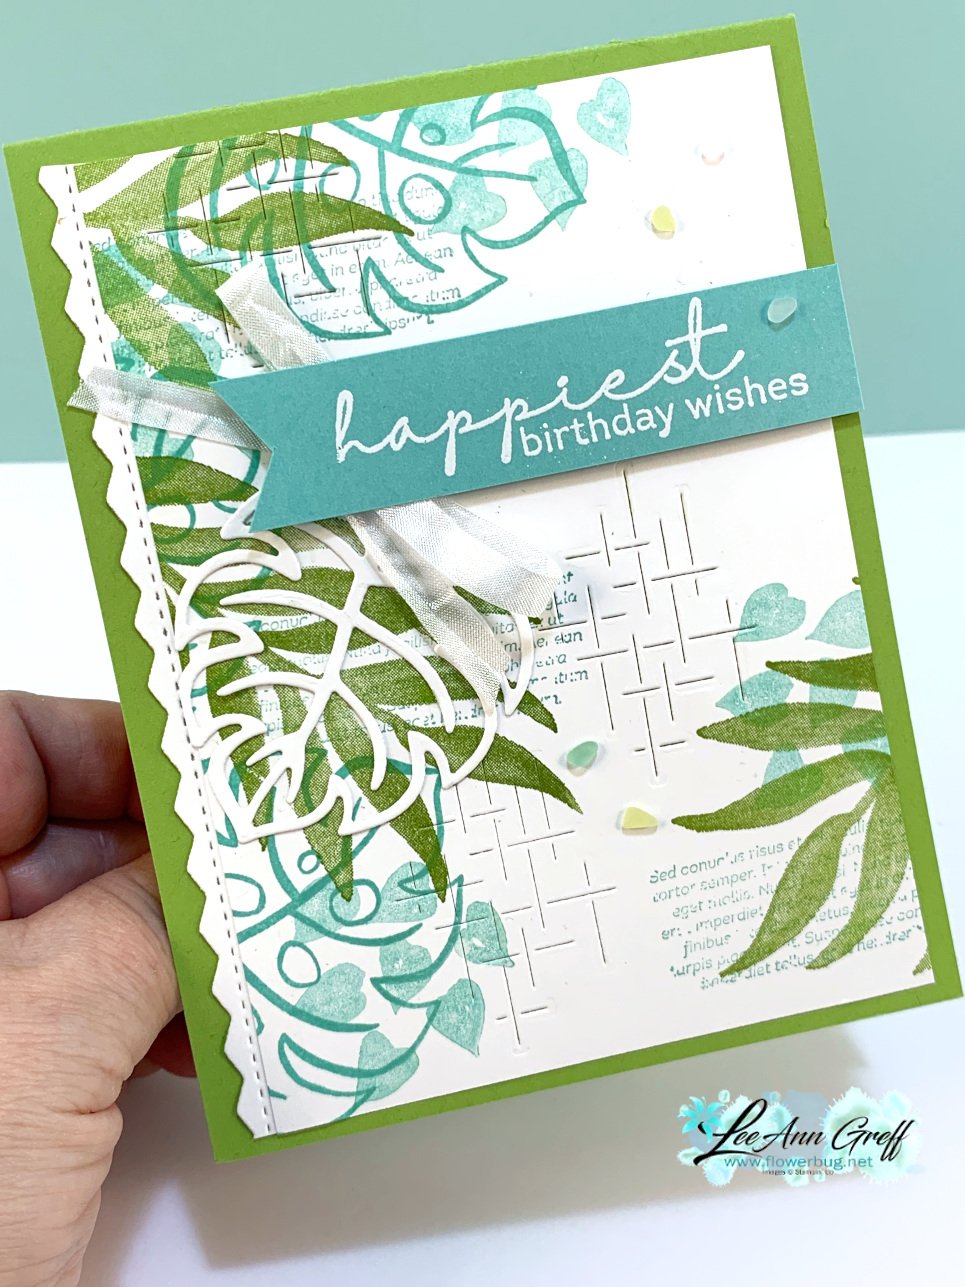
    Here's another pretty card I made during last week's FB Live. I featured the Artfully Layered bundle from the Jan-June Stampin' Up! catalog.  

    The colors include Coastal Cabana and Granny Apple Green with White.  I used three different dies in the Tropical Layers dies.  The rick-rack border, the leaf and the crosshatch texture. See the bundle here.   

    The greeting is heat embossed on the Coastal Cabana CS strip using White embossing powder.  Adding heat embossing to your project steps it up a lot! 


    Tip: get two colors from one ink pad. Note the two shades of Coastal Cabana on the leaves on the lower left of the card?  I stamped off for the multiple leaves image once for a lighter hue. 

    The Faux Sea Glass Shapes are back in stock!  Get them here. 

    To see how I made the pretty leaf cards on the upper right click here.  Or watch the video here. 

    Click on the photo below to watch the video for this card, another and a special treat box.

    ~~~

    The Last Chance list is out!
    Tons of items from the 2021-22 Annual Catalog are retiring and many are deeply discounted from 20-50% off.
     
    Remember that these items are while supplies last and may run out. 
    Click here to see it all online along with the discounts.

    Host codes: QHCSU9RX

     *click here to order 

    If your order is over $50 you'll receive free In Color jewels and 3 hand made cards from me.


    Don't forget about my loyalty rewards! 

    Click here to download yours and earn a $50 shopping spree!  

    Leave a Reply

    Your email address will not be published. Required fields are marked *


Notice: LeeAnn Greff, Independent Stampin’ Up! Demonstrator, Manager. The content of this website is my sole responsibility as an independent Stampin’ Up! demonstrator and the use of, and content of, the classes, services, or products offered on this website is not endorsed by Stampin’ Up! Copyright 2025