/


Latest Post

3 ways to use the Layered Floral on one card!


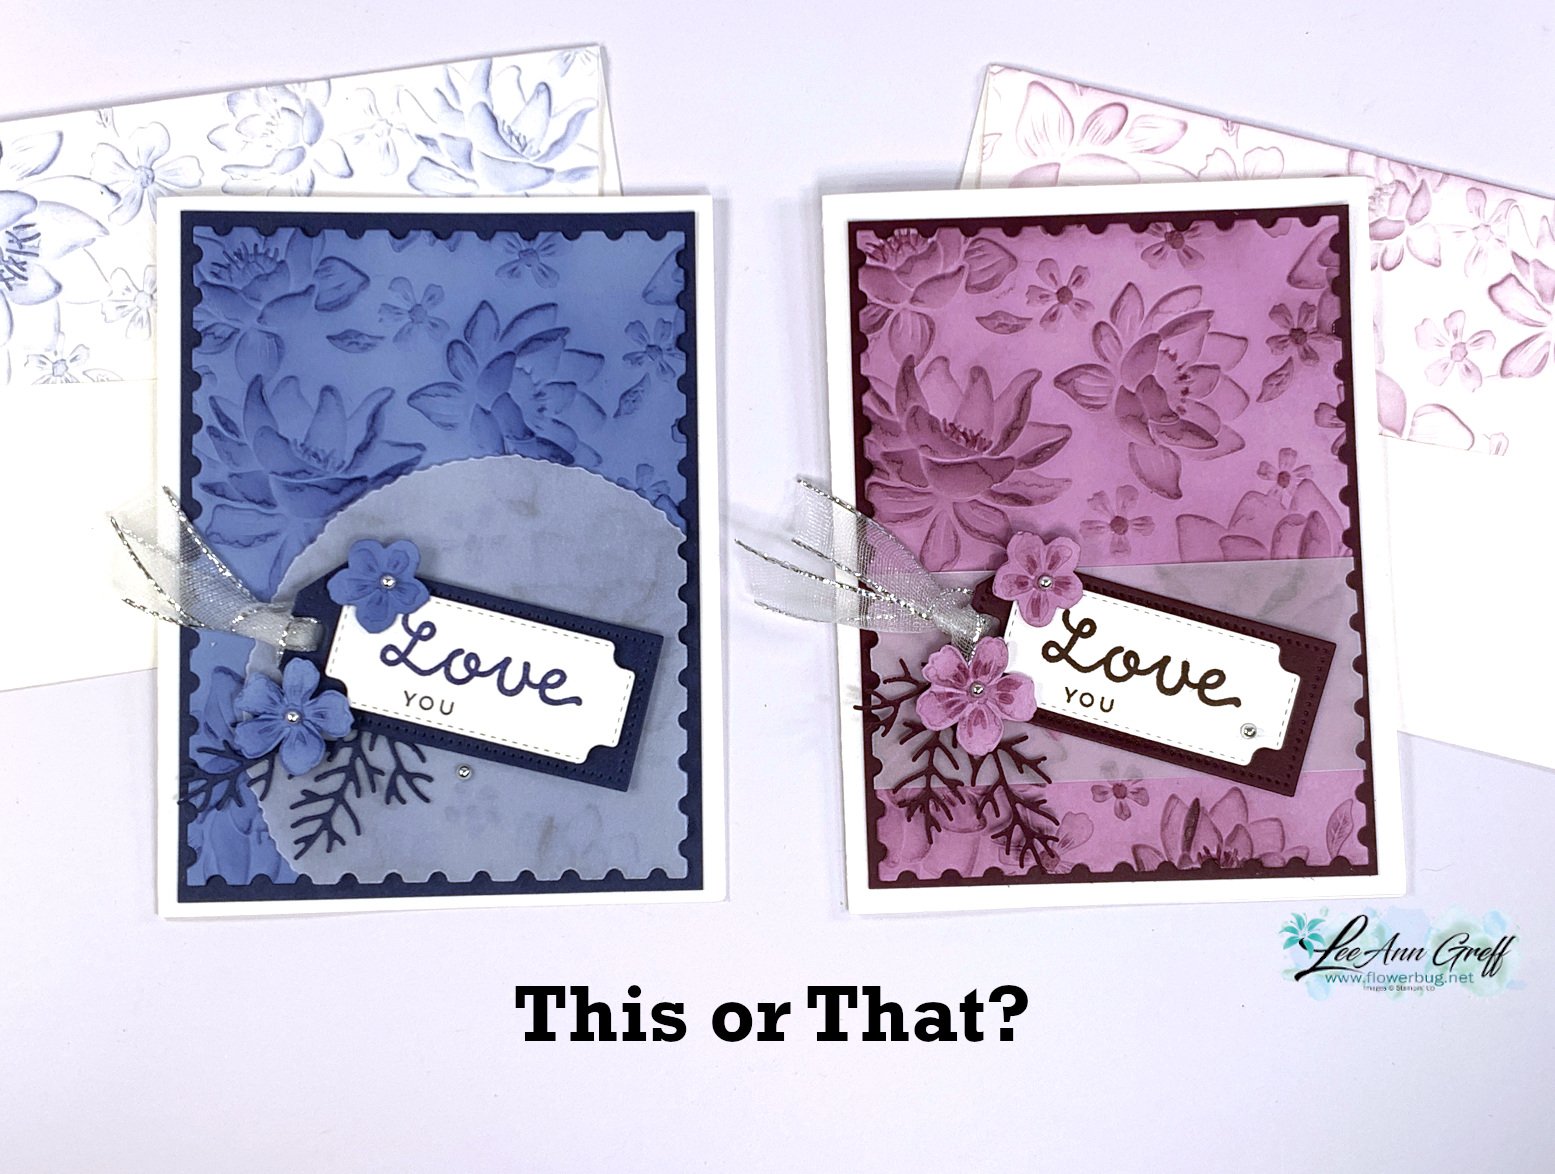
I shared this pretty textured card on last week's FB live video: 

The textured card stock is Fresh Freesia.  I used a Blending Brush with Blackberry Bliss ink to highlight the gorgeous texture. The Layered Floral 3D embossing folder is amazing; it has super deep texture! 

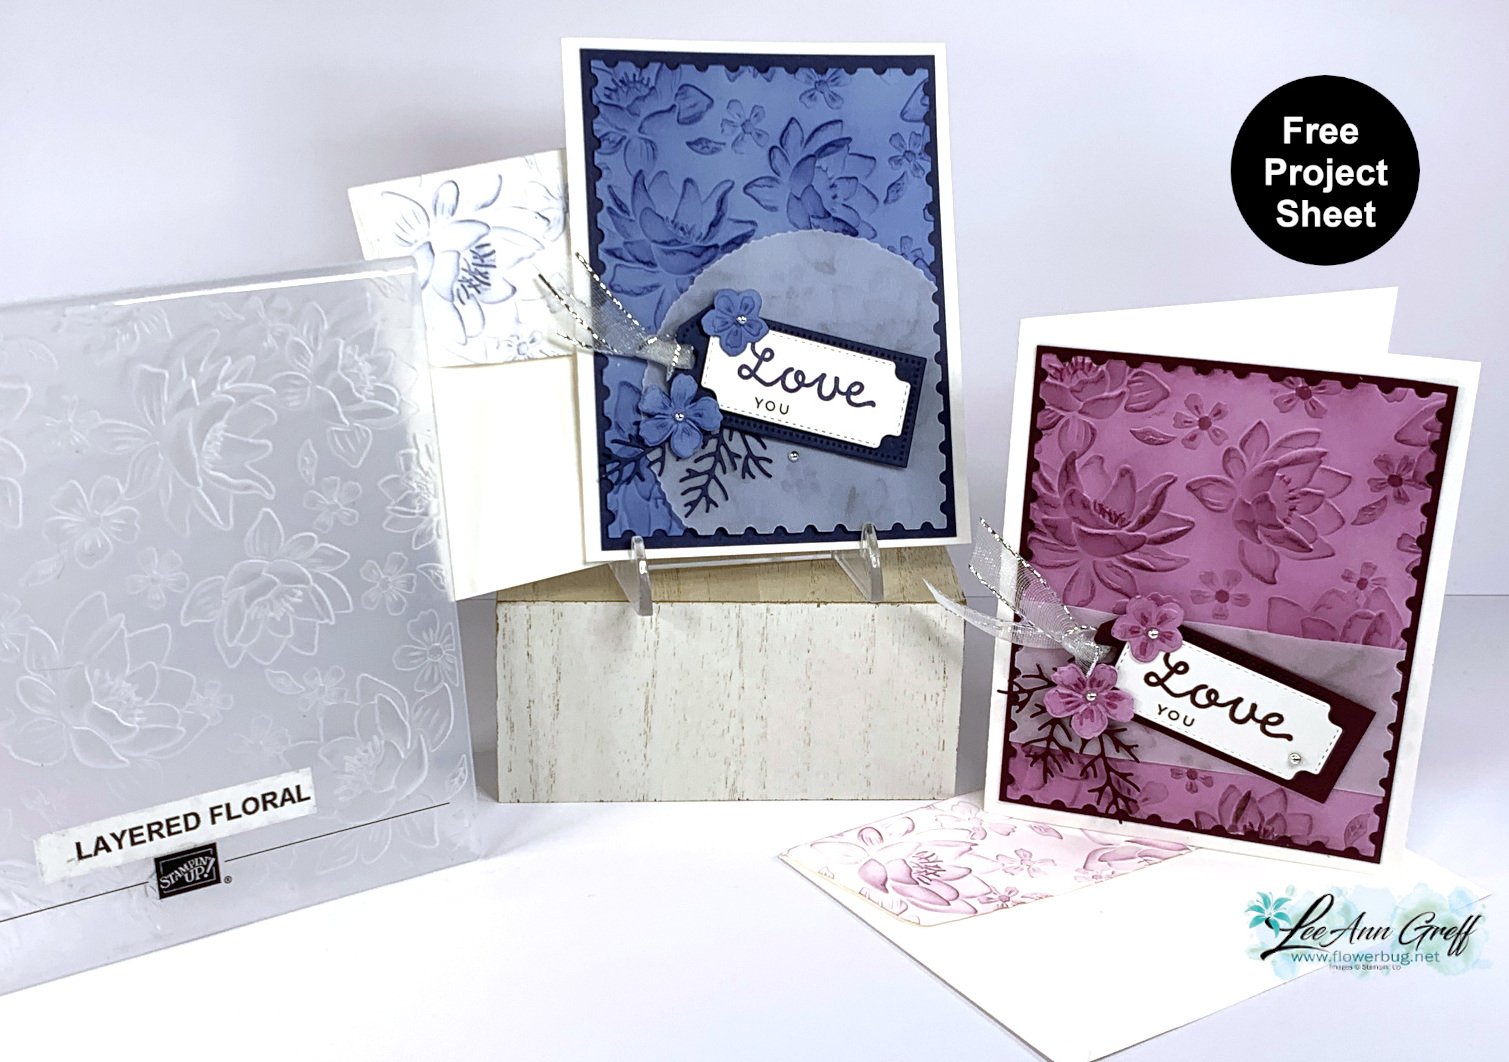
I made a second card during the video with another rich color combination of Night of Navy with Boho Blue. Note the different ways I added vellum to these two cards. 

Also note the pretty texture added to the envelope flap; why don't we do this more often!? 

Here are the 3 ways I featured this pretty Layered Floral 3D embossing folder:

  1. Textured, then added ink with a Blending Brush.
  2. I textured the envelope flap and add a very light ink, again with a Blending Brush.
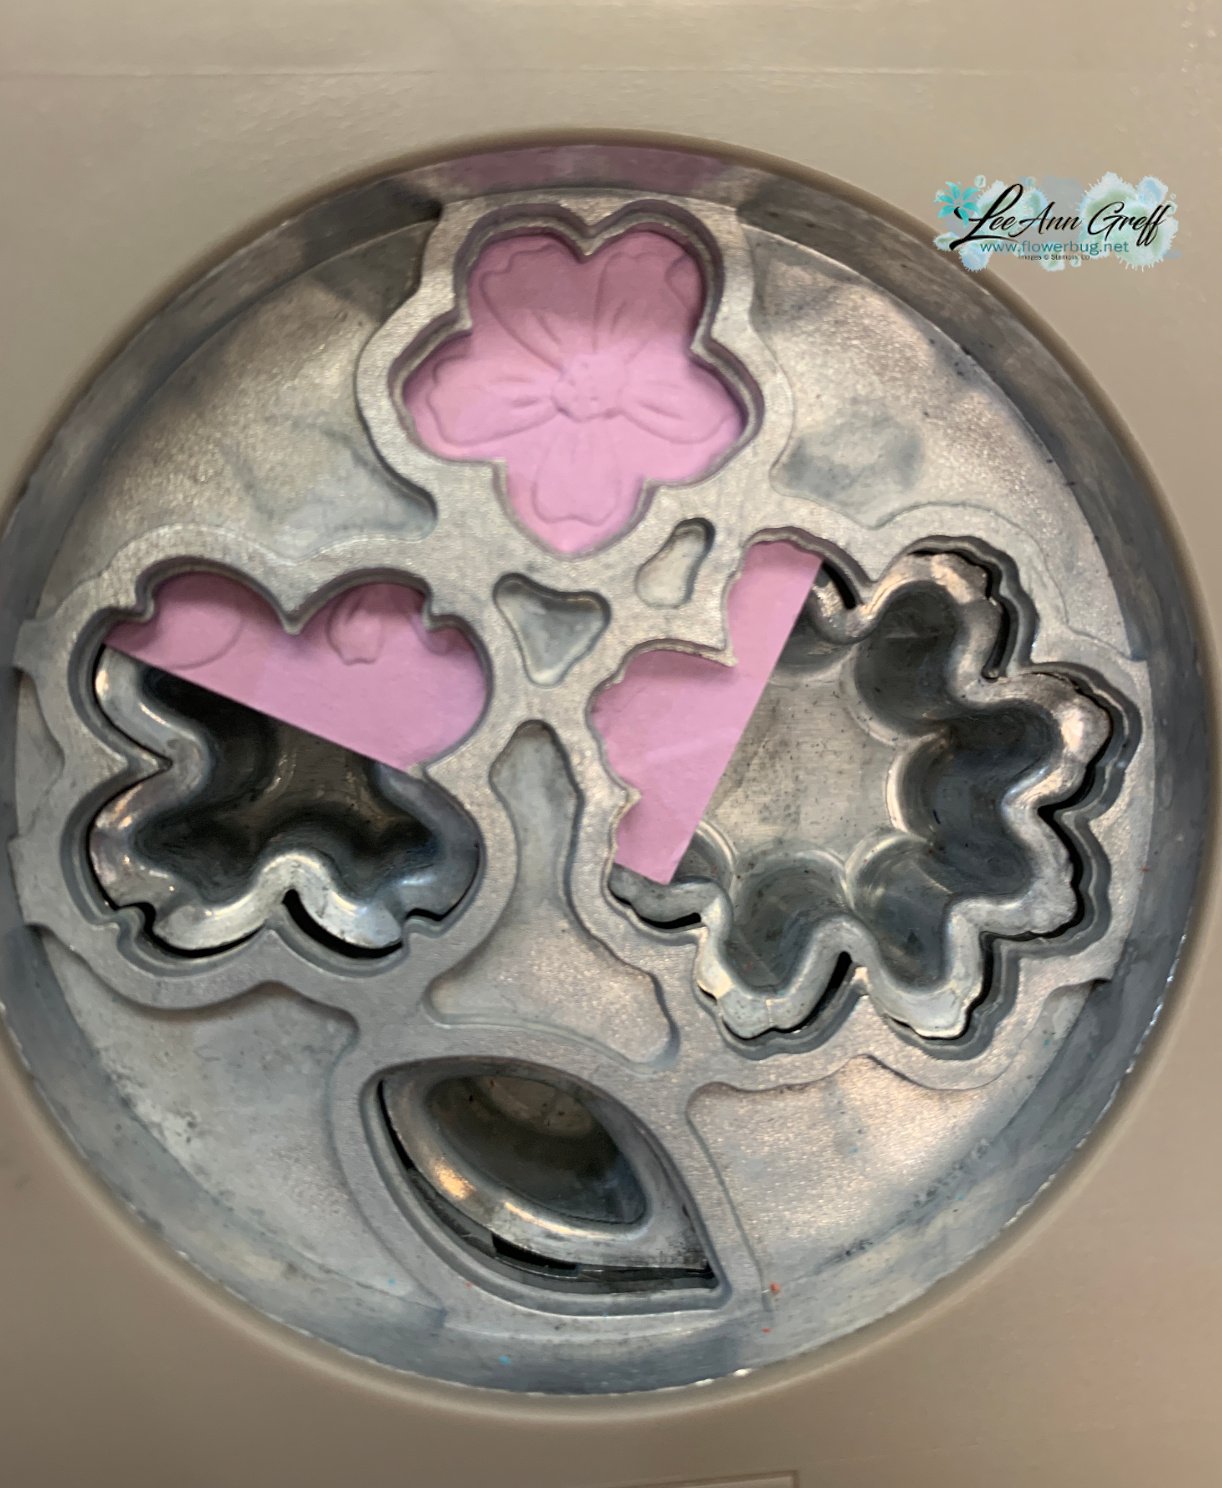
  3. Cut out a large flower from a separate piece of textured card stock; and I punched a smaller flower using the Petal Park Builder punch – yes it coordinates!!
Products used here:

  • Layered Floral 3D embossing folder; seen here
  • Deckled Circle dies seen here
  • Vellum card stock
  • Cheerful Daisy dies
  • Heartfelt Hellos stamp set from Sale-a-Bration catalog seen here; free with a $50 order

Which is your favorite?
Click on this link to download the free project sheet: Download Layered Floral & Perennial Postage cards

You can see the video below. I share another way to use this beautiful folder too! 

~~~

February Specials: 

Earn FREE products with your Stampin' Up! purchase during

Sale-a-Bration! *click here

*current host code link: 4BXU7SGH 

It's the best time to get a pre-paid Sale-a-Bration subscription

& earn free Sale-a-Bration products!  


~~~

Get a free Gold Foiled cards & envelopes kit

with online orders over $55 in February

All online orders in February will receive this free tutorial with 8 projects!

All Posts

  • Amazing Bag of Bones Halloween & Pick of the Patch swap cards


    We held our monthly Team swap last weekend and I'm excite to share these amazing swap cards with you.

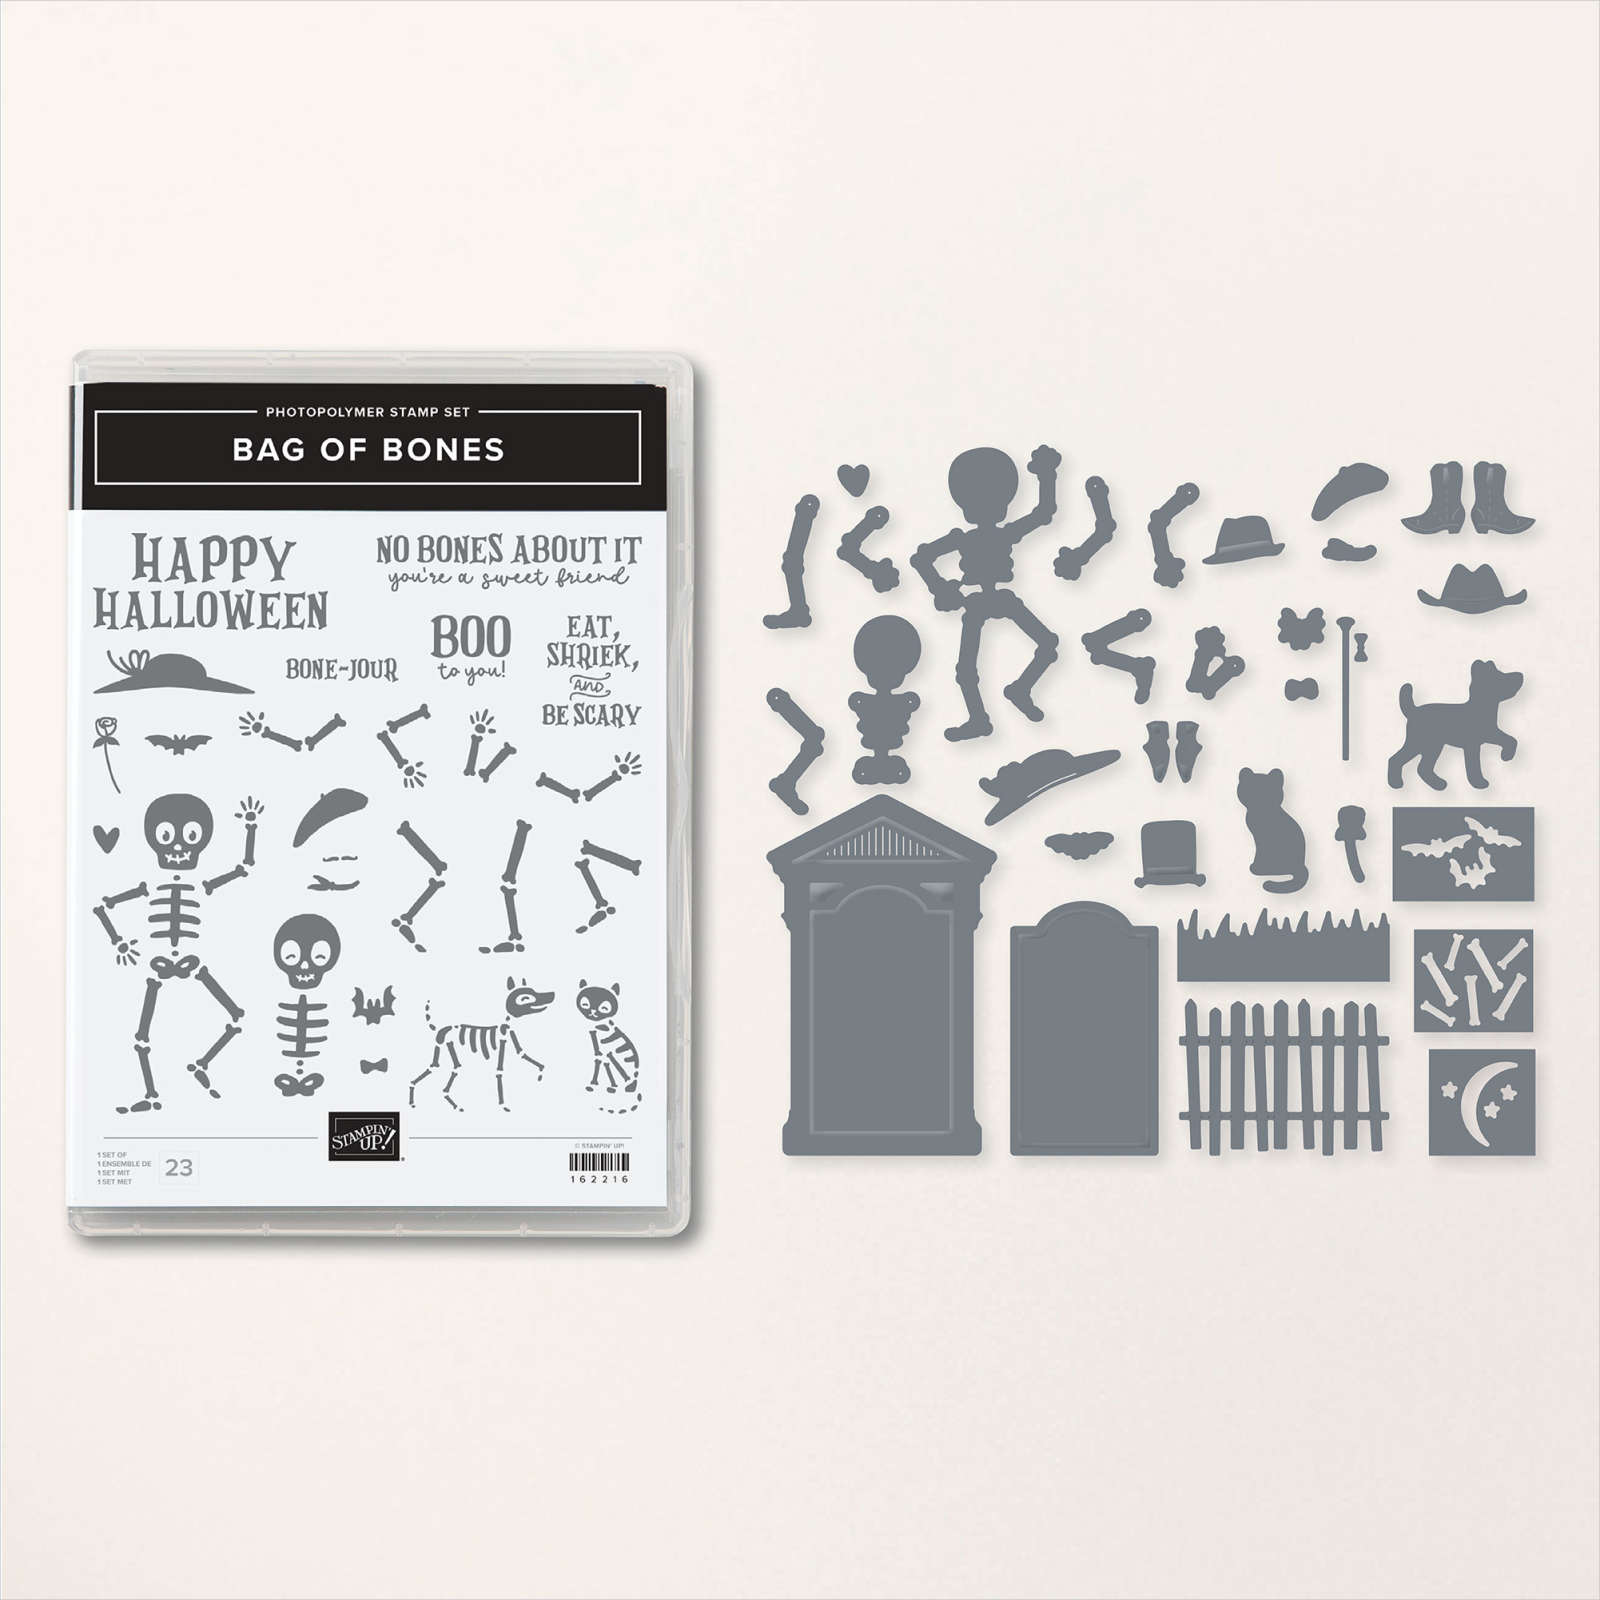
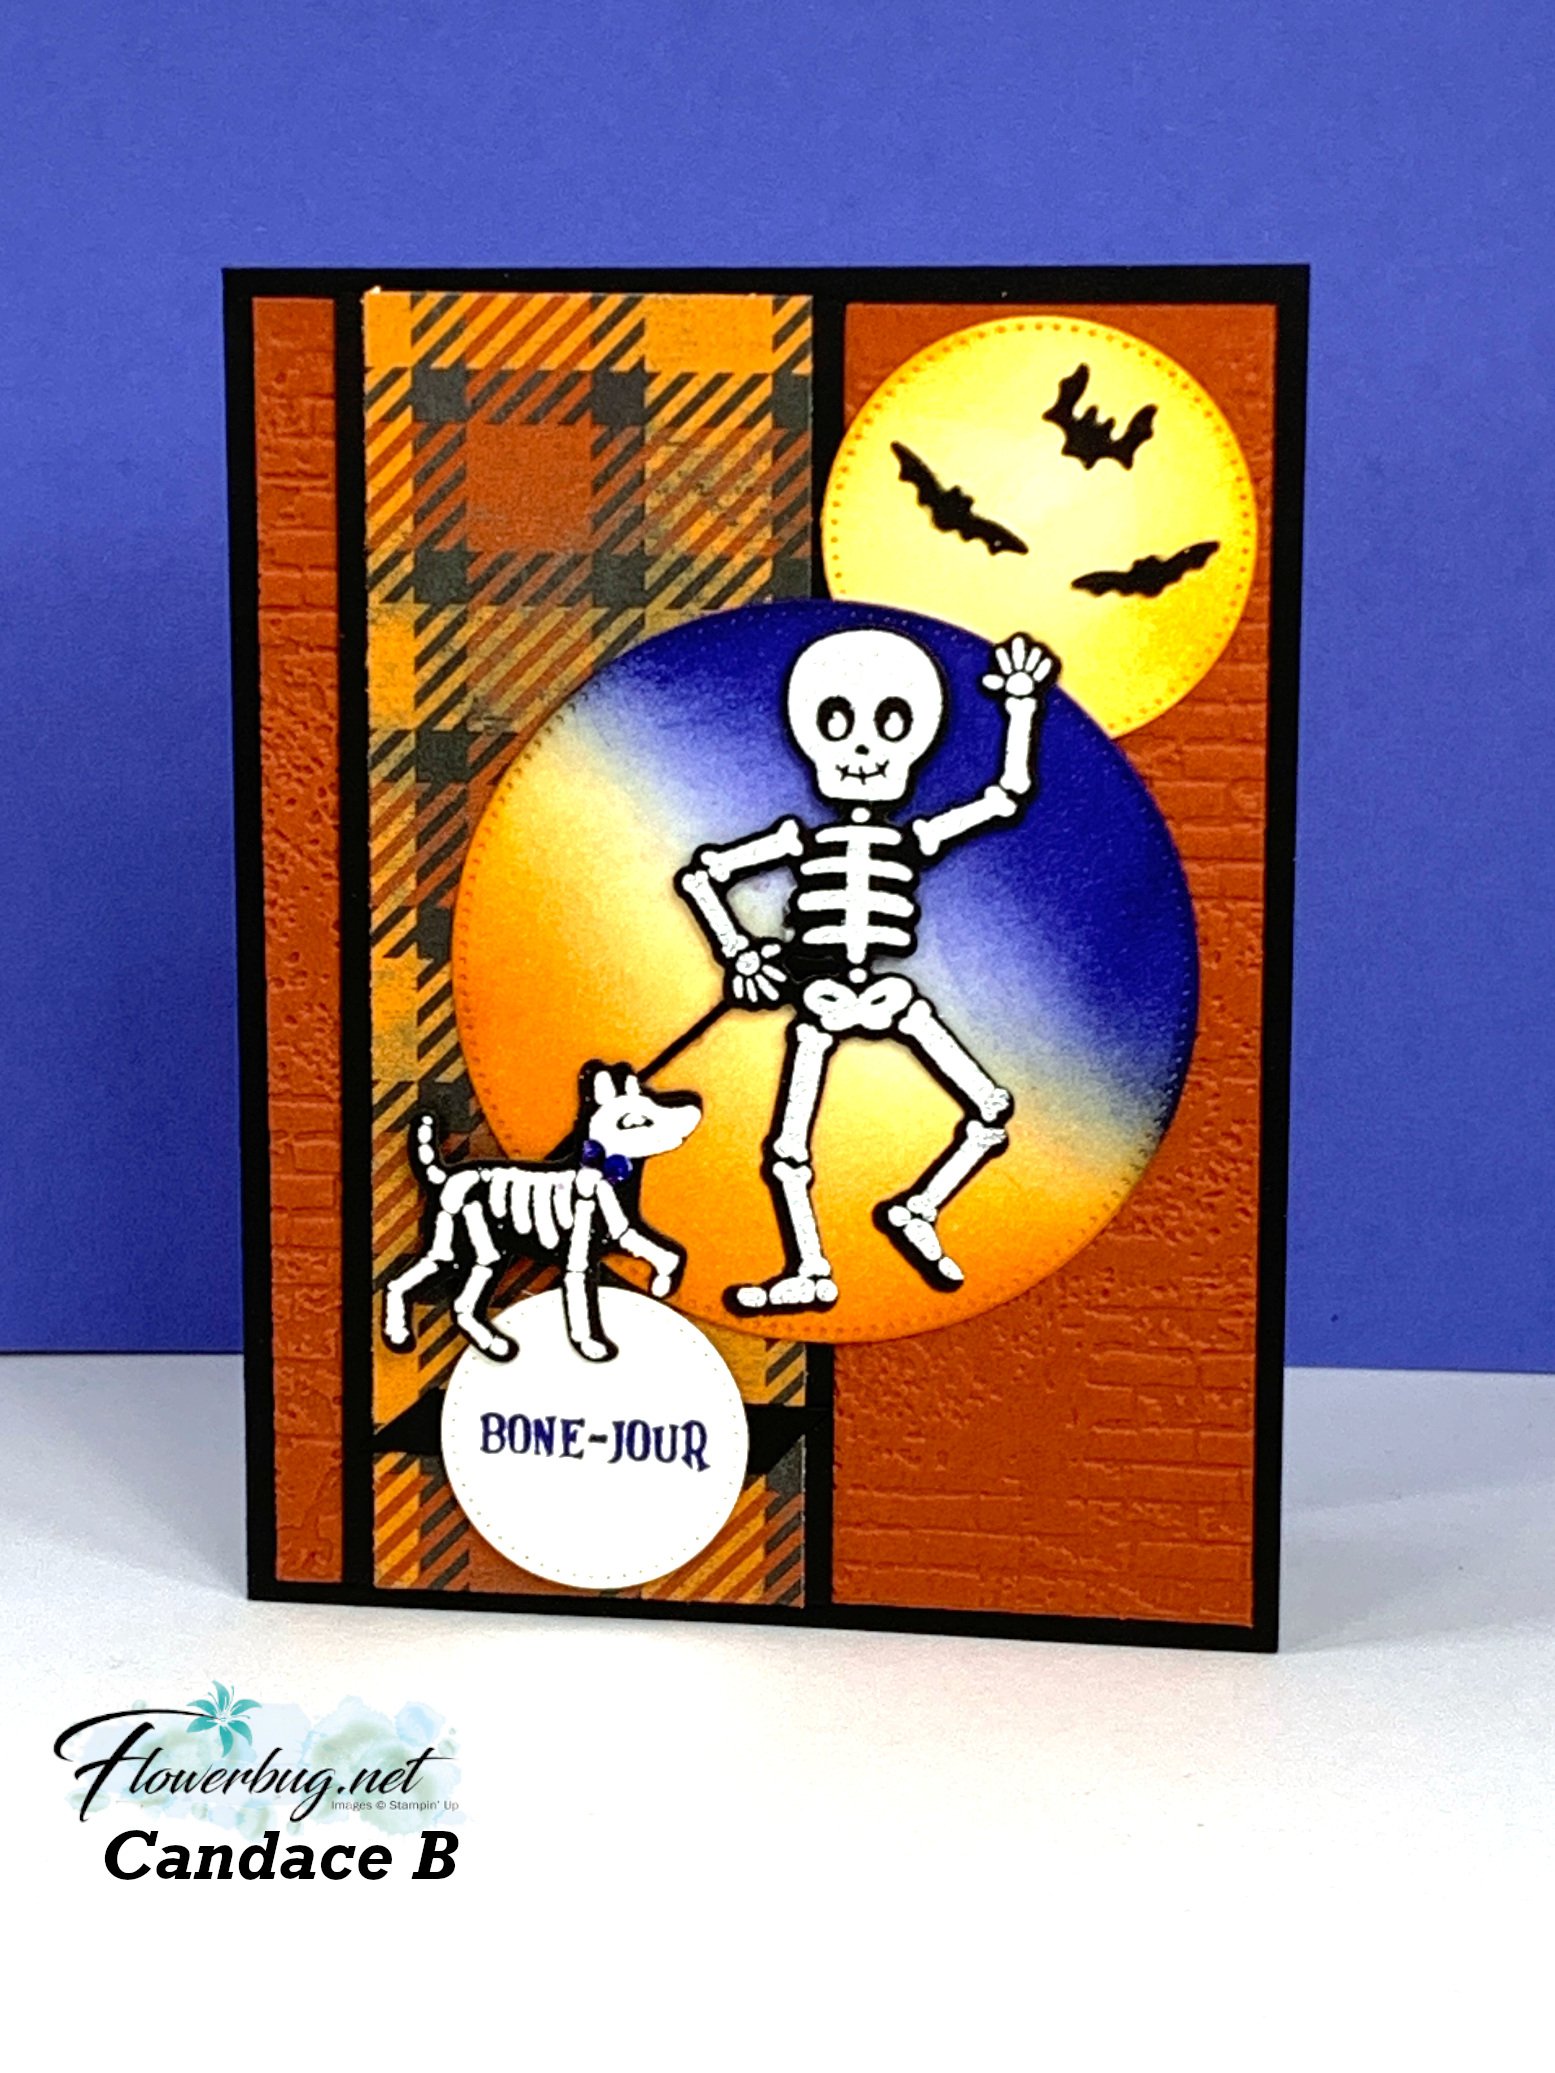
    First up is a gorgeous card made by Candace that features the Bag of Bones bundle. 

    She added a strip of the new Them Bones designer paper seen here to her Cajun Craze textured layer (Exposed Brick) and created the gorgeous blended background circles for her skeletons. I believe she used Pumpkin Pie, Crushed Curry and Starry Sky and blending brushes.  

    Her skeletons were heat embossed with White powder on Black cardstock, then die-cut with the Bag of Bones dies.  The bats on the yellow moon are die-cuts from this same bundle. 

    This bundle was out of stock for a bit but it's back now! See it here. 

    Measurements:

    • Black card base 8 1/2" X 5 1/2" score at 4 1/4", layer for DSP is 2" X 5 1/2"
    • Cajun Craze 4" X 5 1/4"
    • Them Bones DSP 1 3/4" X 5 1/4" 
    • Circles from Stylish Shapes – 1 1/4", 1 5/8" and 3"

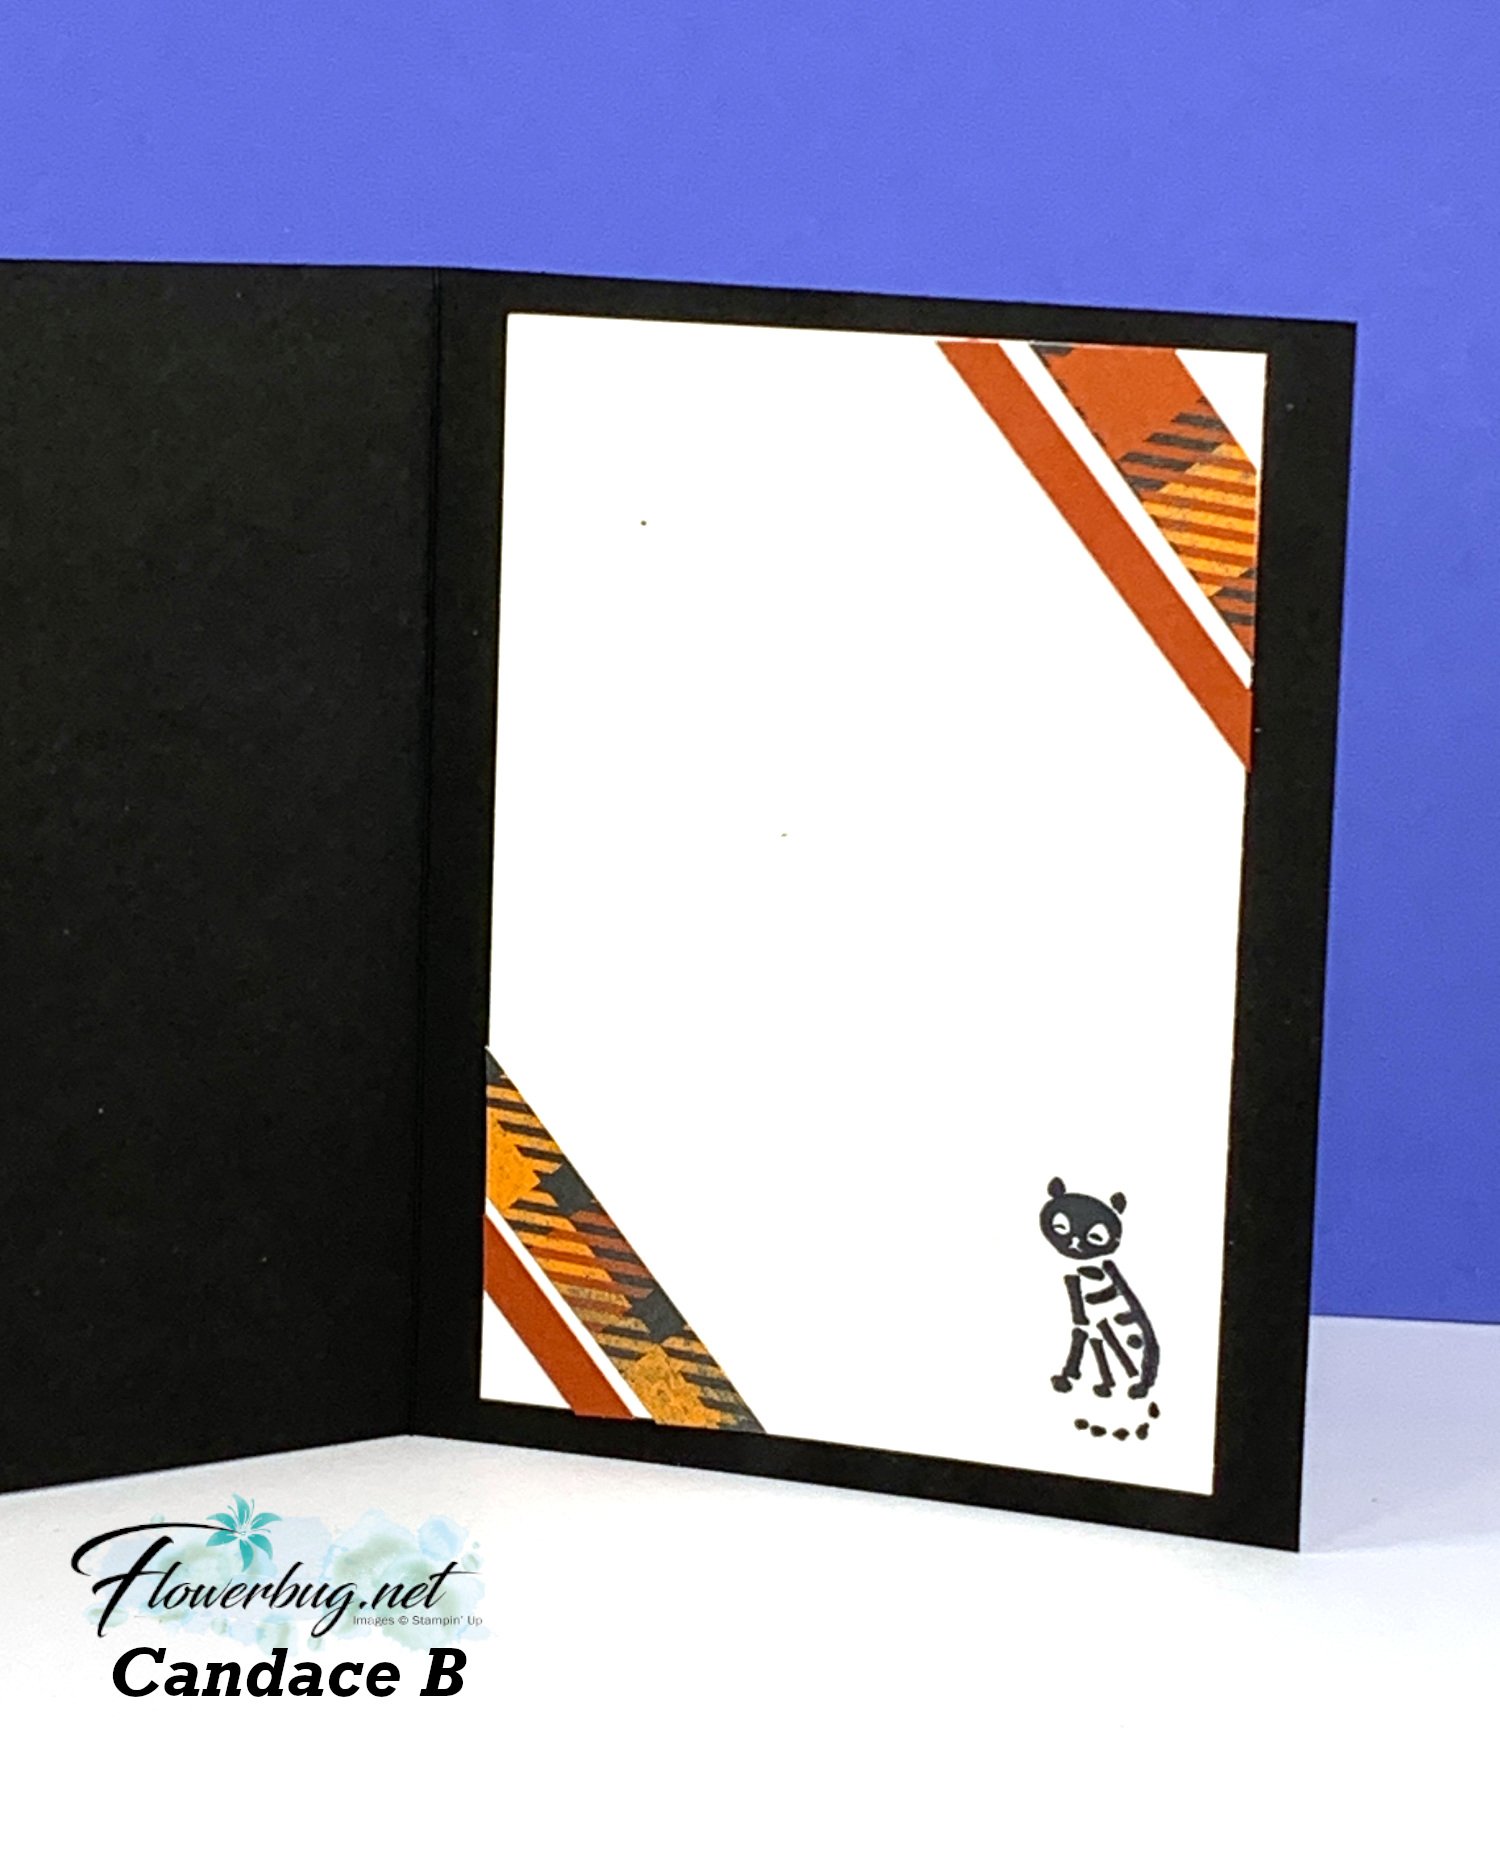
    Check out the inside; she jazzed it up with strips of cardstock and designer paper.  

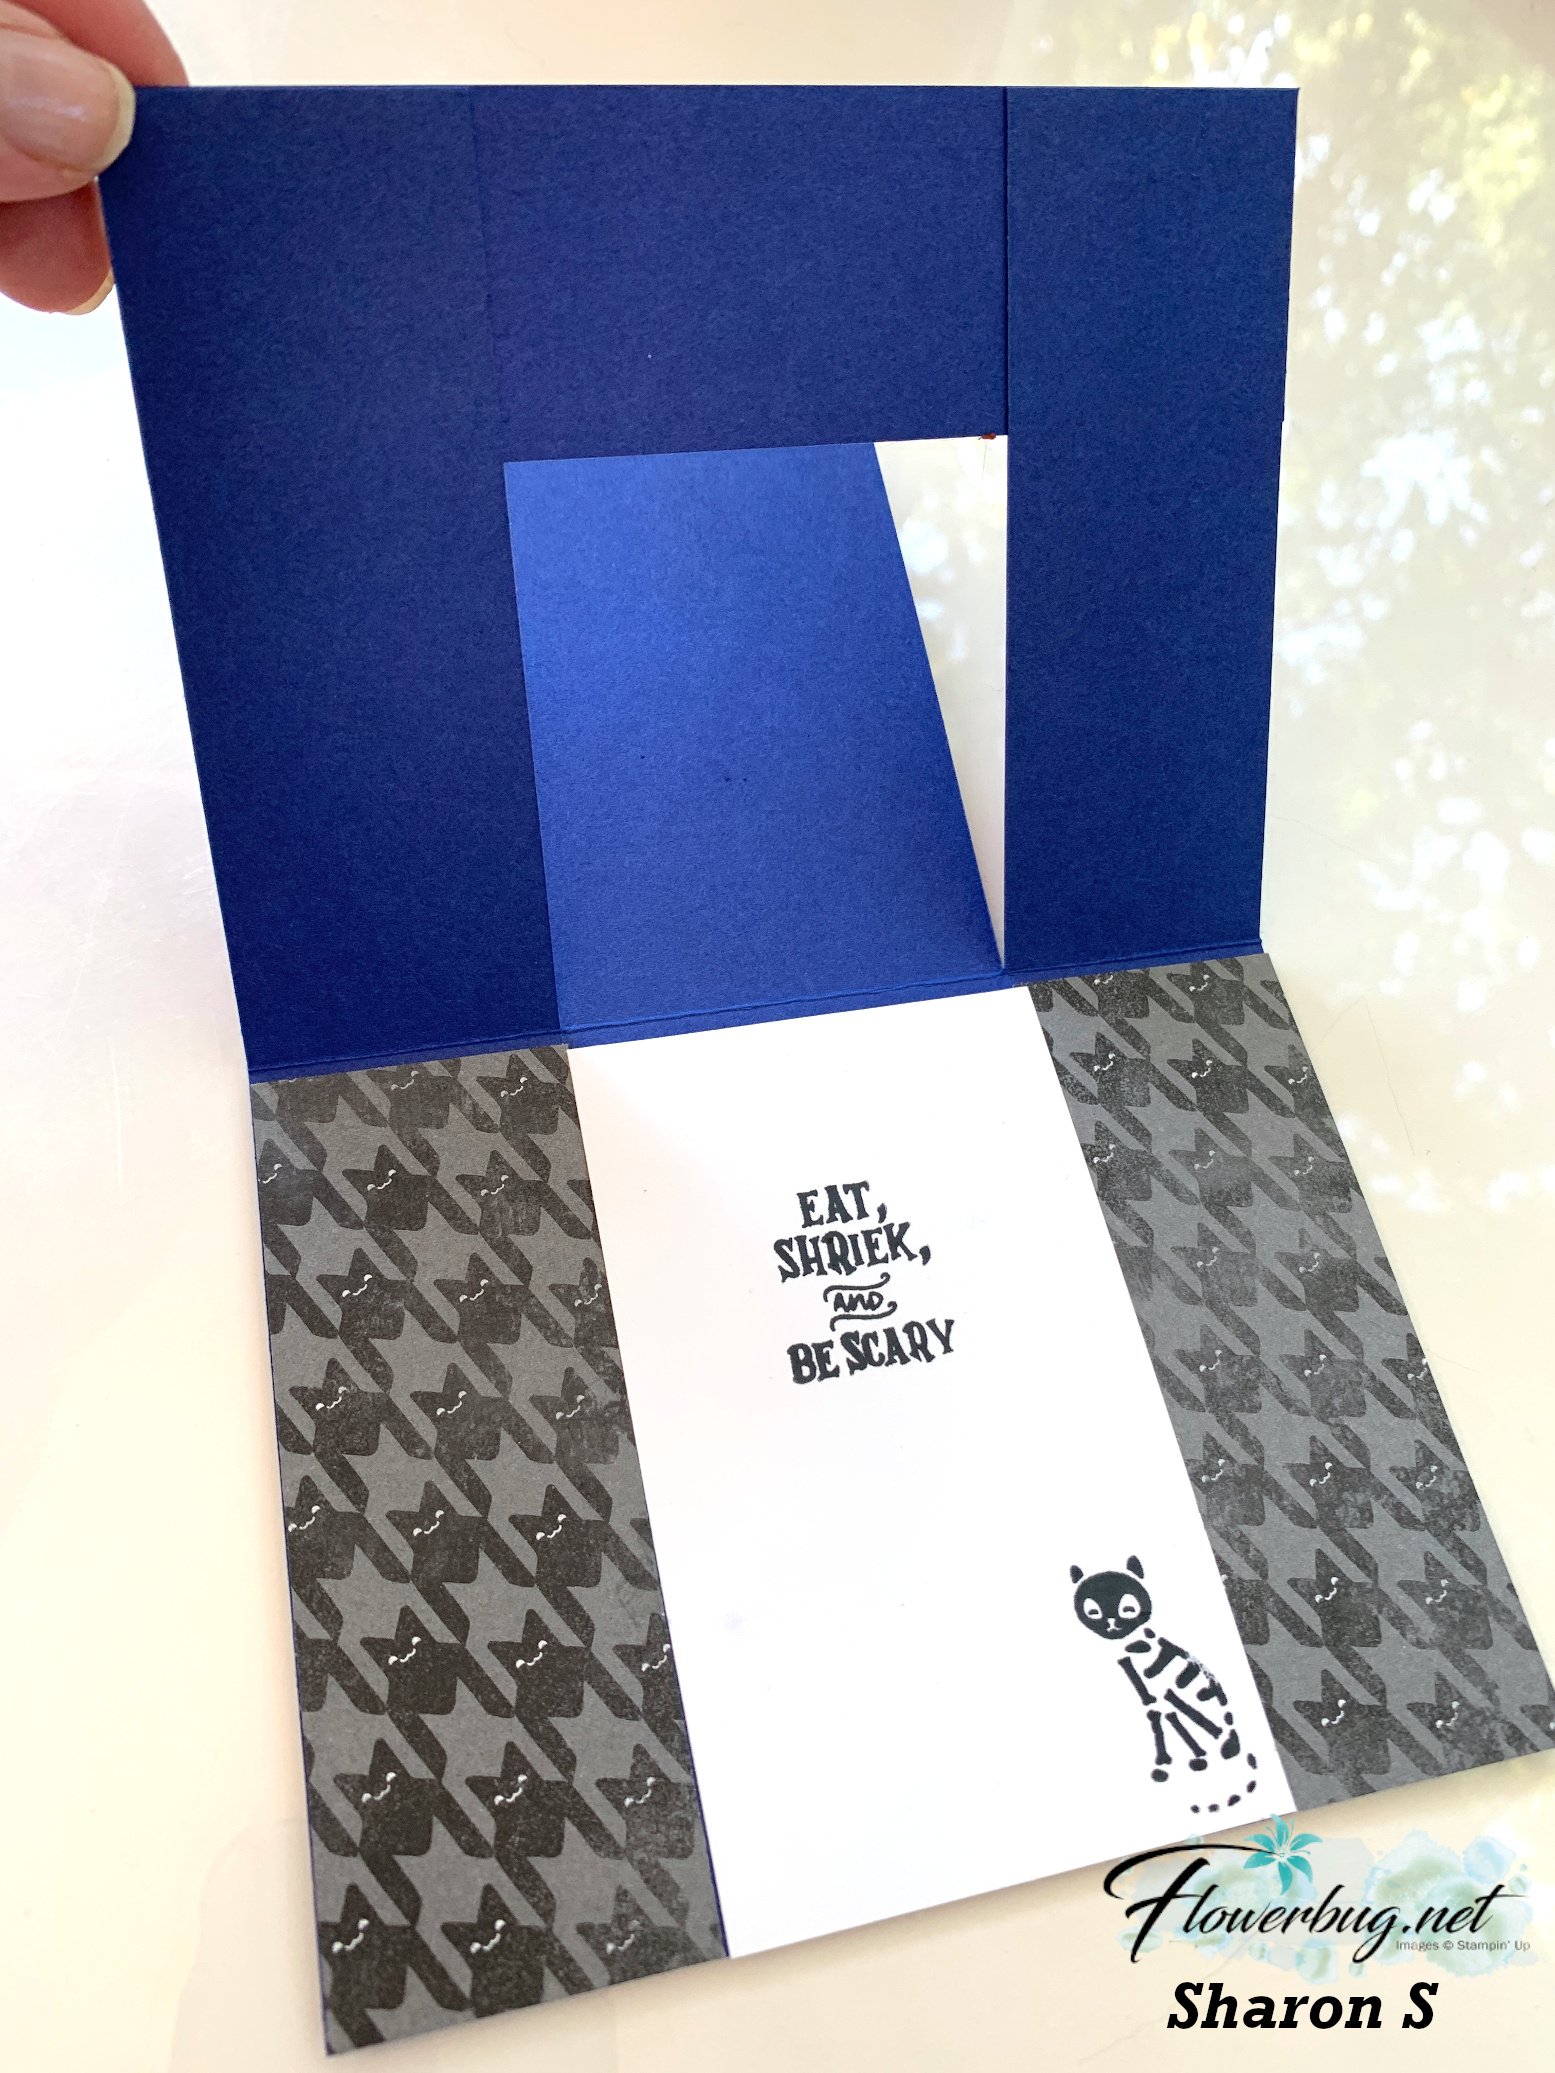
    Sharon made this adorable card with the same bundle and Them Bones designer series paper.  

    She added the cool 'Glow in the Dark' bats & ghosts to her middle panel. The skeleton is stamped with Black Stazon ink on Glow in the Dark specialty paper (seen here) as well!  So cool!  

    It's a spanner card!  She jazzed up the inside layers too.  

    Measurements:

    • Starry Sky card base 5 1/2" X 8 1/2" score at 4 1/4".  Then cut up to center score line at 1 1/2" from both sides.  Horizontal strip is 5 1/2" X 1 1/2"
    • Black layers – front sides are 1 3/8" X 4 1/8", center 2 3/8" X 4 1/8" and 2 3/8" X 1 1/8" for greeting
    • Designer paper – front side panels 1 1/4" X 4", back inside 1 3/8" X 4 1/4"
    • Cajun Craze center 2 1/4" X 4"
    • White inside 2 1/2" X 4"

    What a fabulous card! 

    Lastly today is a sweet card by Candace who featured the Pick of the Patch bundle seen here:

    I love her out of the box color choices of Pretty Peacock, Blackberry Bliss and Pumpkin Pie. She used the new Deckled Circle dies for the background of her punched pumpkins.  Her ribbon is new as well – a Vanilla and Black gingham seen here.  

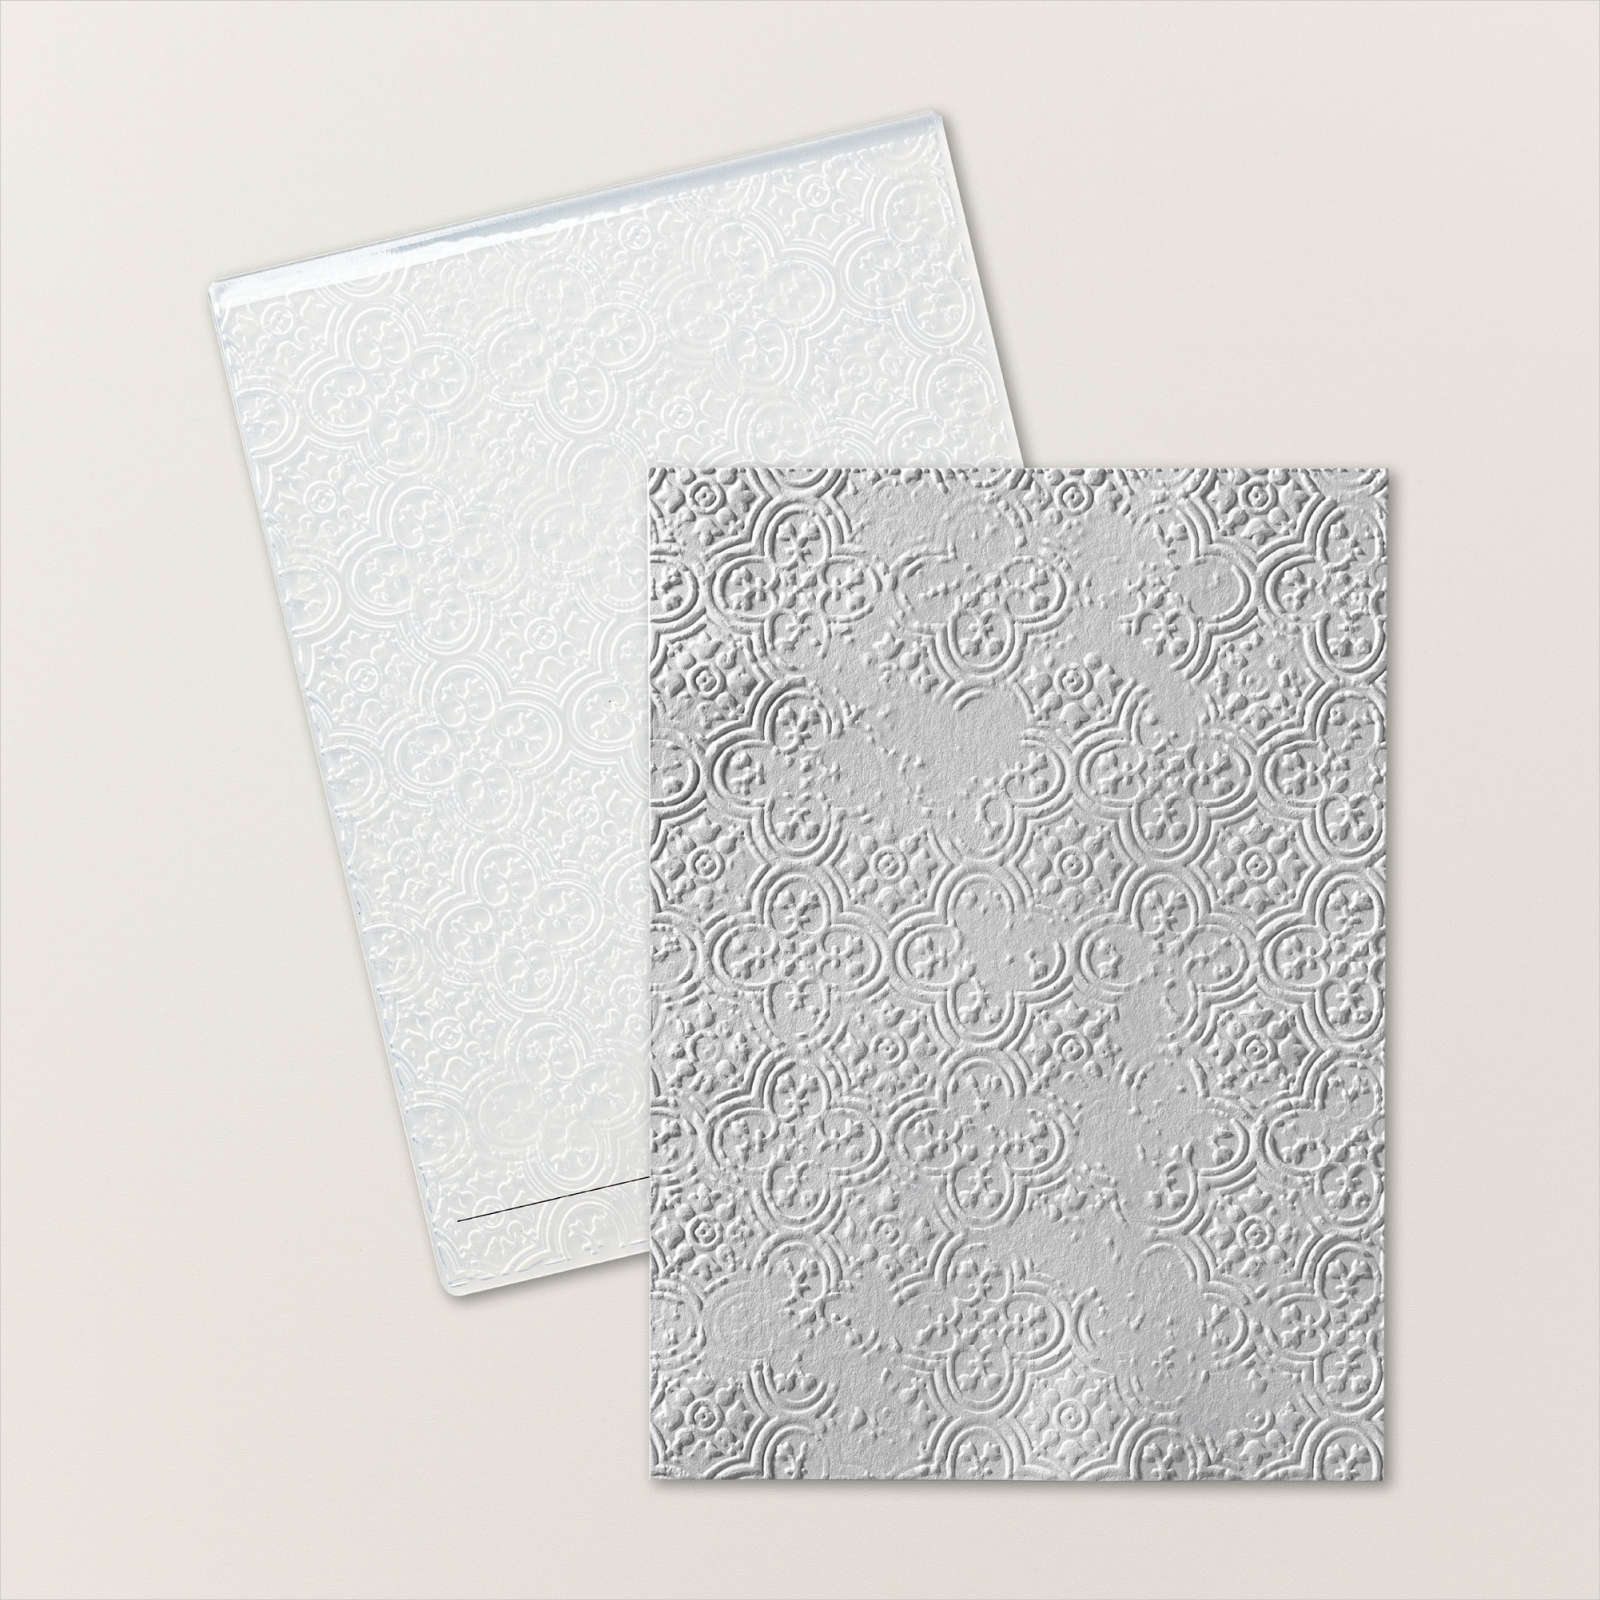
    The photo barely shows off the pretty and new Distressed Tile embossing folder.  It's a new favorite for many! 

    I'll share more fabulous team swaps tomorrow!  See three other gorgeous swaps here

    ~~~

    September Specials: 

     *current host code: WXX6RCHA or VEH4FKBV

    Shop the updated Clearance Rack here:


    *Get a free 6 card kit with orders over $55 (Includes card bases, coordinating envelopes, Memories & More cards, gems & more) 

    ~~~

    Get a Mystery Box full of Stampin' Up! supplies while they last!

    Each box contains from $180-200 in retired products (new or lightly used)

    1. Place an online Stampin' Up! order over $100 (before tax & shipping) using one of my current host codes to reserve a Mystery Box. *Host code links – WXX6RCHA or MYF6MXAG
    2. Send me the $14 shipping fee (PayPal or Venmo). 
    3. I'll send you your Mystery box via Priority Shipping! 

    Leave a Reply

    Your email address will not be published. Required fields are marked *

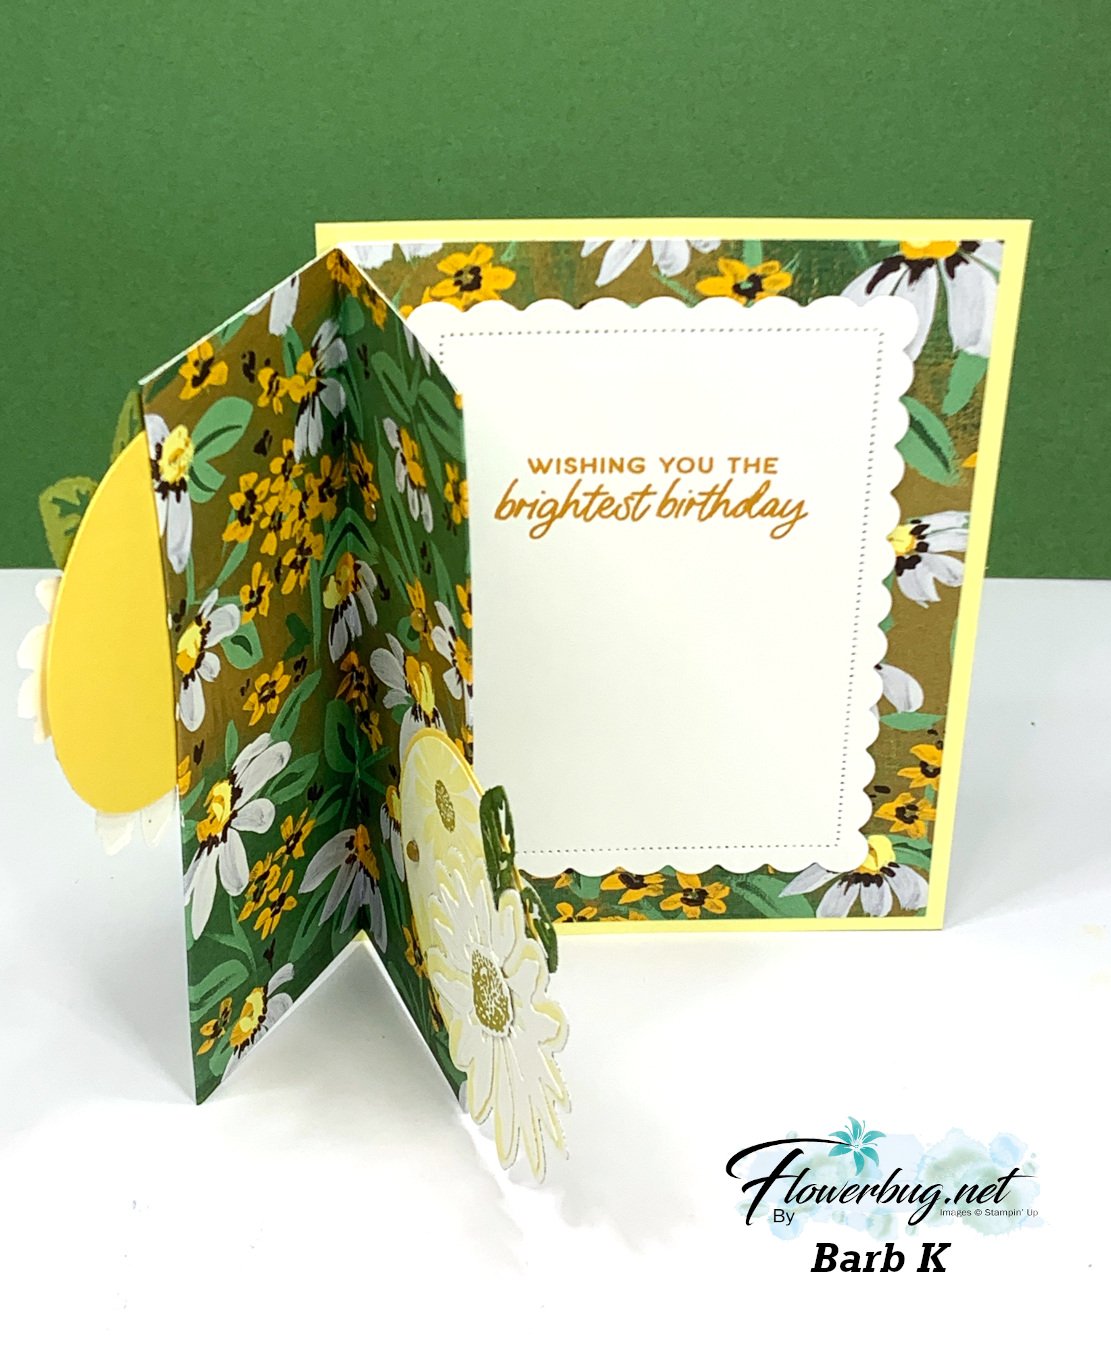
  • Two Neat Cheerful Daisy Fun Fold cards by Barb


    Barb was our Artist of the Month for my Flowerbug's team in August and made this super neat card with the Fresh as a Daisy designer paper and the Cheerful Daisy bundle seen here.

    It uses a long piece of the designer paper, scored and folded to create most of the card.  She cased the idea from Patty Bennett. 

    She added two layers of die-cut daisies to the folds using layered circles as a base for them.  

    Measurements:

    Start out with a 5 1/4" X 12" piece of designer paper and score it at 2", 4" and 6".  Adhere the paper together on the score lines. Then add to a full card base measuring 4 1/4" X 5 1/2".  Now embellish with your die-cuts or punches, layering them in different heights.  

    The inside has a die-cut from the Scalloped Contours dies.  

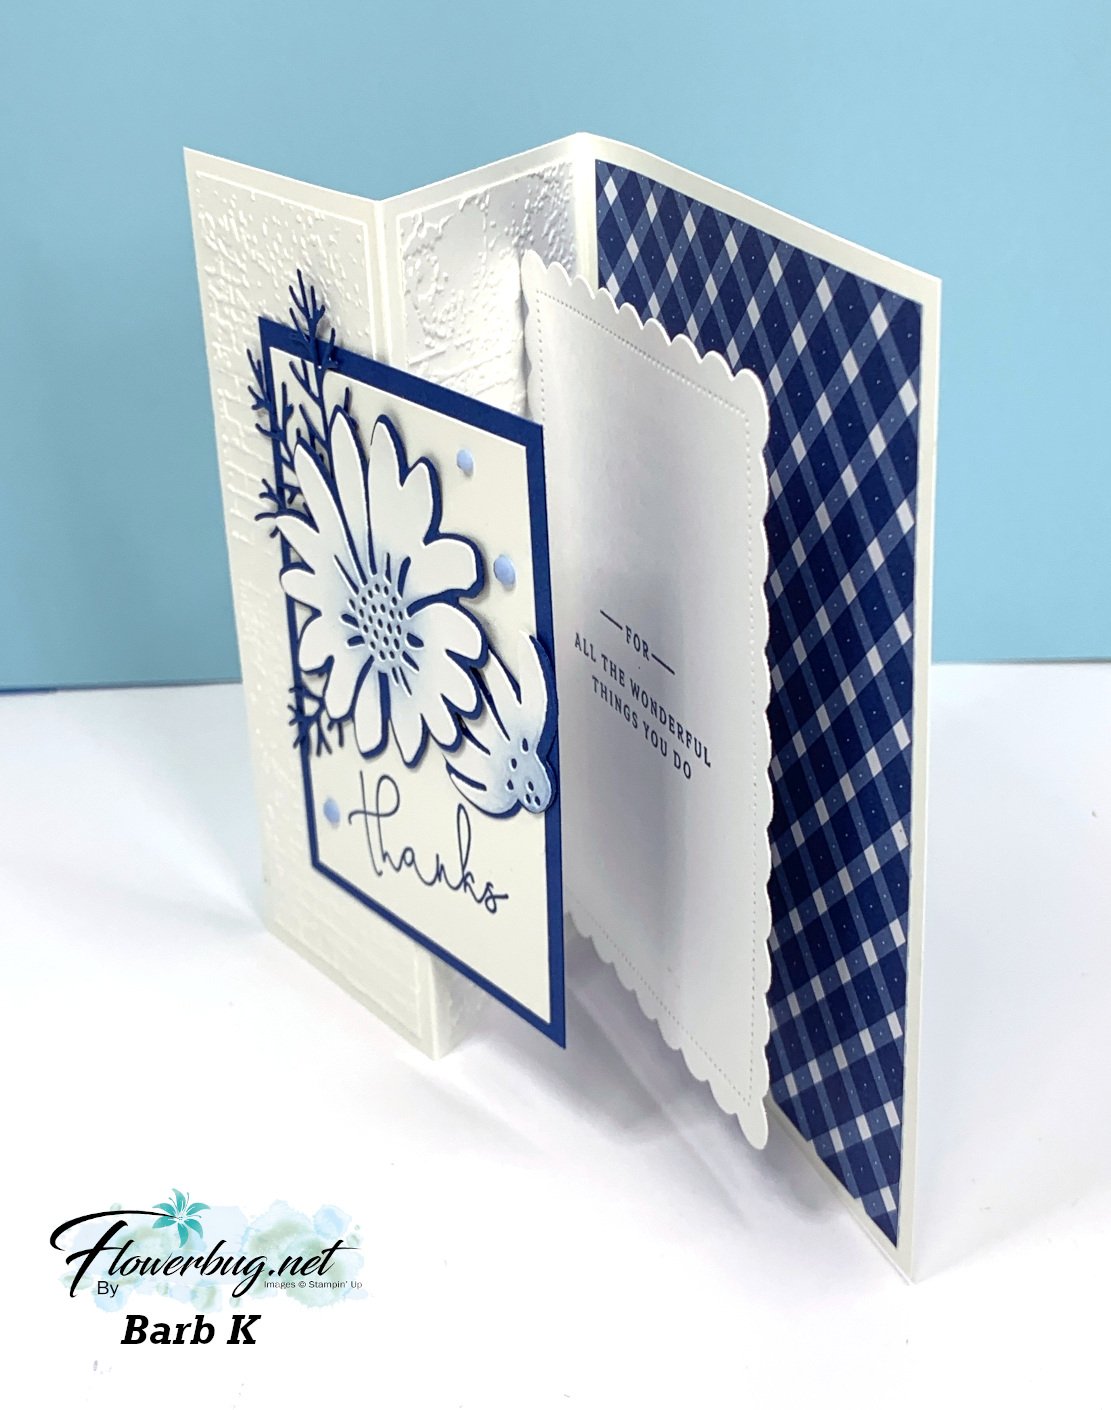
    Next is a beautiful Double-Decker fun fold card featuring Blueberry Bushel and White.  

    I made a card like this on a recent video; see it here.  

    This card looks a bit intimidating – at least it did to me – until I tried one.  It's actually quite easy.  

    Measurements:

    • Card base 8 1/2" X 5 1/2" score at 2 1/8" and 4 1/4"
    • White front 2 1/2" X 3 1/2", die-cut scalloped rectangle 3 1/8" X 4 3/8" finished, front texture 1 7/8" X 5 1/4" 
    • White box for double-decker 2 1/2" X 3 1/2" score every 3/4" and form into a box 
    • Blueberry Bushel 2 3/4" X 3 3/4"
    • DSP 4" X 5 1/4"

    See more of her Cheerful Daisy cards here.  


    ~~~

    September Specials: 

     *current host code: WXX6RCHA or MYF6MXAG

    *Get a free 6 card kit with orders over $55 (Includes card bases, coordinating envelopes, Memories & More cards, gems & more) 

    ~~~

    Get a Mystery Box full of Stampin' Up! supplies while they last!

    Each box contains from $180-200 in retired products (new or lightly used)

    1. Place an online Stampin' Up! order over $100 (before tax & shipping) using one of my current host codes to reserve a Mystery Box. *Host code links – WXX6RCHA or MYF6MXAG
    2. Send me the $14 shipping fee (PayPal or Venmo). 
    3. I'll send you your Mystery box via Priority Shipping!  

    Leave a Reply

    Your email address will not be published. Required fields are marked *

  • Check out these Cheerful Daisy projects; WOW!!


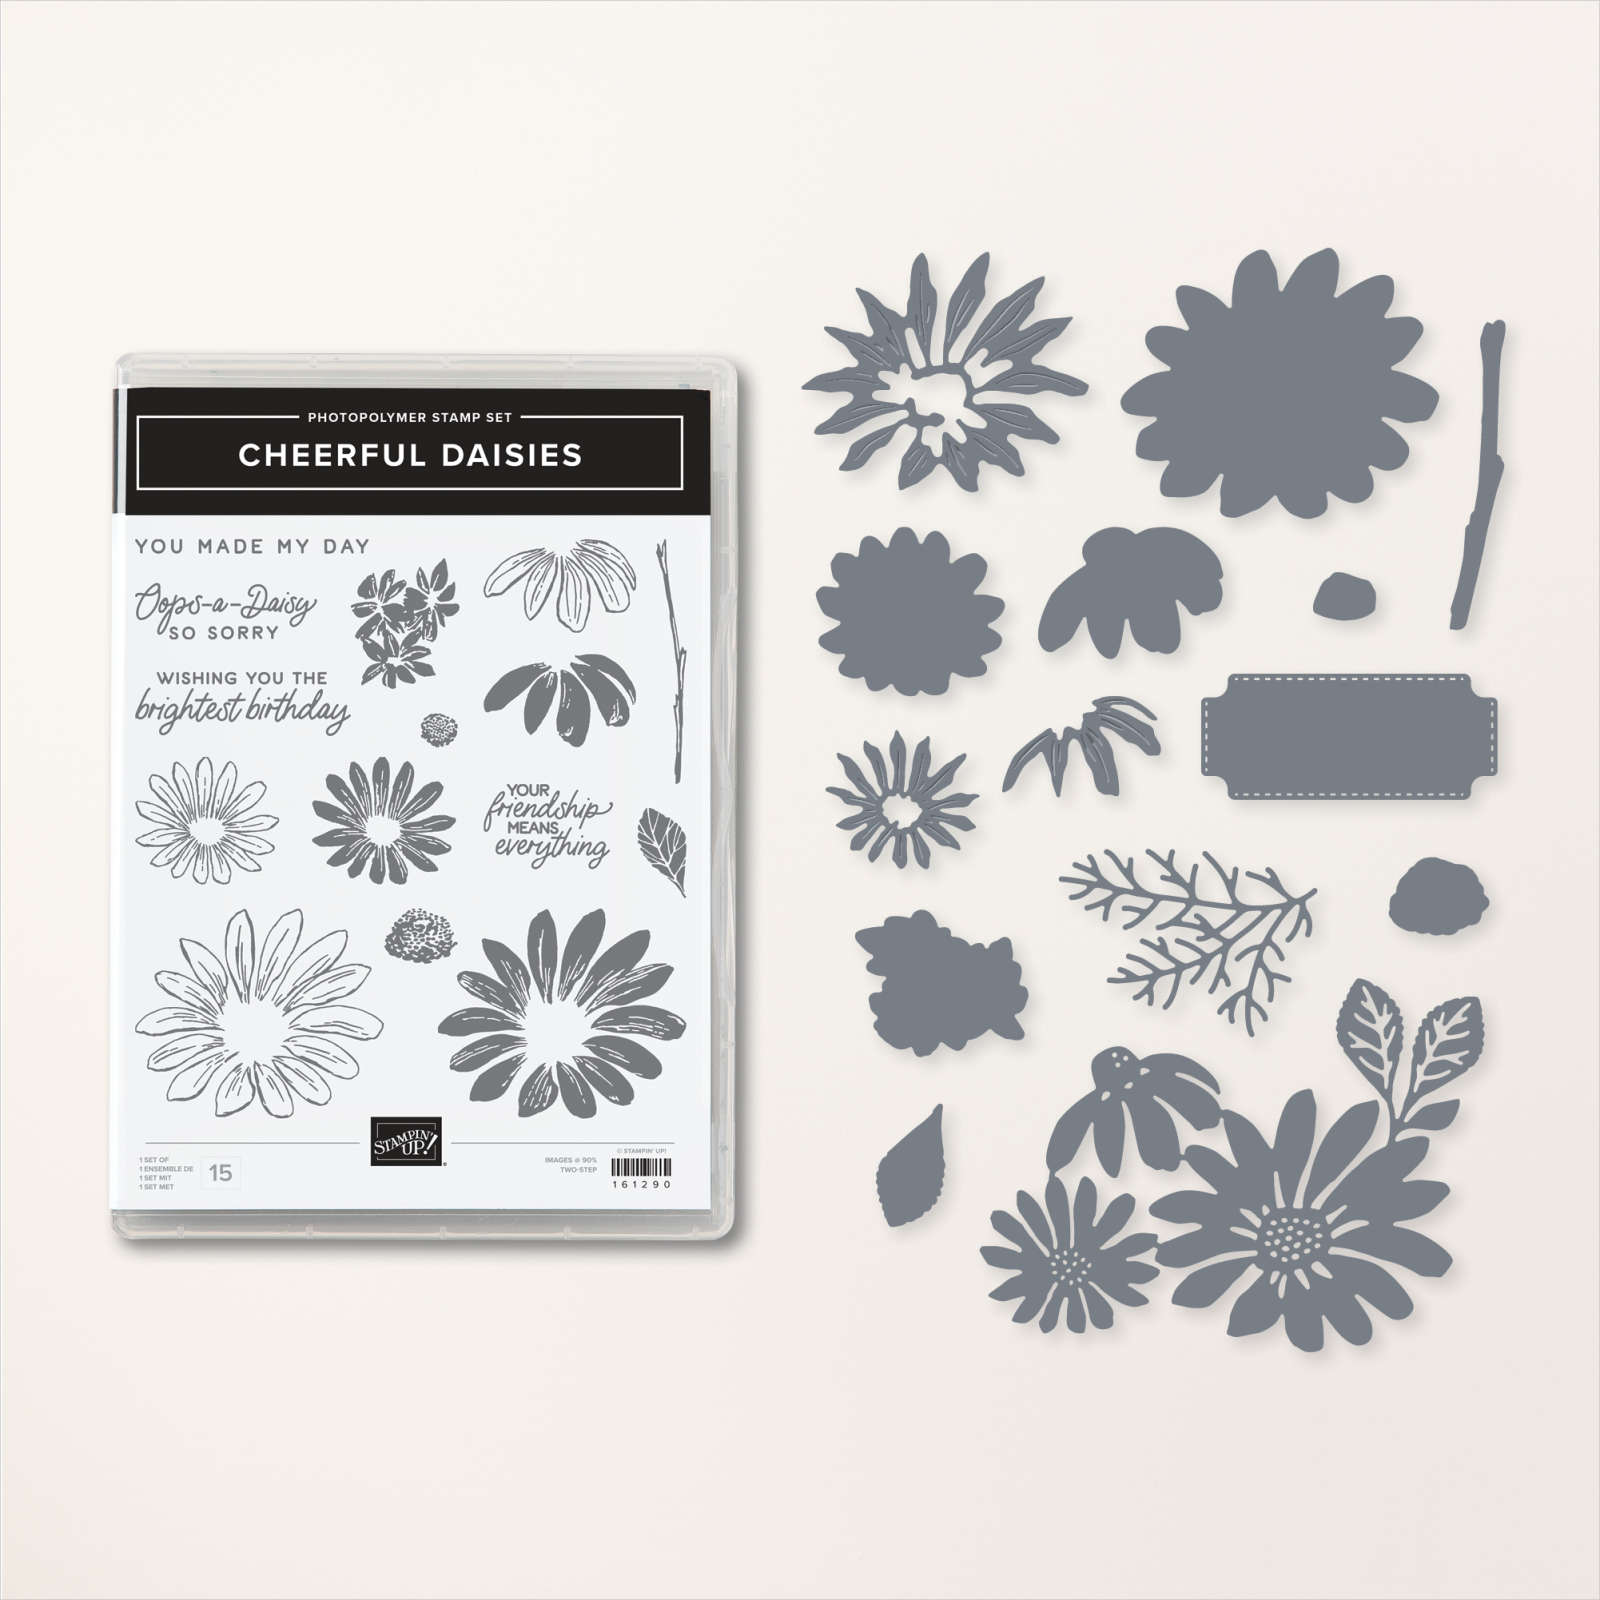
    Each month I ask one of my Flowerbug's Team to volunteer as our Artist of the Month.  For August it was Barb who chose the Cheerful Daisy bundle seen here.  They receive the bundle from me free and in exchange I ask them to create a minimum of 5 projects with it.  She did a fabulous job!!  

    This first card is a super neat fun fold card showing off the Countryside Corners dies seen here. 

    She cased it from Debbie Henderson.  The designer paper is Countryside Inn. Stamps include Cheerful Daisies and Sentimental Park

    Measurements: 

    • Navy cardstock – 4 1/4" X 10 1/2" score at 3 1/2" X 7"
    • Designer paper layers – 3 1/4" X 4"
    • Largest White Countryside Corner die-cuts are 4 1/2" tall
    • Designer Paper Countryside Corner die-cuts are 4" tall

    Next is a pretty card with a simple addition of a triangle cut of the Masterfully Made designer paper. 

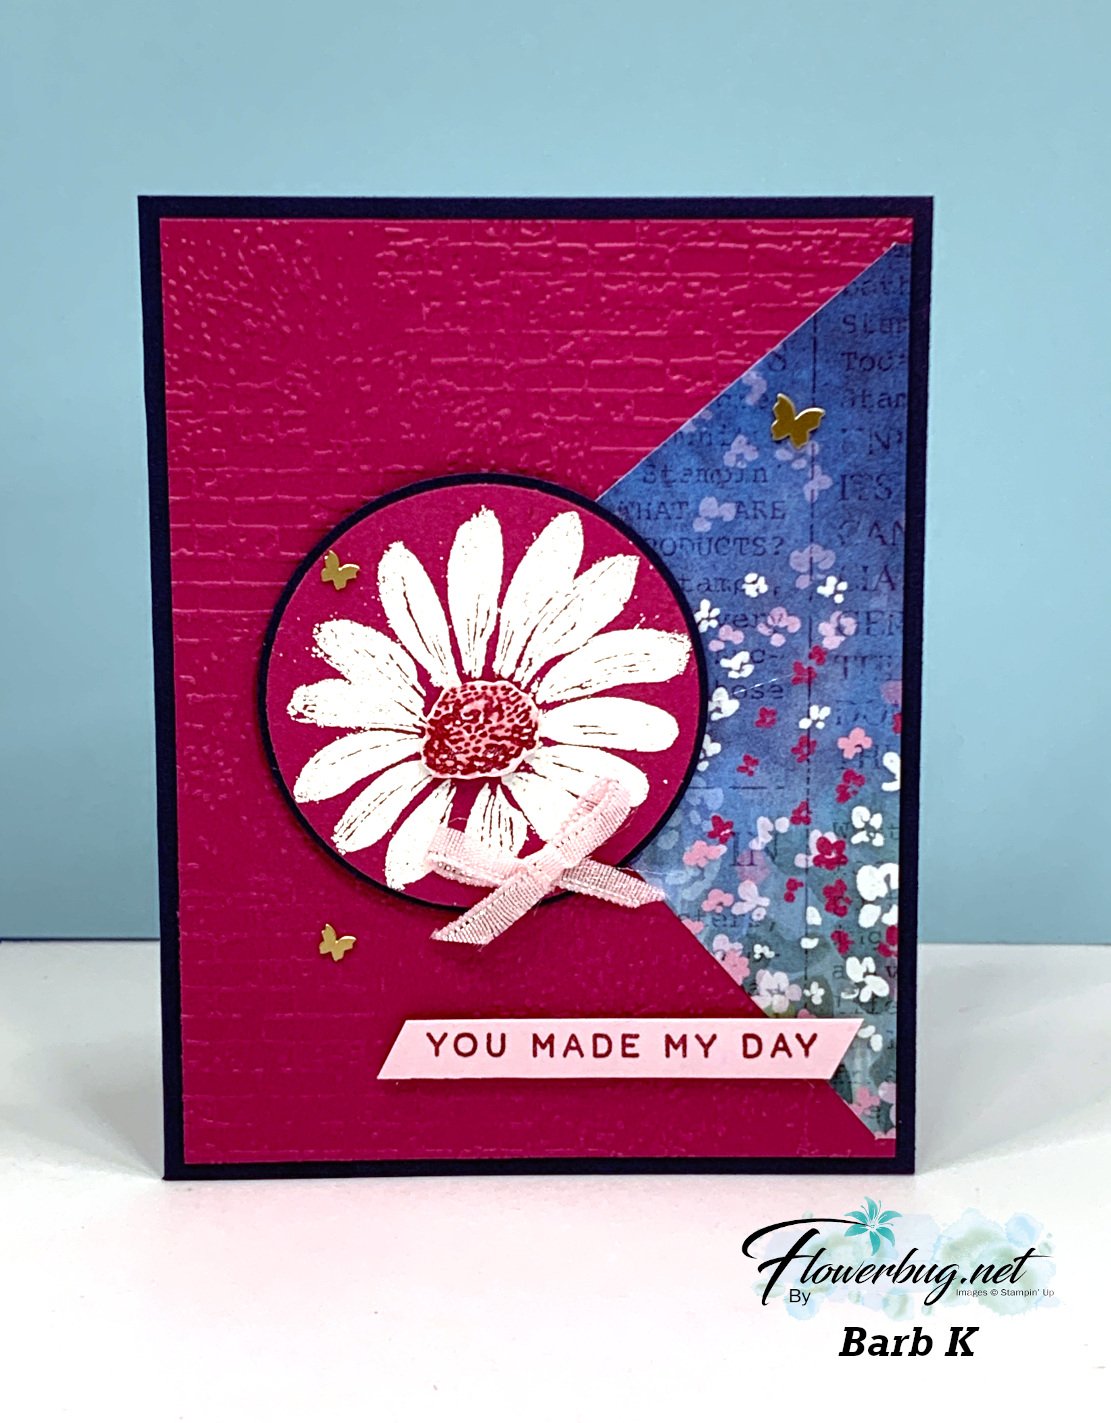
    She textured the Berry Burst layer with the Exposed Brick embossing folder before adding it to the Navy card base. The daisy is heat embossed with White embossing powder.  

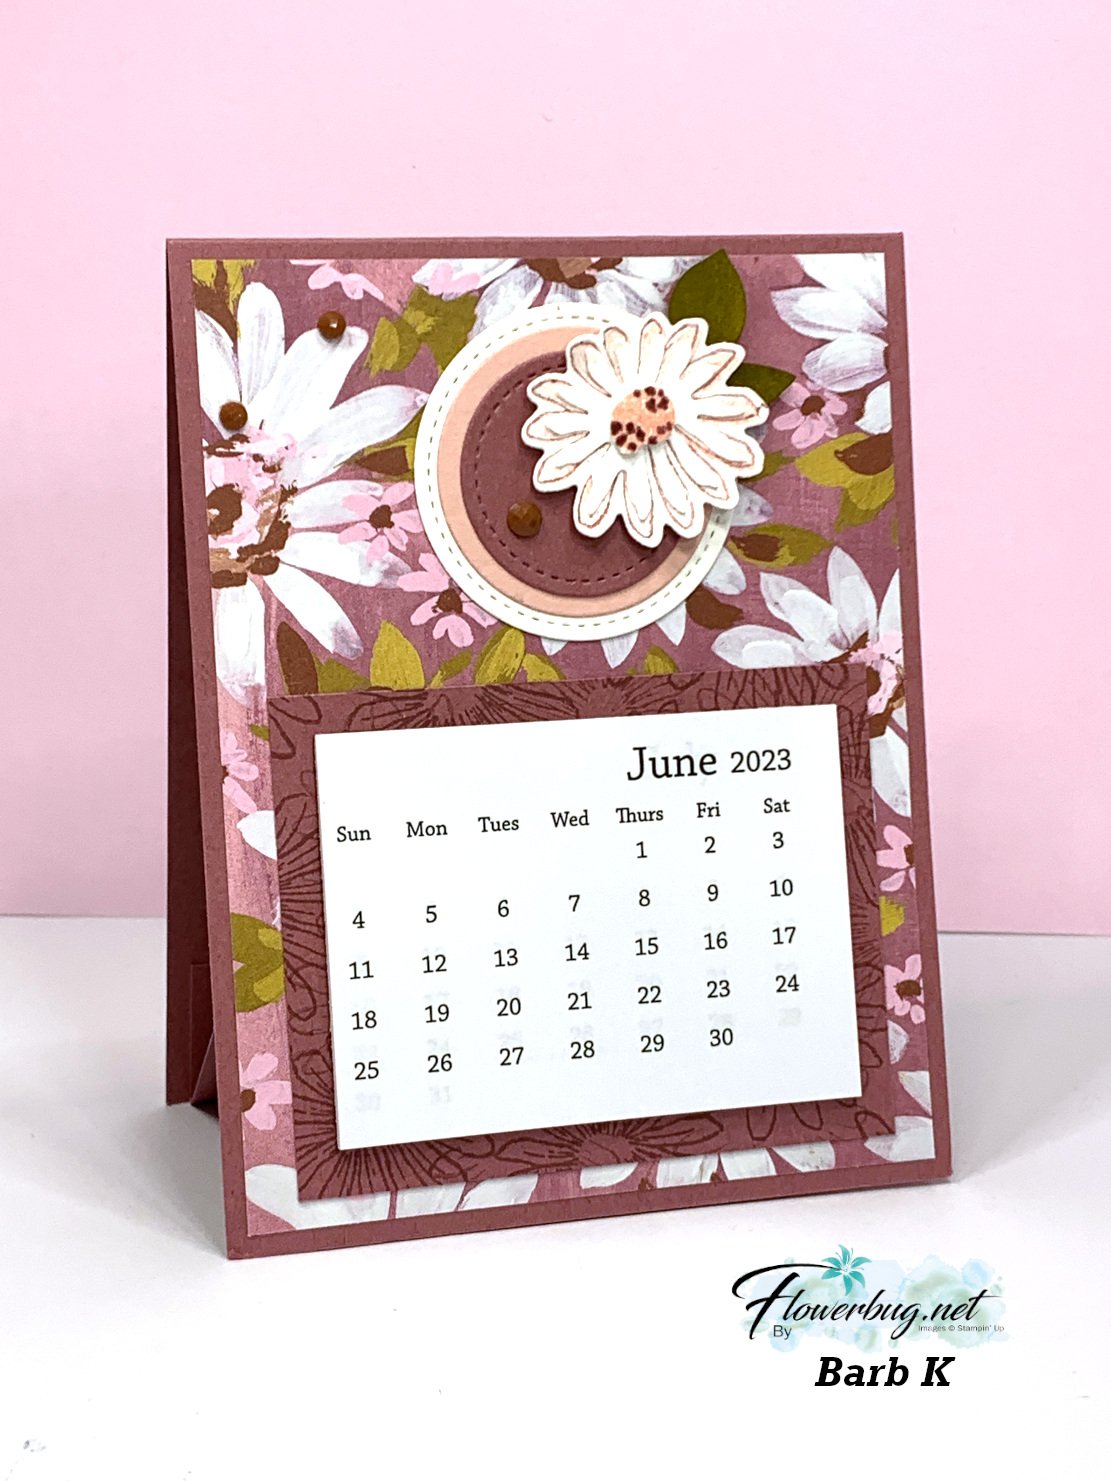
    Next is a great desk calendar – these are fabulous gifts for just about anyone! 

    Measurements:

    • Moody Mauve Card base is 4 1/4" X 11" score and fold at 5 1/2"
    • Calendar base 4 1/4" X 5" score at 1", 2 1/2" and 4".  Add to the inside bottom of the card base. 
    • Designer paper 4" X 5 1/4"
    • Calendar layer 3 1/2" X 2 3/4" (add 1/2" to the size of your calendar

    You can purchase these calendars online.  They're called 'mini tear off calendars'.  


    See this bundle here. 

    I'll share more of her beautiful projects tomorrow. 

    ~~~

    September Specials: 

     *current host code: WXX6RCHA or MYF6MXAG

    *Get a free 6 card kit with orders over $55 (Includes card bases, coordinating envelopes, Memories & More cards, gems & more) 

    ~~~

    NEW Designer papers released September 6th!  While supplies last!

    Leave a Reply

    Your email address will not be published. Required fields are marked *


Notice: LeeAnn Greff, Independent Stampin’ Up! Demonstrator, Manager. The content of this website is my sole responsibility as an independent Stampin’ Up! demonstrator and the use of, and content of, the classes, services, or products offered on this website is not endorsed by Stampin’ Up! Copyright 2025