/


Latest Post

3 unique techniques on these pretty swap cards


I'll be sharing our July Flowerbug Team swaps this week and next.  Our theme was to create our own backgrounds.  They came up with some amazing ideas.  I absolutely LOVE seeing their creativity and style.  

First is a monochromatic card by Annette. I bet you'll never guess how she did this special background…..

She used Orchid Oasis and Boho Blue ink spots and dragged the ink across her white card stock. One color in each direction.  I was shocked at how pretty and evenly colored it is. I think it looks like denim. It's the perfect way to highlight the pretty die-cut. I'm going to try this myself soon! 

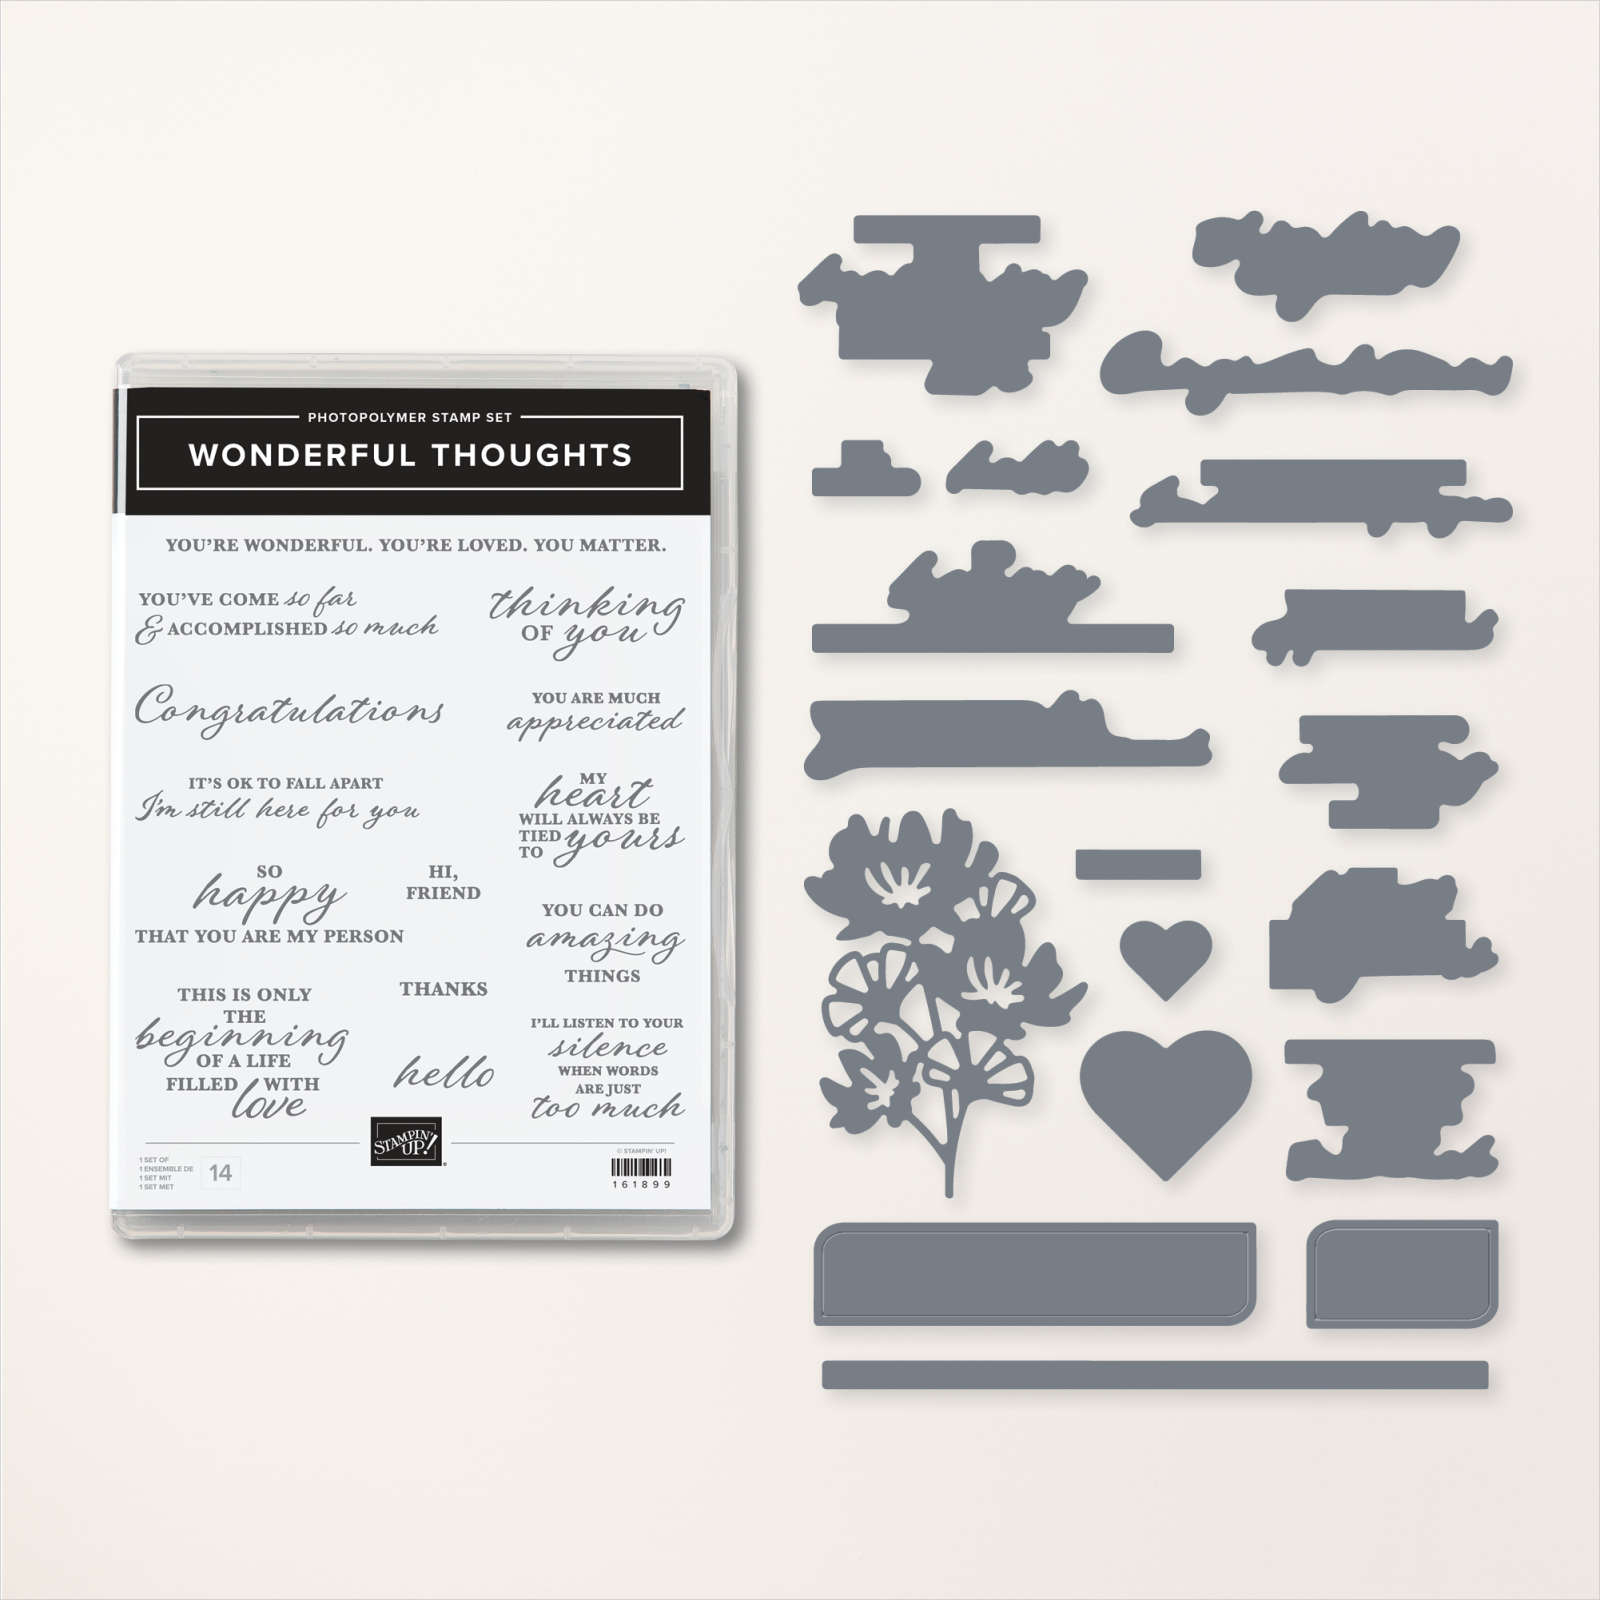
Her greeting is heat embossed with White embossing powder on a die-cut from this bundle.  

She used the Wonderful Thoughts bundle seen here. 

~~~

Next is a pretty card that Monica made with the Color & Contour stamp set & Scalloped Contour dies. 

She created a blended and masked background using Orchid Oasis and Daffodil Delight.  She added a bit of Pool Party on the flower and the card base too.  I love these colors together! 

~~~

And lastly today is a unique technique by Lori. I'm not sure I've done this one! Can you guess how she did it….?  

She first scored her White card stock about 1" apart, on the diagonal. Then she folded the card stock on each score line and sponged Balmy Blue ink on each fold.  I know I've never done this one; at least in my memory I haven't.  So cool and very precise too!  

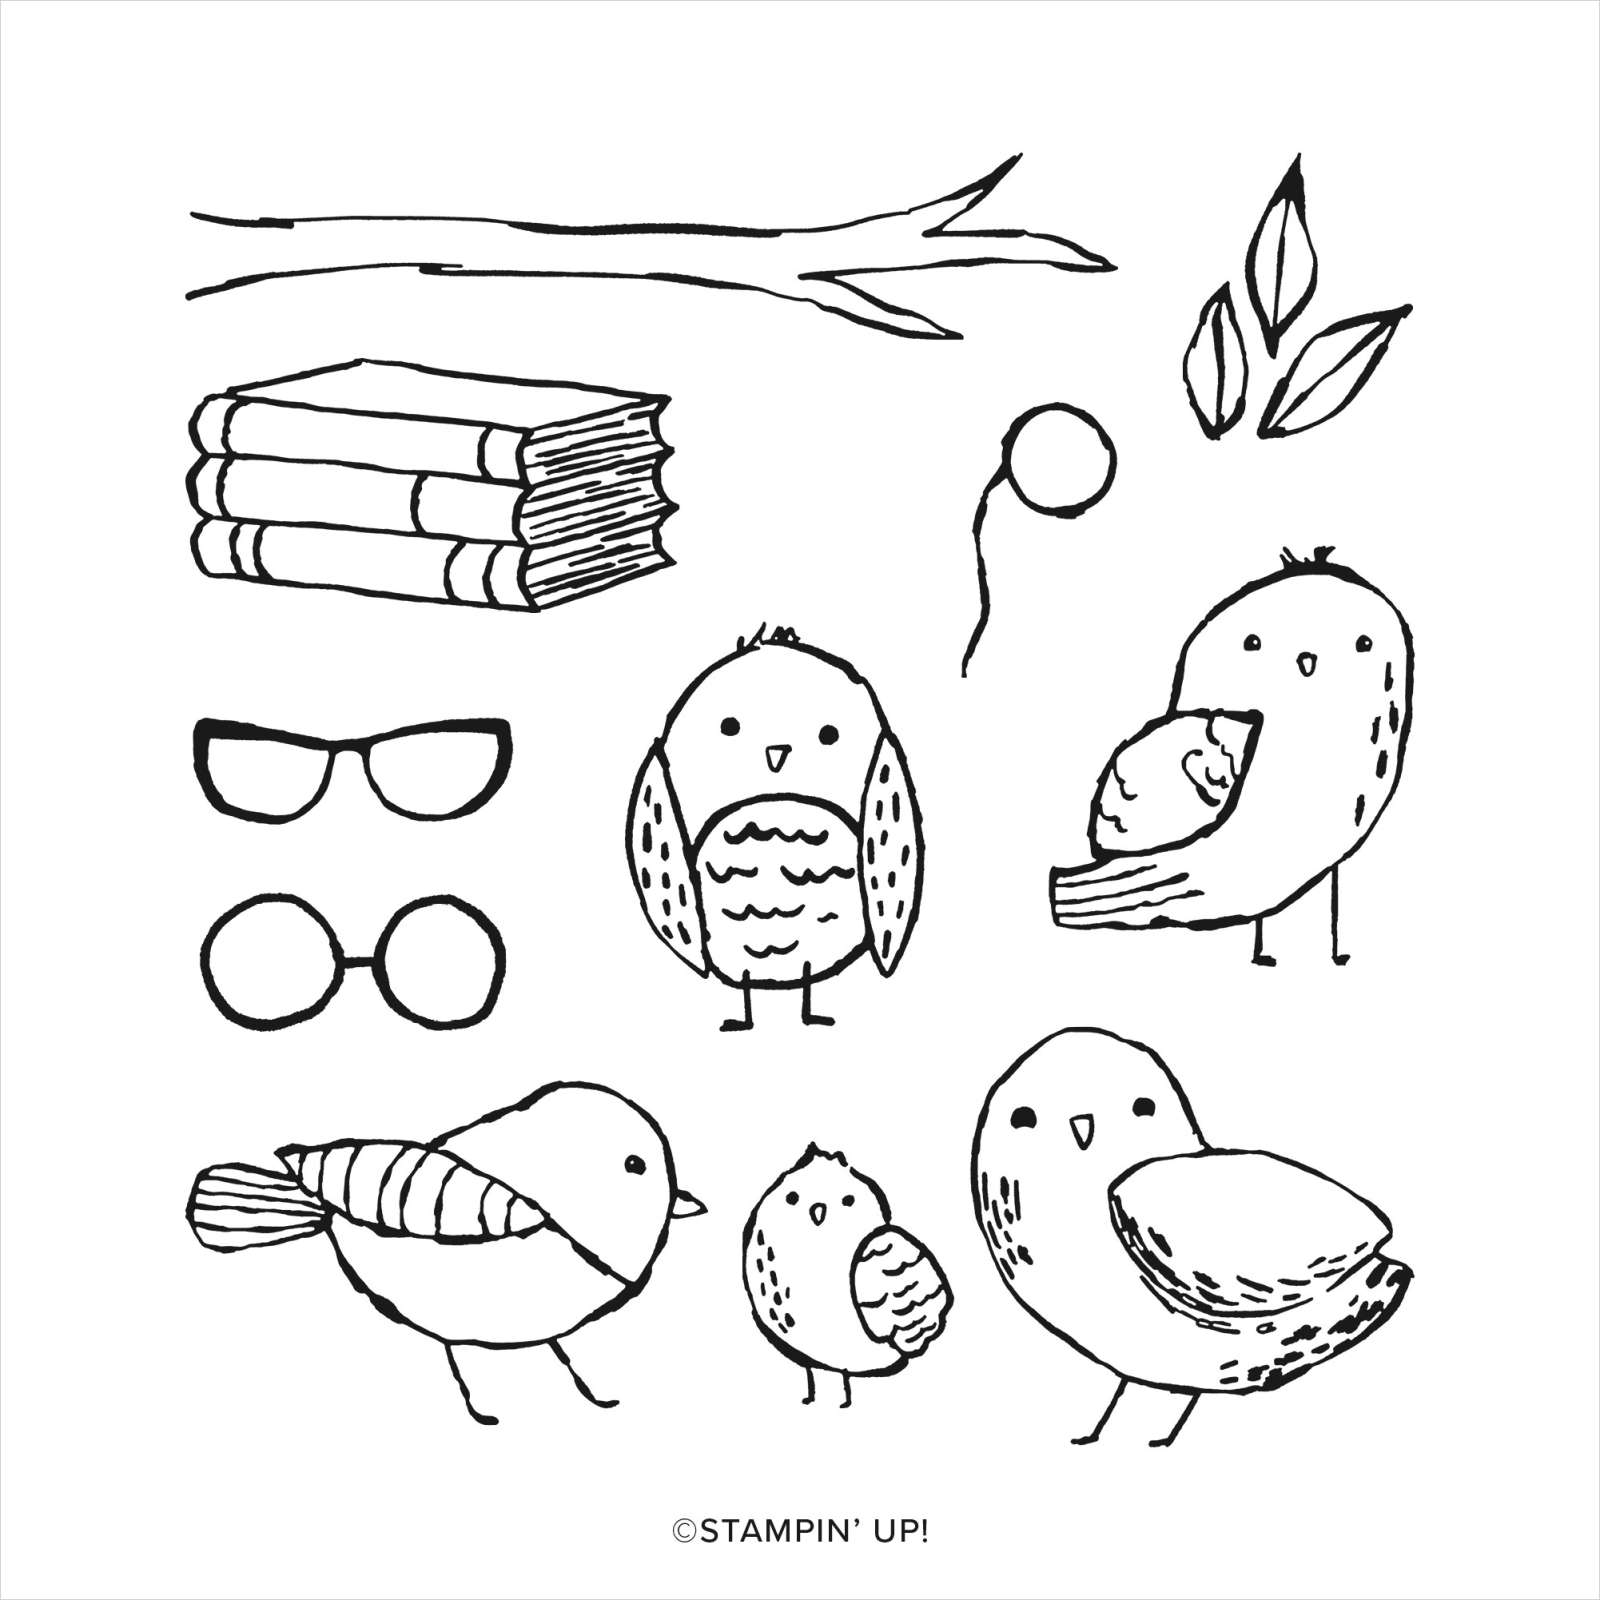
She used the Circle Sayings bundle for her greeting & punch. The bird is water-colored with our watercolor pencils. 

She used the new Bird's Eye View stamp set seen here.  She also stamped her envelope.  

Stop back in for more Team swaps tomorrow! 

~~~

July Specials:

*Buy two past kits and I'll add a new/retired stamp set to your package.

There are 7 choices! Go here to shop. 

 ~~~

Bonus Days!

Get a $5 coupon for each $50 order you place in July.  Use the coupon in August!

There's a Clearance Rack update!

See all items available here

NEW Online Exclusives 

See them all here

~~~

My monthly special for online orders:

Get a free card kit & a new Beautifully Happy stamp set 

with online orders over $65; must use a host code.

*current host code: MY4YDGEM

All Posts

  • Pretty Shades & Hues cards for December’s kit to go or PDF tutorial


    I decided to use two brand new designer papers for my December kits to go. 

    The kit I'm sharing today is the Shades & Hues DSP.  4 of 5 cards are fancy folds!

    I created 5 different cards and made 2 of each.  In this kit to go you'll receive the following:

    • 10 pre-cut cards including layers, punched or die-cut pieces
    • a share of Tinsel gems
    • a share of paper butterfly accents
    • the PDF tutorial with photos, directions, measurements and a supplies list

    This kit to go costs $31 and will be sent to you via Priority mail at the end of December. You can reserve your kit to go here. The PDF tutorial is available separately here for $16. It is sent to you via email immediately after payment. 

    You will need a few ink colors, greeting images, adhesives and a paper trimmer to cut your new designer paper.

    The colors include Petal Pink, Pool Party, Misty Moonlight and Fresh Freesia. 

    See all of my kits and tutorials on my shop here. Save time by using kits & tutorials ready for your card making!

    ~~~

    December Specials:

    *current host code link:  

     FFMDFU3J

    3 new designer papers!

    ~~~

    Available December 3rd; while supplies last!

    ~~~

    ~~~

    Leave a Reply

    Your email address will not be published. Required fields are marked *

  • A Wonderful Serene Love card kit to go; or choose the tutorial option


    I knew I'd love this paper when I ordered it. I was right! The patterns and colors are beautiful.

    I created a fantastic group of cards featuring the Serene Love DSP (new release this month). All but 4 of the 5 designs are fun folds. Aren't they pretty? 

    I added Pretty in Pink as an accent since it works wonderfully with these colors.  I created 5 different cards and made 2 of each.  In this kit to go you'll receive the following:

    • 10 pre-cut cards including layers, punched or die-cut pieces
    • a share of Iridescent Pearl jewels
    • a share of Pretty in Pink ribbon
    • the PDF tutorial with photos, directions, measurements and a supplies list

    This kit to go is $31 and will be sent to you via Priority mail at the end of December. You can reserve your kit to go here.

    The PDF tutorial is available separately here for $16. It is sent to you via email immediately after payment. 

    You will need a few ink colors, greeting images, adhesives and a paper trimmer to cut your new designer paper. The colors include Petal Pink, Pool Party, Misty Moonlight and Fresh Freesia. 

    *This is the kit my subscribers will receive in December. 

    I'll share the other kit to go Friday.  Or click here to see them both now.  You'll save on shipping if you order more than one kit. 

    ~~~

    December Specials:

    *current host code link:  

     FFMDFU3J

    3 new designer papers!

    ~~~

    Available December 3rd; while supplies last!

    ~~~

    ~~~

    Leave a Reply

    Your email address will not be published. Required fields are marked *

  • Super Easy Fun Fold card with free project sheet & video tutorial


    Free shipping continues through Wednesday, December 11th.  All orders over $75 qualify.

    I shared this simple but unique fun fold card on last week's Live video.  It's a great card fold and makes great use of your designer paper too.  

    It's called a back fold and is so easy to make! The greeting layers are adhered to the right edge of this card. It holds the left flap closed but opens easily since there is a scored line. I hope you watch the video below to see how it's done. 

    It features our Take a Bow designer series paper from the Holiday catalog.  I also used the Christmas Labels bundle for my greeting image and die-cut. 

    The White die-cut is from the set of dies but it was quite easy to layer a red shape under it.  I fussy cut the upper & lower edges to match. The green glimmer die-cuts are from the Winterly Tree Tops dies and our Festive Glimmer paper. 

    Click on the following link to download or print the free project sheet: Download Take a Bow back fold card


    Below is the video I made for this card and another diagonal fun fold card. Both of these make great use of your designer paper!  I hope you watch and make some. 

    ~~~

    December Specials:

    *current host code link:  

     FFMDFU3J

    3 new designer papers!

    ~~~

    Available December 3rd; while supplies last!

    ~~~

    ~~~

    Leave a Reply

    Your email address will not be published. Required fields are marked *


Notice: LeeAnn Greff, Independent Stampin’ Up! Demonstrator, Manager. The content of this website is my sole responsibility as an independent Stampin’ Up! demonstrator and the use of, and content of, the classes, services, or products offered on this website is not endorsed by Stampin’ Up! Copyright 2025