/


Latest Post

3 techniques for the Delicate Dahlia’s stamp set with video


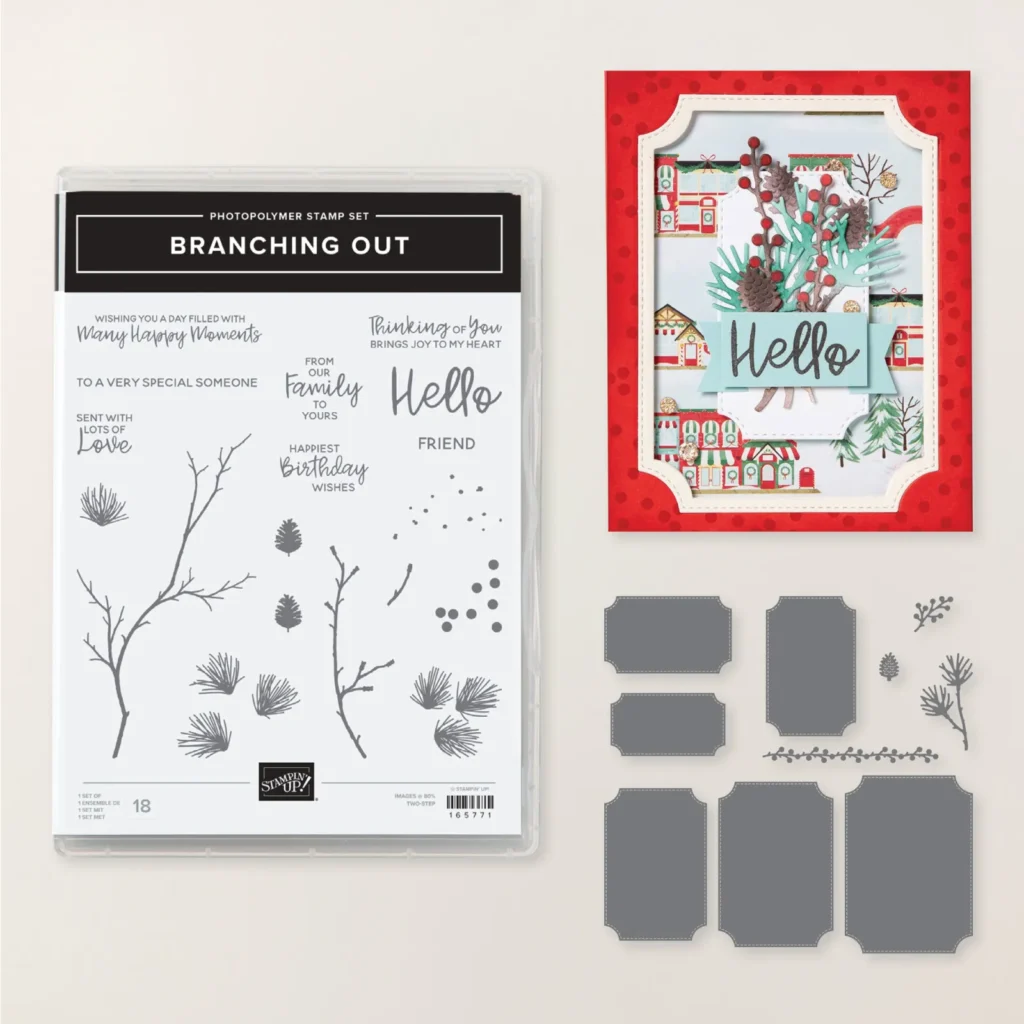
I featured the Delicate Dahlia's stamp set on Tuesday's FB Live.  This stamp set is free with a $100 order during our Sale-a-Bration promotion happening now.  See it here. There are three pretty cards using different techniques on each. 


This first technique is called Watercolor Ink Spread. The colors are Magenta Madness & Mango Melody.  I was going for bright & happy colors,

This technique involves heat embossing an outline image and adding water & ink.  It is recommended to use watercolor paper but it worked fairly well on our Basic White.  However for larger petals or leaves I suggest you use our watercolor paper. Check out the video below for tips. 


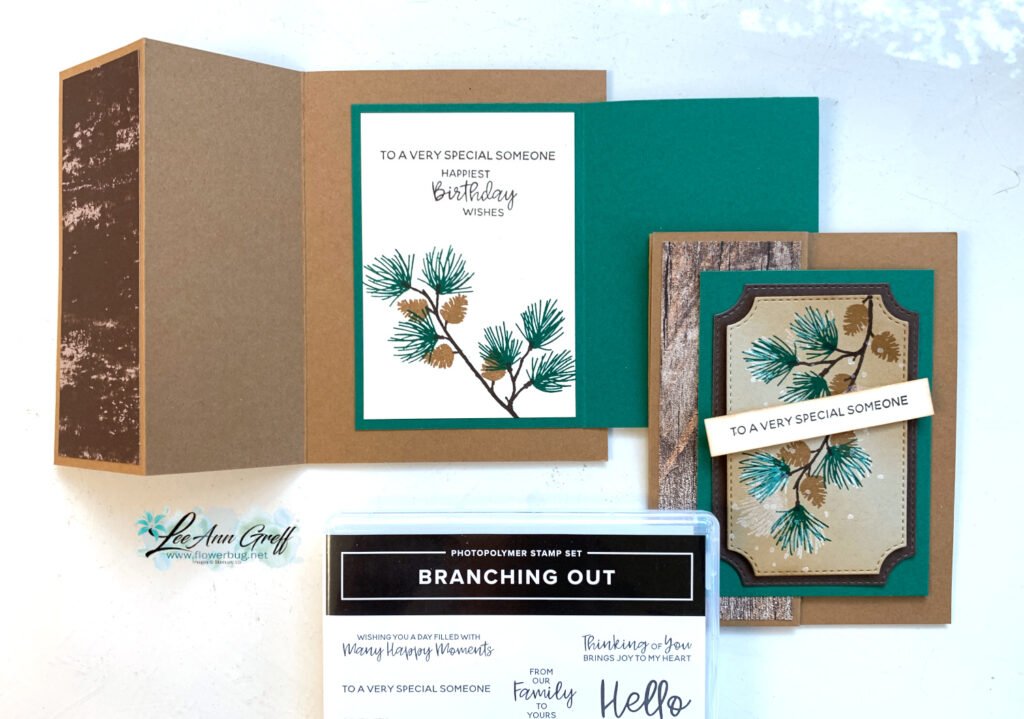
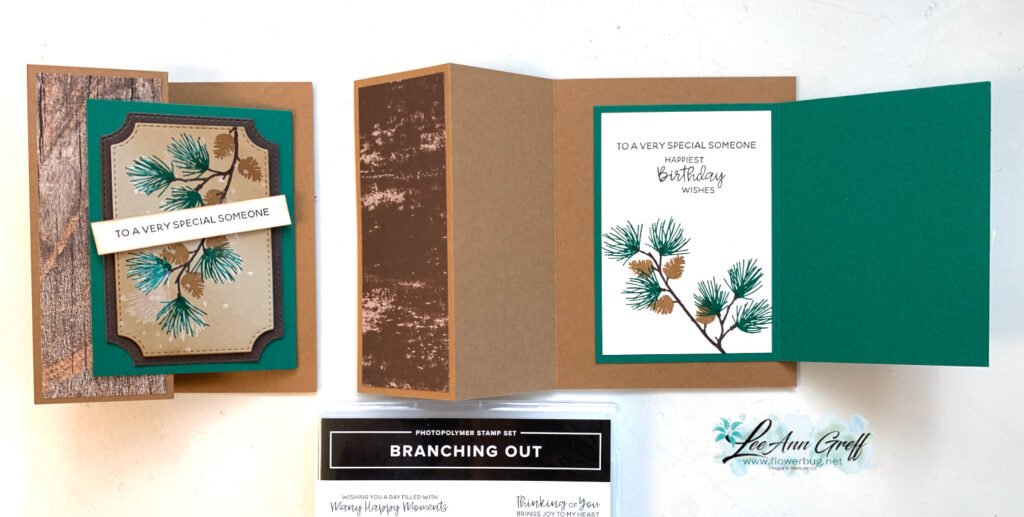
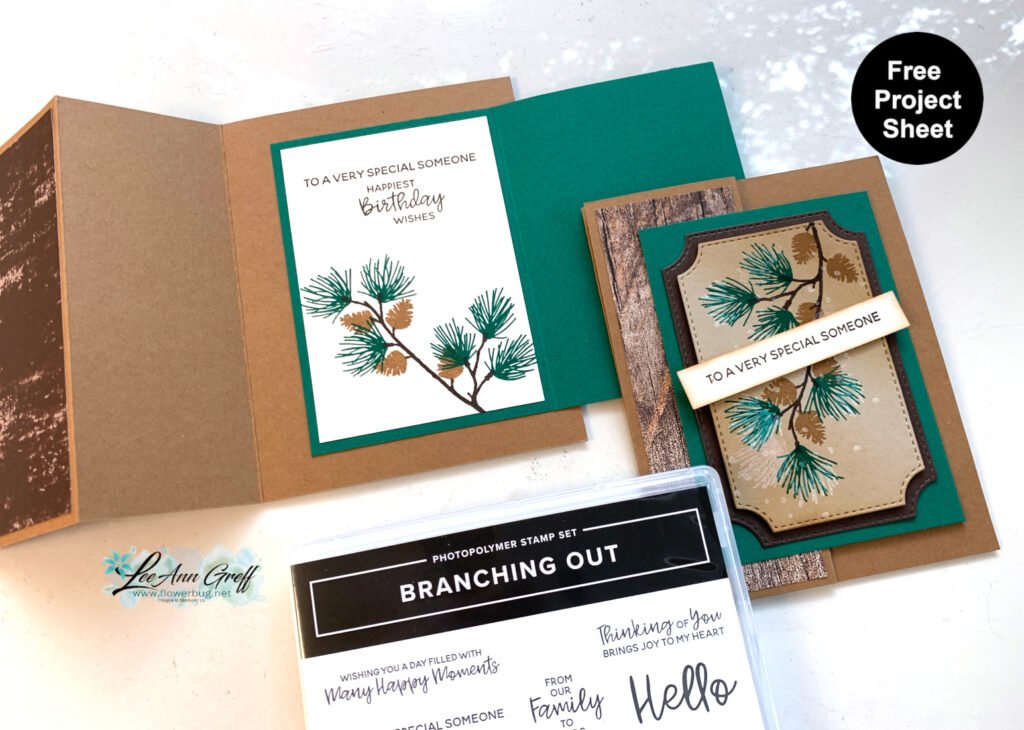
This next set of cards is basic 2-step stamping.  In the video I share a helpful tip on lining up two step stamps.  The Stamparatus can be best for most applications but I was stamping all over the panels and did not use it. 

All of the images are in this beautiful stamp set. The colors on the left card are Coastal Cabana, Black, White & Vellum.  The right is Basic Bray, White, Bumblebee & Vellum. 

I did use our Black glittered ribbon on both.  I did heat emboss a flower on vellum and fussy cut it. It's colored with Blends markers. 

And here is the video; I hope you enjoy watching it to get tips on these two sets of cards plus one more on Poppin' Pastels! 

~~~

September Specials

Host code: ASETFASJ or T7VSZQ64

*click here to order

All online orders will receive a free PDF tutorial filled with projects featuring

the Painted Christmas Suite!

Get a pkg. of Holiday Rhinestones with a $50 online order from me in September! 

Order here


Get a Free Bundle  from the Holiday Catalog when you choose the Starter kit!  Pick out $125 in product of your choice for just $99 and shipping is free! You also receive a free Paper Pumpkin kit in addition to catalogs & business supplies.  

All Posts

  • The Branching Out bundle is retiring! Check out this fun fold card with video tutorial!


    We made this card earlier this fall and I realize I haven’t shared it with you yet. I also made a video too – scroll down….

    The colors include Pecan Pie with Crumb Cake, Early Espresso & Shaded Spruce. I used various wood-like designer series papers for the side panel. See how it has a double fold?

    Also notice the ‘white’ snow on the pine boughs plus snow in the background. You can achieve that without heat embossing. We used White Craft ink and stamped over the pine. Easy & a fun accent!

    The stamp set is retiring but the dies are not. The bundle is on the last chance list now. Click here to see it.
    It’s been one of my favorite products in our Holiday catalog this year. It’s timeless and can be used for fall, winter or Christmas!

    Besides the video tutorial here’s a free project sheet for you too. Click here to download or print it.

    I’m glad the dies are not retiring but I have to say the stamp set is among my top 5 favorites!

    Below is the video tutorial which gives you tips on stamping the branches with the pines and pine cones.

    *You’ll receive a PDF with multiple projects featuring this product
    after the 20th of the month.
    ~~~

    The Last Chance list has been updated!
    Click here to shop.

    Get a free PDF tutorial with any online order from me in December!

    Leave a Reply

    Your email address will not be published. Required fields are marked *

  • Easy Holiday cards made from tags! Free project sheet & video tutorial.


    I look forward to receiving my Paper Pumpkin boxes each month. November’s Wrapped in Cheer kit featured holiday tags and I couldn’t waste an opportunity to make cards from them. I need a lot more Christmas cards than I do tags!

    I didn’t change the tag from the original except for the linen thread bow at the top. But I did add it to a Basic Beige textured layer and then onto a Cherry Cobbler card base.
    Now that is an easy card!

    To create the colored leaves inside the card I used the empty piece of paper from the kit where the leaves had been removed. I’m always looking for easy ways to add to the inside of my cards.

    There were two different tags in this kit. Aren’t they pretty?

    I used the embossing folder called Traditional Wreath 3D folder; it can be seen here. It’s discounted and available while supplies last.
    *The greeting is from the stamps in the kit.

    Below is the video tutorial for this card and more information on Paper Pumpkin.

    *You’ll receive a PDF with multiple projects featuring this product
    after the 20th of the month.
    ~~~

    The Last Chance list has been updated!
    Click here to shop.

    Get a free PDF tutorial with any online order from me in December!

    Leave a Reply

    Your email address will not be published. Required fields are marked *

  • Wrapped in Cheer tags for Christmas


    I shared the November Paper Pumpkin kit on last week’s live video. I just love receiving my crafty box in the mail each month! Easy crafting without a plan or step it up and use your creativity to change the projects.

    There were two different tags in this kit and each one includes multiple pieces. Aren’t they pretty? The embossing folder is called Traditional Wreath 3D folder and can be seen here. It’s discounted and available while supplies last.
    *The greeting is from the stamps in the kit.

    I used the tags to make Christmas cards which you can see below. All I did was add a textured layer and a card base. *I’ll share more details tomorrow.

    Remember that each month my subscribers and Team receive my bonus projects PDF. Lots of unique ideas to create with the contents of each box. Subscribe to Paper Pumpkin here.

    Below is the video where I share this kit, last months and how to make the cards too.

    *You’ll receive a PDF with multiple projects featuring this product
    after the 20th of the month.
    ~~~

    The Last Chance list has been updated!
    Click here to shop.

    Get a free PDF tutorial with any online order from me in December!

    Leave a Reply

    Your email address will not be published. Required fields are marked *


Notice: LeeAnn Greff, Independent Stampin’ Up! Demonstrator, Manager. The content of this website is my sole responsibility as an independent Stampin’ Up! demonstrator and the use of, and content of, the classes, services, or products offered on this website is not endorsed by Stampin’ Up! Copyright 2025