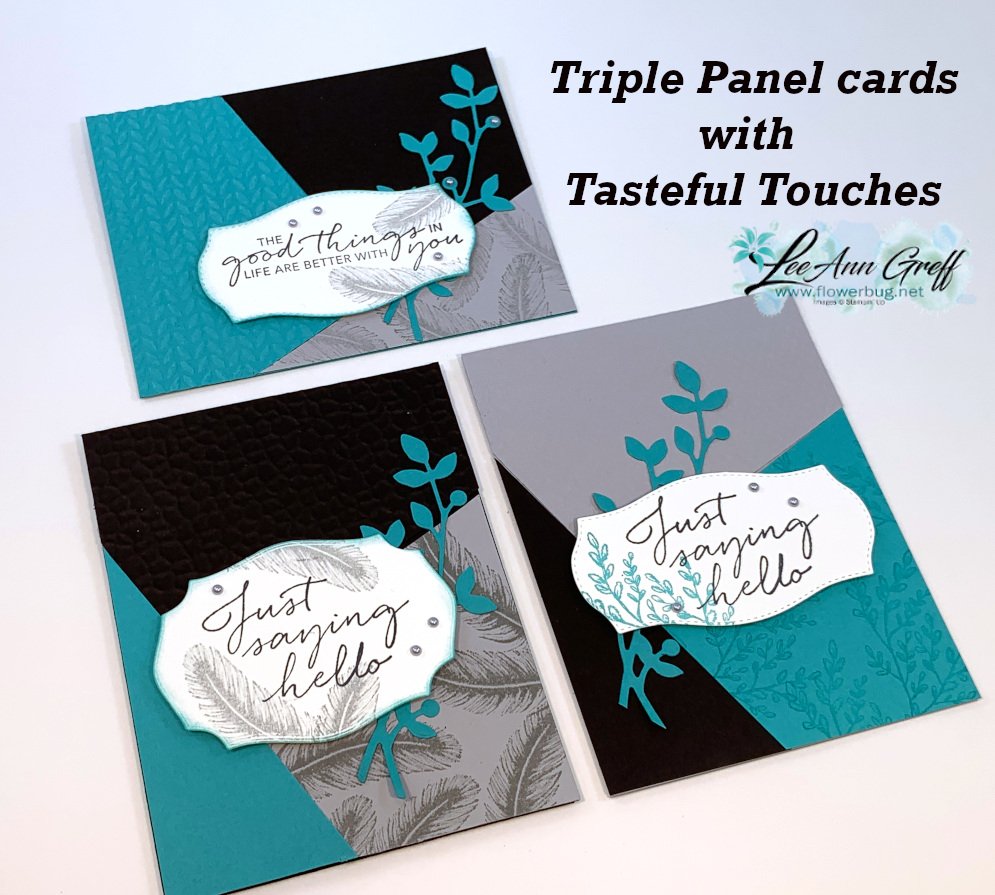
I made these pretty cards on last week's Facebook Live 'Stamp with Me' Monday night. *See video below
The 2nd & 4th Monday's you can stamp with me Live on Facebook here. The next one is Monday, August 10th. I post the measurements & supplies ahead of time so you can prepare. Then afterwards you can share your cards too!
I chose to use a Triple Panel technique; at least that's what I'm calling it. I saw a sketch like it and created my own version here. You start out with 3 pieces of card stock or designer paper and cut them all the same way.
I used Bumblebee, Night of Navy and Smoky Slate for the cards above along with the Tasteful Touches bundle. That pretty leaf die-cut is from the Birds & More dies set.
Measurements:
Three pieces of card stock or DSP measuring 4 1/4" X 5 1/2".
Cute one full 5 1/2" X 8 1/2" card base of each color you use.
Cutting directions:
1st cut: Cut the first small triangle off of each piece. (On the bottom right card it's the Navy piece) Make a mark 1 1/2" from the bottom left corner and 2" from the bottom right corner. Cut this triangle off of all three pieces.
2nd cut: Make a mark from the upper left corner across at 1 3/4". Make a mark 2" from the lower left angled edge. Cut.
The 3rd cut isn't necessary as you'll use the angled piece left from the first two cuts.
Now you have three different colored pieces for each card. Mix & match one color per card!
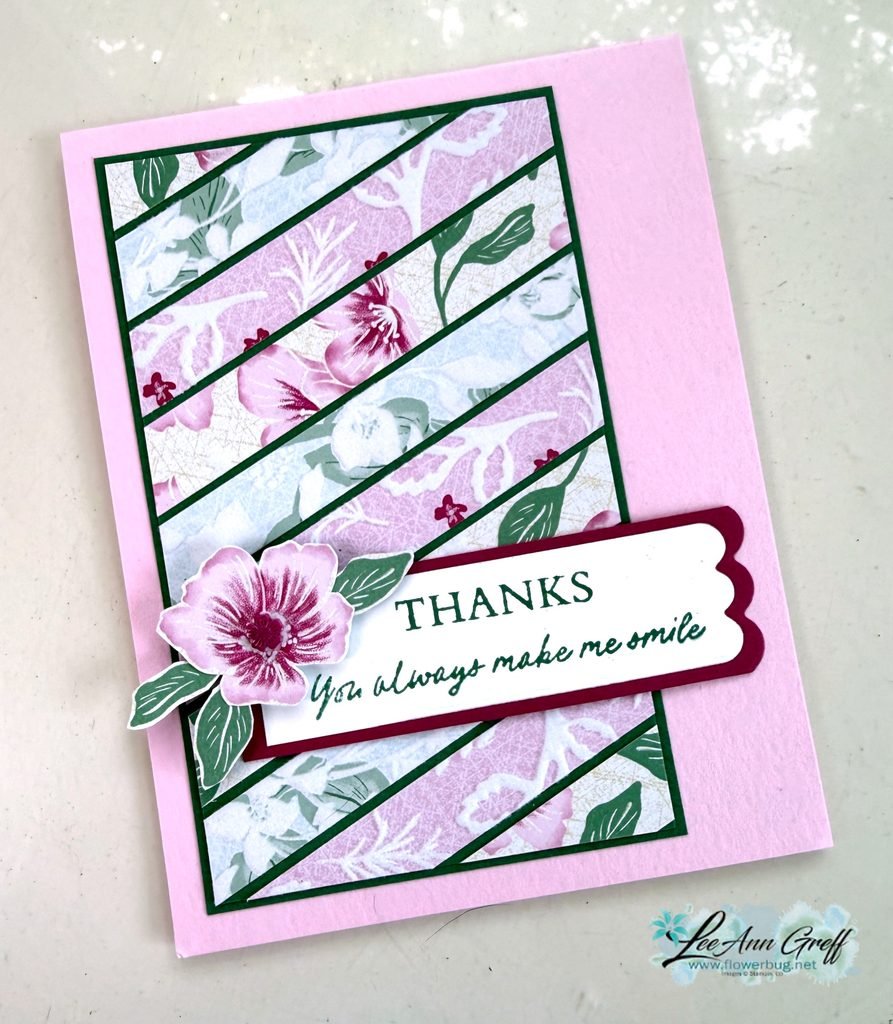
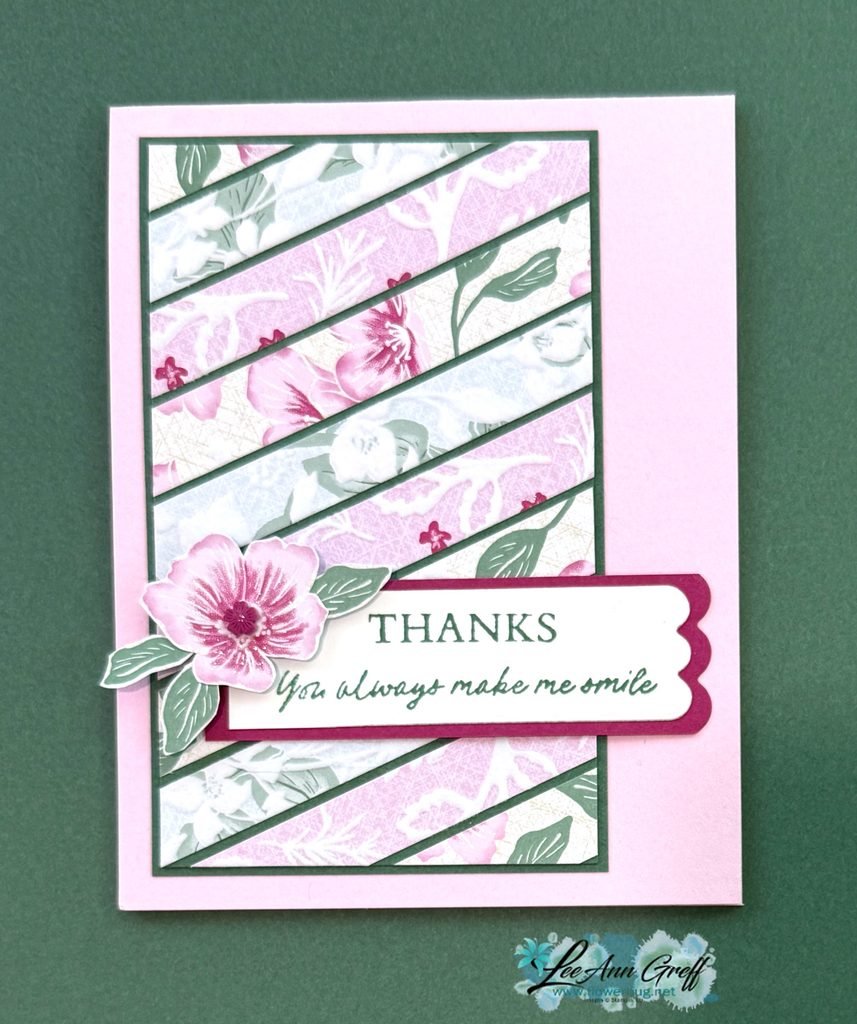
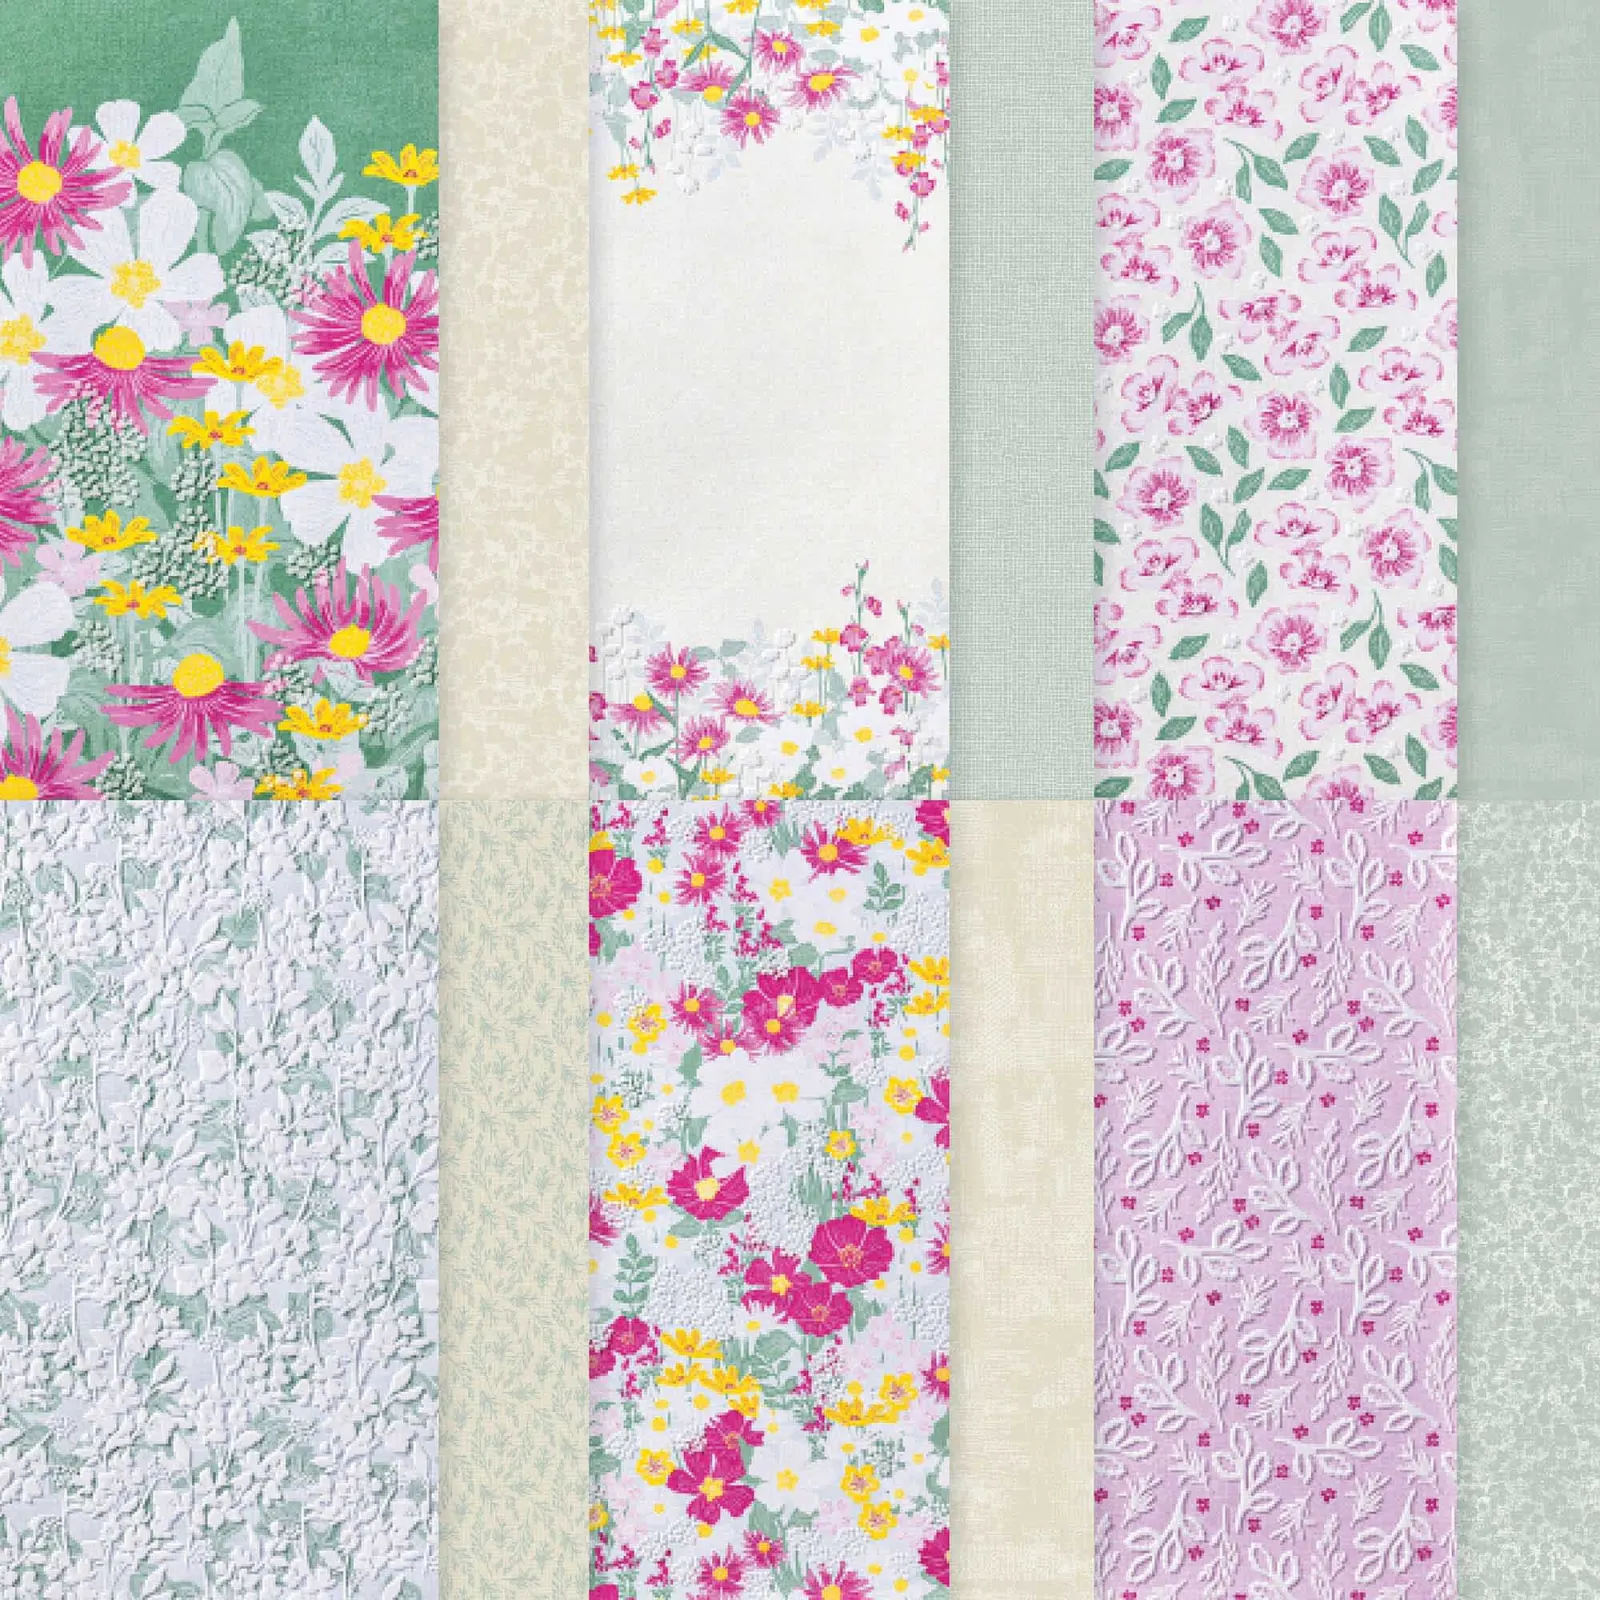
Here are the products I used: Velvet Meadow DSP, Bubble Bath, Berry Burst & Peaceful Pine CS. The greeting is from the Flowering Meadow stamp set and the scalloped tags are from the Scalloped Blooms dies seen here.
When using up your strips you can adhere them diagonally across your card stock, leaving a small space between each. Once this CS is filled in, trim off the excess on the edges.
The Velvet Meadow specialty paper has a fuzzy, flocked feel to the flowers and some leaves. It’s luxurious! Check it out here. I fussy cut the flower and leaves to add to the greeting.
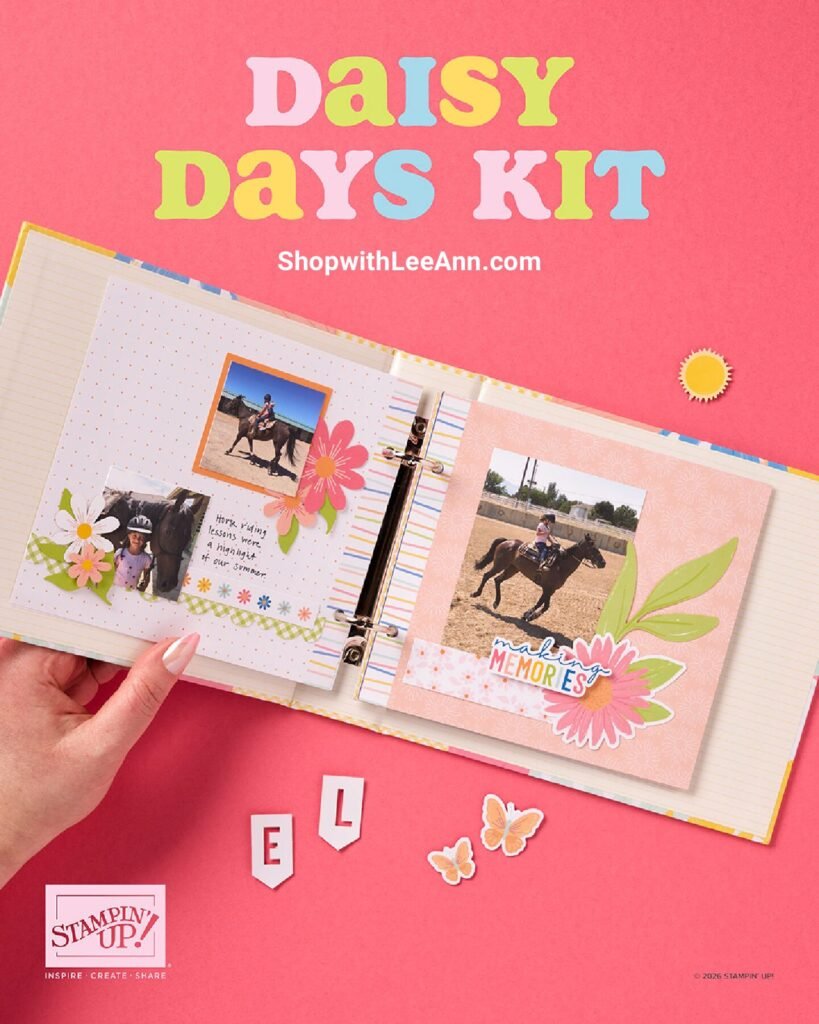
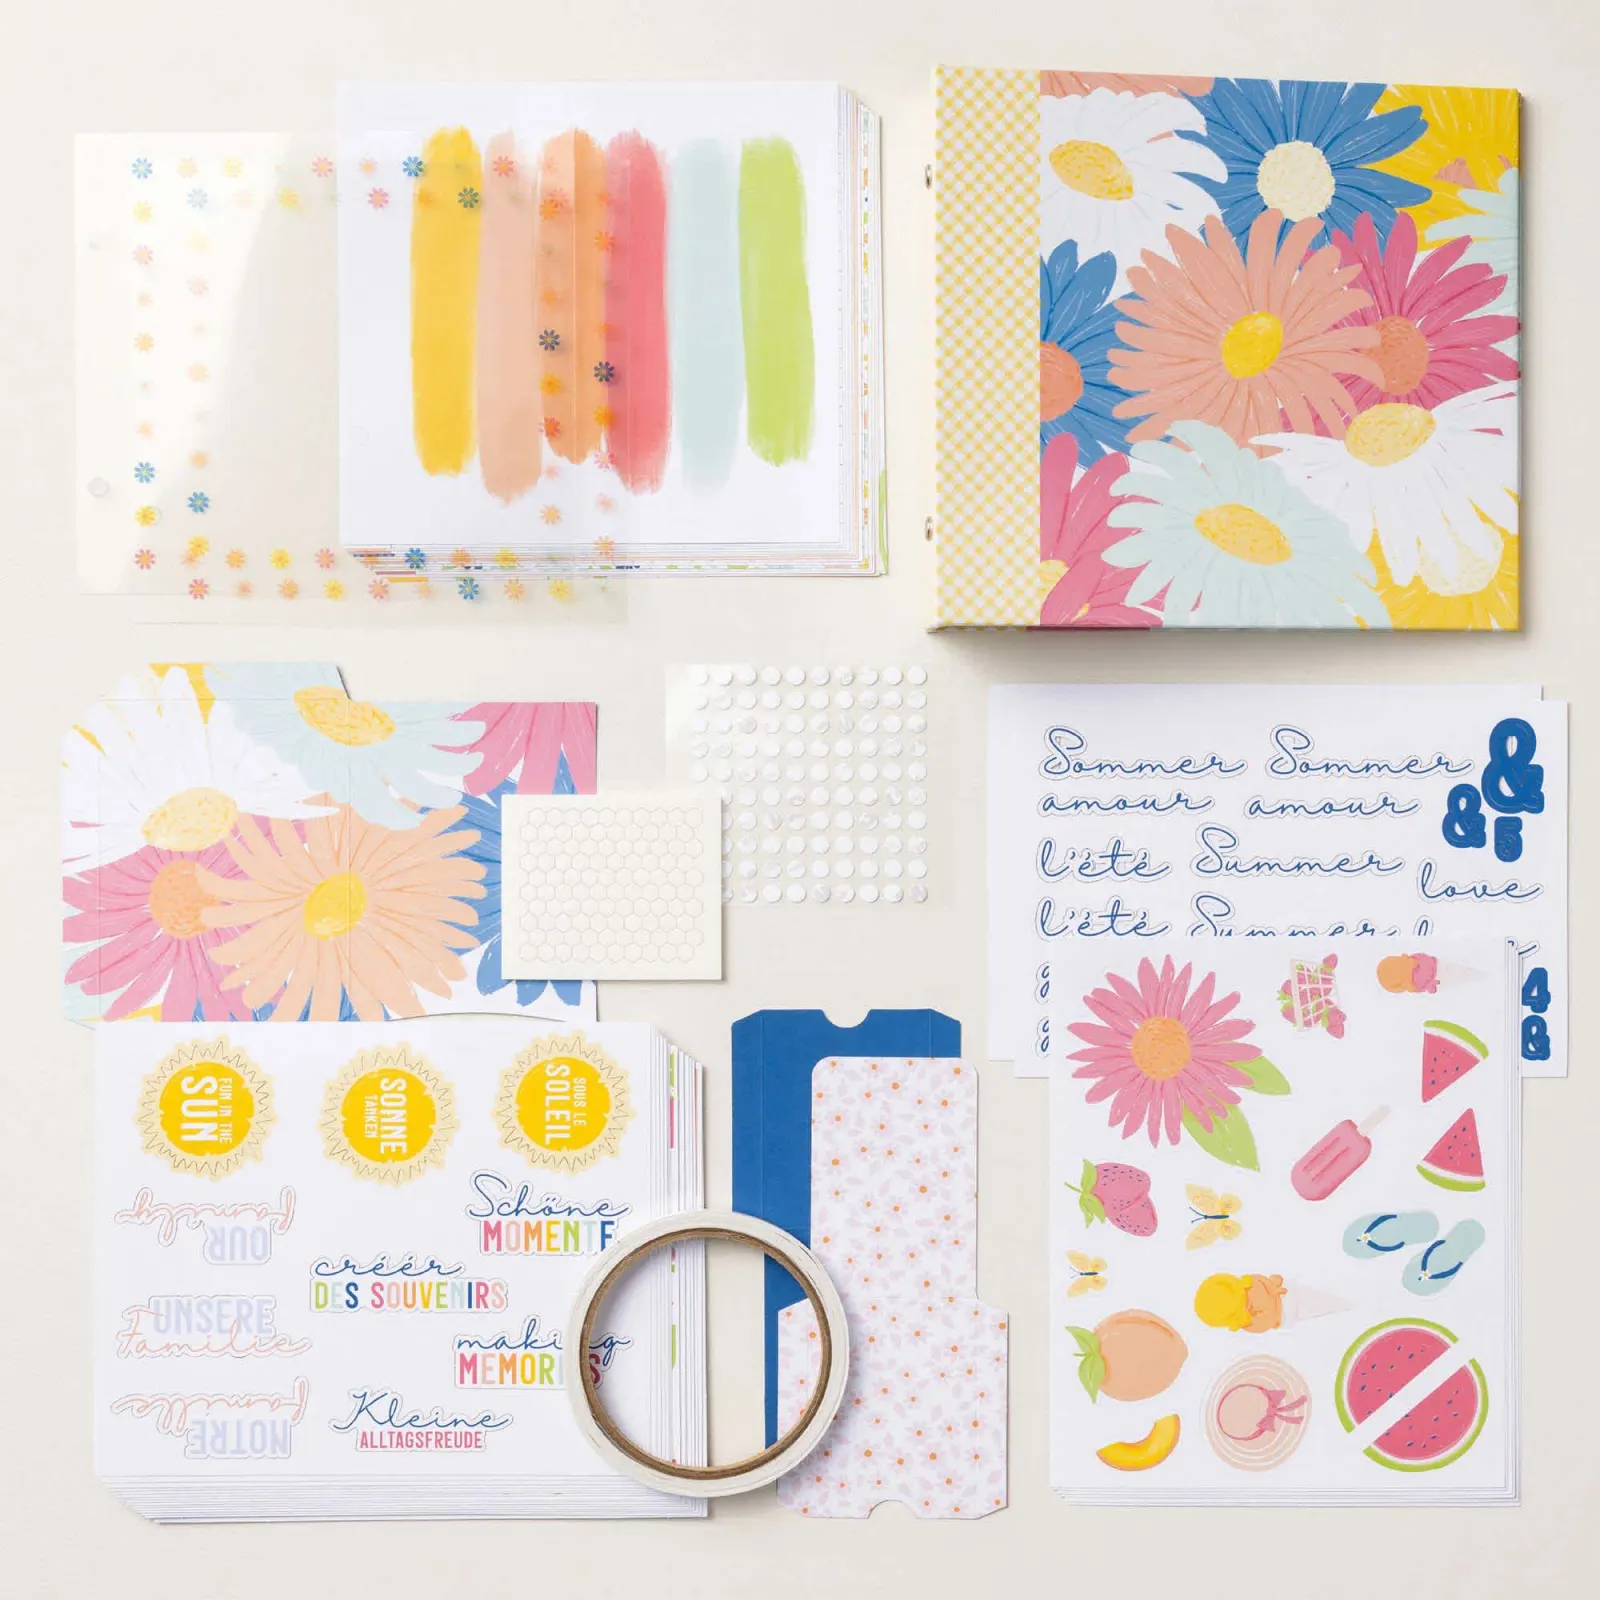
DETAILS – Makes 1 album with 28 pages – Album size: 7-3/4″ x 7″ x 1-7/8″ – Page size: 6.5″ x 6″ – Colors: Blueberry Bushel, Crisp Cantaloupe, Crushed Curry, Granny Apple Green, Pool Party, Strawberry Slush, Timid Tiger – Sentiments printed in English, French, and German
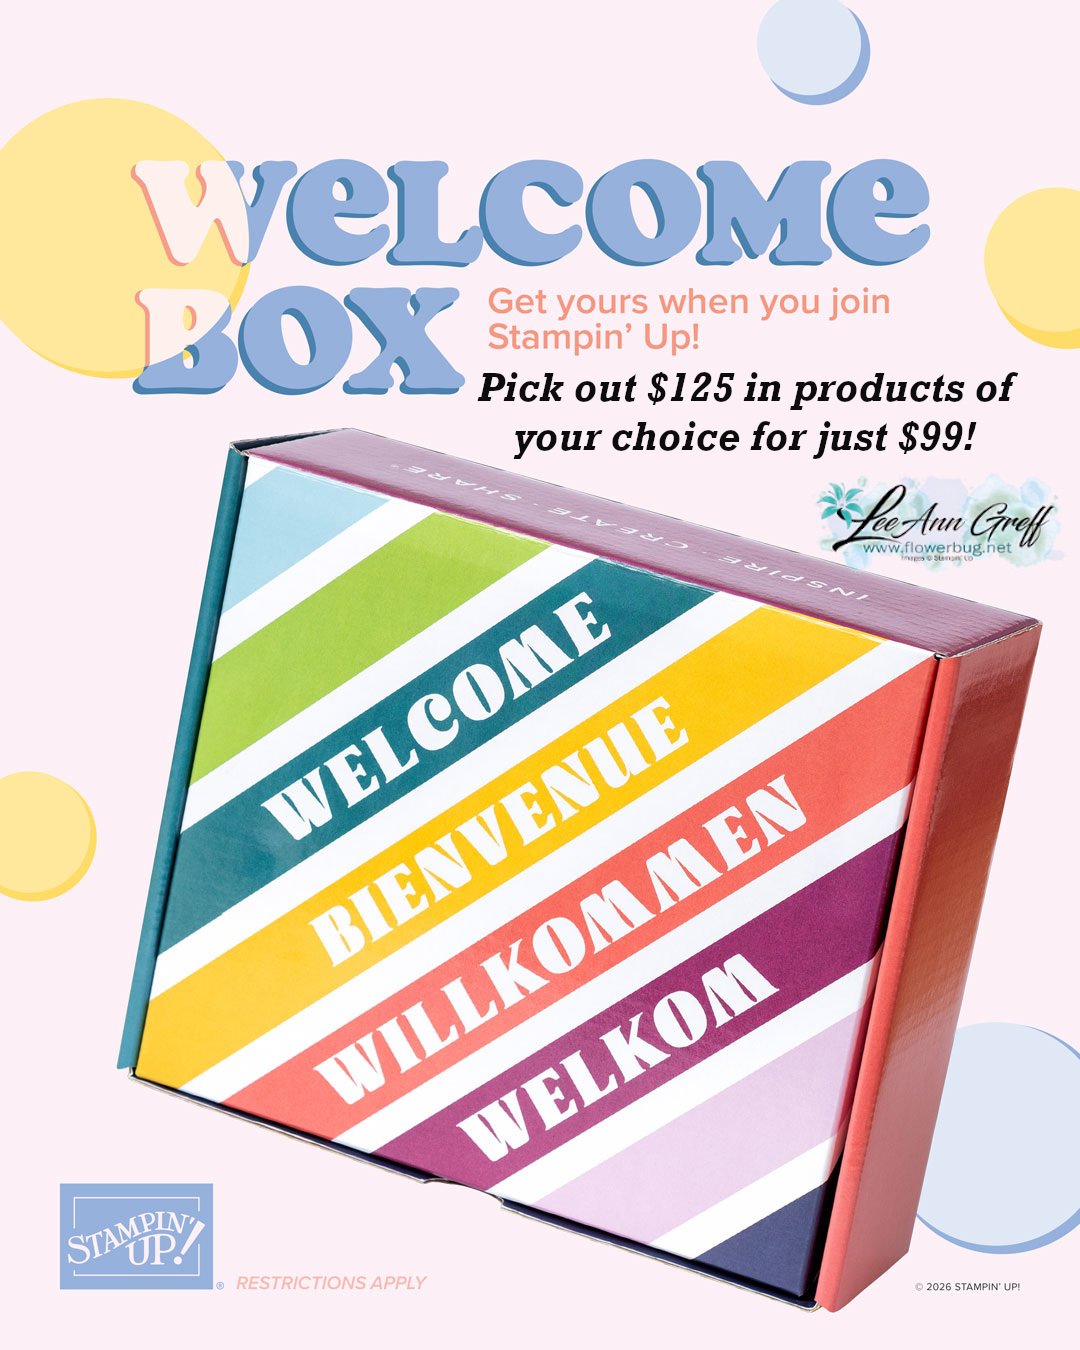
This is super exciting news! All first-time demonstrators (beginning July 1, 2026) will receive a surprise Welcome Box—a gesture of appreciation and a warm welcome into the global Stampin’ Up! creative community.
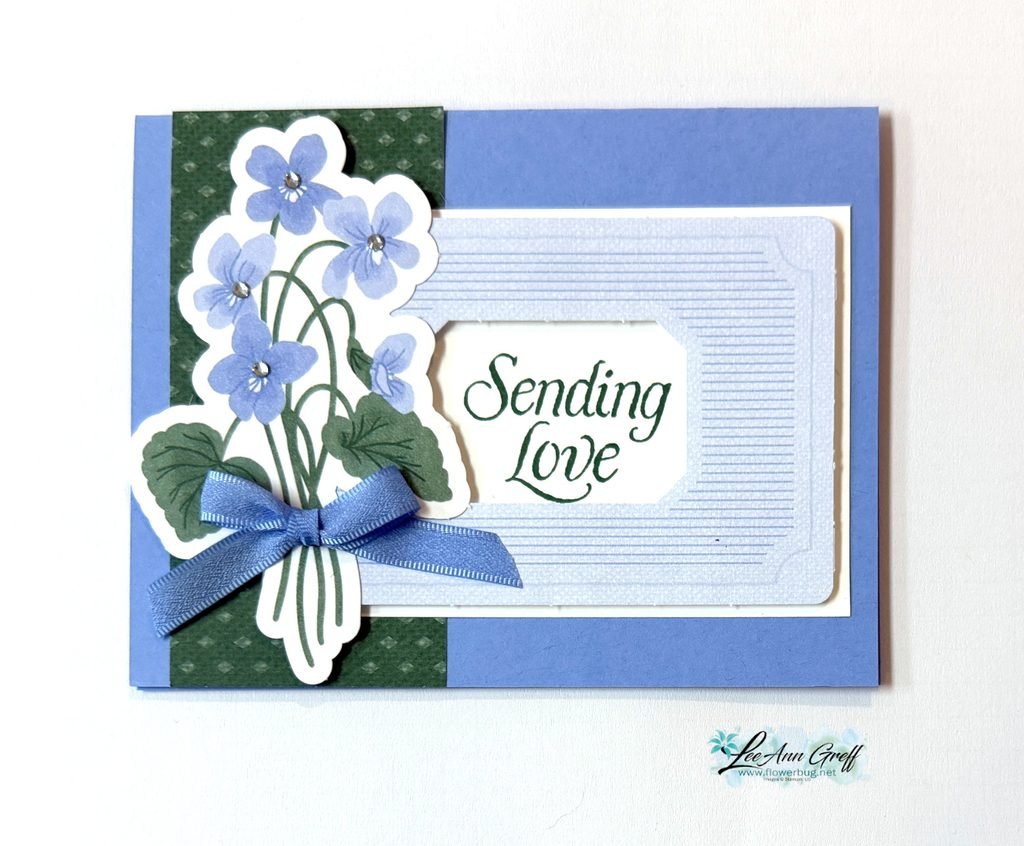
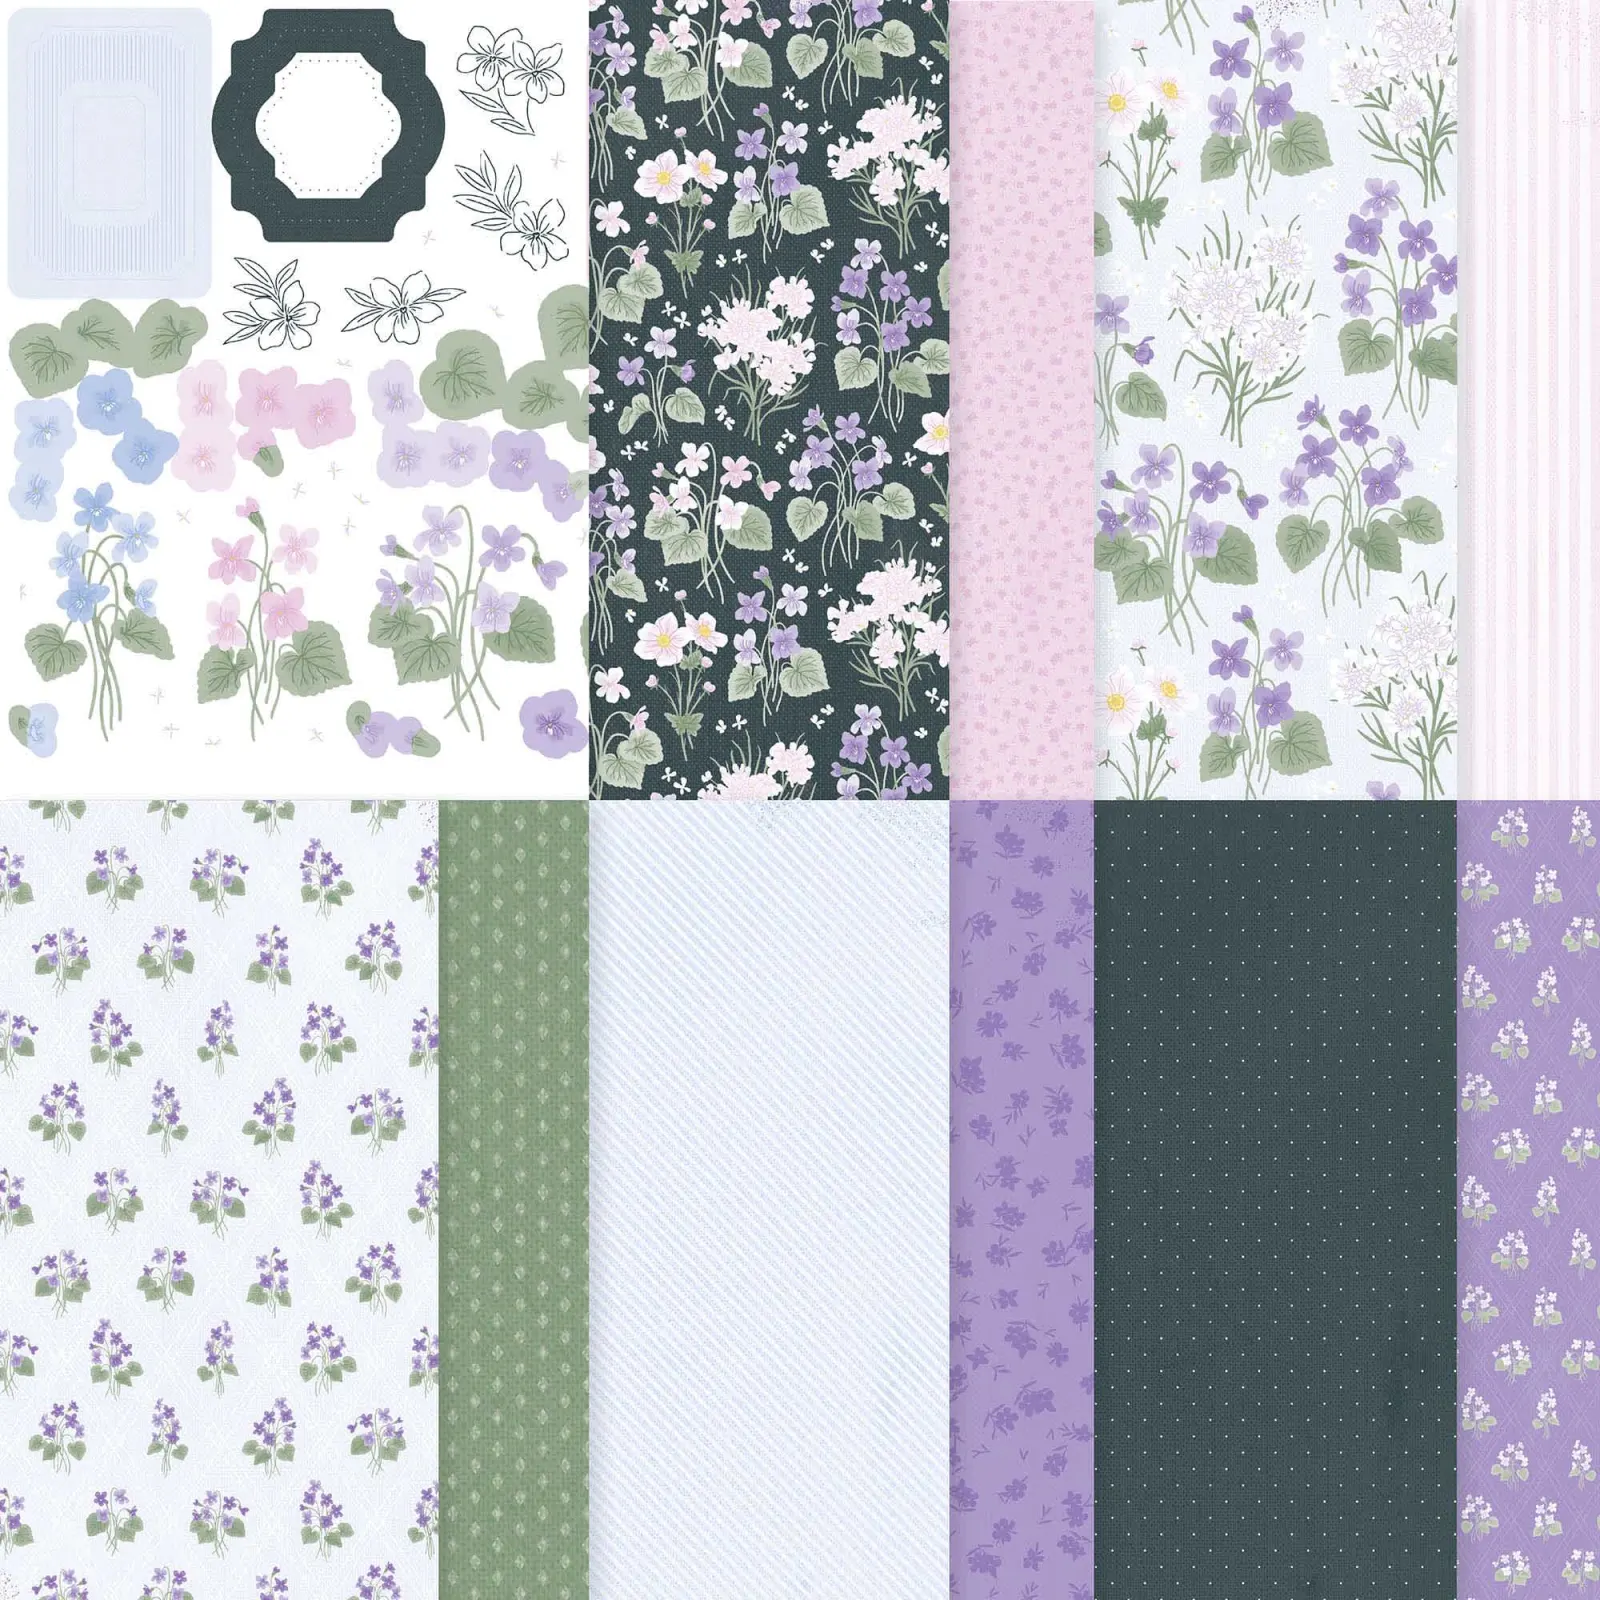
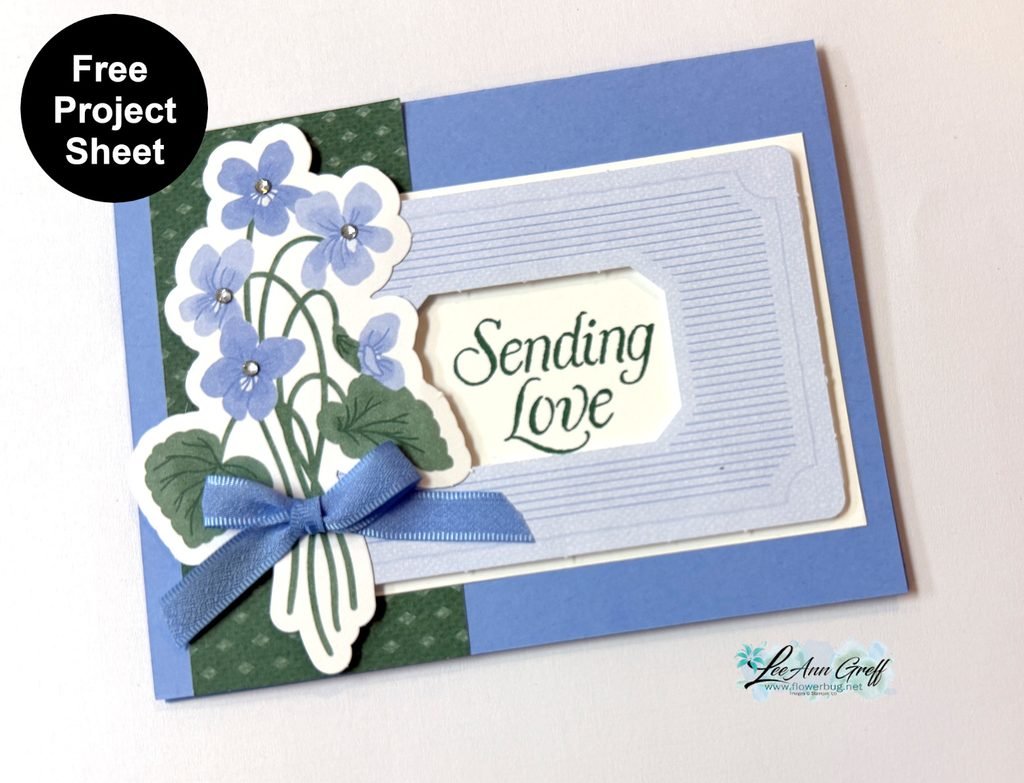
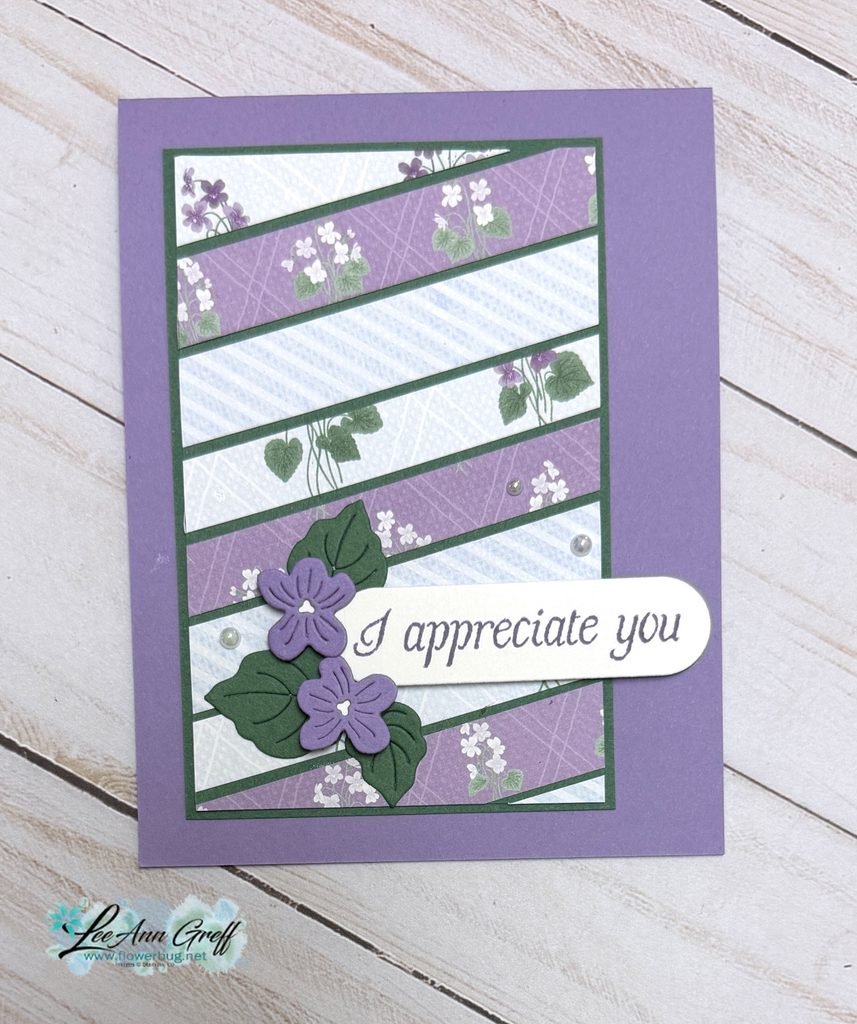
It showcases the pretty Violet Dreams DSP seen here. There are 3 pieces from the DSP on this card: the violets die-cut, the striped frame and the green DSP strip. This DSP has 2 sheets of die-cut ephemera included in the package. I love that; it opens up so many options when creating.
Look closely at the coordinating colors on this card. Stampin’ Up! makes it so easy to create with perfectly matching colors. It’s my very favorite thing about SU. I used the violets as the starting point and simply repeated each color once or twice on my project for a wonderfully cohesive look.
Tip: If you struggle with color coordination pick two colors and repeat them at least once if not twice on your project. This works!
Check out the video below where I shared on more pretty card featuring DSP strips.
I started out with 1/2″ thick strips of DSP and adhered the first to a Peaceful Pine CS layer at an angle. Then simply continue to add more strips leaving a space between each. Trim off the excess on all edges and adhere to a larger Peaceful Pine CS layer.
Adhere to your card base, add a greeting and die-cut accents and you’re done!
I created a free project sheet with photo, measurements and directions. Click hereto print it or download it.
DETAILS – Makes 1 album with 28 pages – Album size: 7-3/4″ x 7″ x 1-7/8″ – Page size: 6.5″ x 6″ – Colors: Blueberry Bushel, Crisp Cantaloupe, Crushed Curry, Granny Apple Green, Pool Party, Strawberry Slush, Timid Tiger – Sentiments printed in English, French, and German
This is super exciting news! All first-time demonstrators (beginning July 1, 2026) will receive a surprise Welcome Box—a gesture of appreciation and a warm welcome into the global Stampin’ Up! creative community.
Notice: LeeAnn Greff, Independent Stampin’ Up! Demonstrator, Manager. The content of this website is my sole responsibility as an independent Stampin’ Up! demonstrator and the use of, and content of, the classes, services, or products offered on this website is not endorsed by Stampin’ Up! Copyright 2025



















Leave a Reply