/


Latest Post

3 Fun Projects & Video with the Circle Celebration stamp set


I tried not to order the Circle Celebration stamp set but it kept calling out 'Order me!'  So I caved….and am so glad I did!  The images seem like they're almost 'retro' style which I love.  I do enjoy creating my own stamped background and these are perfect for that.  

Today I'm focusing on the cards on the right.  I made them with the Bokeh technique.  It's so fun and almost 3D in appearance.  
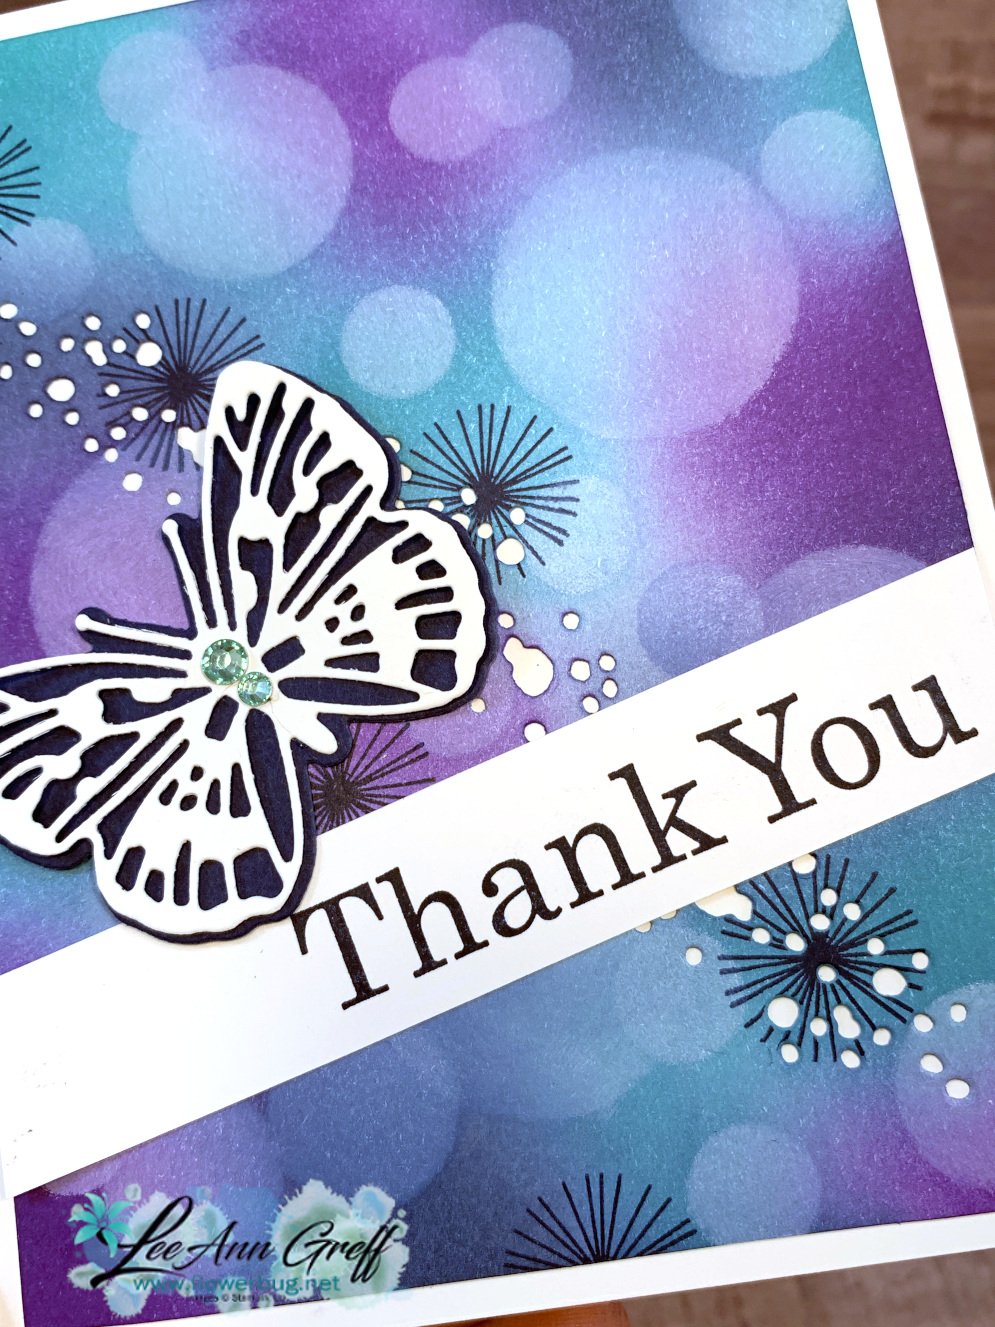
You start out with a sponged background. I used our new Blending Brushes that are awesome! They are currently out of stocks but should be back at the end of March.

Randomly sponge ink colors onto our Basic White CS.  Choose colors that somewhat coordinate if possible.  this can be difficult for some who struggle with color combos. I choose colors that when mixed do not make mud.  How do I know which colors don't mix?  Trial and error of course!  Here I used Night of Navy, Bermuda Bay and Gorgeous Grape.  Aren't these colors gorgeous together?!!!

*Another combo I might pick are yellows, oranges & reds.  Or greens & blues!  

Once you're done you add sponged circles using White Craft ink.  I made my own stencils by punching circles out of card stock.  I share tips on using and re-inking our White Craft ink in the video below.
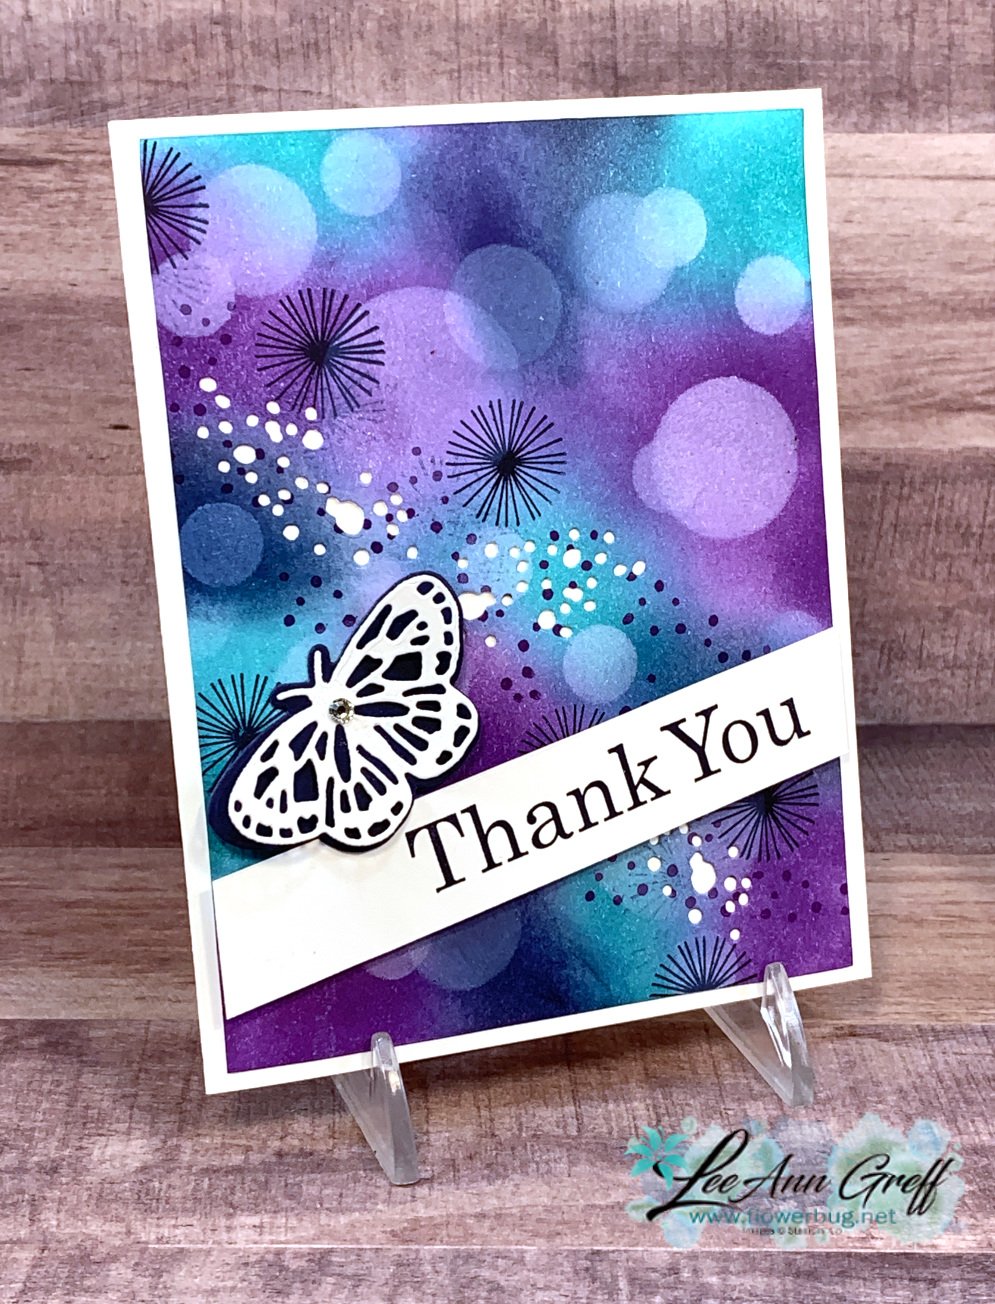
The greeting is from the Best Year stamp set in the Annual Catalog and the butterflies AND white dotted die-cut 'holes' are from the new Brilliant Wings bundle seen here.

Here is the video; I hope you watch it to see how to make these fun projects! 

Stop in here for tonight's Stamp with Me Facebook Live at 7:30 pm Central Time! We're making these paper quilting cards:

~~~

Lots of March Specials!

Current Host code is 9UPP3WVQ

Order online here

And if your order is over $50 you'll also receive a free adhesive package from me 3 sheets of Dimensionals and 1 for die-cuts!

*If your order is over $150 do not use the code; you'll still receive the gifts! 

All online orders receive a free PDF of the new Butterfly Bouquet bundle

with 15 projects!
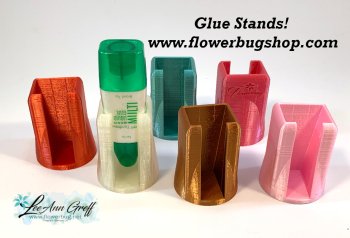
Below are the Multipurpose Glue stands we're making. They're $6 each and available in my Shop here.  

All Posts

  • A Shaker Card anyone can make with the Peaceful Deer bundle


    Have you ever made a shaker card?  Have you thought it was too much work to bother with or maybe you thought you needed special supplies? 

    Well today I'm sharing a fun & EASY shaker card idea. The only special thing you need is a clear envelope or cello bag.  

    And the Deer Punch is now available!!!  Get it here. 

    These cards are so fun and interactive.  You will be so proud to give one of these. One of my favorite things about this type of shaker card is that it isn't thick so it requires no extra postage. 

    1st step: add a white punched deer from the Deer Builder punch popped up with a Dimensional. 

    2nd: Insert into your clear envelope and add a good pinch of Subtle Shimmer sequins. 

    3rd: Fold the envelope over tightly to keep the sequins on the side of the DSP you want. Secure the flap. 

    Here's a photo of the back of the shaker part.  You can see the back side of the designer paper and where I folded the clear envelope over to secure.  A small cello bag would also work here.  

    After the shaker part is done just add your frame over it securing with adhesive.  Add to the card and finish! 

    Here's a version featuring the Whimsy & Wonder specialty designer paper; it works wonderfully here.  The card base and ink are Mint Macaron. The greeting is from the Peaceful Deer stamp set and the die-cut is from Tasteful Labels dies. 

    And below is the video; or click here to see it on YouTube.  I sure hope you watch it AND make one yourself!  

    ~~~

    November Specials: 

    Host codes: Z2RQ7BB6

    *click here to order

    Online orders over $50 get a pre-cut card kit of 4 cards & PDF tutorial.
    *Orders over $80 will receive the card kit PLUS 24 Iridescent snowflakes!

    All online orders will receive my Eden's Garden PDF 22 project tutorial free! 

    Get the deal on the Starter kit here!  $125 in product for $75 plus free shipping!

    Get any of the tutorials or kits to go below in my Kit & Tutorial shop here:

    Peaceful Wishes Christmas – limited supply available; 20 cards!


    Christmas cards stamp a stack; limited supply! 

    Leave a Reply

    Your email address will not be published. Required fields are marked *

  • Live tonight! Show off your Designer Paper with this fun layout!


    We're making these cards tonight on Facebook Live here.  Every other Monday I host a 'Stamp with Me' Live where we use our Designer Paper in fun ways.  

    I love this layout!  It is perfect for small patterns of Designer Paper. Turning squares on the angle adds a lot of playful interest to your card and showcases one main image, die-cut or punch in the center. 

    I post the measurements a few days before the Live event so you have the time to prep your pieces so we can complete them together.  

    I chose to use the Heartwarming Hugs designer paper from the Holiday catalog. (see it here)  And the Perfectly Plaid stamp set & Pine Tree punch.  

    Card stock is Real Red, Mossy Meadow & Basic White; ink is Mossy Meadow. 

    Measurements:
    Card base 4 1/4" X 11" scored at 5 1/2" 
    White CS – 2" square, 2 7/8" square, 4" X 5 1/4" plus a scrap for the punched piece
    DSP (Heartwarming Hugs) – 2 1/4", two different patterns at 2 3/4"

    See all of my videos here on my YouTube channel. 

    You can see this one here; click on the photo below: 

    ~~~

    November Specials: 

    Host codes: Z2RQ7BB6

    *click here to order

    Online orders over $50 get a pre-cut card kit of 4 cards & PDF tutorial.
    *Orders over $80 will receive the card kit PLUS 24 Iridescent snowflakes!

    All online orders will receive my Eden's Garden PDF 22 project tutorial free! 

    Get the deal on the Starter kit here!  $125 in product for $75 plus free shipping!

    Get any of the tutorials or kits to go below in my Kit & Tutorial shop here:

    Peaceful Wishes Christmas – limited supply available; 20 cards!


    Christmas cards stamp a stack; limited supply! 

    Leave a Reply

    Your email address will not be published. Required fields are marked *

  • A treat bag from an envelope? Yes!


    I cannot believe what a nice size this treat bag is – all from an A2 size envelope!  

    Steps:

    1. First I stamped just the flap with snowflakes from the Snowflake Wishes stamp set using Coastal Cabana and Highland Heather inks.  Then I stamped the Highland Heather tag and heat embossed it with White embossing powder.  

    2. Next score 1" on the bottom and up both sides while the envelope is flat.  Fold on the score lines and press each fold well. 

    3. Open up the envelope into a box. Secure the bottom corners to the flat bottom. 

    4. Die-cut the flap using the Basic Border dies. Add a second layer of Coastal Cabana – also die-cut.  

    5. Fill the bag with treats, wrap the mesh ribbon around it and add the tag.  Tie it into a bow.  Done!

    And below is the video; it's the last project I share on this FB Live replay! 

    ~~~

    Host codes: RY3EDVMZ

    *click here to order

    Online orders over $50 get a pre-cut card class of 4 cards & PDF tutorial.
    *Orders over $80 will receive the card kit PLUS 24 Iridescent snowflakes!

    All online orders will receive my Eden's Garden PDF 22 project tutorial free! 

    Get any of the tutorials or kits to go below in my Kit & Tutorial shop here:

    Peaceful Wishes Christmas – limited supply available; 20 cards!


    Christmas cards stamp a stack; limited supply! 

    Leave a Reply

    Your email address will not be published. Required fields are marked *


Notice: LeeAnn Greff, Independent Stampin’ Up! Demonstrator, Manager. The content of this website is my sole responsibility as an independent Stampin’ Up! demonstrator and the use of, and content of, the classes, services, or products offered on this website is not endorsed by Stampin’ Up! Copyright 2025