/


Latest Post

2 more beautiful scenes with the After the Storm stamp set with video


Yesterday I shared the details on two cards featuring the After the Storm stamp set seen here.  Today I'm sharing two more.  


Creating scenes is one of my favorite stamping techniques and this set features distinktive images we've never had before. 

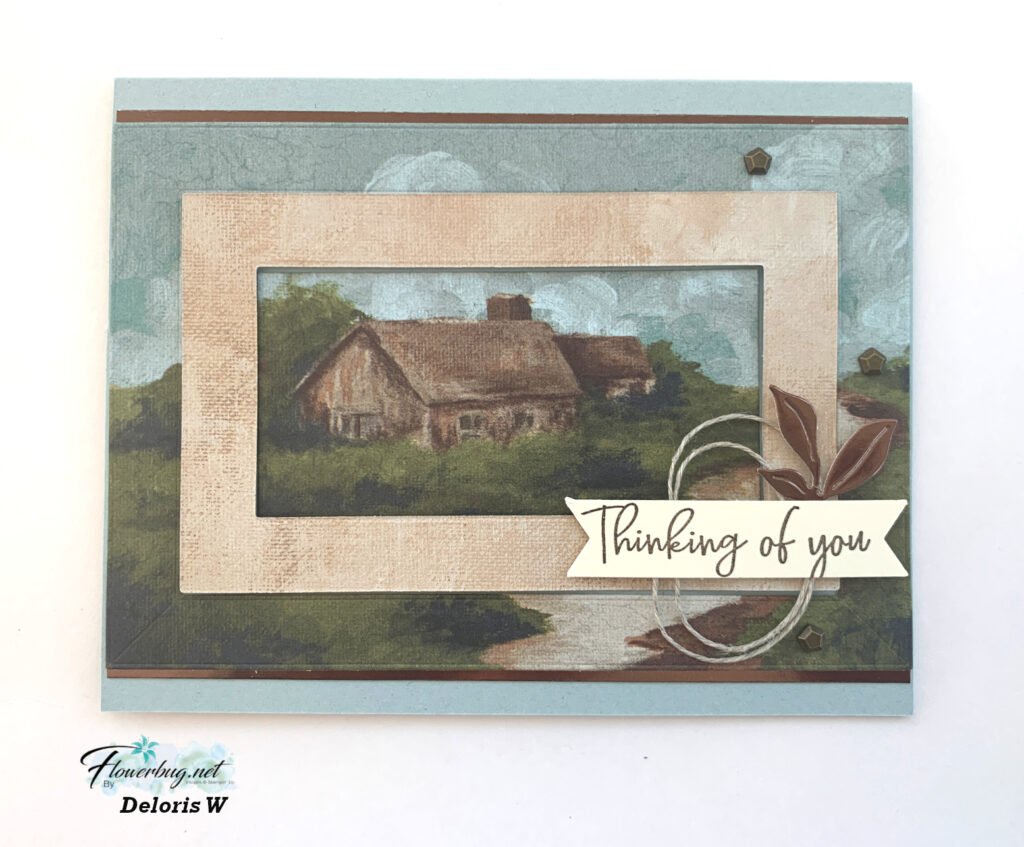
My color scheme here is So Saffron, Balmy Blue, Black & White. I did use our fabulous Blending Brushes to achieve the sky background.  They really do help you get a smooth finish.  Although here I wanted the sky to be slightly imperfect with light and darker areas for a cloudy look. 

Here I created a mask for the sun using a 1 1/2" circle and sponged in So Saffron ink.  Then I stamped the sun's ray's.  To accent them I added the thin lines using 2nd generation Balmy Blue ink.  You can sponge the sky before or after you stamp the sun's rays. Since it's a light color ink it really doesn't matter.  

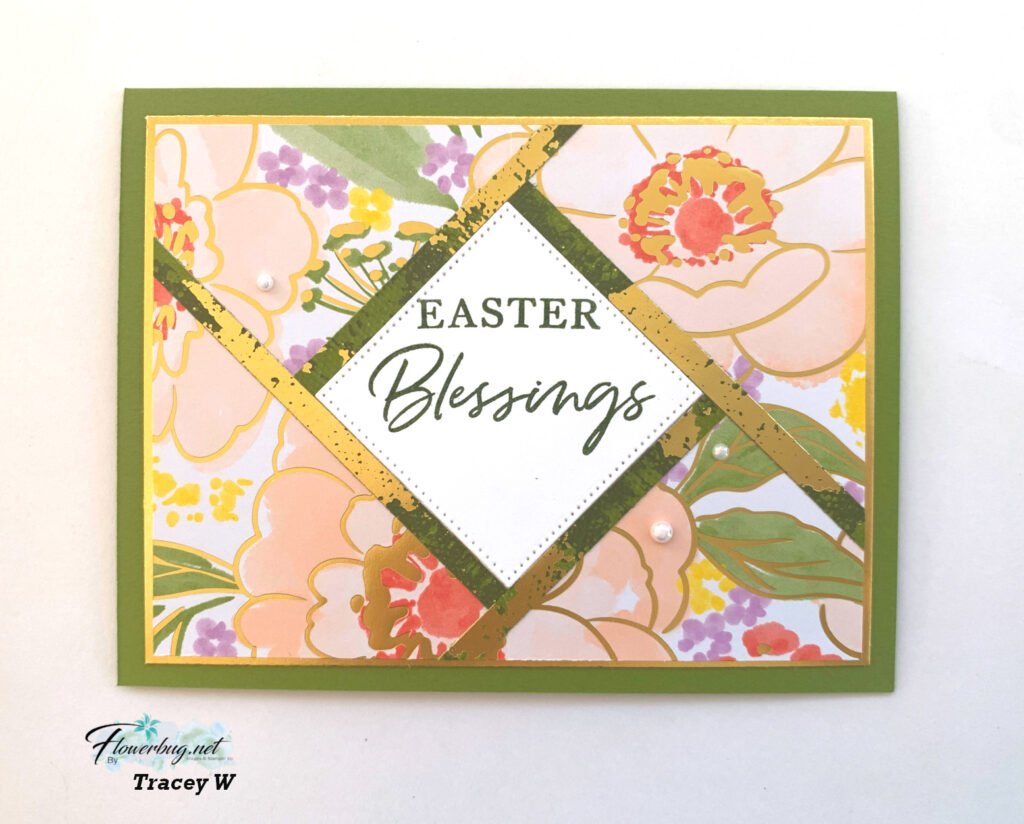
For the card below I used the rock & roll technique for the clouds.  You can see how this is done in the video below.  I used Smoky Slate and Balmy Blue ink on the cloud images.  

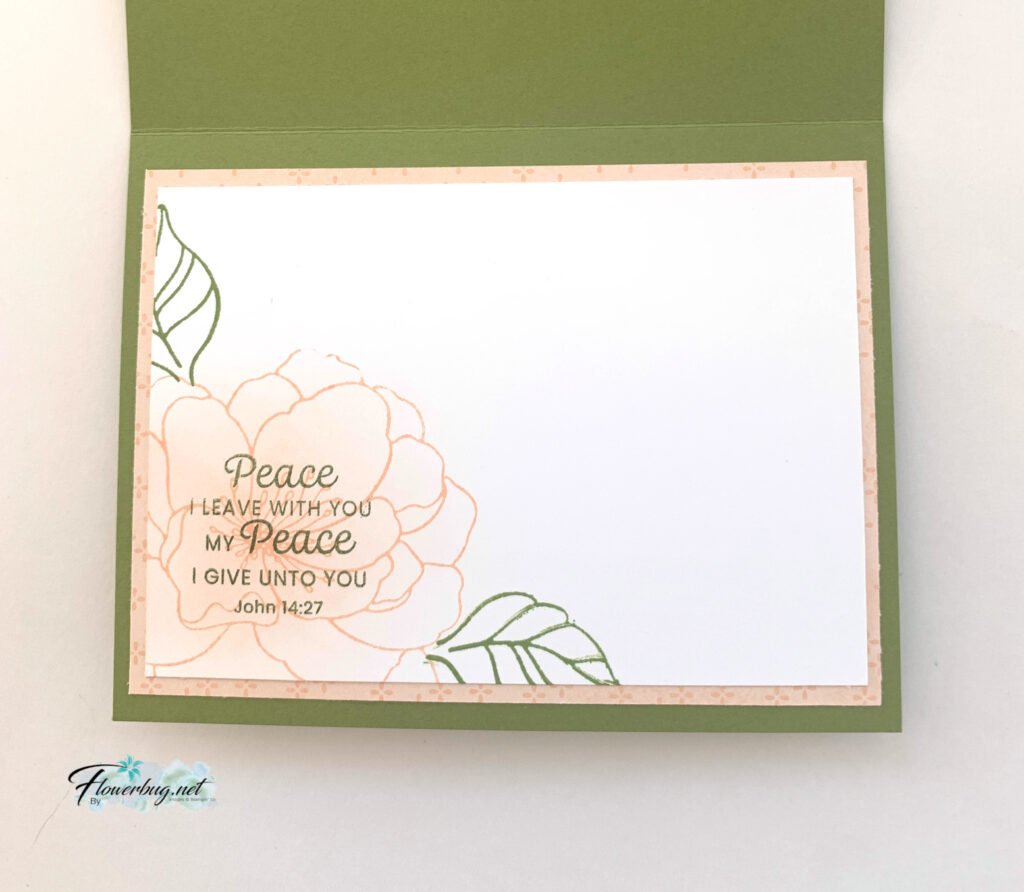
Within the clouds I sponged a hint of a 'sun' with a sponge dauber & So Saffron ink and added the sun rays from that.  All images are from this stamp set except for the trees; they are from the Beauty of Friendship stamp set.  The White greeting is 3/4" thick and the left end is punched with the Treasured Tag Pick a Punch. 

Below is the video for both of these cards & two more! 

 ~~~

May Specials & Promotions!

Get $55 in free product with purchase of the Stampin' Up! Starter Kit!  Choose $155 in product of your choice for just $99 and get FREE SHIPPING as well! 


Earn an extra $25 in free product if your order is over $250!  That means you get $50 in free product!  *combine your order with a friend.


Get a NEW embellishment from the Annual Catalog with an online order

over $50 before tax & shipping. 

Host code: WB2EX96R  Click here to order

Use this host code if your order is under $150. If it's over you'll still get the jewels but you'll also earn host benefits! Better yet, choose the Starter Kit and get $55 in FREE product and FREE Shipping as well!  Click here!

*All online orders in May receive a free PDF full of project ideas with 2 new catalog suites! 

All Posts

  • Save time on finishing the inside of your cards with this trick!


    I’m excited to share these stunning snowflake cards with you today. We made them at my card clubs in December.
    Living in North Dakota, we usually see a lot of snow in the winter so these cards are great for many occasions.

    I used the Snowflake Kisses bundle seen here. It’s filled with wonderful greeting images and lots of snowflake dies.

    My colors include Pretty Peacock with Cloud Cover and Gorgeous Grape with Fresh Freesia. I think blues & purples are perfect for snowflakes. We used a blending brush to add more color to the large snowflake die-cut.

    After creating the cards above I thought I’d try combining the colors on the large die-cut.

    Isn’t that pretty? I just love combining Gorgeous Grape with Pretty Peacock on the Fresh Freesia die-cut. Blending Brushes make this a breeze!

    Look how we finished the inside.

    I wanted to add snowflakes to the inside of the card but didn’t want to die-cut tons of them for my club gals. So I came up with creating a snowflake stencil.
    I cut multiple snowflakes from a piece of card stock and we used Blending Brushes to add pretty snowflakes to our White layer. I truly love the effect it gives.

    If you’d like the free project sheet for this card click here. You can download or print it.

    See how this card is made in the video below. I also shared a second Snowflake Kisses fun fold card.

    *You’ll receive a PDF with multiple projects featuring this product
    after the 20th of the month.
    ~~~

    The Last Chance list has been updated!
    Click here to shop.

    Get a free PDF tutorial with any online order from me in December!

    Leave a Reply

    Your email address will not be published. Required fields are marked *

  • The new Swirled Designs bundle is super fun!


    I had to point you to the new Swirled Designs bundle in our newest Online Exclusives release. It has the neatest sets of dies and stamps in it!

    See what I mean? The extra layers on the dies make them super playful and the stamps will be great for stamping backgrounds. Basic shapes like ovals and stars are something we’ll always use for multiple occasions.

    Look closer at this card made by Stampin’ Up! I love when we get new product that’s unique and we haven’t seen before.

    See what I mean? You can use the stamps to add the details to the inside of the die-cut shapes like above. I just love this card! See this bundle here.

    *You’ll receive a PDF with multiple projects featuring this product
    after the 20th of the month.
    ~~~

    The Last Chance list has been updated!
    Click here to shop.

    Get a free PDF tutorial with any online order from me in December!

    Leave a Reply

    Your email address will not be published. Required fields are marked *

  • The Branching Out bundle is retiring! Check out this fun fold card with video tutorial!


    We made this card earlier this fall and I realize I haven’t shared it with you yet. I also made a video too – scroll down….

    The colors include Pecan Pie with Crumb Cake, Early Espresso & Shaded Spruce. I used various wood-like designer series papers for the side panel. See how it has a double fold?

    Also notice the ‘white’ snow on the pine boughs plus snow in the background. You can achieve that without heat embossing. We used White Craft ink and stamped over the pine. Easy & a fun accent!

    The stamp set is retiring but the dies are not. The bundle is on the last chance list now. Click here to see it.
    It’s been one of my favorite products in our Holiday catalog this year. It’s timeless and can be used for fall, winter or Christmas!

    Besides the video tutorial here’s a free project sheet for you too. Click here to download or print it.

    I’m glad the dies are not retiring but I have to say the stamp set is among my top 5 favorites!

    Below is the video tutorial which gives you tips on stamping the branches with the pines and pine cones.

    *You’ll receive a PDF with multiple projects featuring this product
    after the 20th of the month.
    ~~~

    The Last Chance list has been updated!
    Click here to shop.

    Get a free PDF tutorial with any online order from me in December!

    Leave a Reply

    Your email address will not be published. Required fields are marked *


Notice: LeeAnn Greff, Independent Stampin’ Up! Demonstrator, Manager. The content of this website is my sole responsibility as an independent Stampin’ Up! demonstrator and the use of, and content of, the classes, services, or products offered on this website is not endorsed by Stampin’ Up! Copyright 2025