/


Latest Post

2 different card ideas for a ‘Mystery Card challenge’ with Sentimental Swirls with video


Every few months I offer a 'Mystery Card' challenge to my Flowerbug's Team.  They can opt in to receive a packet from me and I ask that they use some of the pieces in the packet to create a project and share it on our Team page.  They can add anything to the card that they want to. 

I shared these ideas in the video I made on my weekly FB Live. Click here to watch it. 

This time I focused on Brights DSP, vellum doilies, a Label Me Lovely punched piece and our Rainbow Glimmer paper in the annual catalog. 
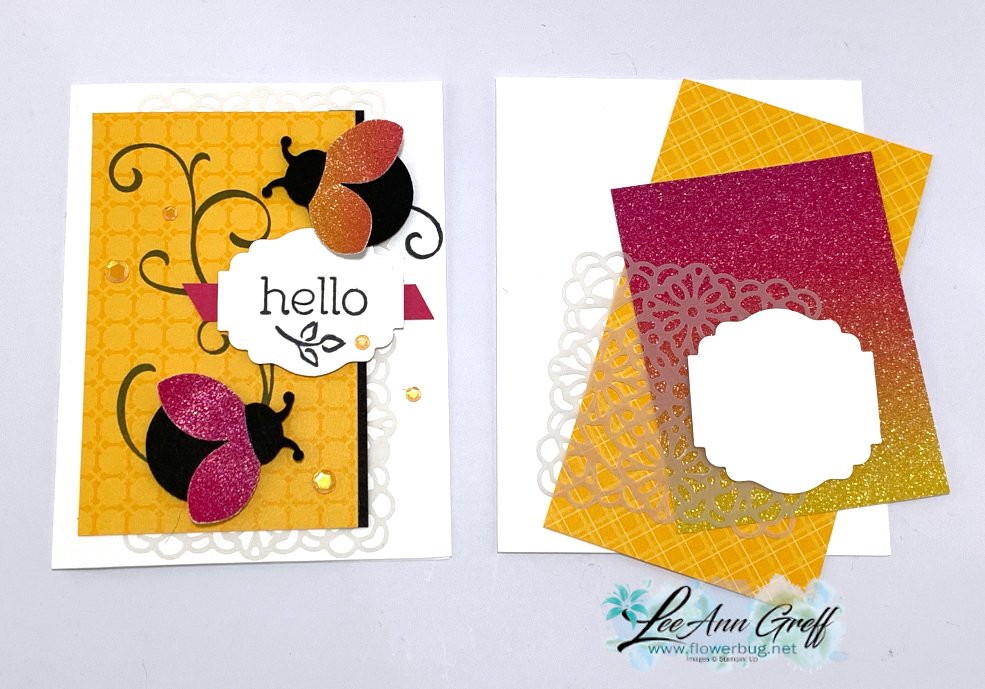
I pulled out the Sentimental Swirls stamp set seen here for my cards and added Black accents and a strip of Melon Mambo. 

I've always loved swirl images so this set was an easy choice.  Then add in the cute greetings (most are my 'go to' favorites) and 2-step stamp images and it's a hit! 
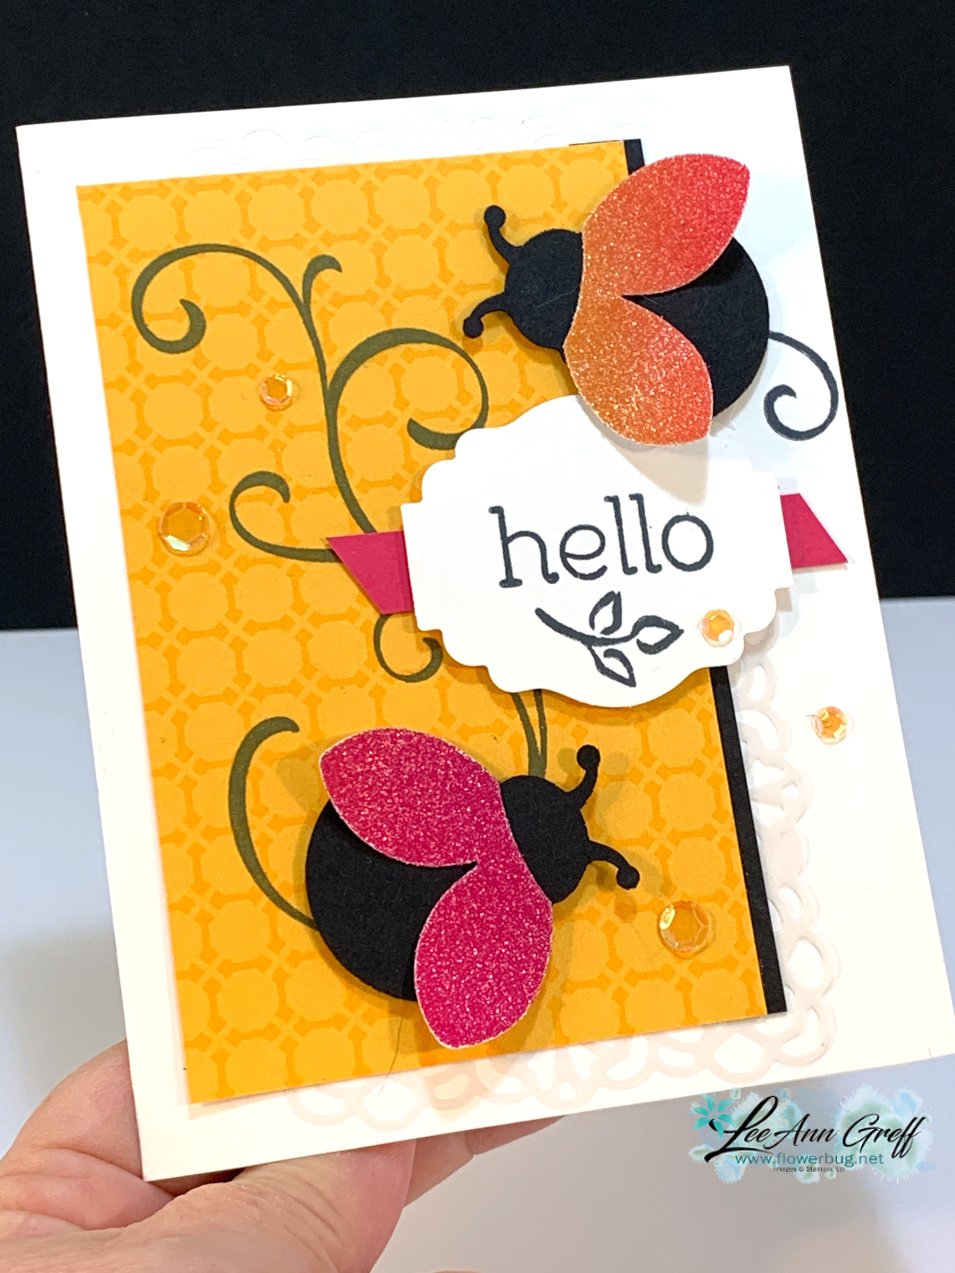
The card base is white, the DSP was Mango Melody and the Rainbow Glimmer paper had pinks & orange tones.  I used the Ladybug Builder punch for Black bodies & glimmer wings.  I cut the vellum doily in half on the diagonal to add it on the upper and lower part of the card.  A few Artistry adhesive-backed sequins finish it off!

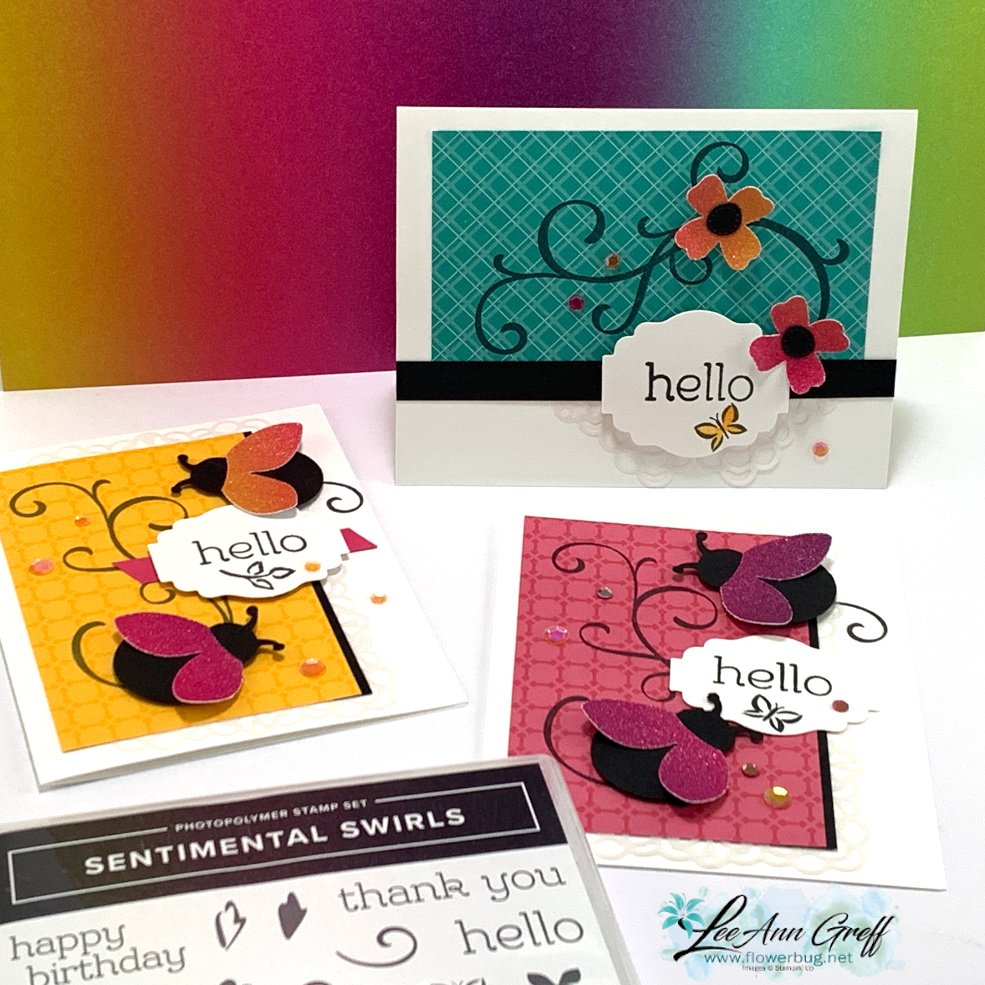
I made a few more with other 'mystery card' packets. This one had Bermuda Bay DSP in it and similar colors of Rainbow Glimmer paper.  I think the bright colors are perfect together!  The orange & pink really pop on the Bermuda Bay! 

The flowers are from the Flowers & Leaves punch and the flower centers are die-cuts from the Pierced Blooms dies. Here I cut the doily in half again and added both pieces at the bottom, under the greeting. 
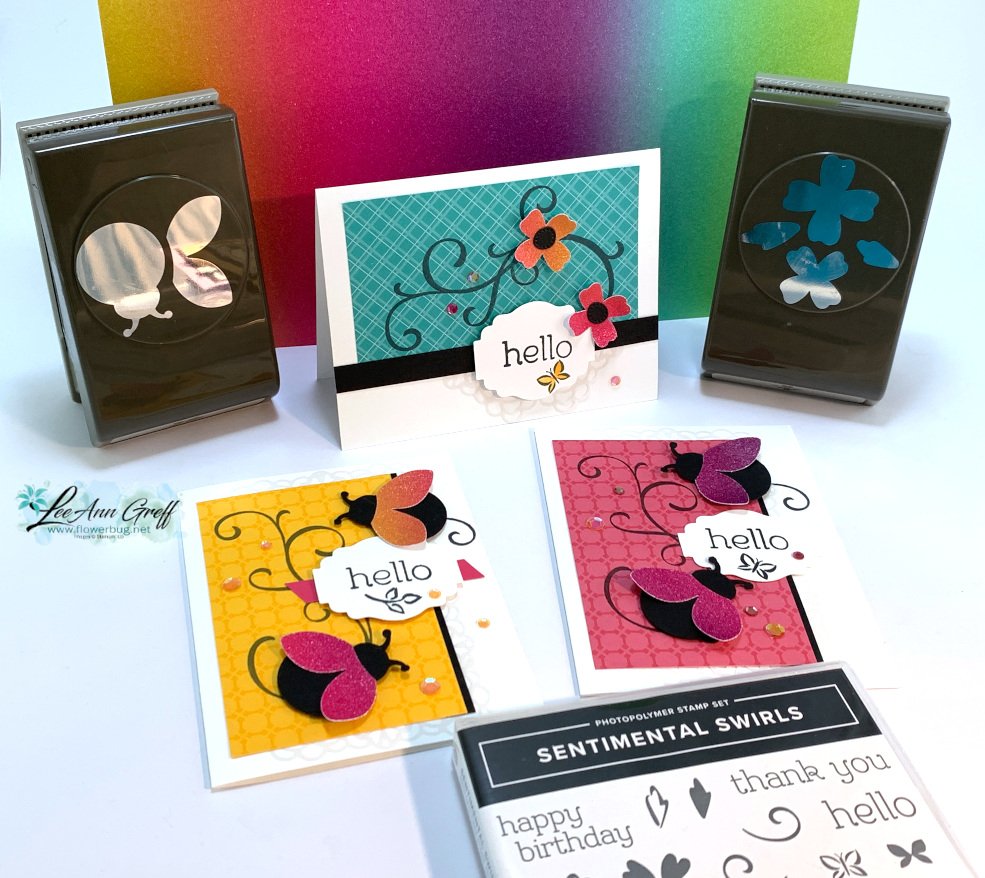

The Rainbow Glimmer paper is in the Annual Catalog and will likely retire next week.  Get it here while you still can. You can see it in the photos above & below.  

You might wonder where I got that greeting shape.  It's actually the Label Me Lovely punch.  But I altered the size by punching it twice; removing some of it so it was much smaller.  

To do this easily, I stamp on a scrap of White and punch it out as usual.  Then I adhere a strip of card stock (black in the photo above) to the edge of the punched piece and insert it back into the punch.  The strip of card stock allows me to 'reach' and adjust the punch easily.  

Which card is your favorite? 

You'll enjoy the tips & ideas in the video below; click on the photo to watch it. 


~~~

March Specials: 

Host codes: FS239K9C

 *click here to order 

If your order is over $50 you'll receive a free embellishment

from the Jan-June catalog in your thank you card.

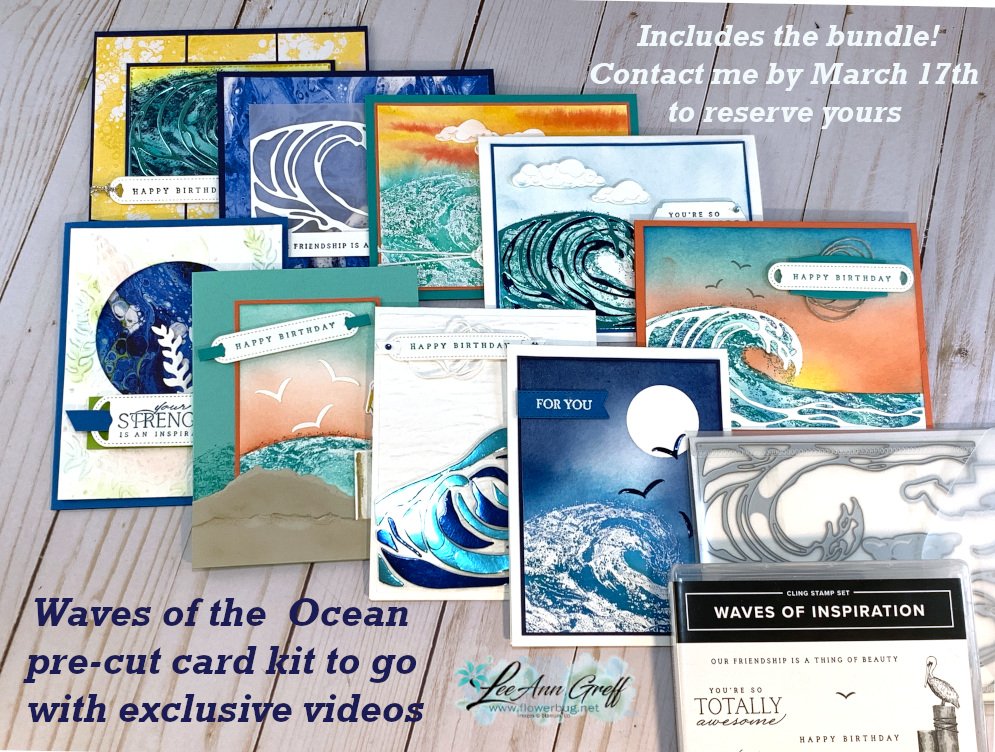
Email me to opt in for my Waves card kit to go here; it includes the Waves bundle!

Or the Flowering Fields kit seen here. 
  

Don't forget about my loyalty rewards! 

Click here to download yours and earn a $50 shopping spree!  

All Posts

  • Stock up on your Men’s cards!


    Most of us have lots of feminine, pretty or cute cards but when we need a card for the men in our life we usually have to scramble!  

    Well I've got a quick solution for you.  Use the Come Sail Away Memories & More cards plus the Cards & Envelopes.  You can either purchase my pre-cut 12 cards kit to go with pdf tutorial here or just the tutorial alone here.   

    It includes $18 in products including 1/2 pkg of Come Sail Away Memories & More cards pack and Memories & More cards and envelopes plus a pre-cut kit needed to complete your cards.  It also includes one package of Basic Brads, two spools of twine (Navy & Navy/Sahara Sand) and a few Sail Away trinkets. 

    I have a limited supply of this kit on hand because many of the products are retiring.  Many of these items are on sale right now on the Last Chance list here. 

    Here are two examples of the 12 cards in this kit.  

    Below you can see most of the 12 cards in the pre-cut kit. Supplies are limited!   Purchase it here by May 17th.


    ~~~

    May Specials


    Get my 'ALL Fun Fold cards tutorial' free with any online order.

    It includes directions, photos and measurements for 18 fancy card folds!


    May Host code is EYDJ4MQN

    Get a free pkg. of Noble Peacock rhinestones from me if your order is over $55. 

    Order online here

    Leave a Reply

    Your email address will not be published. Required fields are marked *

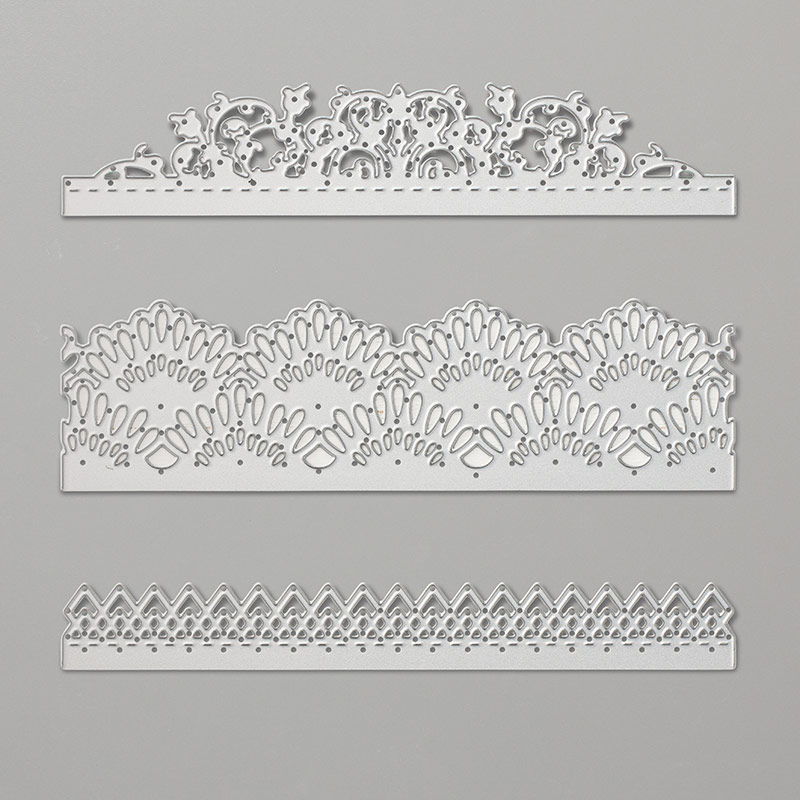
  • Delicate Lace Edgelits; marked down & on sale!


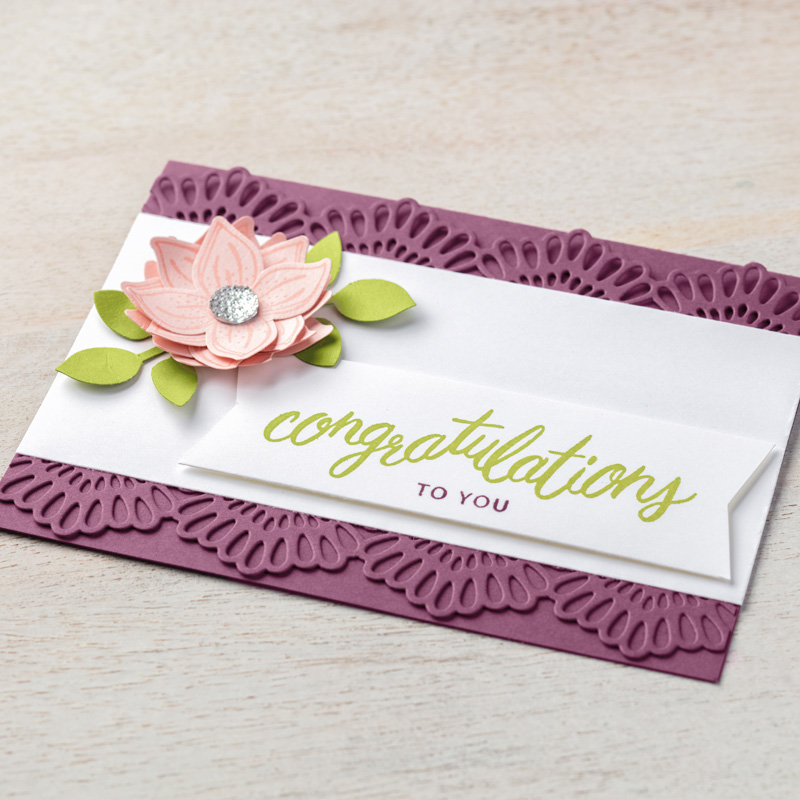
    I am shocked at the price of the Delicate Lace Edgelit dies on the Last Chance list.  They are marked down from $29 to $11.60 right now.  I've used them a ton; in fact one of our Club cards features them this month.  

    Here are some examples of how amazing these edgelit dies are. 

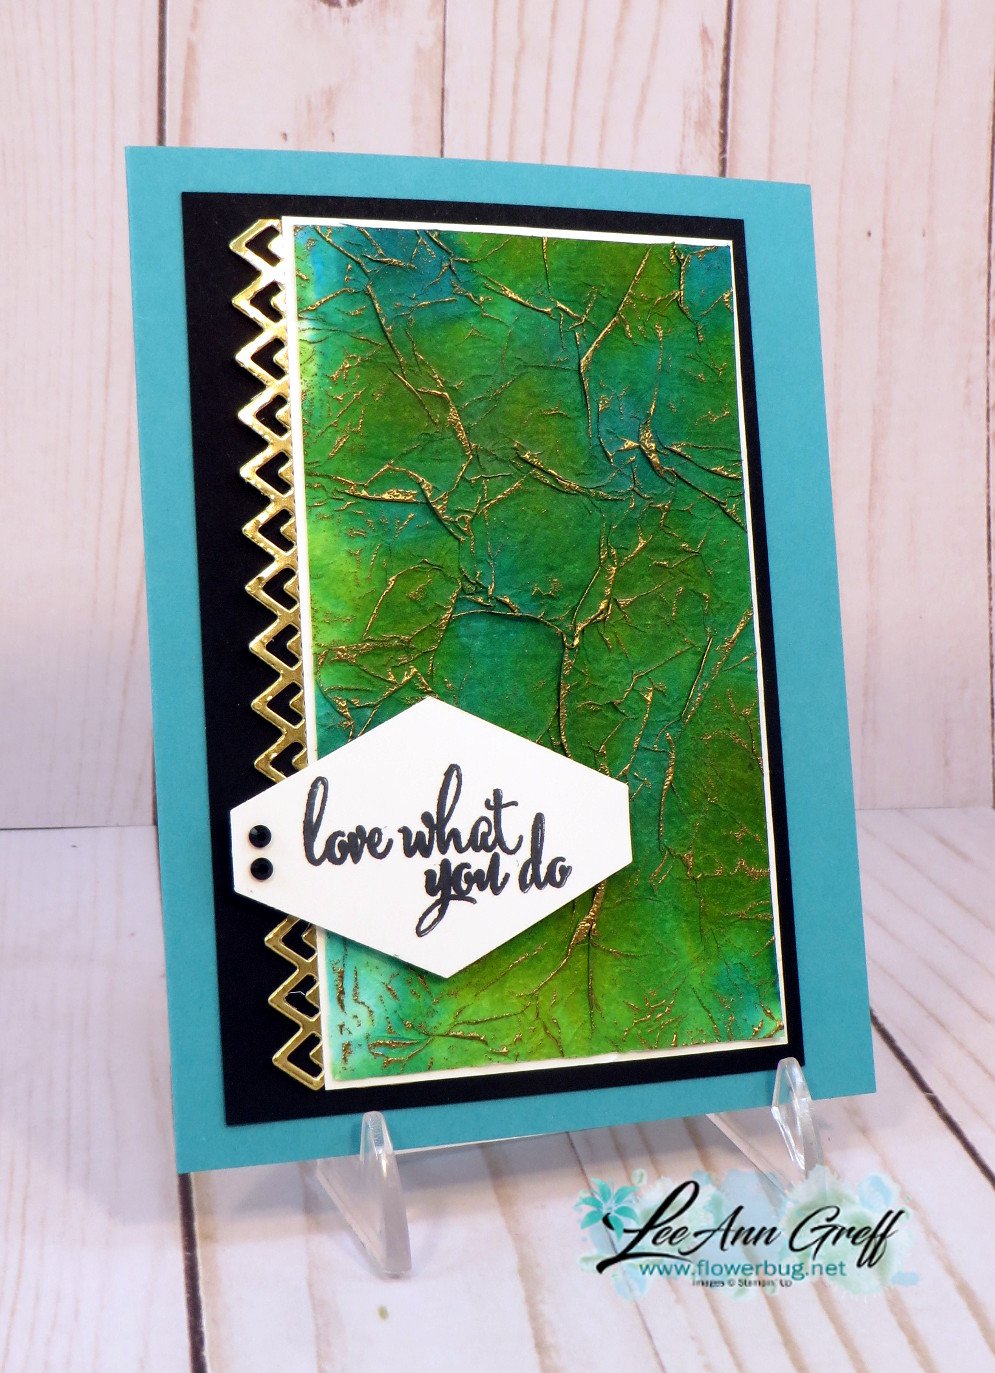
    **This stamp set and floral dies are retired – just look at the edglit! 

    You might wonder about the card above.  It was made at one of my Technique classes.  The tissue paper was colored with Pigment Sprinkles, dried and adhered loosely to card stock.  Then swipe Versamark over it and heat emboss with Gold powder. 

    You can see them online here.  

    ~~~

    May Specials


    Get my 'ALL Fun Fold cards tutorial' free with any online order.

    It includes directions, photos and measurements for 18 fancy card folds!


    May Host code is EYDJ4MQN

    Get a free pkg. of Noble Peacock rhinestones from me if your order is over $55. 

    Order online here

    Leave a Reply

    Your email address will not be published. Required fields are marked *

  • Follow Your Art – more easy Double Wonder cards


    I made another group of cards using the Double Wonder template. These are so quick and easy to make and the measuring sure isn't much when you consider it makes 11 cards!  

    You start out with two pieces of 6" X 12" designer series paper. It does need to be double sided.

    Download the template & directions here. Download Double Wonder cards & template

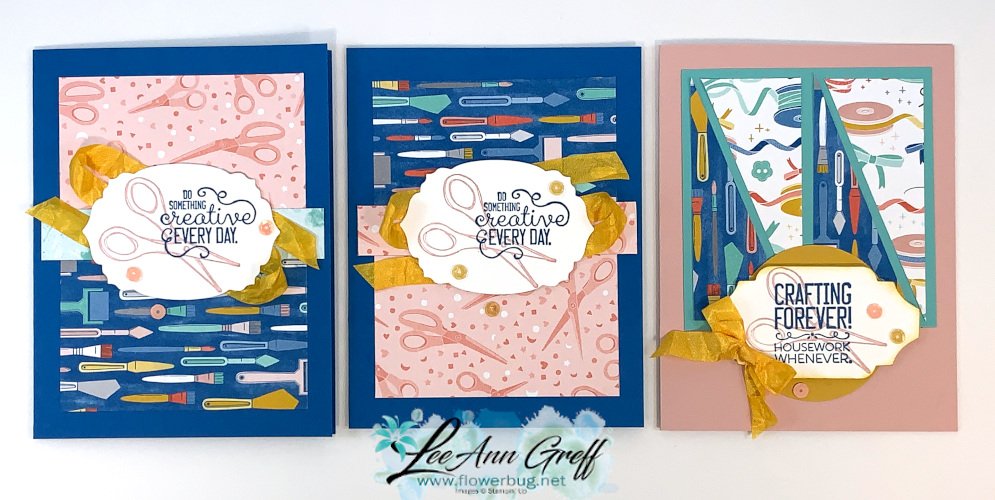
    I chose to use the Follow your Art designer paper.  It will be perfect for all of my crafty friends and customers.  Did you know it's on sale right now?  It's just $4.60 instead of $11.50 right now?  It's on the Last Chance list here.  There are so many amazing deals right now! 

    I'll show you each set of cards separately.  First up is Layout 1.  It's fun to mix and match the pieces of designer paper cut from the template. With double sided paper you get quite a few options.   

    Next is Layout 2 using two 1" strips of DSP on each card.  You can jazz them up as much as you want; I kept them fairly simple using punches and die-cuts in my scraps. 

    Lastly is Layout 3 and the bonus card on the right. 

    I used the Crafting Forever stamp set (retiring) and just a few colors of ink; Pacific Point, Blushing Bride and Crushed Curry for sponging.  I did use the Crushed Curry ribbon on many of these cards and the Gingham Gala adhesive backed sequins.  They are both on sale too! 

    Don't miss out on the amazing deals; get them while you can. Click here.  I doubt we'll have many things on sale for awhile….

    ~~~

    May Specials


    Get my 'ALL Fun Fold cards tutorial' free with any online order.

    It includes directions, photos and measurements for 18 fancy card folds!


    May Host code is EYDJ4MQN

    Get a free pkg. of Noble Peacock rhinestones from me if your order is over $55. 

    Order online here

    Leave a Reply

    Your email address will not be published. Required fields are marked *


Notice: LeeAnn Greff, Independent Stampin’ Up! Demonstrator, Manager. The content of this website is my sole responsibility as an independent Stampin’ Up! demonstrator and the use of, and content of, the classes, services, or products offered on this website is not endorsed by Stampin’ Up! Copyright 2025