/


Latest Post

2 cute cards with the Pampered Pets bundle


I featured the Playful Pets bundle when I made these two cards at Tuesday's Facebook Live this week.  This suite is absolutely adorable!  

Here's a close up of the first card.  The texture of the new Tasteful Textile 3D embossing folder is so neat.  It's subtle but still quite noticeable with a unique texture. 

This card shows just a peak of the cute Playful Pets designer series paper between the textured layers. 

See the paw prints on the bottom right?  That is a die in the Pets dies.  I placed a scrap of Black CS behind it to show it off.  You can see the entire Playful Pets suite here. 

The dog is cut from the Playful Pets DSP; the Pet dies match some of the images in the paper!   I added a bit of the Playful Pets trim for a collar and a bone from the Pet Trinkets.  Below are the measurements for this card:

  • Real Red 5 ½” X 8 ½”, 1” X 5 ½”, 2 ¼” X 5 ½” textured pieces
  • 1 ¼” X 5 ½” Designer Series Paper

Other products used: Tasteful Textile folder, Stitched Shapes and Layering Circles dies

Below are both cards I made in the FB Live video.  Click here to see it.
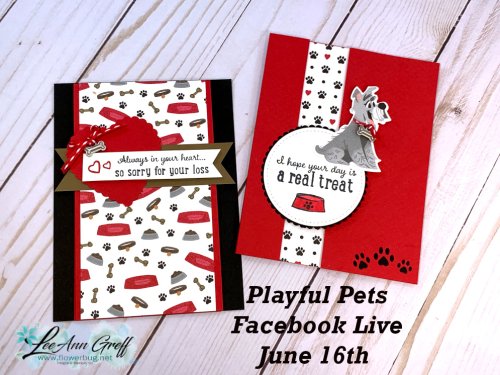
The second card is a unique fold where the Black piece is the full back of the card and the Real Red is scored for the card opening. It's a fun and unique card that works well with our Designer paper.  Whether you use 6 X 6" or 12 X 12" paper it all works without much waste when cutting.

Measurements:

  • Black 5 ½” X 4 1/4”
  • Real Red 3 ¼” X 11” scored at 5 ½”,
  • Designer Series Paper 5 ½” X 3”
  • Soft Suede 1" X 4 1/4"
  • White strip is 3/4" X 3 1/2" 

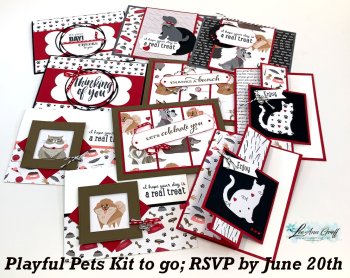
If you like these cards you may want to get my Card Kit to Go that features the entire Playful Pets suite of products along with 10 pre-cut cards!  Be sure to order it by Saturday! See it here. 

~~~

The new catalog is here!!! 
Get my Lovely You pdf tutorial free with any online order in June
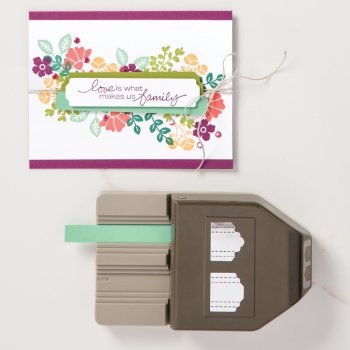

It includes directions, photos and measurements for 10 cards!


June Host code is 7H2FW9FG

Get a free pkg. of Elegant Faceted Gems from me if your order is over $55. 

Order online here


All Posts

  • A neat Tower card with video & free project sheet with Peaceful Garden


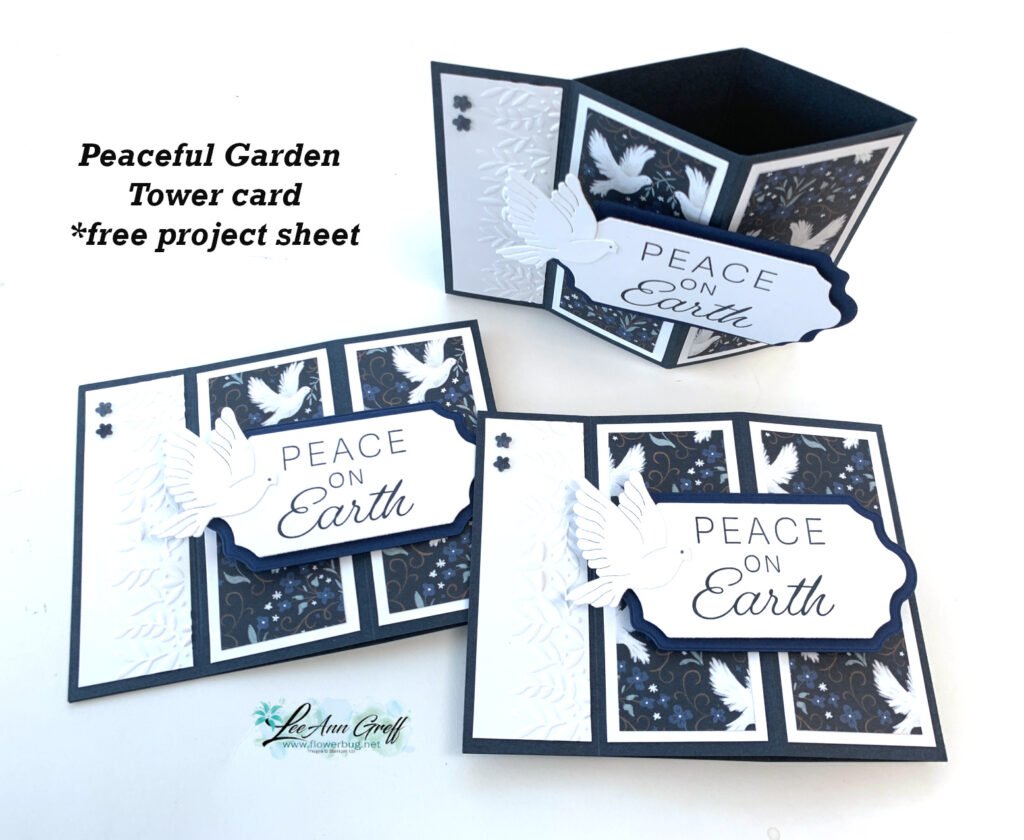
    I just love this fun fold ‘tower’ card layout! It gives you lots of opportunities to feature your designer paper.

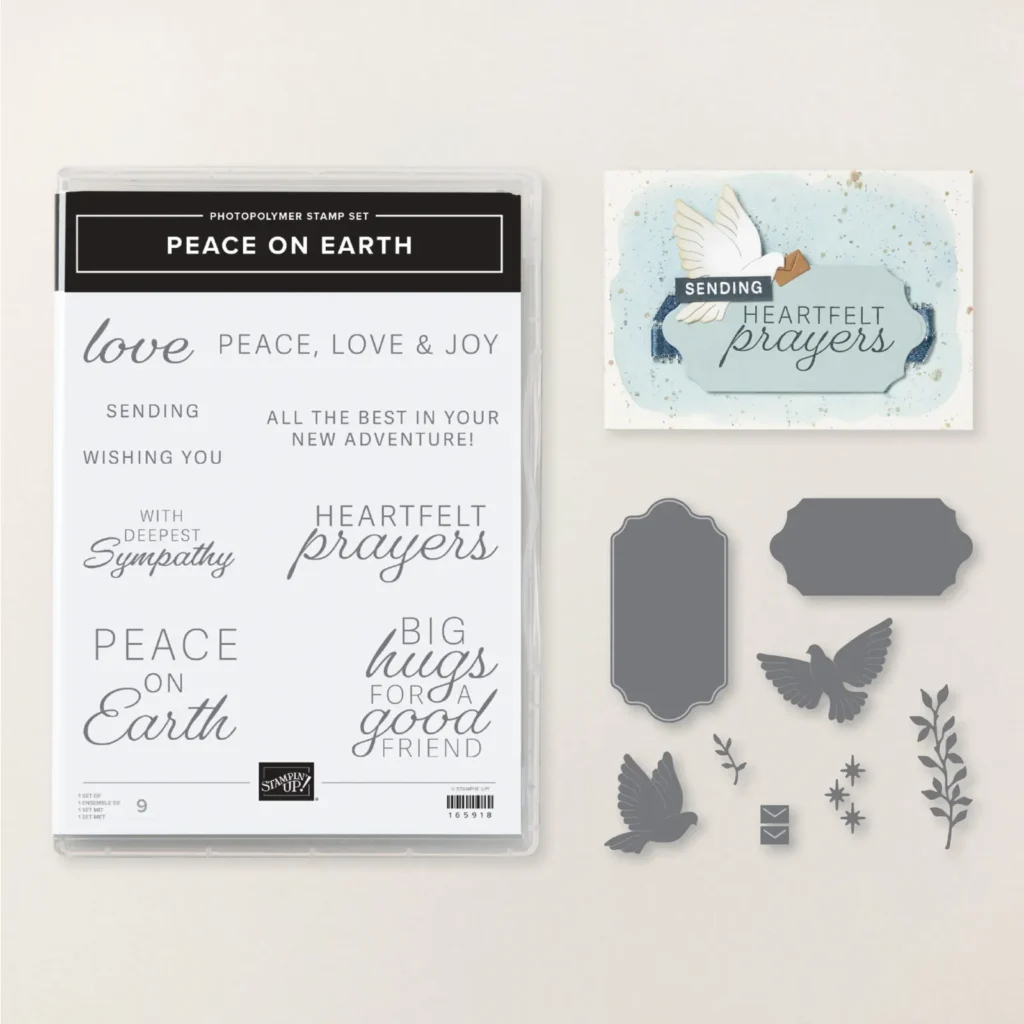
    I featured the Peace on Earth bundle and the Modern Garden designer paper. The colors include White, Secret Sea and Silver. The Peace on Earth bundle was a ‘must have’ for me because of the pretty greetings and layering die-cuts. I like that the greetings include more than just Christmas making it quite versatile.

    This Tower card fun fold is made with a 11″ X 4 1/4″ piece of card stock but scored 5 times across the long edge. Then you simply adhere the ends together and allow the other end to open. Genius!

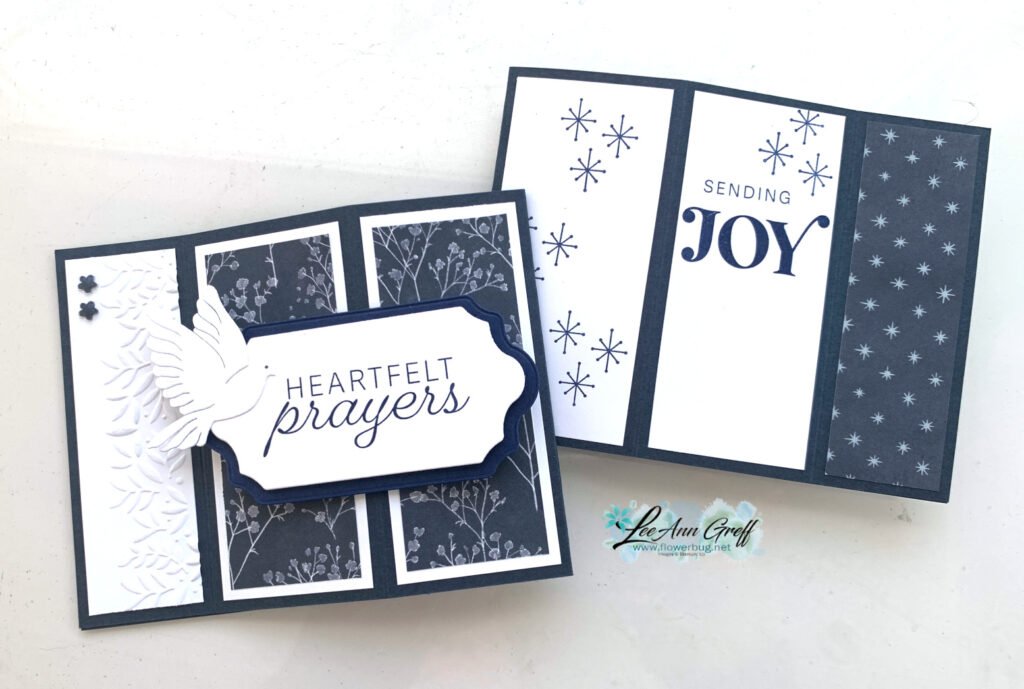
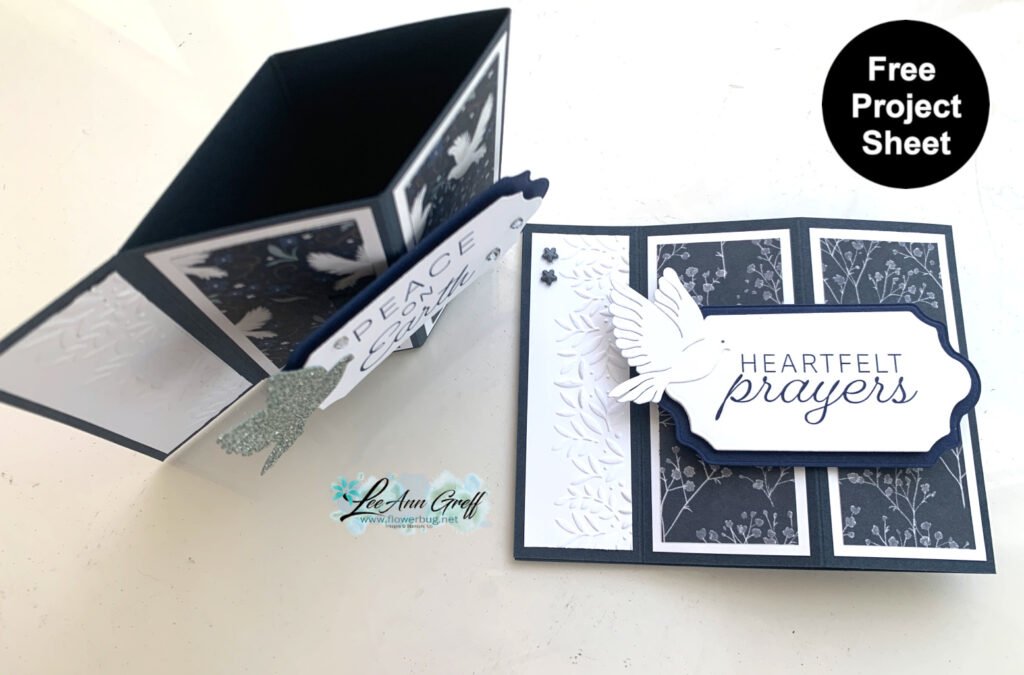
    Note how the center panel swivels a bit…. I stamped one card with a holiday greeting and the other with a sympathy greeting. You can see the back side of the Holiday card here. I pulled out a Paper Pumpkin stamp set to fit.

    I love the textured embossing on the left White panel. That is from the Peaceful Greenery embossing folder seen here. I used just the side of this folder to achieve the textured edge.

    I created a free project sheet for this card; simply click on this link to print or download it.

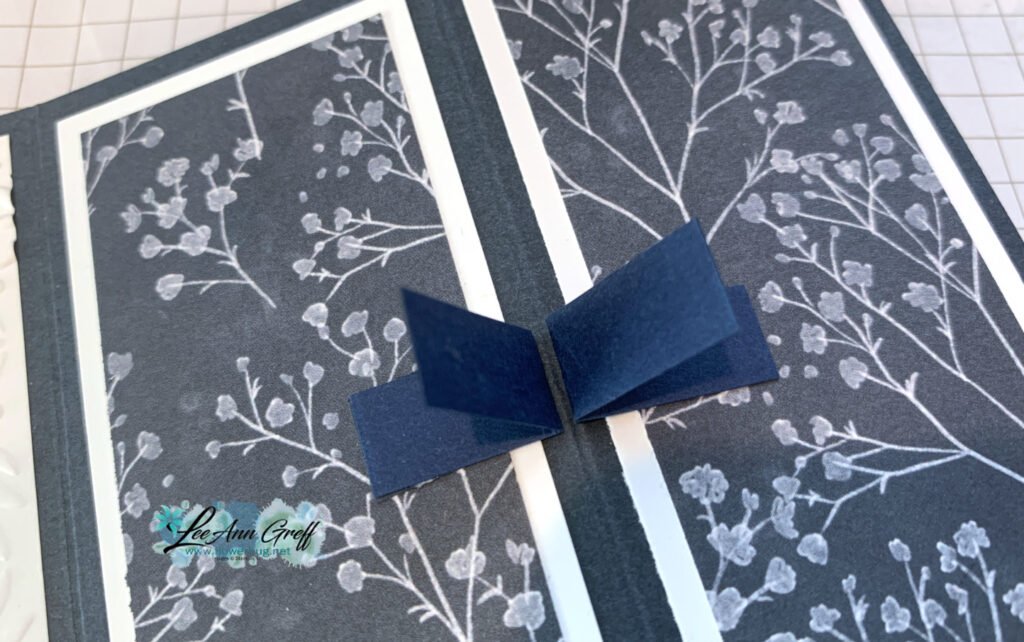
    Here’s the tip on how the front panel swivels a bit on the fold. So easy to achieve!

    It’s two strips of card stock about 1/2″ wide and 1″ long folded in half. Each half is adhered with the fold on the main card fold.

    Below is the video tutorial for this card, another pretty Christmas card and a candy bar treat holder.

    *You’ll receive a PDF with multiple projects featuring this product
    after the 20th of the month.
    ~~~

    The Last Chance list has been updated!
    Click here to shop.

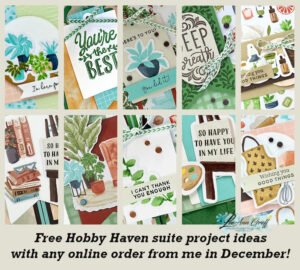
    Get a free PDF tutorial with any online order from me in December!

    Leave a Reply

    Your email address will not be published. Required fields are marked *

  • The Product of the Month promo starts today!


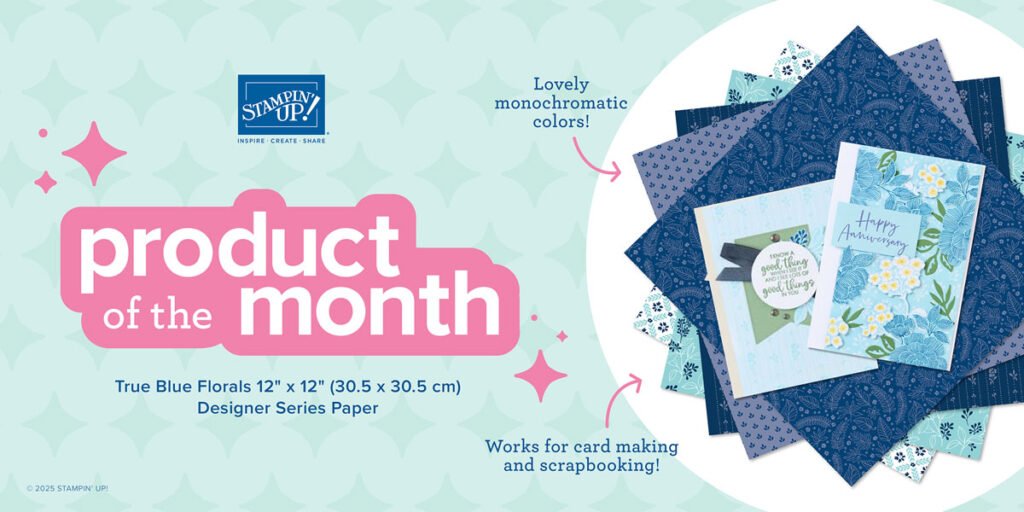
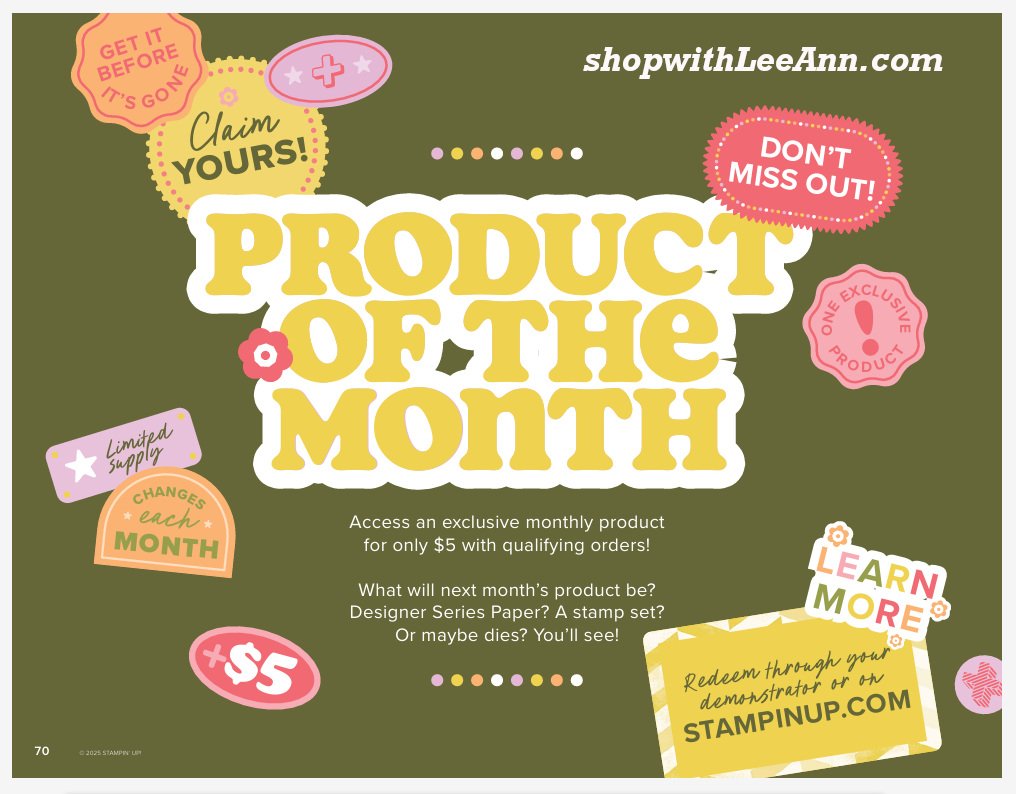
    Each month Stampin’ Up! will offer a product of the month. It will be brand new product you will ‘earn’ with a qualifying purchase. It’s sort of like Sale-a-Bration every month!

    This month it’s the True Blue Florals 12″ x 12″ Designer Series Paper. See it here.

    Beautiful monochromatic blue prints to match many of our current colors.

    Details:

    • Besides qualifying with a purchase there will be a $5 fee.
    • It will be one per person.
    • The items are while supplies last.
    • There will be many different offerings such as stamp sets, designer series paper and dies.
    • If an item lasts through the entire month it may be carried over into the next month; while supplies last.

    *You’ll receive a PDF with multiple projects featuring this product
    after the 20th of the month.
    ~~~

    The Last Chance list has been updated!
    Click here to shop.

    Get a free PDF tutorial with any online order from me in December!

    Leave a Reply

    Your email address will not be published. Required fields are marked *

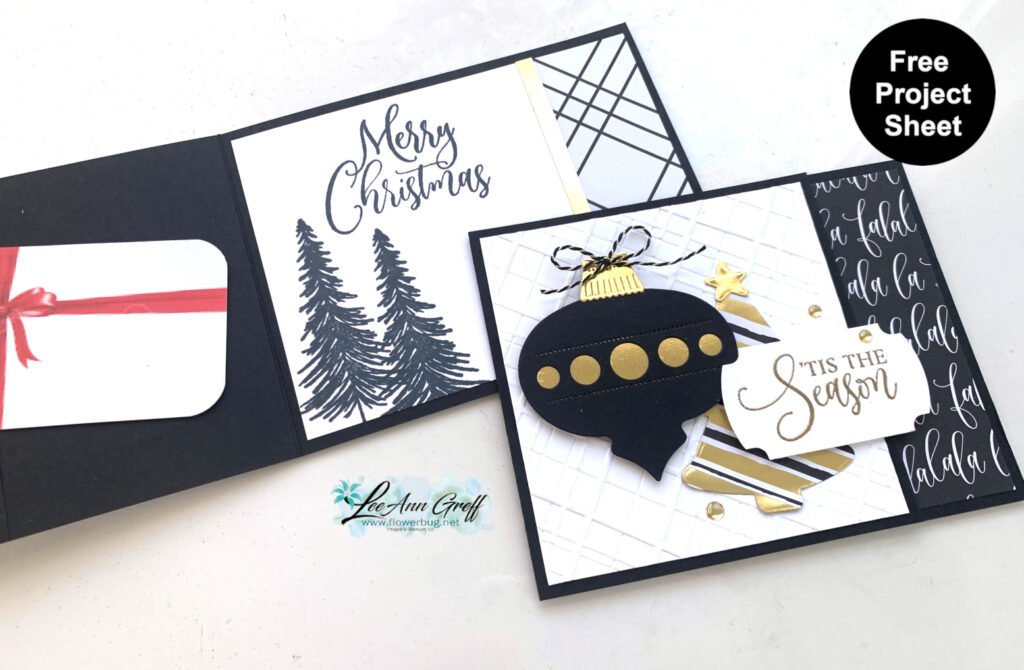
  • An easy Gift Card idea for Christmas with free project sheet


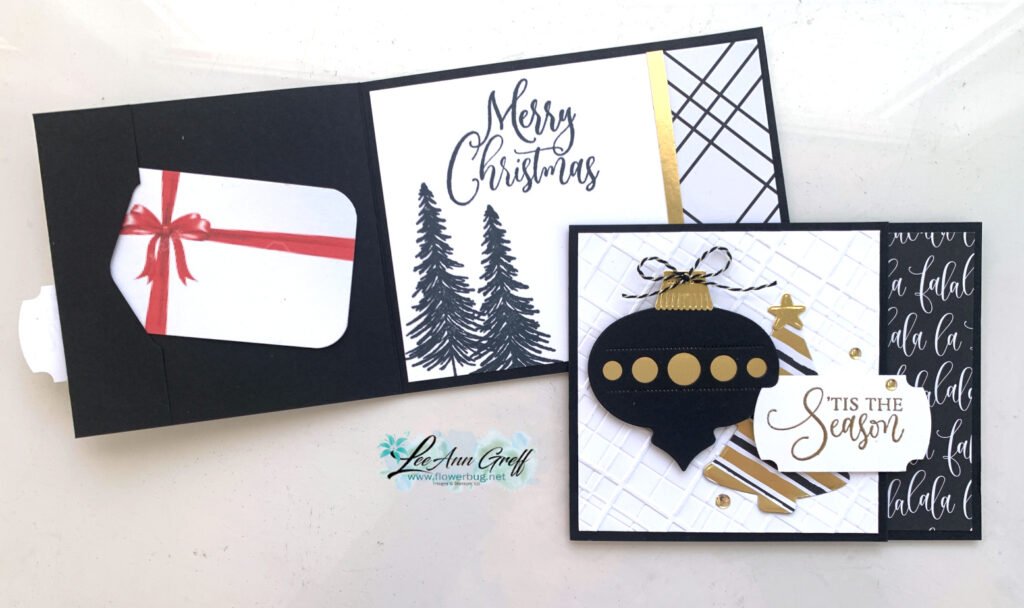
    I shared this pretty card on last week’s video. It has an option for a gift card hidden inside.

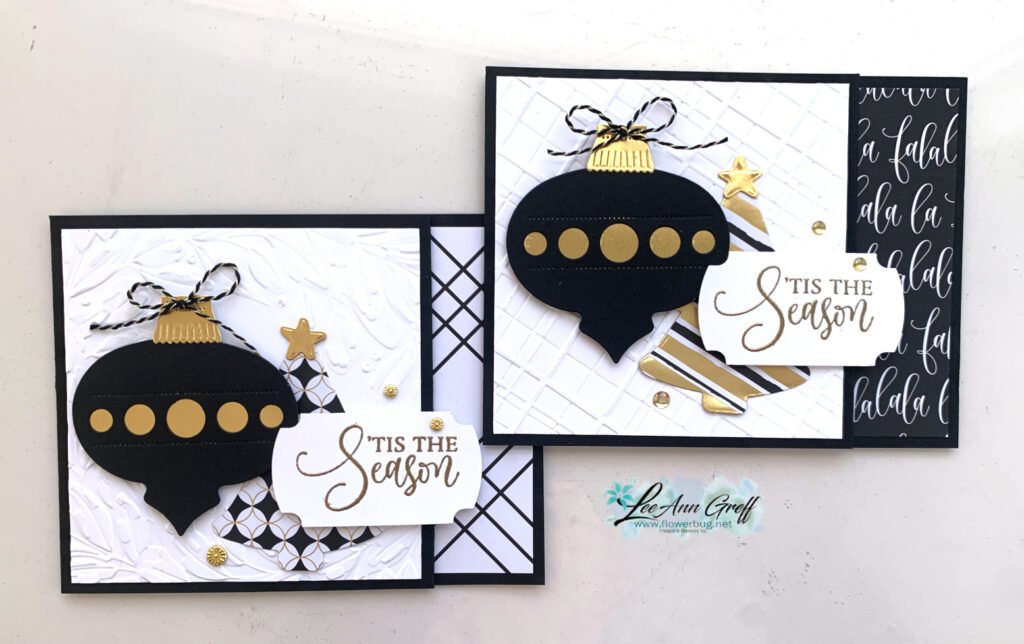
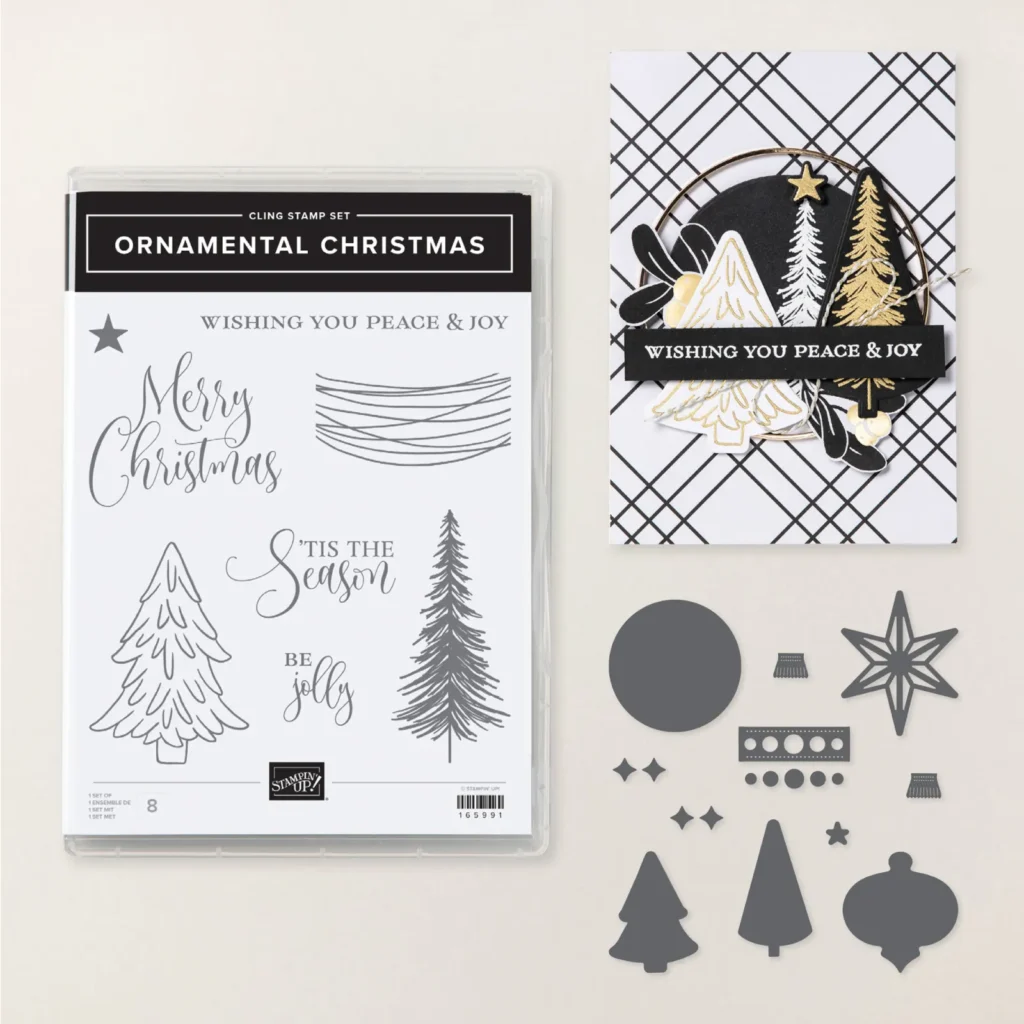
    Isn’t it pretty? I featured the Modern Christmas suite here with the specialty DSP and the Ornamental Christmas bundle seen here.

    I just love the font on the greetings and the unique coordinating dies in this bundle.
    My colors are classy in Black, White and Gold foil. You might notice two different embossing folders on the White layer. One is the Traditional Wreath 3D and the other is the Forever Plaid 3D.

    There is a scored line on the front layer to create a pocket for a gift card inside. I used a punch to create a bit of interest on it.

    What do you think of this color combination for Christmas? I worried some might not like it but everyone at my Clubs loved this card. The Modern Christmas designer paper seen here is gorgeous with it’s fun patterns.

    I did heat emboss the greeting with Gold embossing powder and punched it out with the Labeled with Love punch. The bits of Gold foil all over this card really make it special!

    I created a free project sheet for this card and also a video with tips & step by step directions. Click here to print or download it.

    You can watch the video below to see how to assemble this card. There are also two more projects you’ll want to see!

    *You’ll receive a PDF with multiple projects featuring this product
    after the 20th of the month.
    ~~~

    The Last Chance list has been updated!
    Click here to shop.

    Get a free PDF tutorial with any online order from me in December!

    Leave a Reply

    Your email address will not be published. Required fields are marked *


Notice: LeeAnn Greff, Independent Stampin’ Up! Demonstrator, Manager. The content of this website is my sole responsibility as an independent Stampin’ Up! demonstrator and the use of, and content of, the classes, services, or products offered on this website is not endorsed by Stampin’ Up! Copyright 2025