/


Latest Post

Yay! It’s a Free Shipping promo through Friday!


Stampin’ Up! announced that from Wednesday through Friday you’ll get FREE SHIPPING on all orders over $75! We love this promo!

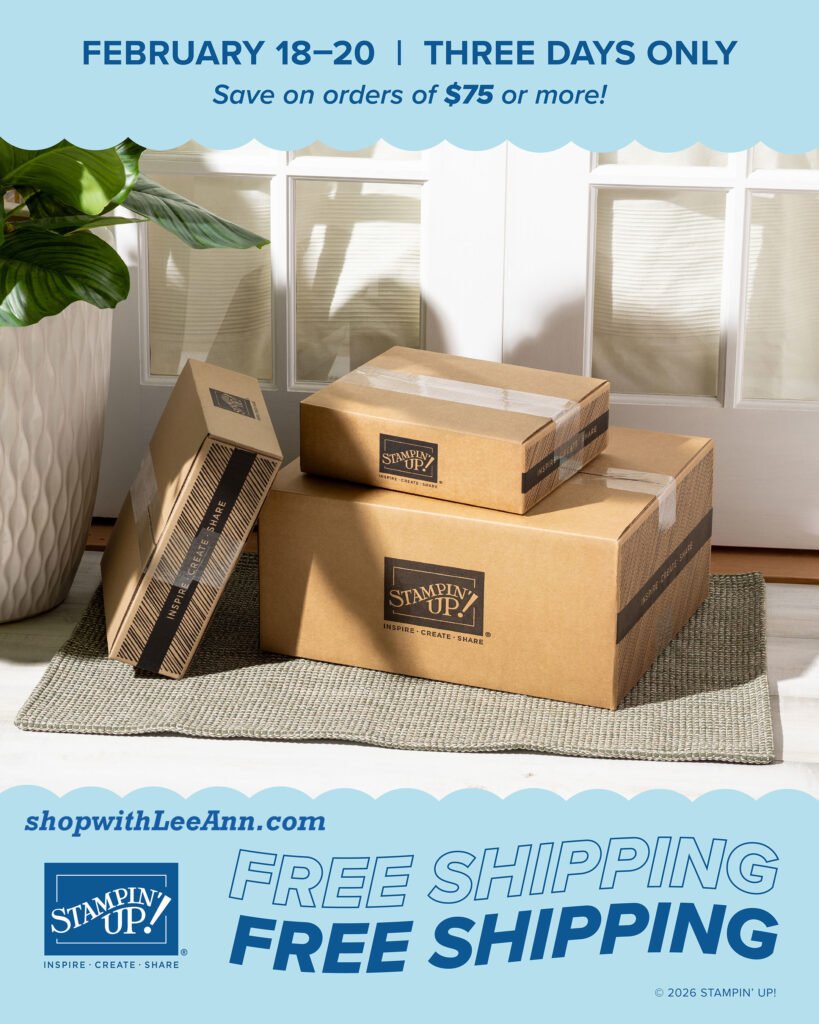
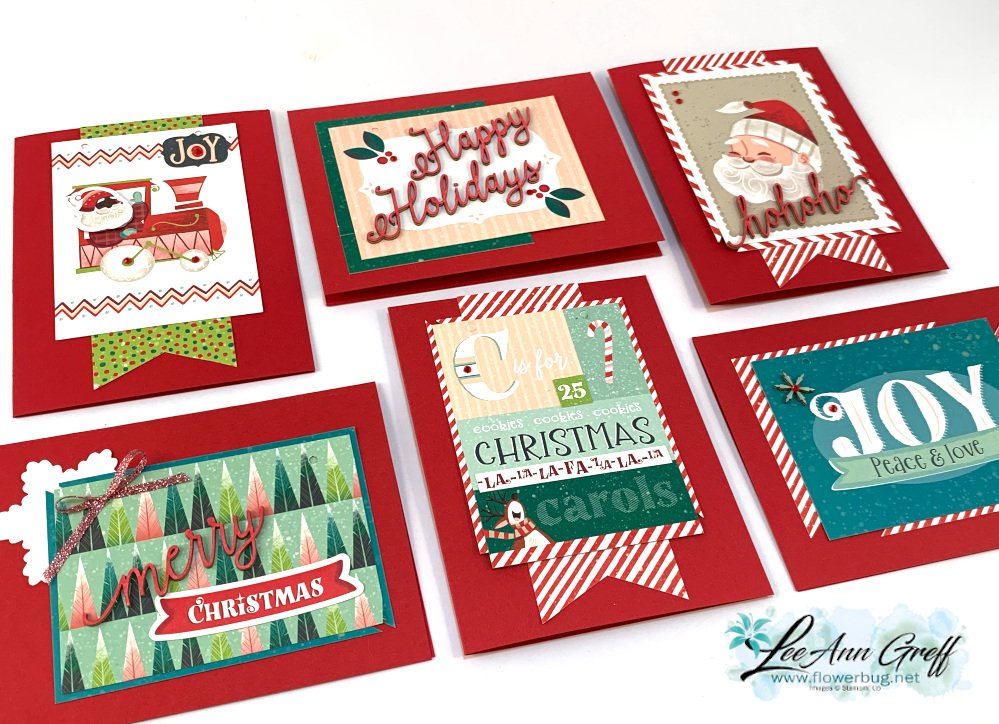
What will you get in YOUR box? I have a few suggestions for you….

Remember that once your order reaches $75 you’ll get free shipping AND you can add on one of our Products of the Month for just $5! Choose from the Painted Illusions DSP here, the Fabulous Sayings stamp set here or the True Blue Florals DSP here. Each of these are available while supplies last.

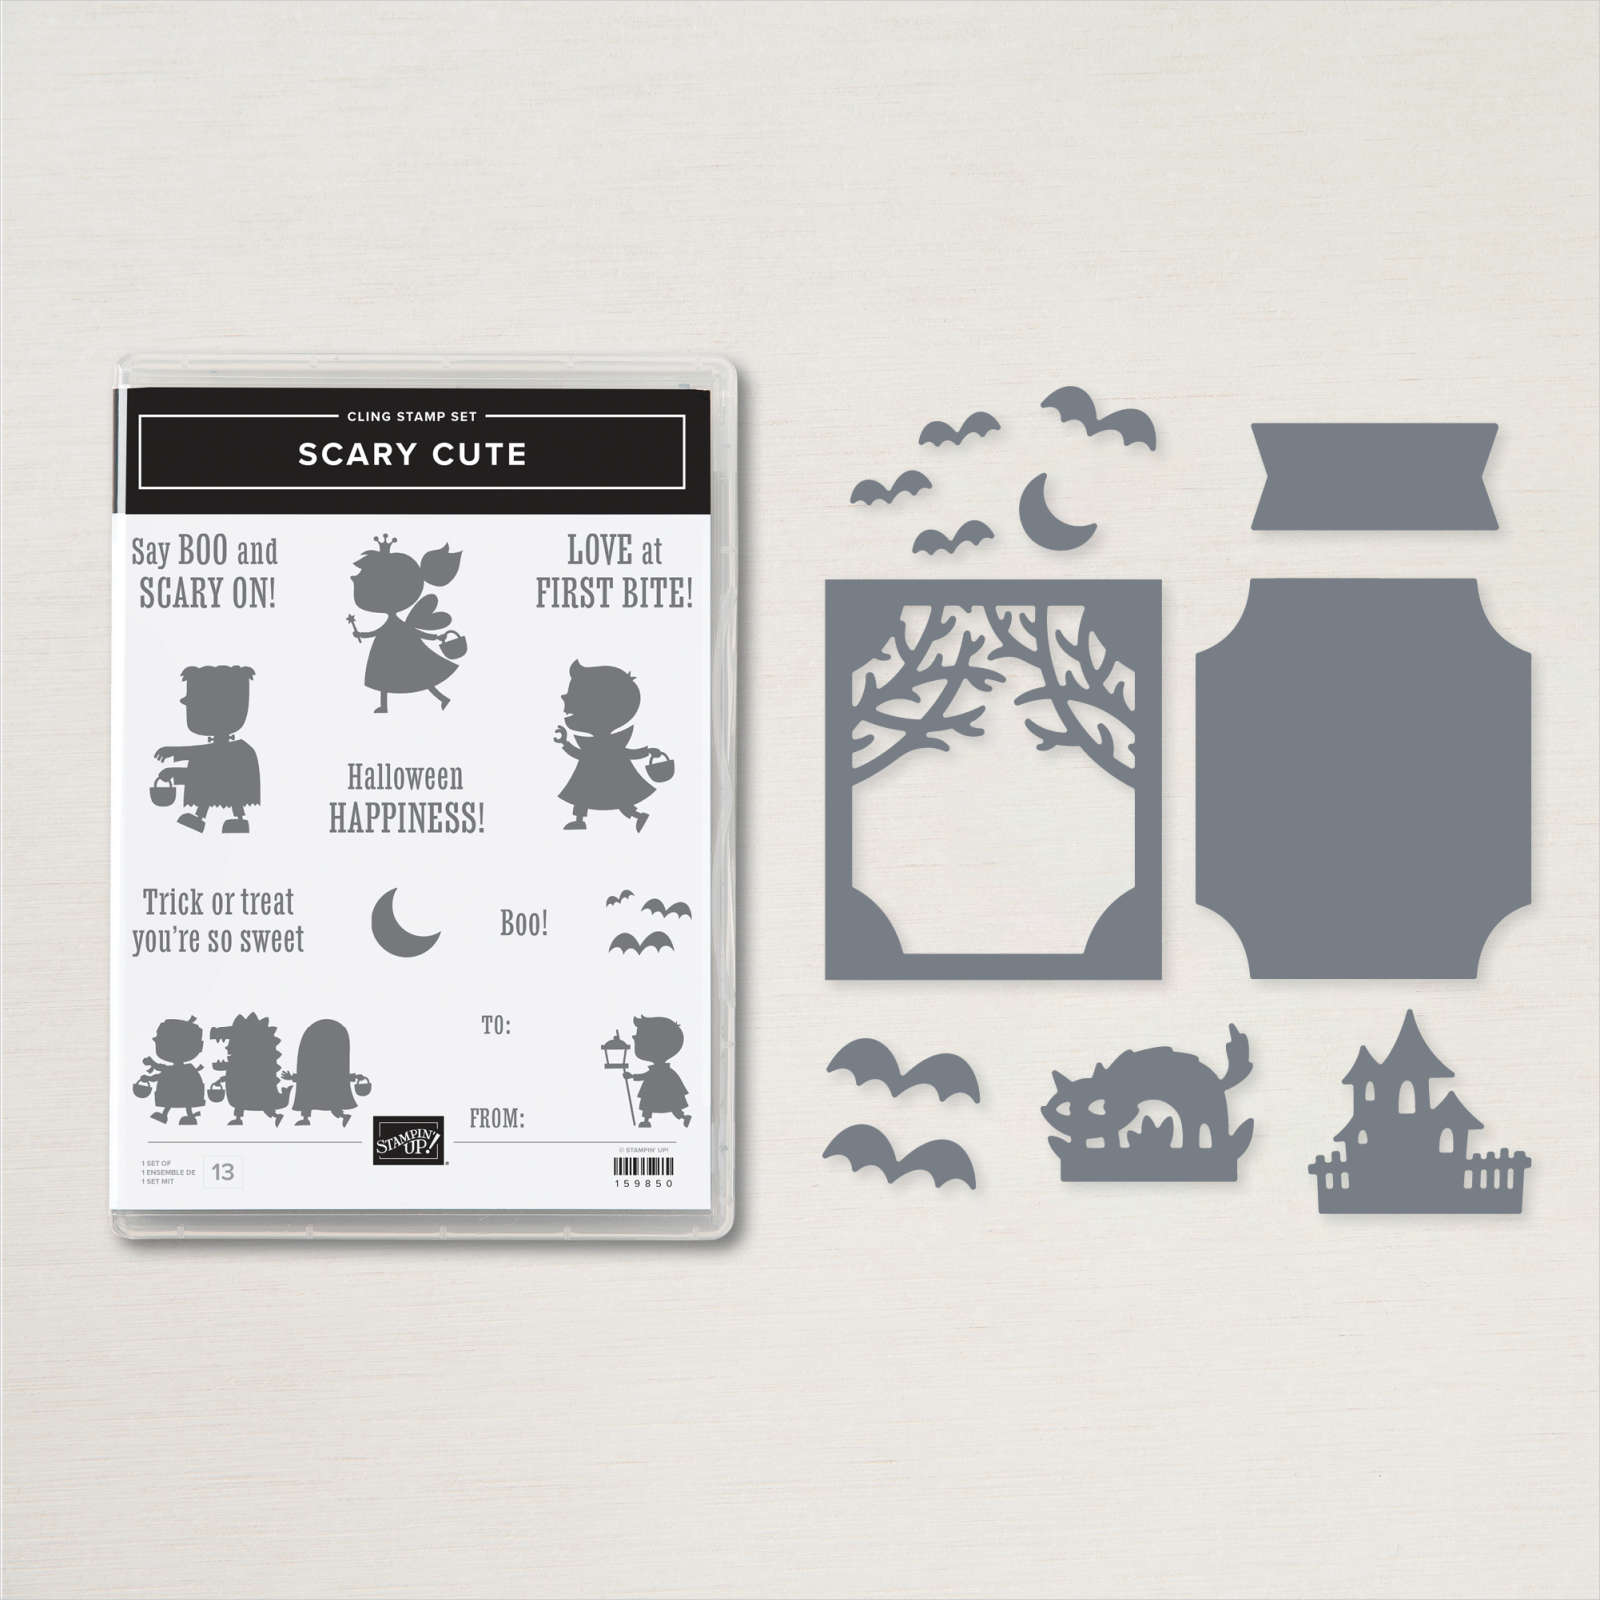
First check out the incredible Last Chance Sale here. Tons of products that are retiring and many reduced by 50%! Here are a few items I’m sad to see leave us and a others that are remarkable deals.
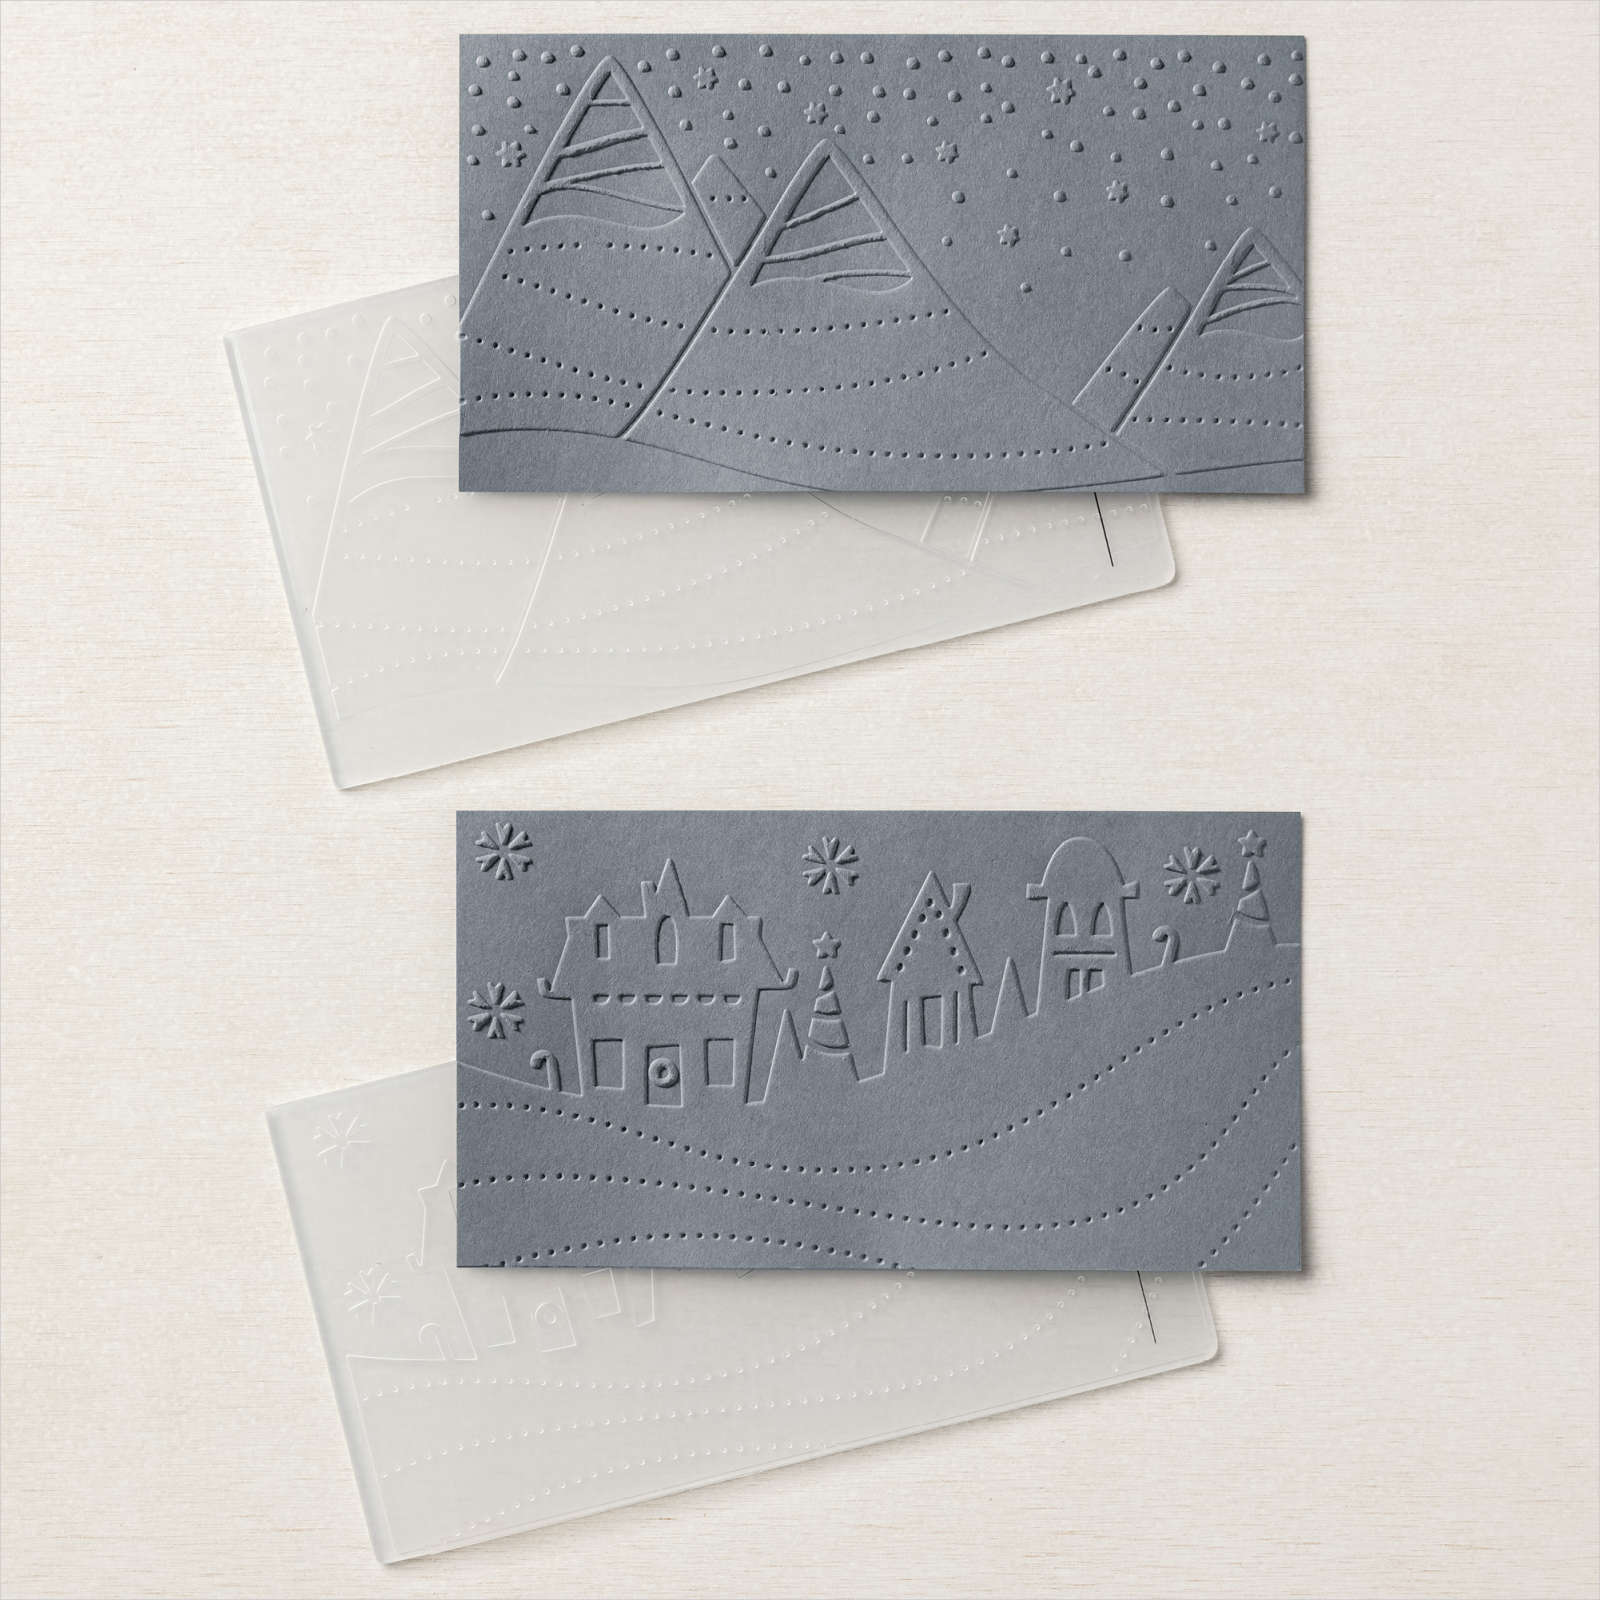
~~~

February Specials

Product of the Month is the new Painted Illusions 12 X 12″ designer paper

Get the NEW Stampin’ Positioner FREE when you choose the Starter Kit in February! Click here

Bonus Days – Redeem your coupons in February!

February’s PDF of the Month!

Two NEW kits just released here:

Check out the Last Chance List; new items are added and available

while supplies last

All Posts

  • Water-coloring TWO ways with video tutorial!


    In August our Flowerbug's Team had our usual card swap – this time we featured either Sale-a-Bration or Holiday catalog products.  I chose to use both!  

    I created this card for a few reasons; I wanted to use the Aspen dies (LOVE THEM) and also wanted to create a water-colored background.   What do you think?  

    I chose to use Orchid Oasis as my card base and added Calypso Coral, Crushed Curry and a bit of Tahitian Tide in the water-color wash at the bottom. 

    Be sure to watch the video below to see how it's done.  It's super simple and hard to mess up!  Honest!  

    Tips for a successful water color wash:

    • Wet the water before adding ink.  This is super important!  The ink will spread so much easier and without lines if the paper is wet. 
    • I used our Water Painters – but a paintbrush also works. 
    • Use a heavy paper such as watercolor paper, Thick White or Vanilla or Shimmer paper. Here I used our Silver & Gold DSP from the Sale-a-Bration catalog.  It worked but thicker paper is easier and has less chance of the paper fibers lifting. 
    • Let the paper dry between layers if you want a definite line between colors – like this sunset & water combo.  

    Other details:

    • I stamped the bird in Orchid Oasis and colored him in with our watercolor pencils and a blender pen.  
    • The greeting is from the Perched in a Tree stamp set – it's in a bundle with the Aspen dies I used here. 
    • The greeting die-cut is from the All That dies. 

    The Aspen dies are available in three ways – in the Bundle at a 10% discount, separately from the Perched in a Tree stamp set or free during August & our Sale-a-Bration promotion. 

    *Best buy: purchase the Perched in a Tree bundle in August and choose a $50 Sale-a-Bration choice for free!  See them all here. 

    ~~~

    August Specials

    Get free items here in August during Sale-a-Bration! 


    Host code: E22FXSSB


    Get these pretty gems free! *click here to order 

    Earn free products with my loyalty rewards! 

    Click here to download yours and earn a $50 shopping spree!

    Leave a Reply

    Your email address will not be published. Required fields are marked *

  • Perched in a Tree Ink Blending sunset technique


    I can't get enough of the Perched in a Tree bundle!  We made these cards at my August Card Clubs this month: 


    They had the choice of adding the bird or a set of die-cut, colored leaves.  We added color to both with our Blending Brushes using Crumb Cake & Balmy Blue for the bird and Bermuda Bay & Mango Melody on the leaves.  

    The greetings are from the Soft Seedlings stamp set stamped on a 1" X 4 1/4" Vanilla CS strip.  

    If you have trouble getting a smooth Ink Blending background please watch the video to catch my tips.  

    From the top down I used these colors:  Bermuda Bay, Mango Melody & either Balmy Blue or Crumb Cake on the bottom.  You might think I used a yellow color on the upper right card but it's just very light Mango Melody.

    The Aspen dies are available in three ways – in the Bundle at a 10% discount, separately from the Perched in a Tree stamp set or free during August & our Sale-a-Bration promotion. 

    *Best buy: purchase the Perched in a Tree bundle in August and choose a $50 Sale-a-Bration choice for free!  See them all here. 

    Below is the video; click on the photo below to watch.  Or here to see it on YouTube.  Don't forget to subscribe to my channel!  

    ~~~

    August Specials

    Get free items here in August during Sale-a-Bration! 


    Host code: E22FXSSB


    Get these pretty gems free! *click here to order 

    Earn free products with my loyalty rewards! 

    Click here to download yours and earn a $50 shopping spree!

    Leave a Reply

    Your email address will not be published. Required fields are marked *

  • Bewitching Bundle for my Artist of the Month series


    I'm excited to share these incredible projects made by Annette. She is our Artist of the Month as part of my Flowerbug's Team.  Each month we have a featured artist that showcases a stamp set or bundle.  For creating the projects they get to keep their new bundle as a gift.  

    She chose to use the Bewitching Bundle from the 2022 Holiday Catalog.  See it here. 

    First up today is an eye catching card featuring the Gingham Cottage designer paper. 

    She used Pumpkin Pie blends markers to color her hat and added a stamped spider and Black hat band.  The stitched circle die-cuts are from the Stylish Shapes dies.  Offsetting them adds a playful look to the card.

    Next is a super cute coordinating candy treat box: 

    She found the box pattern from Cathryn Themann.  It's about 5" X 3" in size and fits a row of Tootsie Rolls nicely.  


    She used the same Cottage Gingham designer paper as she did on the card above. Notice that cute Black & Pumpkin gingham ribbon?  She colored it with a Pumpkin Pie blends marker!  Perfect!  

    The circle and banner die-cuts are from the Stylish Frames dies seen here.  They're my 'go to' set of dies lately! 


    She added the perfect finish to her hat band; the Black & Pumpkin glitter washi tape.  

    Come back for more fantastic projects featuring the Bewitching Bundle tomorrow!  

    ~~~

    August Specials

    Get free items here in August during Sale-a-Bration! 


    Host code: E22FXSSB


    Get these pretty gems free! *click here to order 

    Earn free products with my loyalty rewards! 

    Click here to download yours and earn a $50 shopping spree!


    Leave a Reply

    Your email address will not be published. Required fields are marked *


Notice: LeeAnn Greff, Independent Stampin’ Up! Demonstrator, Manager. The content of this website is my sole responsibility as an independent Stampin’ Up! demonstrator and the use of, and content of, the classes, services, or products offered on this website is not endorsed by Stampin’ Up! Copyright 2025