/


Latest Post

Wow! Halloween Scenic cards with Life is Beautiful stamp set with video!


I am pretty pleased of these two cards I shared on Facebook Live yesterday.  I've been wanting to make some spooky Halloween cards with my Life is Beautiful stamp set and think they turned out amazing, IF I do say so myself!  
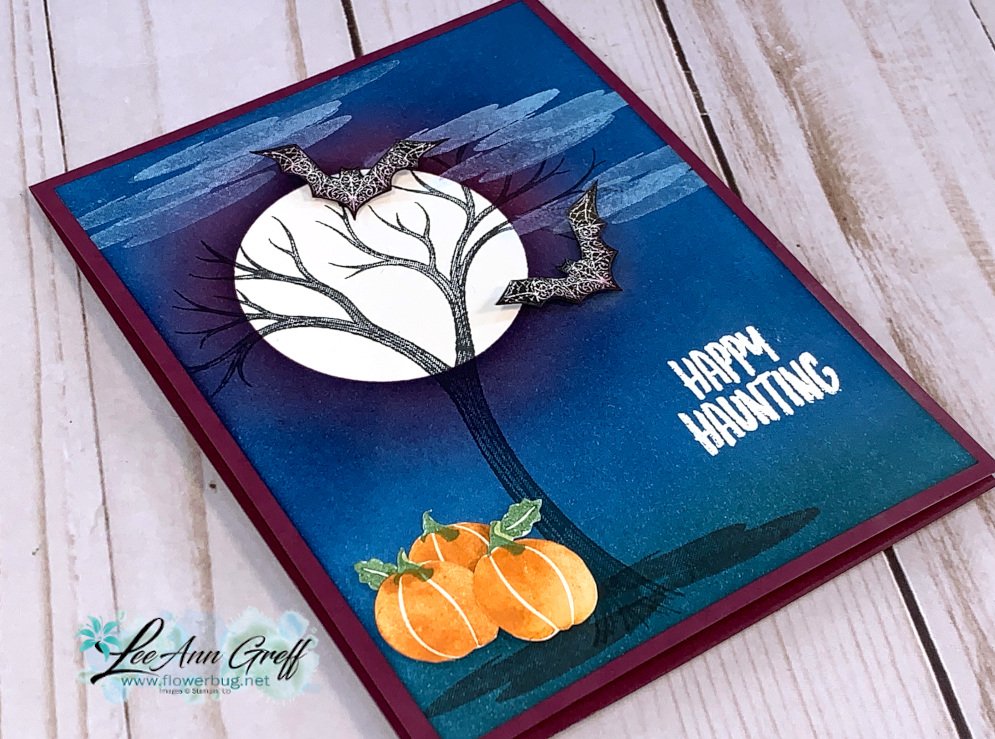
This first one features a bright, white moon with a halo of purple around it.  I used a 2" circle punched 'mask' and sponged the Rich Razzleberry and Pacific Point background.  You can get my easy sponging tips in the video below. 
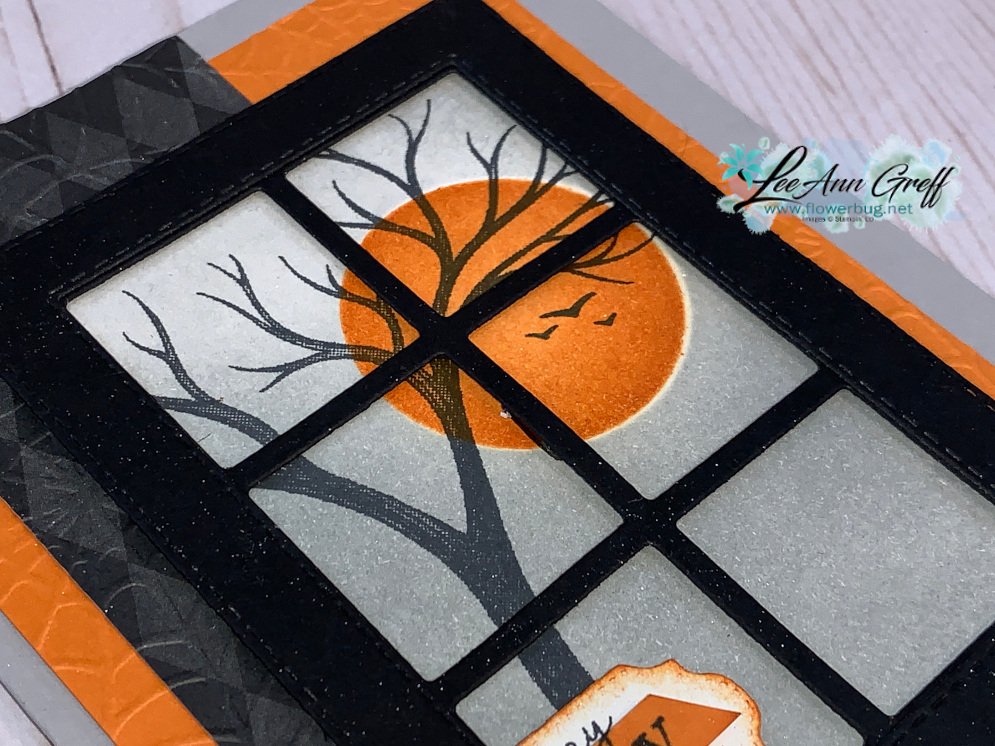
Here I created a window scene with the Stitched Rectangle and Plaid Builder dies.  I share my quick method of creating this window in the video below. 

I LOVE creating scenes with sponged backgrounds and the Life is Beautiful stamp set is perfect for it!  I used the following inks on the card above: Pacific Point, Rich Razzleberry, Black, Craft White and Pretty Peacock. 

Do you like the White clouds?  I used the same image on the ground as I did on the clouds.  Love the versatility of this stamp! The pumpkins and greeting are from the Banner Year stamp set. 
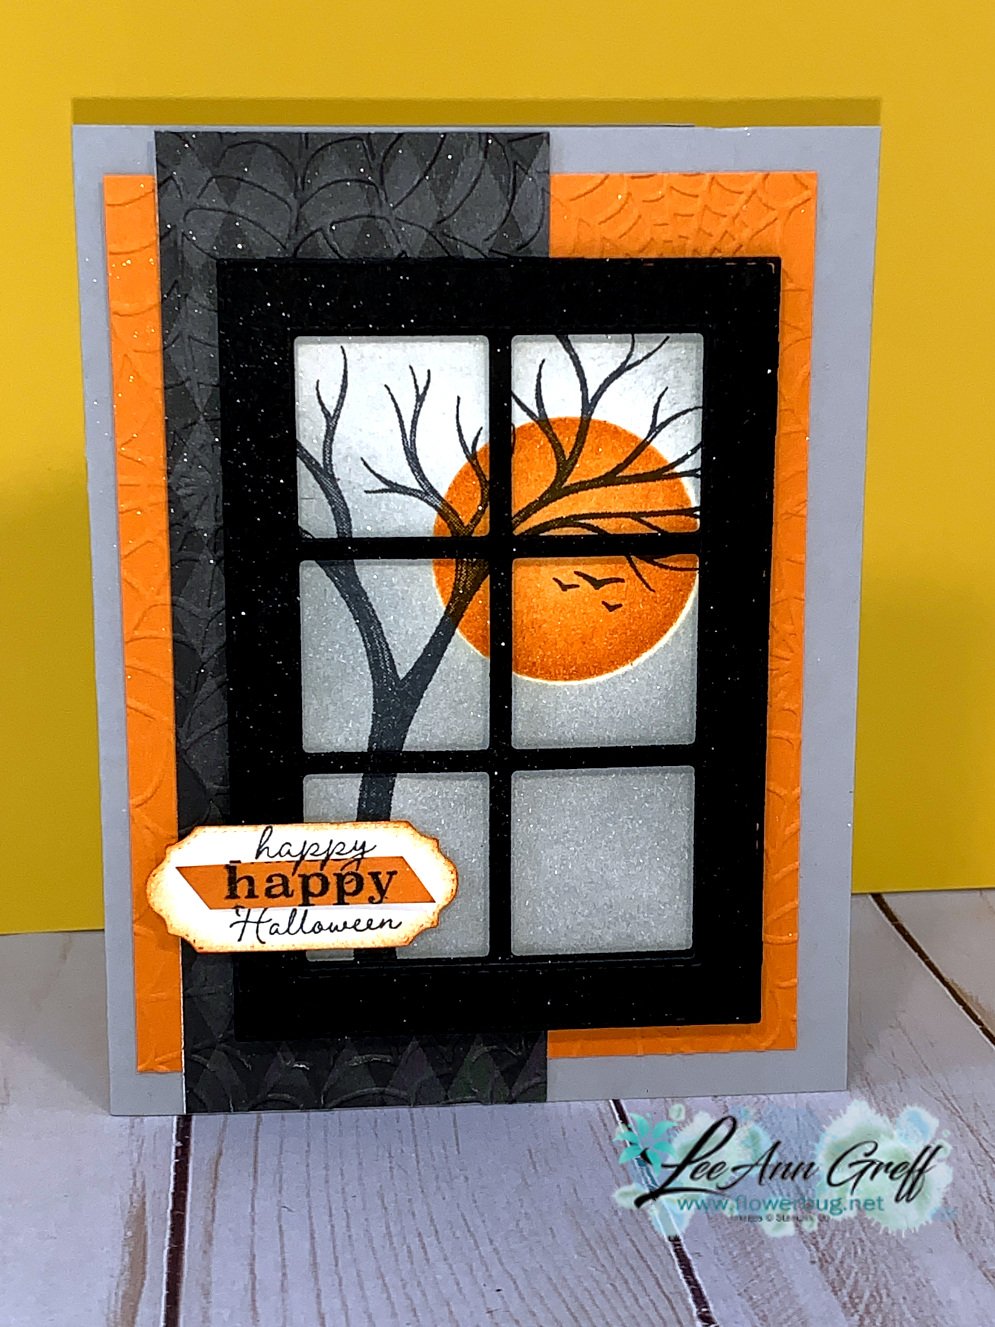
The colors above are Smoky Slate, Black and Pumpkin Pie.  I used a bit of Magic in This Night DSP, the Cobweb embossing folder and Plaid Builder, Stitched Rectangles and Ornate Frames dies.  The little birds are from the Mountain View stamp set. 

I hope you enjoy watching the video below!  

~~~

Current Host code is HYSHW6QB

Get a free package of All the Trimming embellishments in September with an

online order over $55. 

*Remember that if your order is over $99 you should consider purchasing the Starter kit here.

And if it's over $150 you should definitely get the Starter kit.  

Order online here

 Get my Beautiful Autumn pdf tutorial free with any online order in September!


It includes directions, photos and measurements for 13 cards!
 

All Posts

  • Harvest Meadow Fun Fold cards kit to go


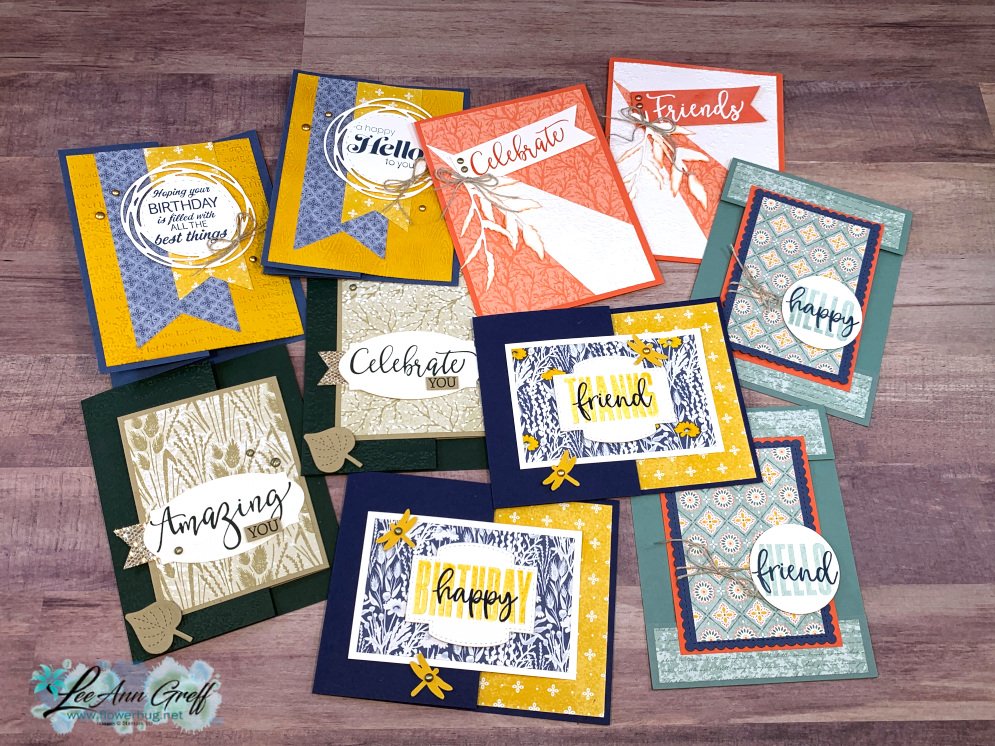
    Today I'm sharing one of my September cards kit with you. I actually have two and will share the other one tomorrow. 

    This kit includes 10 pre-cut cards (2 each of 5 cards), 1/2 pkg. Nature's Harvest designer paper (6" X 12"), Metallic adhesive gems & Linen Thread.  It's a fabulous value as the product is worth $20 (without tax & shipping) and the cost is just $28 and the tutorial is free! The PDF tutorial includes photos, step by step directions, measurements to make more and a supplies list. 

    8 of these 10 cards are fancy folds and with the tutorial you'll have measurements to make more using other products.  


    You will need your own stamps, ink, adhesive and a paper trimmer to cut your new designer paper using the measurements provided in the tutorial.  Everything else is cut & prepped for you. 

    *I make sure to use only greetings in my kits to go so you can substitute what you already own.  I used Sunny Sentiments, Biggest Wishes, Create with Friends sets here.  *Inks are Misty Moonlight, Night of Navy, Bumblebee, Calypso Coral, Soft Succulent & Versamark. 

    *Be sure to order by September 19th to get this kit!  

    This PDF tutorial will be sent to you via email immediately after payment. The kit is mailed out at the end of September, barring any back-orders. 

    Go here to order the pre-cut kit to go. $28 (See the 2nd September kit option here. Choose both kits here!)

    Click here to get the PDF tutorial. $15

    ~~~

    September Specials

    Host code: ASETFASJ or T7VSZQ64

    *click here to order

    All online orders will receive a free PDF tutorial filled with projects featuring

    the Painted Christmas Suite!

    Get a pkg. of Holiday Rhinestones with a $50 online order from me in September! 

    Order here

    BEST DEAL!

    Get a Free Bundle  from the Holiday Catalog when you choose the Starter kit!  Pick out $125 in product of your choice for just $99 and shipping is free!  

    Leave a Reply

    Your email address will not be published. Required fields are marked *

  • Poppin’ Pastels Technique with Delicate Dahlia


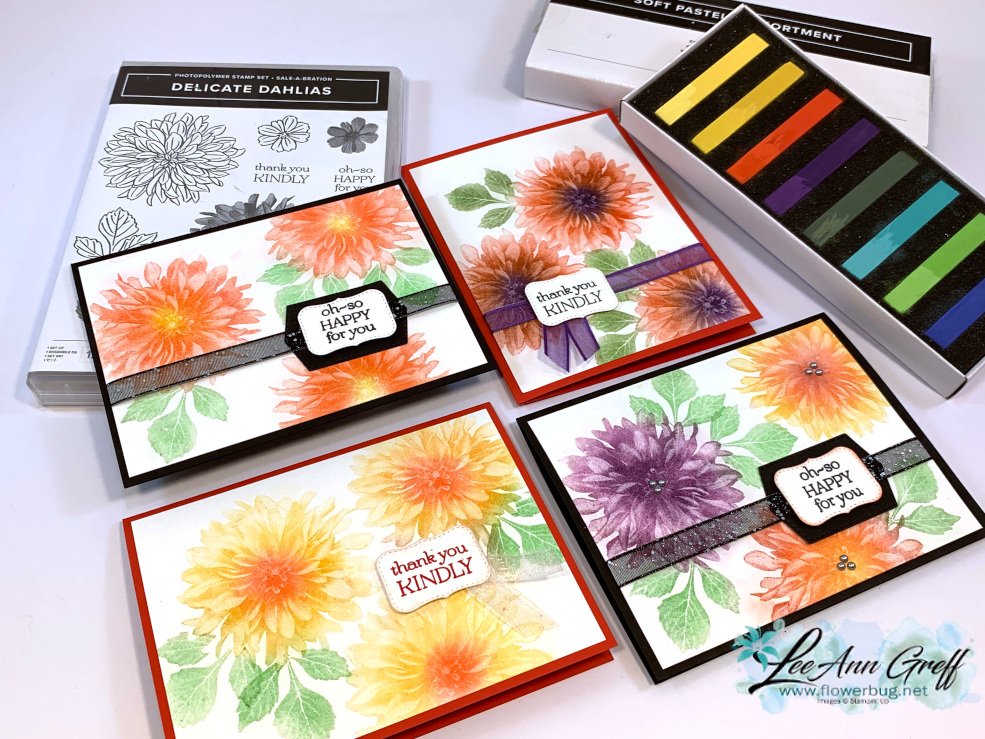
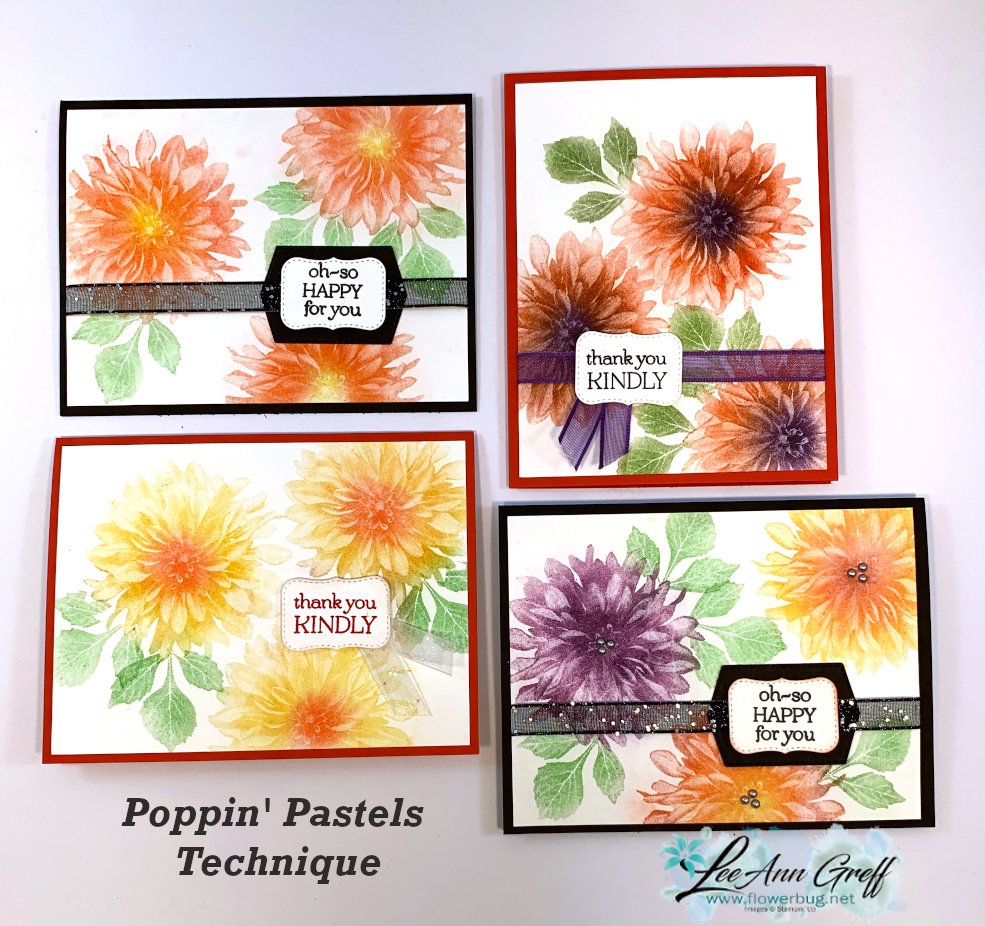
    If you've been a stamper for awhile you've likely played with chalks and the Poppin' Pastel technique.  If not, check this out!  

    You'll need just a few supplies – Chalks, Versamark ink and sponge daubers. Well, card stock too! 

    Tip – choose a solid image with a full surface.  Outline images won't work as well here. 

    Here's how it's done:

    1. Ink your image in Versamark ink and stamp on card stock. 
    2. Dab your sponge dauber in chalk (if it's firm like our new Soft Pastels you may need to scrape some off & use the dust *watch the video below).
    3. Dab over your stamped image repeatedly. Do not rub on the outer edges or it may show outside of your stamped area. 
    4. Blow or dust off excess chalk.  Done!  

    Here's the video:

    ~~~

    September Specials

    Host code: ASETFASJ or T7VSZQ64

    *click here to order

    All online orders will receive a free PDF tutorial filled with projects featuring

    the Painted Christmas Suite!

    Get a pkg. of Holiday Rhinestones with a $50 online order from me in September! 

    Order here

    BEST DEAL!

    Get a Free Bundle  from the Holiday Catalog when you choose the Starter kit!  Pick out $125 in product of your choice for just $99 and shipping is free!  


    Leave a Reply

    Your email address will not be published. Required fields are marked *

  • Easy Explosion card video tutorial with Penguin Playmates Designer Paper!


    On last Tuesday's FB Live I shared three unique fun fold cards featuring the Penguin Place bundle and the Penguin Palace designer paper.  *Follow me on Facebook here. 

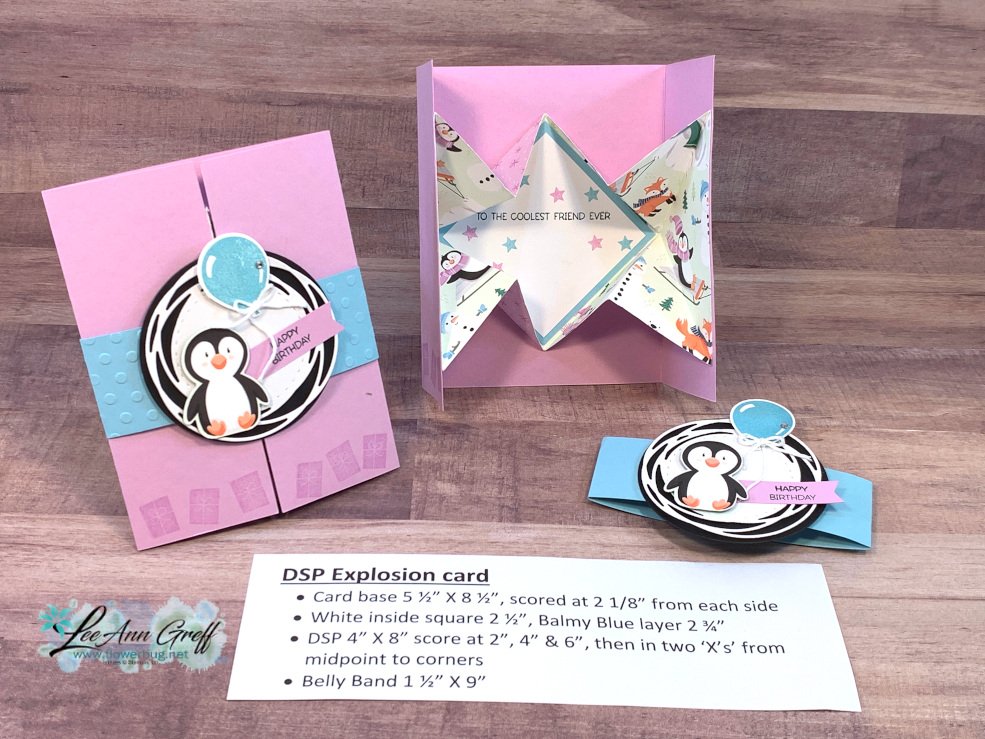
    Today I'm focusing on the Explosion card. It sure looks complicated but it's just a few score lines on a 4 X 8" piece of DSP. 

    As you can see, it's not a Christmas card.  This bundle and designer paper works well for multiple occasions.  

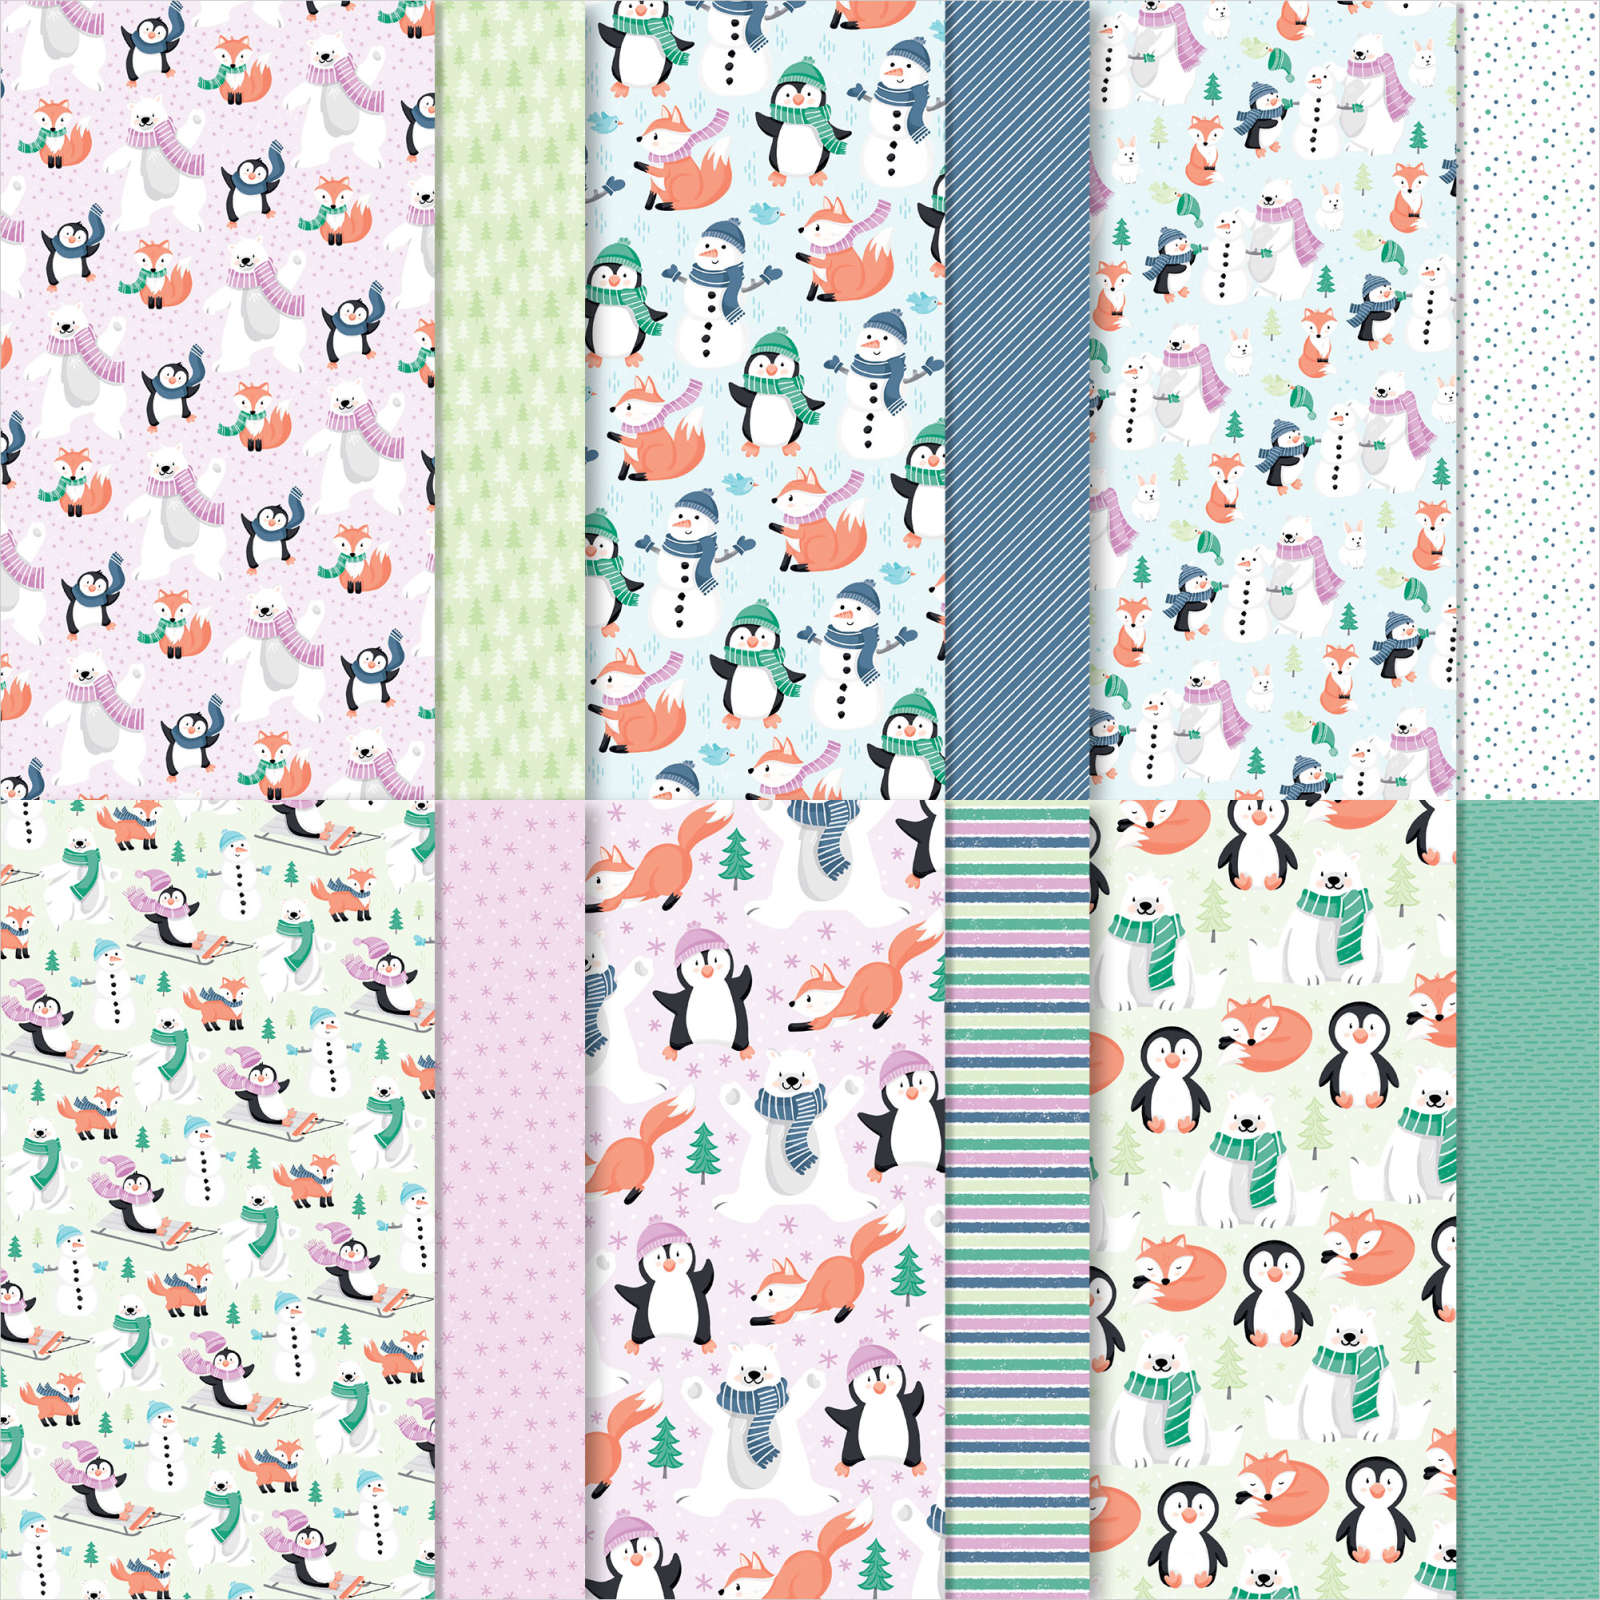
    The colors are Fresh Freesia, Black, White & Balmy Blue which coordinate with the adorable Penguin Playmates DSP seen here.  This paper is free during our Sale-a-Bration promotion with any $50 order.

    See that cute penguin?  It's punched out with the Penguin punch; right from the designer paper!  

    DSP Explosion card

    • Card base 5 ½” X 8 ½”, scored at 2 1/8” from each side
    • White inside square 2 ½”, Balmy Blue layer 2 ¾”
    • DSP 4” X 8” score at 2”, 4” & 6”, then in two ‘X’s’ from midpoint score to the outside corners
    • Belly Band 1 ½” X 9”

    Here's the video; I actually show three unique fun fold cards!

    ~~~

    September Specials

    Host code: ASETFASJ or T7VSZQ64

    *click here to order

    All online orders will receive a free PDF tutorial filled with projects featuring

    the Painted Christmas Suite!

    Get a pkg. of Holiday Rhinestones with a $50 online order from me in September! 

    Order here

    BEST DEAL!

    Get a Free Bundle  from the Holiday Catalog when you choose the Starter kit!  Pick out $125 in product of your choice for just $99 and shipping is free!  

    Leave a Reply

    Your email address will not be published. Required fields are marked *


Notice: LeeAnn Greff, Independent Stampin’ Up! Demonstrator, Manager. The content of this website is my sole responsibility as an independent Stampin’ Up! demonstrator and the use of, and content of, the classes, services, or products offered on this website is not endorsed by Stampin’ Up! Copyright 2025