/


Latest Post

WOW fun fold swap cards with the Beary Cute bundle!


Look at these three fabulous swaps that all feature the Beary Cute bundle.  All so different which shows how versatile this bundle can be.  

First is an amazing fun fold card made by Candace.  
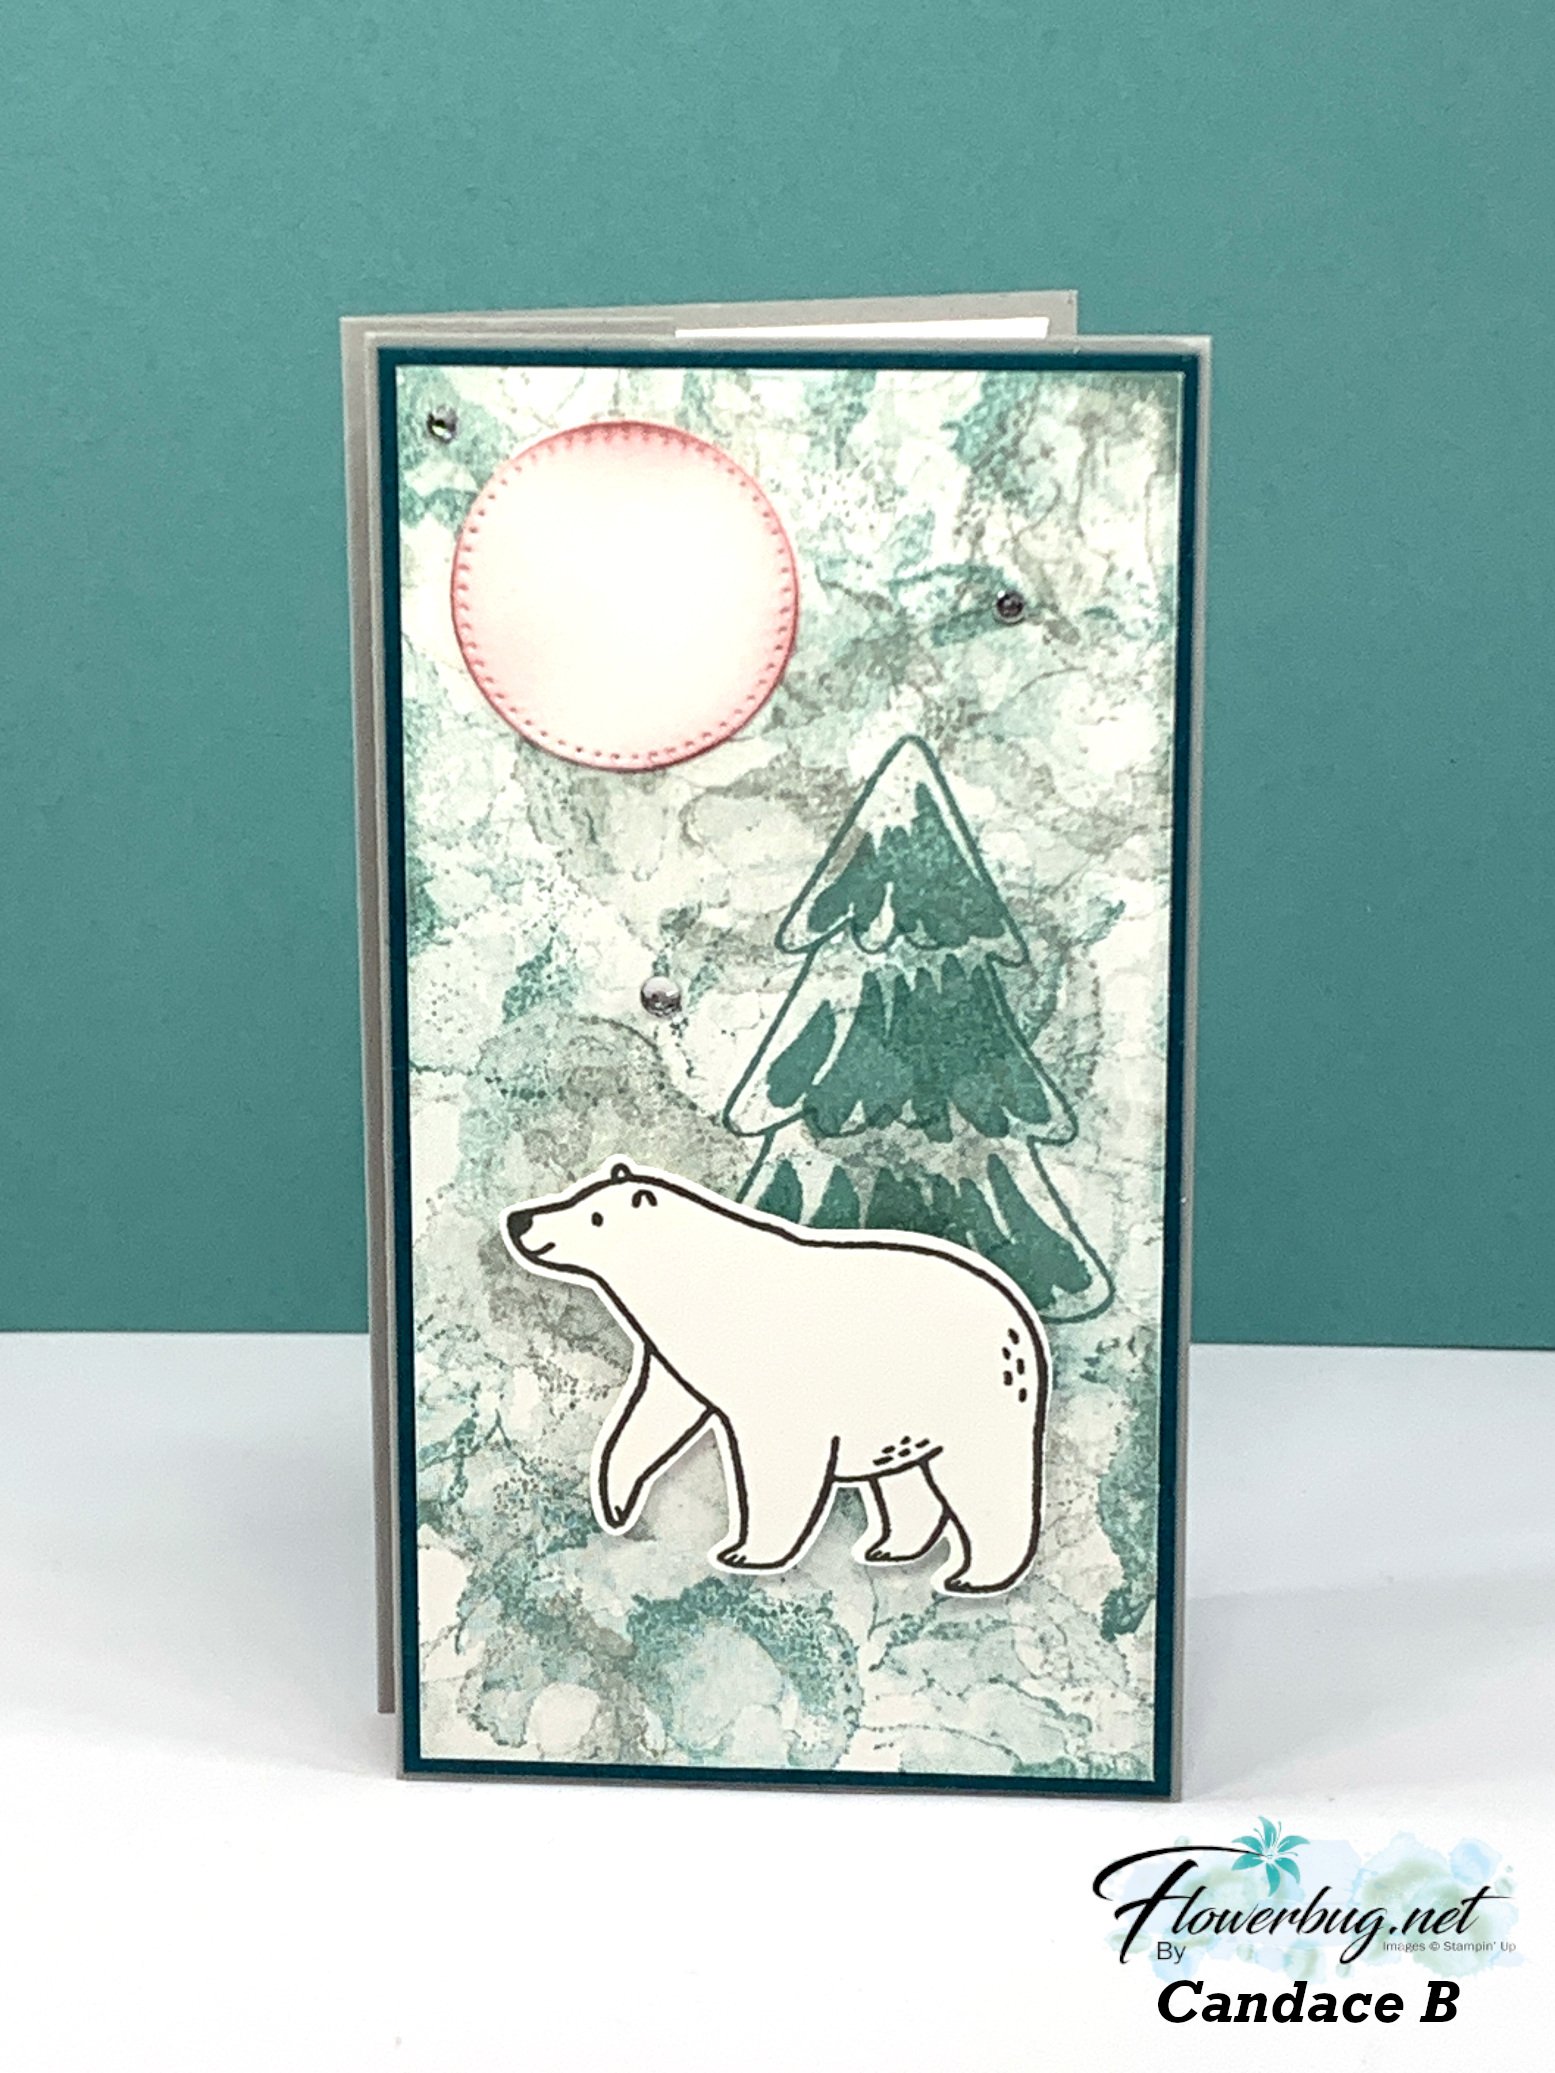
She stamped her neat background using stamps from Artistically Inked. I know it doesn't look like a fun fold; but look what you see once you open it up!  

So fun!  And not that difficult either. I created a similar card on this week's Live video. I'll share it and a free project sheet next week.  

Measurements:

  • Card base 8 1/2" X 5 1/2" score at 3", 4 1/4", 5 1/2" 
  • front white 2 3/4" X 5 1/4", inside white 2 3/4" X 5 1/4"
  • Pretty Peacock front 2 7/8" X 5 3/8"
  • White inside greeting layers 2 3/4" X 1 1/2"
  • Smoky Slate greeting layers 2 7/8" X 1 3/4" 

She used Pretty Peacock, Basic Gray and Lost Lagoon for her inks.  All stamps are from the Beary Cute stamp set. 

Next is a fun & bright card made by Tracey:

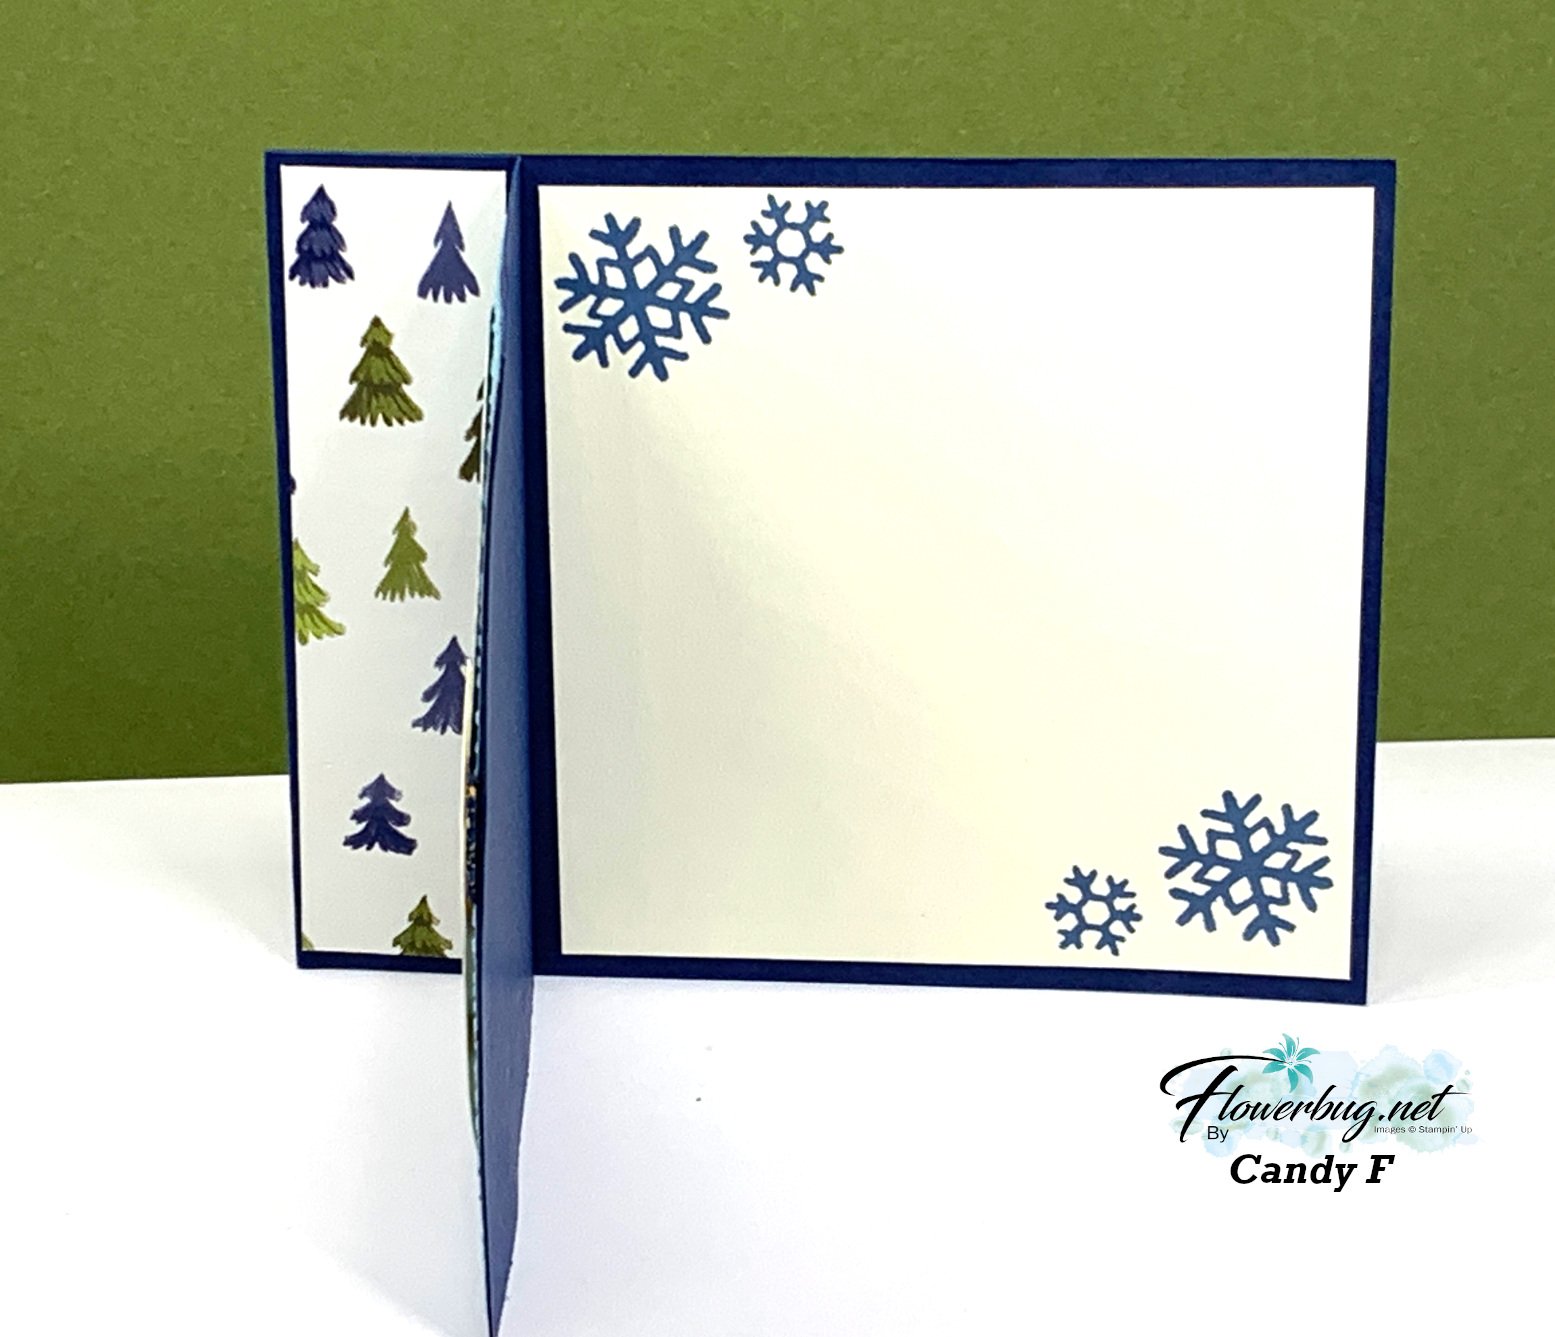
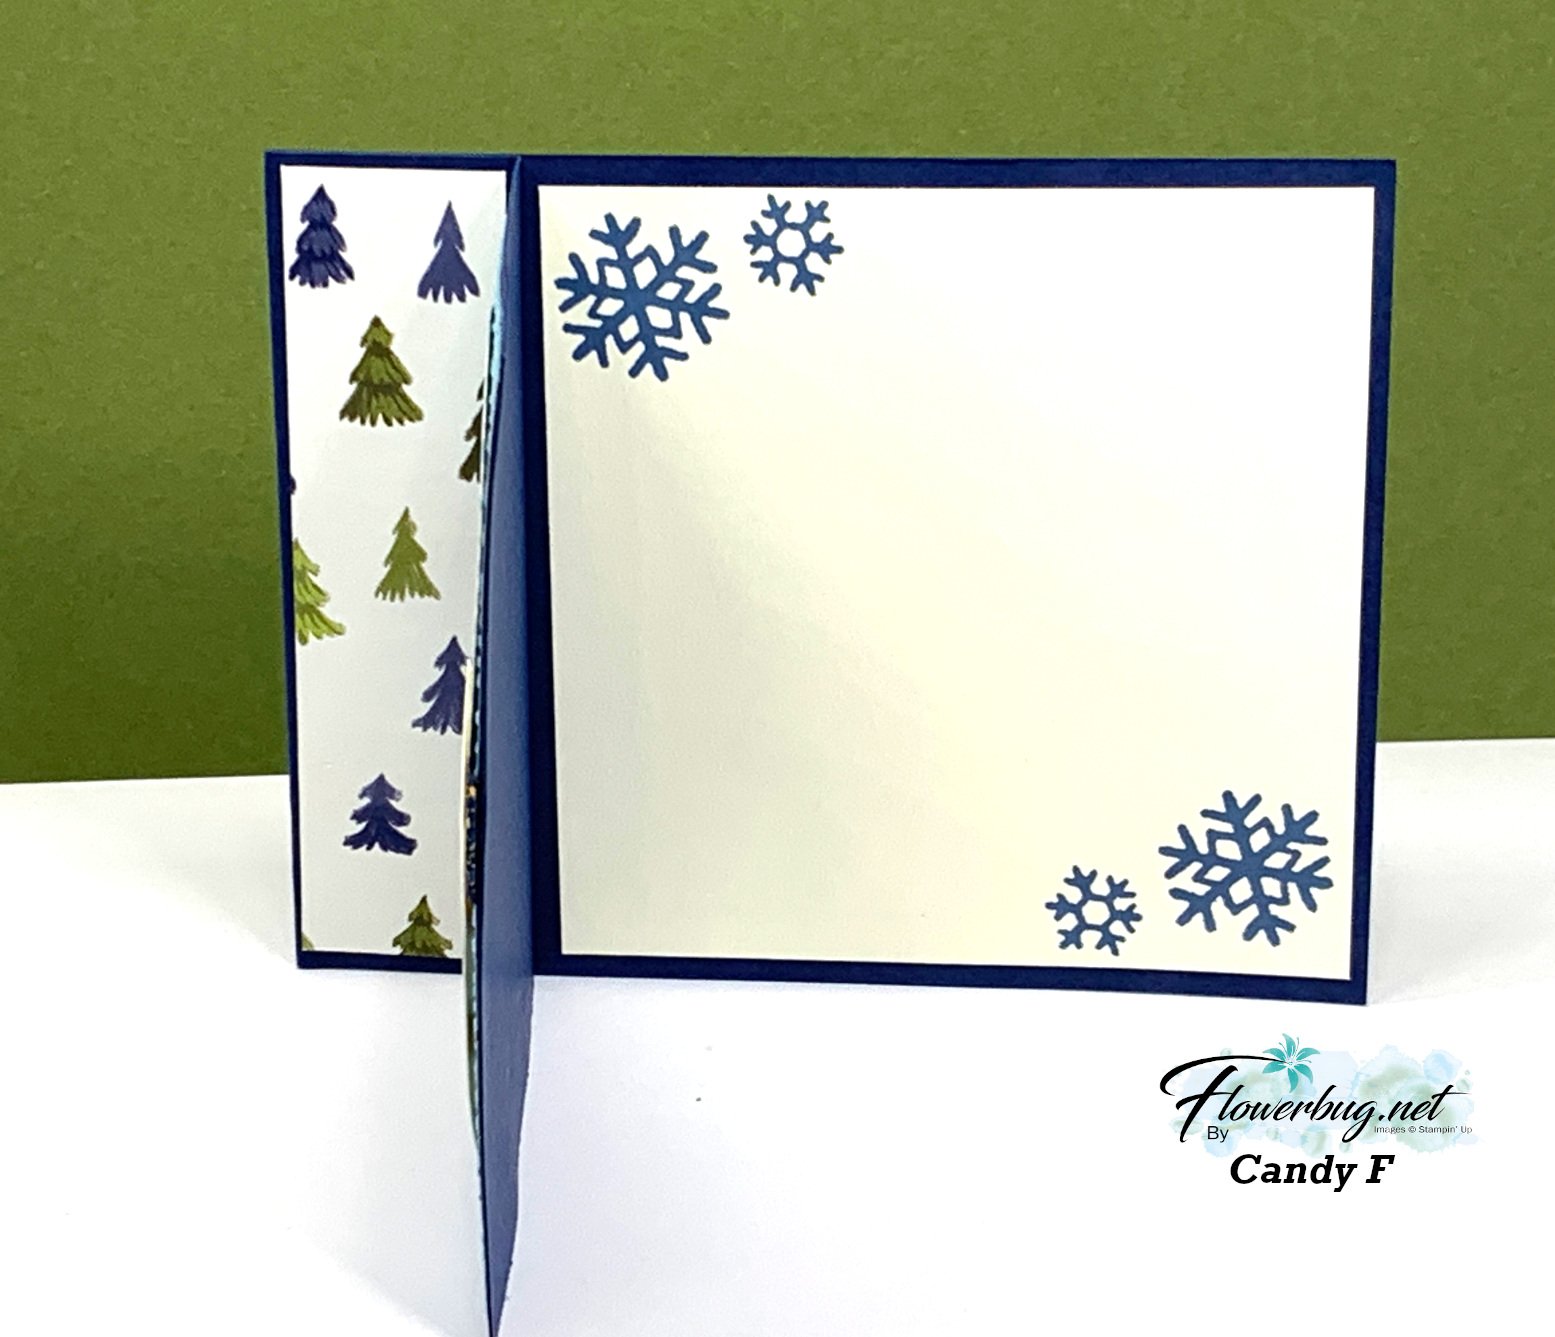
She chose to feature the Merry, Bold & Bright designer paper here, focusing on the blues and green patterns.  She broke up the busy tree paper with a striped piece under the greeting and bow. Neat! 

Here's the inside view.  The greetings are from the Christmas Classics set. 

Next up is a neat book-binding card made by Candy.  

She used the Beary Christmas designer paper and stamps from the Beary Cute bundle. 

Products used:

  • Beary Cute bundle
  • Night of Navy, White, Crumb Cake and Balmy Blue card stock
  • Inks – Balmy Blue, Night of Navy, Misty Moonlight (scarf) and Mossy Meadow
  • Deckled circles dies, Navy & Gold glittered ribbon, Snowflake Sky 3D embossing folder.

Measurements:

  • Night of Navy card base 11" X 4 1/4" score at 4 1/4" & 5 1/2"
  • Balmy blue and White inside 4" square
  • DSP strip 1 1/8" X 4"


Unfortunately the Bear punch is unavailable right now; it will be back the first week in November though. See this bundle here. 
Love to make cards & swap?  Join my Flowerbug's Team in October with the Starter Kit deal seen below and be a part of the fun! 

More Team swaps coming tomorrow; stop back in! 

~~~

October Specials: 

Amazing Starter Kit choices! 

Choose one and enjoy the 20% discount on all future orders! Click here

*current host code: HTHK4TQU or Y7VMN2TC

*Get free glitter gems with online orders over $55 (Please use a host code)

All Posts

  • Gorgeous cards with my ‘5 at a time’ templates! Free project sheet, templates & video tutorial


    I shared these beautiful cards on last week’s Live video. They were a big hit!

    I love making cards with my 5 at a time templates. Making the most of my card stock gives me a great deal of satisfaction. I hope you’ll save these templates and use them in your own crafting.

    Below is the template I stamped on; it’s slightly smaller than the one I used for layering. I often use this or the larger one for the neutral layers inside my cards.

    Tip: I recommend making your first cut vertically at 4 3/4″. Then cut the left 3 pieces into 3 1/2″ layers. Once you cut all 5 pieces you’ll have one small piece left for a greeting or for punching.

    Next is the template for layering the above ‘stamped’ pieces on. It’s just slightly larger – 1/8″ so it’s quite a narrow margin.

    The above template has even less waste! It’s so nice to get 5 layered card pieces from 2 sheets of 8 1/2″ X 11″ card stock. Please save these templates!!

    In the past when I made cards with these templates I stamped before cutting the 5 pieces apart. This was a bit tricky to stamp in the right place. This time I cut my pieces before I stamped on them. *Always start with your greetings!

    As you can see I made sure I stamped three pieces landscape and two vertical. This isn’t necessary but it does change your cards up a bit.

    I used Cherry Cobbler, Timid Tiger; and Pretty Peacock here. I like adding Pretty Peacock and Cherry Cobbler to my fall cards. The stamp set is called Gathering Moments seen here.

    Tip on stamping – always stamp the greeting image first. Then start with the largest image and work your way down to the smallest to fill in any gaps. It’s okay to overlap your images.

    As you can see I blended a light wash of Timid Tiger over the stamped leaves. This softens the appearance and truly enhances your stamping.

    Here you can see the stamped pieces added to the larger layers from the 2nd template above.

    These were made simply with no punches or die-cuts. Sometimes it’s fun to just stamp and create. You can easily add the greetings on another layer (punches or die-cuts) to add more dimension.

    I’ll share my second set of cards using this template later this week. And I’ll also show the fabulous card box I made to gift them in!

    See how pretty they are once they’re added to the card bases and gems and twine have been added.

    I created a free project sheet that includes directions, photos, templates and supplies. Click here to download or print it. Please save this one!!

    Below is the video tutorial. Please subscribe to my YouTube Channel while you’re there.

    ~~~

      To see all of the new Online items click here.  Or download & save the Download Online Exclusives flyer 

    Get a free project tutorial with any online order in September! 

    Leave a Reply

    Your email address will not be published. Required fields are marked *

  • 2 pretty ways to use the emboss resist technique


    Look at these gorgeous projects featuring the Etched Autumn stamp set.

    These pretty cards are projects made by Stampin’ Up! and they’ve provided a free tutorial for both cards! Click here to access this tutorial.

    Both cards use the Etched Autumn stamp set from our newest Online products. See that here.

    ~~~

      To see all of the new Online items click here.  Or download & save the Download Online Exclusives flyer 

    Get a free project tutorial with any online order in September! 

    Leave a Reply

    Your email address will not be published. Required fields are marked *

  • Look at these 2 beautiful cards with the Autumn Toile Designer paper


    These pretty fall themed cards were made by my talented Flowerbug’s for our September Autumn themed card swap. They both feature the gorgeous Autumn Toile designer series paper from the 2025 Holiday catalog.

    This first card was made by Lori and it’s a fun fold card.

    Her colors include Pecan Pie, Early Espresso and Vanilla. The stamps are from The Right Words and More Messages sets. Gems are Streaked Dots and the metallic paper for that ‘tree’ die-cut is the Earthen Toned Metallic Paper. Can you see that pretty gold hoop around the tree? Wow!

    Here’s the inside view. The tree and deer dies are from the Autumn Trees dies.

    Measurements are:
    – Card base 8 1/2″ X 5 1/2″ scored at 3 1/4″ & 5 1/4″.
    – DSP on left is 3″ X 5 1/4″, DSP in the center is 1 7/8″ X 5 1/4″
    – Vanilla on the right inside is 3″ X 5 1/4″
    – largest circle is3 7/8″, DSP tree circle is 3 1/4″, Vanilla circle is 3 1/2″


    Next is a great card made by Ginny who also used the same exact sheet of paper in the Autumn Toile DSP pack.

    Her colors are Early Espresso with Very Vanilla. She stamped the greeting from the Amber Autumn bundle on the oval and added leaves from the Gathering Moments stamp set as well.

    Measurements:
    – card base 8 1/2″ X 5 1/2″ score at 4 1/4″
    – Vanilla 4″ X 5 1/4″
    – Early Espresso 3 1/2″ X 4 3/4″
    – DSP 3 1/4″ X 4 1/2″

    You can see this beautiful autumn paper here. I can see this going out of stock soon. It is one of my top selling products so far in September.

    ~~~

      To see all of the new Online items click here.  Or download & save the Download Online Exclusives flyer 

    Get a free project tutorial with any online order in September! 

    Leave a Reply

    Your email address will not be published. Required fields are marked *


Notice: LeeAnn Greff, Independent Stampin’ Up! Demonstrator, Manager. The content of this website is my sole responsibility as an independent Stampin’ Up! demonstrator and the use of, and content of, the classes, services, or products offered on this website is not endorsed by Stampin’ Up! Copyright 2025