/


Latest Post

Use your nesting dies to create a designer paper window – video & free project sheet


On last week's Live video I shared a neat way to use nesting dies to create a frame with your double sided designer series paper. 

I chose to feature the Thoughtful Moments DSP with this neat technique. Simply choose two dies that are the same shape and about 1/4-1/2" apart.  Die-cut and then flip over the narrow frame to reveal the opposite side of the Designer Series Paper. It's so neat! 

**This Designer Paper and many more will be on sale starting Tuesday, August 6th! Details will be shared tomorrow. 

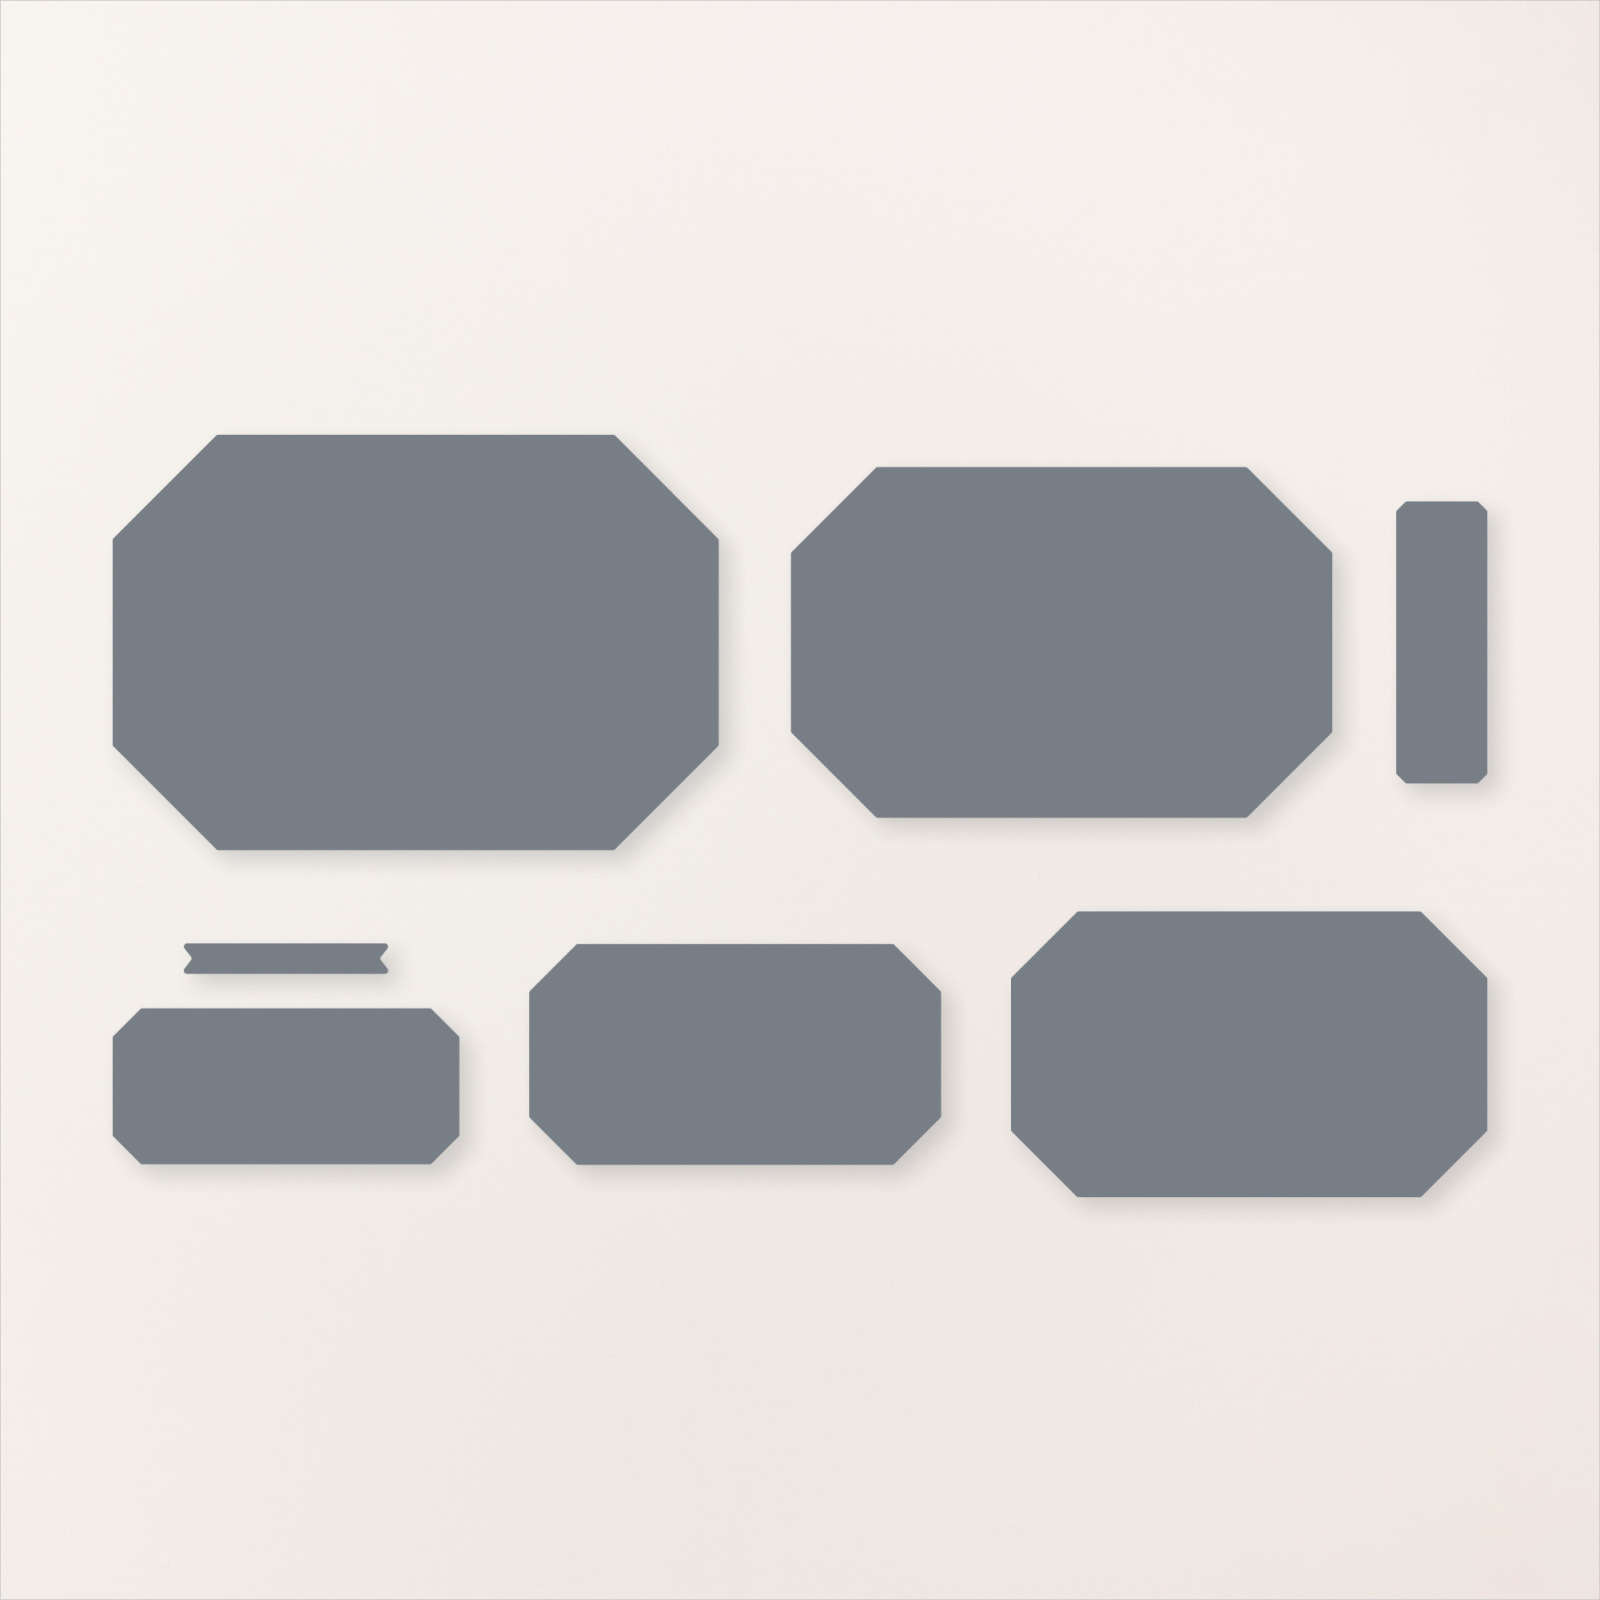
The leaf die is from the Friends for Life dies. My nesting dies are called Countryside Corners and can be seen here.
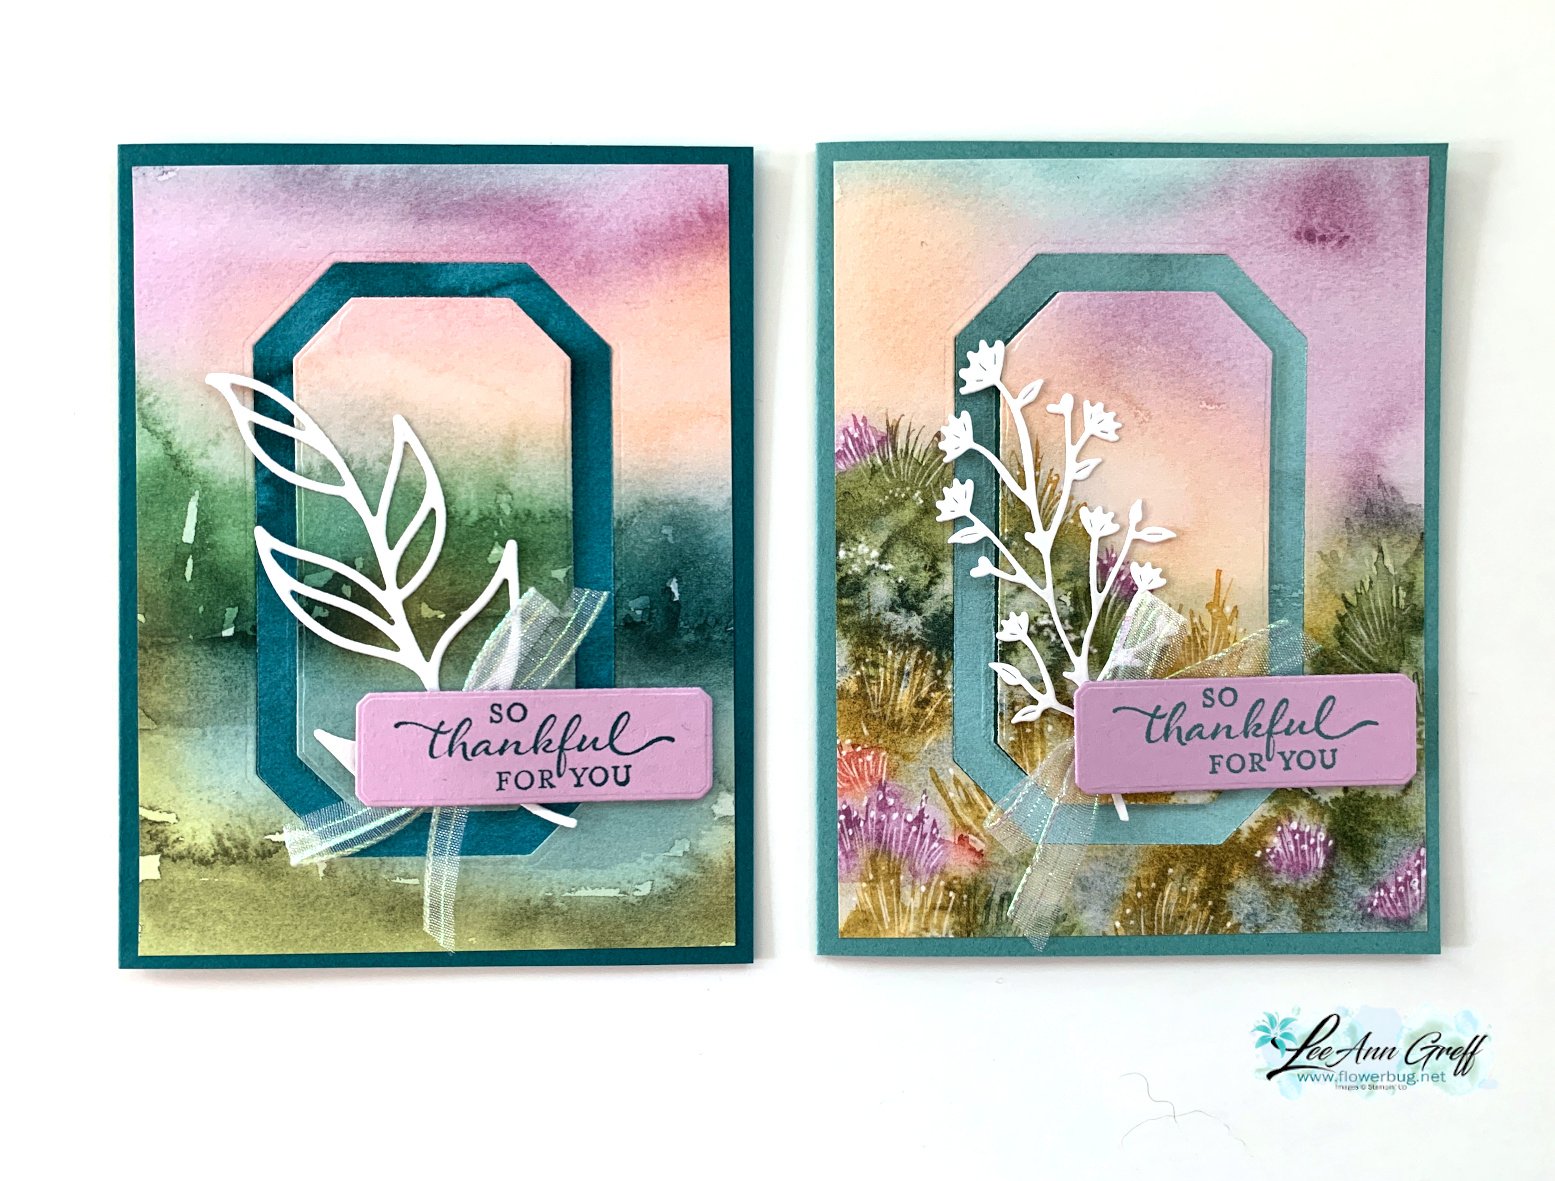
Tip – be sure the color of the opposite side of your paper coordinates with the front. I chose the card base to match the frame – Pretty Peacock. My greeting is in Fresh Freesia. 

Here are both cards shown on the video; the second card on the right has a Lost Lagoon frame & card base.  The White die-cut on the right card is from the Thoughtful Wishes bundle.
Here's the free project sheet you can download or print: Download Thoughtful Journey Window card

The designer paper for these cards is 4" X 5 1/4" which leaves a 2" strip for another project.  I wanted to share a quick card to use up that leftover piece:
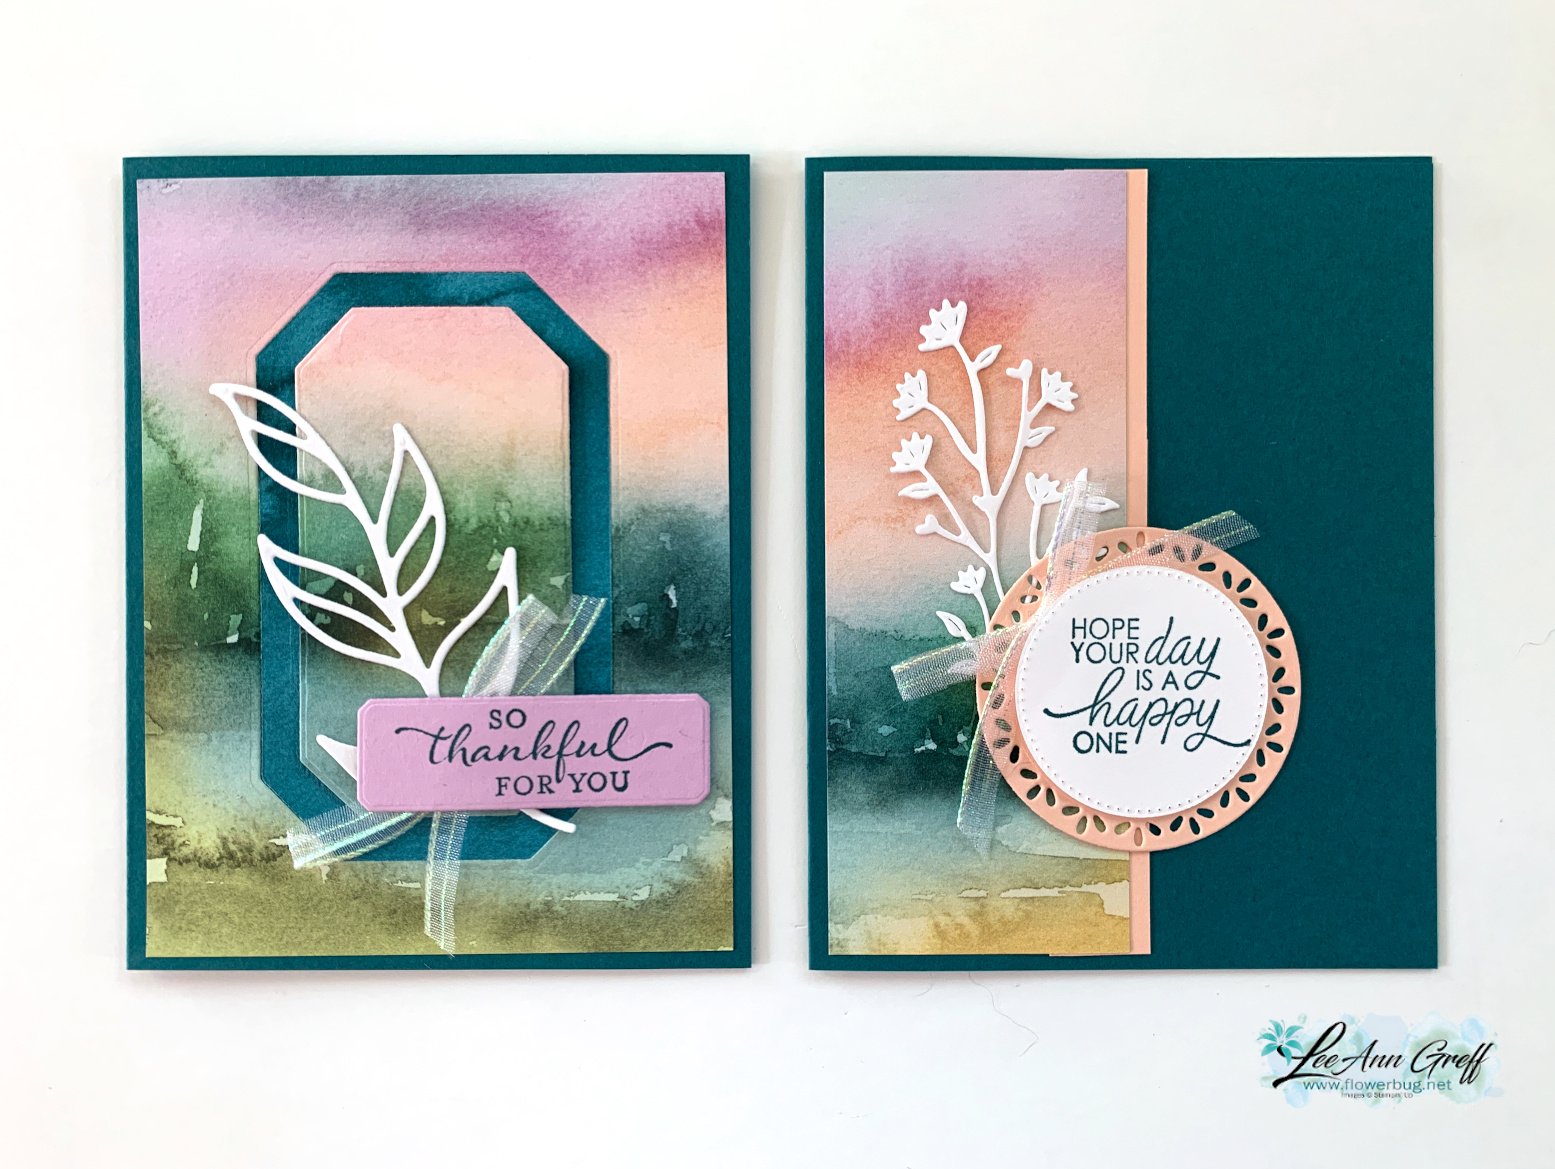
I simply added it to the card base with a coordinating card stock strip on the edge. Then added layering circles for my greeting.

If you're wondering about the ribbon, it's the pretty Iridescent 1/2" striped trim seen here.  I cut it in half to get 1/4" thick trim. It has been unavailable for awhile but it's back now.

Here are all 4 cards I shared in the video you can see here. 

Here's the video below to see how this is done plus another card idea with the beautiful Thoughtful Journey designer paper.  I'll share the second card Wednesday. 

~~~

August Specials:

*current host code link: BDGBJHAE


Redeem your $5 coupon now! 

~~~

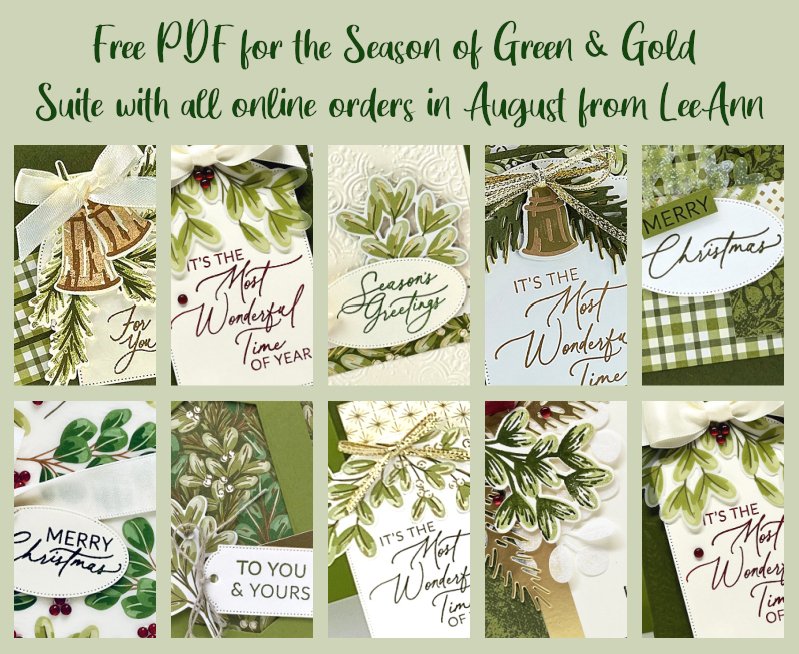
All online orders will receive a free PDF tutorial featuring the

Season of Green & Gold suite
All Posts

  • Jar of Flowers shaker card


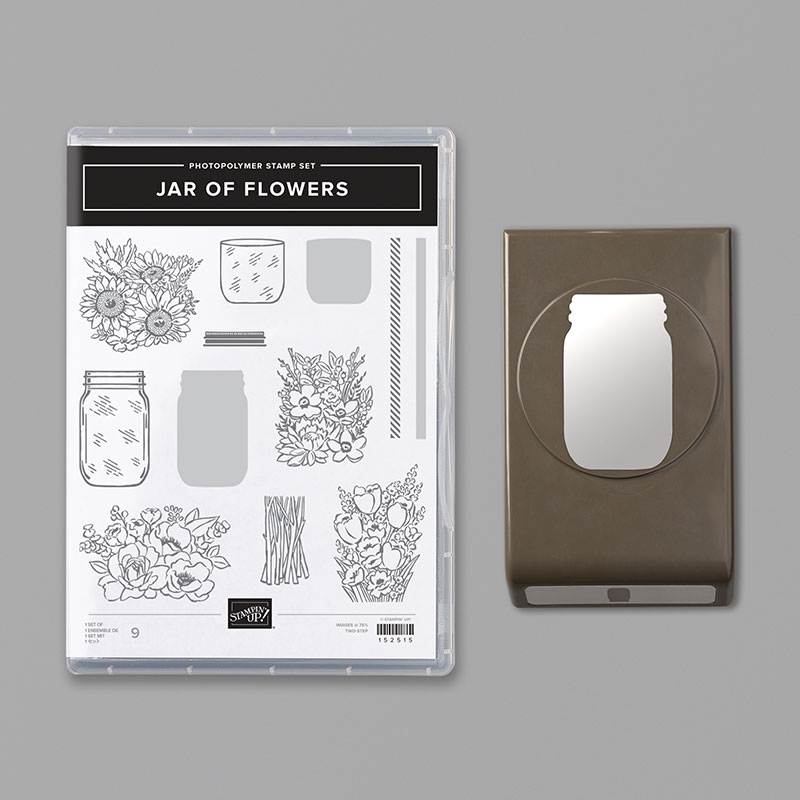
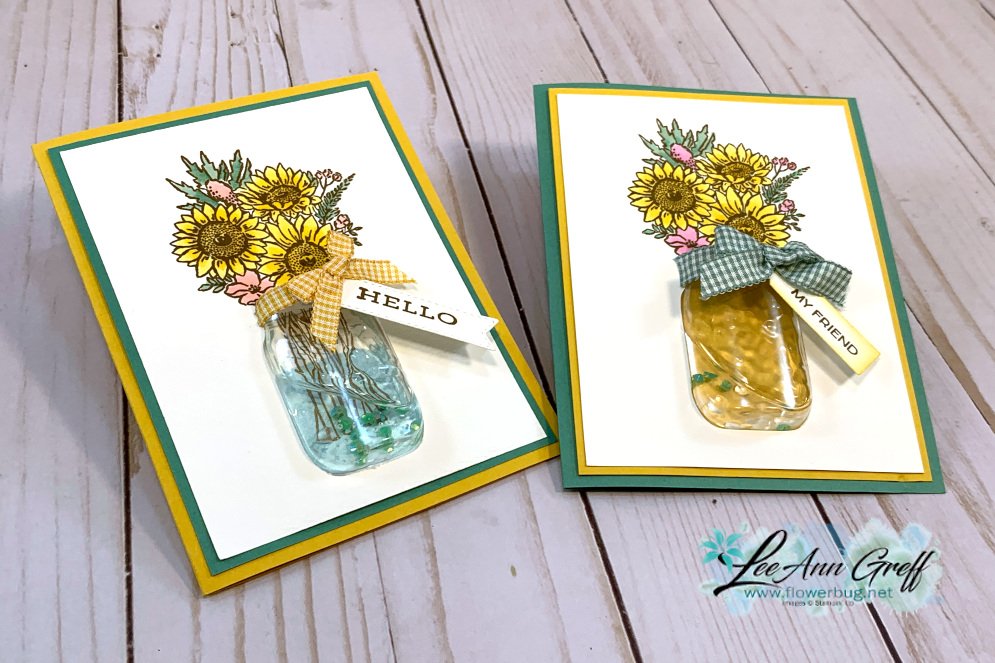
    I'm sure many of you have seen cards made with this pretty Jar of Flowers bundle seen here. It's one of our reversible stamps; you get the outline and the solid jar on one stamp! It's only $36.75 for the bundle. I know it's going to be a go to set for many of us.  I have lots of ideas with this set and I love that it comes with Mason Jar Shaker Domes!  

    I just had to try making a jar filled with water & beads!  When I bring flowers into the house from the garden that's usually how I display them. 

    Mine is filled with clear hand sanitizer (I had it right beside me) and our new Flowers for Every Season gems. And with my method the sanitizer does not leak out onto the card stock!  

    I stamped the flowers in Soft Suede and colored them in with Blends markers – Daffodil combo, Light Flirty Flamingo and Dark Mint Macaron.  I added the ribbon in two different ways.  On the left I secured it behind the dome.  On the right I adhered the cut ends on the dome. You can see how I did both on the video below.  

    I hope you take time to watch it; you'll get tips on making a liquid filled shaker card and on coloring with the Blends too. 

    ~~~

    June Specials

    The new catalog is here!!!  


    Get my Lovely You pdf tutorial free with any online order in June

    It includes directions, photos and measurements for 10 cards!


    June Host code is 7H2FW9FG

    Get a free pkg. of Elegant Faceted Gems from me if your order is over $55. 

    Order online here

    Leave a Reply

    Your email address will not be published. Required fields are marked *

  • June updates; new catalog info and June specials!


    I hope your weekend is going well!  Sunday's are pretty relaxing around here.  I work on blog posts for the week and also try to do some catch up work inside and out. 
     
    There are several things you need to know about June and the new Annual catalog so I thought I'd share.
    • All orders over $250 will receive an extra $25 in Stampin' Rewards! If you don't plan on spending that much, consider combining your order with a friend or two and splitting the Stampin' Rewards! You can also host an online catalog party! This Stampin' Rewards deal is good through June 30, 2020. 


    • The new Die Cut and Emboss Machines will NOT be available until later this year. I promise to bring you that info as soon as I have it!
    • If you're having trouble with the different sandwiches for our variety of embossing folders here's a tip sheet for you. 


    The following items are not yet available for purchase, although they are included in the 2020–2021 Annual Catalog:

    • Stampin’ Cut & Emboss Machine (item 149653)
    • Mini Stampin’ Cut & Emboss Machine (item 150673)
    • Base Plate & Die Plate Pack (item 149657)
    • Specialty Plate (item 154711)
    • Mini Base Plate & Mini Embossing Plates Pack (item 151003)
    • Mini Cutting Plates (item 151004)
    • Magnetic Cutting Plate (item 149656)
    • Mini Magnetic Cutting Plate (item 151005)
    • Impression Mats (item 149660)

    ~~~

    June Specials

    The new catalog is here!!!  


    Get my Lovely You pdf tutorial free with any online order in June

    It includes directions, photos and measurements for 10 cards!


    June Host code is 7H2FW9FG

    Get a free pkg. of Elegant Faceted Gems from me if your order is over $55. 

    Order online here

    Leave a Reply

    Your email address will not be published. Required fields are marked *

  • Easy 8 Card Wonder template with Forever Fern in a kit to go!


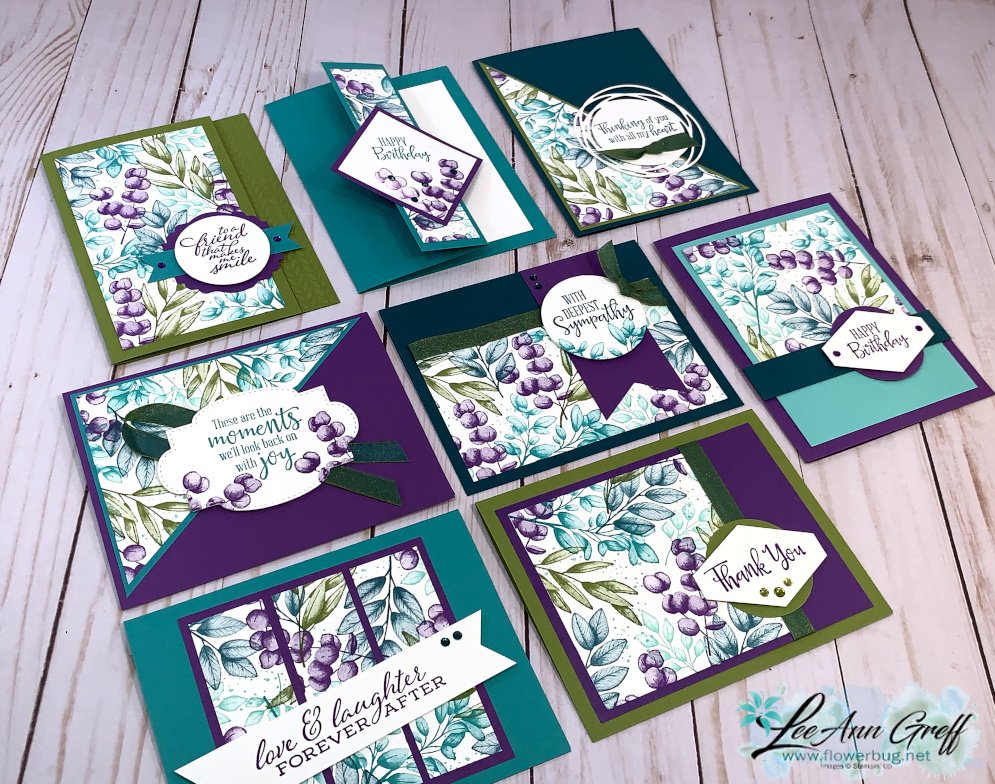
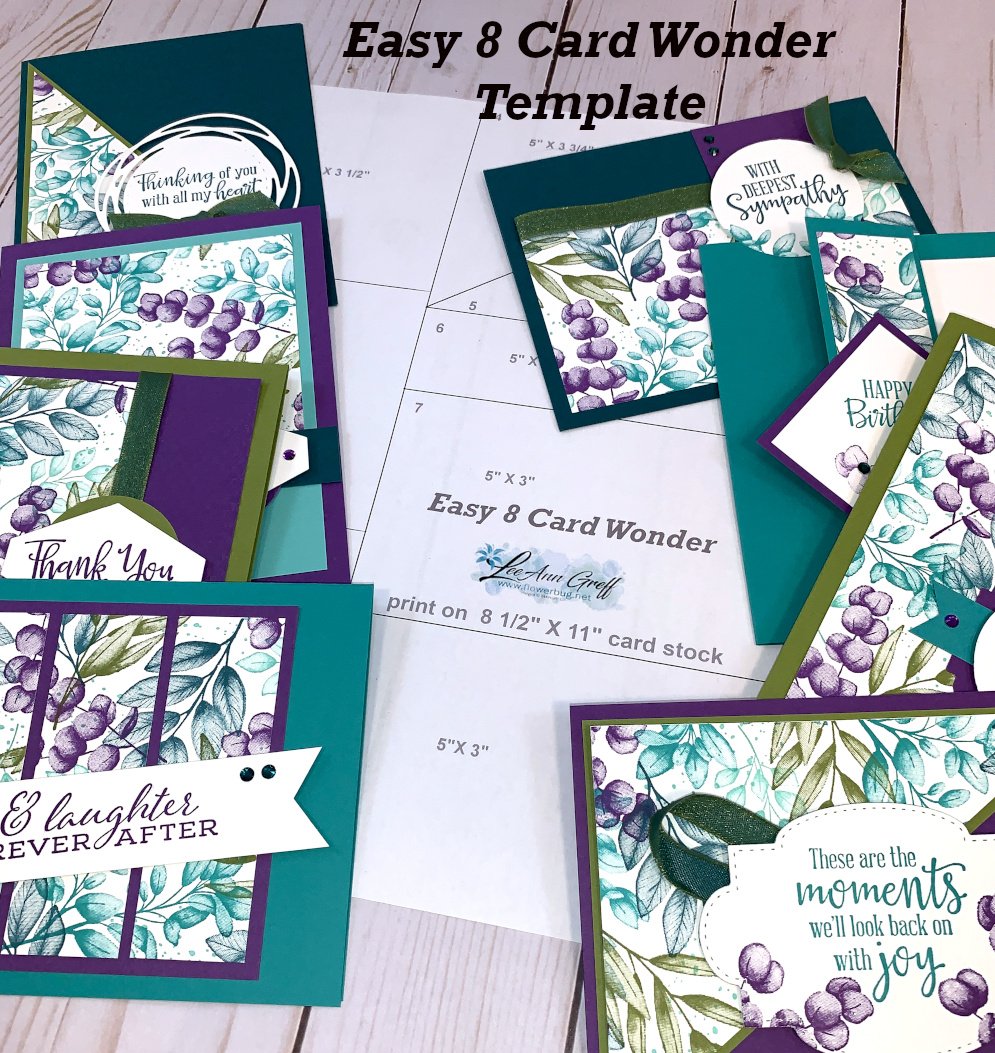
    I'm super excited about my newest One Sheet Wonder; I'm calling it the Easy 8 Card Wonder.  I've been doing a bunch of quick card layouts on my Monday night FB live's and have loved the comments on how simple and easy the cards have been.  People are actually making cards and building their stash AND sending them out too!  I LOVE hearing this!  

    So I wanted to create a simple card plan using our beautiful stamped images as the main focus of the cards.  

    The 8 Card Wonder features a template you print on neutral card stock and stamp on the other side.  Then just cut on the printed lines and assemble your cards like shown.  Here's the stamped 8 1/2" X 11" White card stock before I turned it over and cut on the printed lines. 

    The Forever Fern distinktive images in this stamp set are absolutely stunning!

    You can see part of the template under the cards here:

    For these cards I used Bermuda Bay, Gorgeous Grape, Old Olive and Pretty Peacock ink and card stock. 


    The pdf tutorial is now available here. 

    ~~~

    June Specials

    The new catalog is here!!!  


    Get my Lovely You pdf tutorial free with any online order in June

    It includes directions, photos and measurements for 10 cards!


    June Host code is 7H2FW9FG

    Get a free pkg. of Elegant Faceted Gems from me if your order is over $55. 

    Order online here

    Leave a Reply

    Your email address will not be published. Required fields are marked *


Notice: LeeAnn Greff, Independent Stampin’ Up! Demonstrator, Manager. The content of this website is my sole responsibility as an independent Stampin’ Up! demonstrator and the use of, and content of, the classes, services, or products offered on this website is not endorsed by Stampin’ Up! Copyright 2025