/


Latest Post

Use your nesting dies to create a designer paper window – video & free project sheet


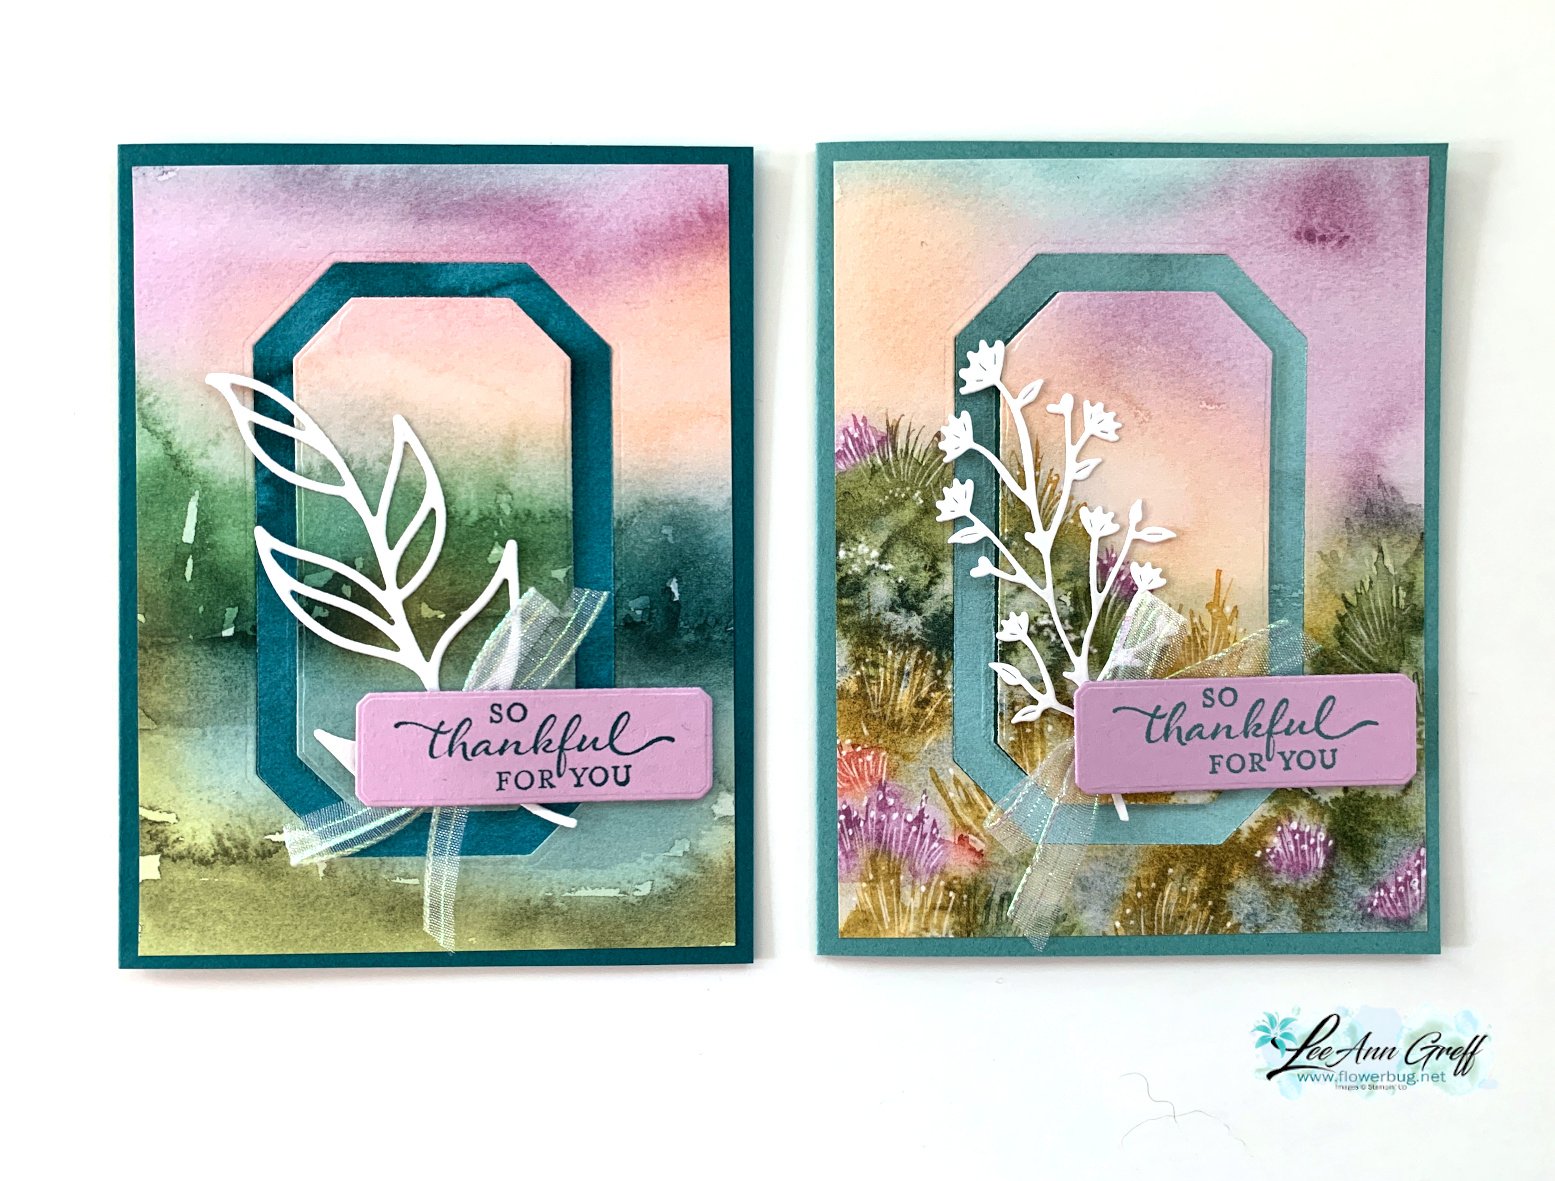
On last week's Live video I shared a neat way to use nesting dies to create a frame with your double sided designer series paper. 

I chose to feature the Thoughtful Moments DSP with this neat technique. Simply choose two dies that are the same shape and about 1/4-1/2" apart.  Die-cut and then flip over the narrow frame to reveal the opposite side of the Designer Series Paper. It's so neat! 

**This Designer Paper and many more will be on sale starting Tuesday, August 6th! Details will be shared tomorrow. 

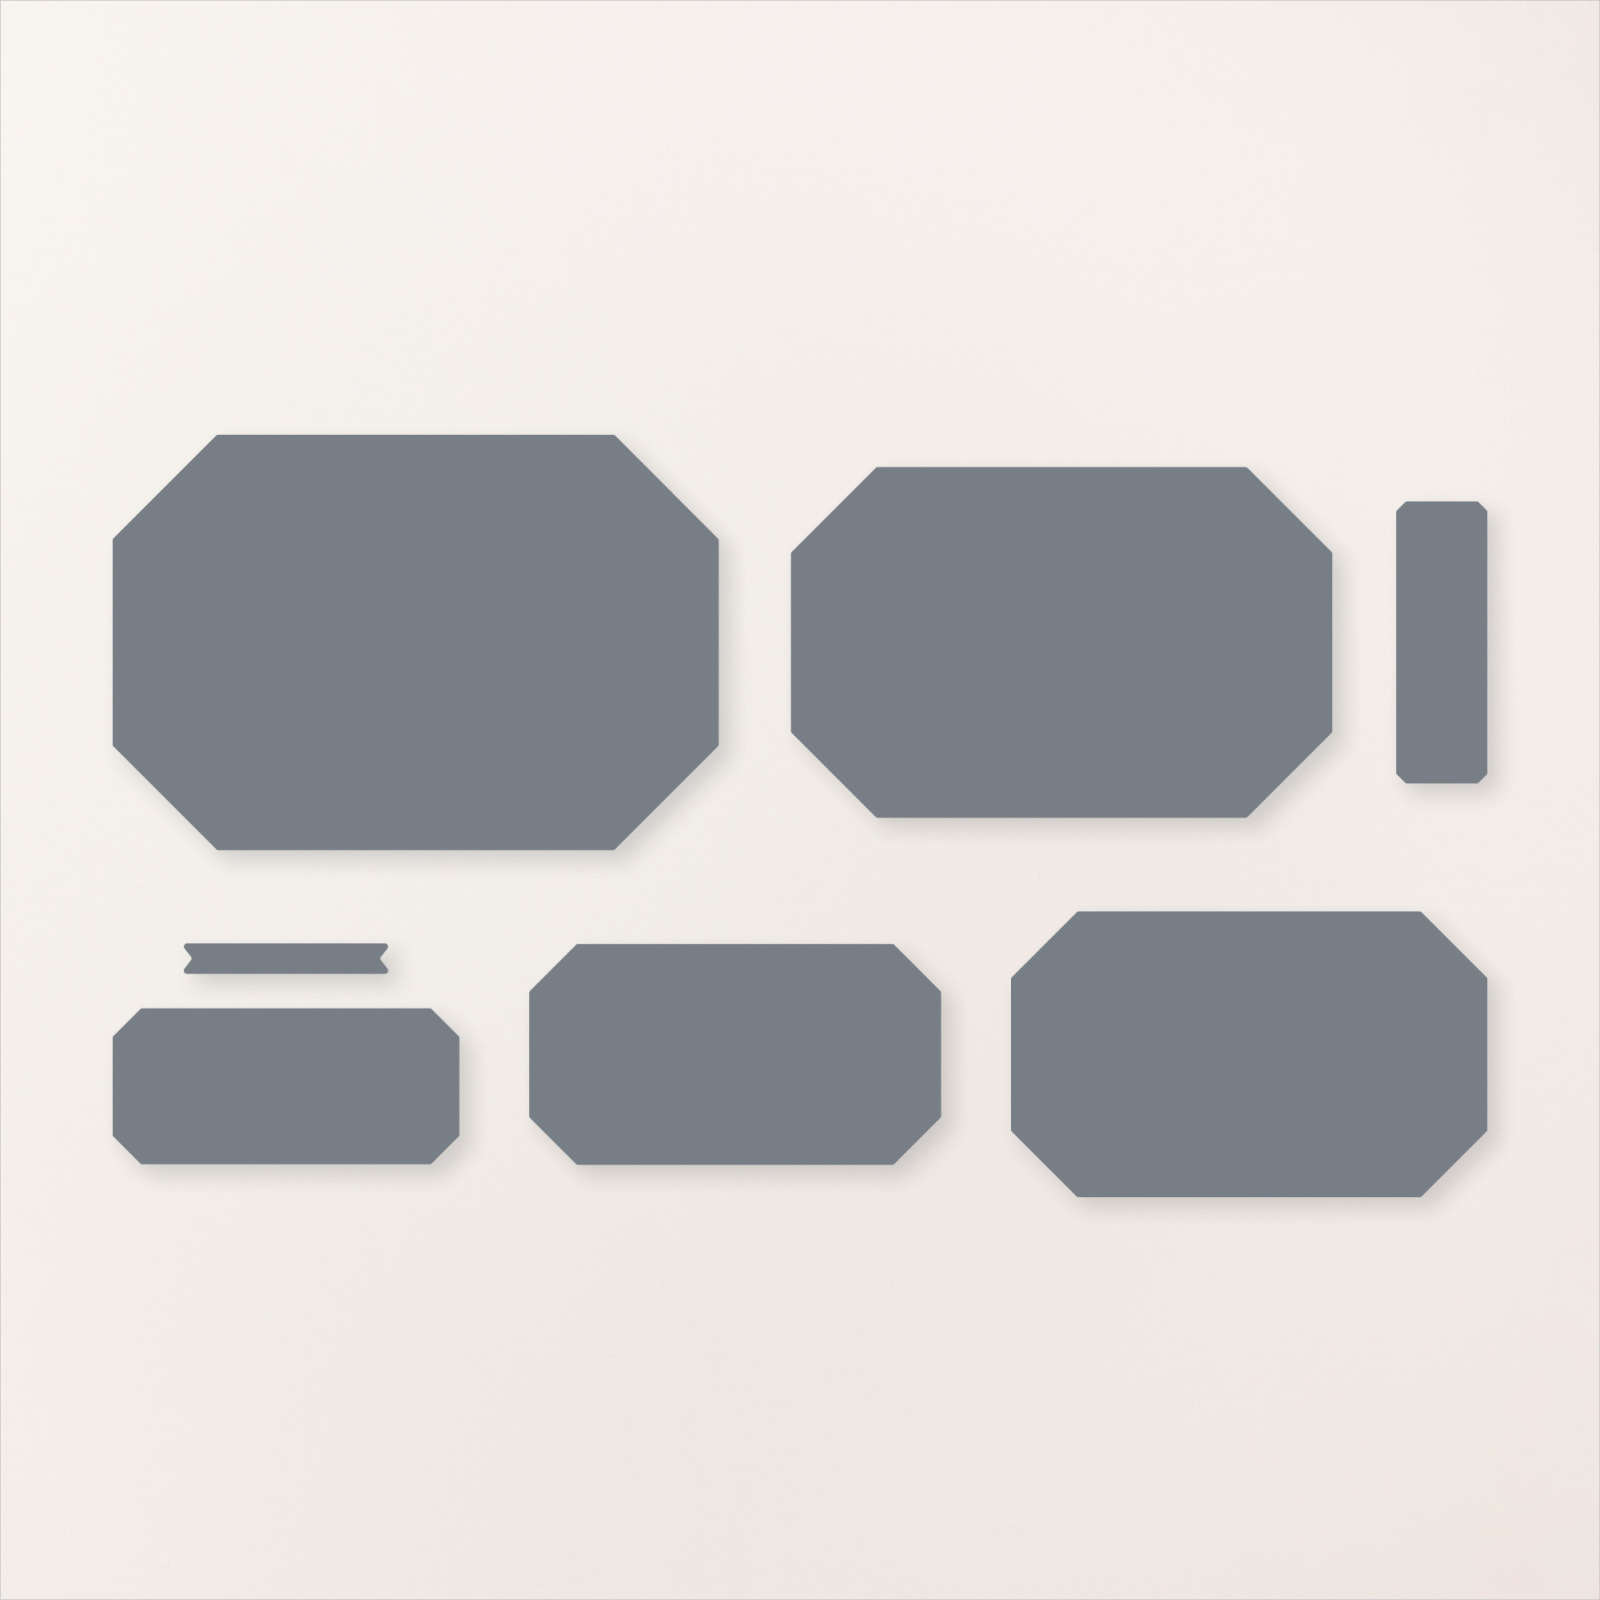
The leaf die is from the Friends for Life dies. My nesting dies are called Countryside Corners and can be seen here.
Tip – be sure the color of the opposite side of your paper coordinates with the front. I chose the card base to match the frame – Pretty Peacock. My greeting is in Fresh Freesia. 

Here are both cards shown on the video; the second card on the right has a Lost Lagoon frame & card base.  The White die-cut on the right card is from the Thoughtful Wishes bundle.
Here's the free project sheet you can download or print: Download Thoughtful Journey Window card

The designer paper for these cards is 4" X 5 1/4" which leaves a 2" strip for another project.  I wanted to share a quick card to use up that leftover piece:
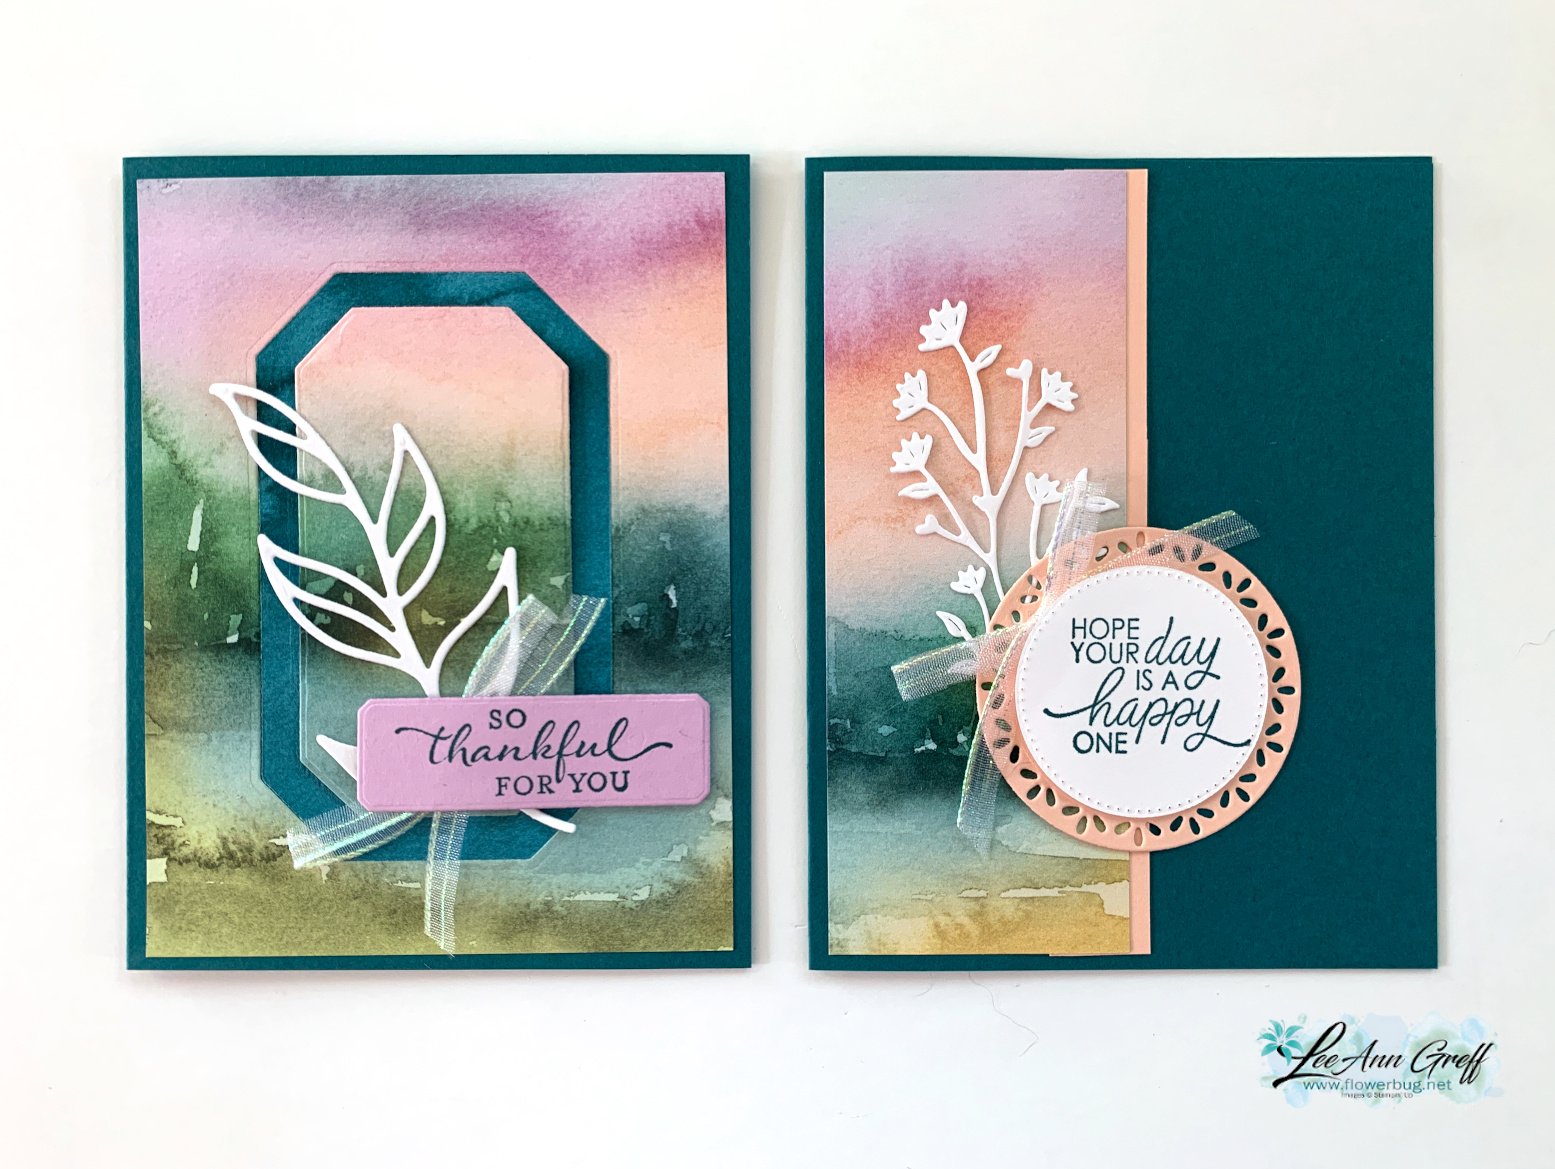
I simply added it to the card base with a coordinating card stock strip on the edge. Then added layering circles for my greeting.

If you're wondering about the ribbon, it's the pretty Iridescent 1/2" striped trim seen here.  I cut it in half to get 1/4" thick trim. It has been unavailable for awhile but it's back now.

Here are all 4 cards I shared in the video you can see here. 

Here's the video below to see how this is done plus another card idea with the beautiful Thoughtful Journey designer paper.  I'll share the second card Wednesday. 

~~~

August Specials:

*current host code link: BDGBJHAE

Redeem your $5 coupon now! 

~~~

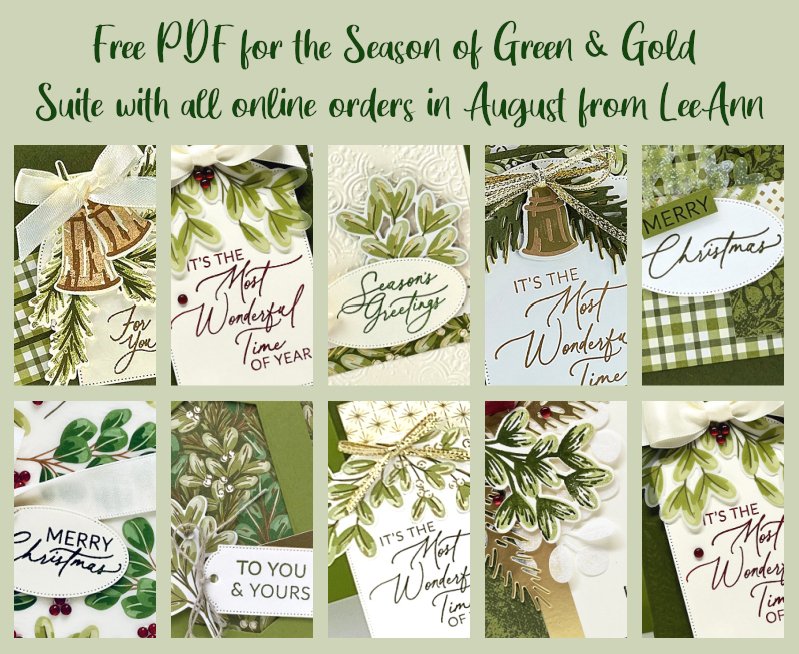
All online orders will receive a free PDF tutorial featuring the

Season of Green & Gold suite
All Posts

  • Fabulous Artistry Blooms; July’s card kit to go


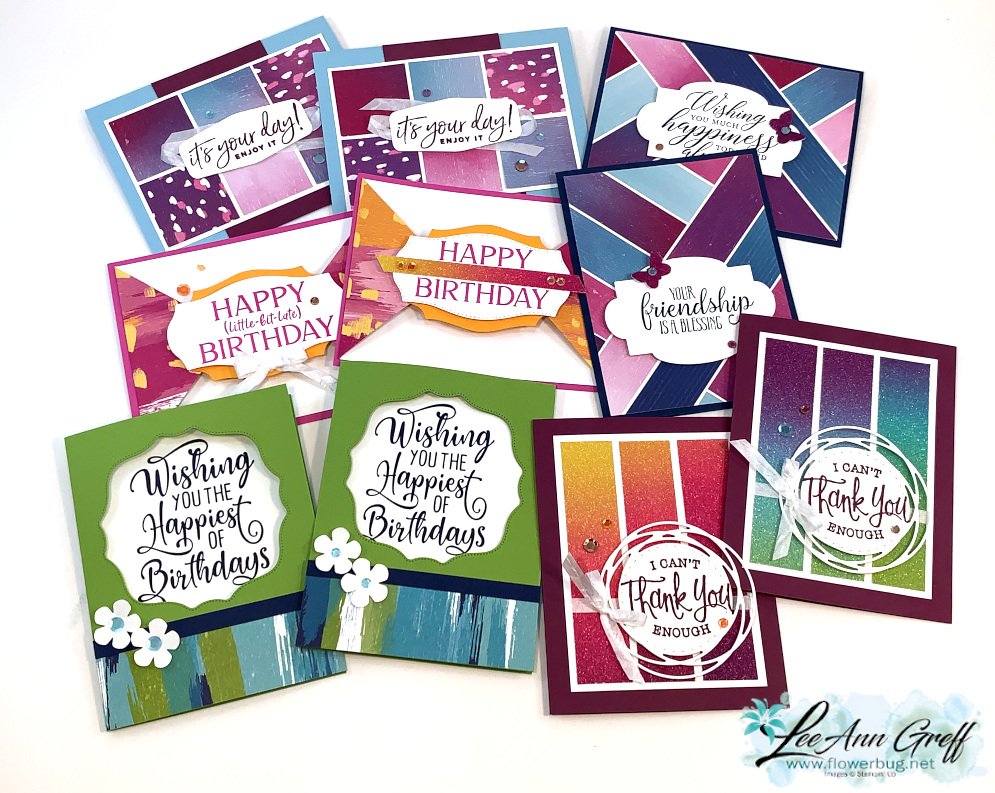
    I was torn on which Designer Paper to use for July's card kit to go so I asked my FB followers for their opinion.  Artistry Blooms won with the most votes. 

    I totally enjoyed making these bright, unique cards with this striking designer paper!  It's just amazing!  Look!  


    I created 5 cards and made two of each for a total of 10 eye catching cards including two unique fun-fold designs. Here's how my kits to go work:

    • Opt in to get yours by July 20th here.
    • Choose to add on the optional stamp set (click here) that I used.
    • I will order the products, prep the kits and mail them out to you via Priority mail at the end of July.
    • You'll receive the pdf tutorial via email.

    The kit includes $20 in Stampin' Up! products:

    • 1/2 pkg. of Artistry Blooms designer paper (6" X 12")
    • 1/2" pkg Rainbow Glimmer paper (two pieces at 6" X 12")
    • 1 pkg. Artistry Blooms adhesive backed sequins
    • a share of White Crinkled Seam Binding ribbon
    • The 10 pre-cut card pieces including die-cuts and punched pieces
    • a pdf tutorial with photos, directions, measurements & supplies list

    With tax & shipping you're getting the pre-cut kit for just $4.00!

    Be sure to opt in for this kit by July 20th!  

    • click here to order the kit to go mentioned above
    • click here to order the kit to go with the accitional Happiest of Birthday's stamp set 
    • Click here to order the pdf tutorial only
    • click here to get the Four Seasons Floral card kit; a quick & easy cards kit. 
    • *If you want both July kits, email me at lagreff60@gmail.com for a combined shipping price.

    ~~~

    Bonus Days are here!

     
    For every $50 you spend in July you'll receive a $5 coupon to redeem in August!  

    ~~~

    Current Host code is 3MFE2KKP

    Get a free 2020 card stock sampler with online orders over $60. 

    If you have trouble telling which color is which, this is what you need! 

    Order online here

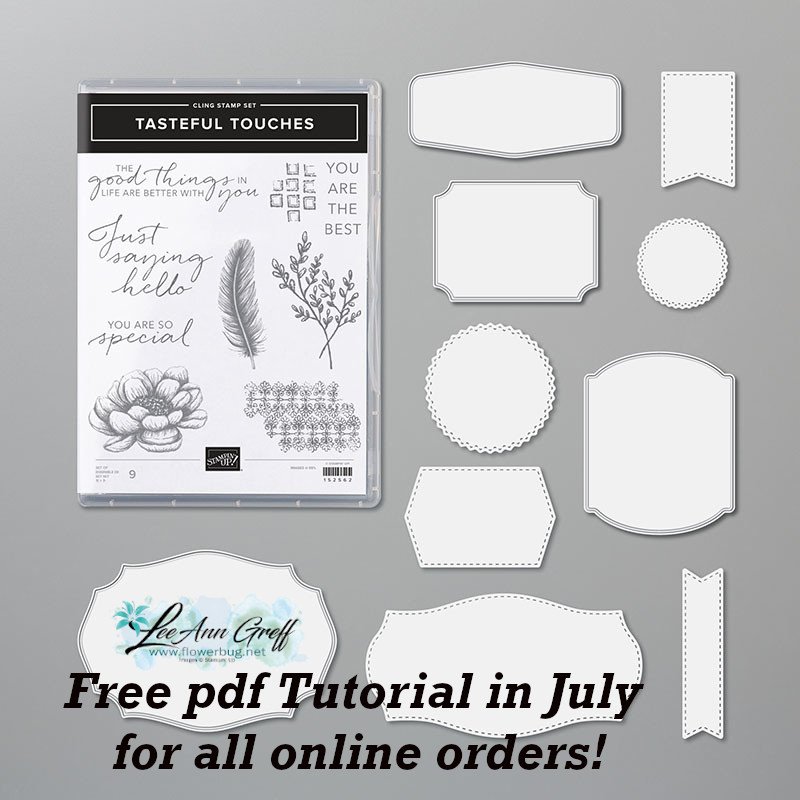
     Get my Tasteful Touches pdf tutorial free with any online order in July


    It includes directions, photos and measurements for 10 cards!

    Leave a Reply

    Your email address will not be published. Required fields are marked *

  • Window cards!


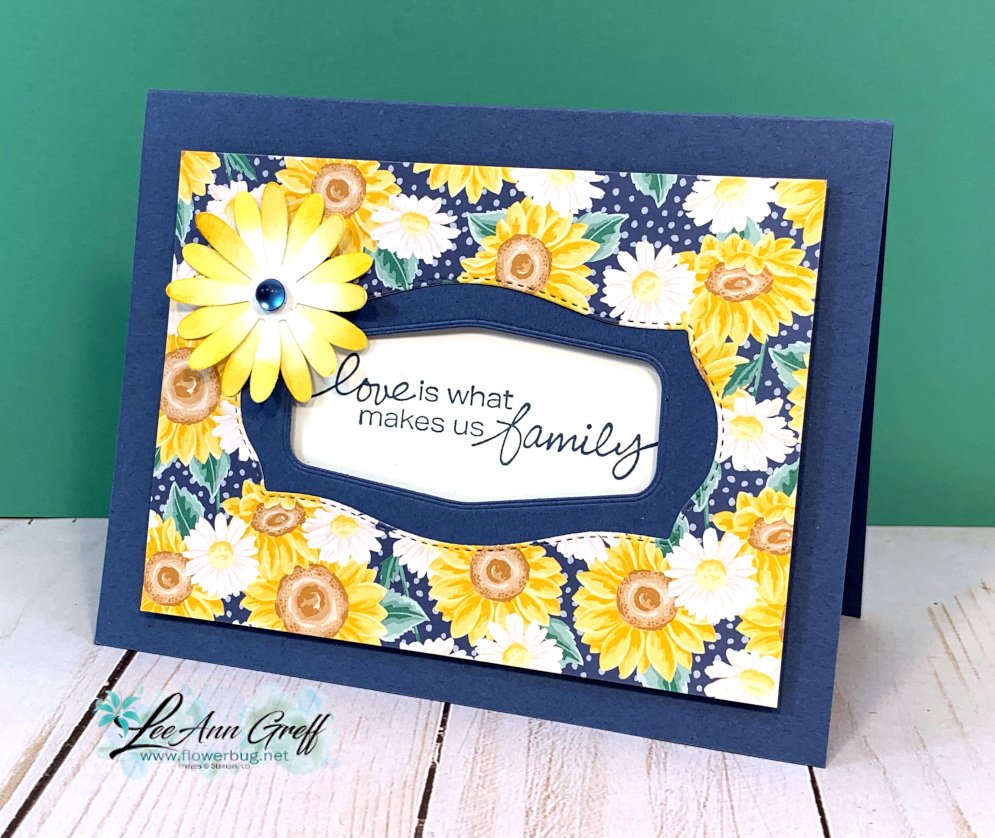
    A few weeks ago on my weekly 'Stamp with Me' Live we made window cards.  I called them that because I punched or die-cut a window in the front to reveal the greeting below.  Here's one version:

    I chose to use the pretty Flowers for Every Season designer paper for this card. There is such a wide variety of patterns, colors and styles in this pretty paper!  For the card above I used the Tasteful Labels, the Medium Daisy punch and the Lovely You stamp set.

    Here are all three cards I made to get them started.  I post the cards, measurements and supplies list a few days before the 'Live' so they can prep and gather their supplies.  Or if they cannot stamp with me Live, they can just make the cards using my ideas.  Check it out here. 

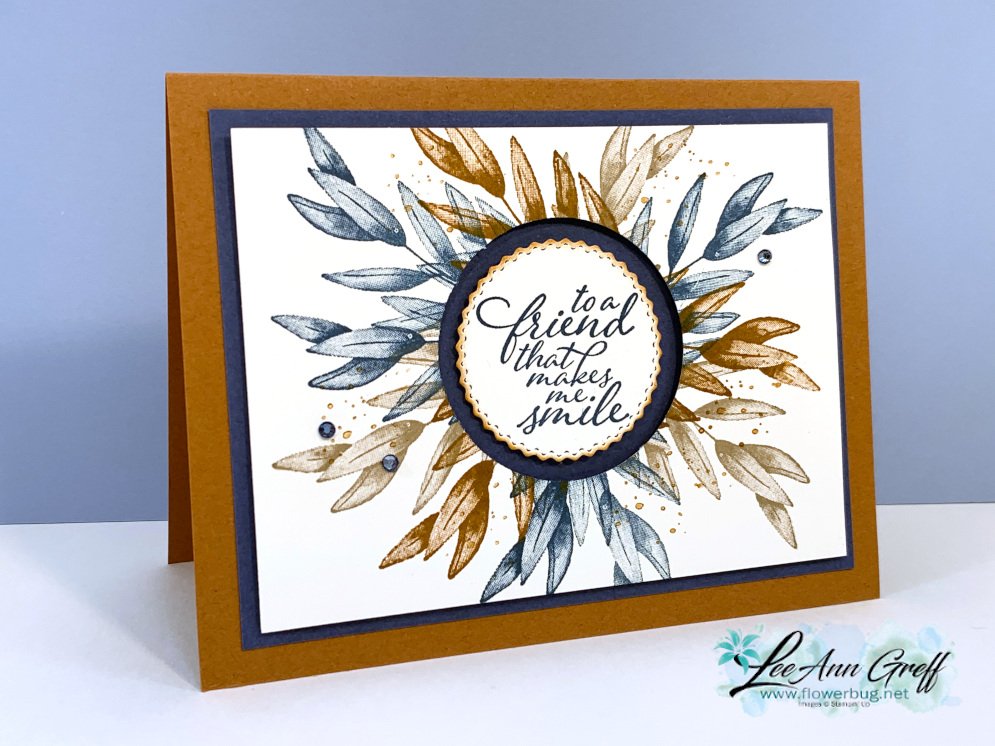
    For the card below I used the Forever Fern stamp set in Cinnamon Cider, Misty Moonlight and Crumb Cake.  

    I punched a 2" circle from the White layer and added a die-cut from the Tasteful Labels dies. 

    Here's the video below:

    Join me here each Monday evening at 7:30 pm CT.  

    ~~~

    Bonus Days are here!

     
    For every $50 you spend in July you'll receive a $5 coupon to redeem in August!  

    ~~~

    Current Host code is 3MFE2KKP

    Get a free 2020 card stock sampler with online orders over $60 that use the above host code.  This is so helpful to really know which color is which! 

    Order online here

     Get my Tasteful Touches pdf tutorial free with any online order in July


    It includes directions, photos and measurements for 10 cards!

    Leave a Reply

    Your email address will not be published. Required fields are marked *

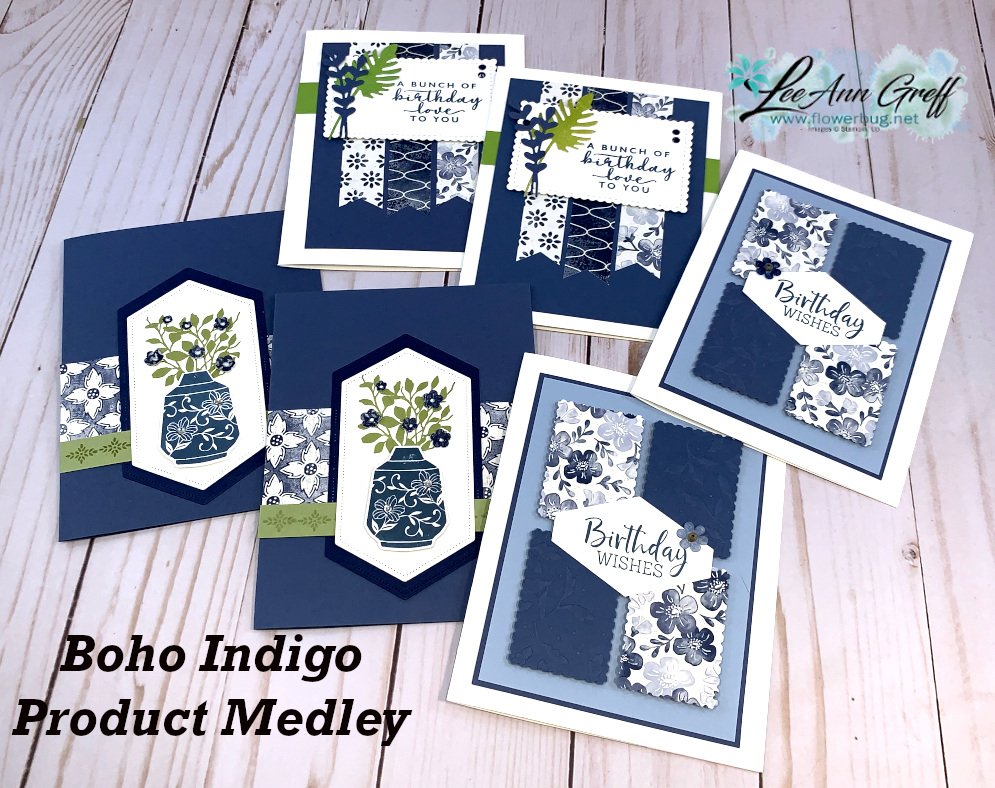
  • Third card from the Boho Indigo Product Medley


    This is the last card in the trio we made with the Boho Indigo Product Medley.  

    Almost everything is from the Product Medley except the punched flowers (Confetti Flowers Border punch) and Stitched Nested Labels. 

    The vase is stamped in Misty Moonlight and die-cut with the Boho dies in the Medley. The leaves are stamped in Pear Pizzazz. 

    The little flowers are punched from a piece of Designer Paper in the medley and the centers are added with a Chalk Marker. They're curled up a bit with a stylus.

    Measurements:

    • Misty Moonlight card base 5 1/2" X 8 1/2"
    • Designer Paper 2" X 4 1/4"
    • Pear Pizzazz strip 1/2" X 4 1/4"
    • White & Navy CS for Stitched Nested Labels

    Here are all of the cards we made with the pretty Boho Indigo Product Medley. You can see them all by paging through my blog posts the last few days. 

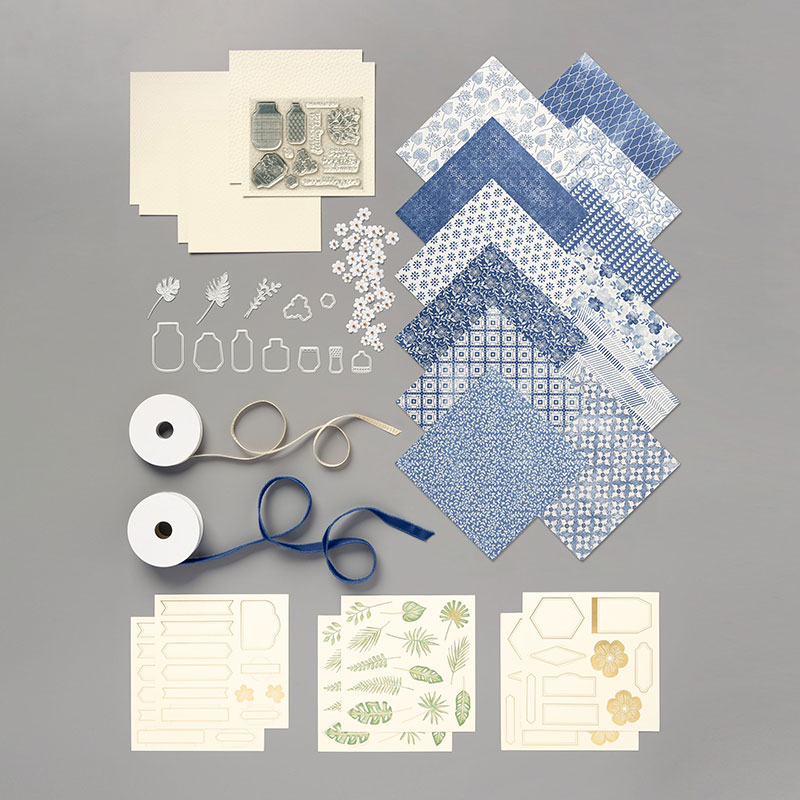
    The Boho Indigo Product Medley comes with a whole bunch of products all in one box including stamps, dies, beautiful designer paper in 6 X 6" size, textured card stock, die-cuts, ribbon and paper/bead flowers.  The colors are Misty Moonlight, Night of Navy, Vanilla, White, Garden Green & gold. 

    If you purchase this Medley in July you'll earn a $5 coupon code to redeem in August. Yay for Bonus Days!!

    There's even a refill option (without the stamps, dies & ribbon).  It is on back order until mid July but still orderable.  It includes the papers and the flowers.  See that here. 

    ~~~

    Bonus Days are here!

     
    For every $50 you spend in July you'll receive a $5 coupon to redeem in August!  

    ~~~

    Current Host code is 3MFE2KKP

    Get a free 2020 card stock sampler with online orders over $60. 

    Order online here

     Get my Tasteful Touches pdf tutorial free with any online order in July


    It includes directions, photos and measurements for 10 cards!

    Leave a Reply

    Your email address will not be published. Required fields are marked *


Notice: LeeAnn Greff, Independent Stampin’ Up! Demonstrator, Manager. The content of this website is my sole responsibility as an independent Stampin’ Up! demonstrator and the use of, and content of, the classes, services, or products offered on this website is not endorsed by Stampin’ Up! Copyright 2025