/


Latest Post

Use your nesting dies to create a designer paper window – video & free project sheet


On last week's Live video I shared a neat way to use nesting dies to create a frame with your double sided designer series paper. 

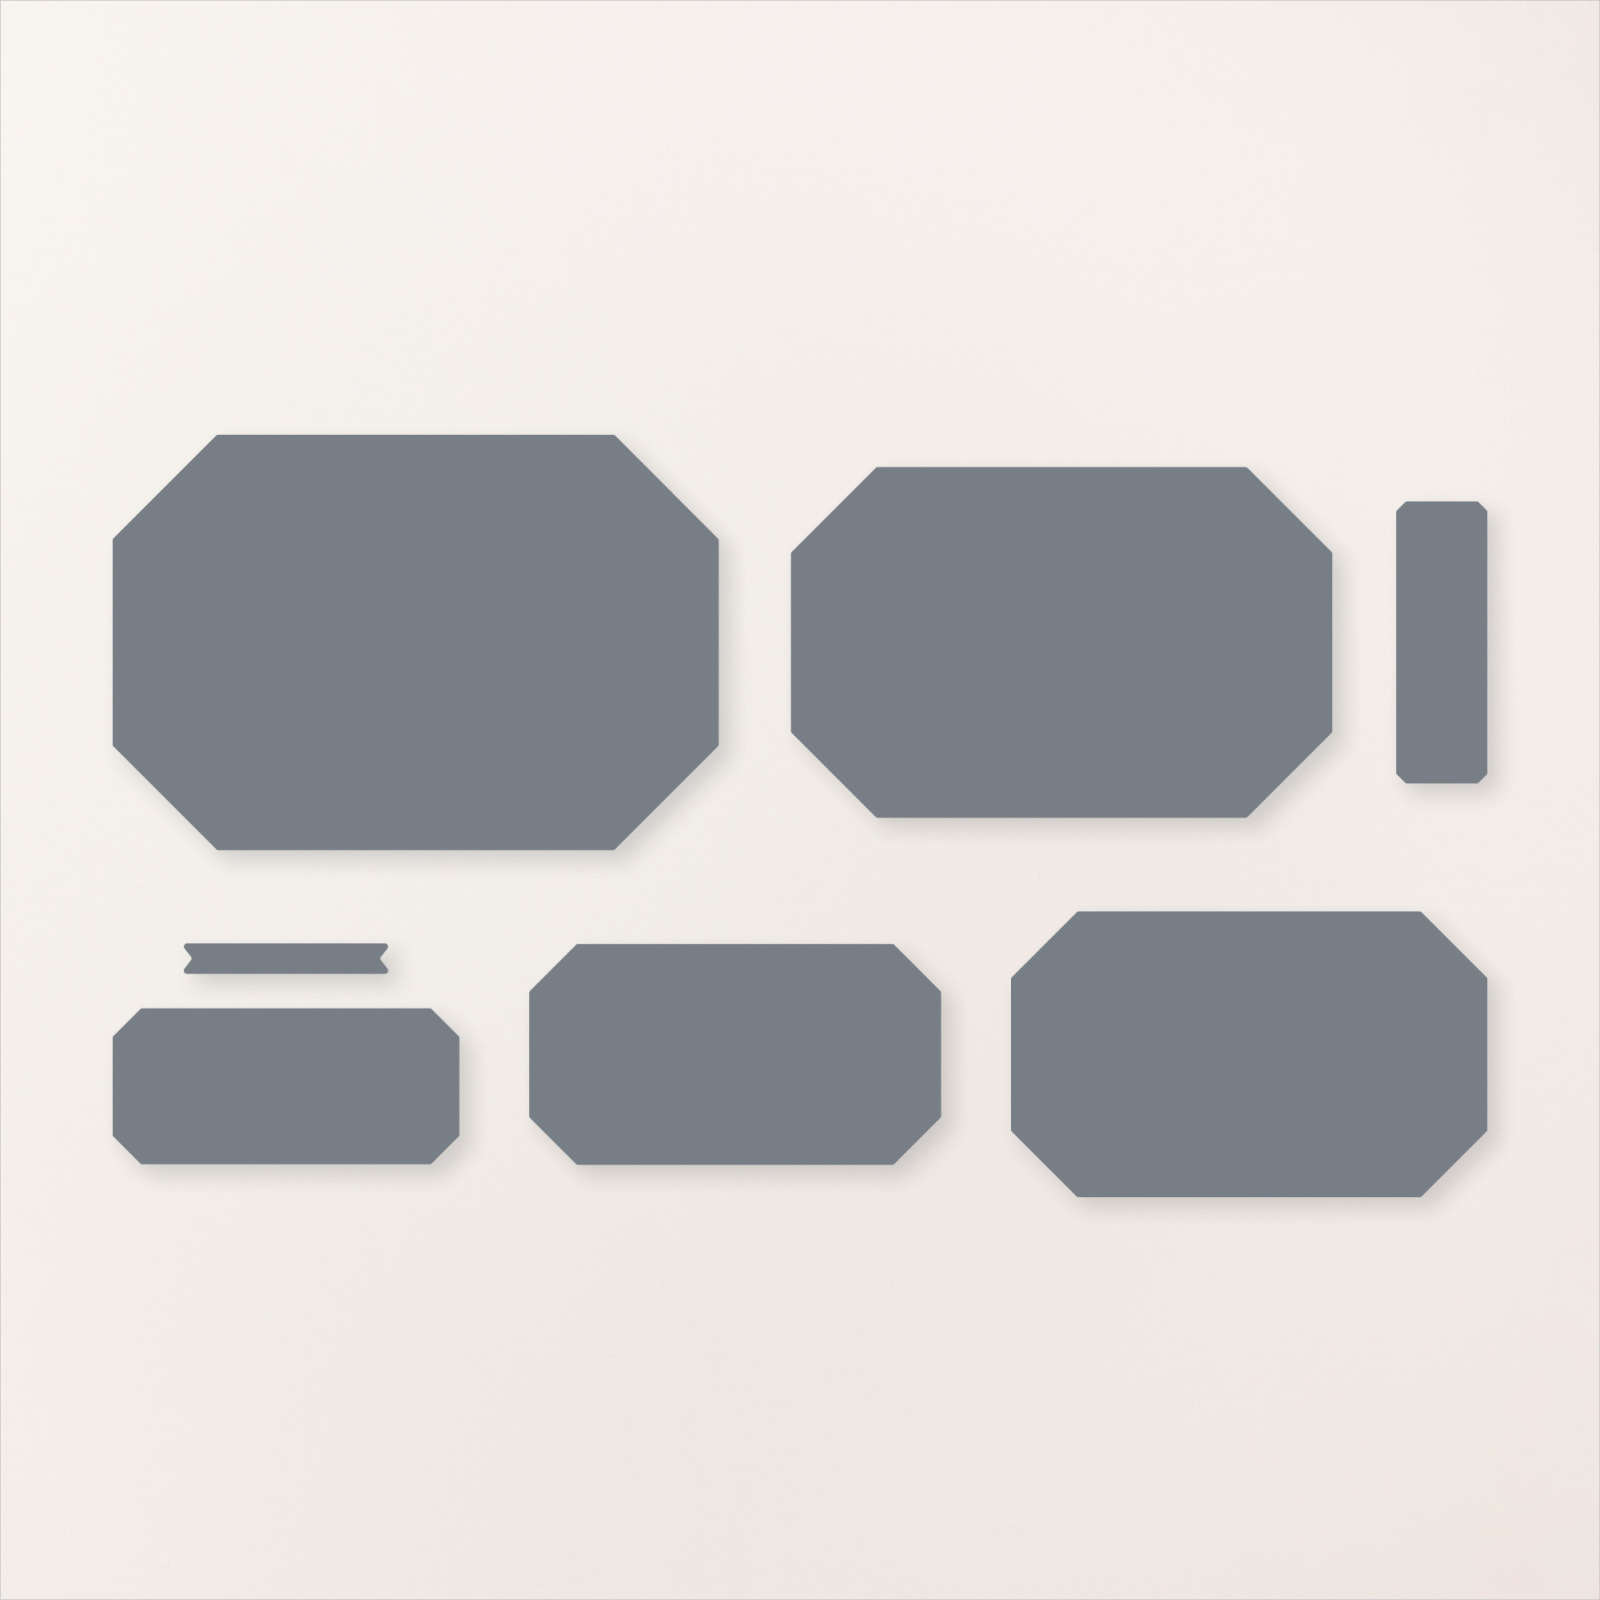
I chose to feature the Thoughtful Moments DSP with this neat technique. Simply choose two dies that are the same shape and about 1/4-1/2" apart.  Die-cut and then flip over the narrow frame to reveal the opposite side of the Designer Series Paper. It's so neat! 

**This Designer Paper and many more will be on sale starting Tuesday, August 6th! Details will be shared tomorrow. 

The leaf die is from the Friends for Life dies. My nesting dies are called Countryside Corners and can be seen here.
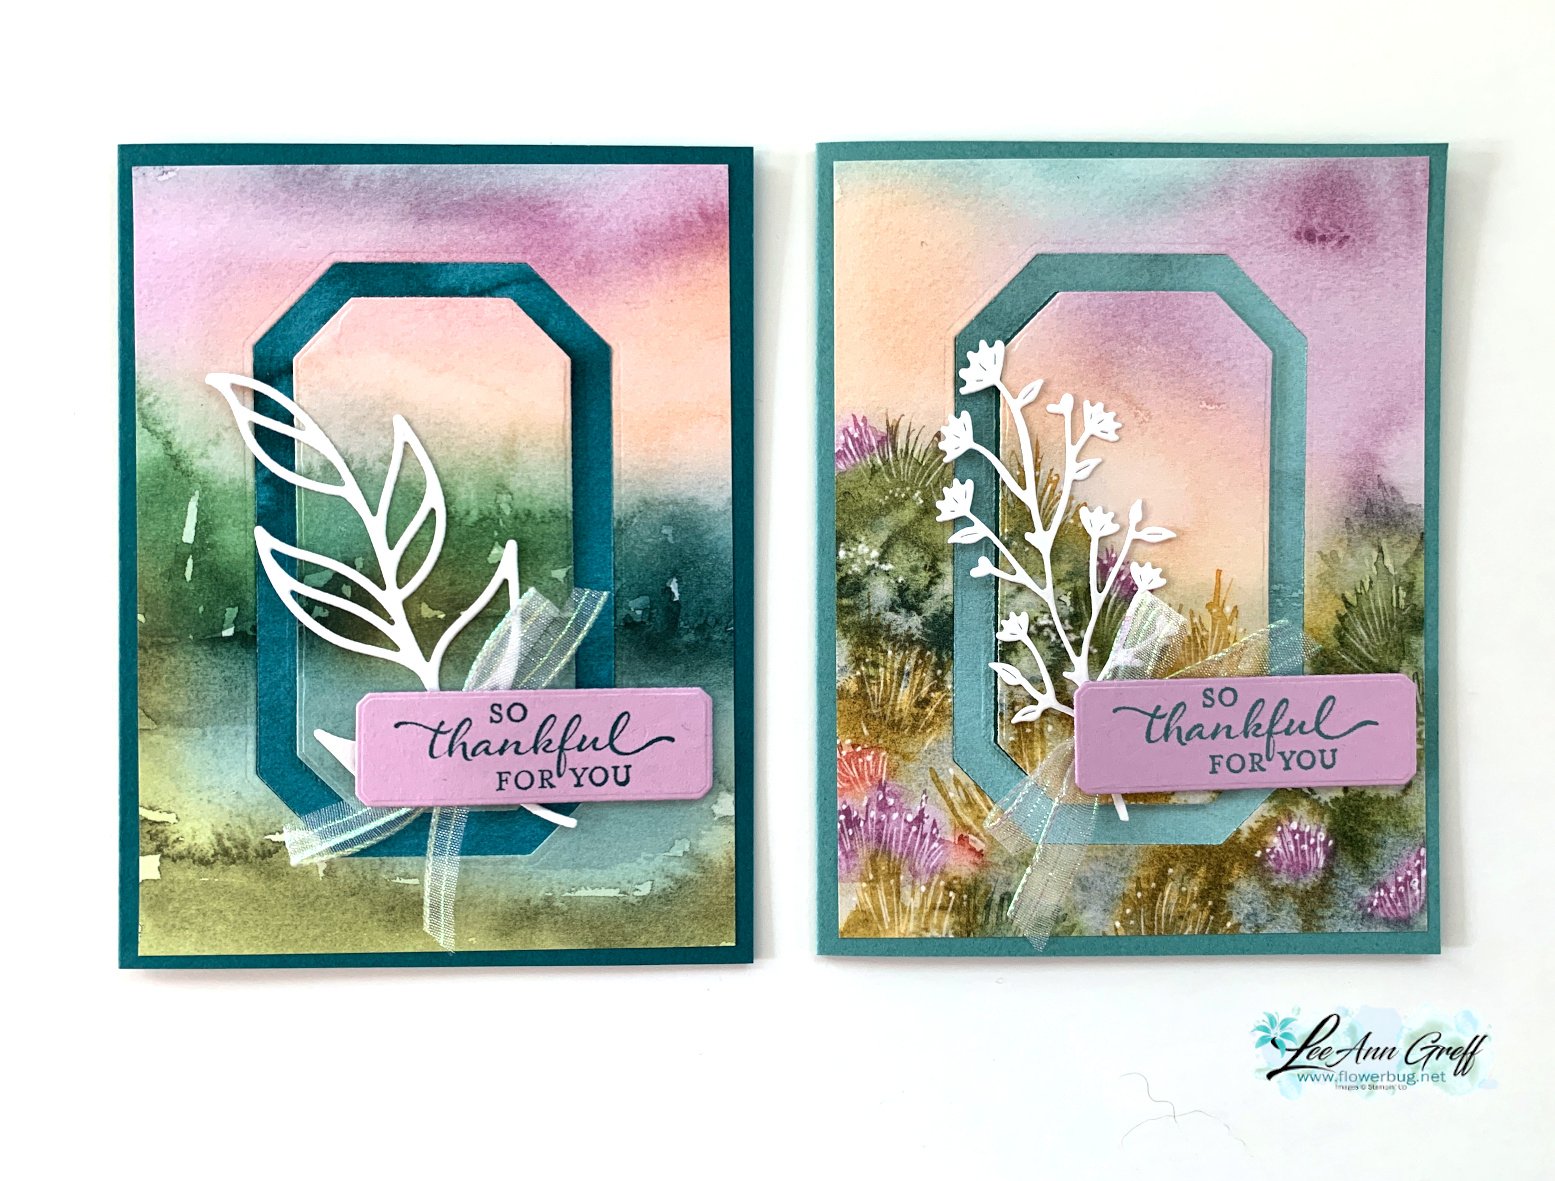
Tip – be sure the color of the opposite side of your paper coordinates with the front. I chose the card base to match the frame – Pretty Peacock. My greeting is in Fresh Freesia. 

Here are both cards shown on the video; the second card on the right has a Lost Lagoon frame & card base.  The White die-cut on the right card is from the Thoughtful Wishes bundle.
Here's the free project sheet you can download or print: Download Thoughtful Journey Window card

The designer paper for these cards is 4" X 5 1/4" which leaves a 2" strip for another project.  I wanted to share a quick card to use up that leftover piece:
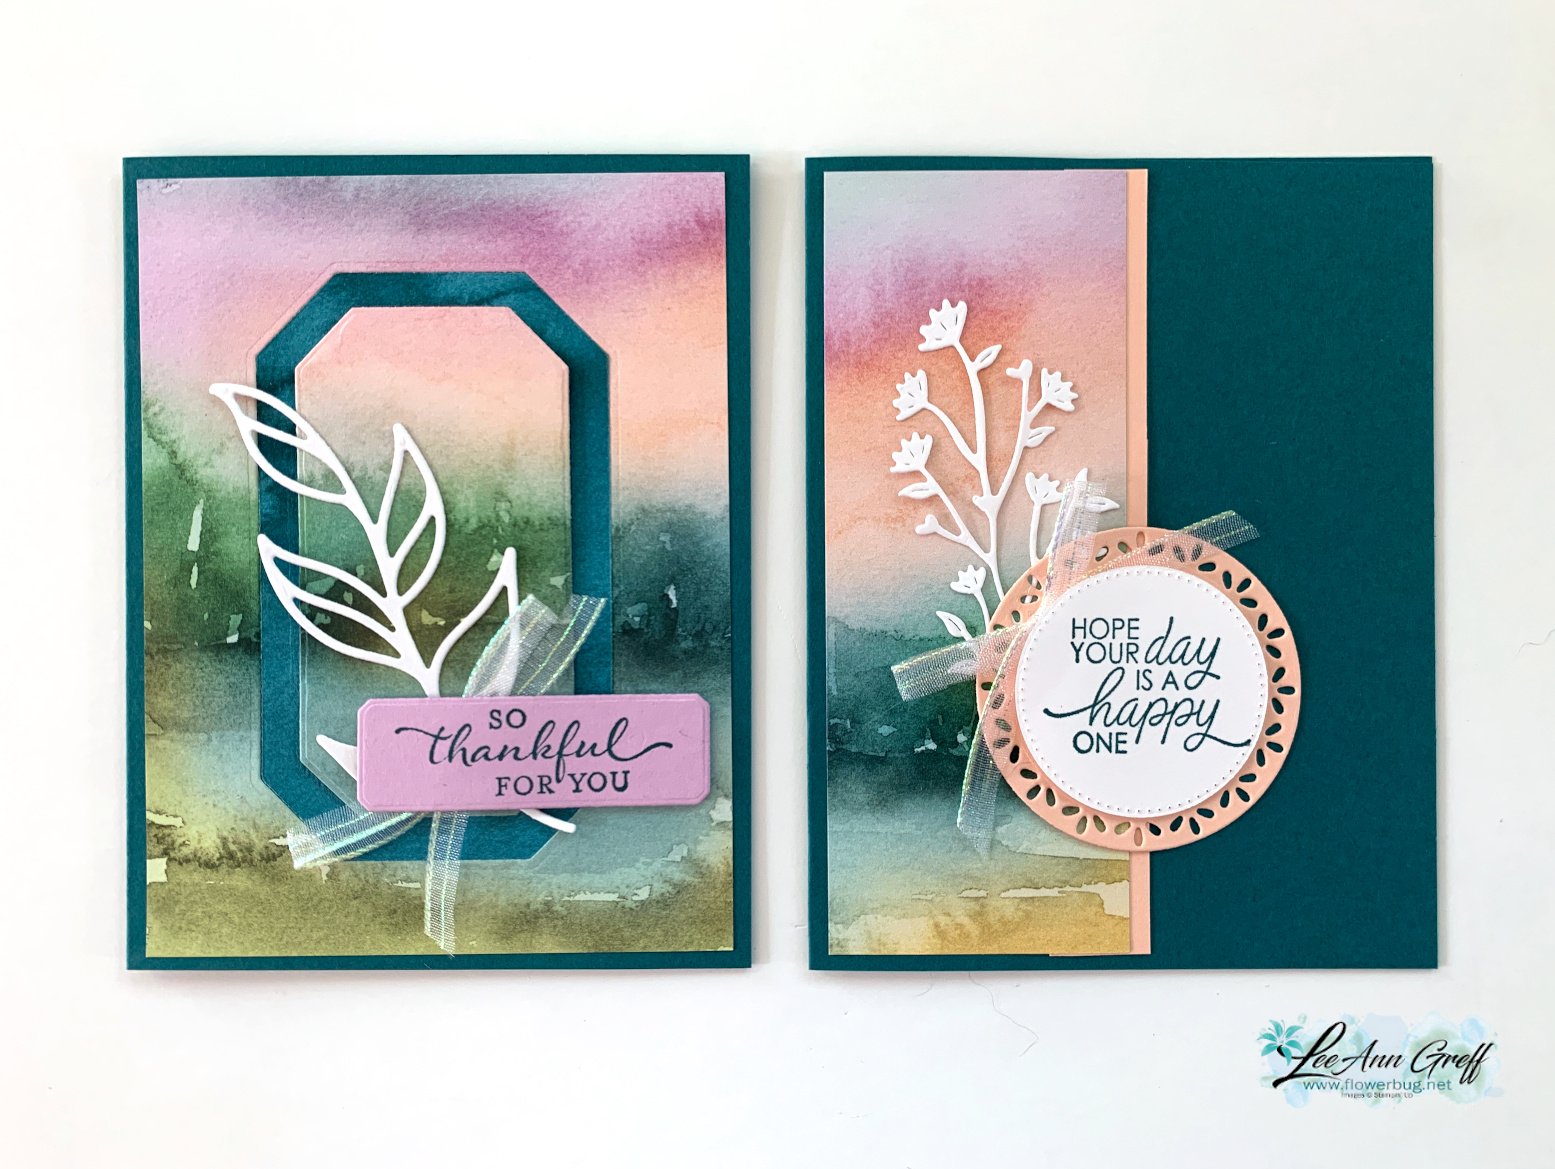
I simply added it to the card base with a coordinating card stock strip on the edge. Then added layering circles for my greeting.

If you're wondering about the ribbon, it's the pretty Iridescent 1/2" striped trim seen here.  I cut it in half to get 1/4" thick trim. It has been unavailable for awhile but it's back now.

Here are all 4 cards I shared in the video you can see here. 

Here's the video below to see how this is done plus another card idea with the beautiful Thoughtful Journey designer paper.  I'll share the second card Wednesday. 

~~~

August Specials:

*current host code link: BDGBJHAE


Redeem your $5 coupon now! 

~~~

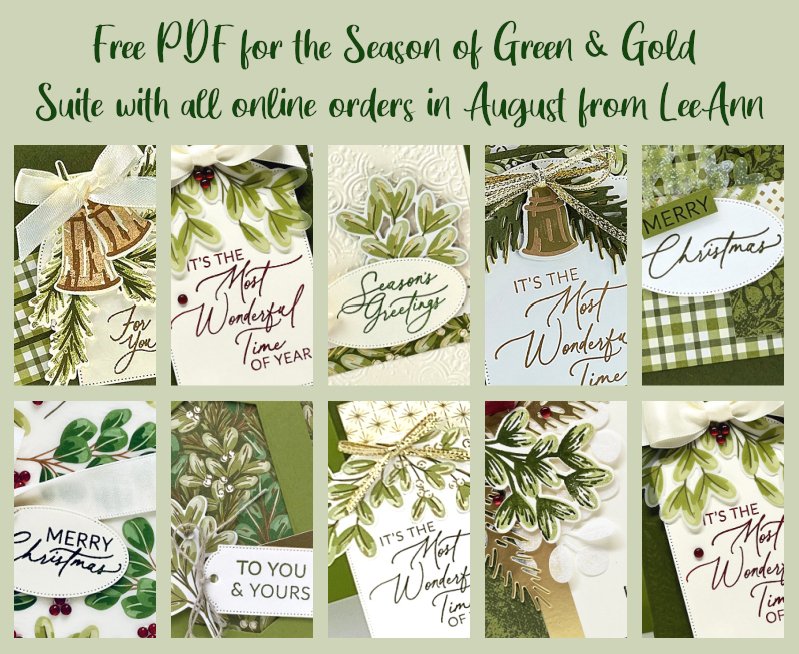
All online orders will receive a free PDF tutorial featuring the

Season of Green & Gold suite
All Posts

  • Handy glue stands & huge stamping sale in Minot, ND


    Look at these cool glue stands that perfectly fit our Multipurpose glue!  My husband is making them with his 3D Printer.  

    There are actually four colors; Turquoise, Black, Blue & Bright Red. They are just $5 each with approximately $3 shipping.  Go here to order.

    You can get combined shipping prices here too. And we can ship to Canada via International shipping. 

    **There has been a huge response so it might take a few weeks to ship your order out.  

    ~~~

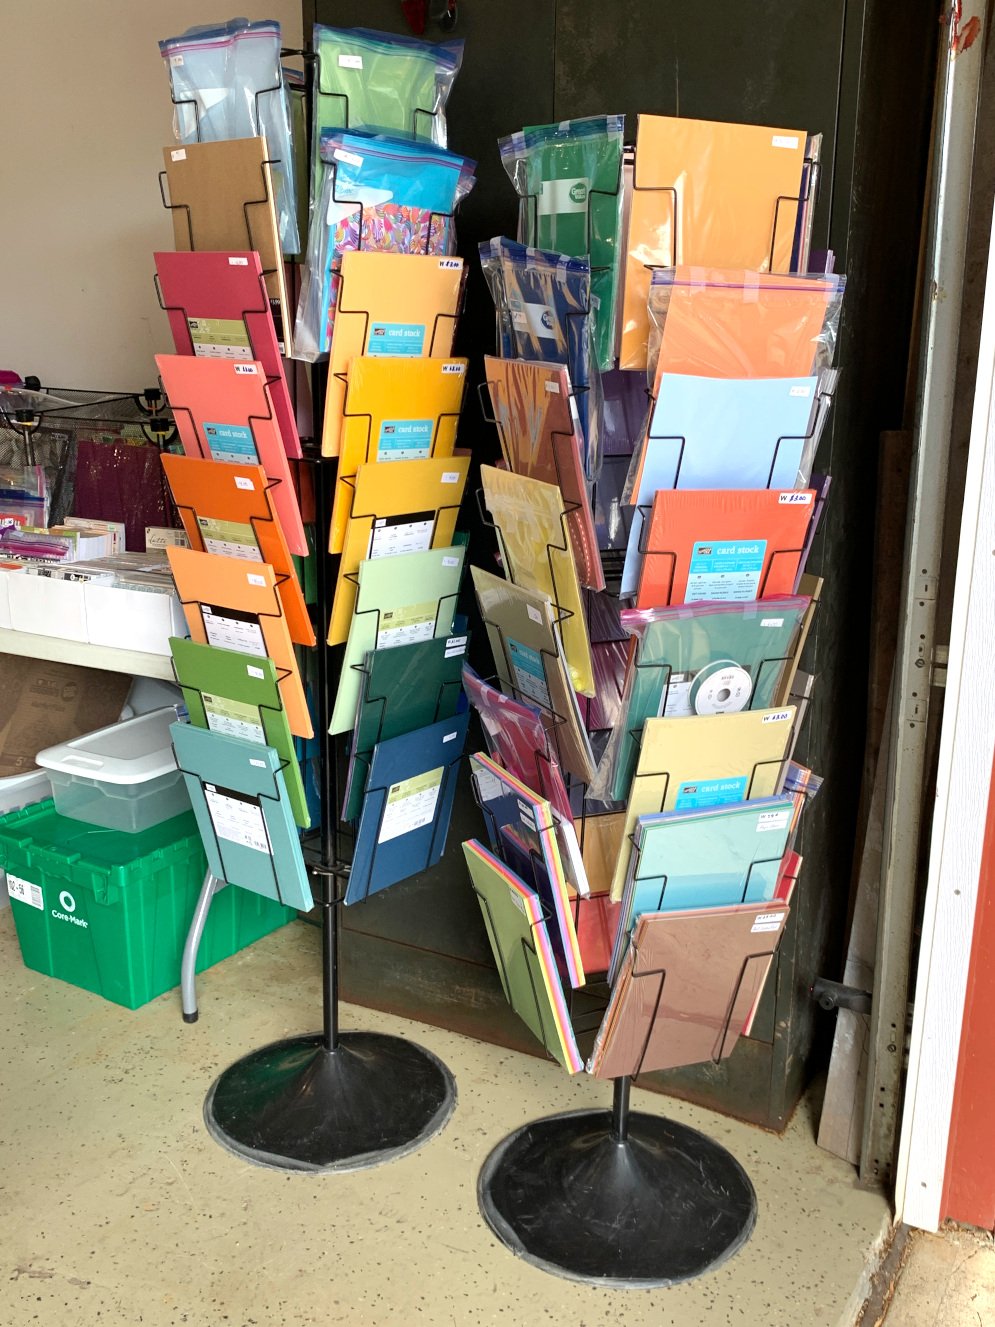
    Huge Stamping Sale!!!

    This weekend is our annual Stamping sale where many of my customers sell off their excess paper crafting supplies.  I have a fantastic crew of helpers I call my 'committee'.  They set up the sale, do the books, and basically run the entire thing!  I am so blessed to have them.  Luckily they love it but it's a ton of work!

    If you live near us in ND it's so worth a road trip!!!  Gather some friends and stop in Saturday! 

    Remember, this is not my stash!  I usually do not sell things here anymore.  I save my items for my BOGO sales. 

    Because of the huge quantity of items and the large number of sellers, I am unable to take requests for wanted items. I'm so sorry about that. I know these photos are a big tease to those who do not live near me and I apologize!  

    If you live near us in Minot, ND it's well worth a road trip!  It's Saturday from 9-3 pm for everyone.  The Early Bird sale starts Friday for my current customers (those who have shopped with me in the last 6 months).

    ~~~

    Bonus Days are here!

     
    For every $50 you spend in July you'll receive a $5 coupon to redeem in August!  

    ~~~

    Current Host code is JFPDBTBY

    Get a free 2020 card stock sampler with online orders over $60. 

    If you have trouble telling which color is which, this is what you need! 

    Order online here

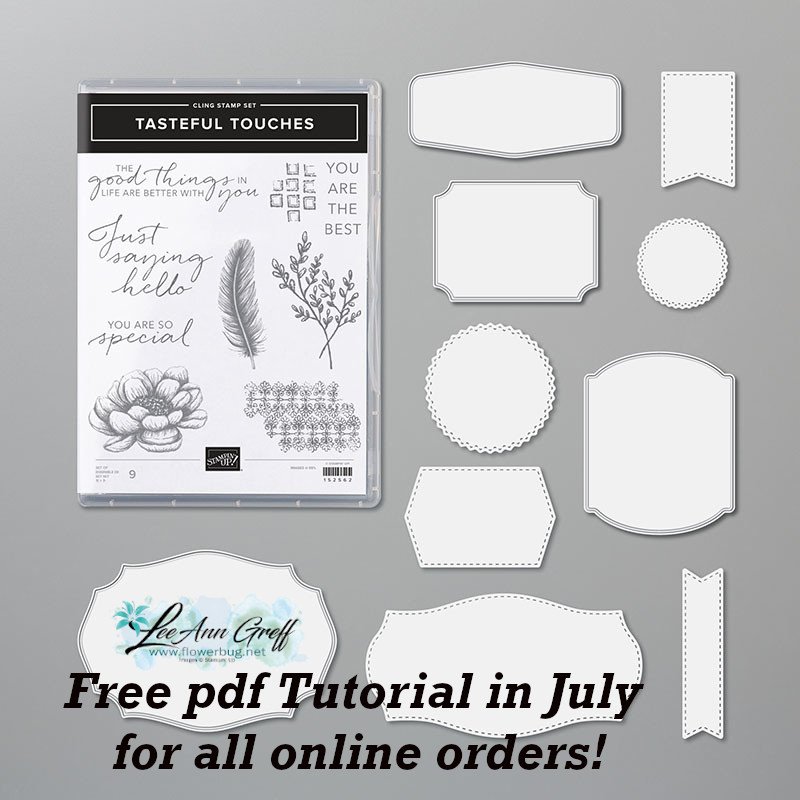
     Get my Tasteful Touches pdf tutorial free with any online order in July


    It includes directions, photos and measurements for 10 cards!

    Leave a Reply

    Your email address will not be published. Required fields are marked *

  • Amazing Flowerbug Team swaps!


    This week and next I'll be sharing a bunch of recent card swaps made by my talented Flowerbug's. 

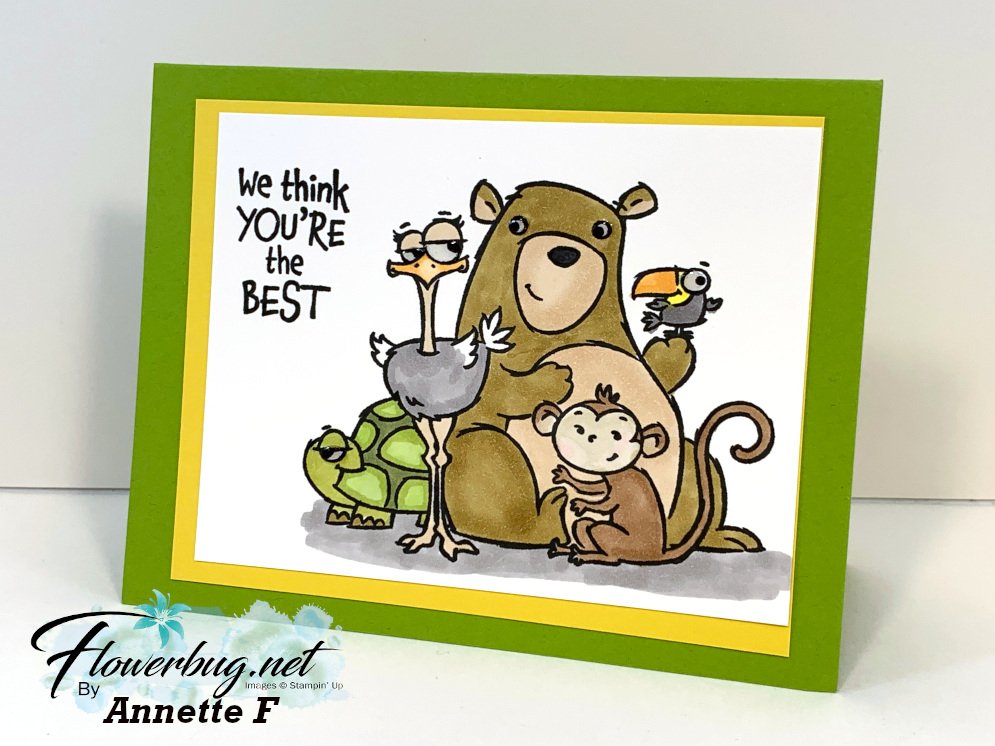
    The first card is made by Annette with the set called From All of Us on page 93 of the annual catalog.  She used Blends markers to color the image in.  

    Her colors are Granny Apple Green and Daffodil Delight.  The card above was for last month and the one below was for July; both made by Annette.   

    This next card is a unique origami fold.  I shared the 'how to' and video on this post here.  I was grateful to Annette for demonstrating it at our last Team meeting.  So easy and it sure highlights the main image! 

    I LOVE the sign hanging on the cording!!

    This card is made with the new Cinnamon Cider; one of our newest In Colors.  She stamped the background tone-on-tone and the origami piece is made using the 6 X 6" 2020-22 In Color DSP.  The stamp set is Back on Your Feet on page 92 of the Annual catalog. 

    Stay tuned for more fabulous swaps tomorrow!

    ~~~

    Bonus Days are here!

     
    For every $50 you spend in July you'll receive a $5 coupon to redeem in August!  

    ~~~

    Current Host code is JFPDBTBY

    Get a free 2020 card stock sampler with online orders over $60. 

    If you have trouble telling which color is which, this is what you need! 

    Order online here

     Get my Tasteful Touches pdf tutorial free with any online order in July


    It includes directions, photos and measurements for 10 cards!

    Leave a Reply

    Your email address will not be published. Required fields are marked *

  • Origami card fold with Flowers for Every Season with video


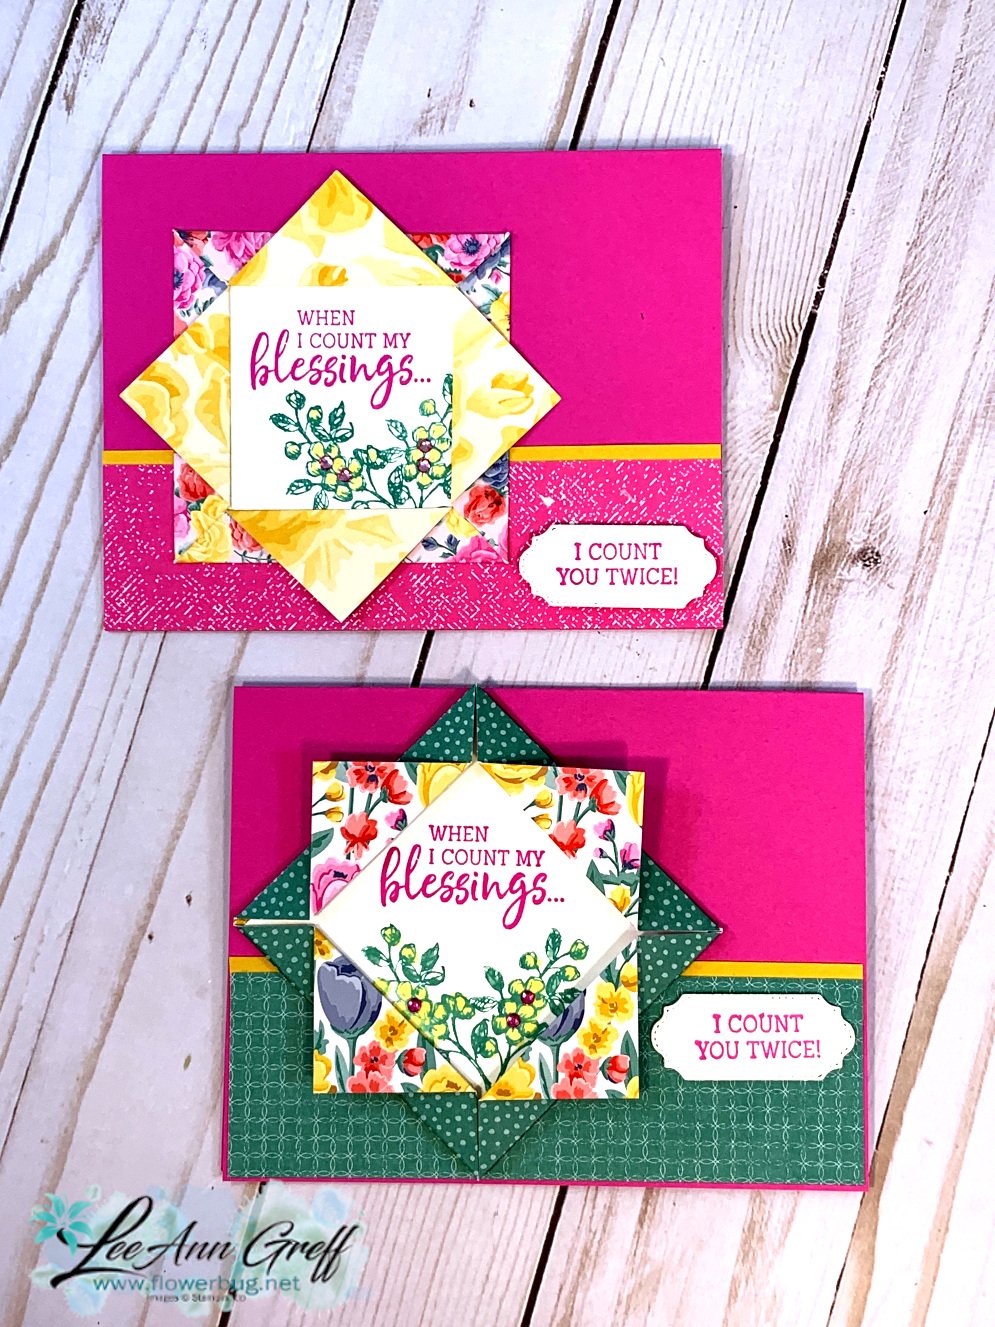
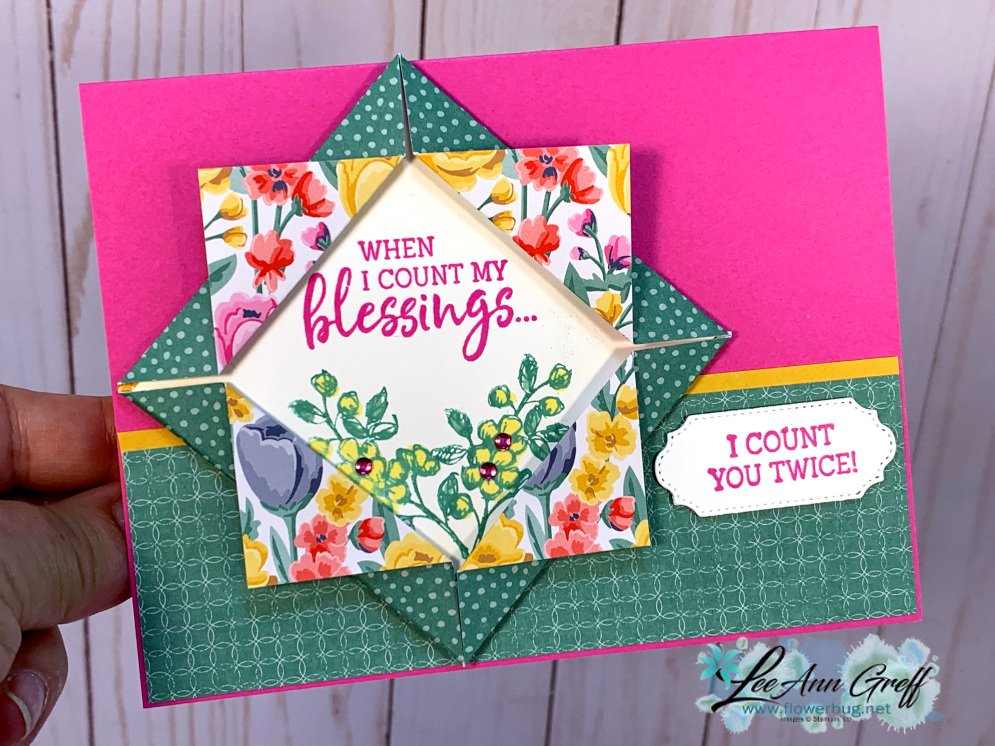
    Here's another card I made on FB live last week using the pretty Flowers for Every Season designer paper.  It's an origami fold that creates a perfect place for your stamped image in the center. 

    It starts out with a 4 1/4" piece of designer series paper and you place it on a score board on the diagonal so the points are at 3" on the top and the left.  You can do this with a paper cutter too.  See here or watch the video below: 

    Then you score at 1" and 1 1/2".  Rotate it and do this on all sides.  Fold as shown.  

    The stamped White layer inside is 2 7/8" square.  

    Below is the video for this card and another pretty one made with the Fancy Phrases stamp set. 

    ~~~

    Bonus Days are here!

     
    For every $50 you spend in July you'll receive a $5 coupon to redeem in August!  

    ~~~

    Current Host code is JFPDBTBY

    Get a free 2020 card stock sampler with online orders over $60. 

    If you have trouble telling which color is which, this is what you need! 

    Order online here

     Get my Tasteful Touches pdf tutorial free with any online order in July


    It includes directions, photos and measurements for 10 cards!

    Leave a Reply

    Your email address will not be published. Required fields are marked *


Notice: LeeAnn Greff, Independent Stampin’ Up! Demonstrator, Manager. The content of this website is my sole responsibility as an independent Stampin’ Up! demonstrator and the use of, and content of, the classes, services, or products offered on this website is not endorsed by Stampin’ Up! Copyright 2025