/


Latest Post

Use the Double Wonder Template to make 11 quick cards! Join me Thursday night!


Do you ever planned a stamping session focusing on just a few products? It's easy to get overwhelmed with everything you own.  Using this method is actually quite liberating and fuels the creative process.  I've started doing that more and more often especially when planning my card kits to go.  I pick Stampin' Up! products from the same suite and choose some sketches or layouts for card ideas.  the process is so enjoyable this way!  

Lately I've been seeing groups of cards using the Double Wonder template and had to try it.  It was originally designed by Shannon West from Stampin' Up!  It's so clever!! You start out with 2 pieces of 6" X 12" designer paper and using the pieces you can quickly have 11 finished cards!

Look at these! I'll be making these cards Live tomorrow night at 7 pm CT. Join me either here on FB or on Zoom.  
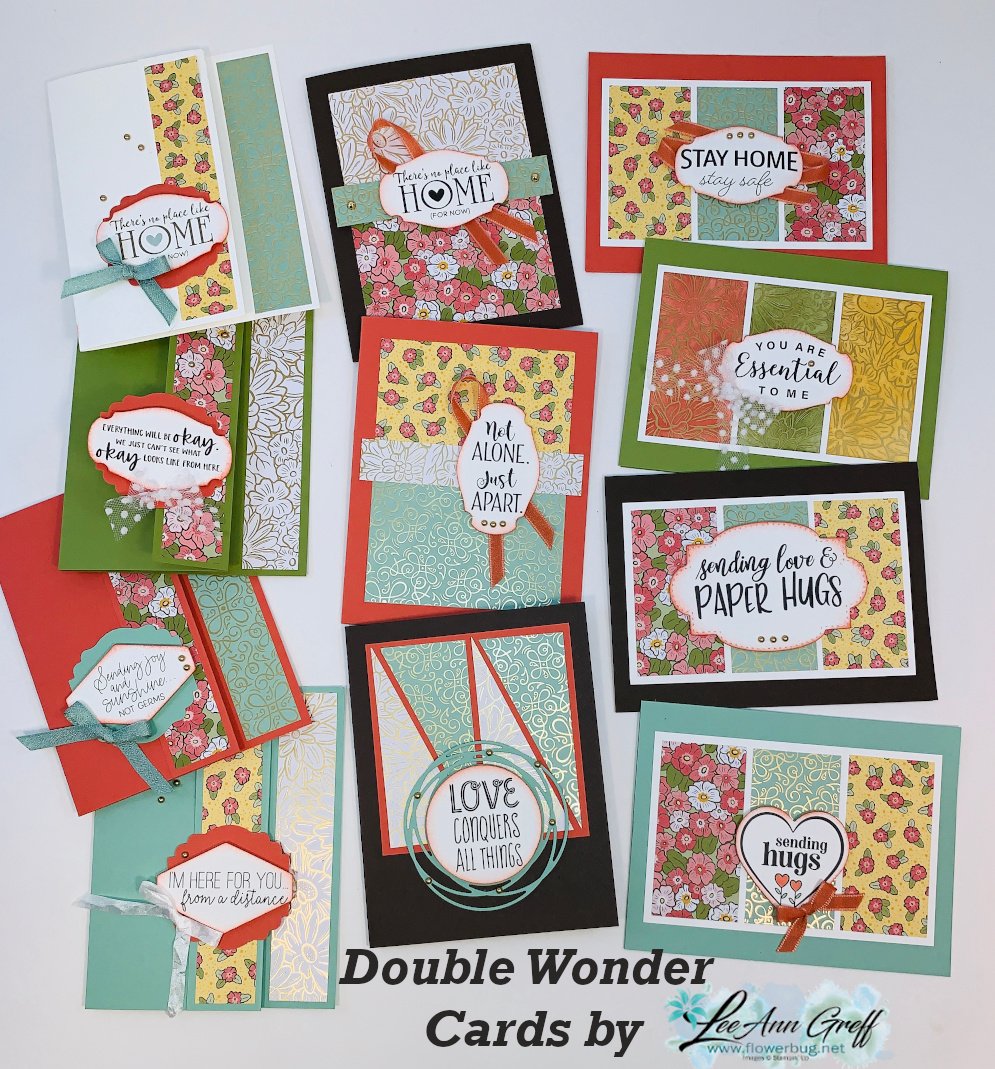
Here are the steps: 

  1. Pick out 2 different sheets of 6 X 12" designer paper and 11 card bases.  Make sure you have some ribbons or embellishments to match.  
  2. Use the template below to cut your designer paper; cutting both at once. 
  3. Grab some scraps of White and coordinating colors for punches/greetings. 
  4. Cut 4 pieces of layering card stock at 3 1/4" X 5" and one 3 3/4" square for the bonus card. (I used White)
  5. Choose a stamp set & ink to coordinate. 
  6. Or use the new Share Sunshine Covid-19 digital download like I did for my greetings. No stamping needed!  You can purchase that here. https://covid19.stampinup.com/products/giving-back-us-ca Price: $12.00 USD
  7. Come back here tomorrow night so we can stamp together.
  8. Or use this link to join via Zoom. *see tips on zoom meetings below  https://us02web.zoom.us/j/88215870191

I chose to use the new Ornate Garden designer paper for my cards.  Anything goes but a non directional design is best; try not to choose a paper that needs to be north and south.  
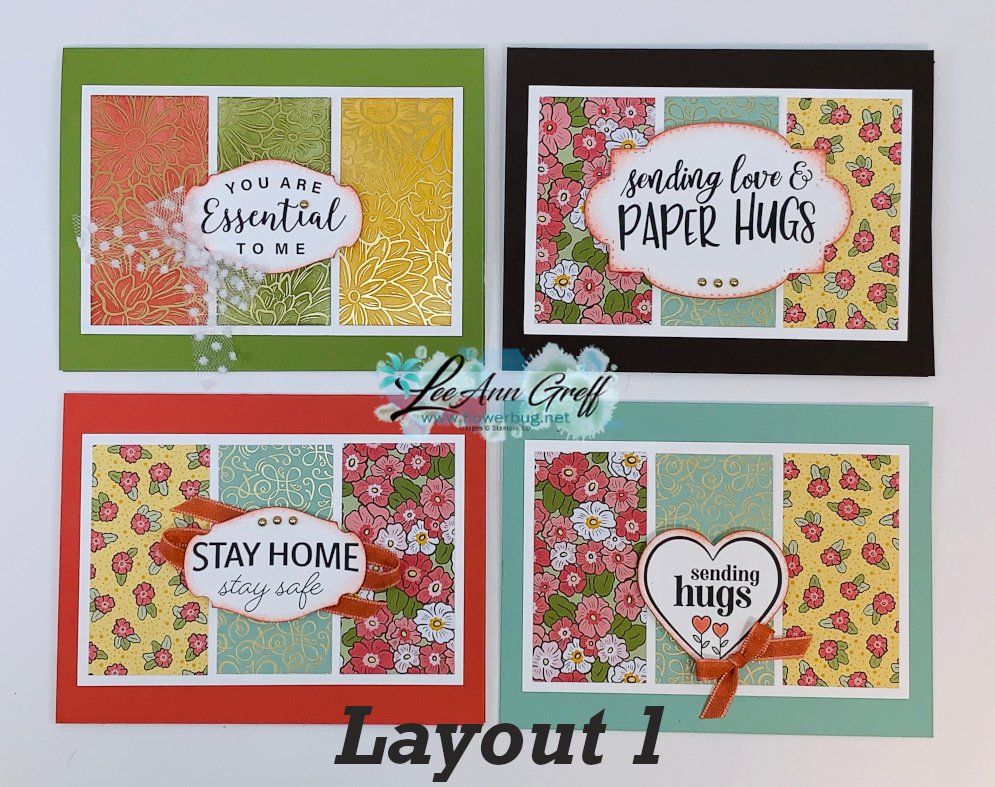

Below is the template but click here to download the Double Wonder Designer Paper cards & template 

Zoom meeting tips:

  1. You will need access to a camera and/or microphone to participate.
  2. You may need to download Zoom to join; depending on the device you are using. It's free!  
  3. You will be muted when you join to prevent a lot of background noises. 
  4. If you'd like to speak you can un-mute yourself you can do so; or press the spacebar. 

~~~~

Online orders please use this host code for April:

RBXHNWMV

If the order is over $55 you'll get a free Simple Shammy cleaner from me! 

Check out the retiring products below; while supplies last!

All Posts

  • 3rd set of WOW Masculine swap cards by my Team!


    I have another set of incredible swap cards made by my Flowerbug's Team.  Our theme in July was masculine cards and the cards are out of this world creative!  I'm sharing a bunch each day this week. 

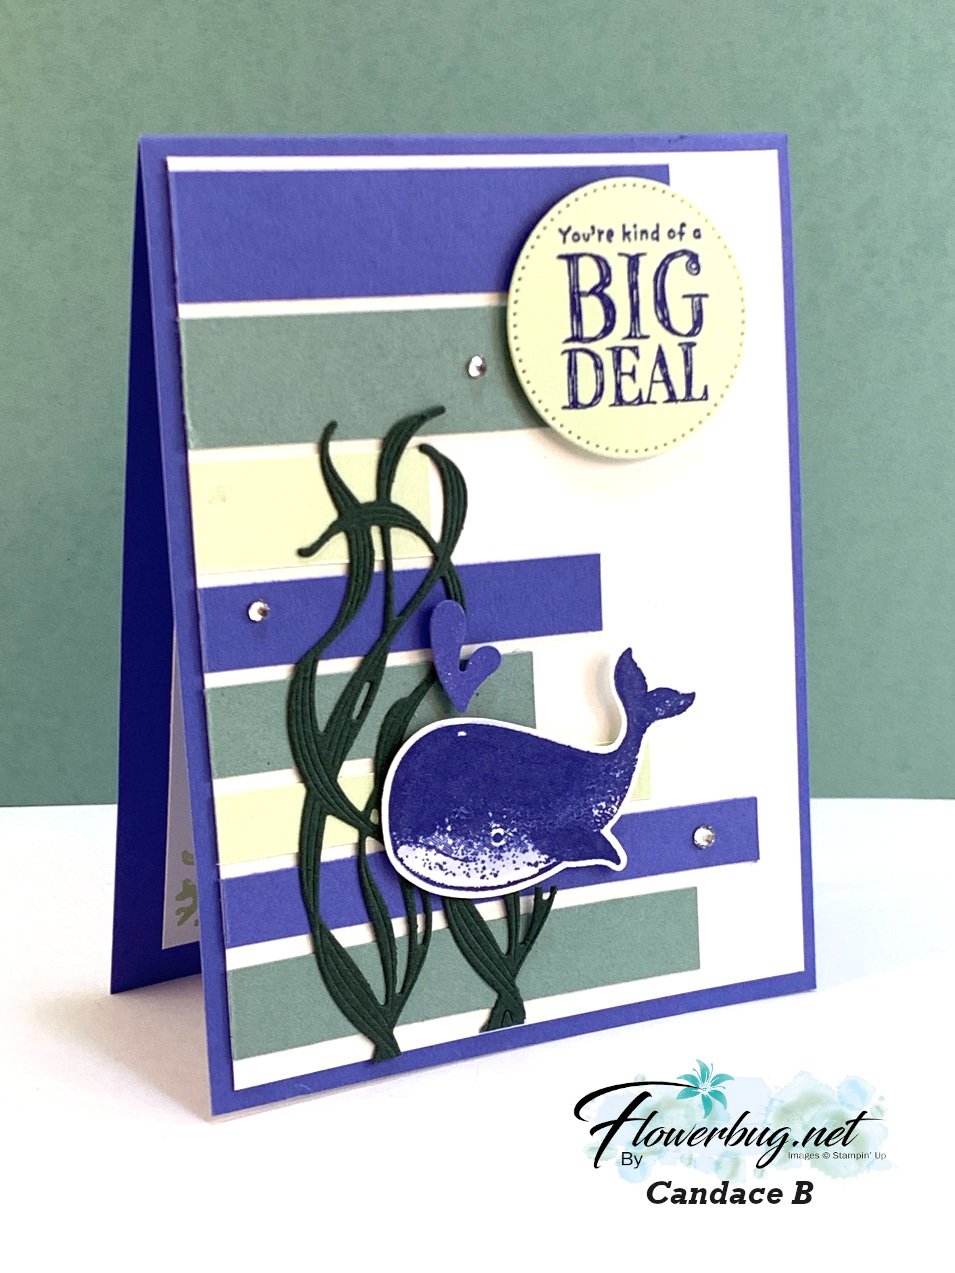
    First up is a card made by Candace.  She really went outside the box with her background strip idea.  The various widths & lengths of strips are a clever & unique way to set up her aquatic scene.  

    She used the 'Whale Done' stamp set and the coordinating Whale punch.  That neat 'seaweed' is from the Delicate Edges dies seen here.  

    Her colors are unique but sure work well together!  They are Soft Sea Foam, Evening Evergreen, Soft Succulent & Orchid Oasis.  Great job!!


    Next is Becky's fun 'sailboat' card.  She used the Let's Set Sail Bundle seen here.  

    Her colors are Night of Navy, Parakeet Party & Sahara Sand.  The DSP is from the Sun Prints.  It's a fancy fold too!  

    Notice her clouds on the background?  She used the Friends are Like Seashells stamps for those!  So clever! 

    Measurements:

    • The card base is 4 1/4" X 11" scored at 5 1/2". 
    • The long strip is 1 1/2" X 11" scored at 2 3/4", 5 1/2" & 8 1/4" and is adhered only at the two end pieces.  
    • The squares are 1 3/4" & 2" in size.  

    Next is a wonderful card made by Monica.  She used the Dragonfly Garden stamp set & coordinating Dragonflies punch.

    Details:

    • Her colors include Soft Suede, Soft Succulent & Evening Evergreen.  She textured the various strips using the new Painted Posies 3D embossing folder. 
    • The strips are all 4 3/4" long but vary in width from 5/8" – 1 1/4" all adhered to a 4" X 5 1/4" piece of White CS.  Again, strips to the rescue for a unique background idea; perfect for men.  
    • The greeting die-cuts are from the Stitched Rectangle dies. 
    • The dragonfly is stamped on Vellum and punched out. But she stamped it again on a piece of the Texture Chic specialty DSP for the center.  So it has gold details on it! 

    Stay tuned for more masculine card ideas tomorrow and all this week!  

    ~~~

    July Specials

    Get free items here in July & August during Sale-a-Bration! 


    Host code: RMFKDE3G


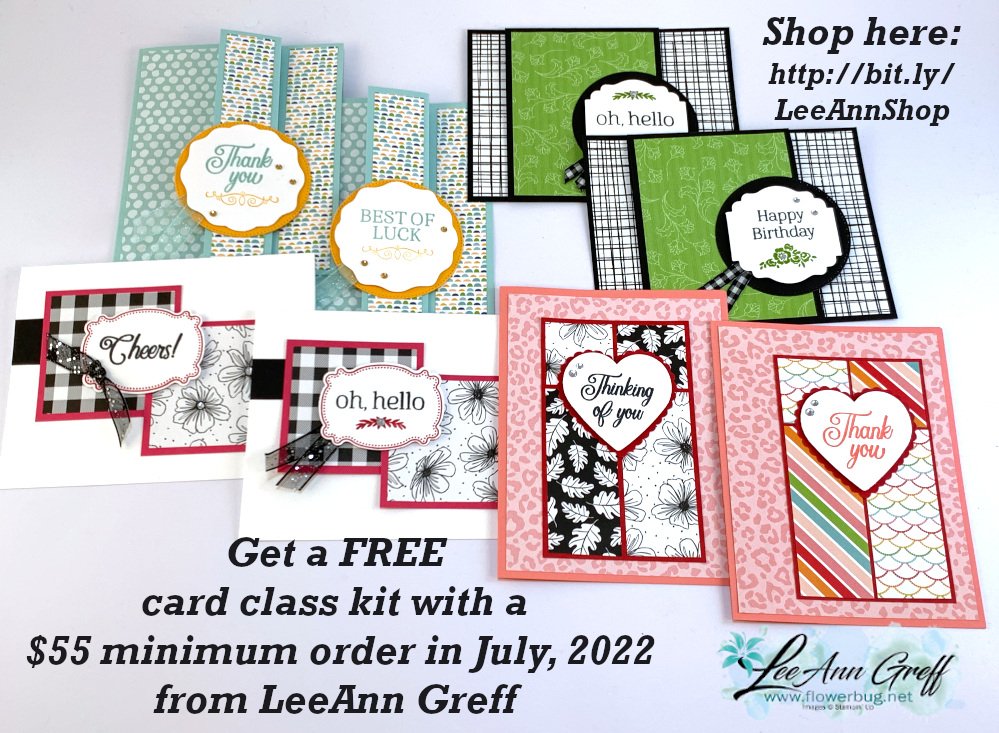
    Get a free card class in the mail with a $55 order from July 1-30th.

     *click here to order 

    Earn free products with my loyalty rewards! 

    Click here to download yours and earn a $50 shopping spree!

    ~~~

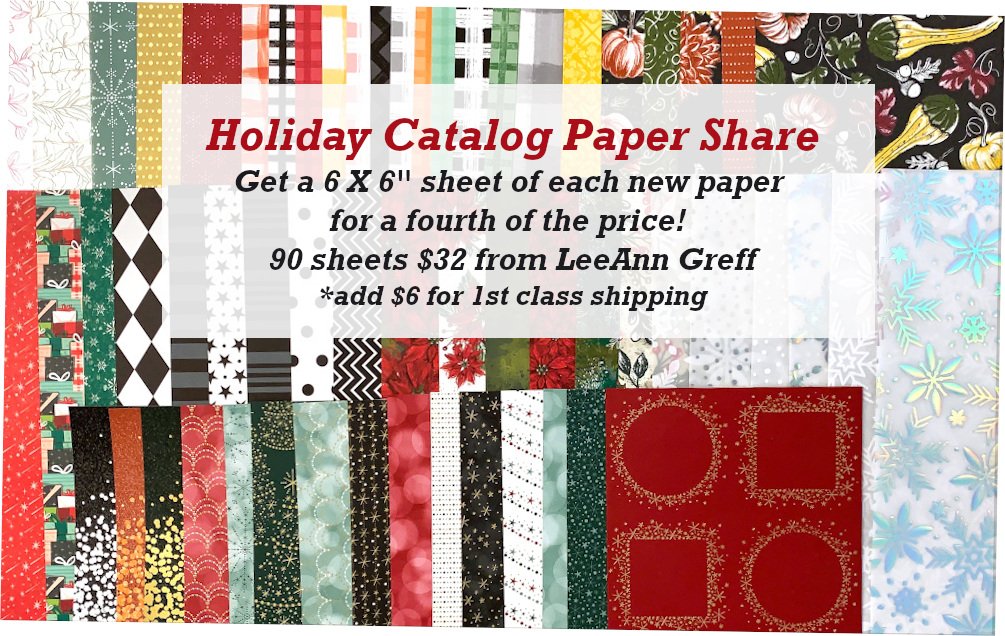
    Get my Holiday Designer Paper share; contact me here  

    Leave a Reply

    Your email address will not be published. Required fields are marked *

  • 2nd set of my Team’s awesome masculine swap cards


    Yesterday I shared 4 of my Flowerbug's Team manly card ideas for our July card swap.  Today I have three more.  I'm so proud of them; it's obvious they really did their best to make incredible swaps.  

    Today's first card was made by Candy. She used the Wildlife Wonder stamp set & Grassy Grove bundle seen here.   

    Her colors include Soft Suede & Mossy Meadow.  Here are some tips on how she achieved this amazing card:

    1. Die-cut the tree & grass silhouette from White CS using the Grove dies. Trim to 5" X 3 3/4". 
    2. Stamp the bear on the background White layer (51/4" X 4")
    3. Stamp the grass image on the bottom of the die-cut.  
    4. Use the trio of trees image to stamp all over the 'foiliage' area of the die-cut using Mossy Meadow ink, stamping 1st, 2nd and 3rd generation of ink.  
    5. Use a blending brush to add more green as needed. 
    6. Sponge color to the edges of all layers. 
    7. Distress the edges with the side of your scissors. 
    8. Use a Soft Suede Blends marker to color the trunks.  
    9. Adhere the die-cut over the bear image. Add to the card base. 
    10. Stamp & add the greeting layer. 

    Amazing, right?!!  So proud of you Candy!  


    Next is another incredibly detailed card made by Roxann.  She used the Beauty of Friendship stamp set seen here. 

    I love her corner details but the layer of vellum that softens her stamped trees background is amazing!  It gives an ethereal or foggy feel to the scene.  She used Mossy Meadow with Early Espresso ink & card stock.  

    I love the triple tag detail on her greeting.  I believe that is from the Mini Pocket Envelope dies.  Such a unique & special card. 


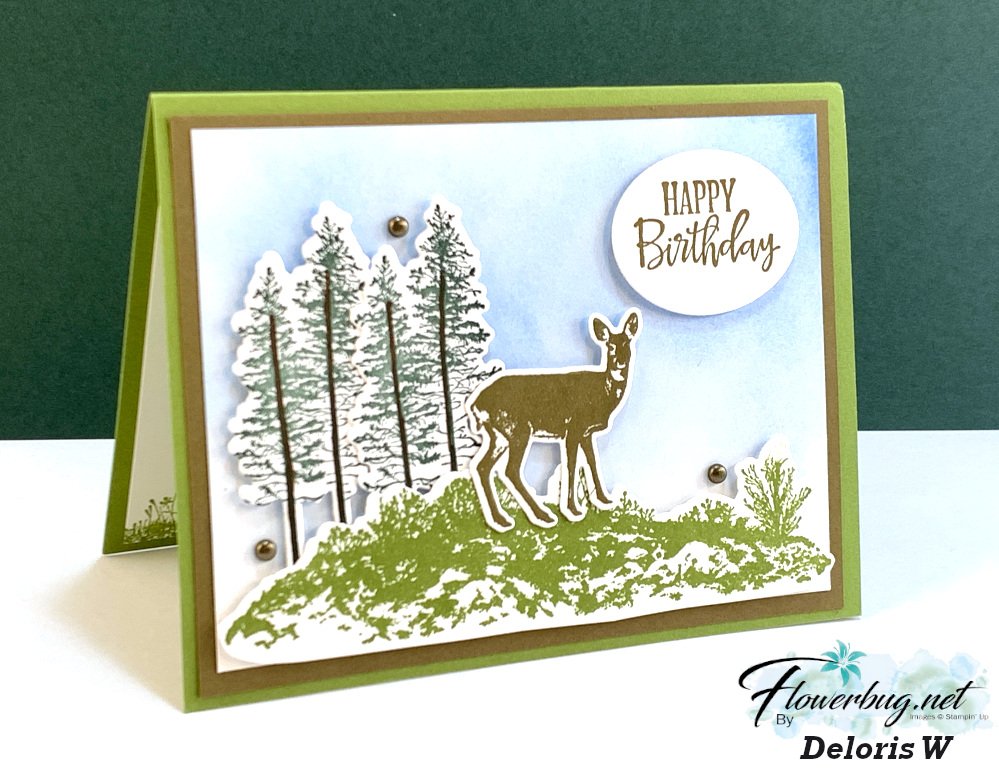
    Lastly for today is a pretty scenic card made by Deloris.  She used the Grassy Grove  bundle seen here.

    Her colors include Old Olive, Soft Suede, White and a bit of blue for her sky.  I believe she used Blending Brushes for that soft background.  

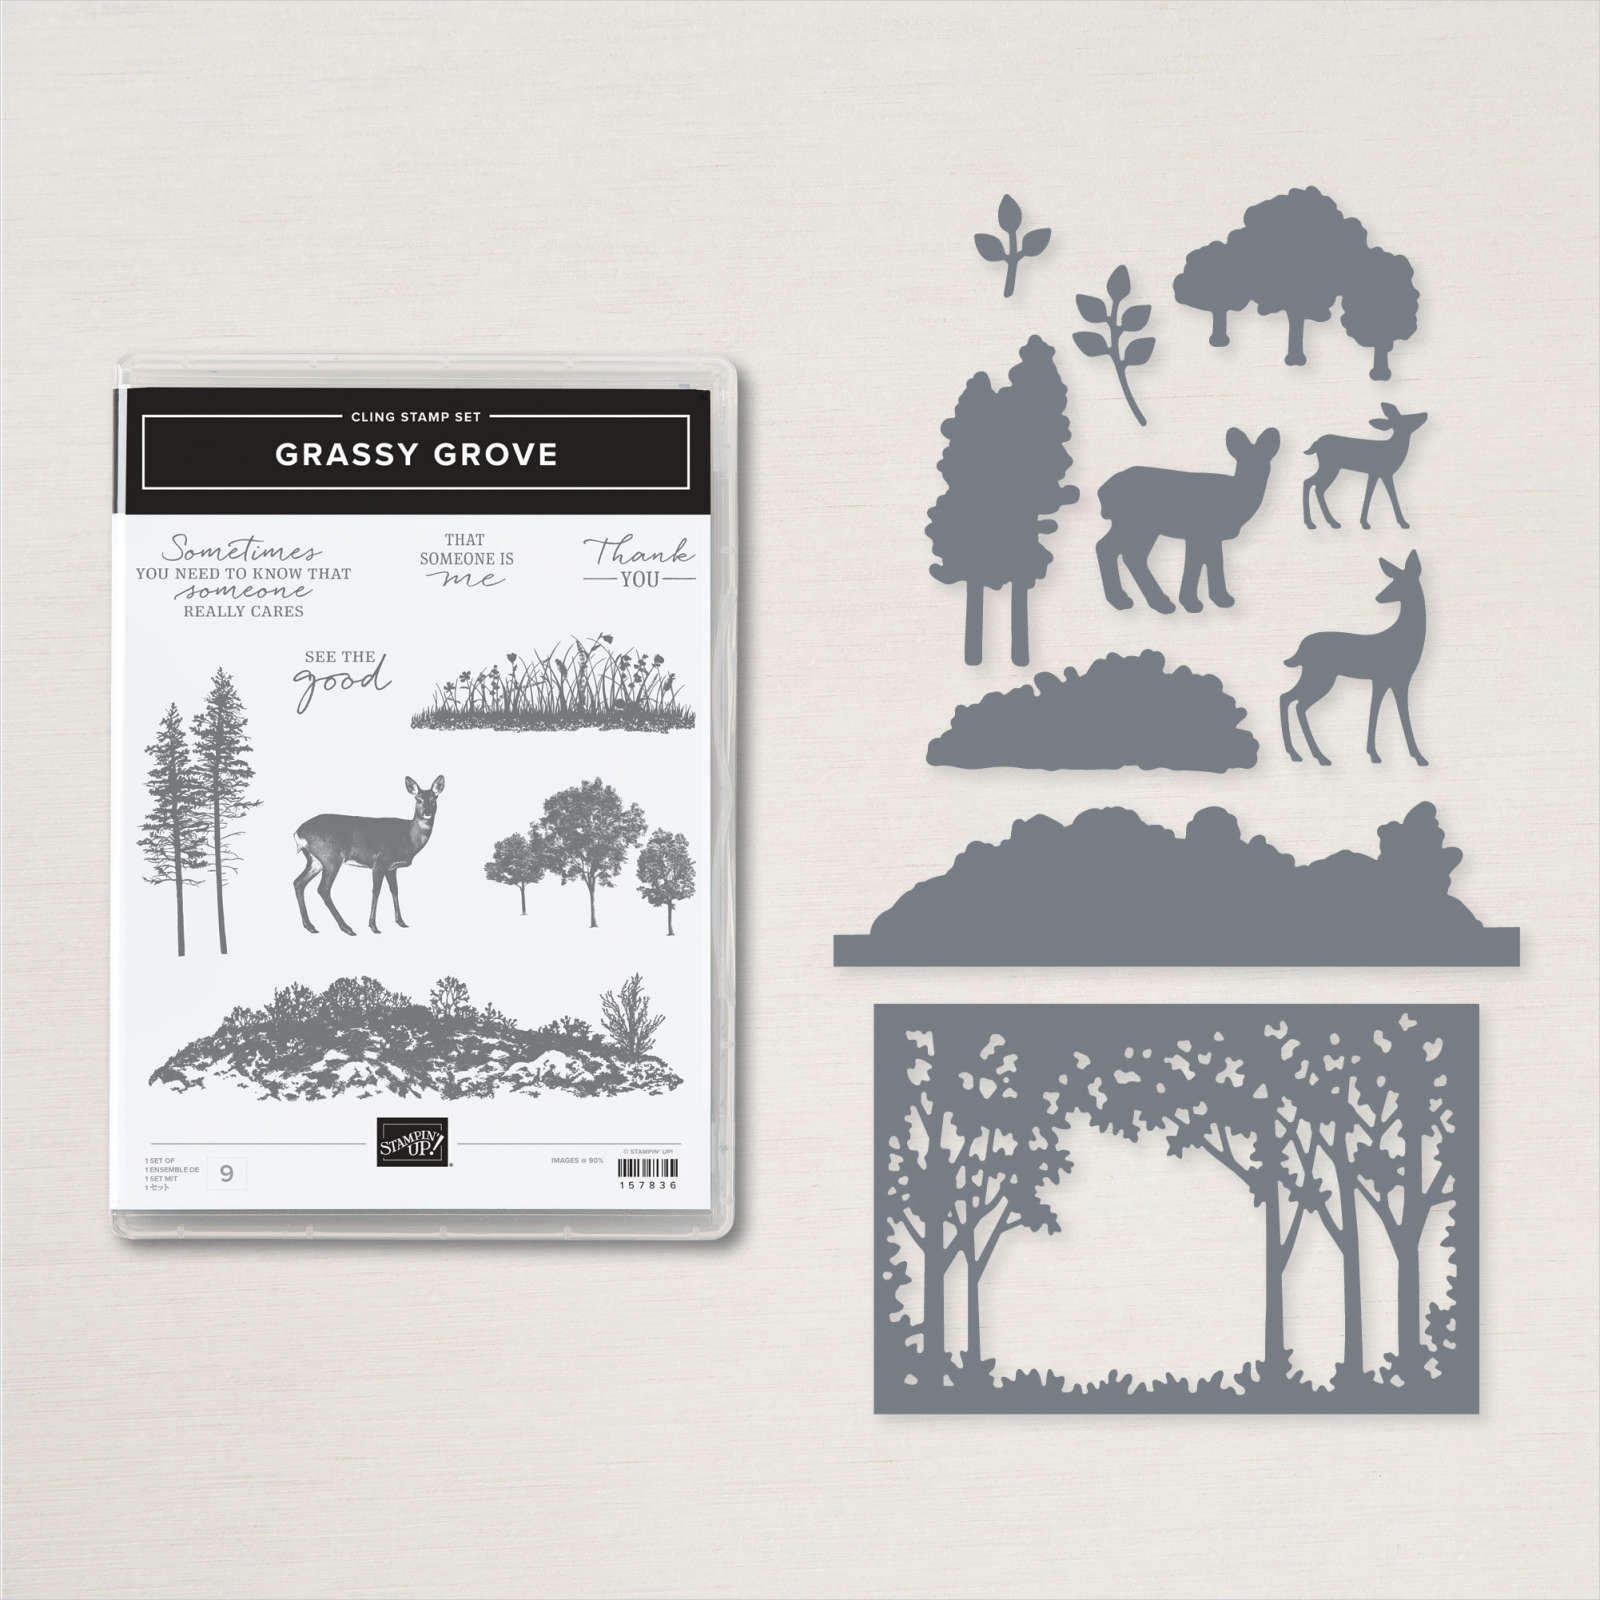
    Here's what's included in the Grassy Grove bundle.  

    There are a lot of die-cuts here; in fact everything on the front is a die-cut!  The ground, trees & deer are all from the Grove dies.  The greeting is from Peaceful Moments and that die is from the All That dies.  

    All are incredible cards for the men in our lives and I couldn't be prouder of them!  

    Stay tuned for more masculine card ideas tomorrow and all this week!  

    ~~~

    July Specials

    Get free items here in July & August during Sale-a-Bration! 


    Host code: RMFKDE3G


    Get a free card class in the mail with a $55 order from July 1-30th.

     *click here to order 

    Earn free products with my loyalty rewards! 

    Click here to download yours and earn a $50 shopping spree!

    ~~~

    Get my Holiday Designer Paper share; contact me here  


    Leave a Reply

    Your email address will not be published. Required fields are marked *

  • Lots of amazing Masculine card ideas this week!!


    This weekend my Flowerbug's Team met for our monthly gathering and swap.  Our theme was masculine cards and wow, did they get creative. I'll be sharing them all week long!

    Note that each of these animals are stamped in just one color.  There's no need to color them in; let the beautiful images be the star!

    This first card is made by Kim; she used the Wildlife Wonder stamp set from the 2022 Annual Catalog by Stampin' Up!  


    The unique dies she stamped & layered are from the Diorama dies seen here. 

    Her card is a book binding fun fold.  The main card measures 4 1/4" X 11" scored at 4 1/2" & 5 1/2" for the side & front fold.  The designer paper is from the He's the Man DSP on page 134 of the Annual Catalog.  It measures 3/4" X 4" & 4 1/4" X 4". 

    ~~~

    Next is another simple yet striking card made by Marilyn.  She used the Wild & Sweet stamp set seen here in the Annual Catalog. 

    Again, simply stamping the gorgeous detailed image in one color is all you need.  The colors include Early Espresso, Mossy Meadow & Pear Pizzazz with Very Vanilla.  

    Other products are the Fern 3D folder, Stylish Shapes, Stitched Rectangles & Picture This dies.  The gems are the Rustic Metallic Adhesive-Backed dots.  

    Measurements:

    • Card base 5 1/2" X 8 1/2"
    • Fern embossed layer 5 1/4" X 4",
    • Vanilla & Early Espresso die-cuts 4" X 2 5/8"

    ~~~

    This next card was made by Paula; she featured TWO new Sale-a-Bration items on her unique card. 

    I love that she made the rings of Love designer paper the star by 'framing' it. The 1 3/4" X 3" 'frame' is made with our new 'Deckled Rectangle dies' seen here. This DSP is from the Sale-a-Bration selection called Rings of Love seen here. It's free with any $50 Stampin' Up! order. 

    The greetings are from the Amazing Phrasing stamp set; also in the Sale-a-Bration catalog & seen here.  She stamped on the Sahara Sand layer before she textured it with the Timber 3D embossing folder.  The White Frayed ribbon adds a neat detail.

    ~~~

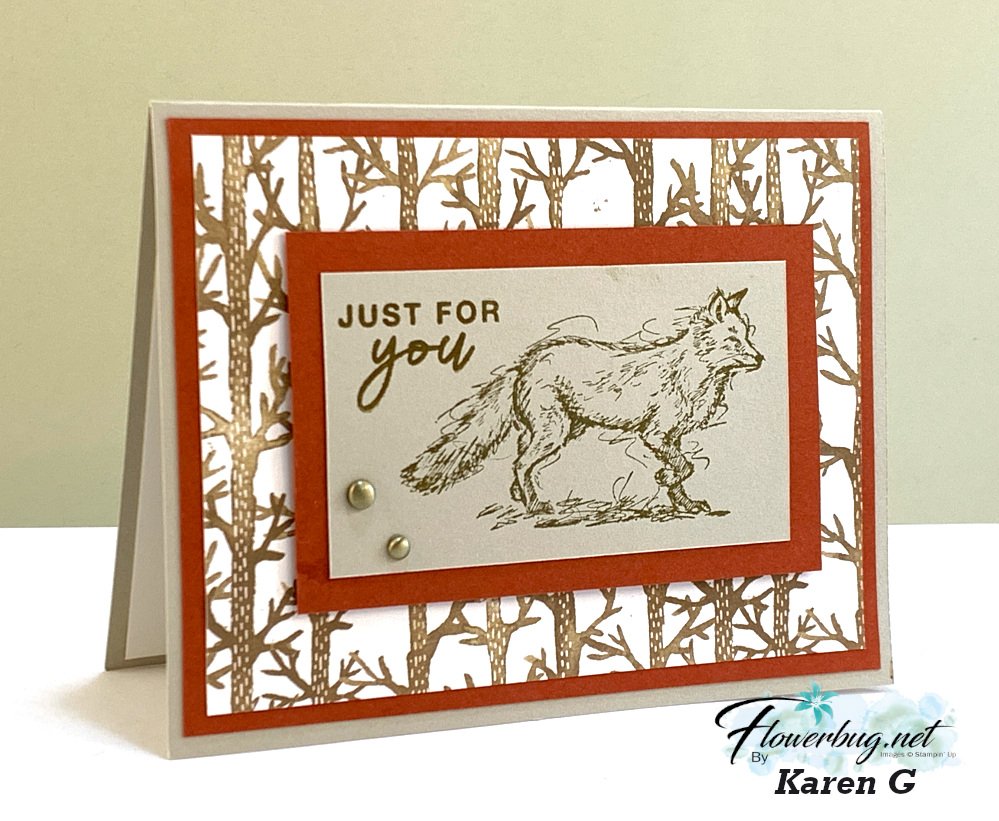
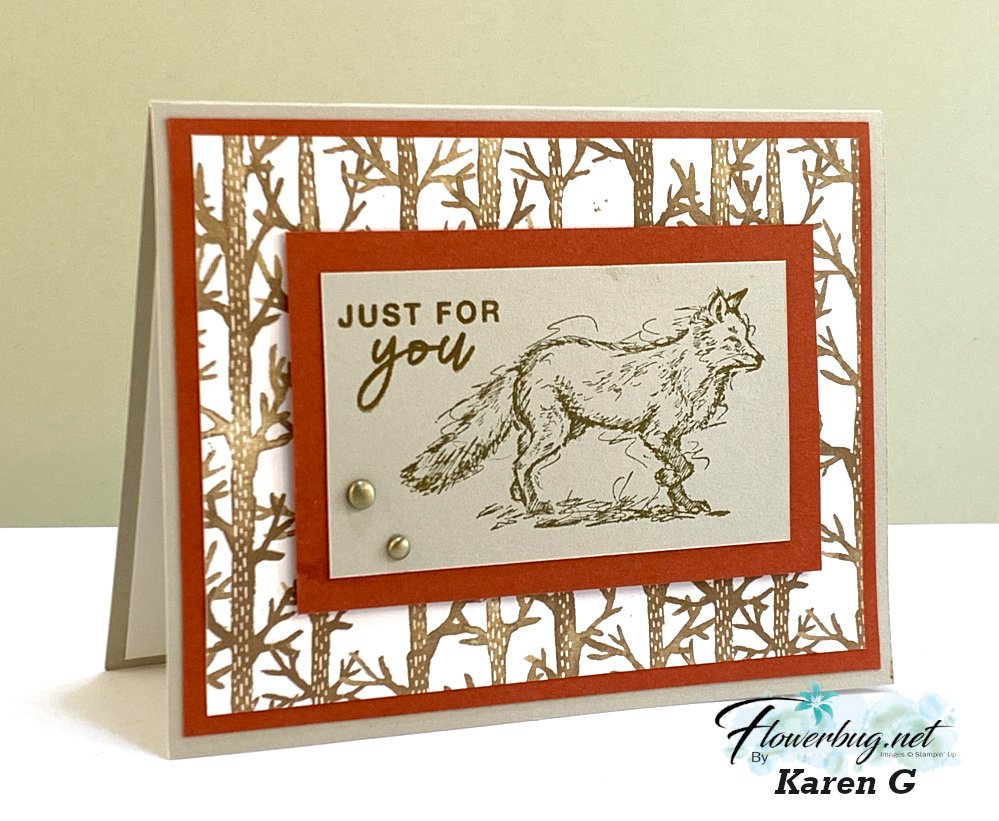
    Last but not least is a wonderful card made by Karen.  She is featuring the Stylish Sketches stamp set; a free choice from the current Sale-a-Bration catalog. *see it here


    Her colors include Cajun Craze with Sahara Sand. I really like the images stamped on the Sahara Sand instead of our usual White or Vanilla.  

    That pretty DSP is from the Sale-a-Bration selection called Rings of Love seen here. It's free with any $50 Stampin' Up! order.  The greeting is from the coordinating Ringed with Nature set in the Holiday catalog.  

    Measurements are:

    • Card base 5 1/2" X 8 1/2"
    • Cajun Craze 5 1/4" X 4" and 4" X 2 1/2"
    • DSP 5" X 3 3/4"
    • Sahara Sand stamped layer 3 1/2" X 2"

    Stay tuned for more manly card ideas tomorrow and all this week!  

    ~~~

    July Specials

    Get free items here in July & August during Sale-a-Bration! 


    Host code: SX67P4XQ


    Get a free card class in the mail with a $55 order from July 1-30th.

     *click here to order 

    Earn free products with my loyalty rewards! 

    Click here to download yours and earn a $50 shopping spree!

    ~~~

    Get either of my Designer Paper shares; or both & save on shipping!  

    Holiday Catalog DSP or Annual Catalog DSP (I have 2 spots left) 


    Leave a Reply

    Your email address will not be published. Required fields are marked *


Notice: LeeAnn Greff, Independent Stampin’ Up! Demonstrator, Manager. The content of this website is my sole responsibility as an independent Stampin’ Up! demonstrator and the use of, and content of, the classes, services, or products offered on this website is not endorsed by Stampin’ Up! Copyright 2025