/


Latest Post

Use the Double Wonder Template to make 11 quick cards! Join me Thursday night!


Do you ever planned a stamping session focusing on just a few products? It's easy to get overwhelmed with everything you own.  Using this method is actually quite liberating and fuels the creative process.  I've started doing that more and more often especially when planning my card kits to go.  I pick Stampin' Up! products from the same suite and choose some sketches or layouts for card ideas.  the process is so enjoyable this way!  

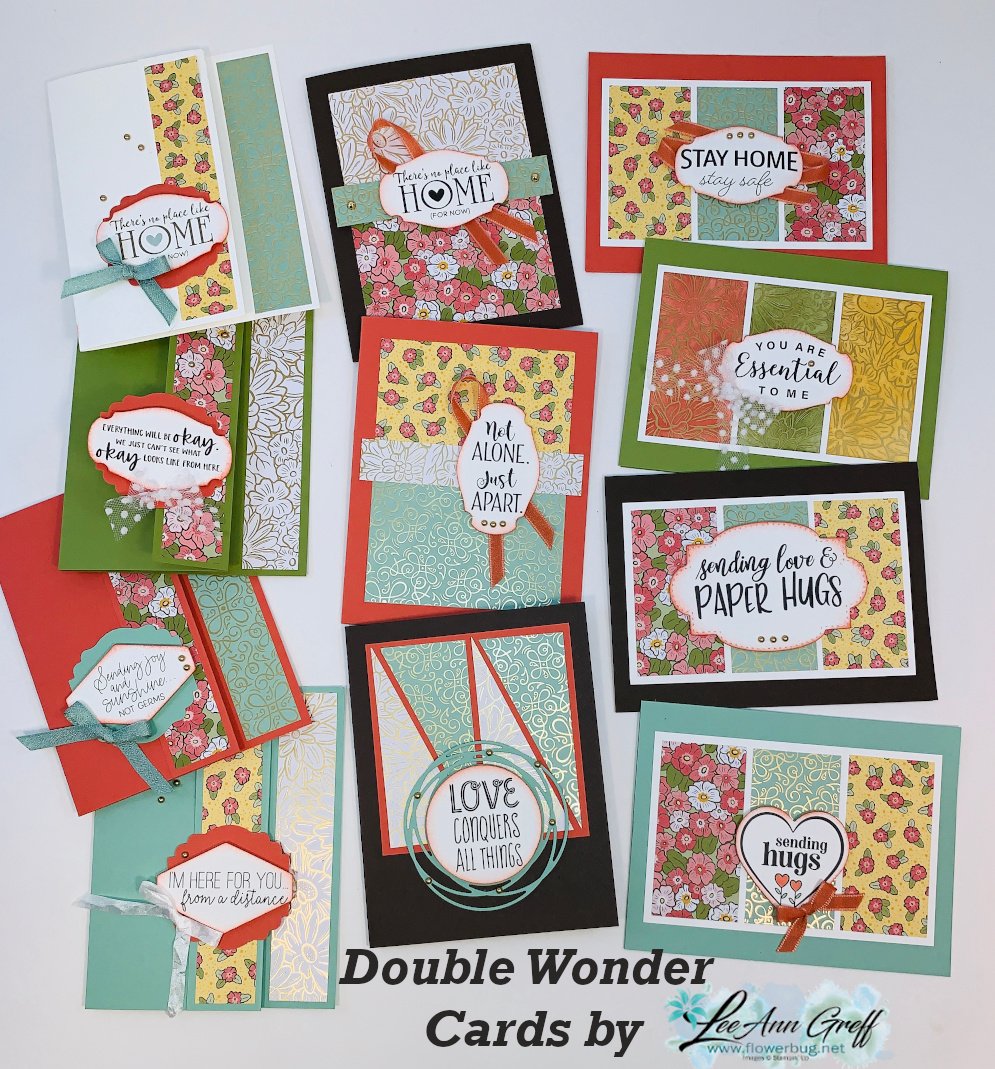
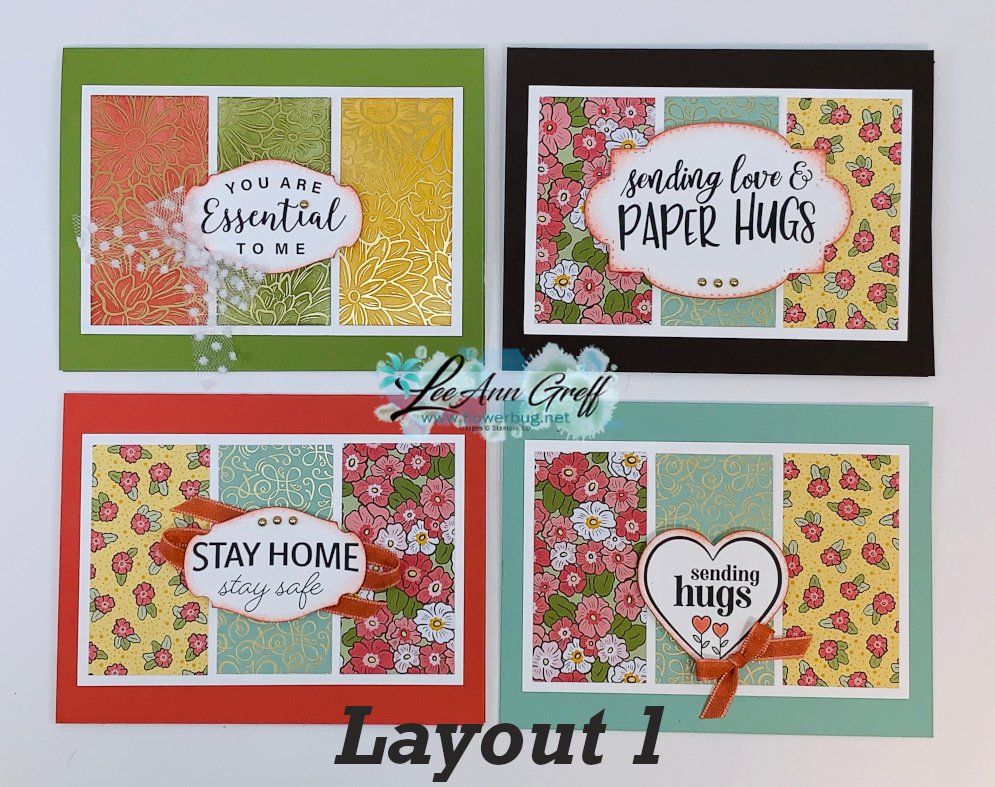
Lately I've been seeing groups of cards using the Double Wonder template and had to try it.  It was originally designed by Shannon West from Stampin' Up!  It's so clever!! You start out with 2 pieces of 6" X 12" designer paper and using the pieces you can quickly have 11 finished cards!

Look at these! I'll be making these cards Live tomorrow night at 7 pm CT. Join me either here on FB or on Zoom.  
Here are the steps: 

  1. Pick out 2 different sheets of 6 X 12" designer paper and 11 card bases.  Make sure you have some ribbons or embellishments to match.  
  2. Use the template below to cut your designer paper; cutting both at once. 
  3. Grab some scraps of White and coordinating colors for punches/greetings. 
  4. Cut 4 pieces of layering card stock at 3 1/4" X 5" and one 3 3/4" square for the bonus card. (I used White)
  5. Choose a stamp set & ink to coordinate. 
  6. Or use the new Share Sunshine Covid-19 digital download like I did for my greetings. No stamping needed!  You can purchase that here. https://covid19.stampinup.com/products/giving-back-us-ca Price: $12.00 USD
  7. Come back here tomorrow night so we can stamp together.
  8. Or use this link to join via Zoom. *see tips on zoom meetings below  https://us02web.zoom.us/j/88215870191

I chose to use the new Ornate Garden designer paper for my cards.  Anything goes but a non directional design is best; try not to choose a paper that needs to be north and south.  

Below is the template but click here to download the Double Wonder Designer Paper cards & template 

Zoom meeting tips:

  1. You will need access to a camera and/or microphone to participate.
  2. You may need to download Zoom to join; depending on the device you are using. It's free!  
  3. You will be muted when you join to prevent a lot of background noises. 
  4. If you'd like to speak you can un-mute yourself you can do so; or press the spacebar. 

~~~~

Online orders please use this host code for April:

RBXHNWMV

If the order is over $55 you'll get a free Simple Shammy cleaner from me! 

Check out the retiring products below; while supplies last!

All Posts

  • Earthen Elegance kit to go or get the PDF tutorial option


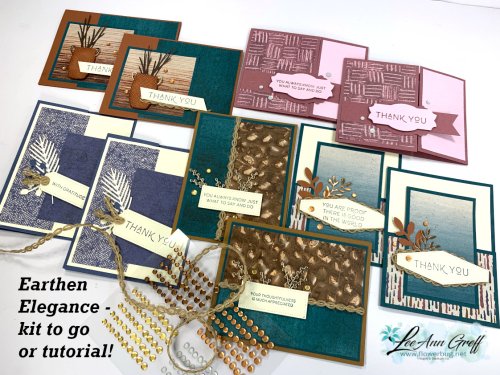
    I couldn't decide which designer paper to feature for this month's card kit to go. So I did a poll on my Facebook page.  Earthen Elegance won!

    Here are the cards I created: 

    Three of the five designs are fun fold cards.  It seems like many people like to create these; something you don't get from a store-bought card.  

    I used the Earthen Textures stamp set for my greetings and some Earthen Textures dies too.  You can use any greetings you'd like though. If you'd like to add on the Earthen Textures stamp set or bundle, message me here and I will add it on at a 10% savings. 

    Pretty Peacock was a featured color in three of the five cards; It pairs beautifully with brown tones and vanilla here.  

    The kit includes $20 in product including 1/2 pkg of the Earthen Textures DSP (6" X 12"), a share of the Natural Wavy trim, Neutrals adhesive-backed sequins and 10 vanilla envelopes.  For all that and the pre-cut kit, it's just $28 plus shipping!

    If you'd like to get the PDF tutorial click here.  Order the pre-cut kit here by August 20th.

    Details on the pre-cut card kit: 

    • The pre-cut kit and products are mailed out by the end of the month, barring any back-orders. 
    • The kit includes all punched and die-cut pieces; everything is cut except your new designer paper. 
    • You will need your own ink, greetings and adhesives.  Plus a paper trimmer to cut your DSP. 
    • The PDF tutorial is sent to you immediately via email.
    • The tutorial includes step by step directions, photos, measurements and a supplies list.

    *If you're interested in receiving a kit each month  Click here. My subscribers get a surprise product in their package every few months.  **This is the kit my subscribers will receive.

    I get a ton of positive feedback on my pre-cut kits & tutorials; try one!  *See them all here.


     ~~~

    August Specials: 

     *current host codes: KY99RPXP 

    ShopwithLeeAnn.com

    Redeem your Bonus Days coupons in August!  

    Free Gift with orders in August: 

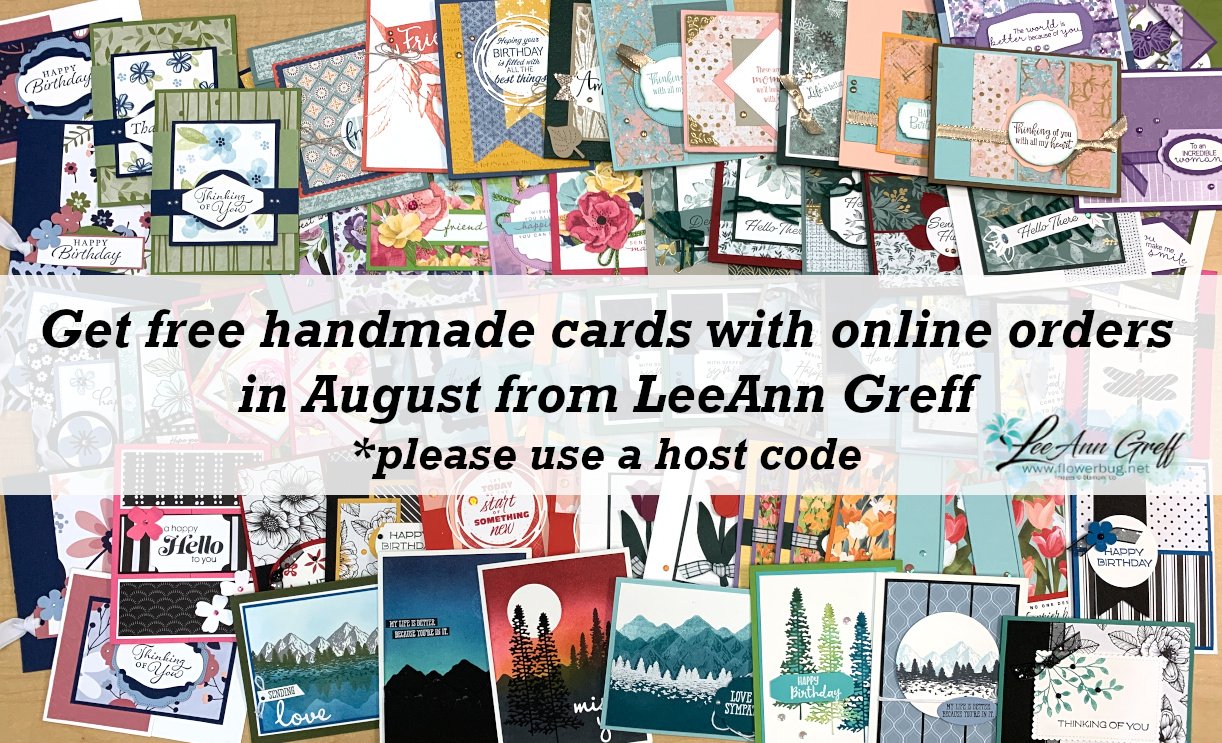
    Get a pack of at least 5 beautiful cards with orders over $50 this month. 

    The more you order the more cards you get!

    *cards are previous card kits to go; over the top and many fun folds.  

    Leave a Reply

    Your email address will not be published. Required fields are marked *

  • Hey Chuck Fancy Fold cards! Part 3


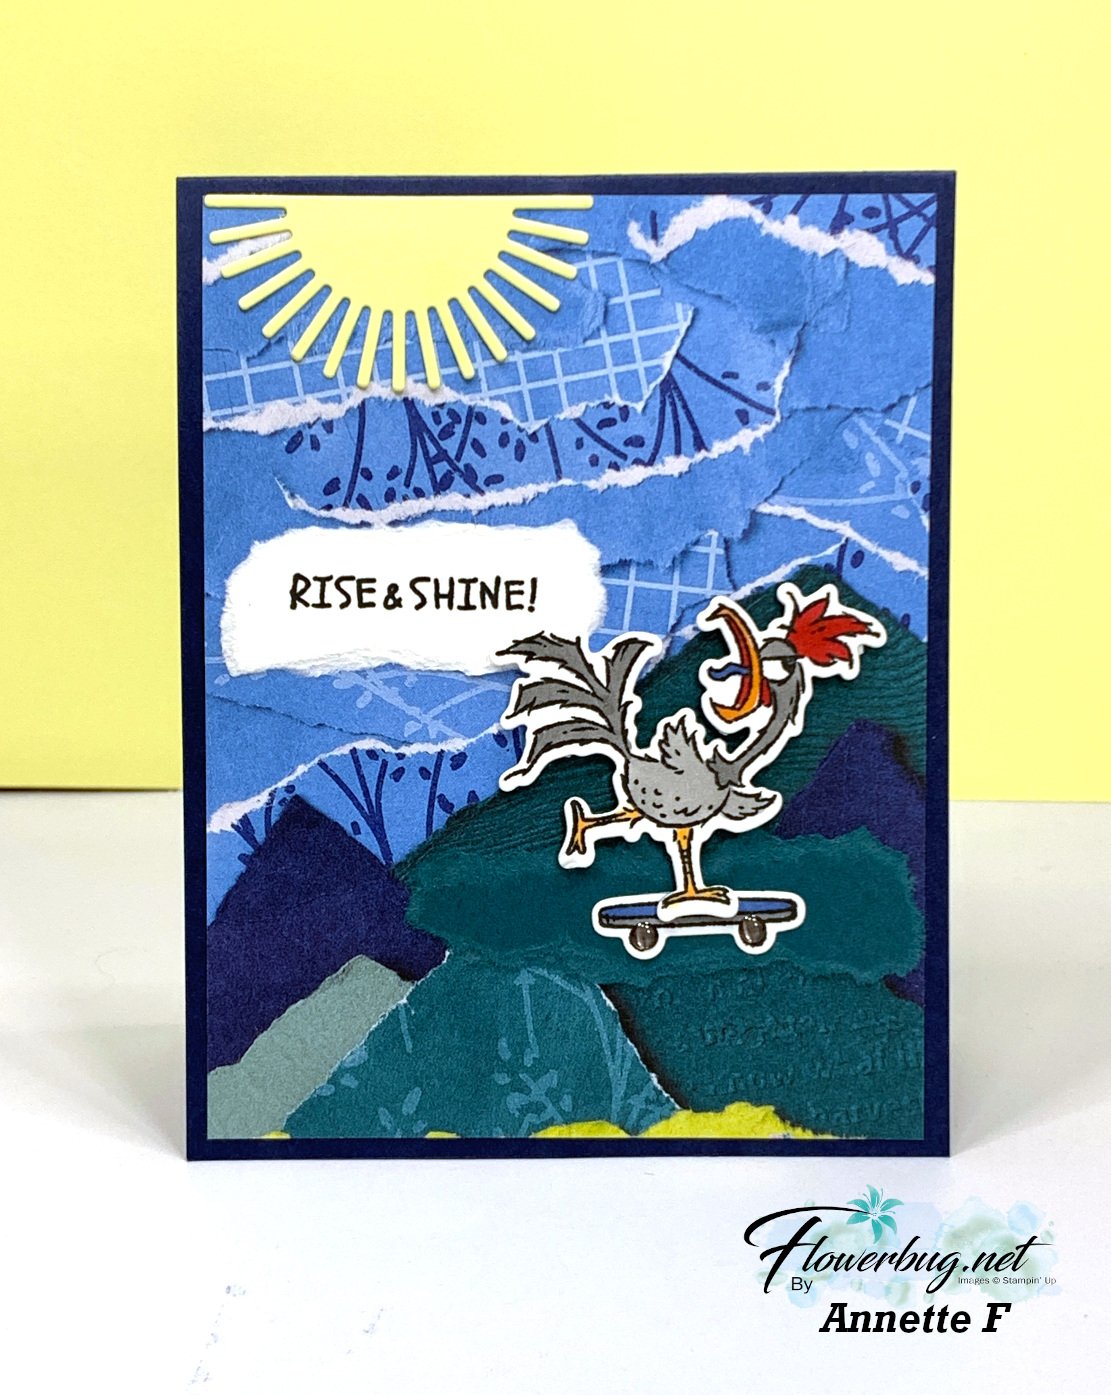
    And today I'm sharing the last 2 projects featuring Hey Chuck.  Annette is one of my talented Flowerbug's and she chose this bundle for her Artist of the Month projects.

    This first project features the Masterfully Made designer paper seen here and it's also a fun fold…

    I love how she added a torn edge greeting; it fits perfectly with this designer paper that has a torn look to many sheets. 

    So here's a clue to her fun fold design: 

    Do you recognize this fold? It's called a Pop & Twist fun fold card.  It's not easy to learn; but super cool to give out!  I do not have a video on this fold but you can do a search on YouTube and find many video tutorials.  

    Here's the open view: 

    Isn't it cool? She added some soft blended background colors on each layer which makes a huge difference to the finished look.  Isn't that designer paper perfect with this bundle?  

    If you like a challenge you should enjoy making one of these.  I've made a few and honestly I don't plan to make any more!  Ha! 

    Here's the Hey Chuck bundle she used.  The dies are back now and available!

    ~~~

    Look at this hilarious rooster!  And the perfect greeting for him….. 


    Details:

    ~~~

    Next is a fun fold card featuring the Earthen Elegance designer paper.  


    She got this fun fold idea from Lisa Curcio.  It has 4 pieces of Misty Moonlight card stock measuring 4 1/4" X 5 1/2" scored at 2 1/8". They're adhered together back to back like this: 


    There are 8 pieces of designer paper on each card stock side; measuring 2" X 5 3/8".  The pop-up designer paper on the front and back has a window cut out of it to reveal the rooster image inside; using the same die-cut.  She used the Tailored Tags dies.  This DSP measures 4 1/2" wide X 5". Score 1/2" from each side on the 4 1/2" edge. 

    Here's the back side:  


    There's a folded strip of card stock under the White tag that pops it up when opened. I may share one of these cards on an upcoming video soon; it's quite intriguing!  

    I hope you enjoyed seeing all of her projects; she did an incredible job! If you want to see details on each one, click here for part 1 and here for part 2.  


     ~~~

    August Specials: 

     *current host codes: KY99RPXP 

    ShopwithLeeAnn.com

    Redeem your Bonus Days coupons in August!  

    Free Gift with orders in August: 

    Get a pack of at least 5 beautiful cards with orders over $50 this month. 

    The more you order the more cards you get!

    *cards are previous card kits to go; over the top and many fun folds.  

    Leave a Reply

    Your email address will not be published. Required fields are marked *

  • Amazing WOW projects with Hey Chuck; Part 2


    Each month one of my Flowerbug's Team is featured as an Artist of the Month.  For July Annette chose the adorable Hey Chuck bundle seen here.  I know you'll be amazed at her fabulous projects I'll be sharing. 

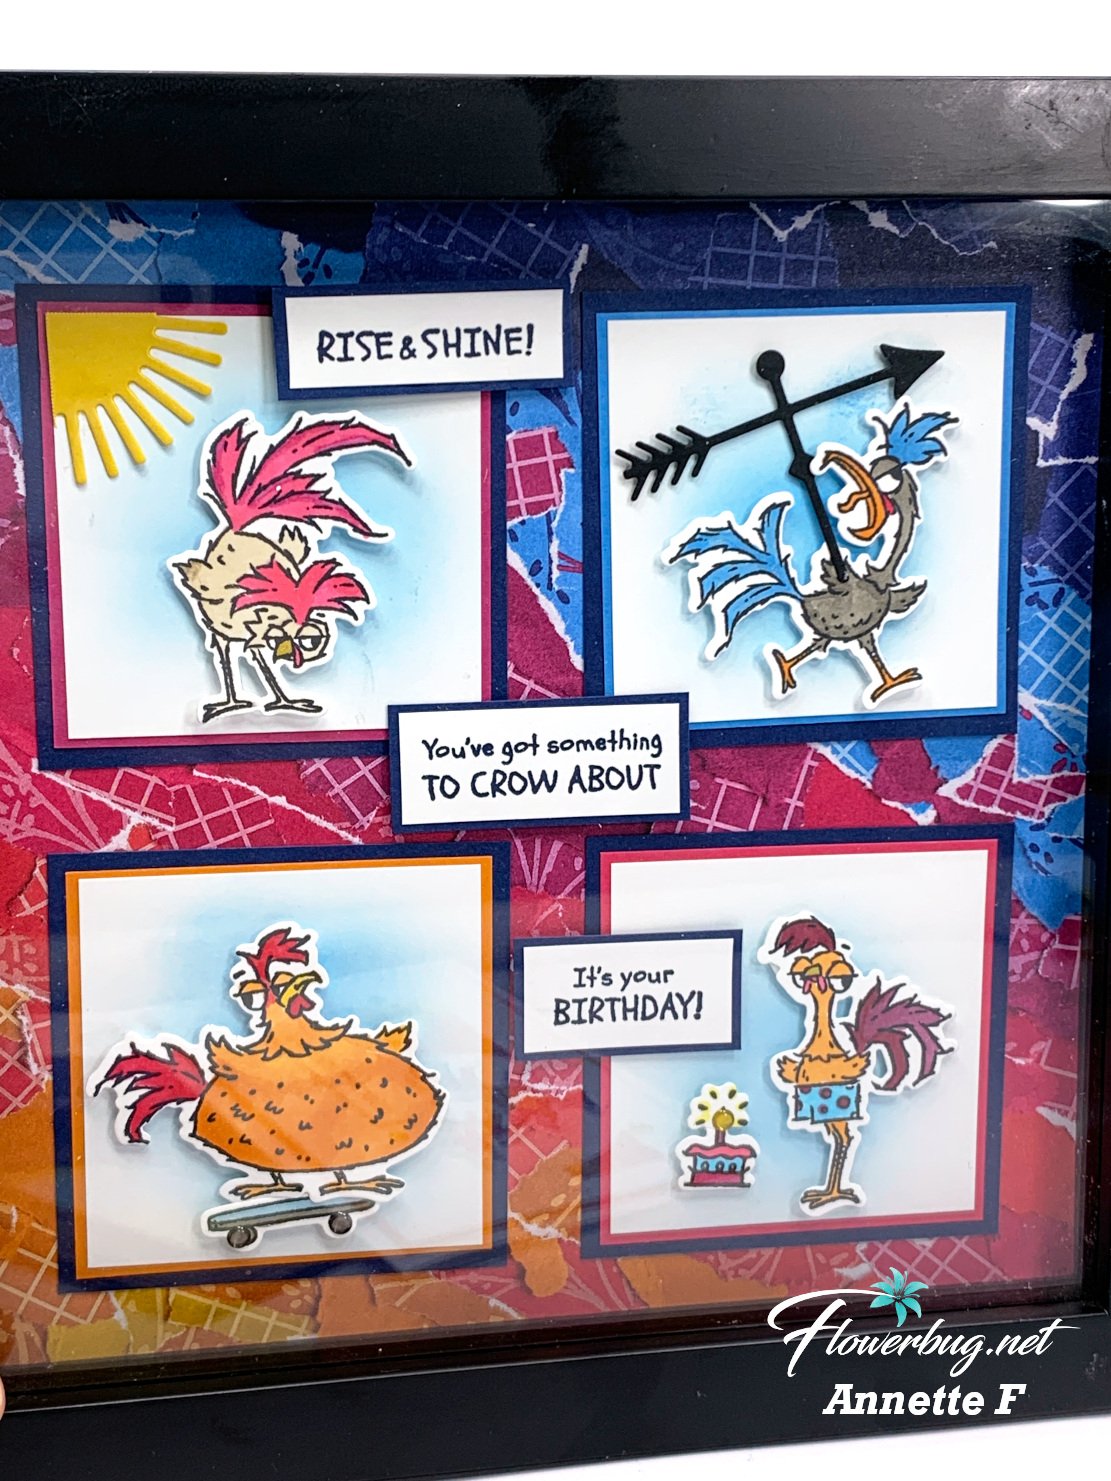
    First up today is a stunning framed sampler.  

    Just look at her incredible scenes!  I think the bit of blue behind each image sets them off incredibly. 

    Sampler details:

    • She used Azure Afternoon ink and blending brushes to add a bit of blue behind her die-cut rooster scenes. 
    • The designer paper behind it all is the Masterfully Made designer series paper seen here. 
    • She colored the images with Blends markers and popped them up on the squares. 
    • Her 4 white squares measure 2 5/8", colored squares are 2 3/4" and the black are 2 7/8" squares 
    • The black frame is 9" in size; the glass opening is 7 1/2" 

    Here's the Hey Chuck bundle she used.  The dies are back now and available!

    ~~~

    Look at this hilarious rooster!  And the perfect greeting for him….. 


    She used the Dots & Spots die for her background and that strip of the Masterfully Made DSP is a perfect addition to this card and her color choices. The white on white theme makes the image pop! 

    The dimension she achieved by popping up the rooster and the greeting with Dimensionals makes such a difference to this card.  

    Details:

    • Dots & Spots white layers are 5" X 3 3/4", Pumpkin Pie layer is 5 1/8" X 3 7/8"
    • Stitched circle is from the Stylish Shapes dies
    • DSP strip is 4" X 1"

    ~~~

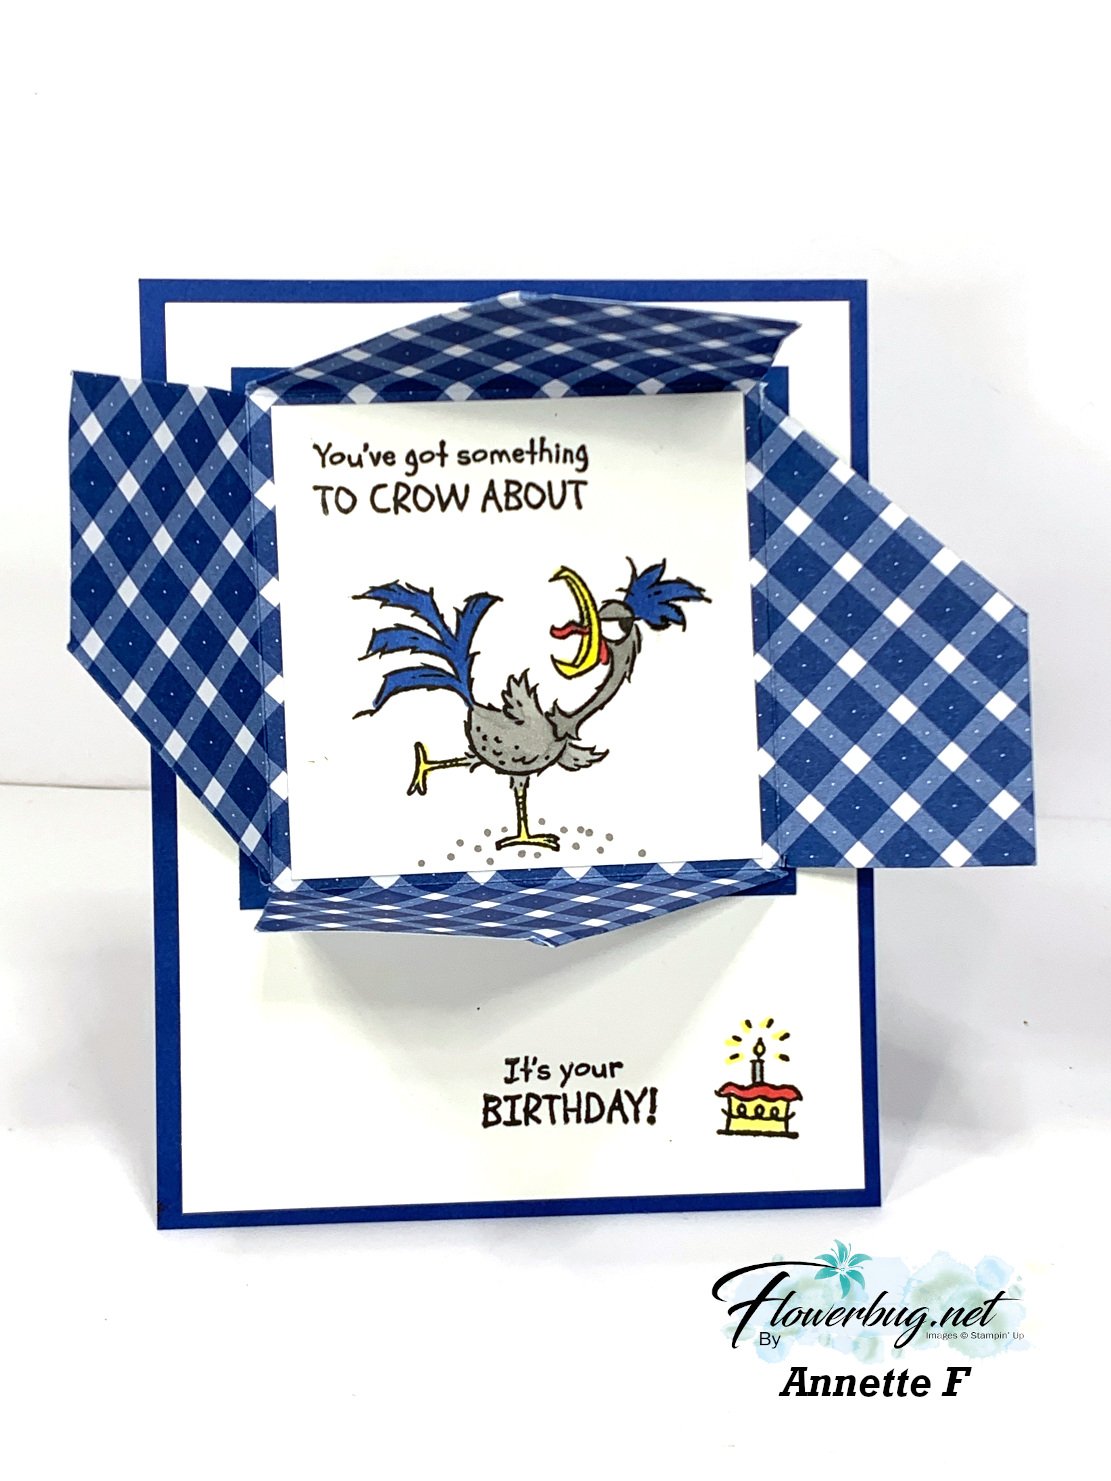
    Next is a fun fold card featuring the Glorious Gingham designer paper.  


    She got the idea from Karen Titus.  The DSP is 6" square and you score and cut it to fold in on itself.  Here's what it looks like when it's closed up: 


    I'll be sharing how to make one of these cards very soon!  


    More to come tomorrow! 

    ~~~

    August Specials: 

     *current host codes: KY99RPXP 

    ShopwithLeeAnn.com

    Redeem your Bonus Days coupons in August!  

    Free Gift with orders in August: 

    Get a pack of at least 5 beautiful cards with orders over $50 this month. 

    The more you order the more cards you get!

    *cards are previous card kits to go; over the top and many fun folds.  


    Leave a Reply

    Your email address will not be published. Required fields are marked *


Notice: LeeAnn Greff, Independent Stampin’ Up! Demonstrator, Manager. The content of this website is my sole responsibility as an independent Stampin’ Up! demonstrator and the use of, and content of, the classes, services, or products offered on this website is not endorsed by Stampin’ Up! Copyright 2025