If you haven’t watched my recent videos you may not know that we have moved from Minot, ND to Bismarck, ND this month. It’s been a super busy time of downsizing, selling excess, packing and moving.
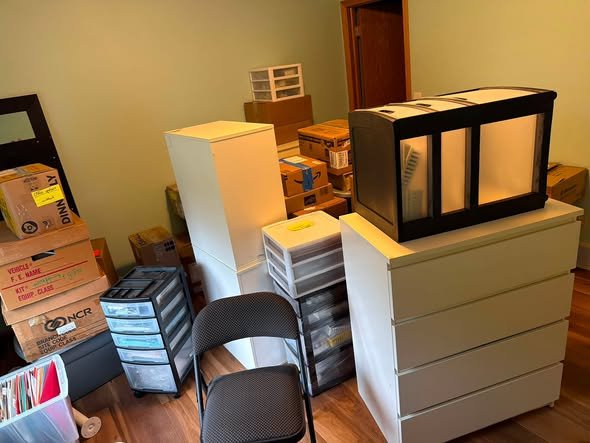
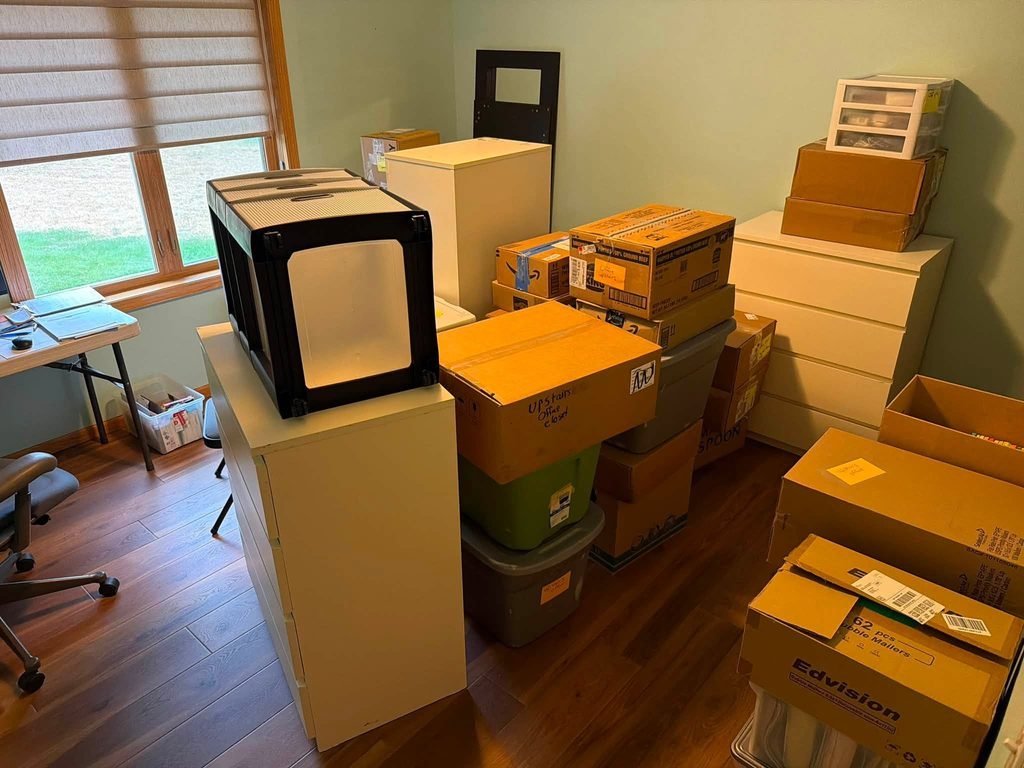
Why did we move? Well, there are many reasons but mostly my husband retired and we moved to be closer to our son and other family. It was very difficult to leave our beautiful home but we will love our new home too. Here’s a picture of my office/craft room before I was able to unpack. I’ll share new photos once I’m settled.
In that back doorway is a walk in closet; that will help with storage! I did find a nice L shaped desk and hope to get that set up today; then I can really set up my room.
This is why I’ve been missing in action lately; it’s hard to do both stamping/business and moving/getting settled. So I’m taking a bit of a break in August. Have patience with me; I’ll be back to blogging and videos soon!
All Posts
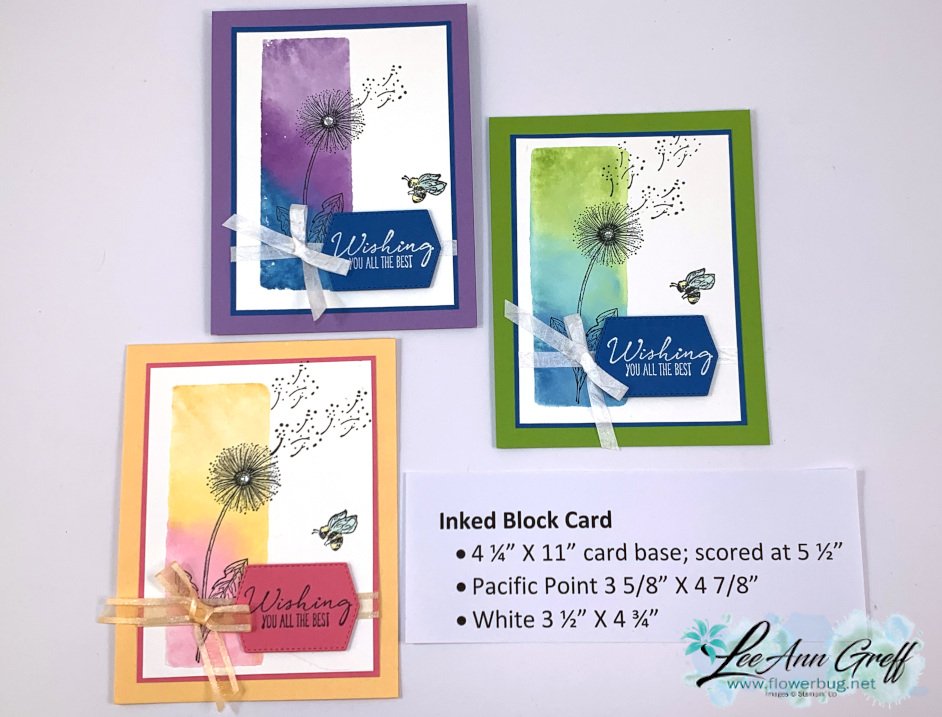
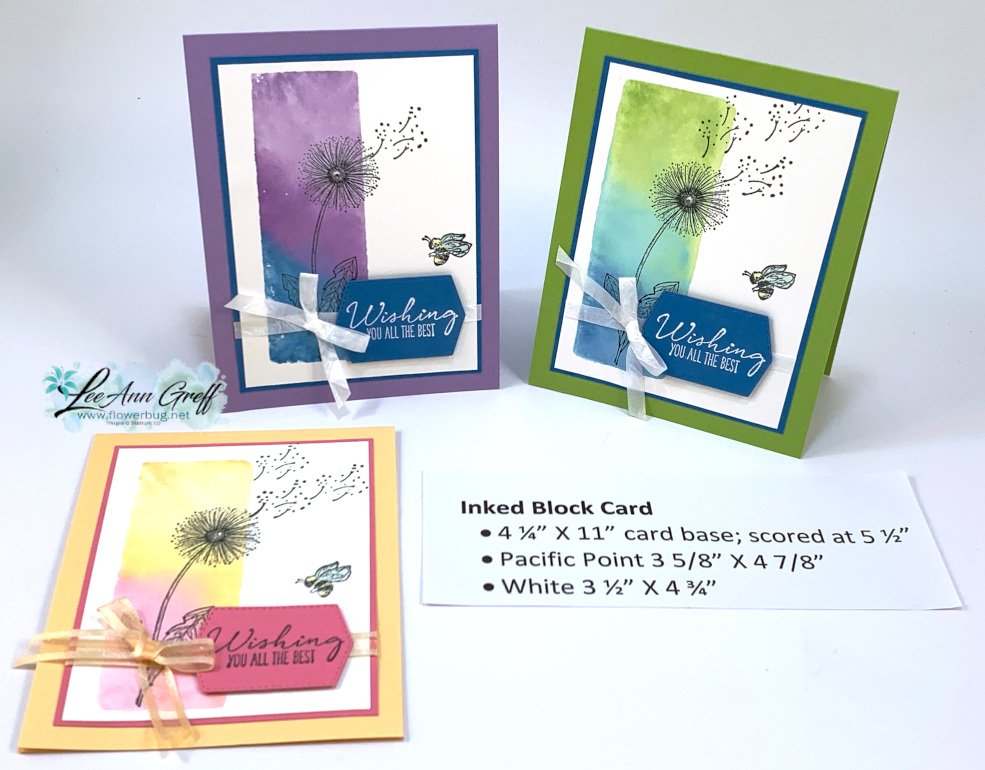
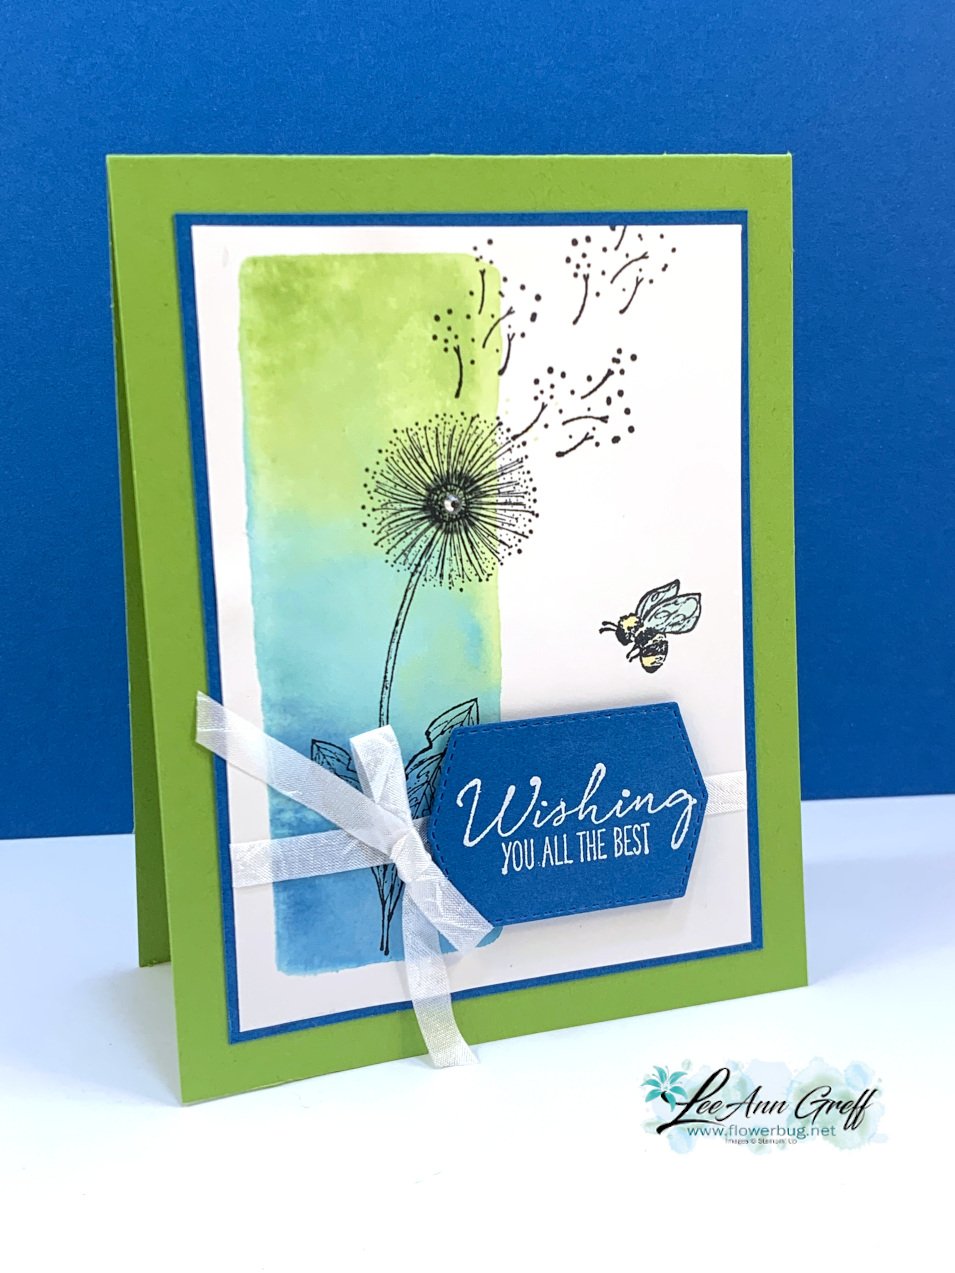
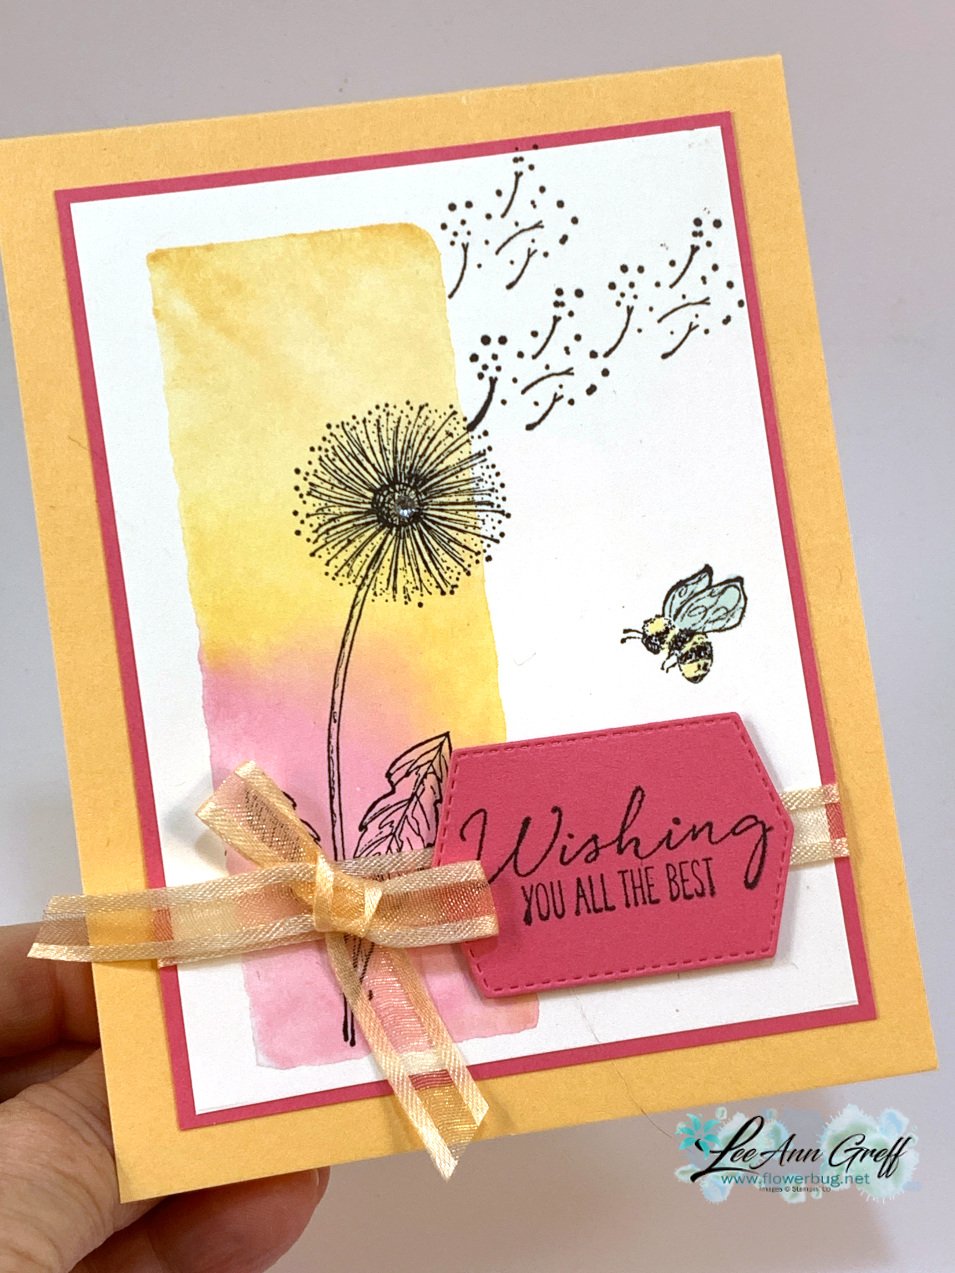
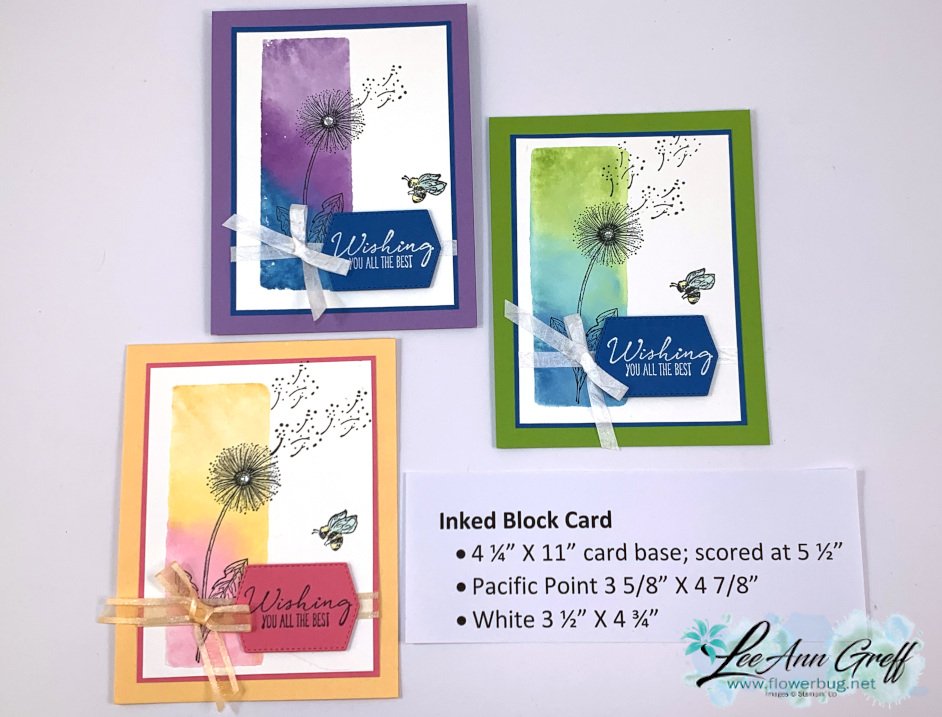
How to achieve the Inked Block Technique; you only need 3 things!
I shared the Inked Block technique on Tuesday's Facebook Live video. It's fun, easy and you need just 3 things!
I chose to feature the Garden Wishes stamp set & a variety of colors. This first one is Highland Heather, Gorgeous Grape & Pacific Point.
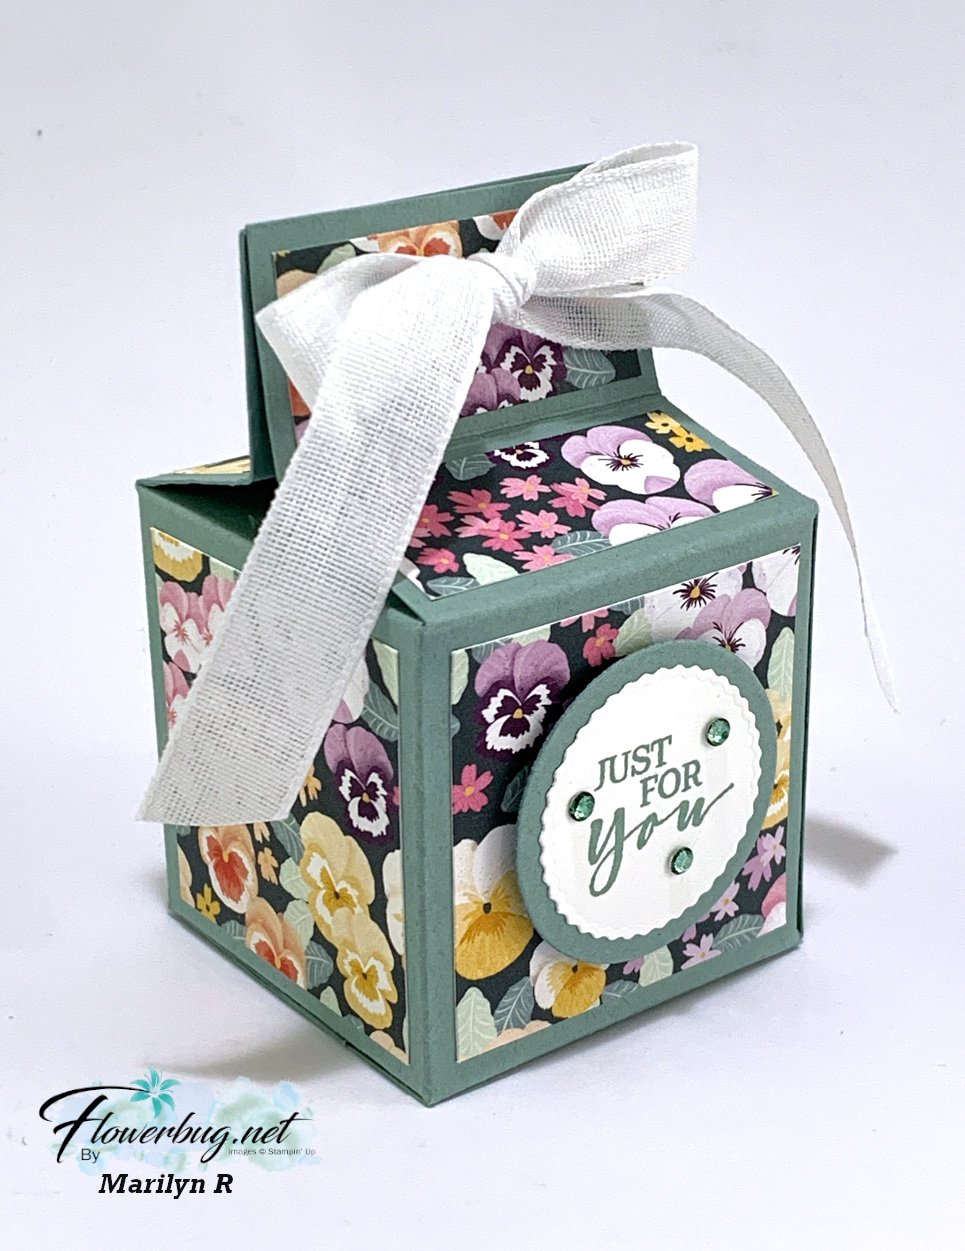
Her box is 2 X 2" and 3 1/4" tall. She used the Pansy Petals designer paper, Soft Succulent card stock and ink. This pretty DSP is retiring now; get it here while supplies last.
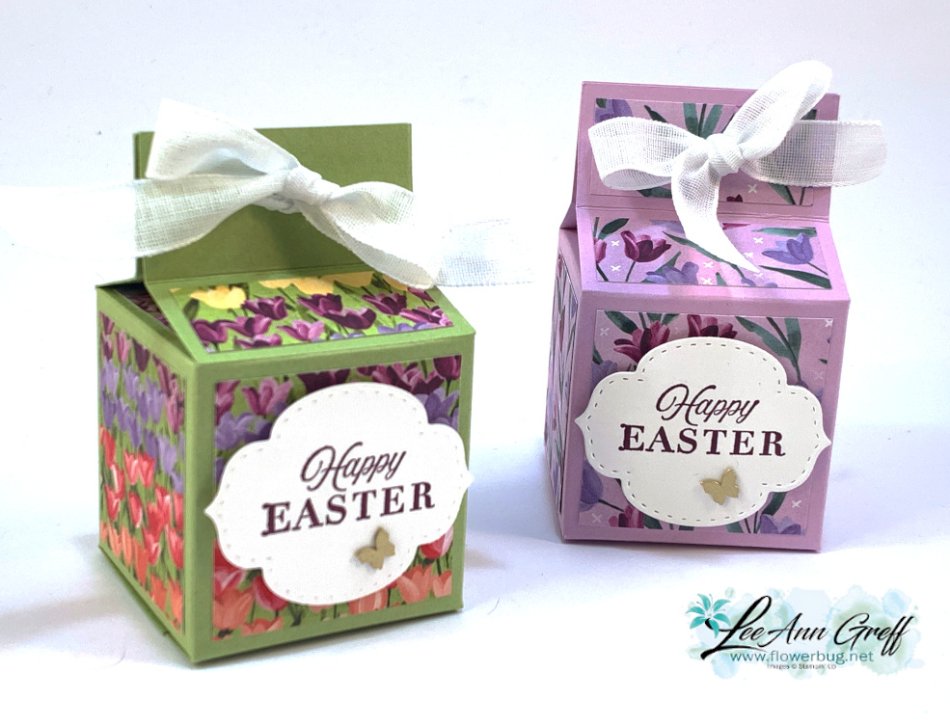
I made one for a recent FB Live video too. I chose to use the Flowering Fields DSP; it's so springy!
They're made in Pear Pizzazz and Fresh Freesia card stock and the greeting is from the Celebrating You stamp set seen here. The greeting tag is from the Stitched So Sweetly dies which are retiring now and available while supplies last! See the dies here.
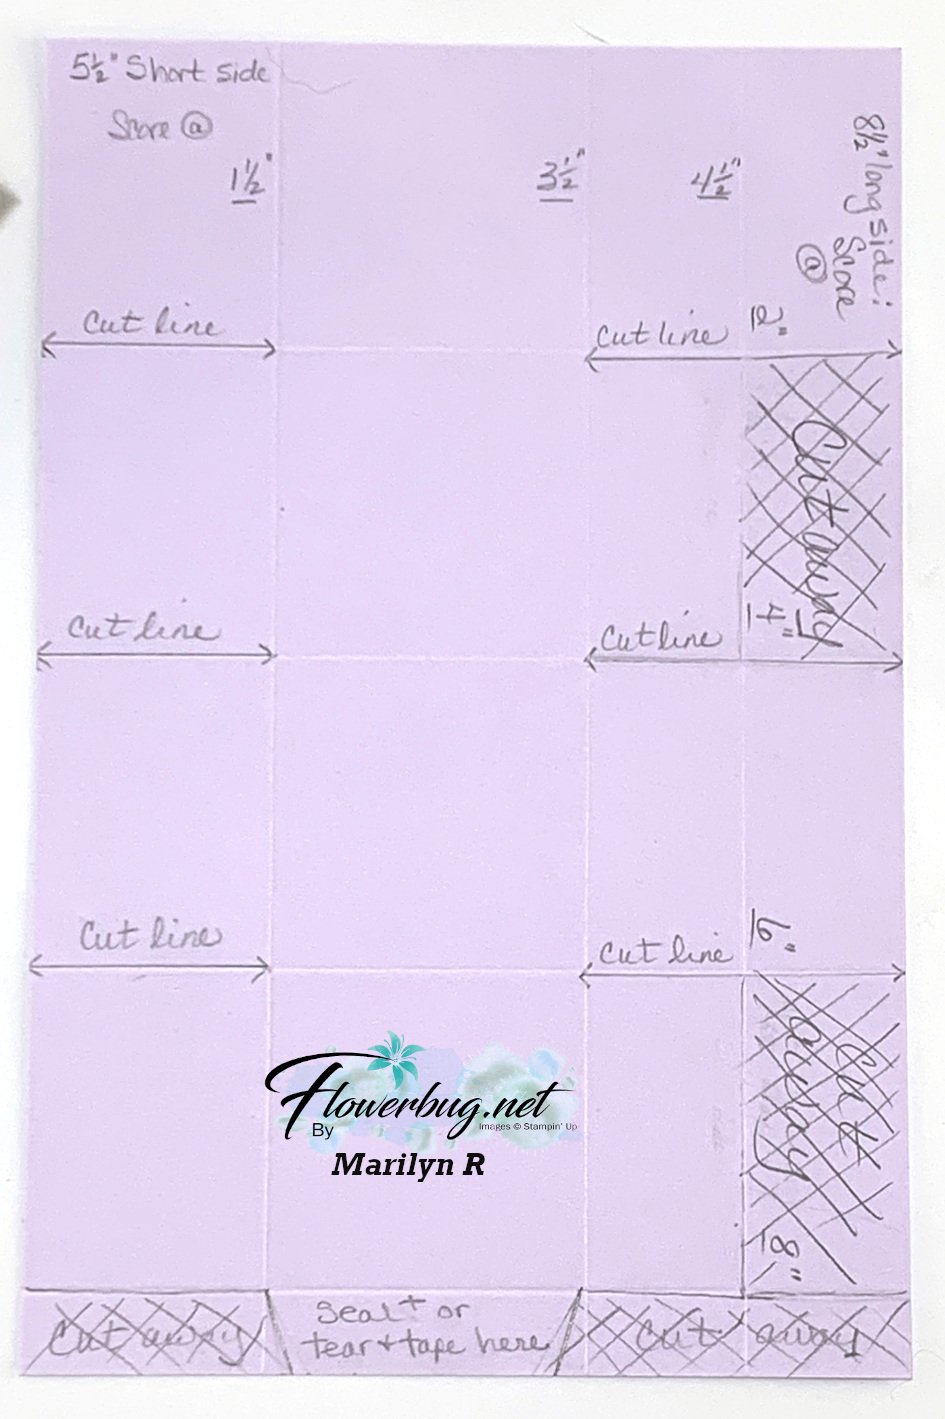
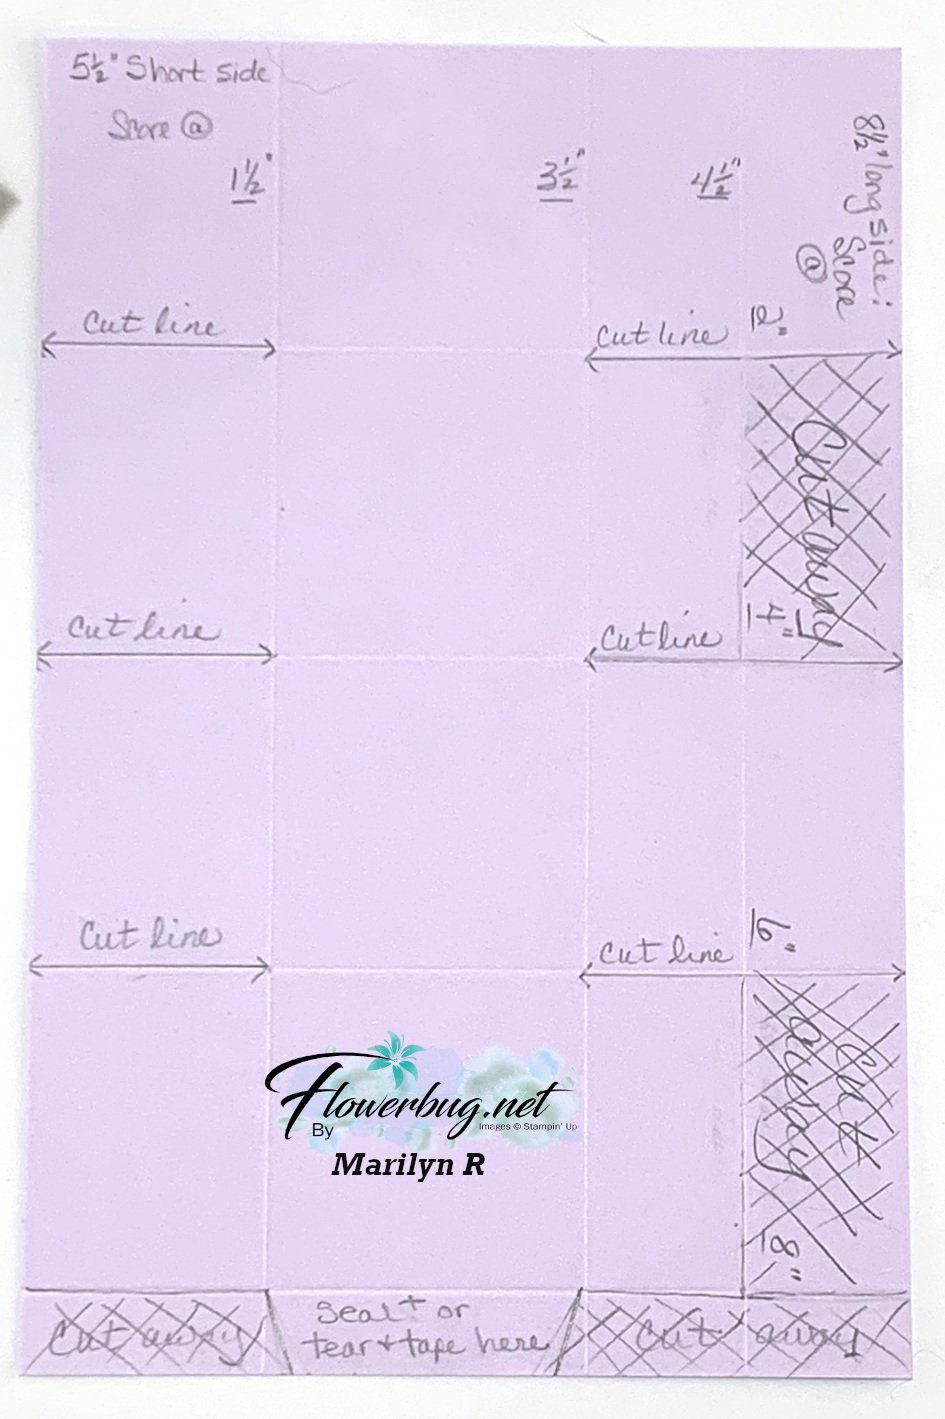
She made up a template and another sheet of card stock showing you how it looks after trimming and cutting the template as shown. Watch the video here or below to see how it's made.
It's 5 1/2" X 8 1/2" and is similar to a 2 4 6 8 box. Score on the short side at 1 1/2", 3 1/2" & 4 1/2". Score on the long side at 2", 4", 6", & 8". Then cut away the areas crossed off and cut up to the score lines as shown.
You'll need 4 pieces of Designer Paper measuring 1 3/4" square. And 4 pieces measuring 1 3/4" X 3/4" for the top. She punched two holes in the top flaps to thread ribbon through to tie in a bow.
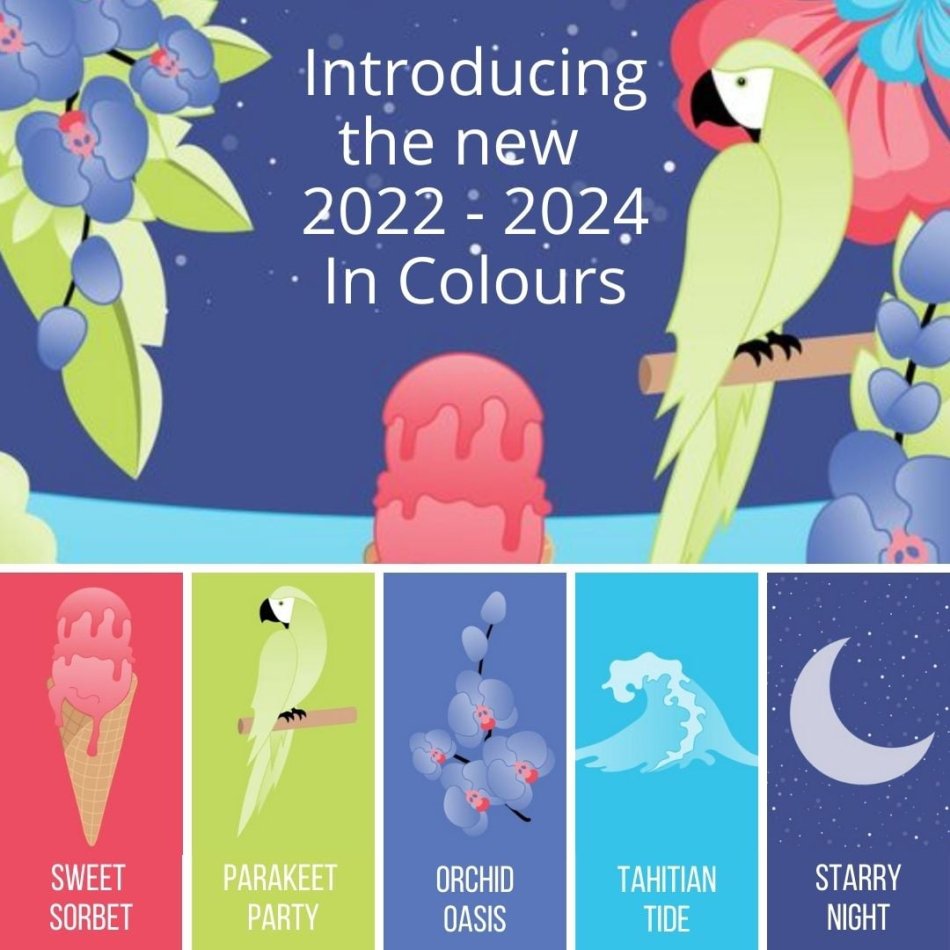
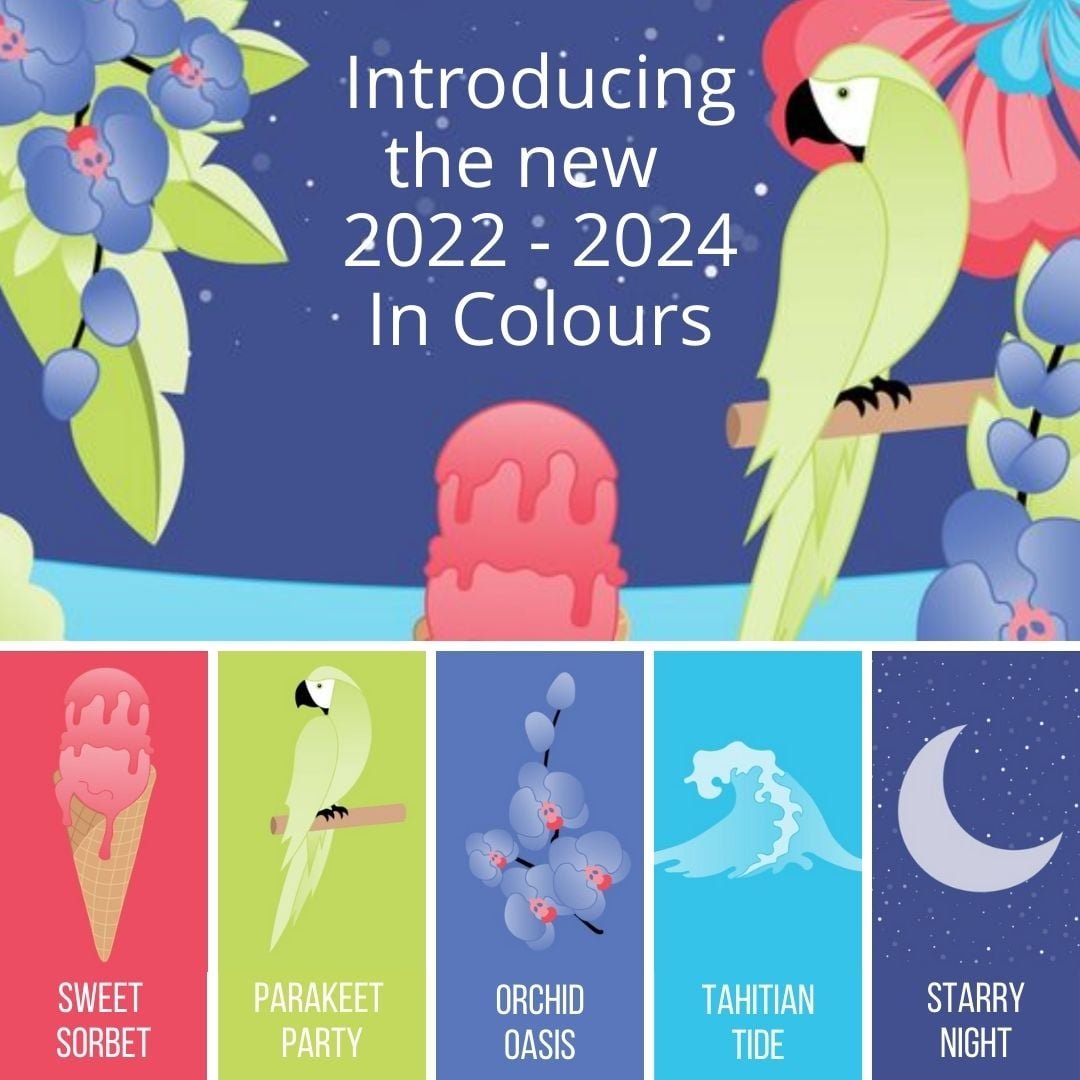
New Catalogs are coming; do you need one?! New Colors are gorgeous!
The new 2022-23 Annual Catalogs are going live in early May. I'm ordering some to be mailed out on March 31st. They are free to those who have purchased from me in the last 6 months. Let me know if you'd like one by tomorrow, March 30th.
I always offer a big bundle of In Color products with the start of the new Annual Catalog. I'll share the details of it in April. It's so nice to get a bit of a nice variety and know that you have the card stock, ink and refills along with accessories to match! I always include free product with purchase of my bundles.
I'll also be offering a Designer Paper Share too. Stay tuned!
Notice: LeeAnn Greff, Independent Stampin’ Up! Demonstrator, Manager. The content of this website is my sole responsibility as an independent Stampin’ Up! demonstrator and the use of, and content of, the classes, services, or products offered on this website is not endorsed by Stampin’ Up! Copyright 2025
























Leave a Reply