If you haven’t watched my recent videos you may not know that we have moved from Minot, ND to Bismarck, ND this month. It’s been a super busy time of downsizing, selling excess, packing and moving.
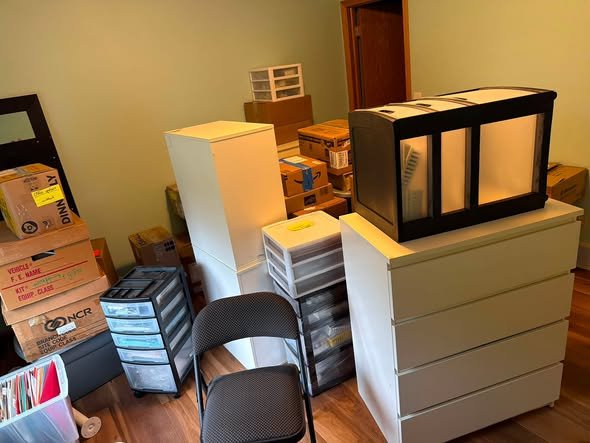
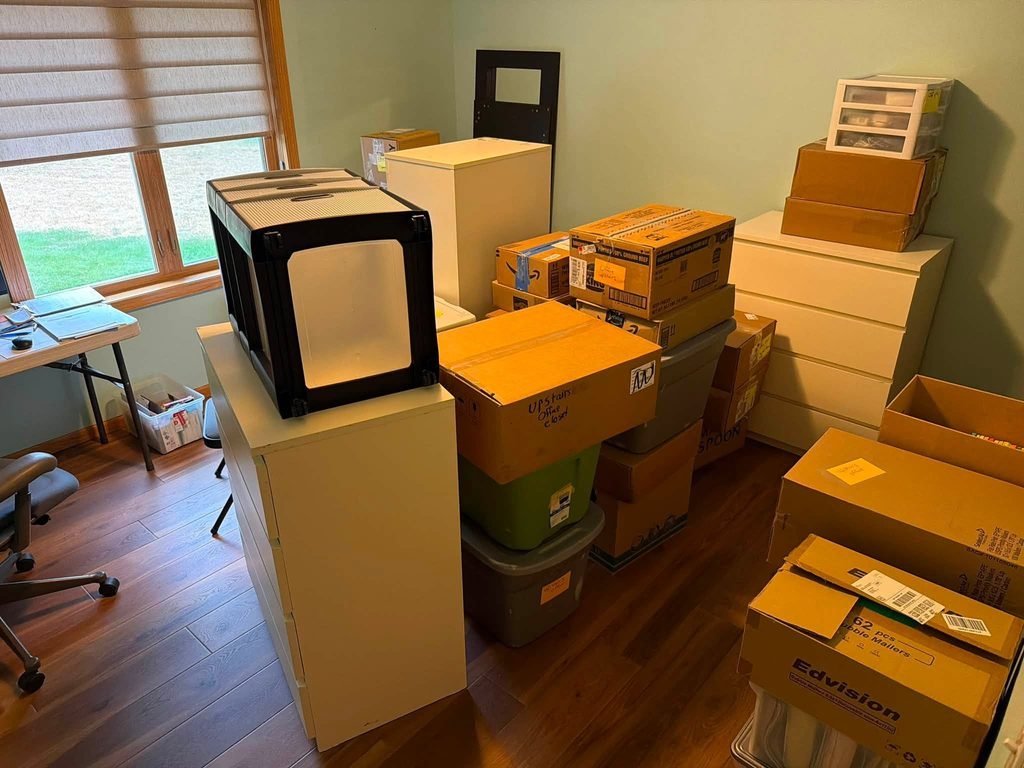
Why did we move? Well, there are many reasons but mostly my husband retired and we moved to be closer to our son and other family. It was very difficult to leave our beautiful home but we will love our new home too. Here’s a picture of my office/craft room before I was able to unpack. I’ll share new photos once I’m settled.
In that back doorway is a walk in closet; that will help with storage! I did find a nice L shaped desk and hope to get that set up today; then I can really set up my room.
This is why I’ve been missing in action lately; it’s hard to do both stamping/business and moving/getting settled. So I’m taking a bit of a break in August. Have patience with me; I’ll be back to blogging and videos soon!
All Posts
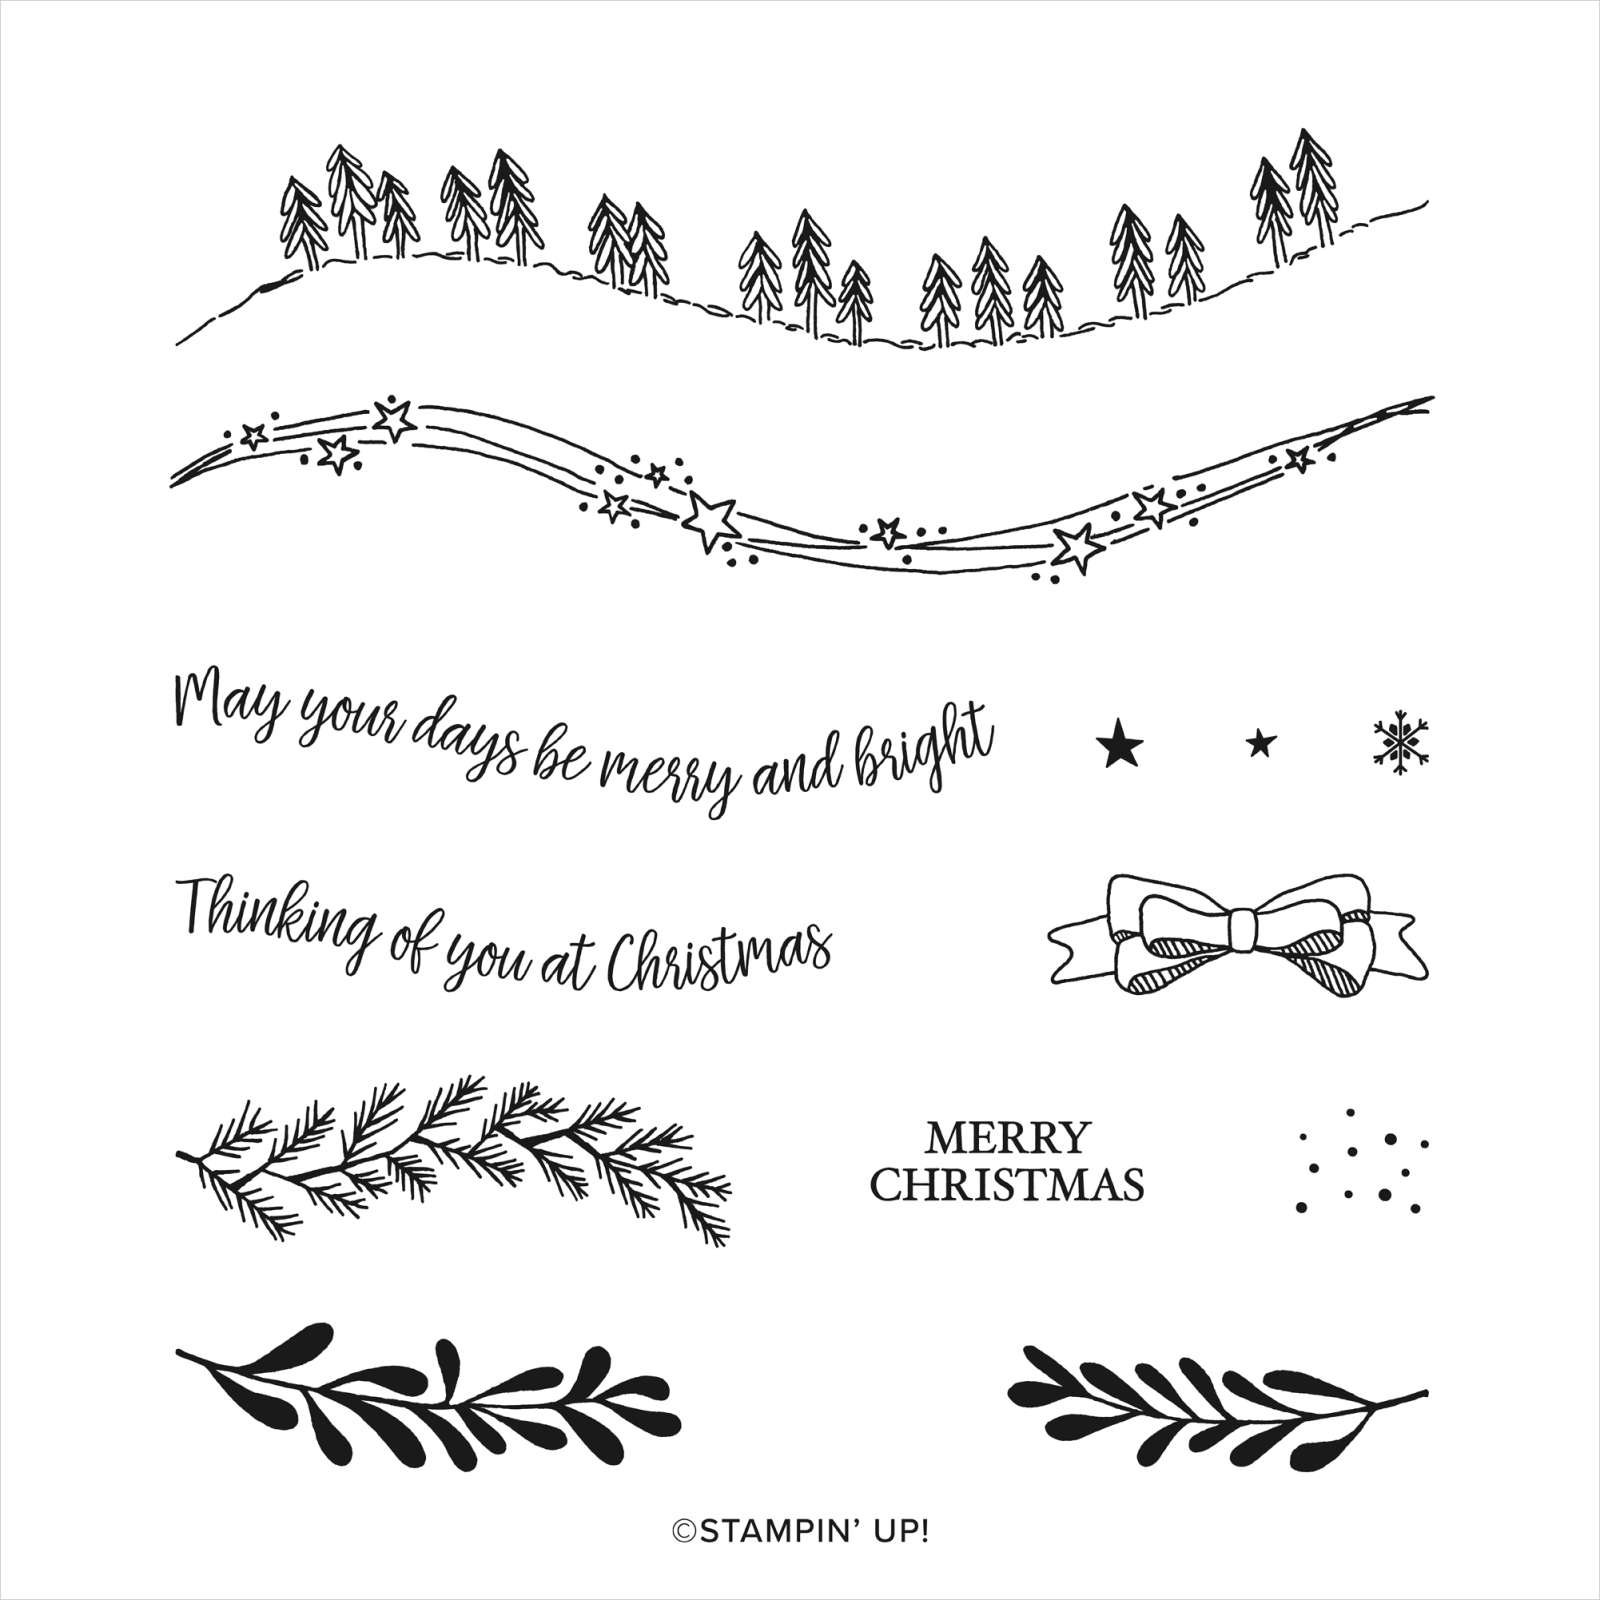
Need ideas for your Christmas stamp sets? Check these out!
Each year I hold a series of Christmas card classes for my customers and also offer the tutorials for my online customers.
These tutorials are for sale here. Or get them FREE with any online order in December! You'll have plenty of ideas for next years projects.
Each PDF Tutorial includes step by step directions, measurements, photos and a supply list. And the photos show the inside and the stamped envelope too!
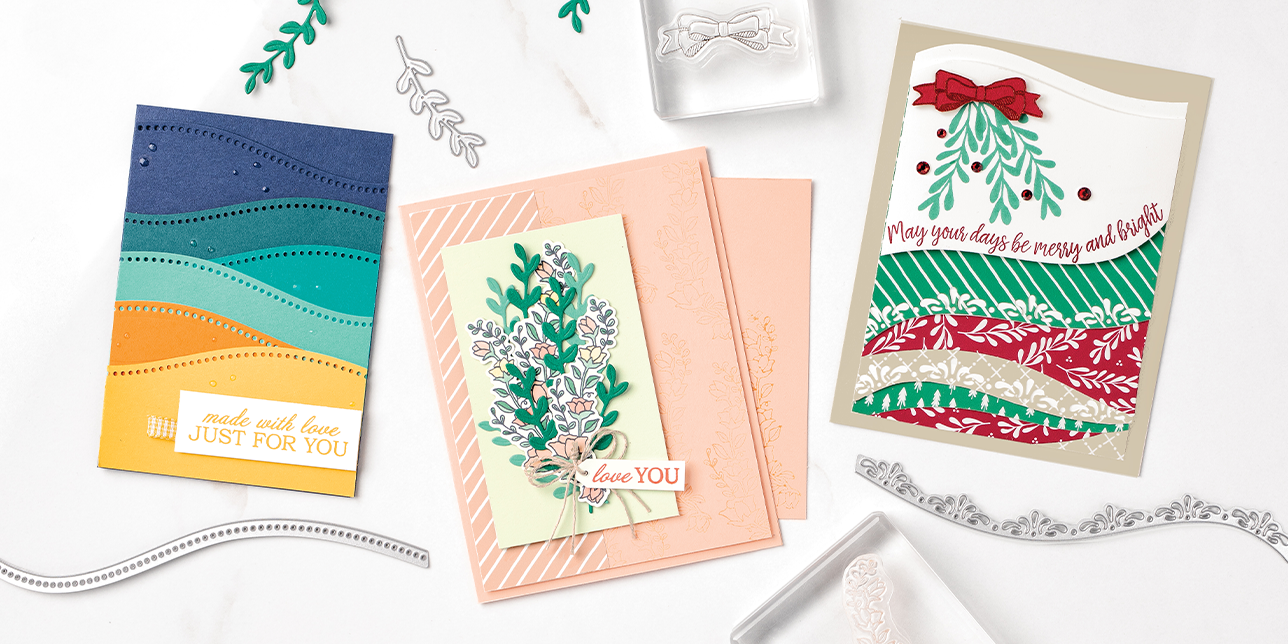
Look at this WOW card featuring the Curvy Christmas & Quite Curvy dies! Marilyn made it for our swap last month; she really outdid herself with this one.
Curvy Dies – green leaves and Gold foil & White dotted curvy edge
Detailed Band dies – gold leaves
Stitched Nested Labels
3/8" Metallic Gold ribbon – dies Cherry Cobbler
Shaded Spruce, Cherry Cobbler & White CS
Remember that the Curvy Christmas set and Classic Christmas 6" paper are retiring soon. They are available while supplies last through January 4th only. The Quite Curvy bundle will be coming back in the 2021 Spring catalog however. See it all here.
I used the Brightly Gleaming Specialty DSP here along with Very Vanilla, Navy, Brass foil and Peacock CS. This pretty paper is on sale at 50% off! See it here.
This is one of the easiest layouts you can make that still has some layers to it. I like the card below best since you can stamp directly on the single layer and do not need a second greeting piece to stamp on like the cards on the left & right above. Measurements below:
Main card – 8 ½” X 5 ½” or 4 ¼” X 11”, DSP – 3” square
CS – 4 ¼” X 3 ¼”, Vanilla greeting layer is 7/8" X 3", Foil strip – ½” X 4”
Next I have a super cute candy box treat made by my friend Marilyn. She used the Celebration Label dies; they're 50% off now while supplies last! See them here.
Red CS 6 1/2" X 7" score at 3/8", 3/4", 3 1/2" and 3 7/8".
Black glitter belt 1" X 7"
This candy bar is in a thin card board box so I had to score it. Usually I just wrap the card stock around the candy bar and glue the edge overlapping each other. That one is a lot quicker.
It's a piece of Snowflake Splendor DSP and White CS both measuring 4 1/2" X 2" and tied together at the top. I used the Delightful Tag Topper & 2" circle punches here. The stitched nose is made with the Triangle dies. I drew Black 'stones' with a marker for his smile.
Below you can get the tips on putting these projects together. Don't forget to subscribe to my YouTube channel here.
Notice: LeeAnn Greff, Independent Stampin’ Up! Demonstrator, Manager. The content of this website is my sole responsibility as an independent Stampin’ Up! demonstrator and the use of, and content of, the classes, services, or products offered on this website is not endorsed by Stampin’ Up! Copyright 2025

























Leave a Reply