/


Latest Post

Unique ideas with the Oh So Ombre designer paper; Promo ends Sunday!


Here are a few more ideas with the gorgeous Oh So Ombre designer paper.  It has been my favorite Sale-a-Bration item this year!  

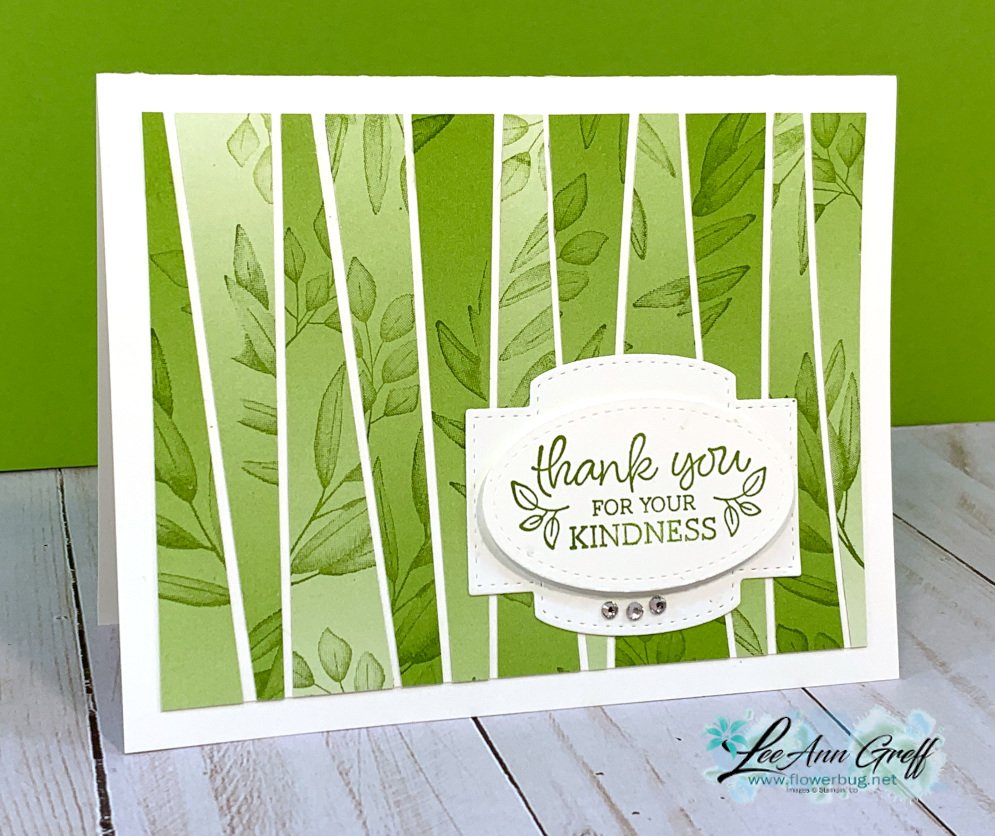
Playing with strips has always been fun for me.  On this first card I started with one sheet of DSP and cut it first at 4 1/2" long.  Then I cut strips off of the main piece at random angles.

Next I laid these strips on my grid paper and stamped the leaves from Forever Fern stamp set on them using Granny Apple Green ink.  

I then glued these strips to a 3 3/4" X 5" piece of White CS leaving a thin 1/16" gap between.  I didn't worry about the edges at all.  After I was done I trimmed them off even with the main White CS.  
Next is a fun card playing with the Playful Alphabet and 1/2" strips of this pretty Ombre paper.  I adhered the letters to the end of the paper strip with rolled up mini glue dots and trimmed any excess off that showed around the letter. 

The 'birthday' greeting is from Vine Design and the bottom edge is punched with the Postage Punch.  

Below are more cards I shared in a video you can see here. 

~~~

February Specials:

Get the best deal during Sale-a-Bration with purchase of the Starter Kit!   Get $125 in products of your choice for just $99 and FREE shipping too!  

Plus you get 5 packs of NEW 6" Designer Paper FREE. 


Go here to read about it


~~~

Current Host code is CGSK9YDR

Order online here

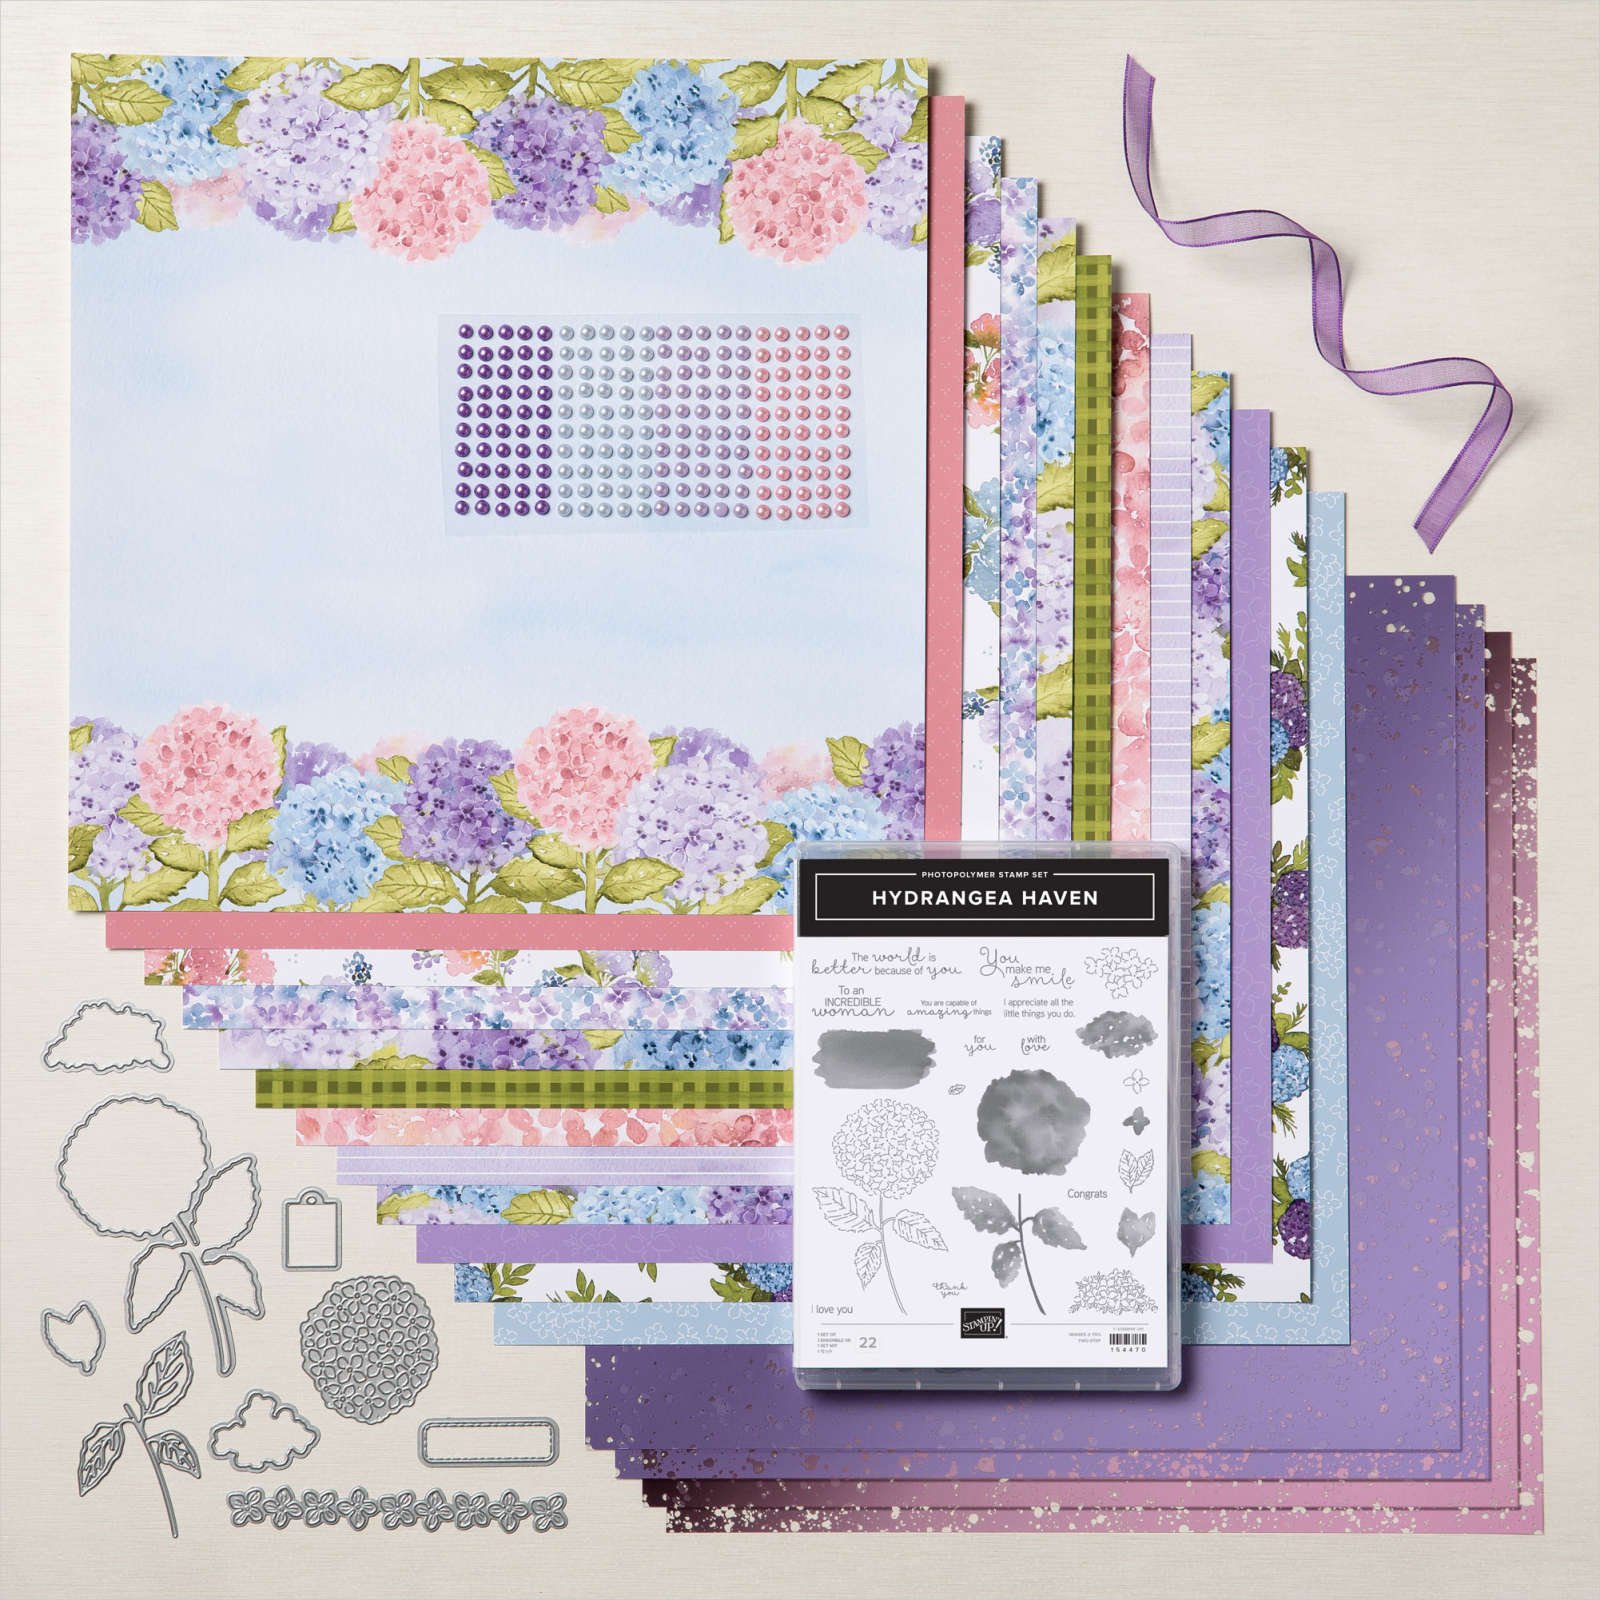
All online orders receive both a Hydrangea Hill and Sand & Sea projects PDF!
 

~~~

Get a package of 150 Resin Hearts from me with an online order over $50 using the host code above. They're adorable and so tiny!

*If your order is over $150 do not use the code; you'll still receive a gift! 

Below are the Multipurpose Glue stands we're making. They're $6 each and available in my Shop here.  

Click here to follow me on Facebook! 

All Posts

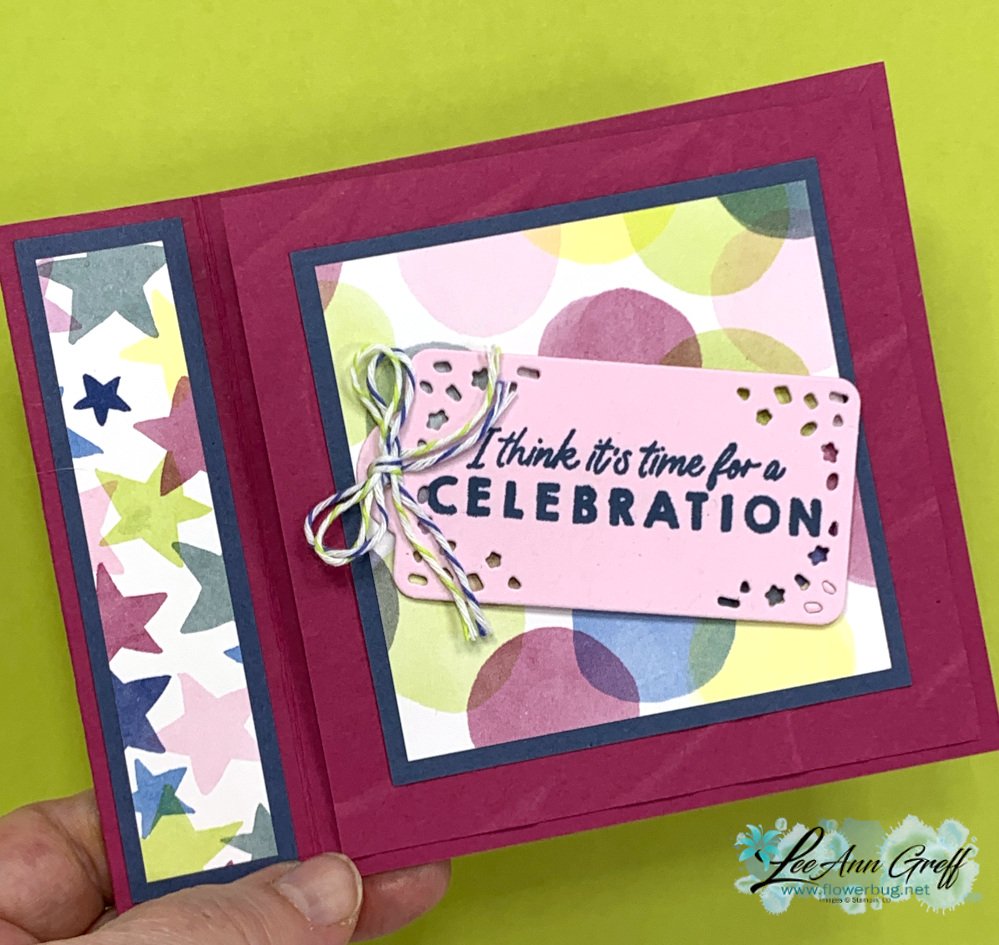
  • Have you made a ‘Book-binding Easel’ card yet? It’s so neat!


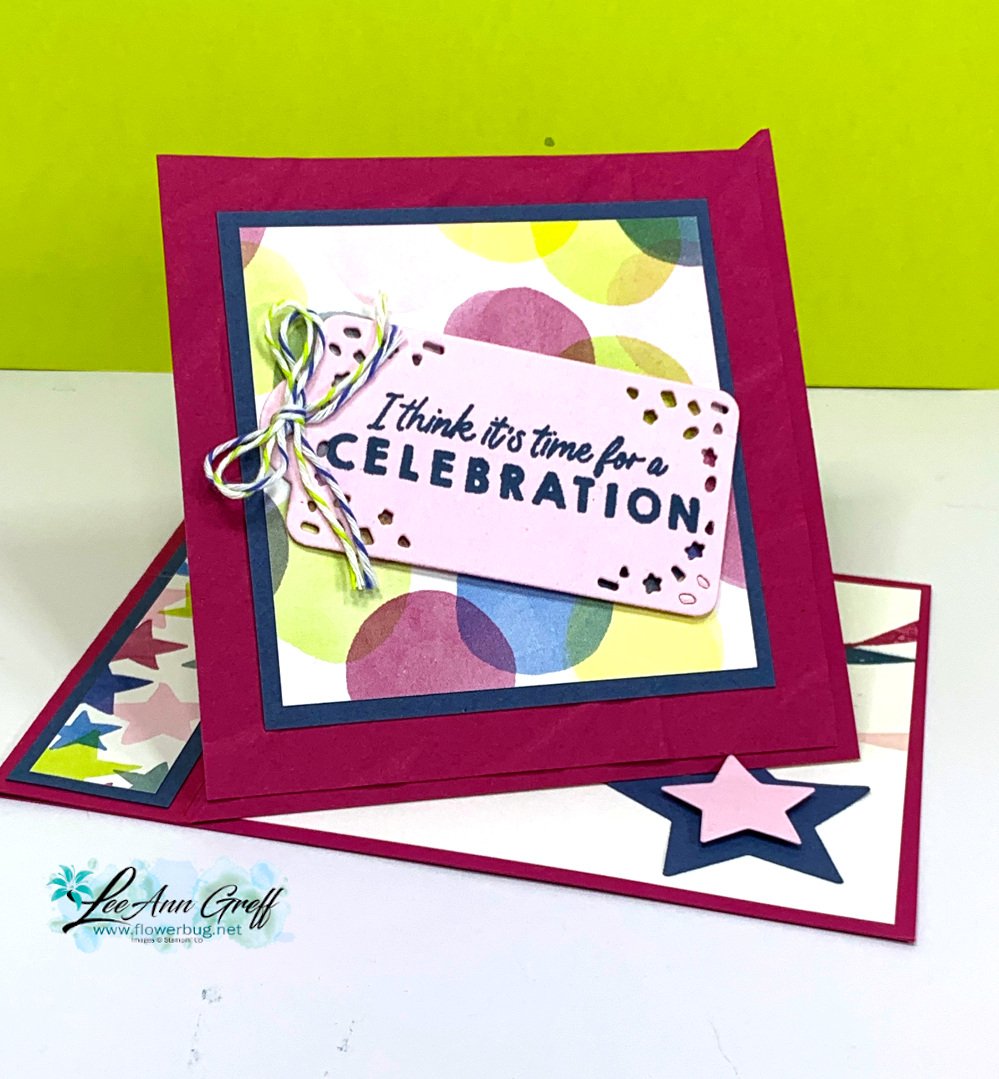
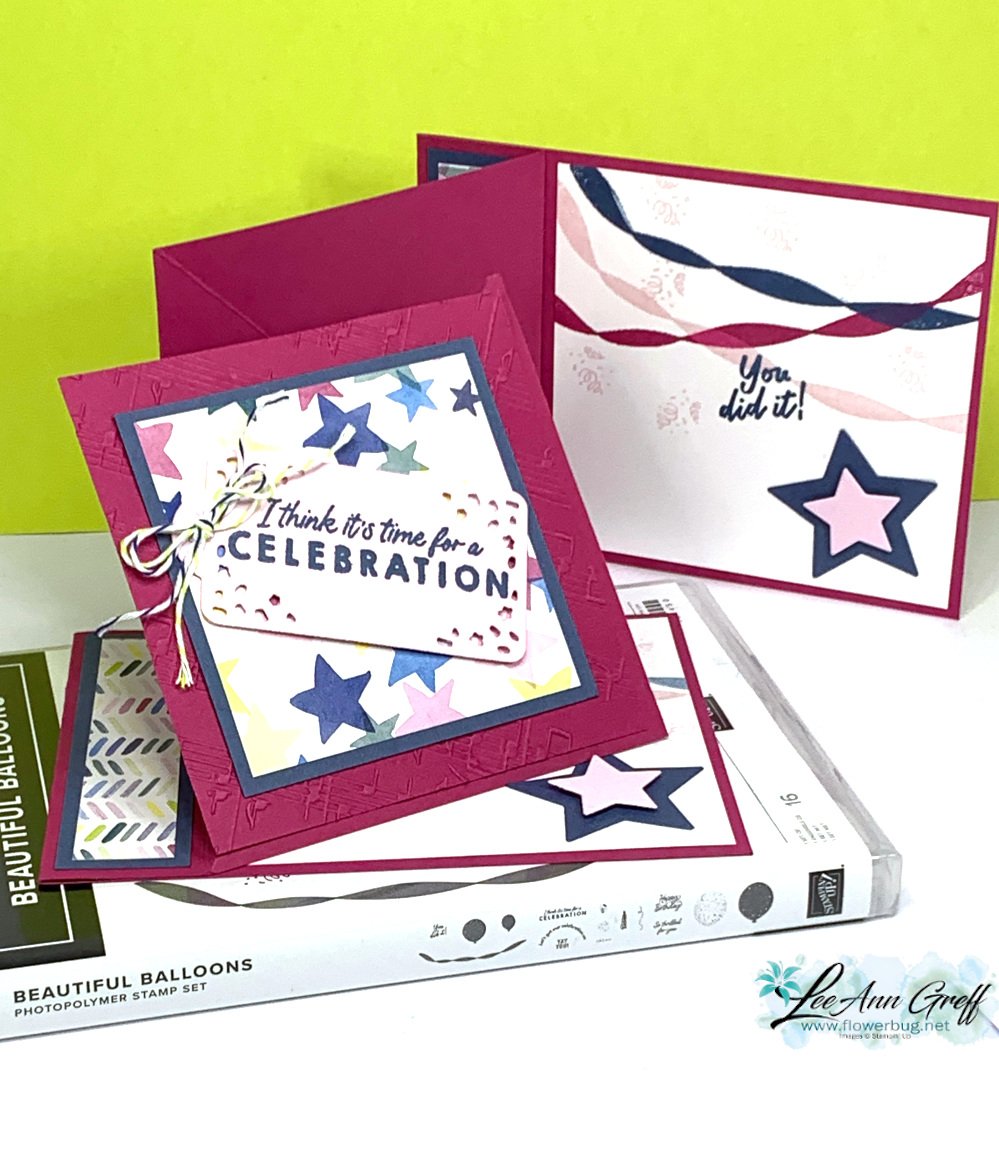
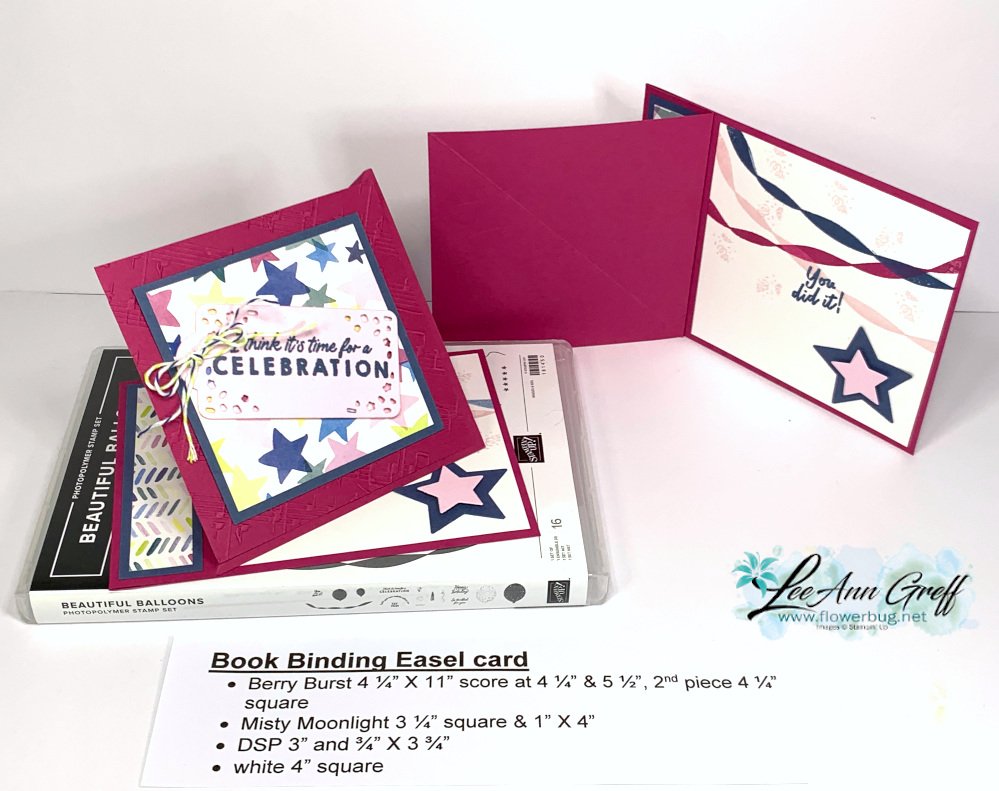
    This cool card is made like a traditional book binding fold but turned into an easel card too! 

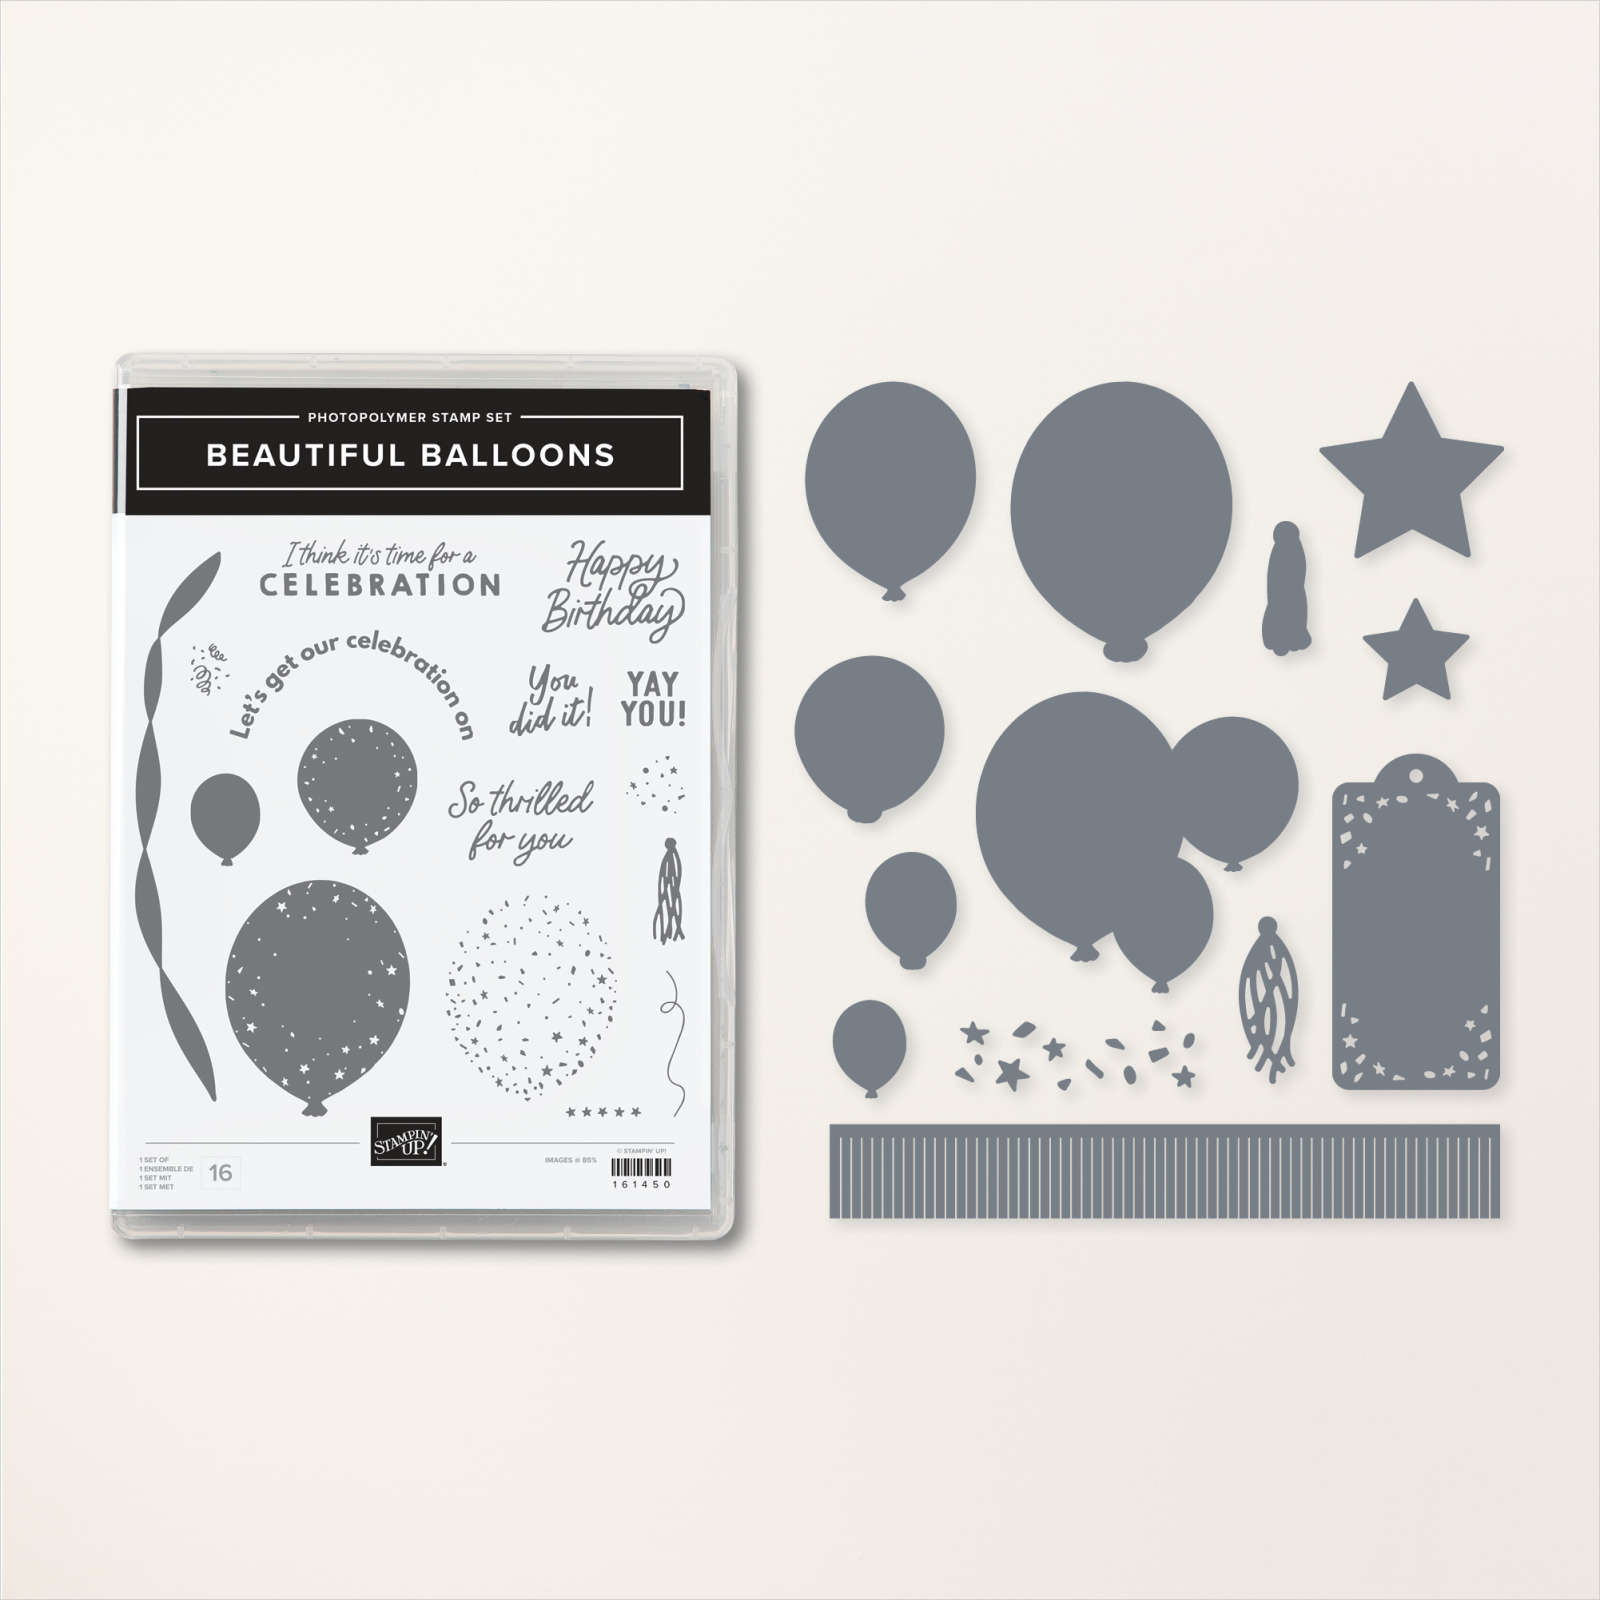
    I used Berry Burst & Misty Moonlight or Blueberry Bushel for my layers. That cute tag on the front is from the Beautiful Balloons dies.  The stars that hold up the easel are die-cuts from the same dies.  You need to add a Dimensional on one of them. Watch the video here or scroll down. 

    You can see this bundle here online.  

    I stamped the inside with the banner in multiple colors, some stamped off.

    Here's what the card looks when it's flat: 

    I am so glad that we have Berry Burst back! 

    Measurements:

    • Berry Burst 4 ¼” X 11” score at 4 ¼” & 5 ½”, 2nd piece 4 ¼” square
    • Misty Moonlight 3 ¼” square & 1” X 4”
    • DSP 3” and ¾” X 3 ¾”
    • white 4” square

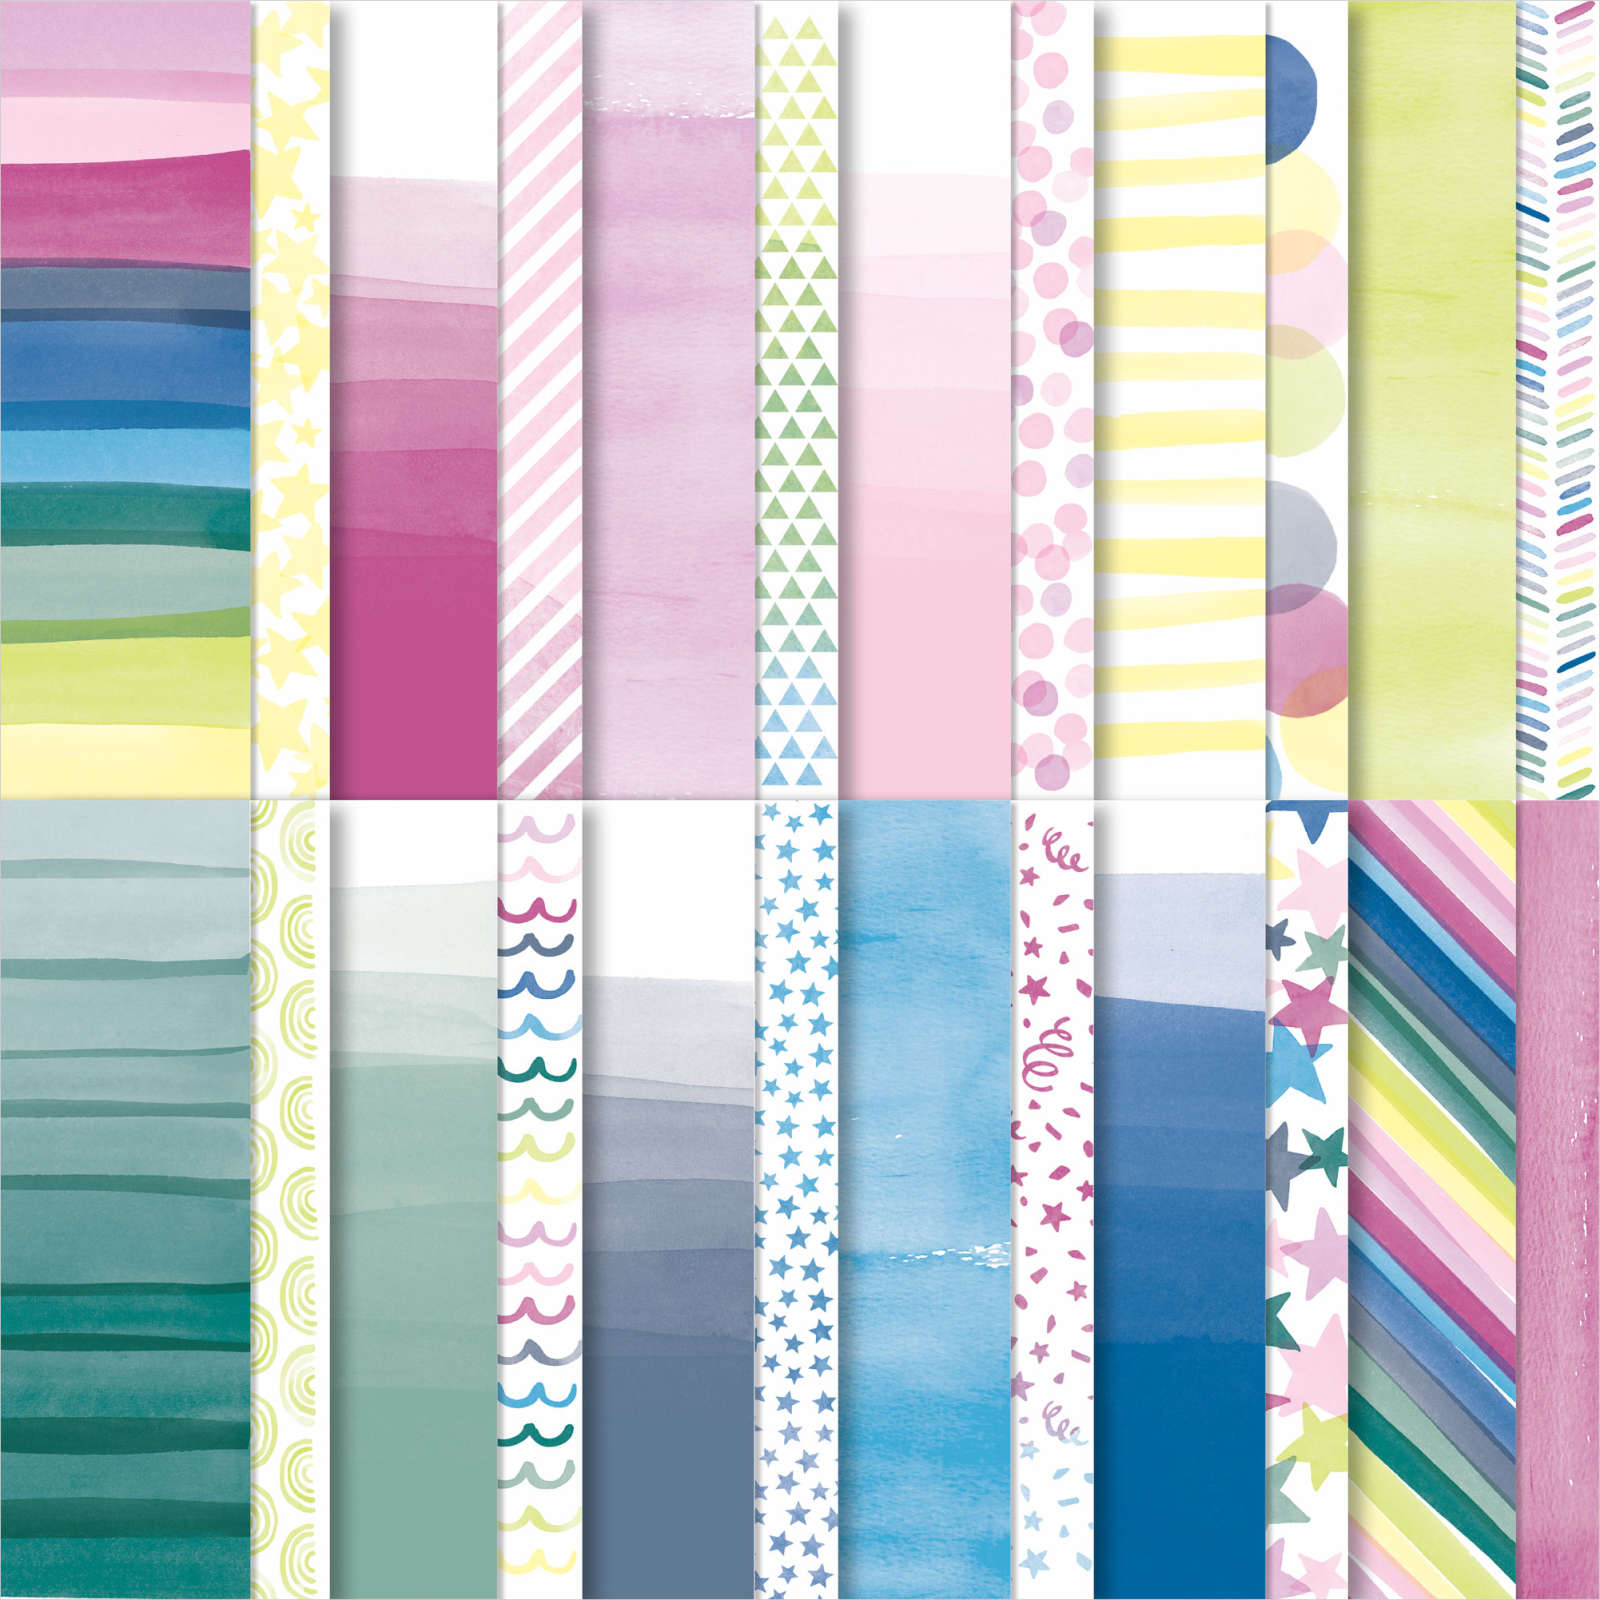
    You can see the Bright & Beautiful designer series paper  here.  

    *I'll be featuring this fun designer paper in June's card kit to go. 

    Click on the photo below to watch the video; I share another amazing fun fold card after this project!

    ~~~

    May Specials:

    *current host codes: CNSGEFEE or AJVB3B3V 

    Get a free updated cardstock color sampler with online orders over $55 using a host code.

    Offer good through May 17th  

    My new catalog designer paper share is open for a limited time. 

    Get 80 sheets of 6 X 6" DSP – all from the new catalog for just $28.50 plus shipping.  Reserve your spot here. 

    Earn free products with my loyalty rewards! 

    Click here to download yours and earn a $50 shopping spree!

    Leave a Reply

    Your email address will not be published. Required fields are marked *

  • Beautiful Balloons with Bright & Beautiful designer series paper


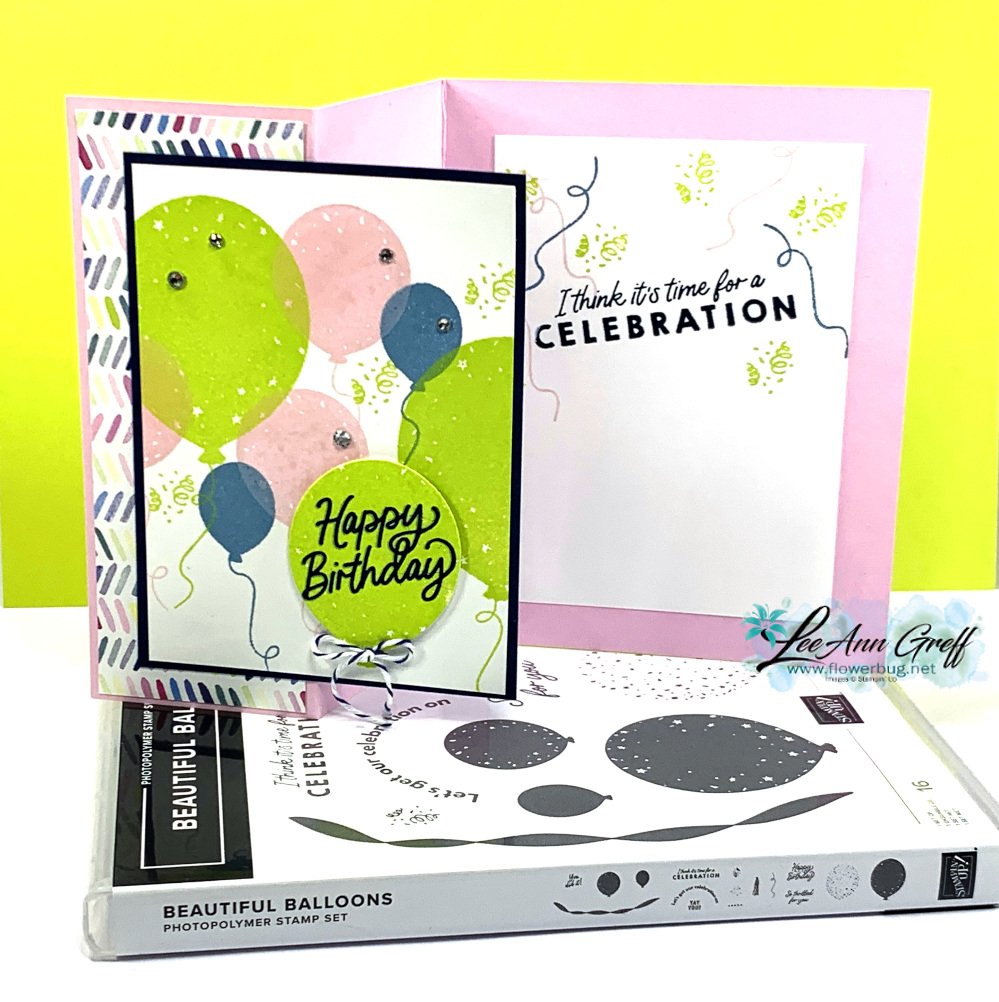
    I've been playing with the Beautiful Balloons bundle and thought making my own background with the balloon images would be cool.  

    I chose a few of our newest colors to compliment the Bright & Beautiful designer series paper seen here.  My colors are Bubble Bath, Lemon Lime Twist and Boho Blue.  I love that the images appear somewhat translucent like real balloons.  

    *I'll be featuring this fun designer paper in next month's card kit to go. 

    It's an easy fun fold card too. I stamped the greeting on a stamped large balloon and die-cut it with one of the dies in the bundle.   

    Measurements:

    • Bubble Bath card stock is 8 1/2" X 5 1/2" & scored at 2 1/8" and 4 1/4"
    • designer paper is 1 7/8" X 5 1/4"
    • White 3 1/4" X 4 1/2" 
    • Black 3 3/8" X 4 5/8" 

    I had fun stamping the inside (3 1/2" X 4 3/4") with the balloon string and confetti images.  

    You can see this bundle here online.  

    ~~~

    May Specials:

    *current host codes: CNSGEFEE or AJVB3B3V 

    Get a free updated cardstock color sampler with online orders over $55 using a host code.

    Offer good through May 17th  

    My new catalog designer paper share is open for a limited time. 

    Get 80 sheets of 6 X 6" DSP – all from the new catalog for just $28.50 plus shipping.  Reserve your spot here. 

    Earn free products with my loyalty rewards! 

    Click here to download yours and earn a $50 shopping spree!

    Leave a Reply

    Your email address will not be published. Required fields are marked *

  • All of the Little Things kit with an alternate fun fold card idea!


    I had time to stamp some kits last weekend and thought I'd share them with you. I do love our kits!  Such enjoyable and stress free creating! I did it at a crafting day at our church. All I took with me was adhesive, a bone folder, paper snips, and the kit!

    The cards below were made with April's 'All the Little Things' Paper Pumpkin kit.  I made most of them as the kit directed me to. 

    However I changed the greetings so I could use them as thank you cards. Such a gorgeous kit this is!  If you're a Paper Pumpkin subscriber did you know you are eligible to get the refills when they become available?  The refill kit includes all products in the original kit except the stamp set & ink spot.  But you already own those so it's easy to make more cards. you can get the refill for this kit here. 

    Today, May 10th, is the last day to get in on the Exploring In Color Paper Pumpkin kit. More information below.


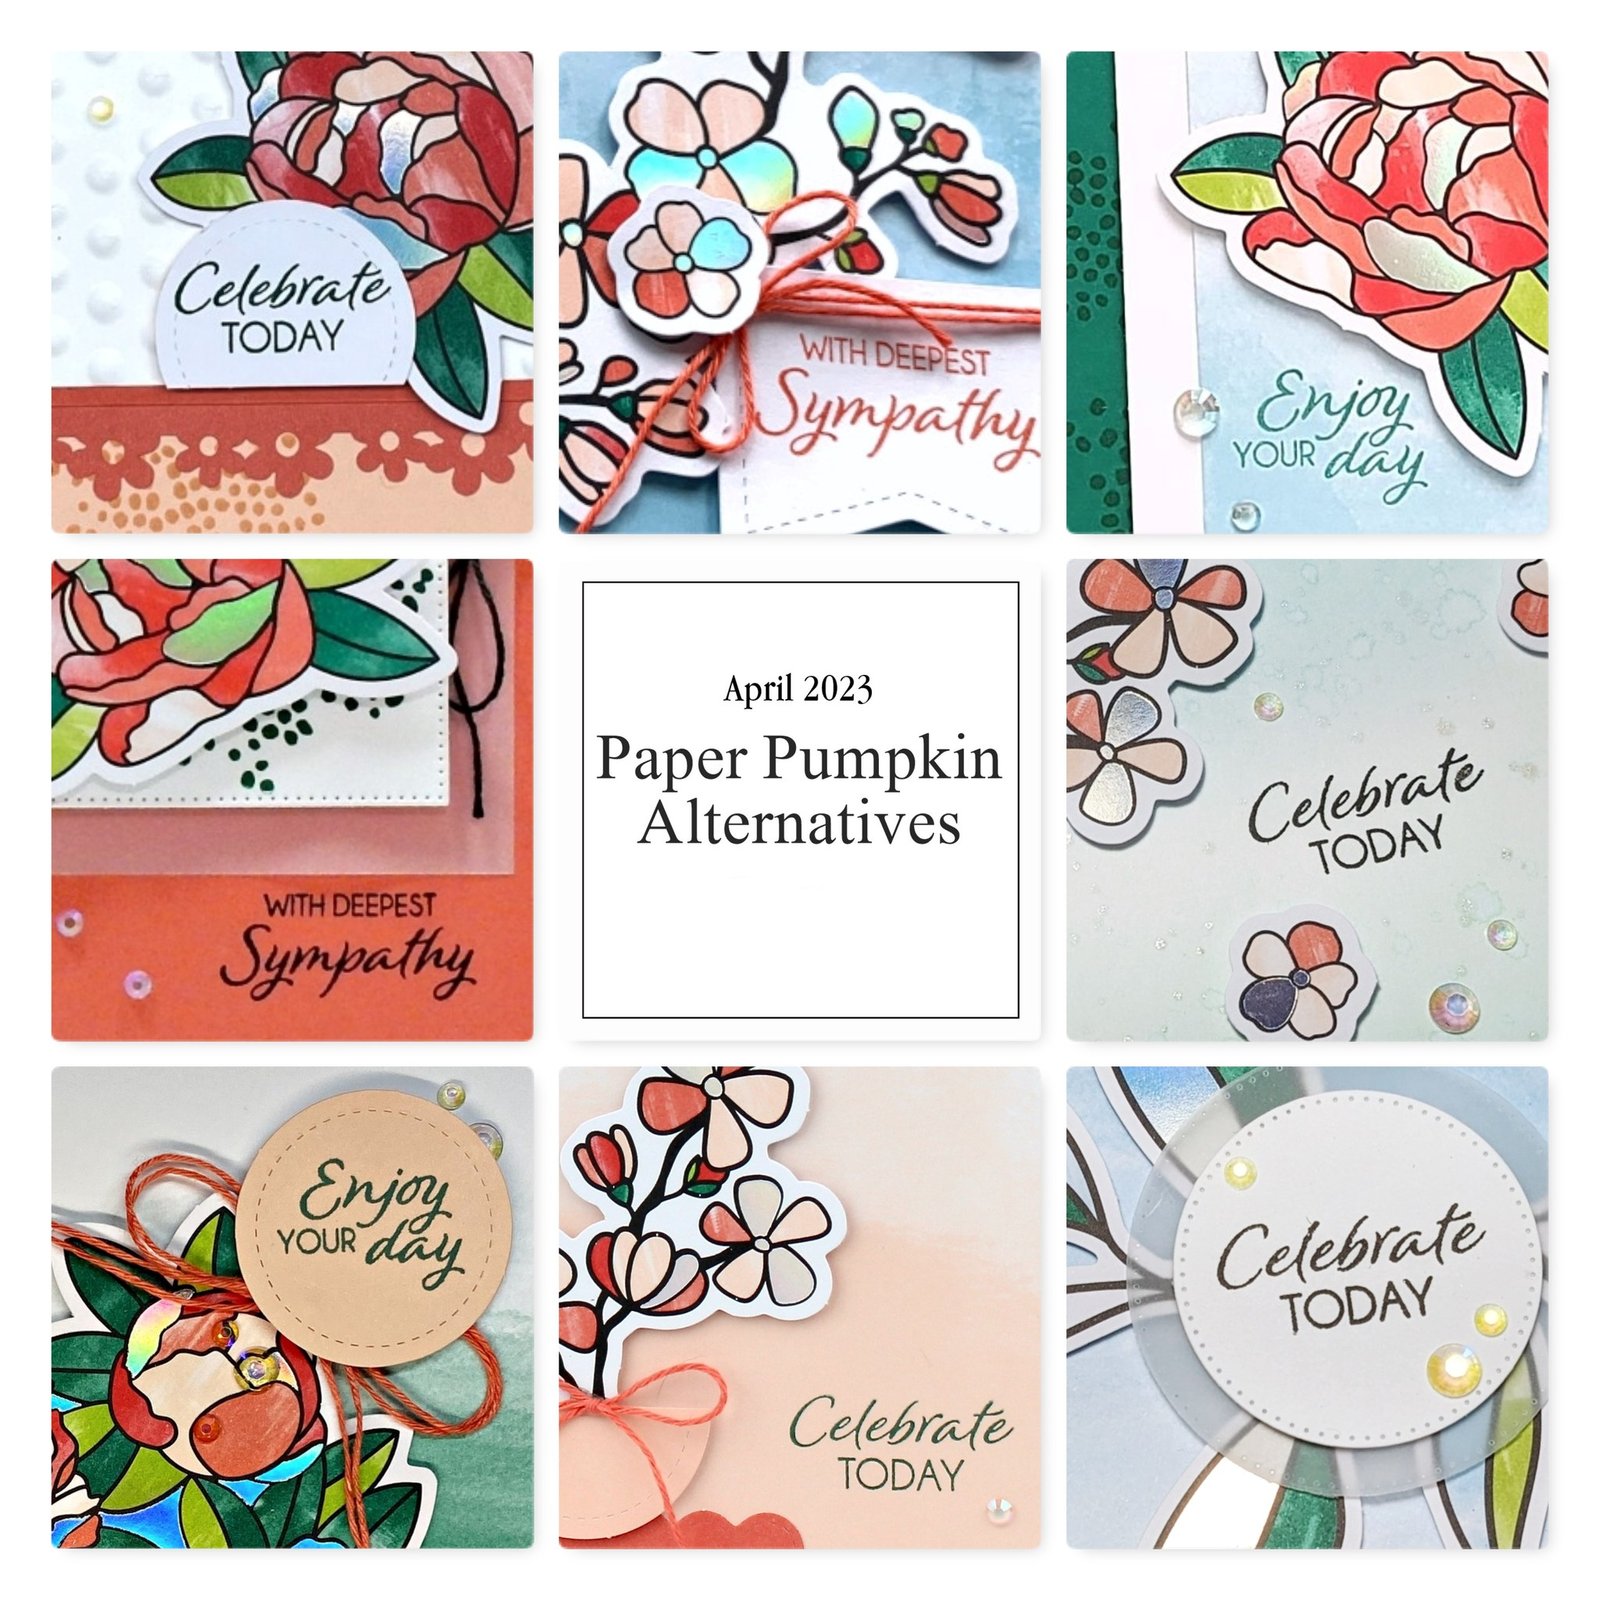
    Each month I create a few alternative ideas and share them with my subscribers and my Team; here's a peak at April's projects. 

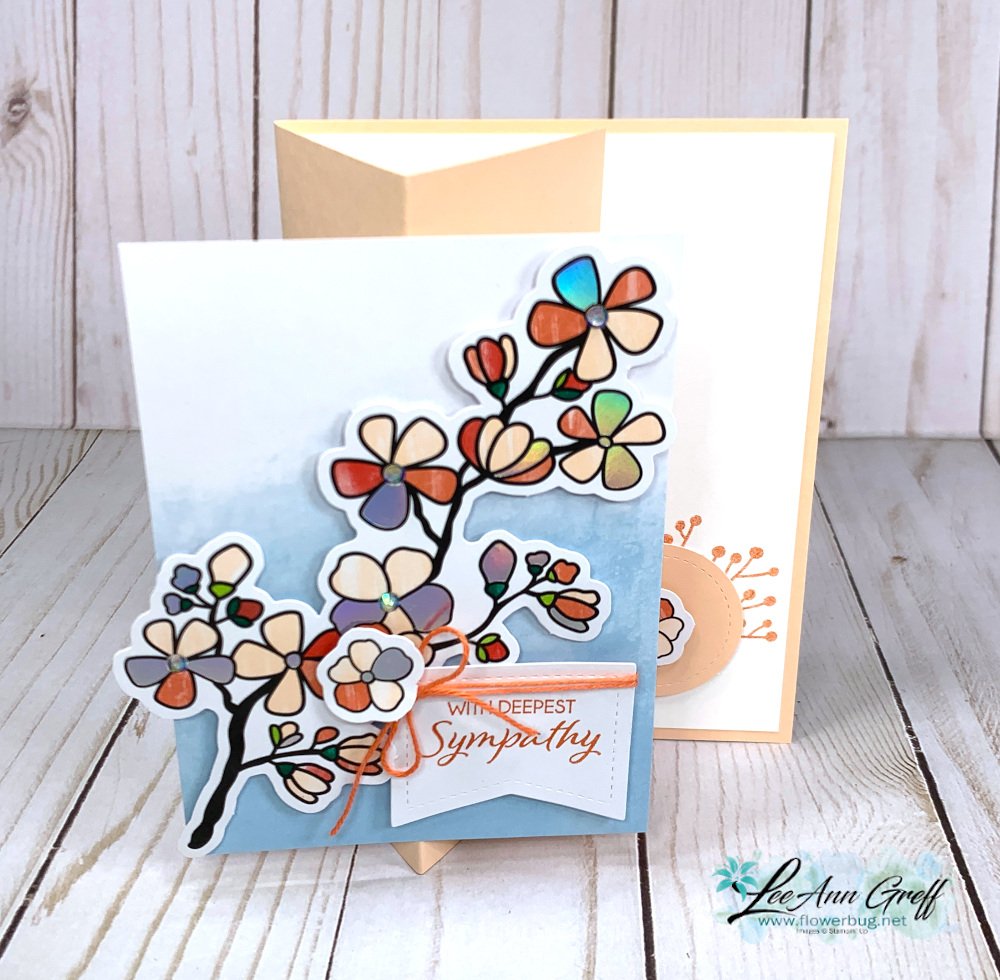
    Here's one of the cards I made.  It's a floating panel card!

    Here's a quick example of how to make one.  Score your (5 1/2" X 8 1/2") card twice – at 2 1/8" and 4 1/4".  Then add two folded strips of card stock (about 1/2" X 2" each) on that center front fold – both folds meet on that scored line. Add adhesive to the top area and add your top panel to it.  Done!  

    I LOVED making these cards!  If you want to subscribe to Paper Pumpkin with me, here's a link.  

    Or if you'd rather purchase a subscription you can do that here. 

    Remember that with Paper Pumpkin you are in charge of which kits you receive; pause if you don't like the next kit. But as a subscriber you are eligible to get any of the available refills or add on items.  

    Hint: June's kit will include an add on die-cut option!

    ~~~

    Remember that my new catalog designer paper share is still open for a limited time.  Get 80 sheets of 6 X 6" DSP – all from the new catalog for just $28.50 plus shipping.  Reserve your spot here. 


    ~~~

    May Specials:

    *current host code: CNSGEFEE or AJVB3B3V 

    Get a free updated cardstock color sampler with online orders over $55 using a host code.

    Offer good through May 17th  

    My new catalog designer paper share is open for a limited time. 

    Get 80 sheets of 6 X 6" DSP – all from the new catalog for just $28.50 plus shipping.  Reserve your spot here. 

    Earn free products with my loyalty rewards! 

    Click here to download yours and earn a $50 shopping spree!

    Leave a Reply

    Your email address will not be published. Required fields are marked *


Notice: LeeAnn Greff, Independent Stampin’ Up! Demonstrator, Manager. The content of this website is my sole responsibility as an independent Stampin’ Up! demonstrator and the use of, and content of, the classes, services, or products offered on this website is not endorsed by Stampin’ Up! Copyright 2025