/


Latest Post

Unique ideas with the Oh So Ombre designer paper; Promo ends Sunday!


Here are a few more ideas with the gorgeous Oh So Ombre designer paper.  It has been my favorite Sale-a-Bration item this year!  

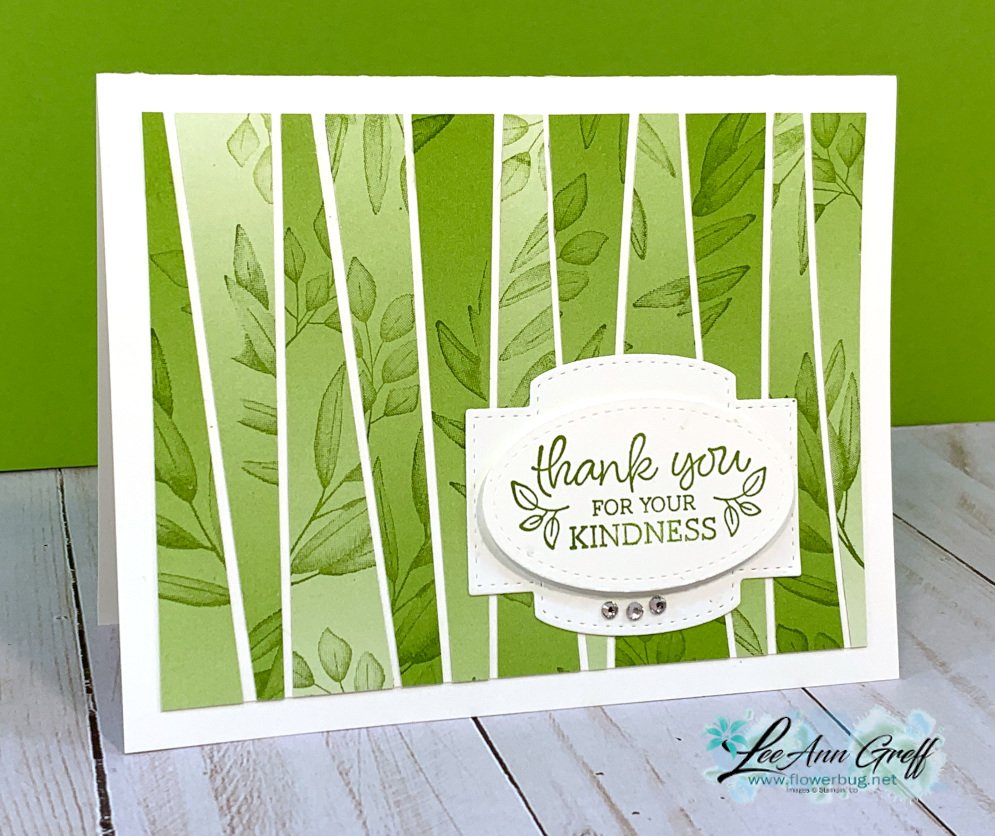
Playing with strips has always been fun for me.  On this first card I started with one sheet of DSP and cut it first at 4 1/2" long.  Then I cut strips off of the main piece at random angles.

Next I laid these strips on my grid paper and stamped the leaves from Forever Fern stamp set on them using Granny Apple Green ink.  

I then glued these strips to a 3 3/4" X 5" piece of White CS leaving a thin 1/16" gap between.  I didn't worry about the edges at all.  After I was done I trimmed them off even with the main White CS.  
Next is a fun card playing with the Playful Alphabet and 1/2" strips of this pretty Ombre paper.  I adhered the letters to the end of the paper strip with rolled up mini glue dots and trimmed any excess off that showed around the letter. 

The 'birthday' greeting is from Vine Design and the bottom edge is punched with the Postage Punch.  

Below are more cards I shared in a video you can see here. 

~~~

February Specials:

Get the best deal during Sale-a-Bration with purchase of the Starter Kit!   Get $125 in products of your choice for just $99 and FREE shipping too!  

Plus you get 5 packs of NEW 6" Designer Paper FREE. 


Go here to read about it


~~~

Current Host code is CGSK9YDR

Order online here

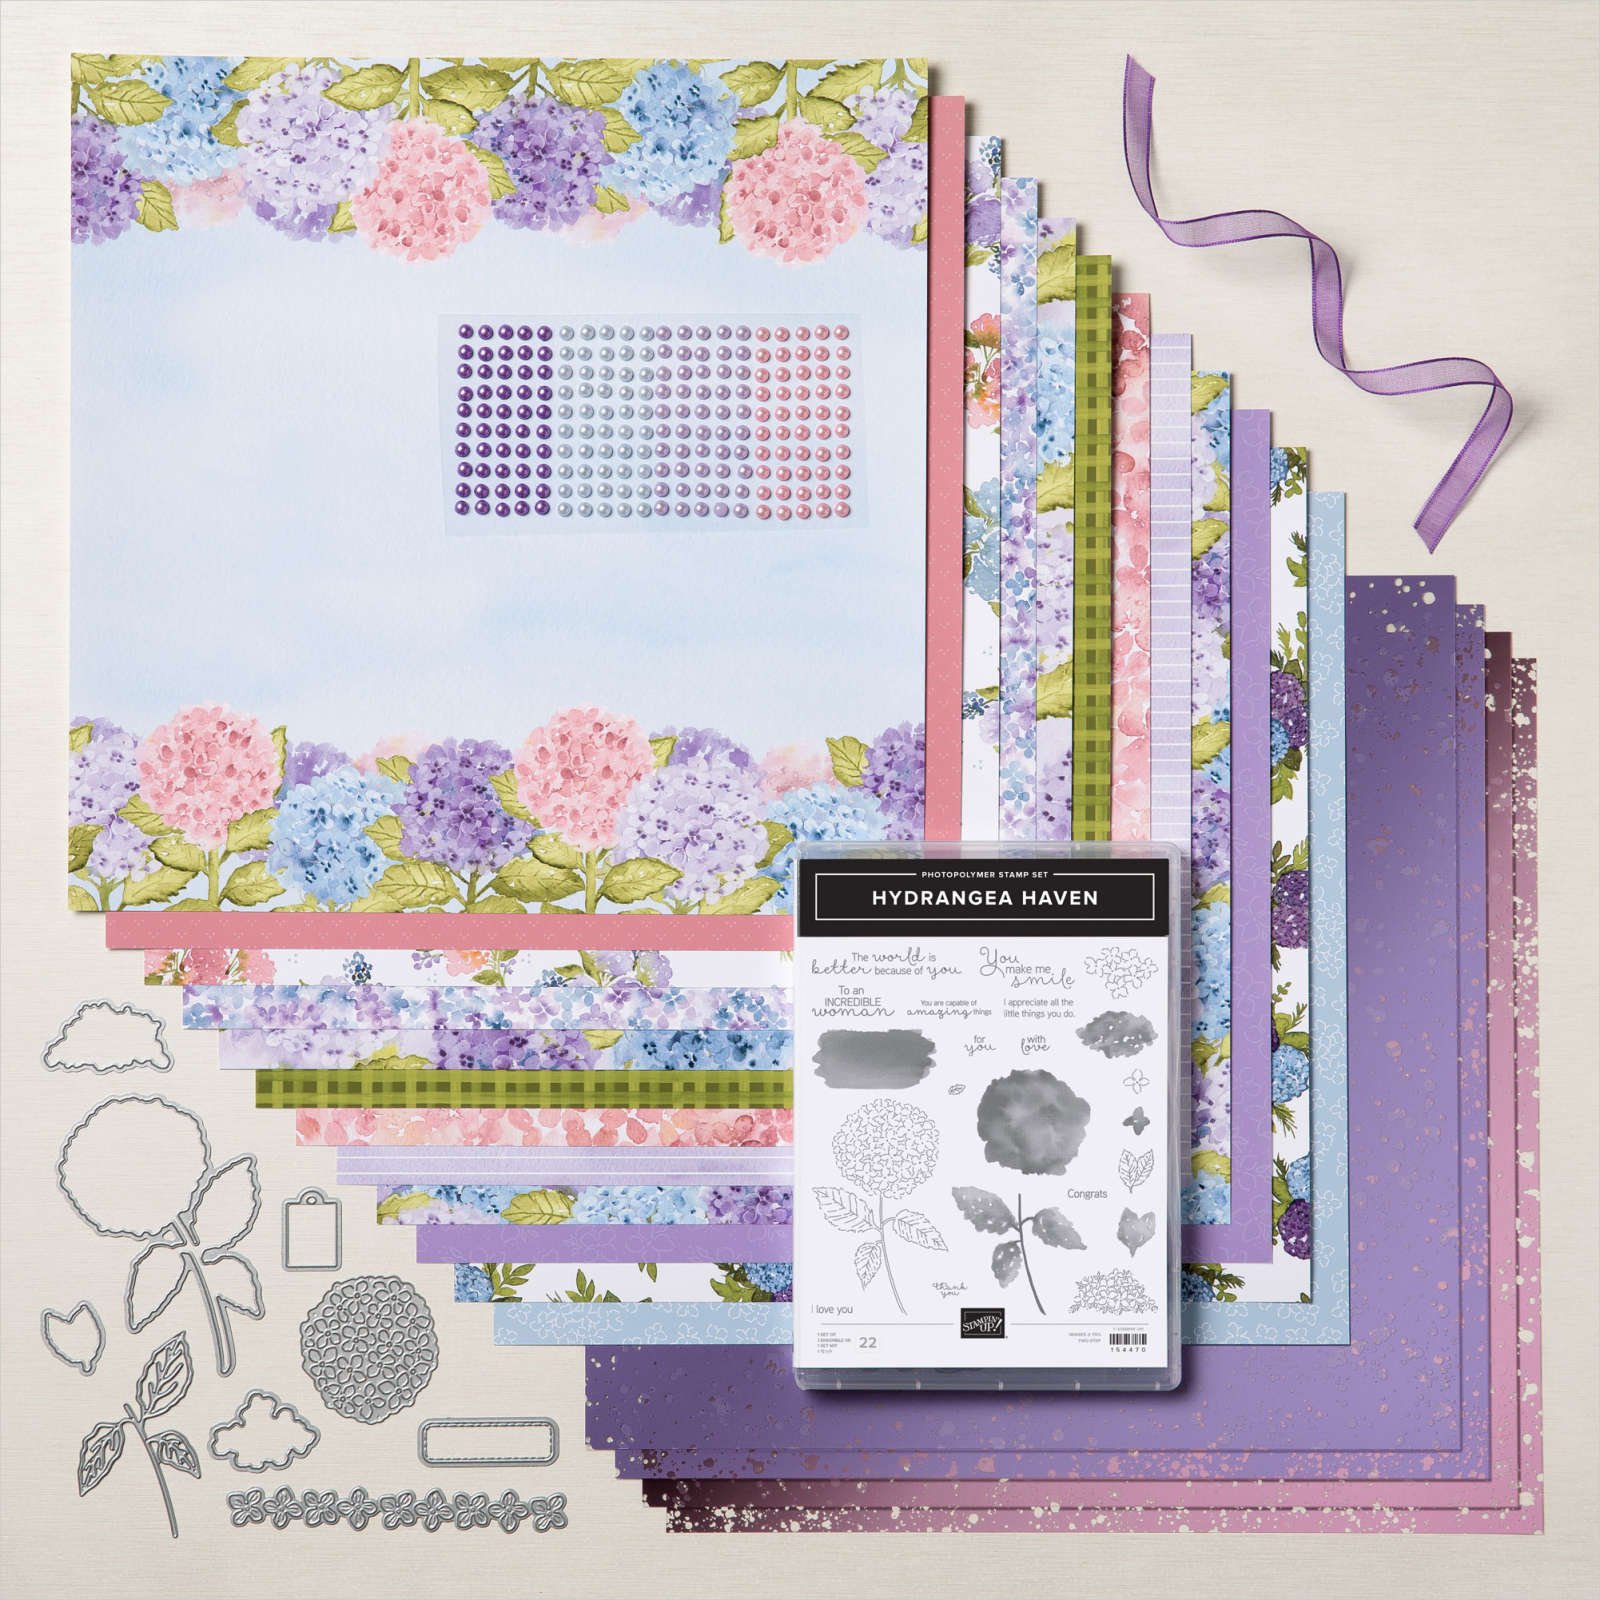
All online orders receive both a Hydrangea Hill and Sand & Sea projects PDF!
 

~~~

Get a package of 150 Resin Hearts from me with an online order over $50 using the host code above. They're adorable and so tiny!

*If your order is over $150 do not use the code; you'll still receive a gift! 

Below are the Multipurpose Glue stands we're making. They're $6 each and available in my Shop here.  

Click here to follow me on Facebook! 

All Posts

  • Wow! Check out this fabulous fun fold that’s actually easy! Video & free project sheet too


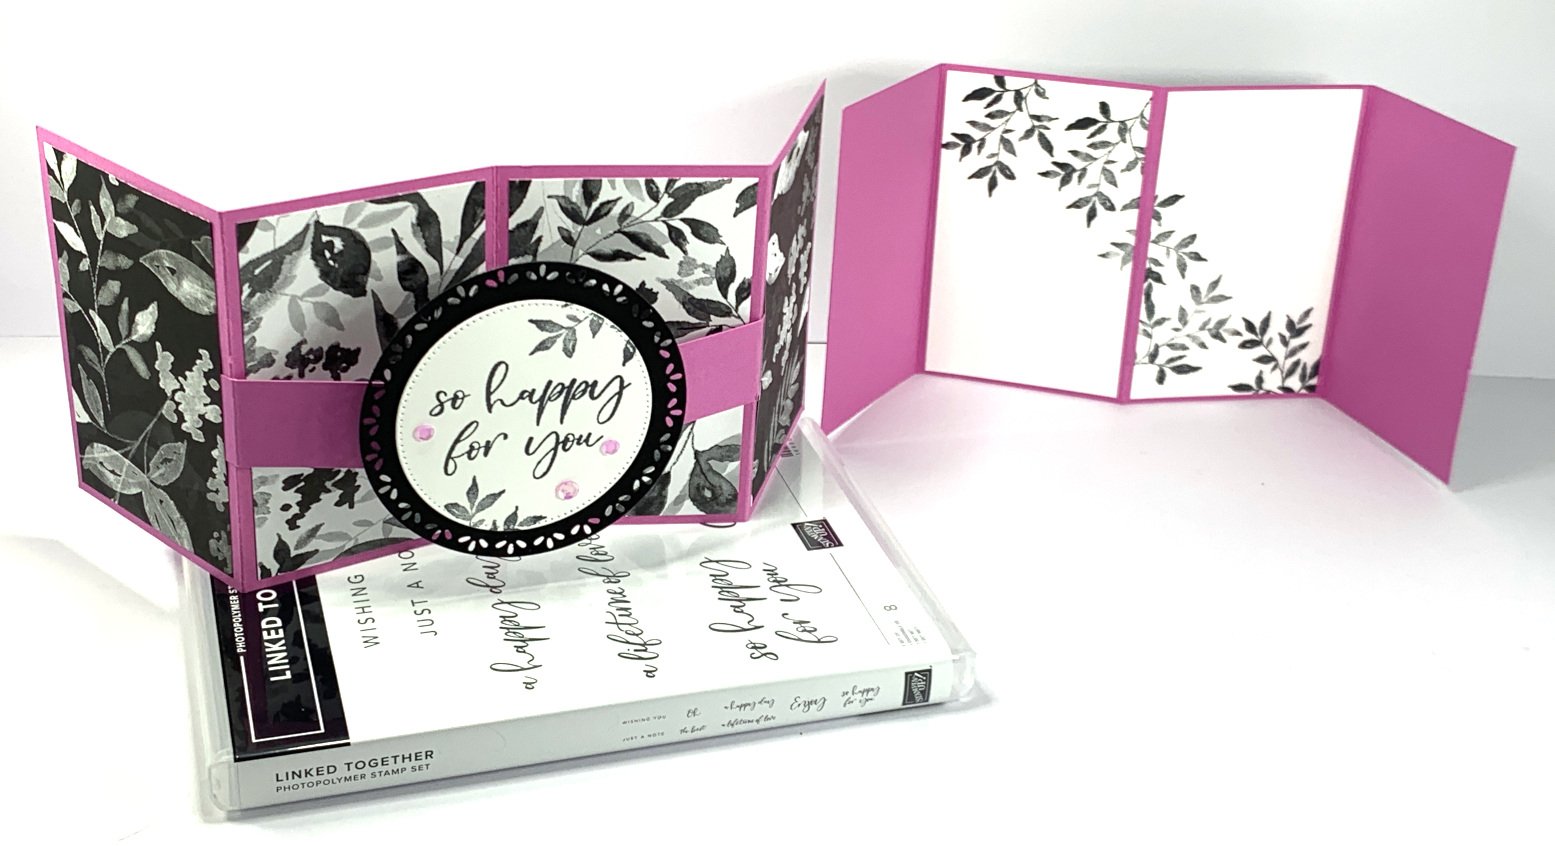
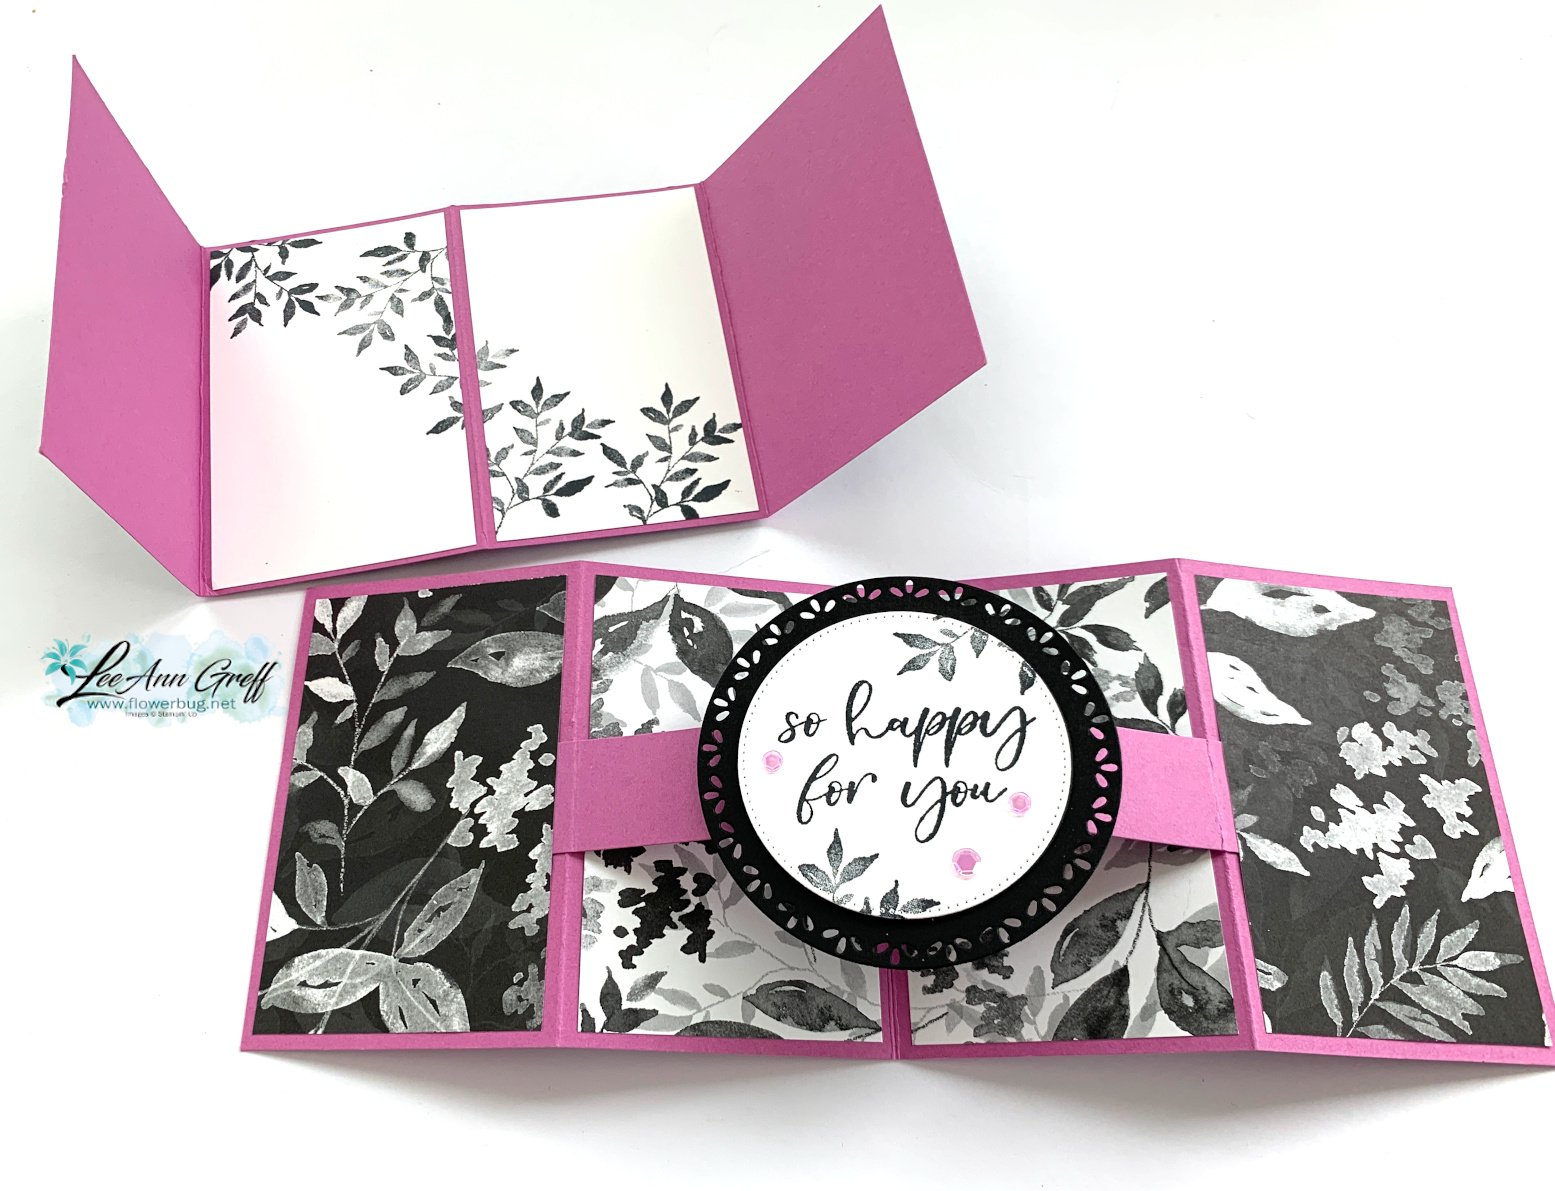
    I'm super excited to share this neat fancy fold card with you today.  I made it on a recent video which I've added towards the bottom of this post.  

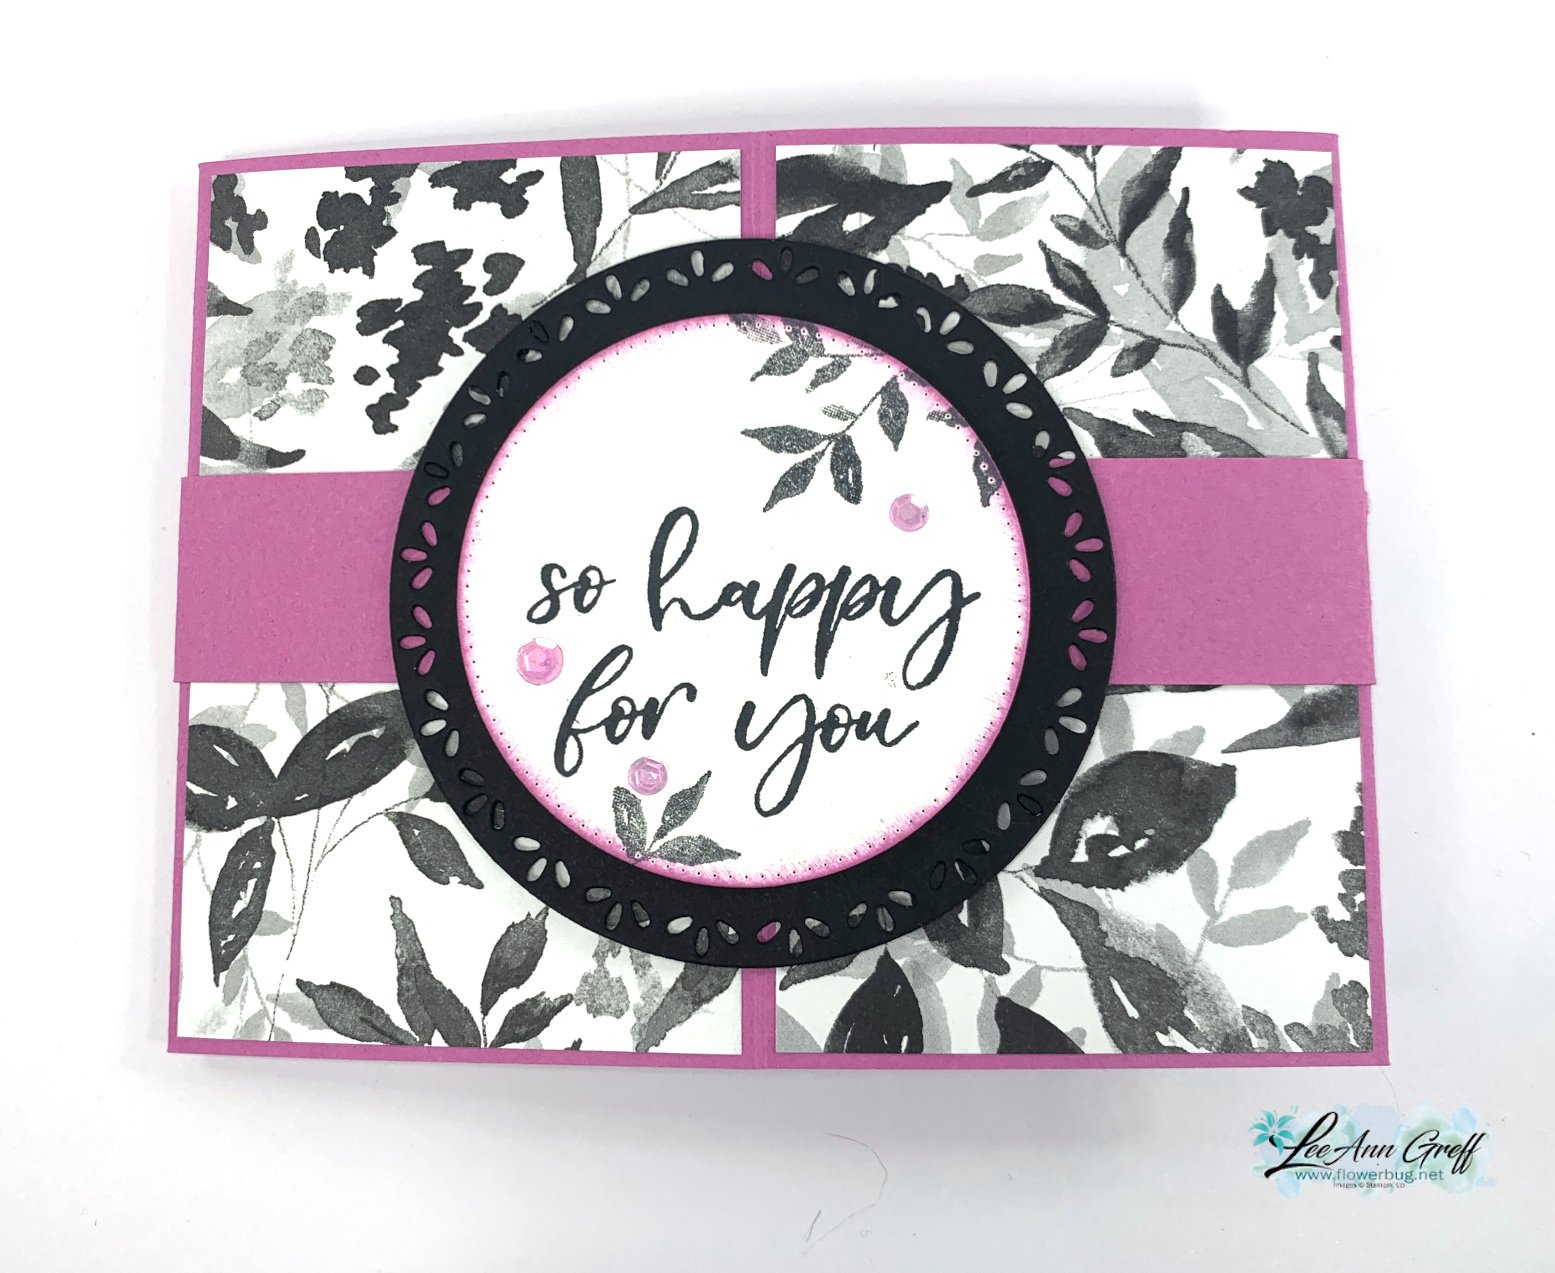
    I chose to use the beautiful Botanical Textures DSP seen here with Petunia Pop, Black & White.

    It starts out with a 11" X 4 1/4" piece of card stock that you score three times.  Then you add a 'bridge or brace' in the center that does the fun pop-up work.  Watch the video to see how it's done. And check out the free project sheet below too.  

    I stamped the greeting with the Linked Together stamp set and the leaves with the Textured Notes stamp set. The greeting die-cuts are from the Stylish Shapes and Spotlight on Nature dies. 

    It folds perfectly flat for mailing too!  

    I hope you'll watch the video below to see how to assemble this neat card. It's super fun to play with.  

    Here is the free project sheet with measurements & directions. Click on the following link to print or download it.  Download Floating Center pop out card


    Below is the video tutorial: I hope you watch it and see the other really special fancy fold.  I'll share that tomorrow! 

    ~~~

    March Specials:

    *current host code link:  

    PNQMAWXD

    Get a free Floral Delight tutorial with any online order in March!

     Free Iridescent Foil gems!

    Leave a Reply

    Your email address will not be published. Required fields are marked *

  • Double Easel fun fold card with video & free project sheet


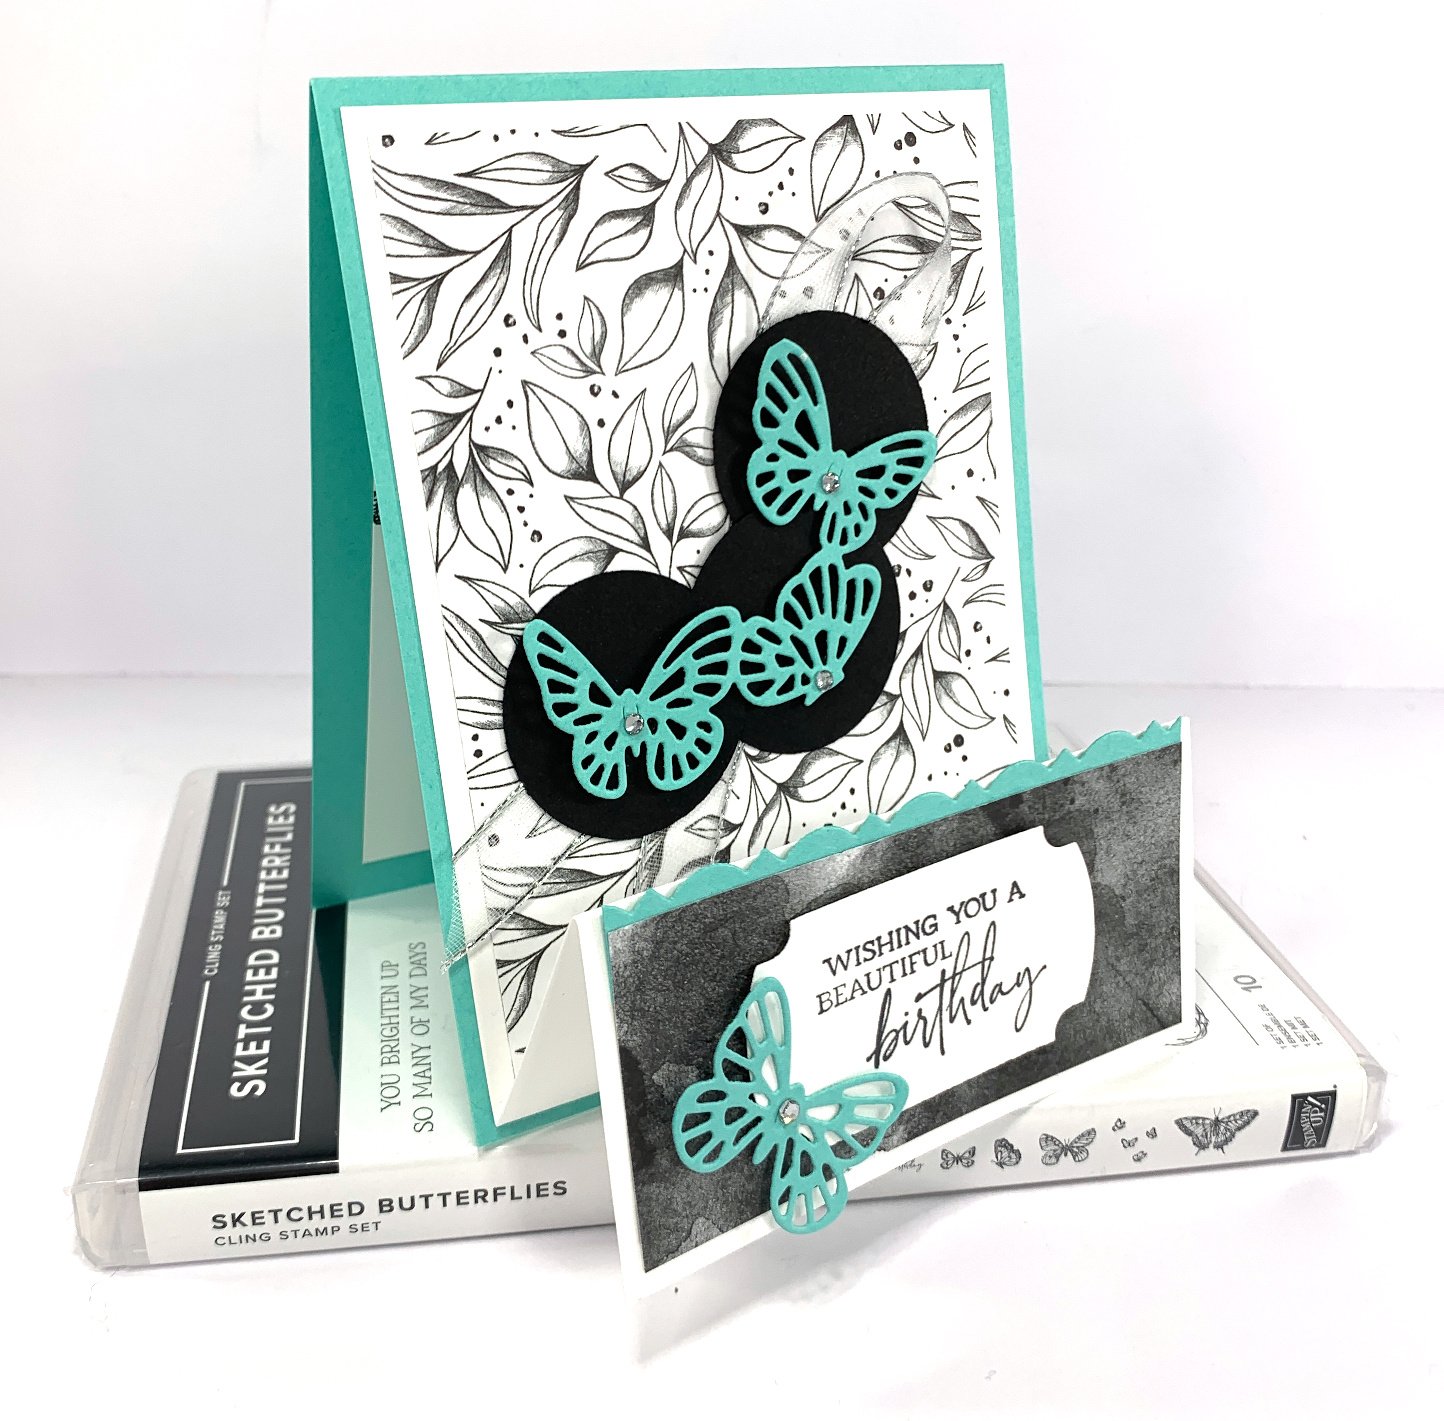
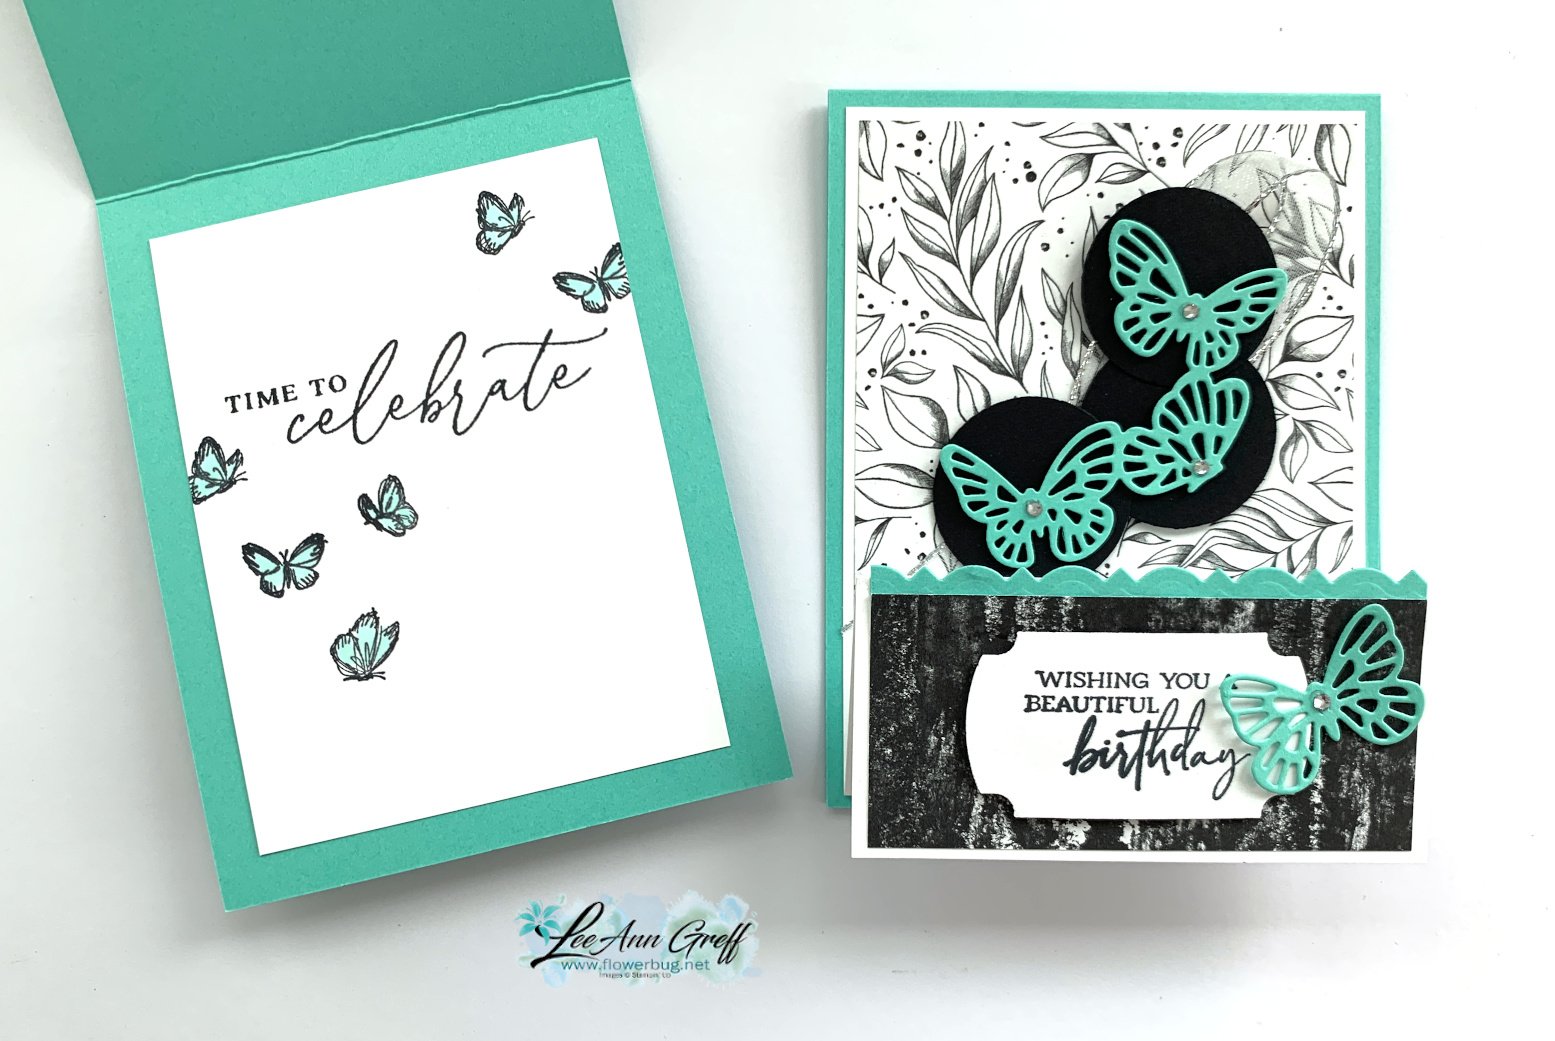
    I shared this neat fun fold on last week's Live video.  I record them on Facebook Live then upload to YouTube so you can view them either place. 

    My color combination is Summer Splash with Black & White.  The new Botanical Textures DSP inspired this fun fold card. 
    I love how the three butterflies die-cut is placed on 3 Black circles; they would have been lost if placed directly on the DSP. 
    We made this project at last week's Team gathering.  They loved it! 
     
    Products used:
    • Botanical Textures DSP seen here
    • Sketched Butterfly bundle
    • Beautiful Butterflies stamp set
    • Fancy Border dies (seen here) 
    • Label punch

    I created a free project sheet with measurements & directions for you. Click on this link to download or print it.  Download Botanical Butterfly Easel card

    I also included the video below. What do you think of it?  I hope you'll try one!

    Below is the video tutorial: I hope you watch it and see the other really special fancy fold.  I'll share that tomorrow! 

    ~~~

    March Specials:

    *current host code link:  

    PNQMAWXD

    Get a free Floral Delight tutorial with any online order in March!

     Free Iridescent Foil gems!


    Leave a Reply

    Your email address will not be published. Required fields are marked *

  • Last of the Clean & Simple Team swaps!


    Today I'm sharing the last of the March Team swaps with the Clean & Simple theme.  No designer paper!

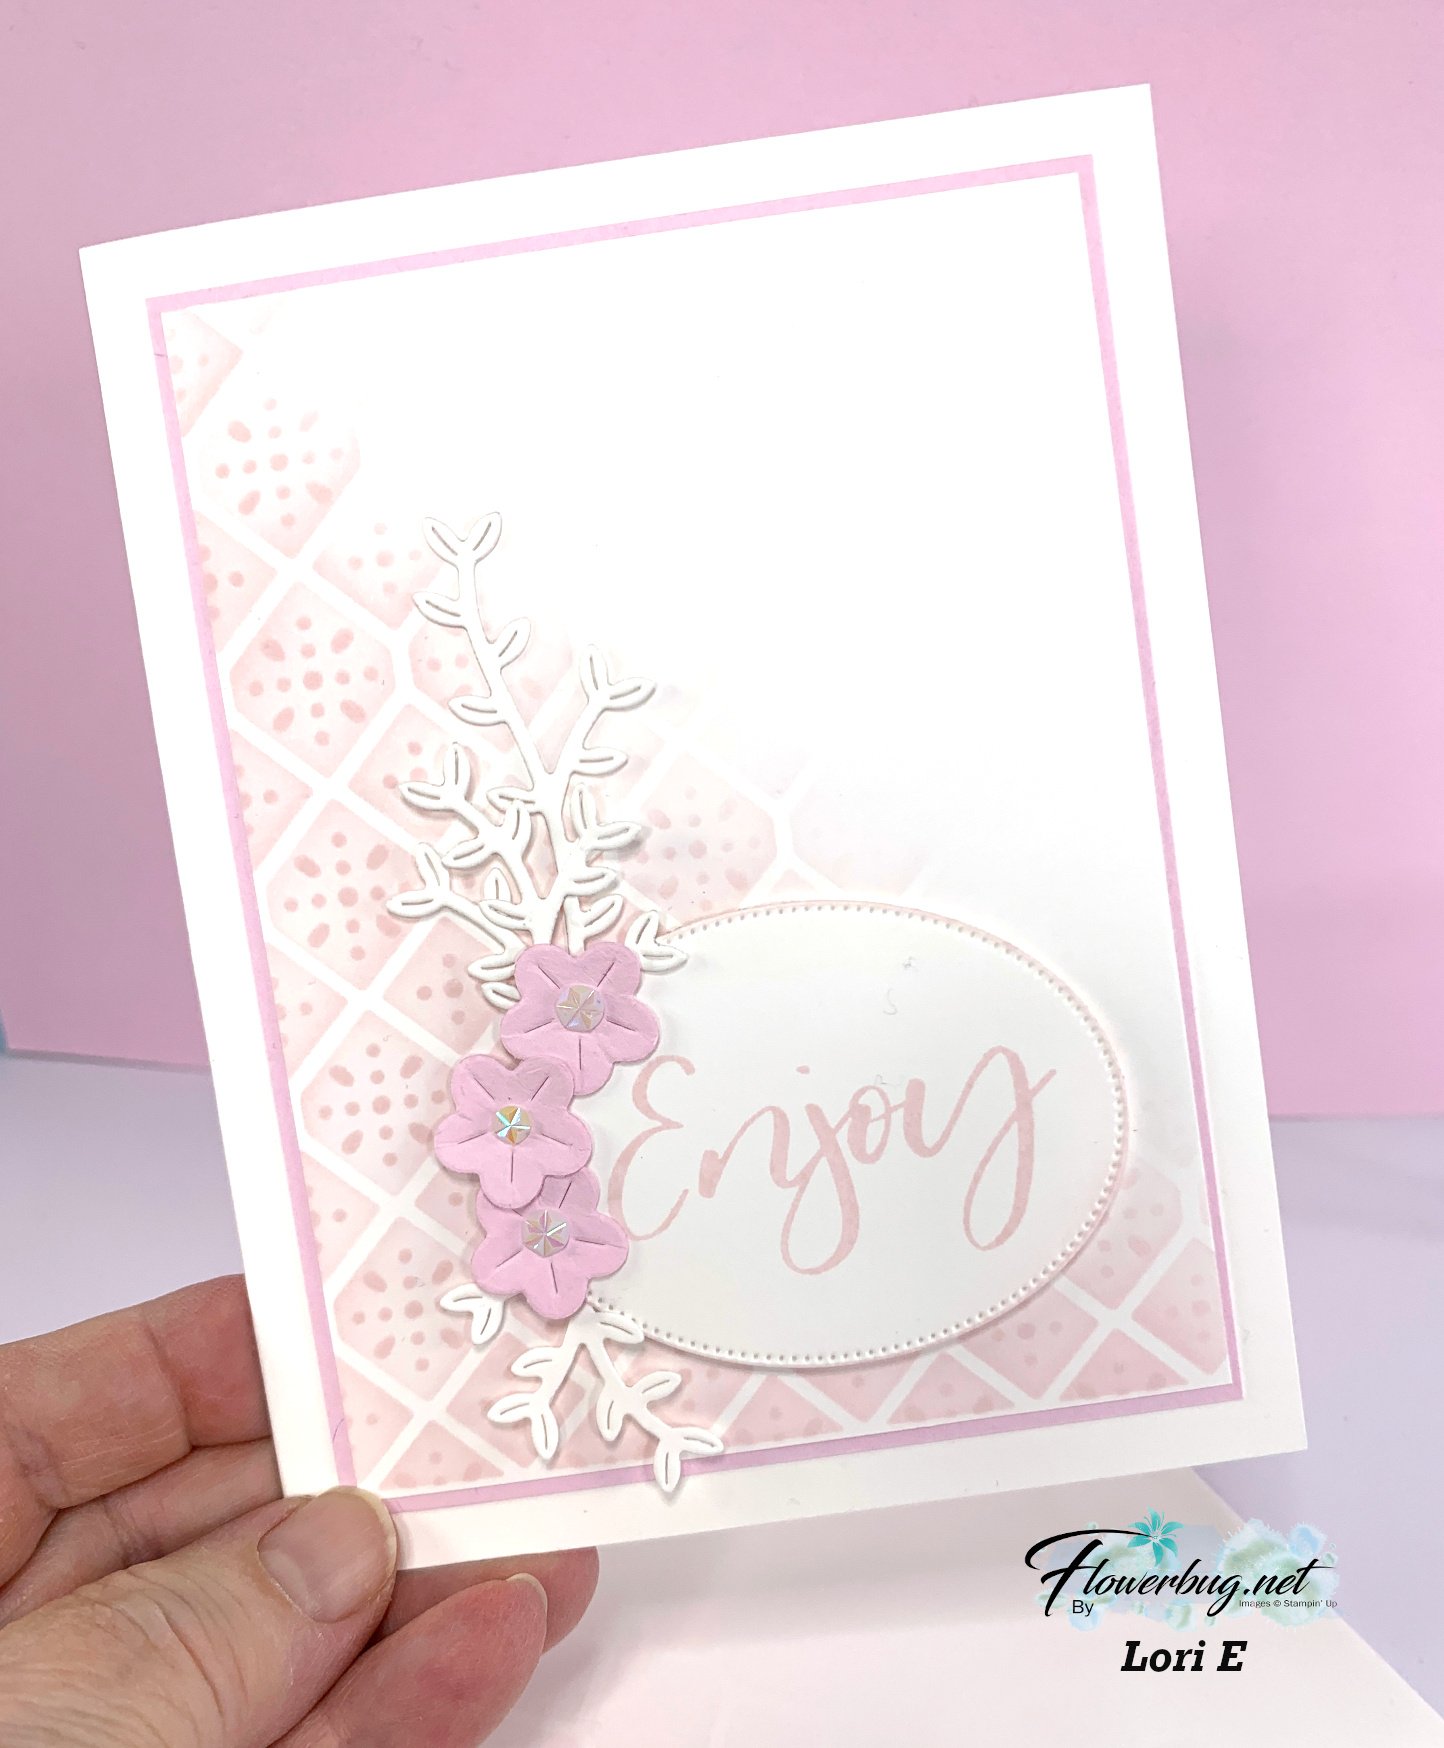
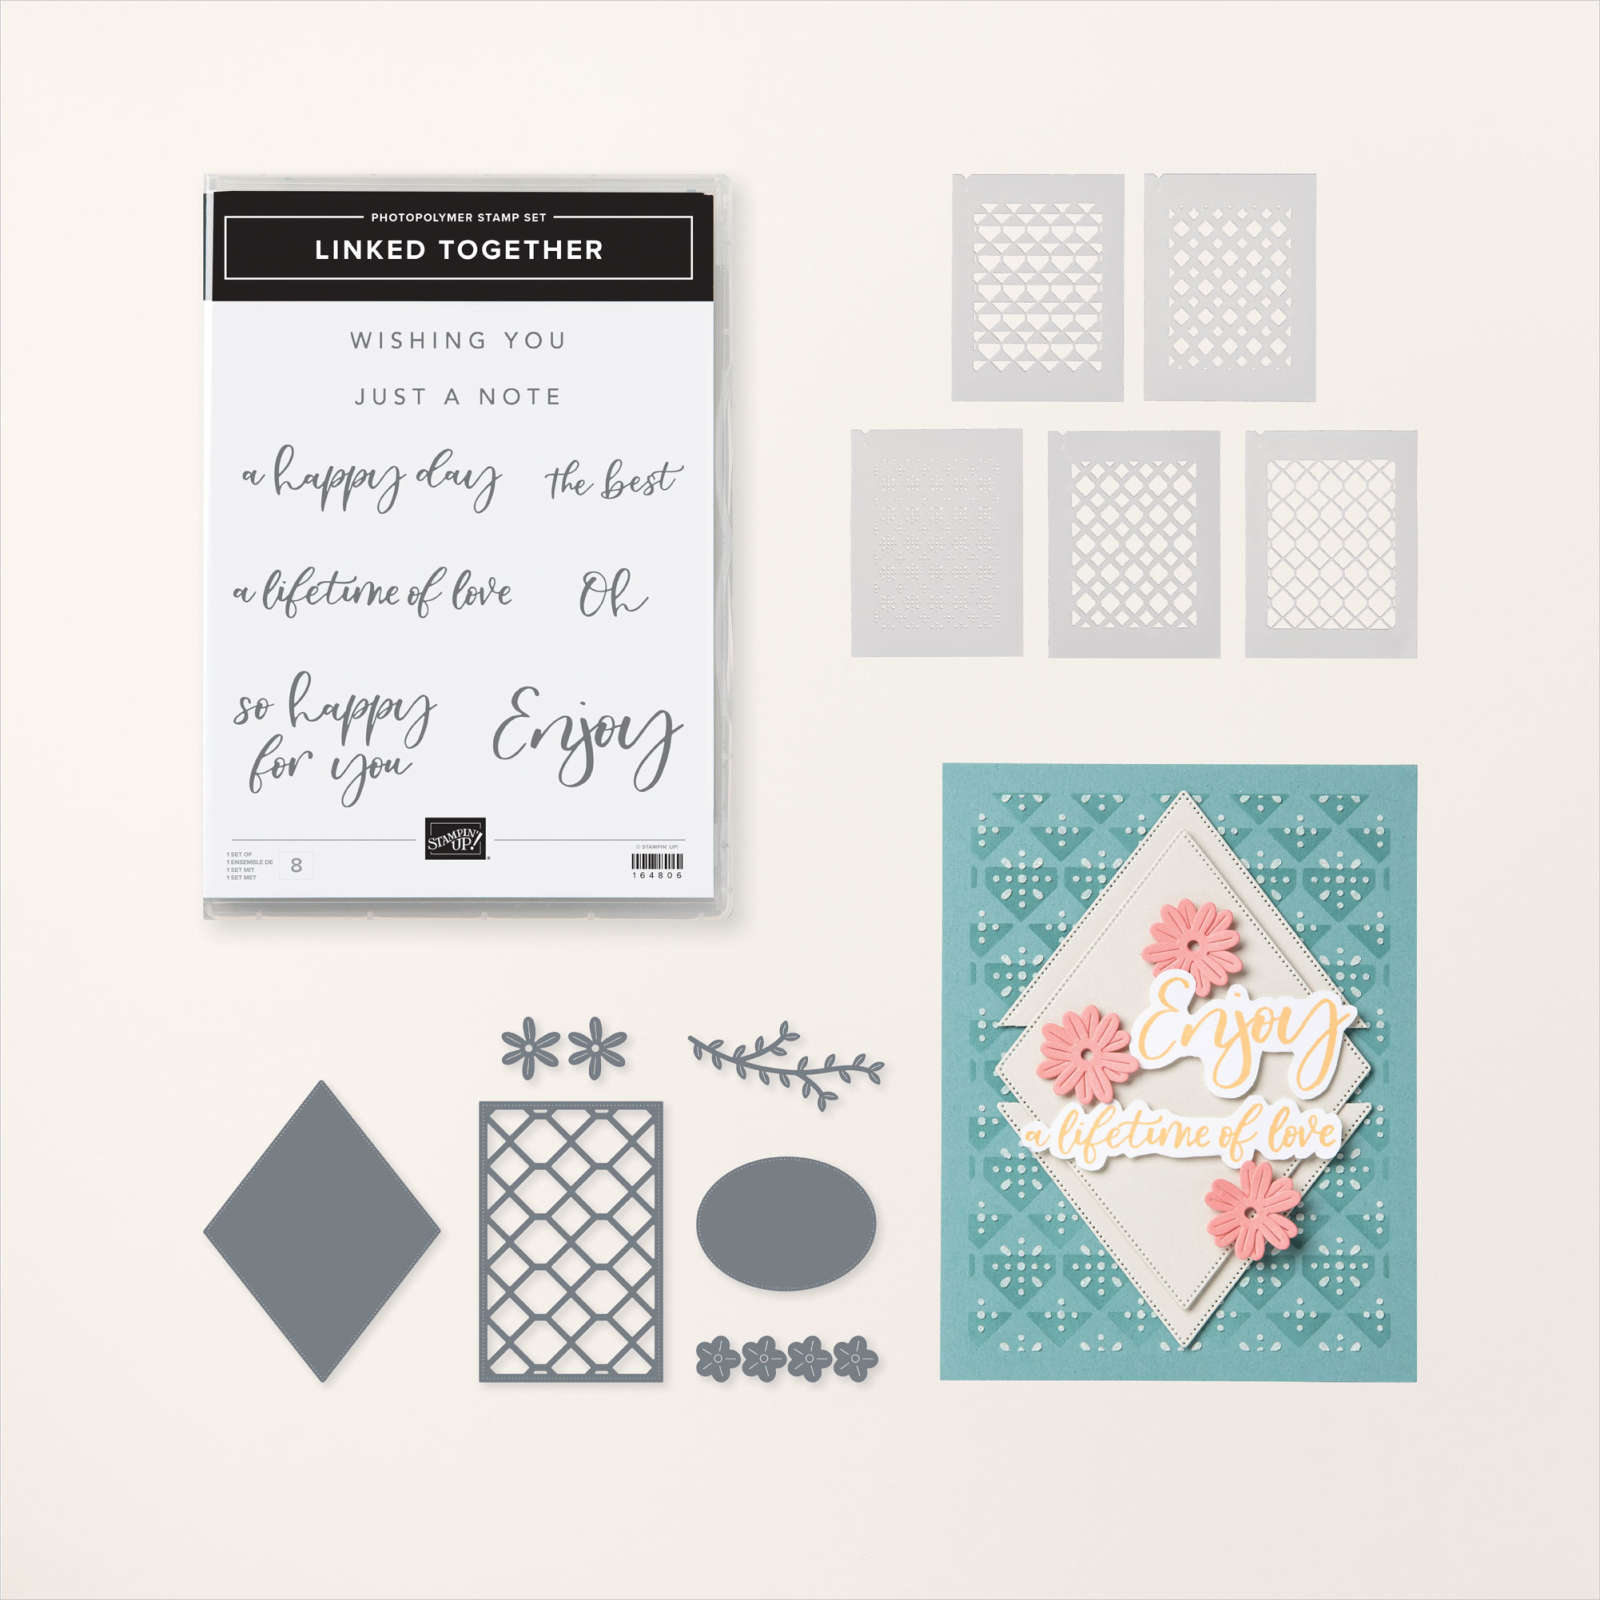
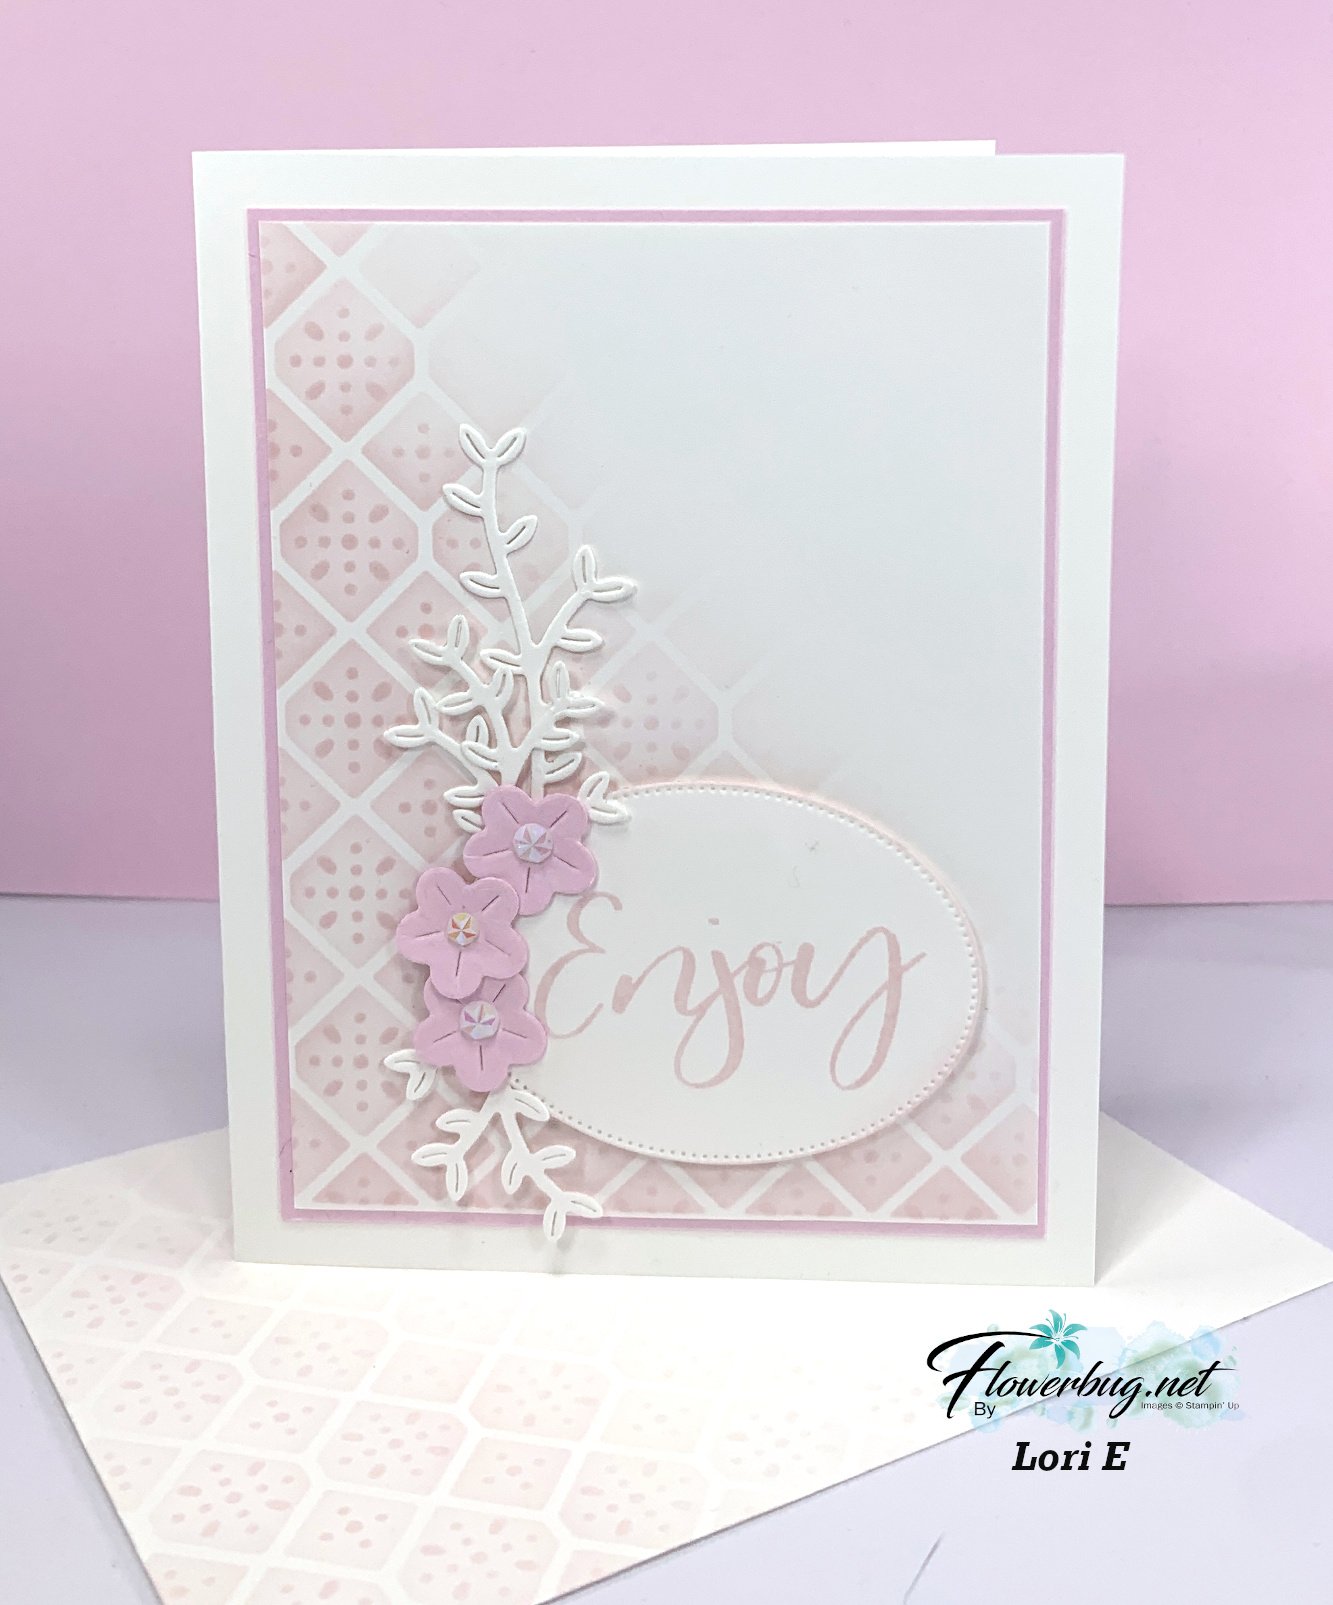
    Lori created with pretty card with the Linked Together bundle seen here. 

    This bundle has stamps, dies and masks which is how she created her background.  All using Bubble Bath ink! 

    I love her soft background and the die accents she added by the greeting.  Just gorgeous!  

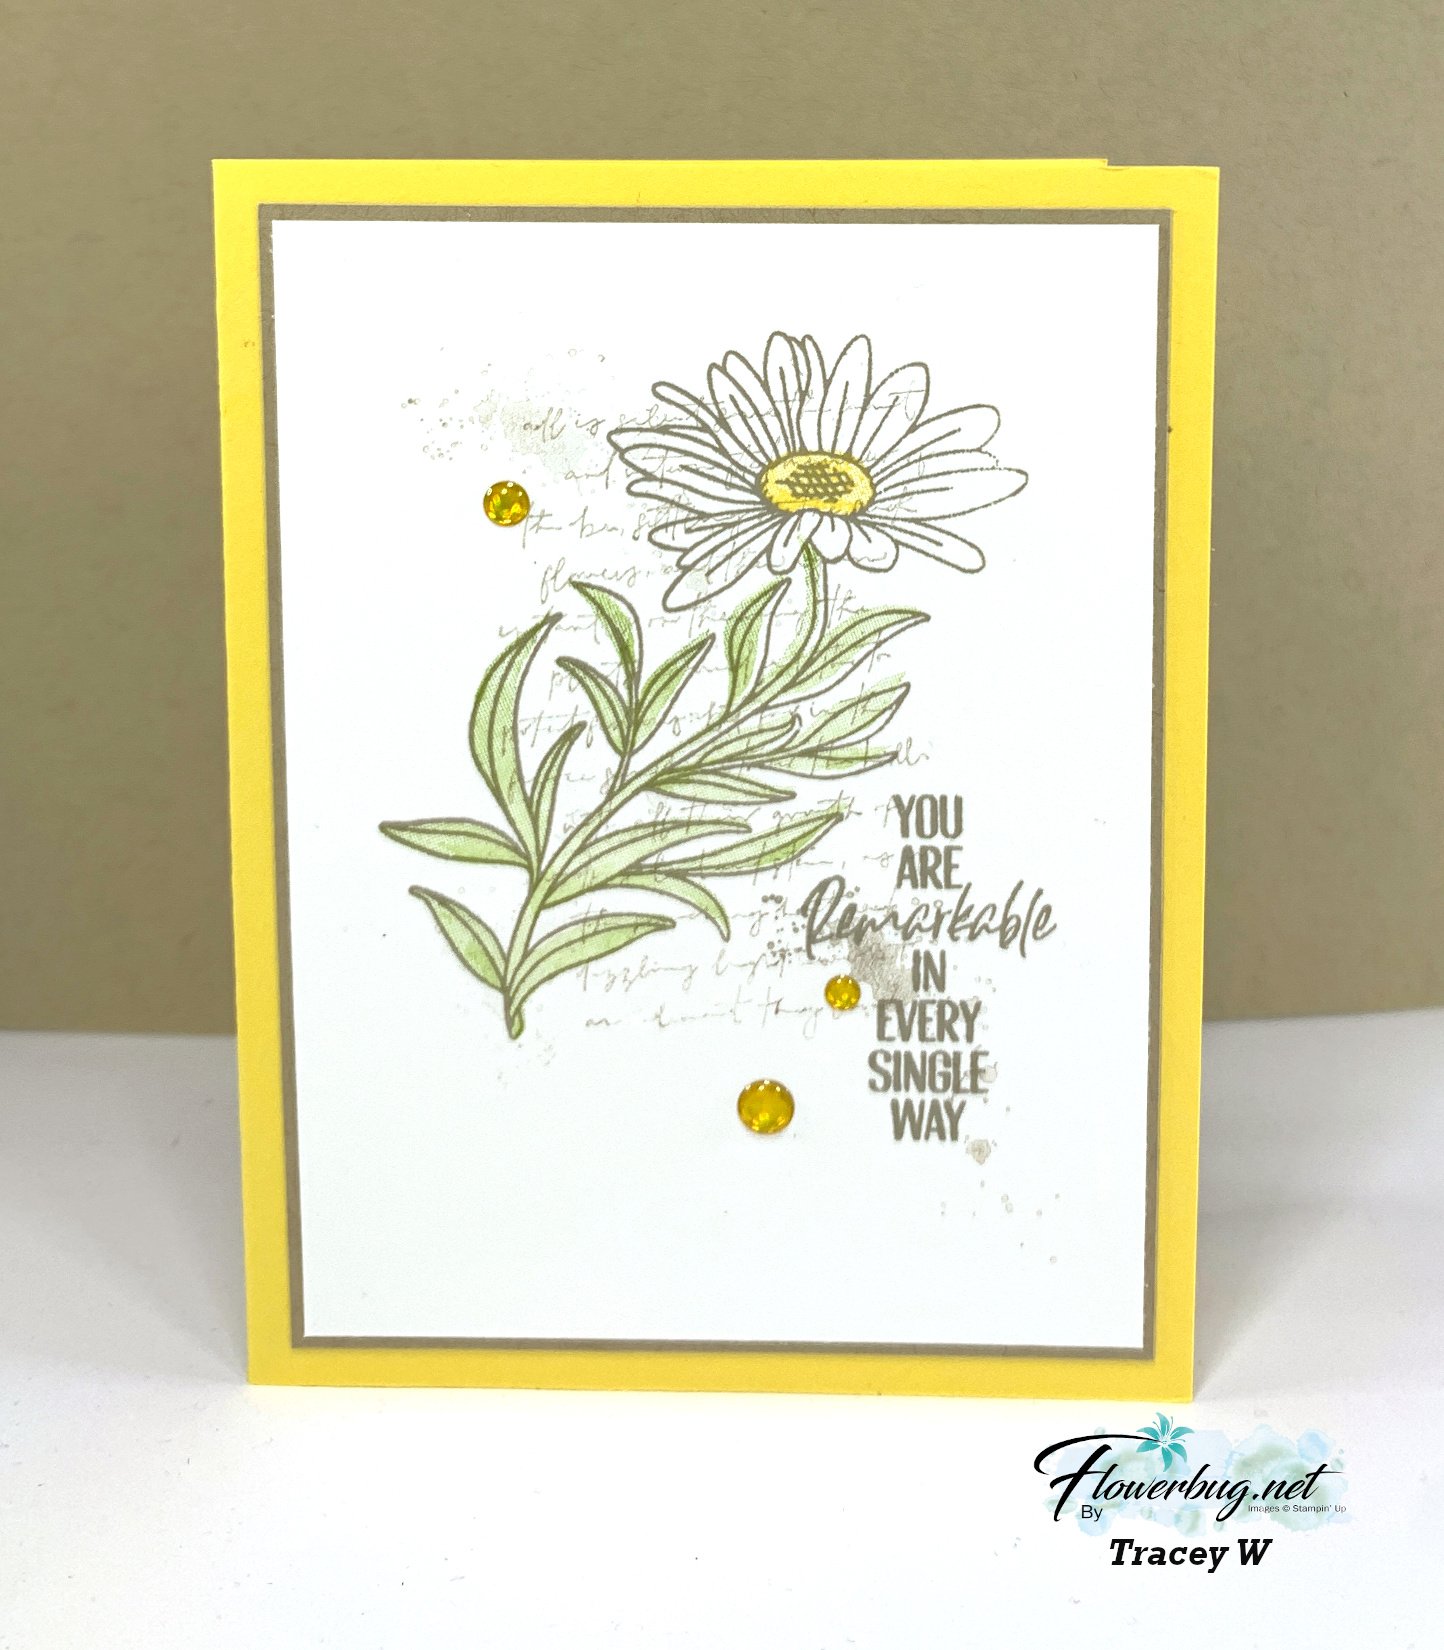
    Next is a pretty card made by Tracey. She chose to use the You are Remarkable stamp set seen here.  

    She also stamped a soft background behind the flower using the Elements of Text set.  Her color include Daffodil Delight & Crumb Cake with a bit of green on the leaves.  

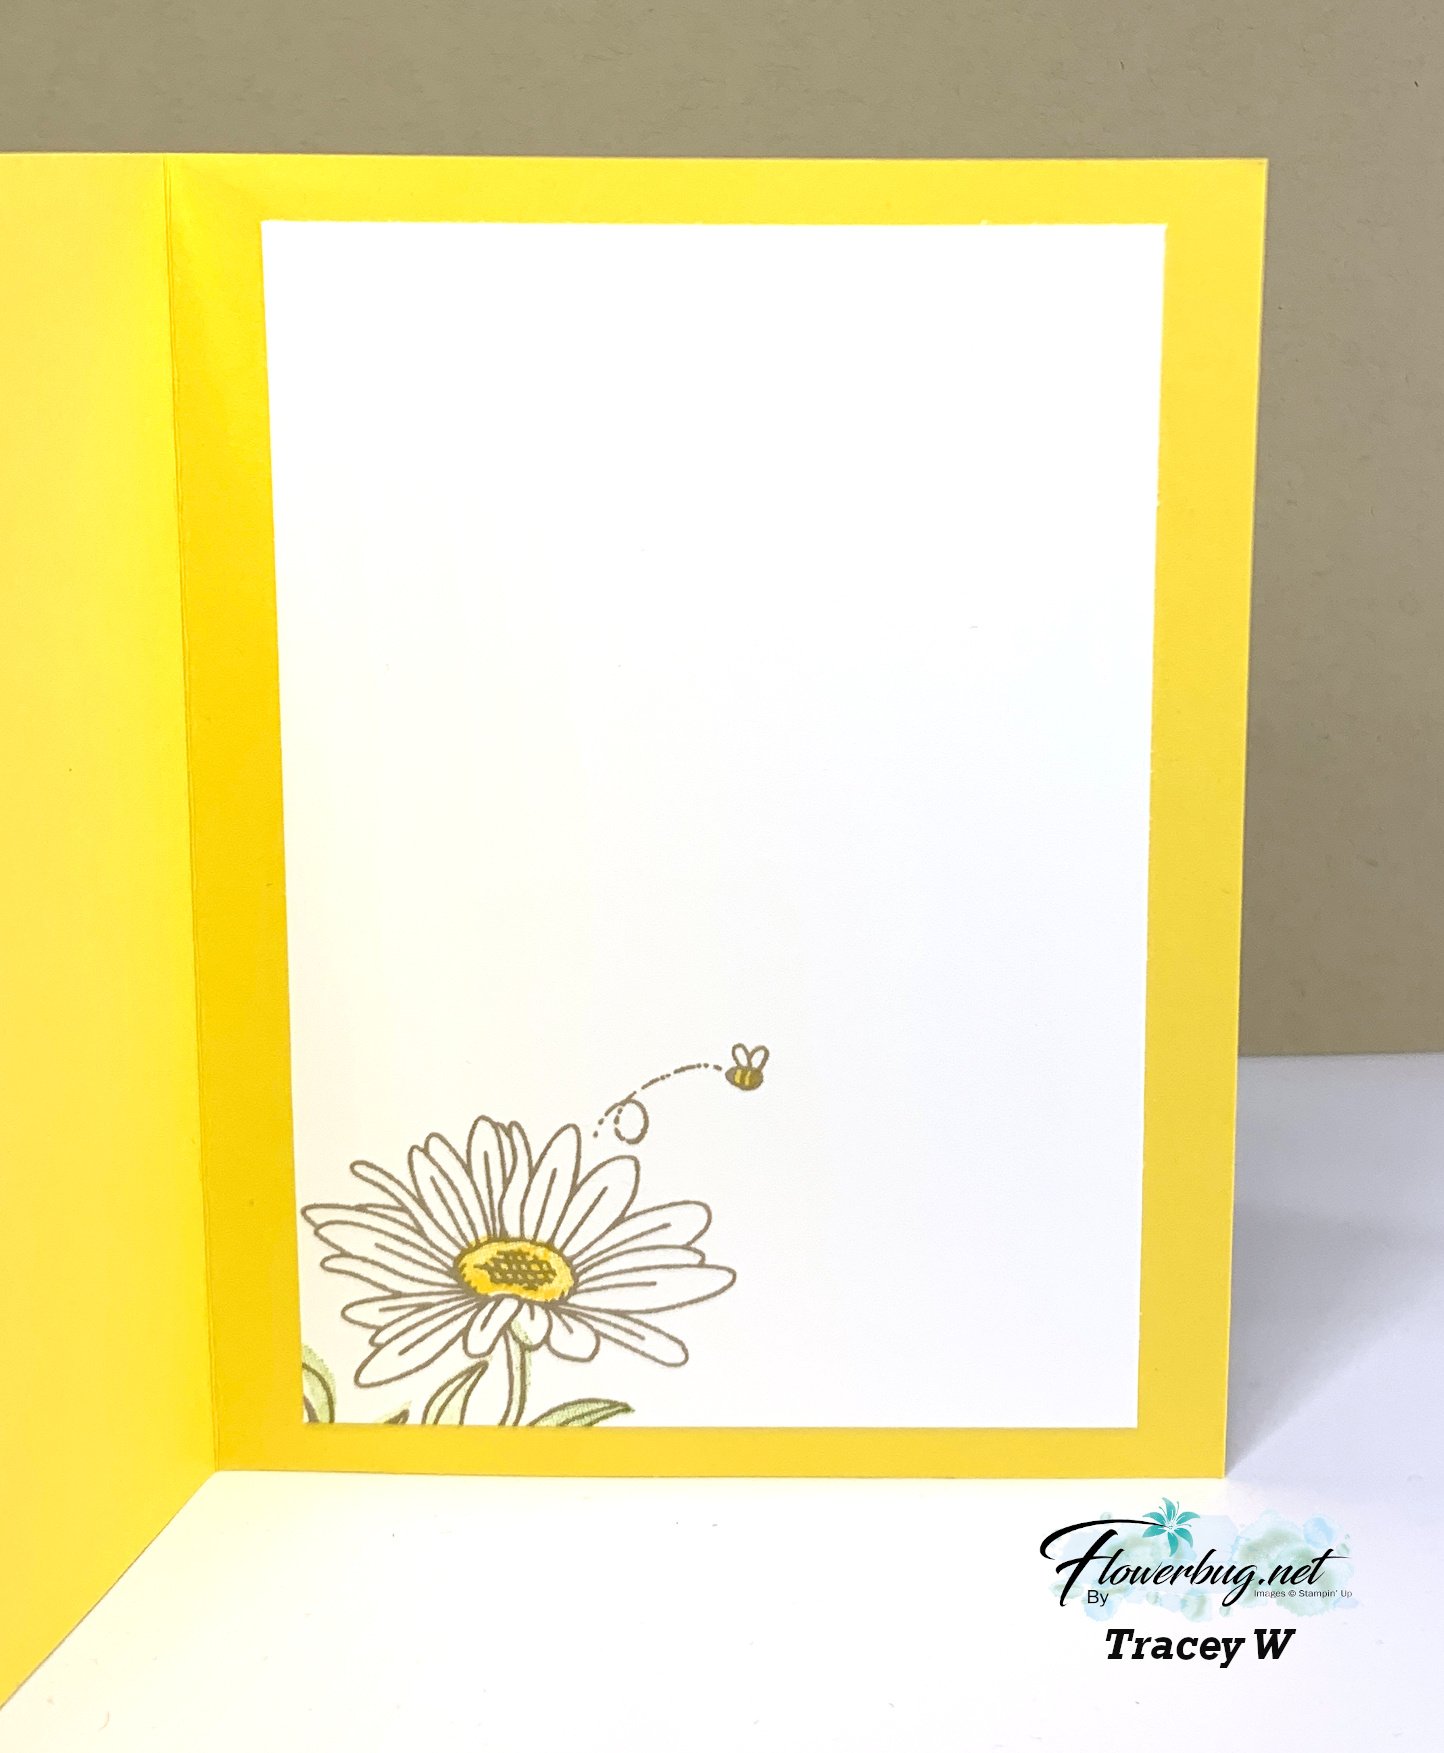
    I love how she stamped the inside; that bee is adorable. 

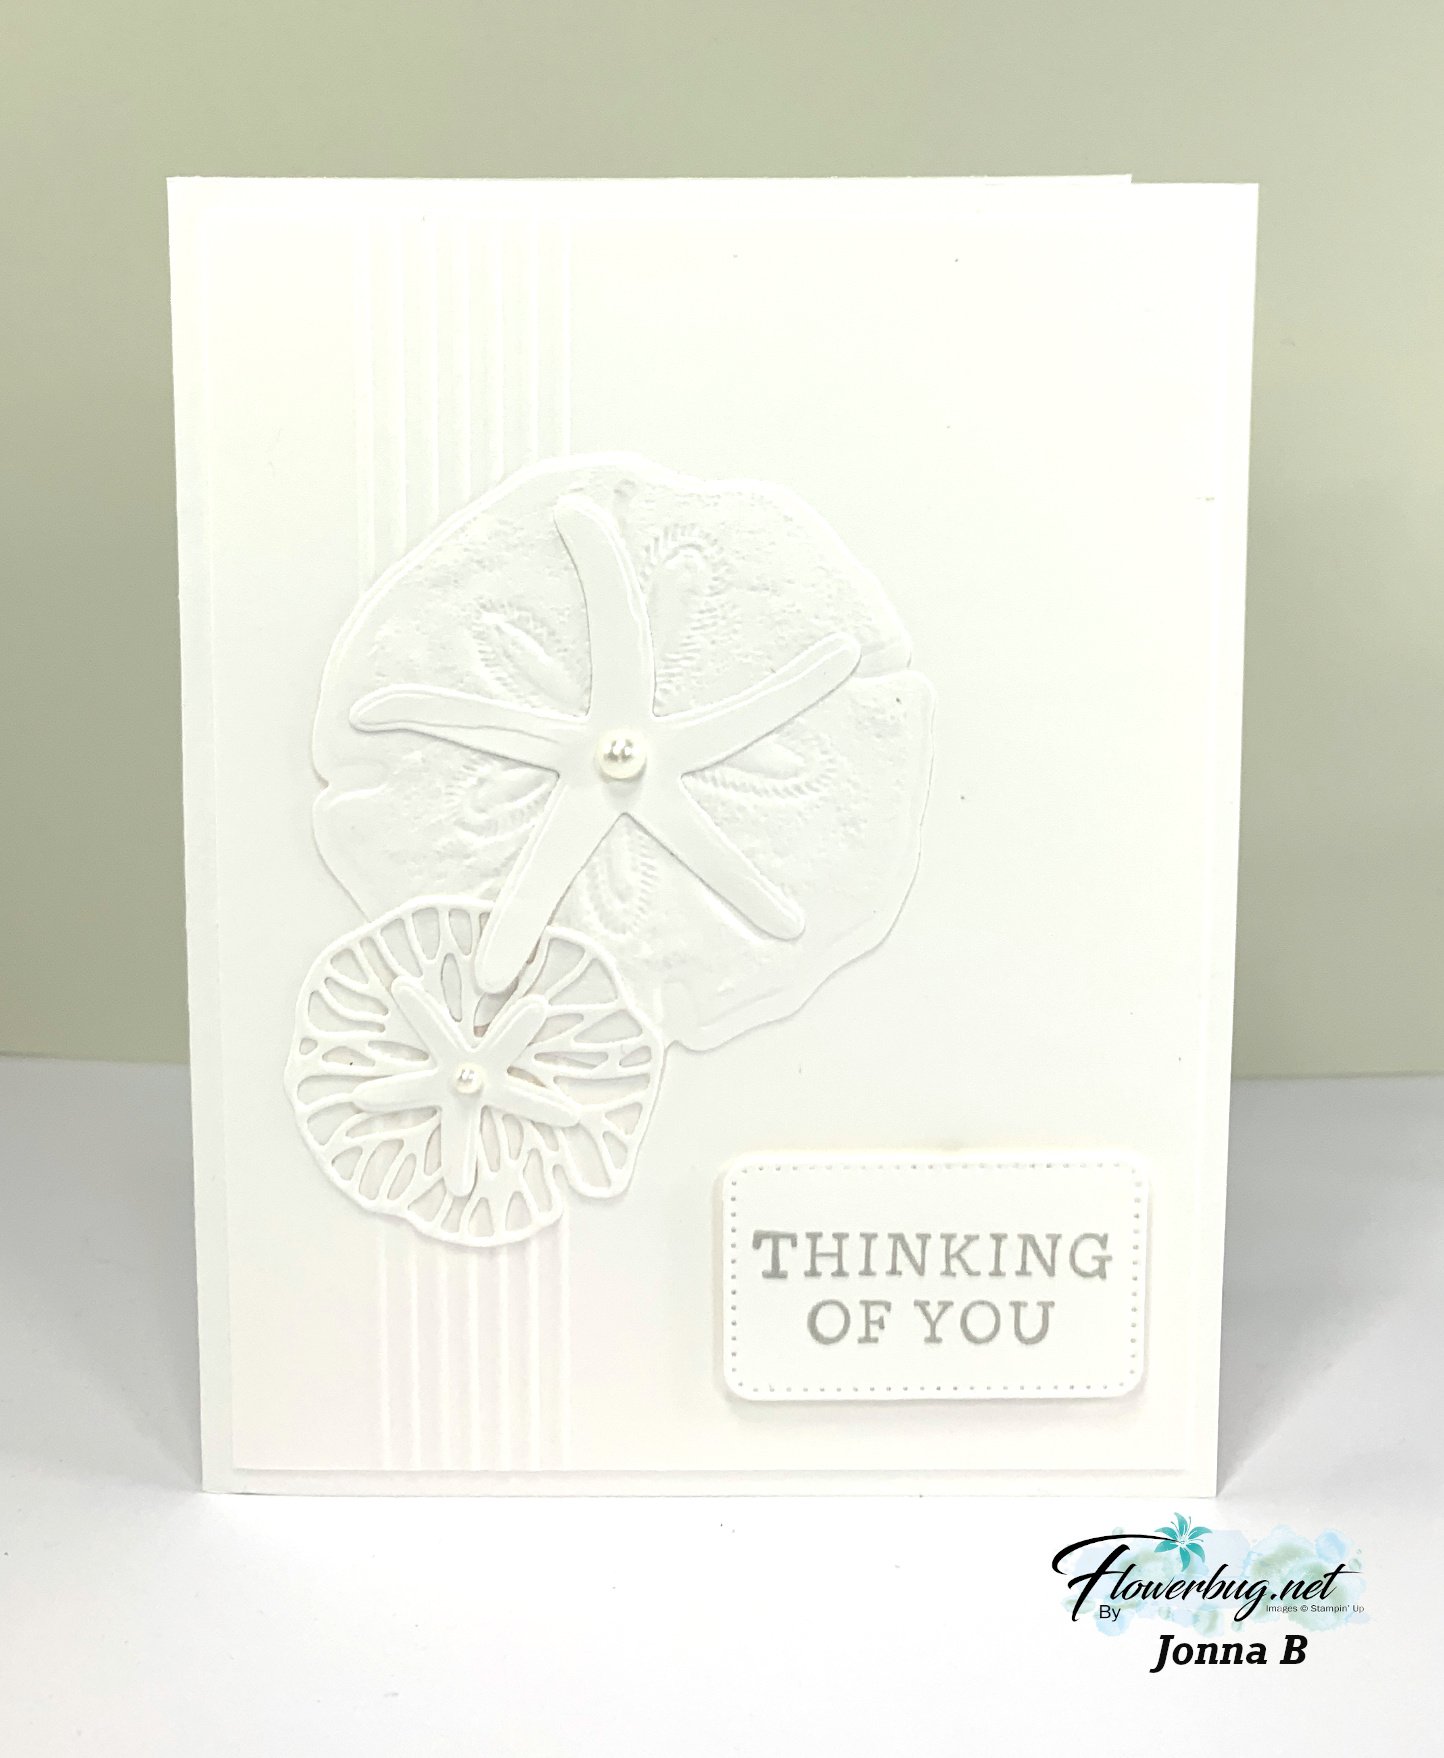
    And lastly is this beautiful all White card made by Jonna.  

    White on White is hard to photograph; I wish you could see how elegant it is in person!  

    She used the Seaside Wishes bundle along with a bunch of score lines on the left side. This little touch anchors the seashells wonderfully!  

    I hope you've enjoyed seeing my talented team swaps this month!  

    ~~~

    March Specials:

    *current host code link:  

    PNQMAWXD

    Get a free Floral Delight tutorial with any online order in March!

     Free Iridescent Foil gems!

    Leave a Reply

    Your email address will not be published. Required fields are marked *


Notice: LeeAnn Greff, Independent Stampin’ Up! Demonstrator, Manager. The content of this website is my sole responsibility as an independent Stampin’ Up! demonstrator and the use of, and content of, the classes, services, or products offered on this website is not endorsed by Stampin’ Up! Copyright 2025