/


Latest Post

Unique ideas with the Oh So Ombre designer paper; Promo ends Sunday!


Here are a few more ideas with the gorgeous Oh So Ombre designer paper.  It has been my favorite Sale-a-Bration item this year!  

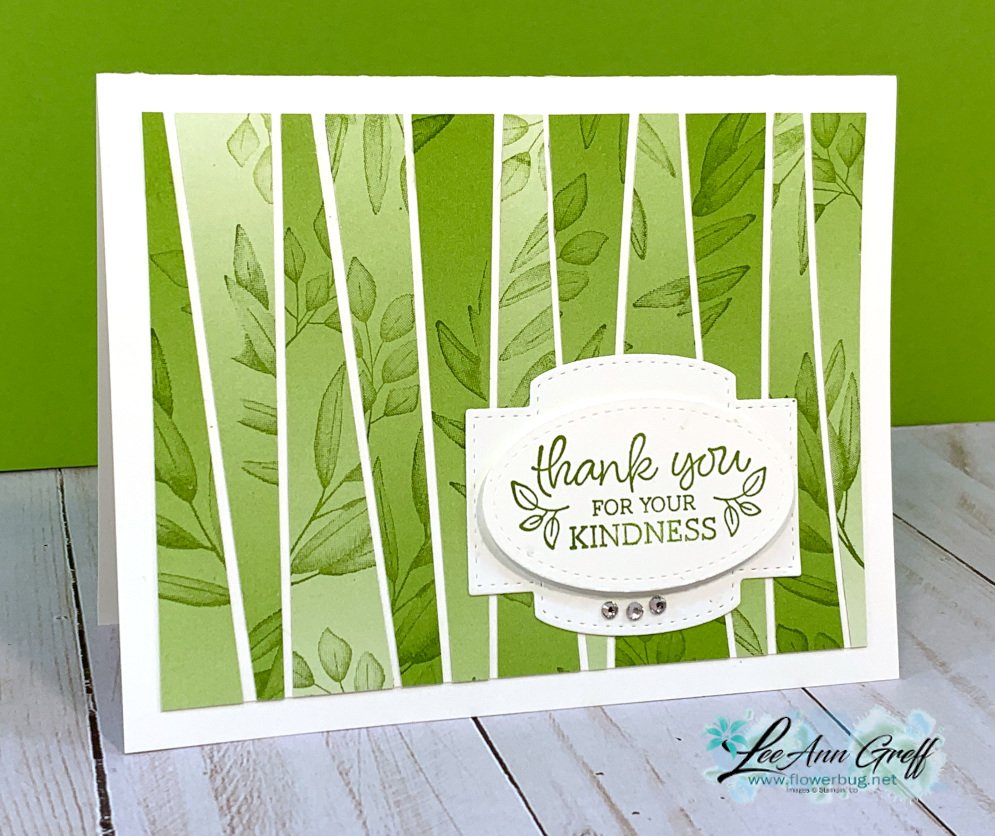
Playing with strips has always been fun for me.  On this first card I started with one sheet of DSP and cut it first at 4 1/2" long.  Then I cut strips off of the main piece at random angles.

Next I laid these strips on my grid paper and stamped the leaves from Forever Fern stamp set on them using Granny Apple Green ink.  

I then glued these strips to a 3 3/4" X 5" piece of White CS leaving a thin 1/16" gap between.  I didn't worry about the edges at all.  After I was done I trimmed them off even with the main White CS.  
Next is a fun card playing with the Playful Alphabet and 1/2" strips of this pretty Ombre paper.  I adhered the letters to the end of the paper strip with rolled up mini glue dots and trimmed any excess off that showed around the letter. 

The 'birthday' greeting is from Vine Design and the bottom edge is punched with the Postage Punch.  

Below are more cards I shared in a video you can see here. 

~~~

February Specials:

Get the best deal during Sale-a-Bration with purchase of the Starter Kit!   Get $125 in products of your choice for just $99 and FREE shipping too!  

Plus you get 5 packs of NEW 6" Designer Paper FREE. 


Go here to read about it


~~~

Current Host code is CGSK9YDR

Order online here

All online orders receive both a Hydrangea Hill and Sand & Sea projects PDF!
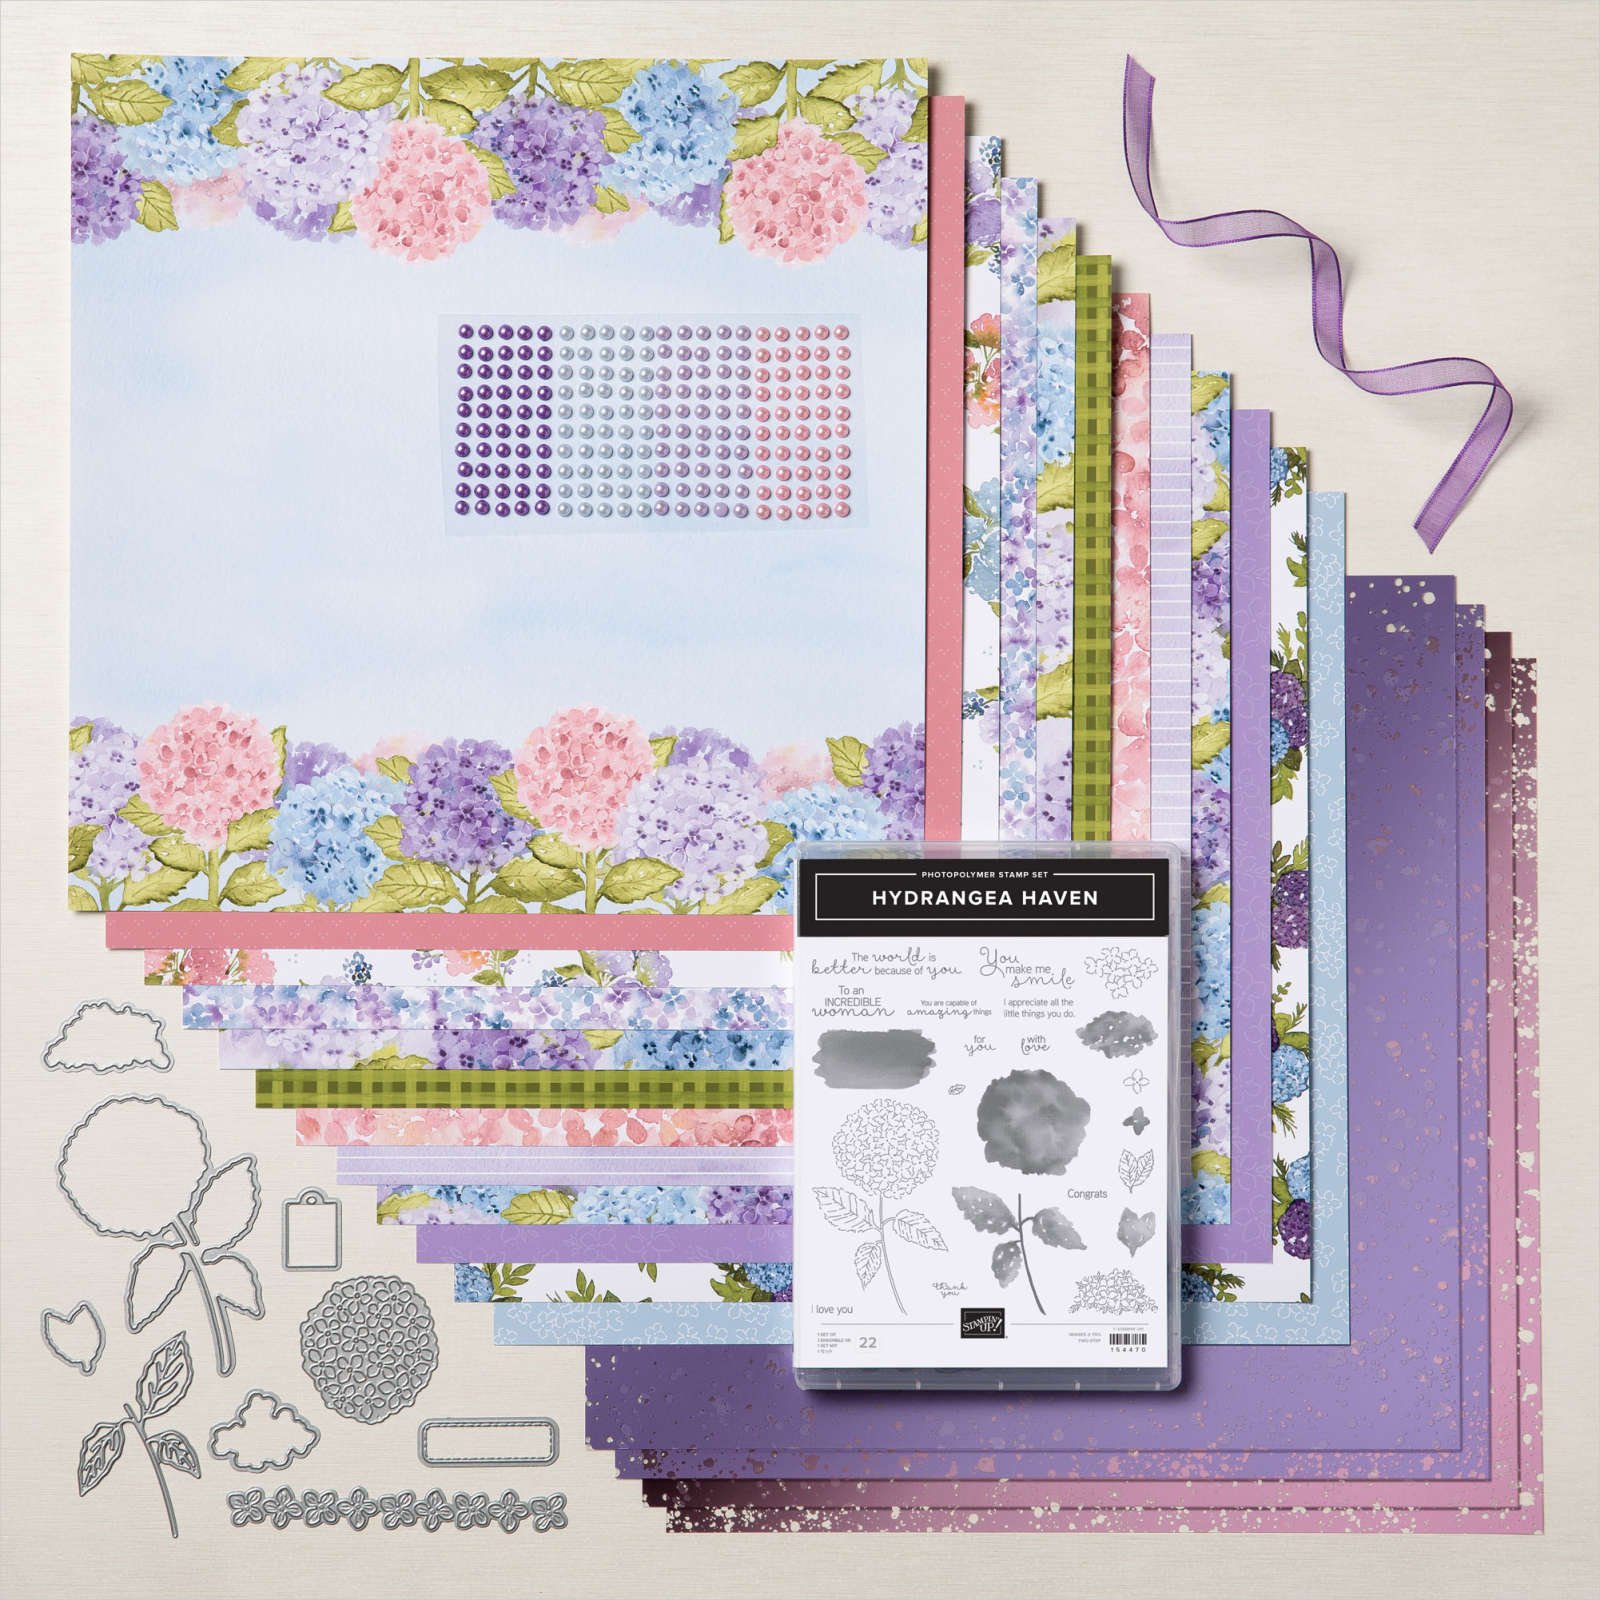
 

~~~

Get a package of 150 Resin Hearts from me with an online order over $50 using the host code above. They're adorable and so tiny!

*If your order is over $150 do not use the code; you'll still receive a gift! 

Below are the Multipurpose Glue stands we're making. They're $6 each and available in my Shop here.  

Click here to follow me on Facebook! 

All Posts

  • Gorgeous card kit and a new Travel Journal kit – both all inclusive!


    Stampin' Up! released two new kits to our Kit Collection every month.  This month they're above & beyond special! 

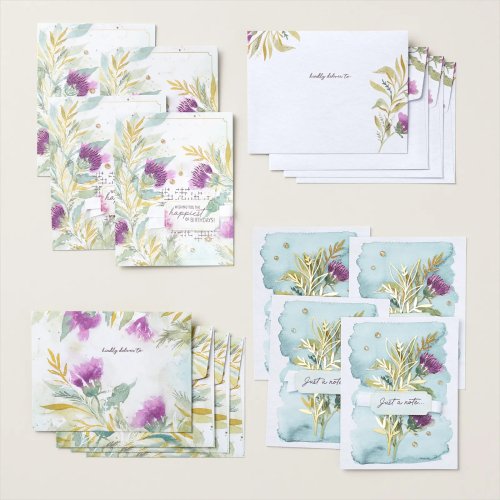
    First is the stunning Expressions of Kindness Kit. 

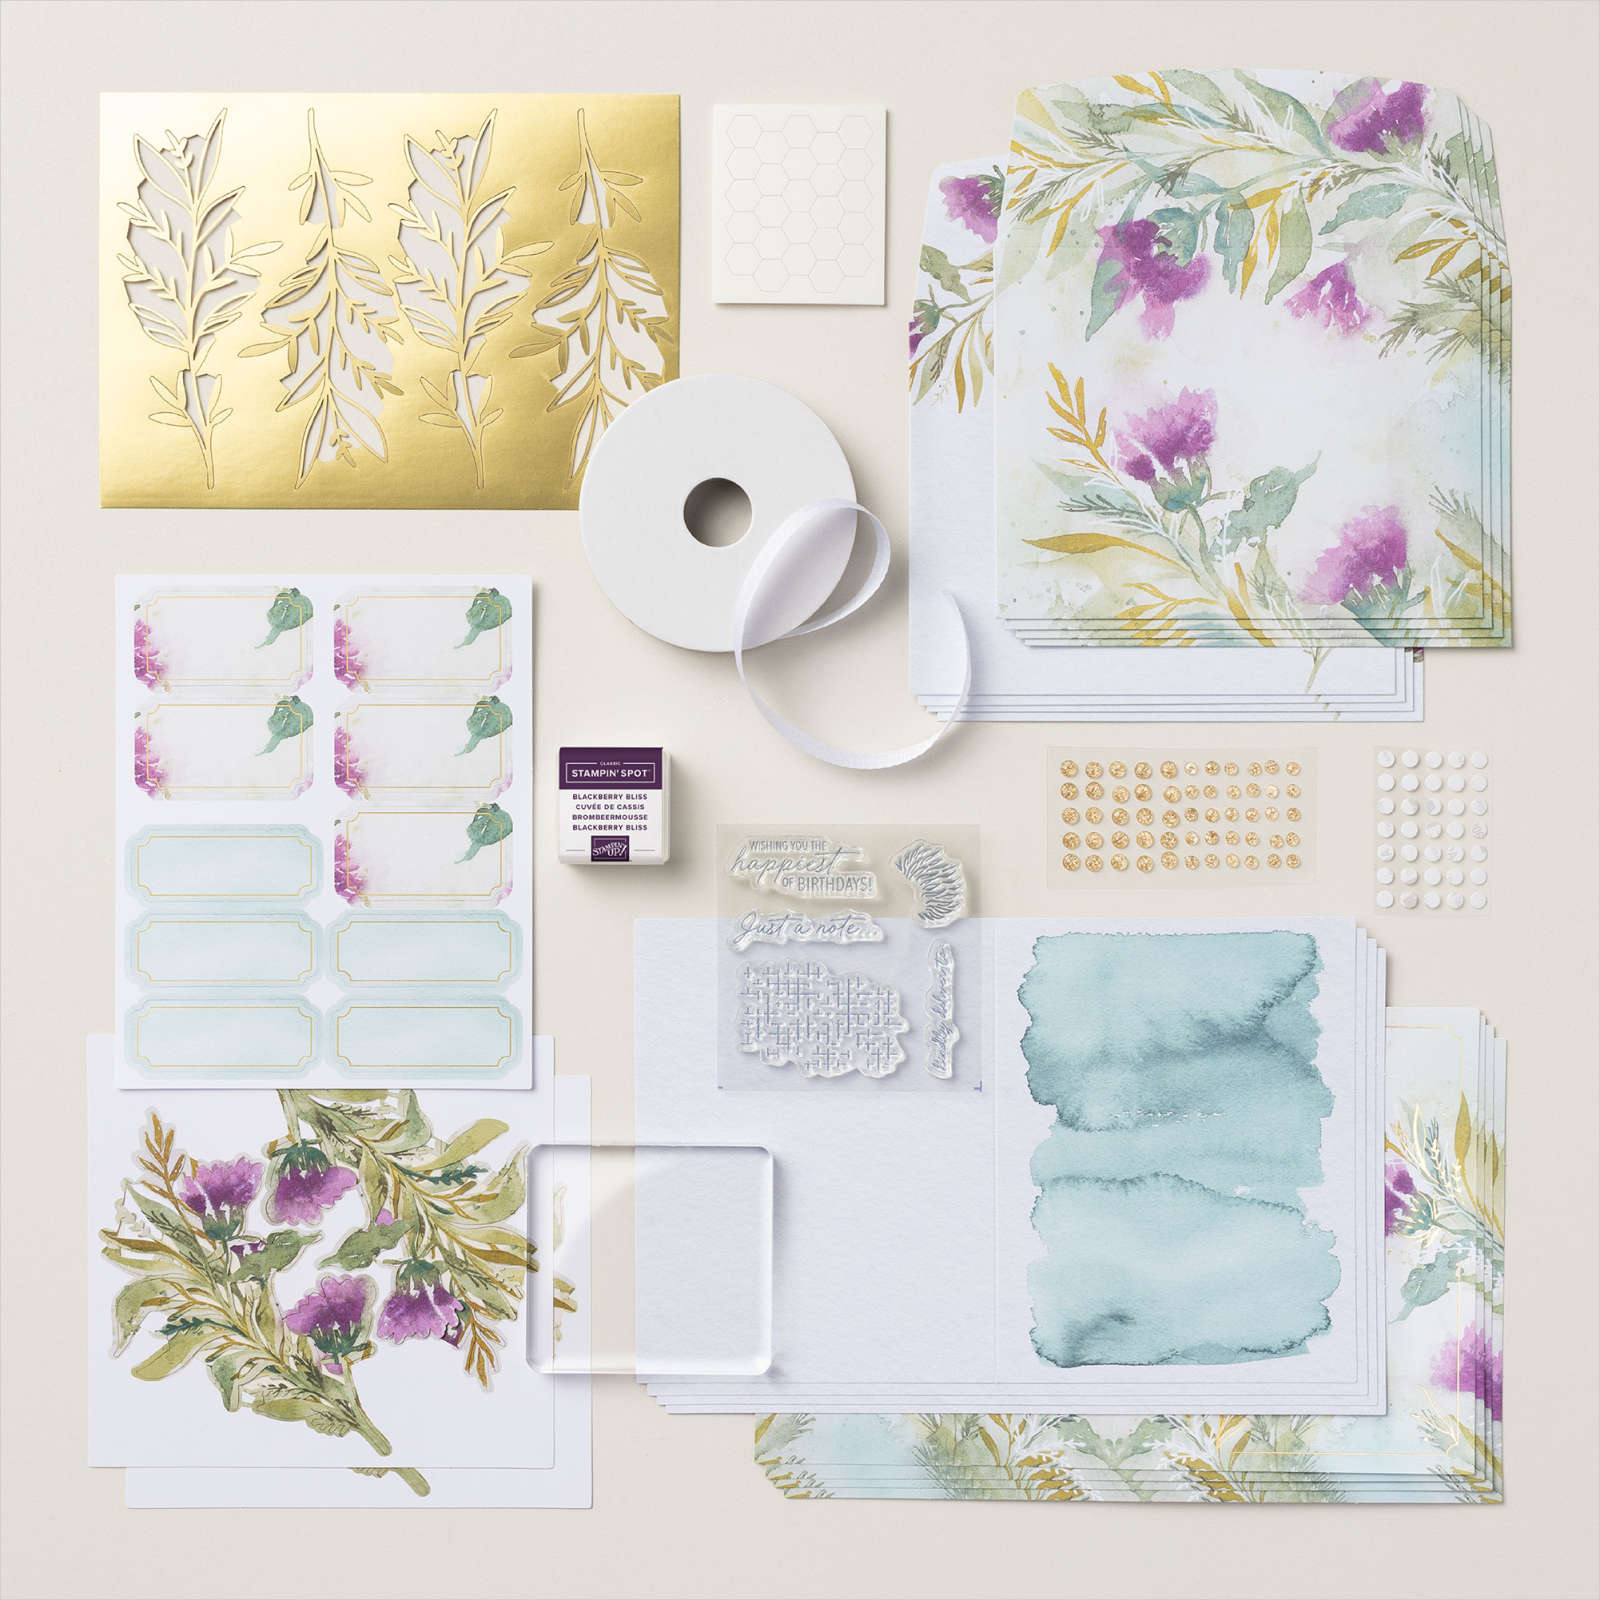
    It includes 8 beautiful cards along with gorgeous coordinating envelopes. I might be tempted to use the card bases as card fronts and create even more cards. Here's a snapshot of the product included:

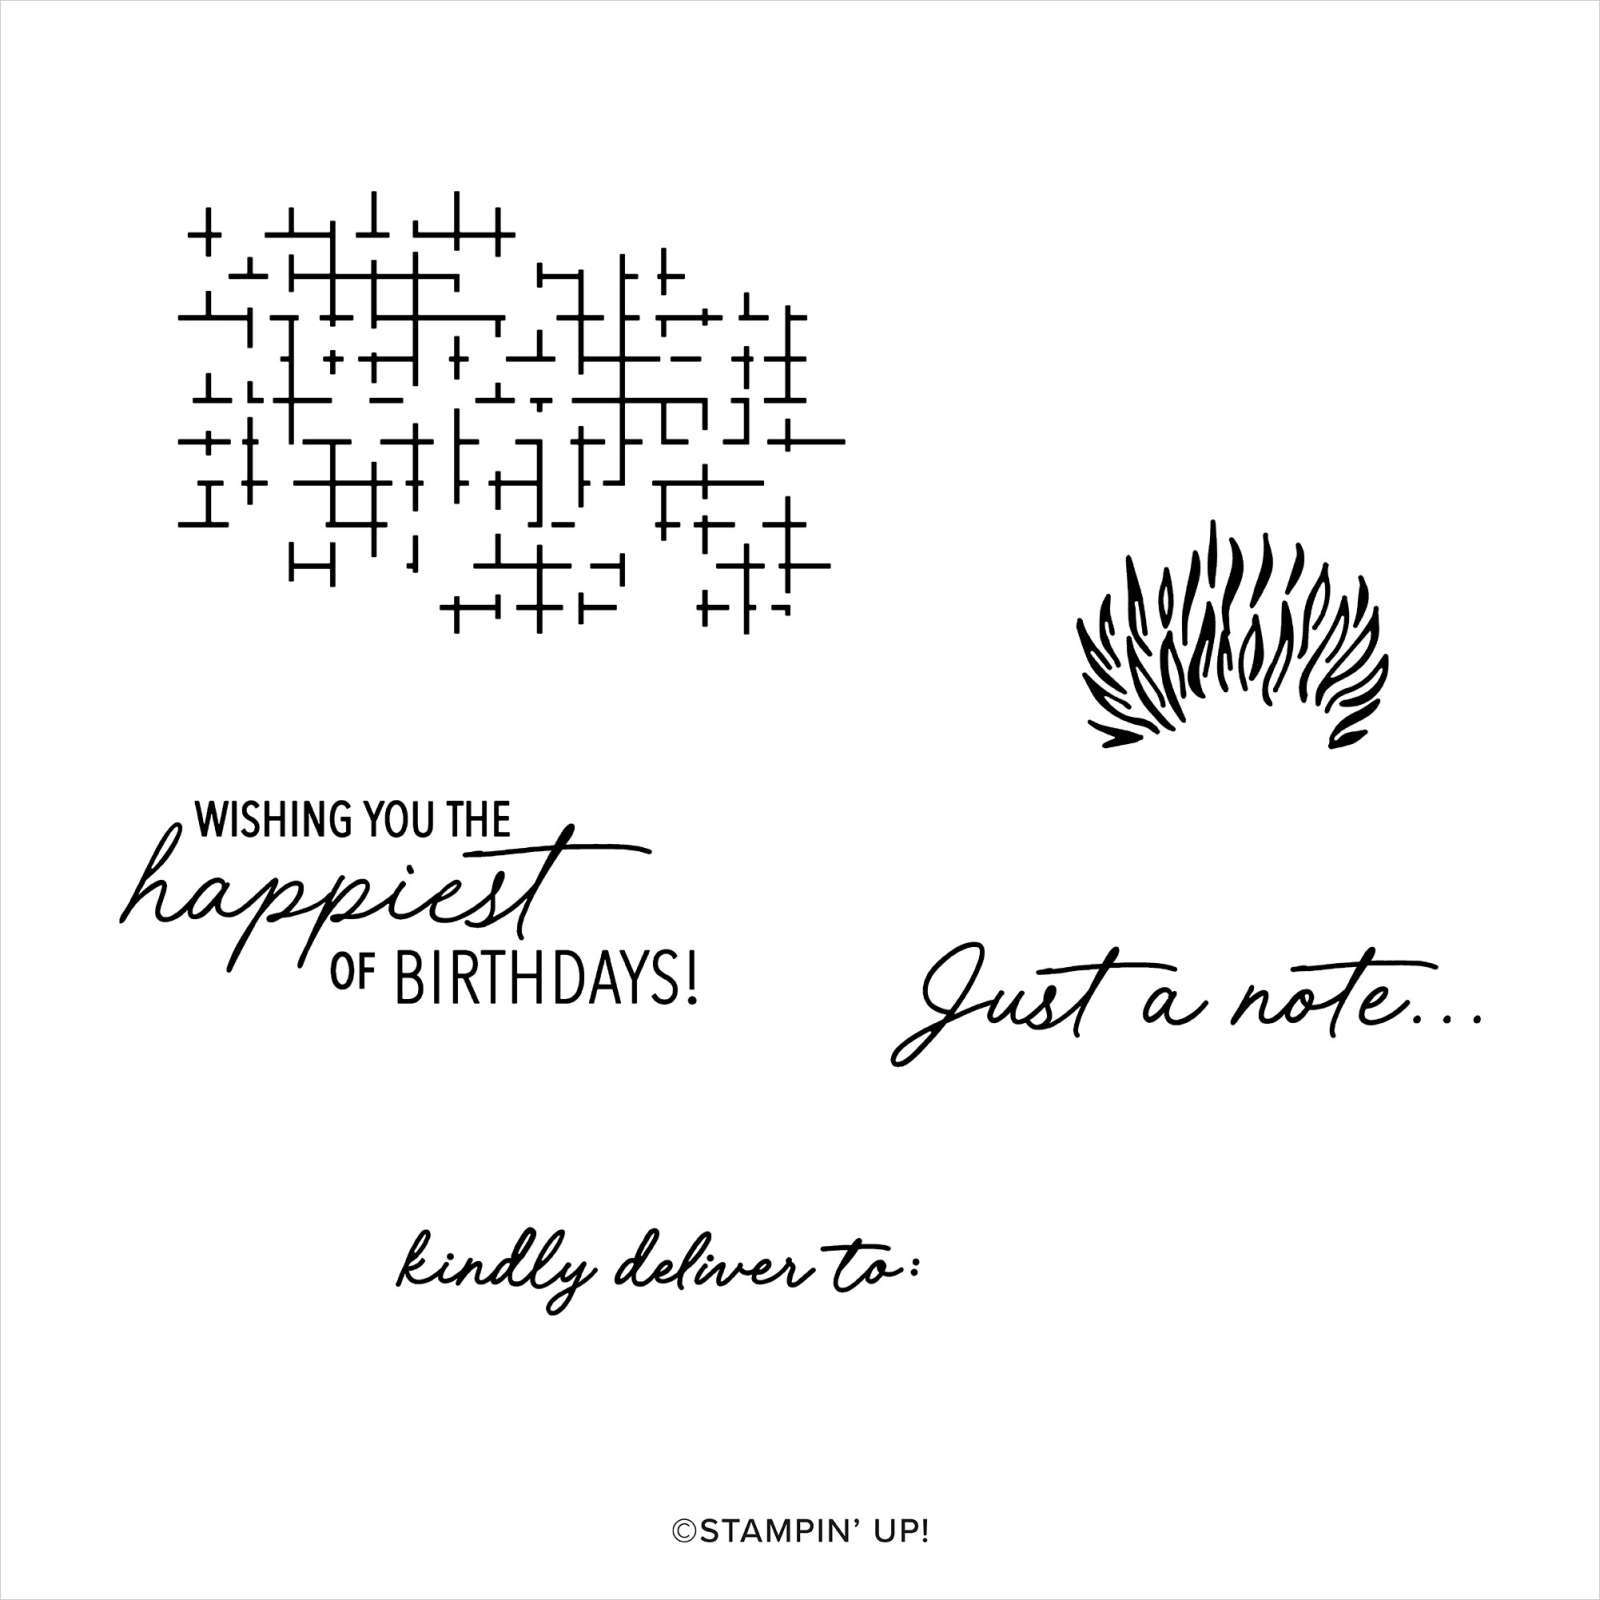
    This kit includes everything you need including a clear block, an ink spot, adhesives and a stamp set too. 

    This kit can be seen here.  It's $23 and the item # is 163905. 

    Next is the new Travel Journal – what a fabulous new product to showcase your travels via memory keeping.  

    It's $22 and can be seen here.  You can arrange the included fold-out pages the way you desire, as well as the sentiments and images, and create the words of your choice using the adhesive-backed alphabet sheets. 

    This kit includes:
    * Step-by-step instructions and guided layouts
    * Precut pieces (No prep work! Get right to crafting)
    * Make 1 travel journal
    * 2 fold-out pages with pockets
    * 2 tri-fold pages
    * Size of the travel journal: 5-3/4" x 9-1/4" x 7/8" (14.6 x 23.5 x 2.2 cm)
    * Printed adhesive-backed die-cut alphabets, sentiments, and images
    * Paper die-cut journaling pieces
    * Enough adhesive to complete projects

    ~~~

    June Specials: 

    *current host code links: FERX3EKC or GF24T6XG

    ~~~

    All online orders receive my free tutorial of the month & if your order is over $55 you'll also receive a free gift from me

    Leave a Reply

    Your email address will not be published. Required fields are marked *

  • Pretty Friends for Life card with video tutorial & free project sheet


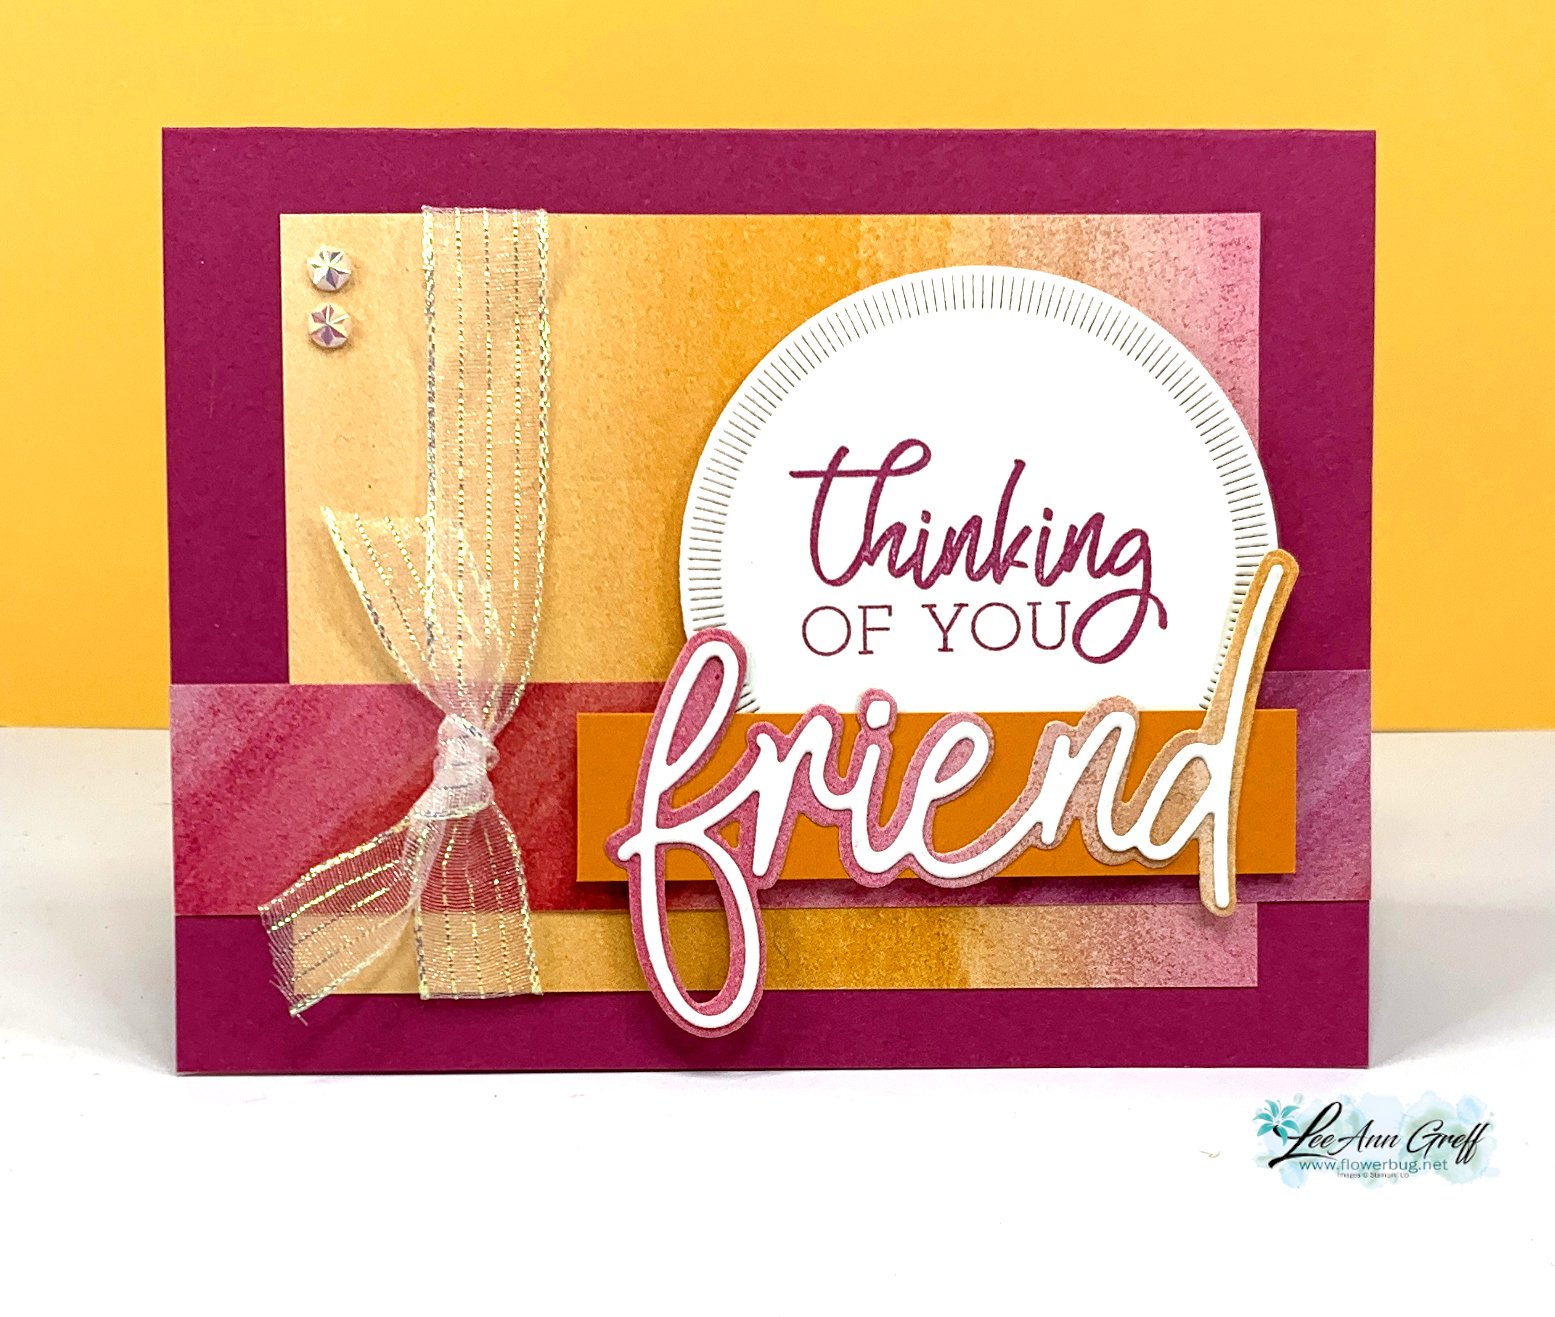
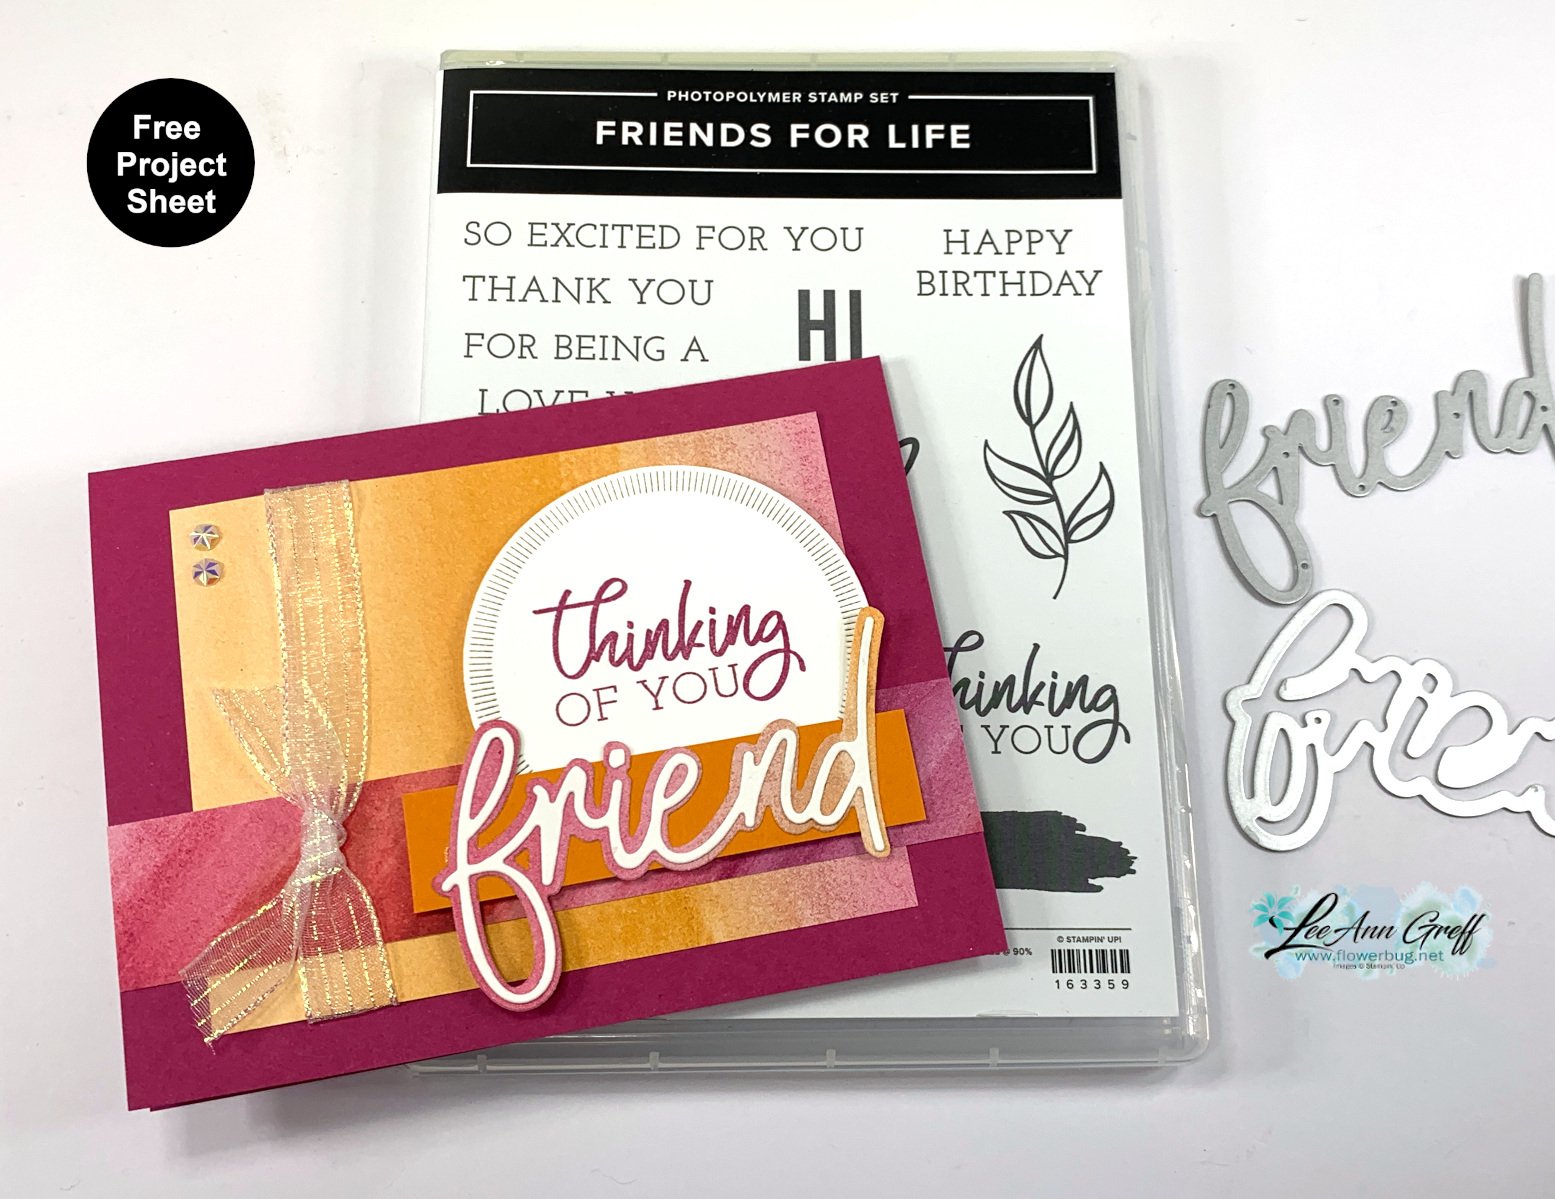
    Here's the 2nd card I made during last week's video with the Friends for Life bundle. 

    My colors include Berry Burst, Pumpkin Pie and White. I've always loved pink & orange together for some reason. The white circle die-cut is from the Spotlight on Nature dies seen here. They are in low inventory right now.

    Isn't this Full of Life designer paper stunning?! 

    The pretty designer paper can be seen here. 

    There are two 'friend' die-cuts. One layers over the other.  I cut the larger layer from the designer paper – it's an ombre effect.

    *Here's the free project sheet for you. Click to download or print it: Download Friends for Life 'Friend'

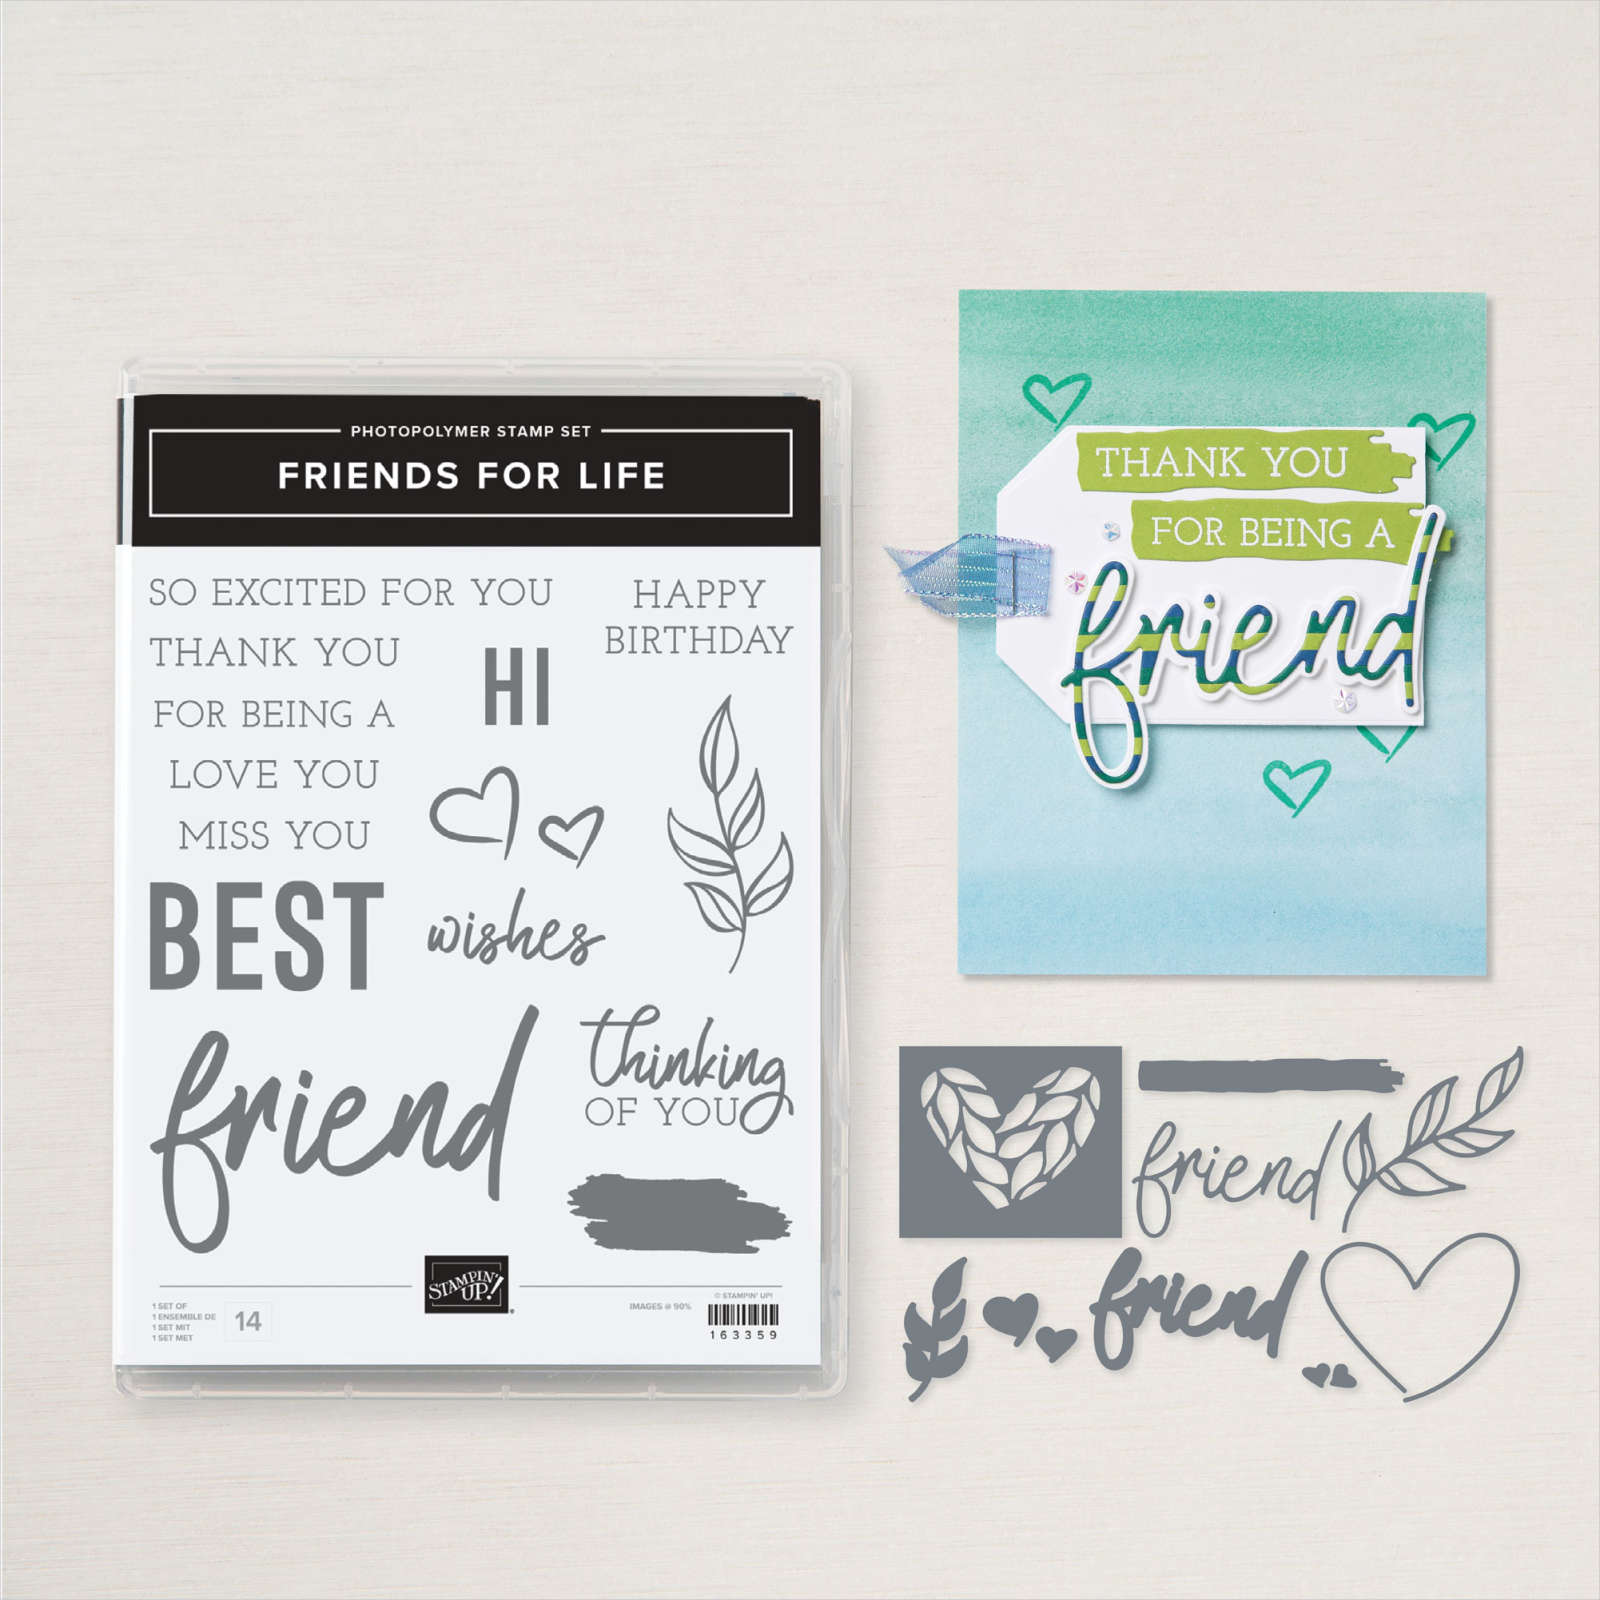
    During the video I shared a second card as well.  I had a great time creating with this bundle. There are so many options between the stamps & dies.  See the Friends for Life bundle here. It was $53 and is now $47. 

    Below is the video for this card and another; both featuring this Full of Life suite. I hope you watch it to get the many tips I like to share in my videos.  Don't forget to subscribe to my YouTube Channel while you're there!

    ~~~

    June Specials: 

    *current host code links: FERX3EKC or GF24T6XG

    ~~~

    All online orders receive my free tutorial of the month & if your order is over $55 you'll also receive a free gift from me

    Leave a Reply

    Your email address will not be published. Required fields are marked *

  • Friends for Life card with free project sheet & video tutorial


    On last week's video I shared two cards featuring the neat Friends for Life bundle and the Full of Life designer paper.  Here's the first card: 

    I love the bright colors here! The colors are inspired by the Full of Life DSP – Berry Burst, Lemon Lime Twist, Shaded Spruce, Balmy Blue & Daffodil Delight. There is a layer of Shaded Spruce under the White layer to show off the heart die-cut. 

    This neat bundle is on sale in June; discounted by almost 20%. See the Friends for Life bundle here. 

    Notice the heart die-cut from the front layer? I saved it and added it inside the card. 

    I stamped the hearts on another part of the DSP and used the coordinating die to cut them out. The 'wishes' greeting is from the Perennial Postage dies seen here. 

    I kept the layout quite simple because the DSP, die-cuts and stamping are the star here. I die-cut the heart from the White layer before I stamped for ease of time during the video. I stamped the 'BEST' greeting first and then added the vertical highlight image in different colors, stamping off first for a lighter hue. I love the effect!

    Here's the free project sheet you can print or download: Download Friends for Life Best Wishes here

    Below is the video for this card and another; both featuring this Full of Life suite. I hope you watch it to get the many tips I like to share in my videos.  Don't forget to subscribe to my YouTube Channel while you're there!


    ~~~

    June Specials: 

    *current host code links: FERX3EKC or GF24T6XG

    ~~~

    All online orders receive my free tutorial of the month & if your order is over $55 you'll also receive a free gift from me

    Leave a Reply

    Your email address will not be published. Required fields are marked *


Notice: LeeAnn Greff, Independent Stampin’ Up! Demonstrator, Manager. The content of this website is my sole responsibility as an independent Stampin’ Up! demonstrator and the use of, and content of, the classes, services, or products offered on this website is not endorsed by Stampin’ Up! Copyright 2025