Two more card kits & tutorial are now available for pre-order!
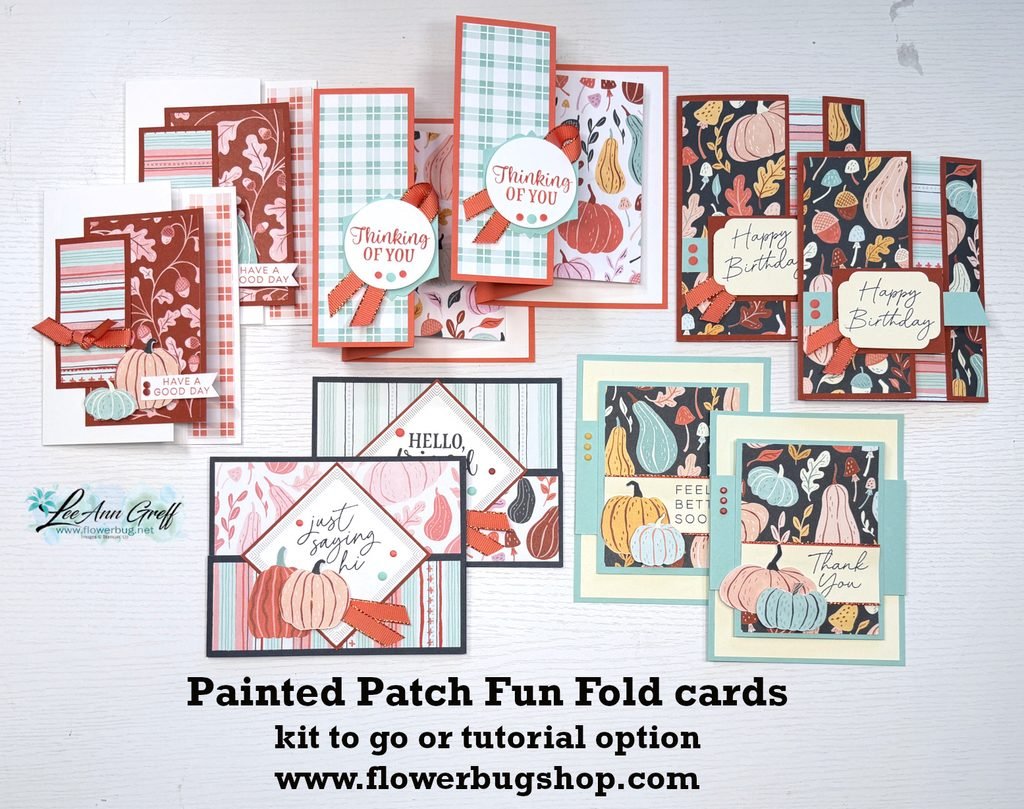
I chose the Painted Patch designer series paper for one of my October card kits & tutorials (I have 3 this month!). The colors are incredible together and the patterns are fresh & fun. Look at these Fun Fold cards!
This card kit includes 5 sets of cards and you’ll make 2 of each one. This kit is all unique fun fold layouts.
I paired the Painted Patch DSP with the Painted Patch gems and the Calypso Coral & Copper ribbon. You’ll get a share of each of these products along with the 10 pre-cut cards and the PDF tutorial. Everything is pre-cut for you except the package of DSP. You’ll use the directions in the tutorial to cut your new paper. It’s so easy to create these cards when it’s all ready to go.
I create my kits so you do not need a specific stamp set to finish them. All you need are some greeting images and a few inks.
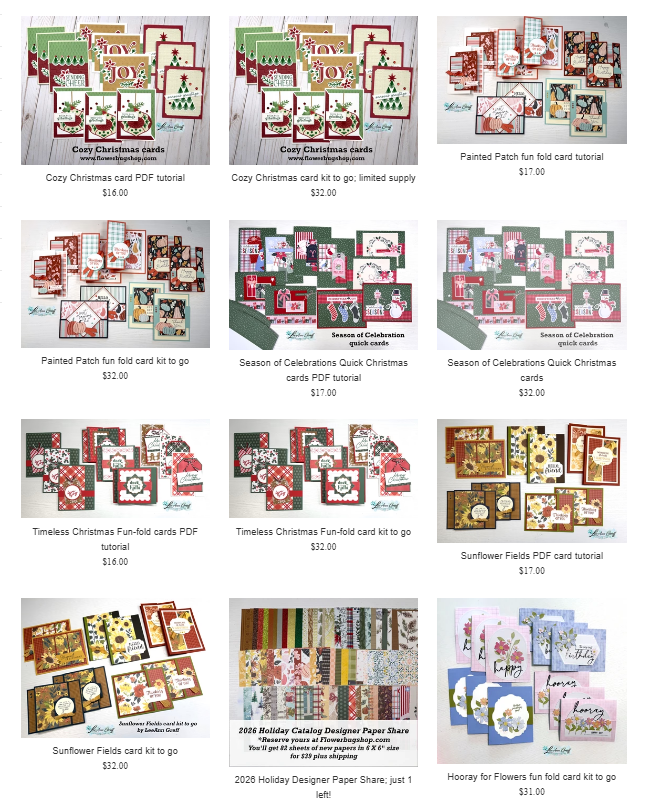
This kit can be seen here. It’s $32 plus shipping (order more than one to save $$). There is also a PDF tutorial available for $17. See that here.
The tutorials are emailed to you immediately after payment. The pre-cut kits are mailed out at the end of October.
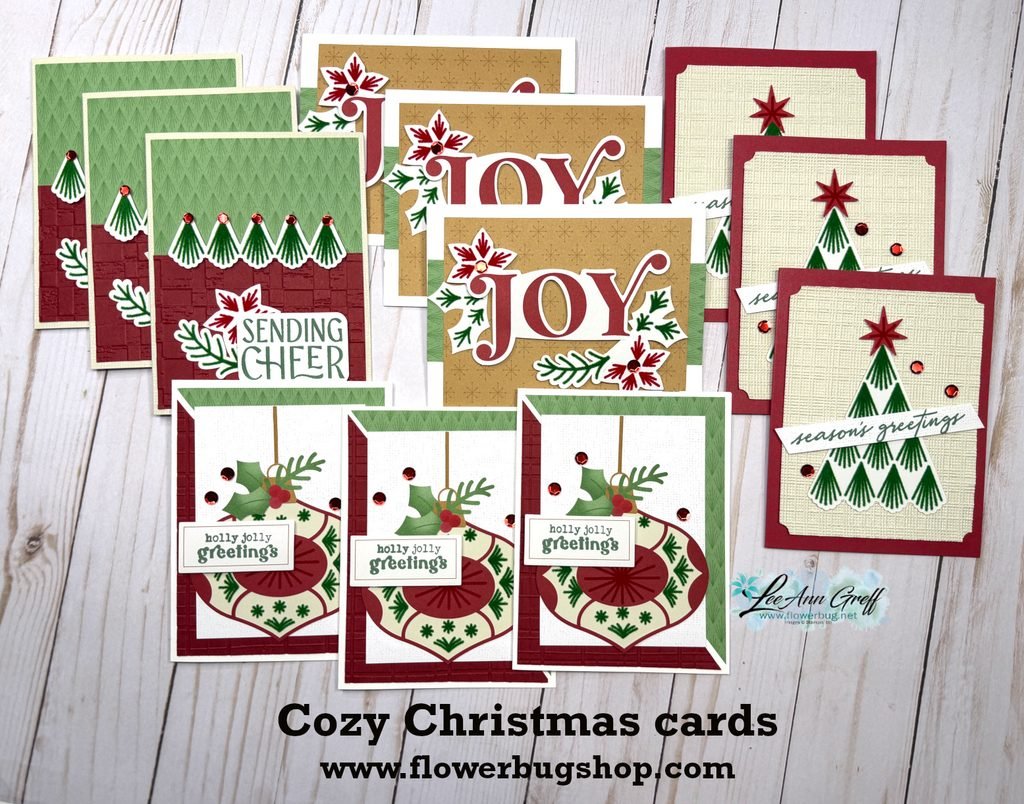
I’ll share the third card kit tomorrow; it’s a Christmas card kit! Here’s a sneak peek:
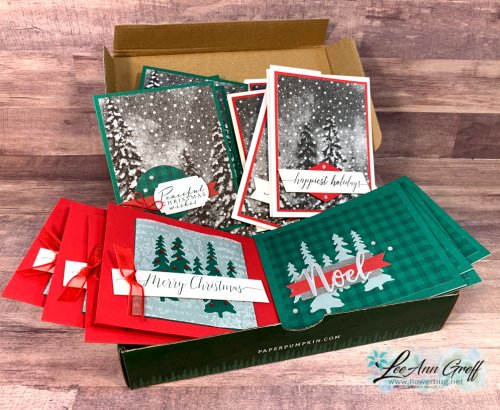
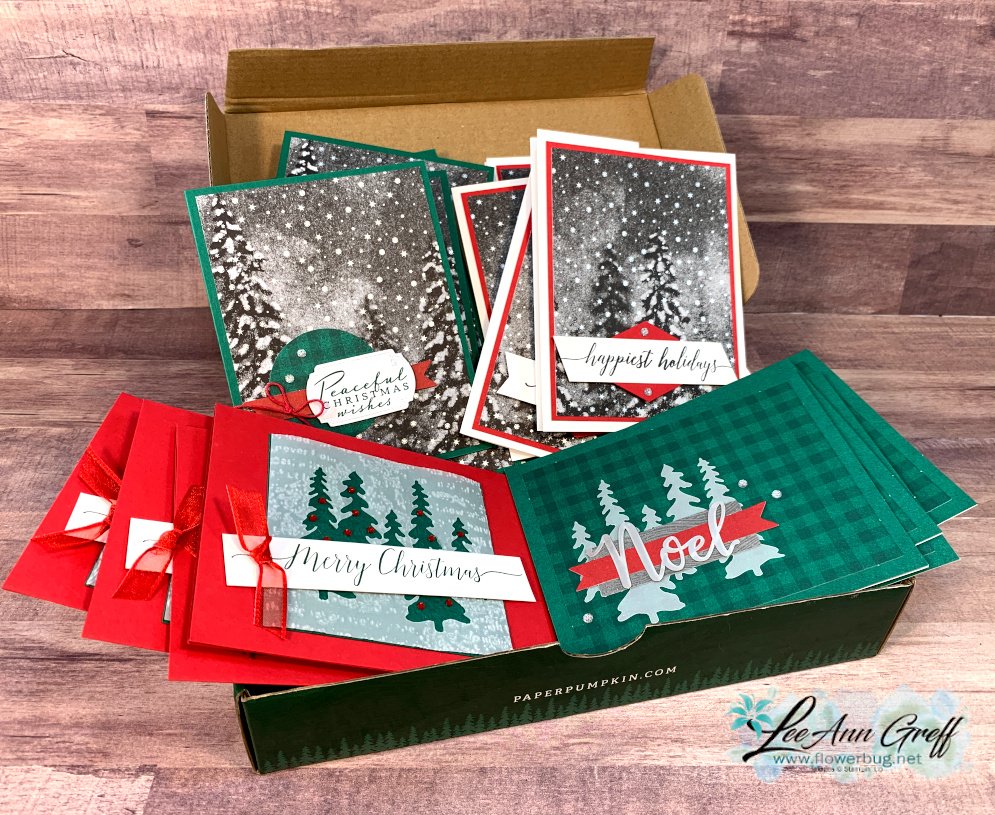
Peaceful Wishes kit; 20 Christmas cards with envelopes!
Are you sad you missed the beautiful Peaceful Wishes Paper Pumpkin kit? Well no worries! I ordered extra refills because I love it so much and am offering this big kit just in time for Christmas. See it here.
I've jazzed it up to make more cards than ever! The stunning cards are gorgeous and you'll be so proud to send these out this year for Christmas!
This kit to go includes supplies to make 20 cards with envelopes! You'll make 5 of each card and you'll receive the beautiful box as well.
Click here to order yours while supplies last; there's a limited supply!
You'll receive the PDF tutorial immediately after payment and the kit ships separately from other kits via Priority Mail.
It's $25 and includes all pre-cut & punched pieces, 20 envelopes (10 green & 10 White), sparkly gems, Dimensionals, mini glue dots, Red Twine & ribbon and the PDF tutorial. It does not include stamped images.
You will need the following to complete the cards like mine:
Shaded Spruce & Black ink & Christmas greeting images
adhesive, a paper trimmer, Red, colored or clear rhinestones
I used the Heartfelt Wishes & stamps in the original PP kit on my cards but I'm sure you have greeting you can easily substitute.
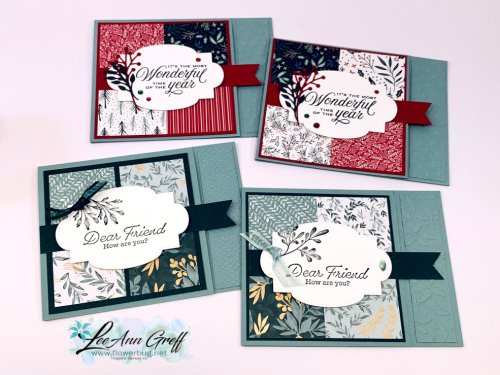
The top two cards feature the Tidings & Trimmings bundle & the Tidings of Christmas 6 X 6" DSP. Both are in a suite seen in the annual catalog on pages 88-89 or here.
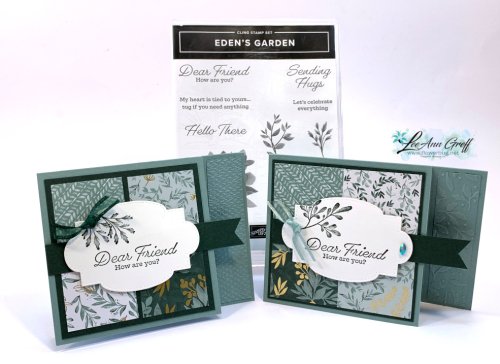
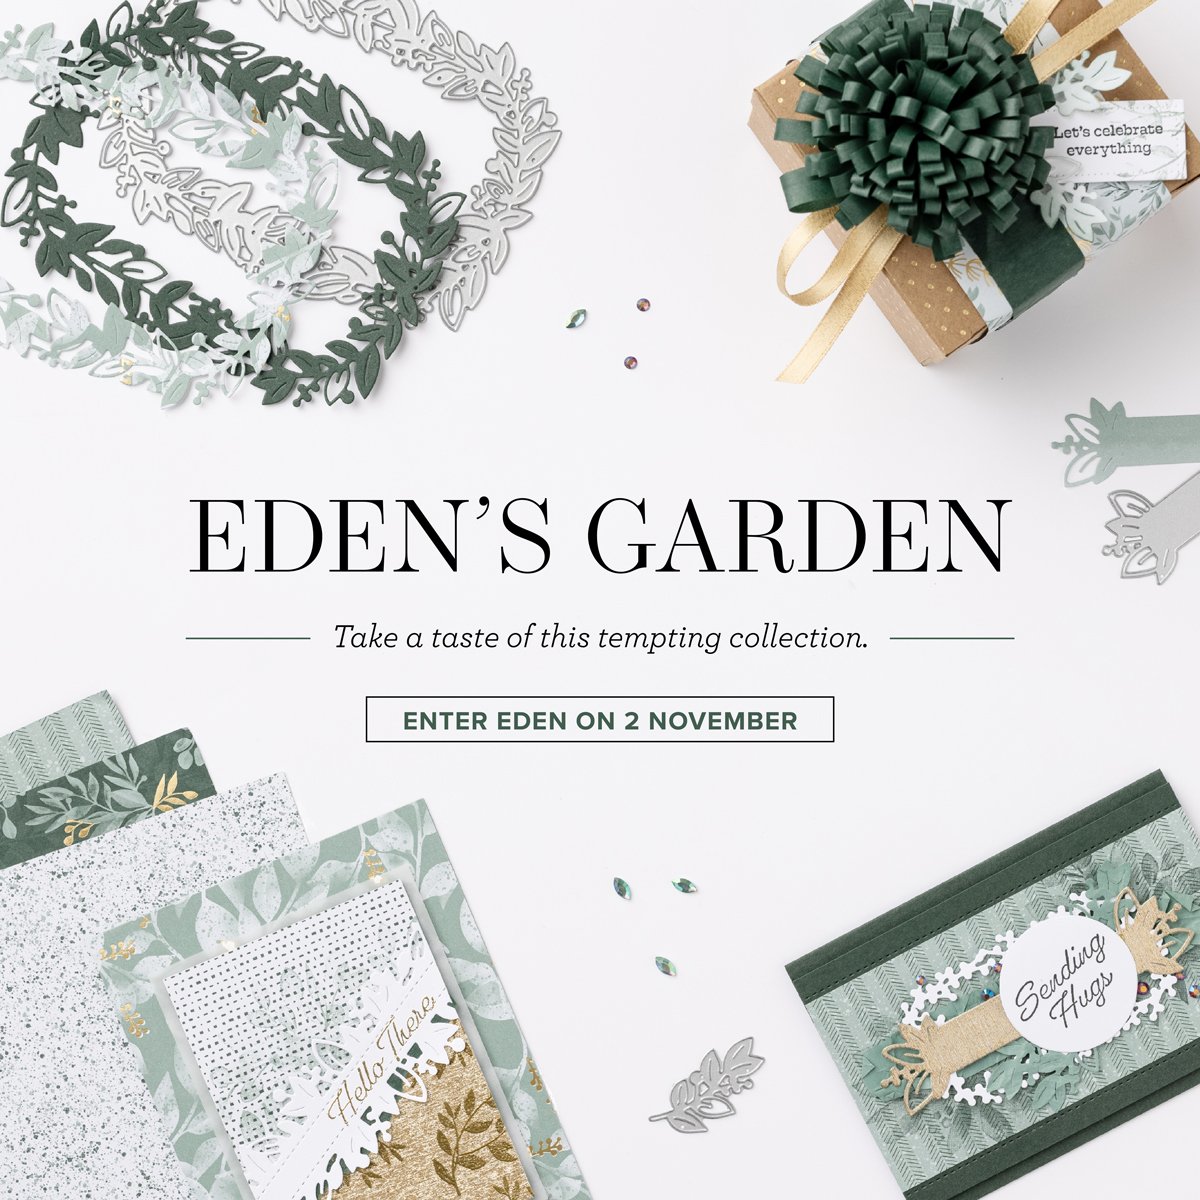
The bottom two cards feature the new Eden's Garden stamp set & the Ever Eden specialty designer paper. See them both here.
Measurements:
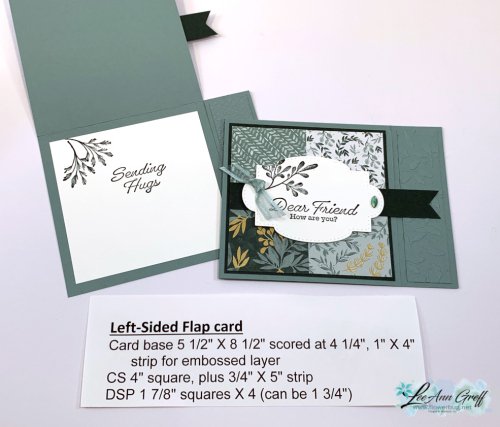
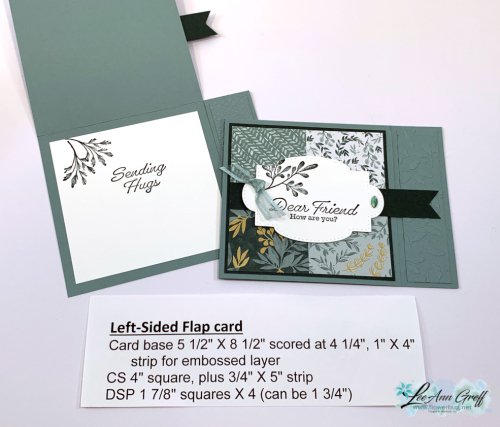
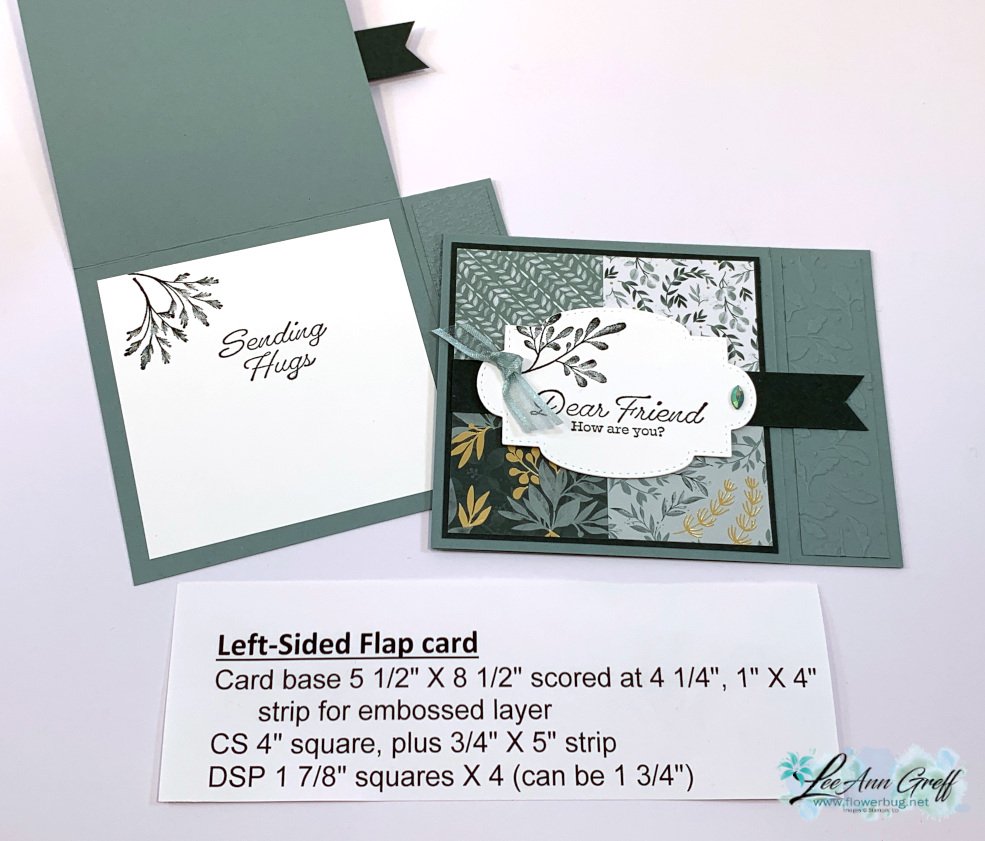
Card base 5 1/2" X 8 1/2" scored at 4 1/4" plus 1" X 4" strip for embossed layer. *To cut the front flap, cut at the 4 1/4" point to the score line.
Cherry Cobbler card stock 4" square, plus 3/4" X 5" strip
DSP 1 7/8" squares X 4 (can be 1 3/4" to leave a space between like the card on the lower left)
White inside layer 3 1/2" square
Do you see the difference in the two cards below? Note the space between the designer paper squares on the left card. The DSP squares on the left are 1 3/4" in size. The DSP on the right card are 1 7/8" in size so they have no space in between.
*If you love this stamp set & Designer Paper you should get it this month. I'm giving away a free cards kit with online orders this month plus a PDF tutorial with 22 projects! See details below.
During the Seasonal Sale from November 16-18th, you can stock up and save 10% on cardstock, 15% on ink pads, and 20% on dies.
The discount applies to products featured in the 2021–2022 Annual Catalog only. Products from the July–December 2021 Mini Catalog are not included.
~~~
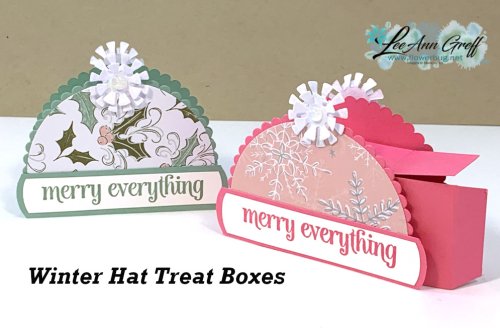
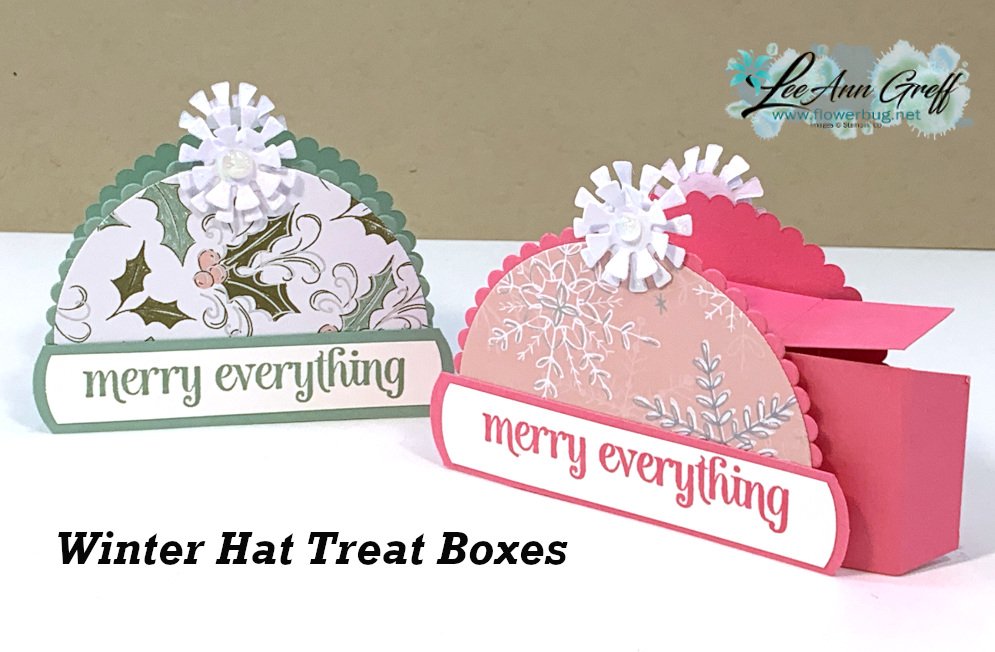
Check out this CUTE project I made on last week's Facebook Live. It's an adorable hat that doubles as a treat box. Besides Christmas this could be perfect for a child or a baby shower!
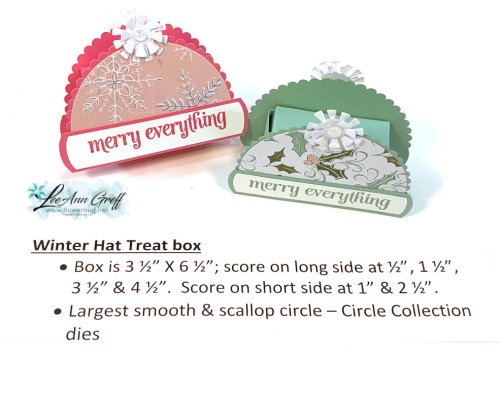
The two hats are made with our Layering Circle dies and Whimsy & Wonder specialty DSP. I used the largest scalloped die and the largest smooth die in the set. To get the sides of the greeting strips I used the round end of a punch. *tip shared in the video here. They are 1/2" and 3/4" in width.
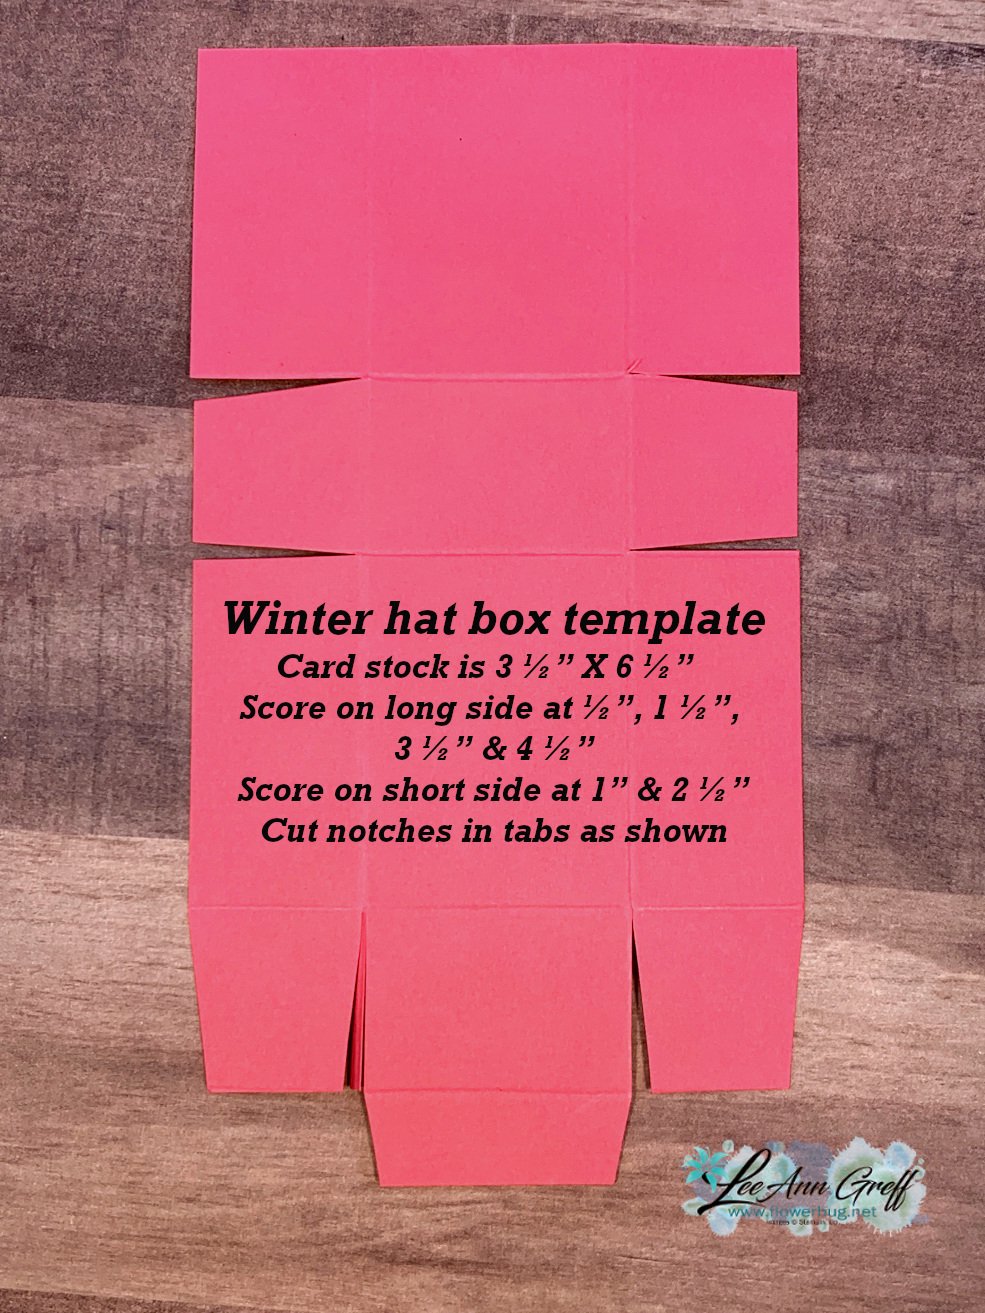
Below is the template for the box; please watch the video below to see how it's put together.
Notice: LeeAnn Greff, Independent Stampin’ Up! Demonstrator, Manager. The content of this website is my sole responsibility as an independent Stampin’ Up! demonstrator and the use of, and content of, the classes, services, or products offered on this website is not endorsed by Stampin’ Up! Copyright 2025



























Leave a Reply