/


Latest Post

Two more card kits & tutorial are now available for pre-order!


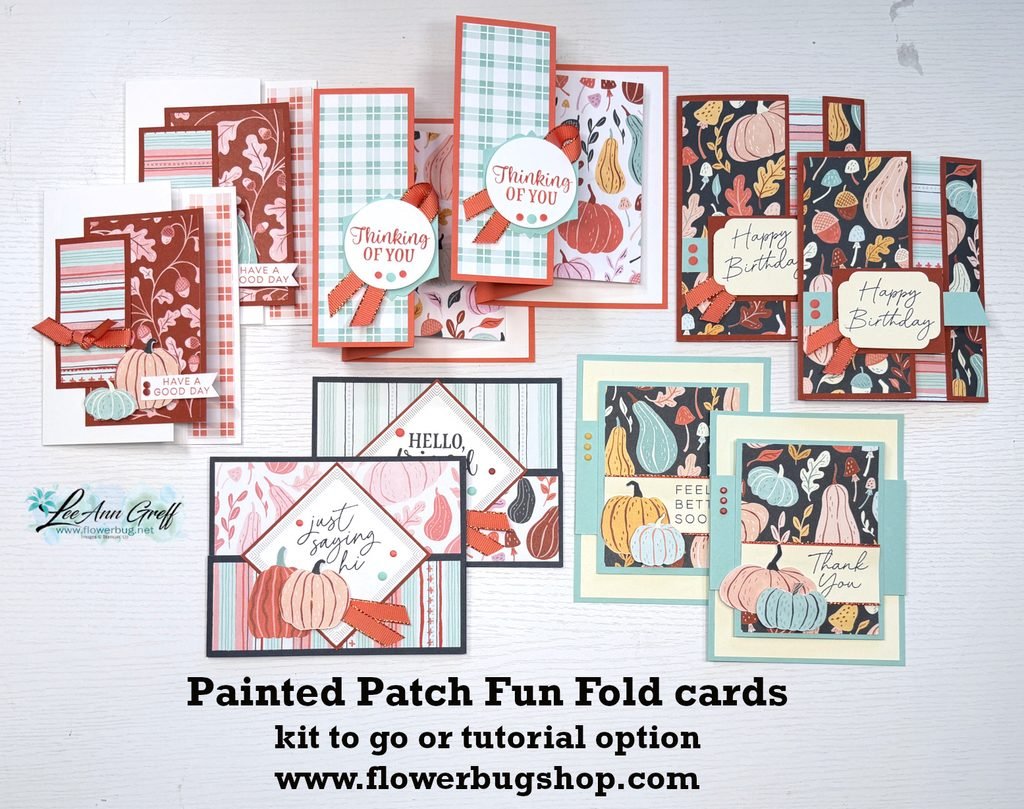
I chose the Painted Patch designer series paper for one of my October card kits & tutorials (I have 3 this month!). The colors are incredible together and the patterns are fresh & fun. Look at these Fun Fold cards!

This card kit includes 5 sets of cards and you’ll make 2 of each one. This kit is all unique fun fold layouts.

I paired the Painted Patch DSP with the Painted Patch gems and the Calypso Coral & Copper ribbon. You’ll get a share of each of these products along with the 10 pre-cut cards and the PDF tutorial. Everything is pre-cut for you except the package of DSP. You’ll use the directions in the tutorial to cut your new paper. It’s so easy to create these cards when it’s all ready to go.

I create my kits so you do not need a specific stamp set to finish them. All you need are some greeting images and a few inks.

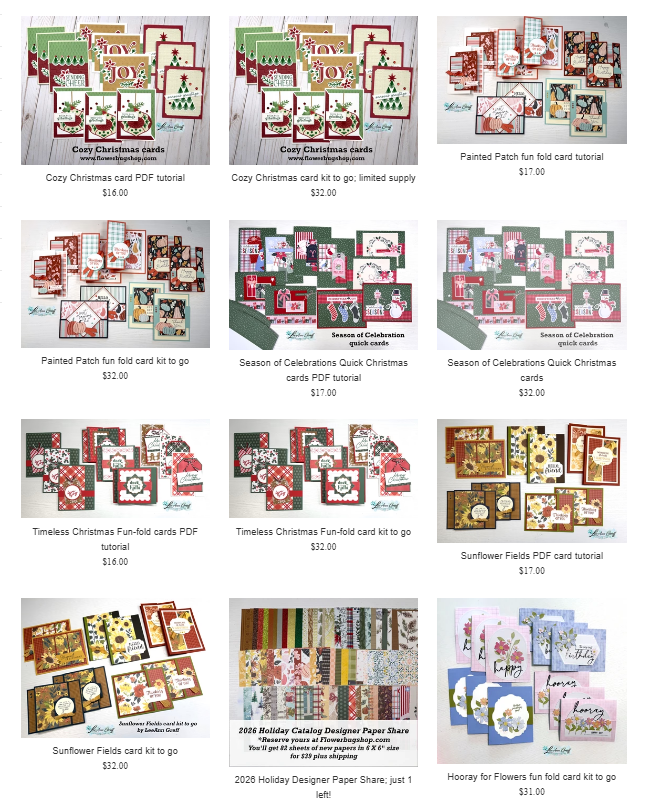
This kit can be seen here. It’s $32 plus shipping (order more than one to save $$). There is also a PDF tutorial available for $17. See that here.

The tutorials are emailed to you immediately after payment. The pre-cut kits are mailed out at the end of October.

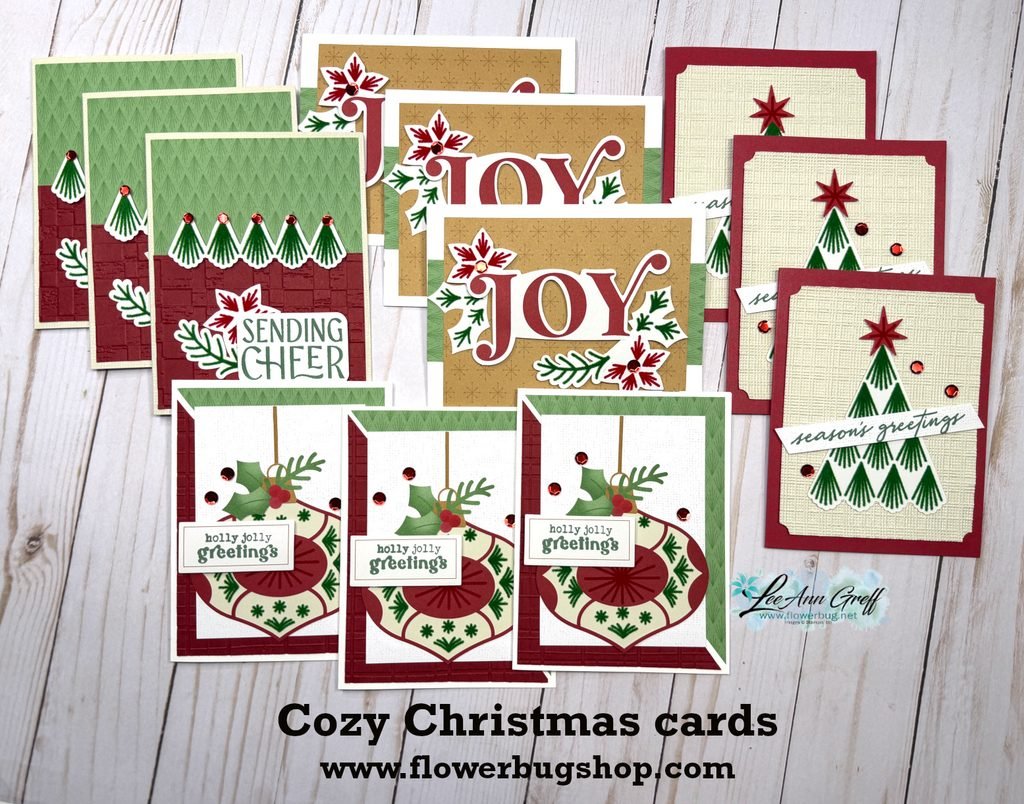
I’ll share the third card kit tomorrow; it’s a Christmas card kit! Here’s a sneak peek:

You can see it here on my Shop.

All Posts

  • Gorgeous Notes of Nature card with free project sheet & video tutorial


    I had no idea I would enjoy creating with the Nature's Sweetness suite as much as I did. It's not my usual style but I'm in love with it all!  

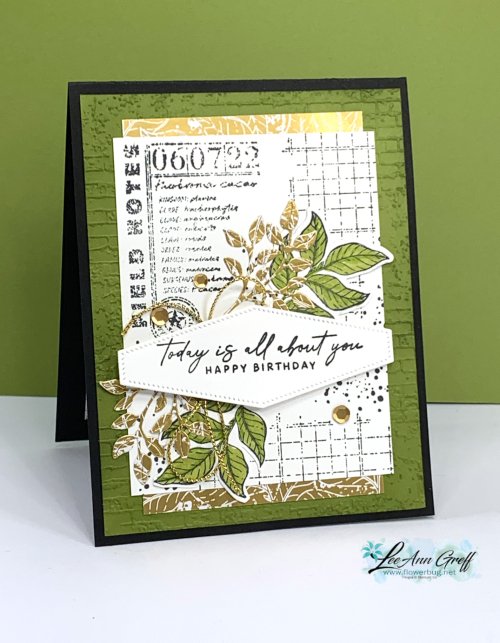
    Here's one of the cards I shared on last week's video: 

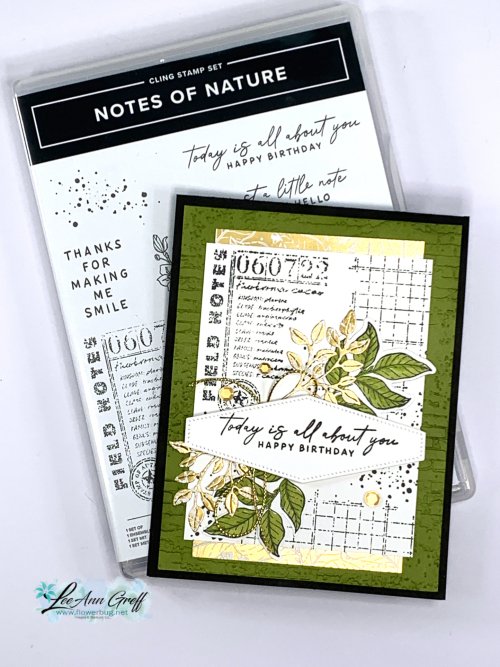
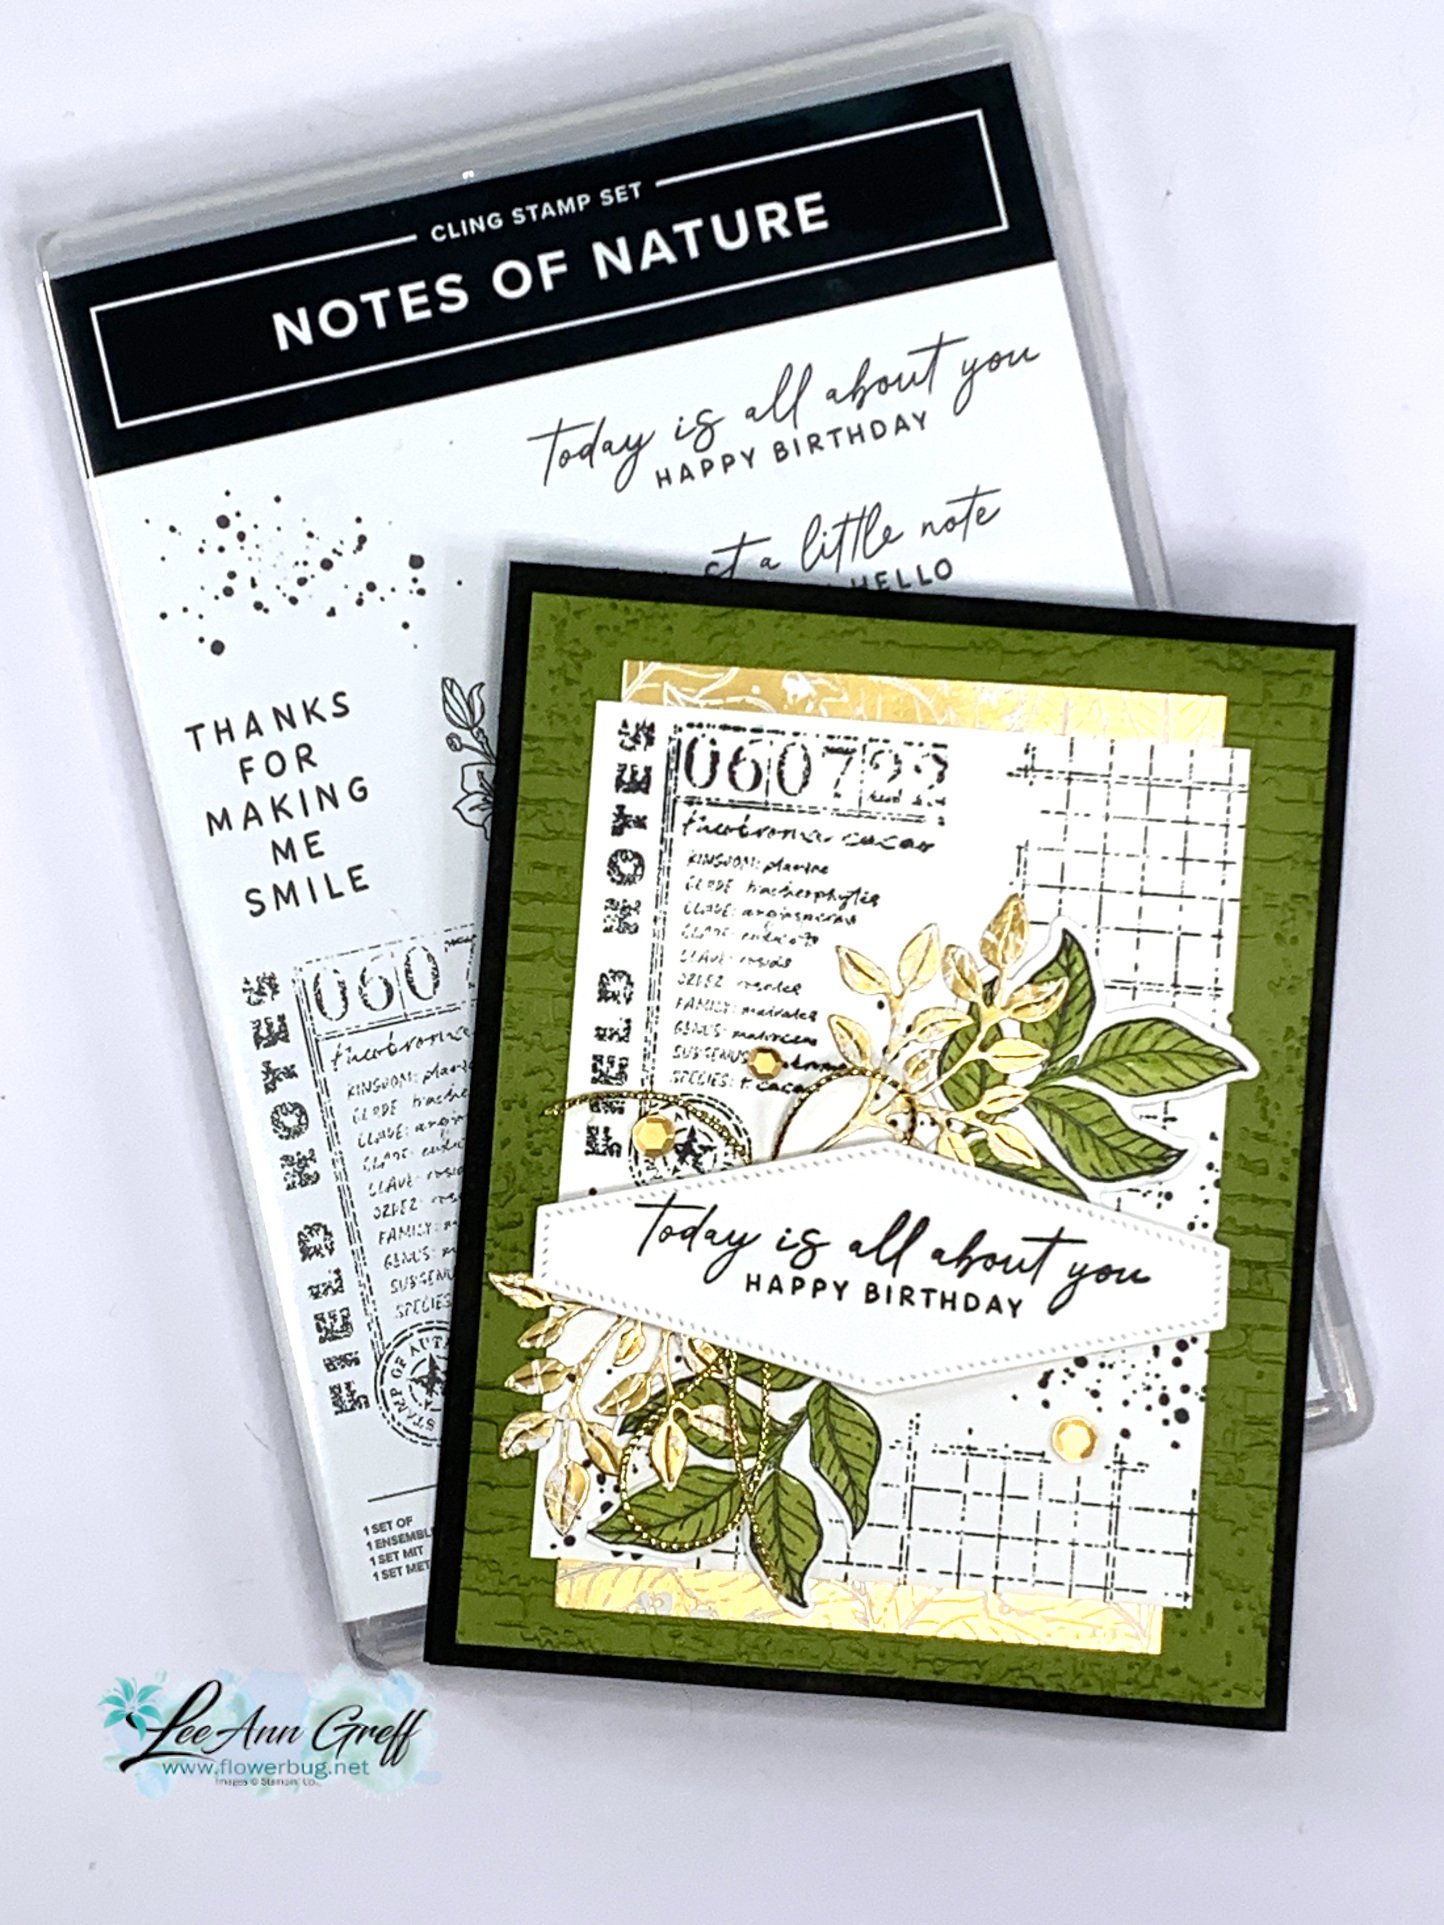
    I used the Notes of Nature bundle and Old Olive, Black and gold accents on this card.  The large white layer is made by stamping a few of the background stamps in Black ink. I added two sets of leaves – one in green and 2 the other in the Gold designer paper. 

    I want to mention what I think puts this card over the top. Of course the gold additions attract your eye but I think repeating colors a few times helps a lot. Notice how the black is repeated, the Olive is and so is the Gold. If you have trouble with color combinations, try adding one color with a neutral or two. Such as Black & White with any color. 

    More Details:

    • I textured the Olive layer with the Exposed Brick embossing folder and used a Blending Brush to add Old Olive ink to it. This really highlights the texture! 
    • Also notice the small strip of Gold designer paper on the top and bottom of the stamped white layer.  This is the Nature's Sweetness specialty paper. 
    • I added gold sequins and gold Elegant trim near the greeting.  

    Click on this link to download the free project sheet: Download Notes of Nature Birthday card

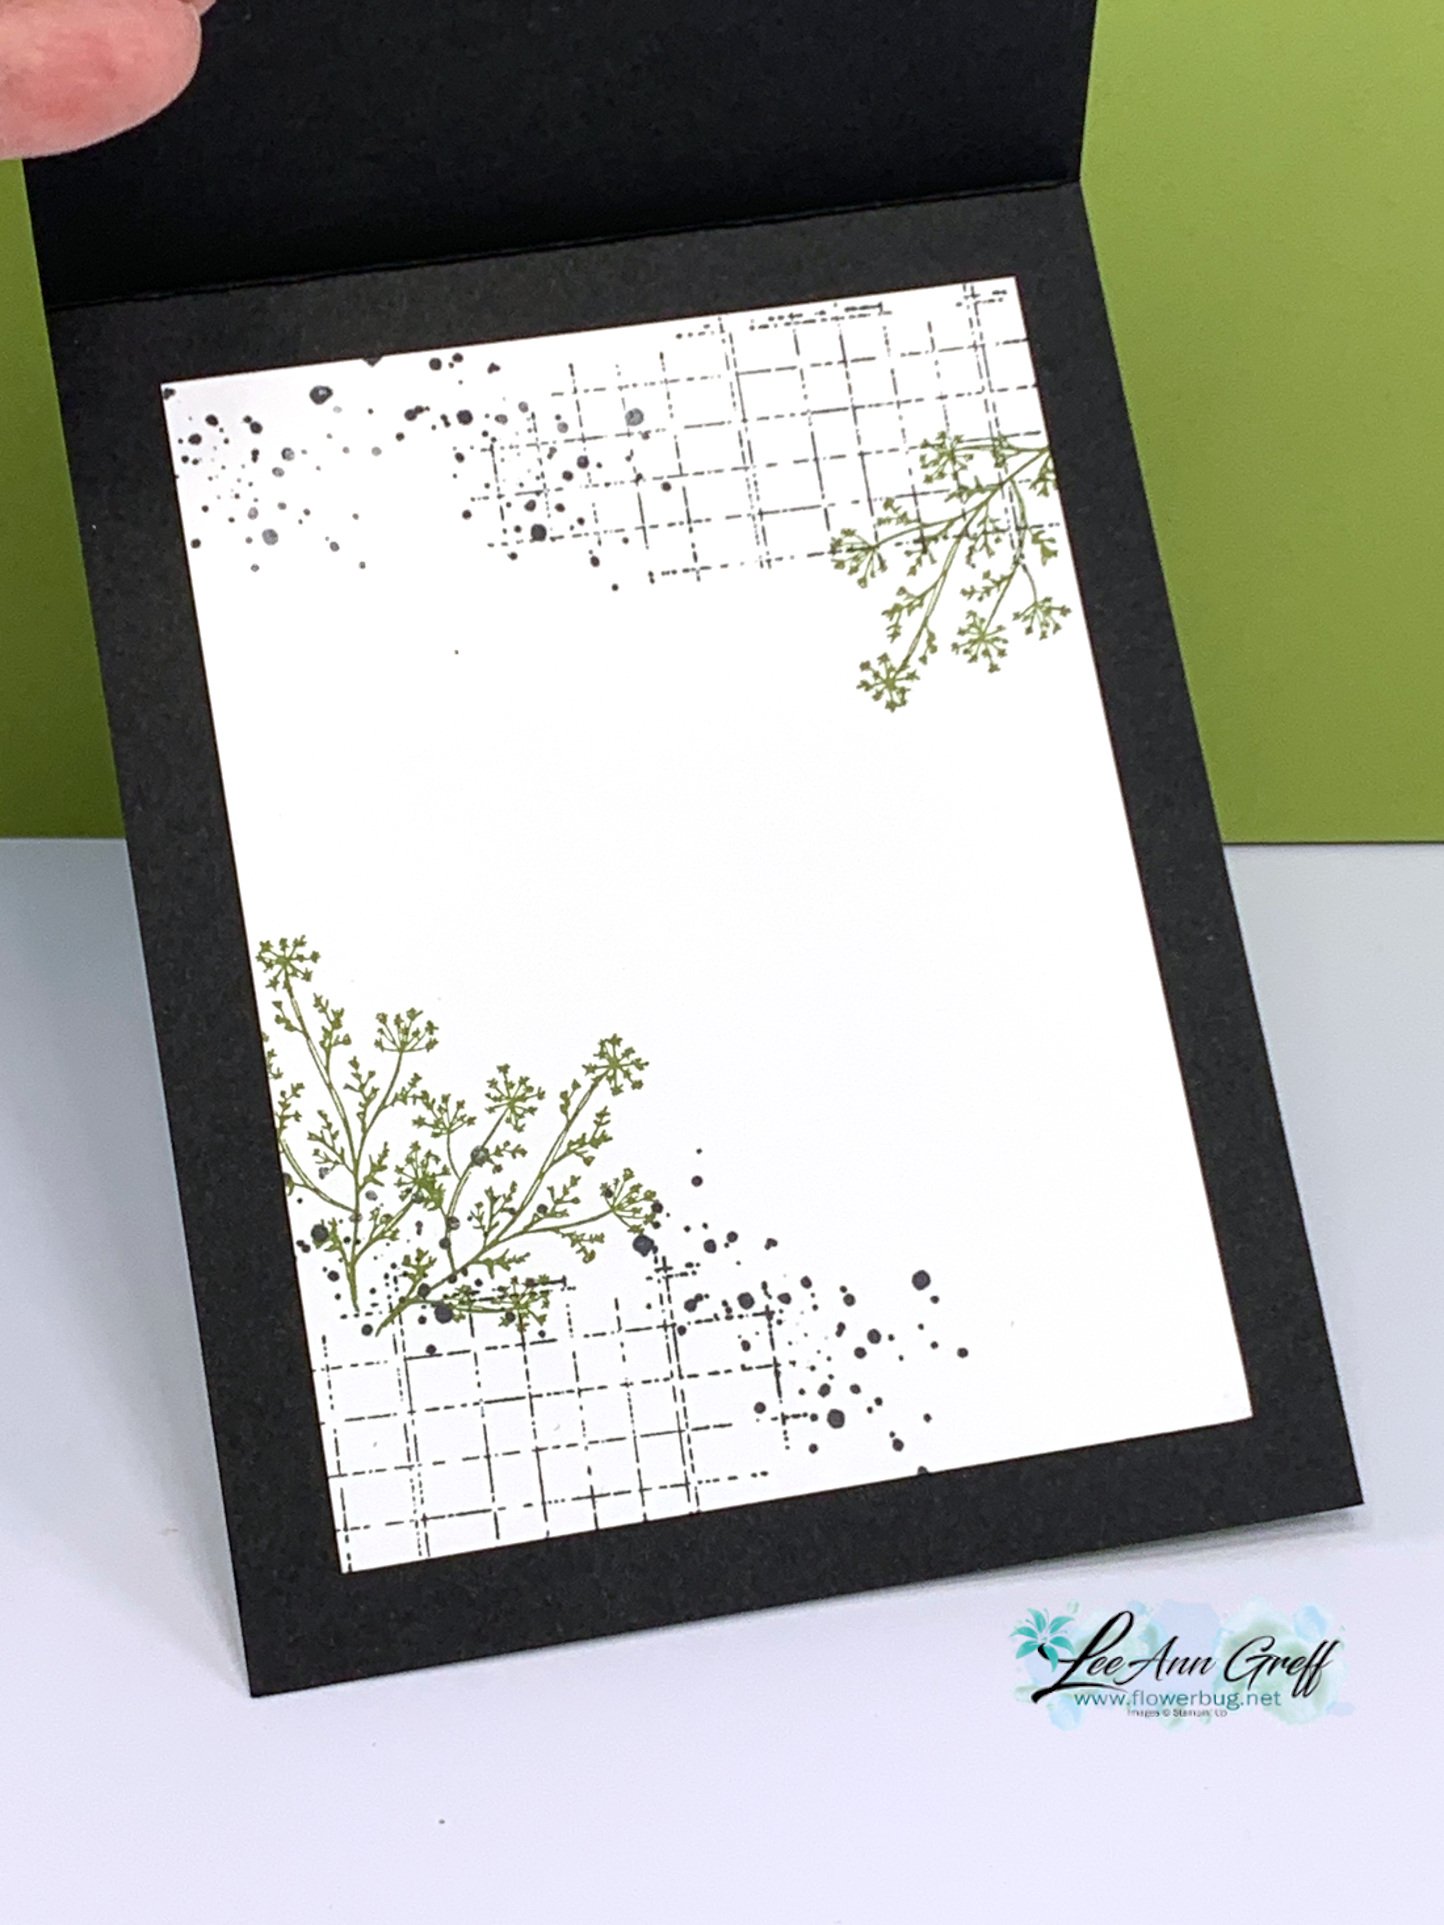
    Here's how I stamped the inside layer: 

    You can see how I made this card and two more in the video replay here.  Or click on the photo below to watch it. 

    ~~~

    January Specials: 

    Earn FREE products with your Stampin' Up! purchase during

    Sale-a-Bration! *click here

    *current host code link:  M7NAN4HT

    It's the best time to get a pre-paid Sale-a-Bration subscription

    & earn free Sale-a-Bration products!  


    ~~~

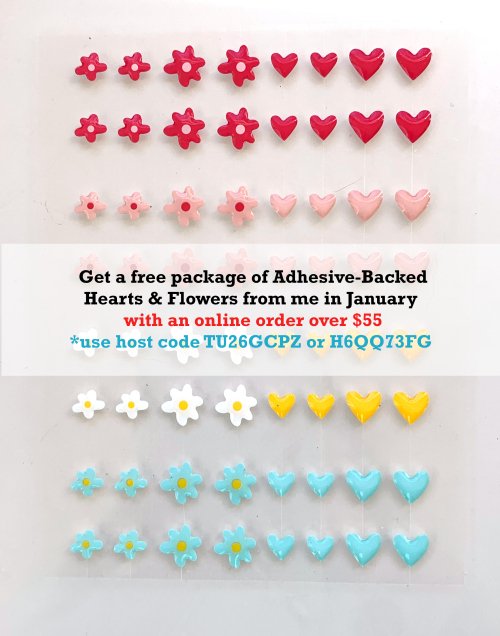
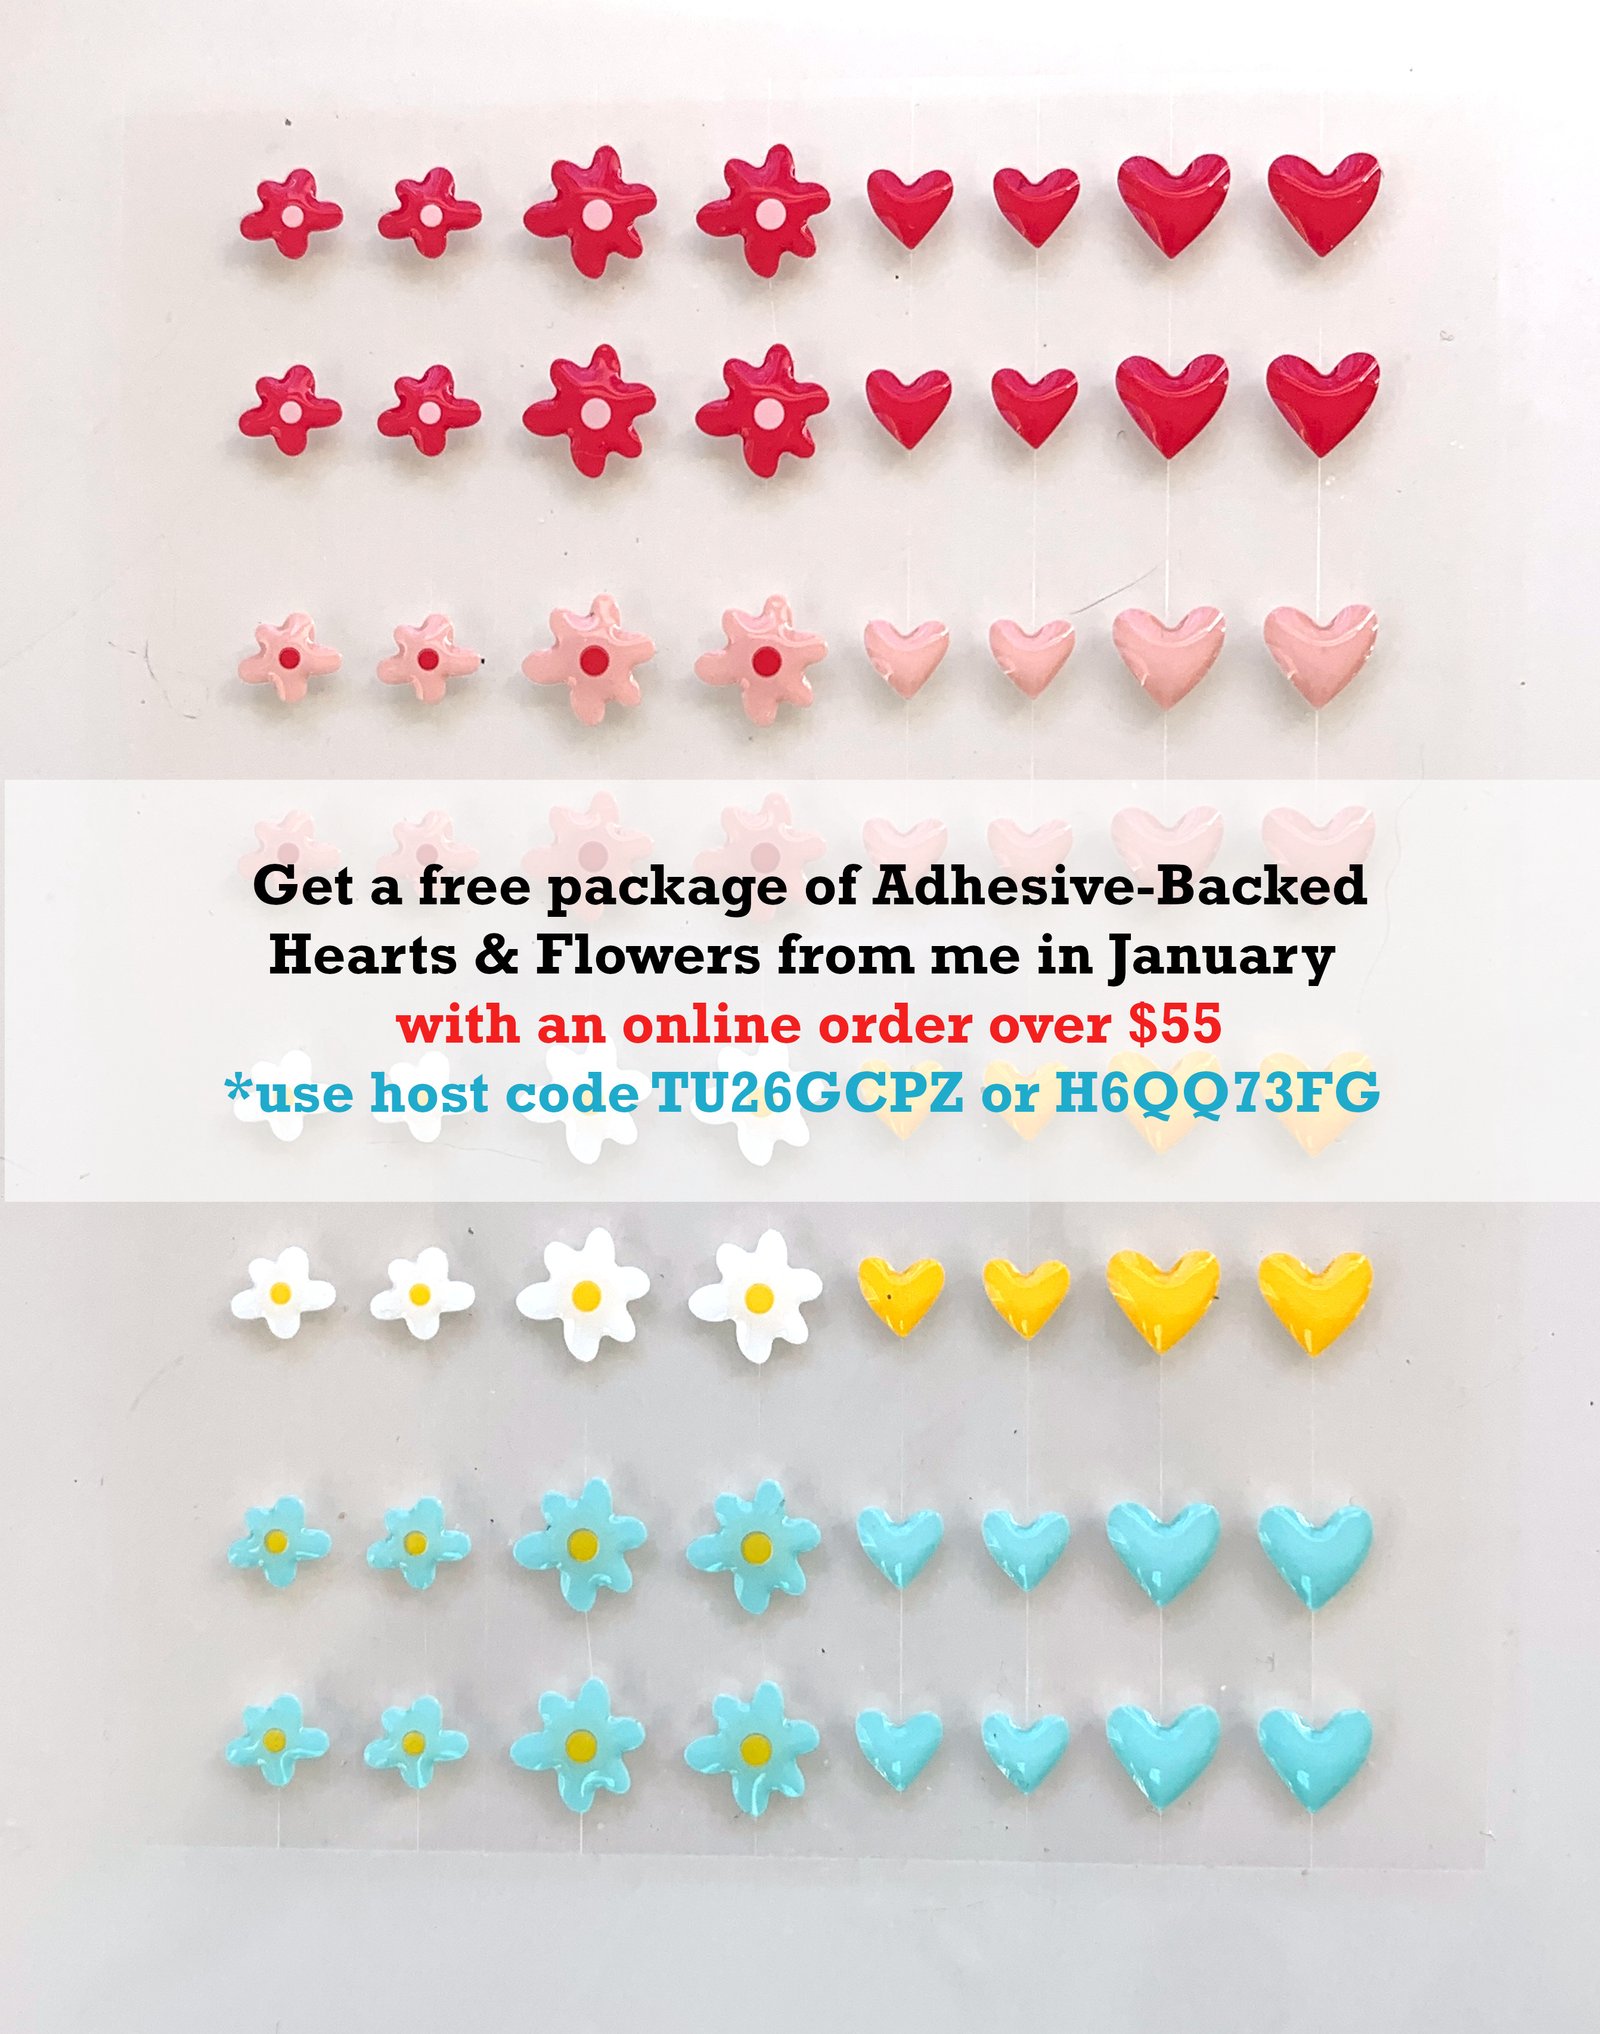
    Get a free embellishment from the 2024 Spring catalog

    with an online order over $55

    Leave a Reply

    Your email address will not be published. Required fields are marked *

  • Spring Catalog display boards


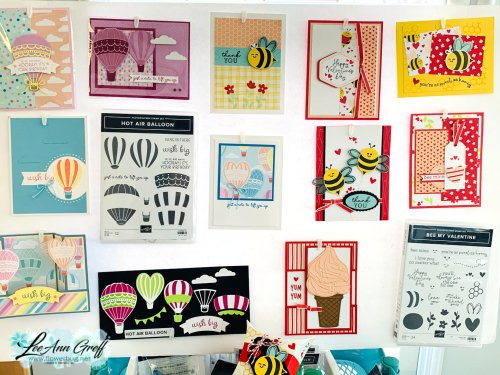
    I thought I'd share some of my display boards featuring Spring Catalog products.  I've heard back that you enjoy these so here you go…..

    First up is the Hot Air Balloon and Bee My Valentine projects:

    Remember that many of these are swaps and are not made by me. I like to group cards together that use the same stamp set or designer paper. 

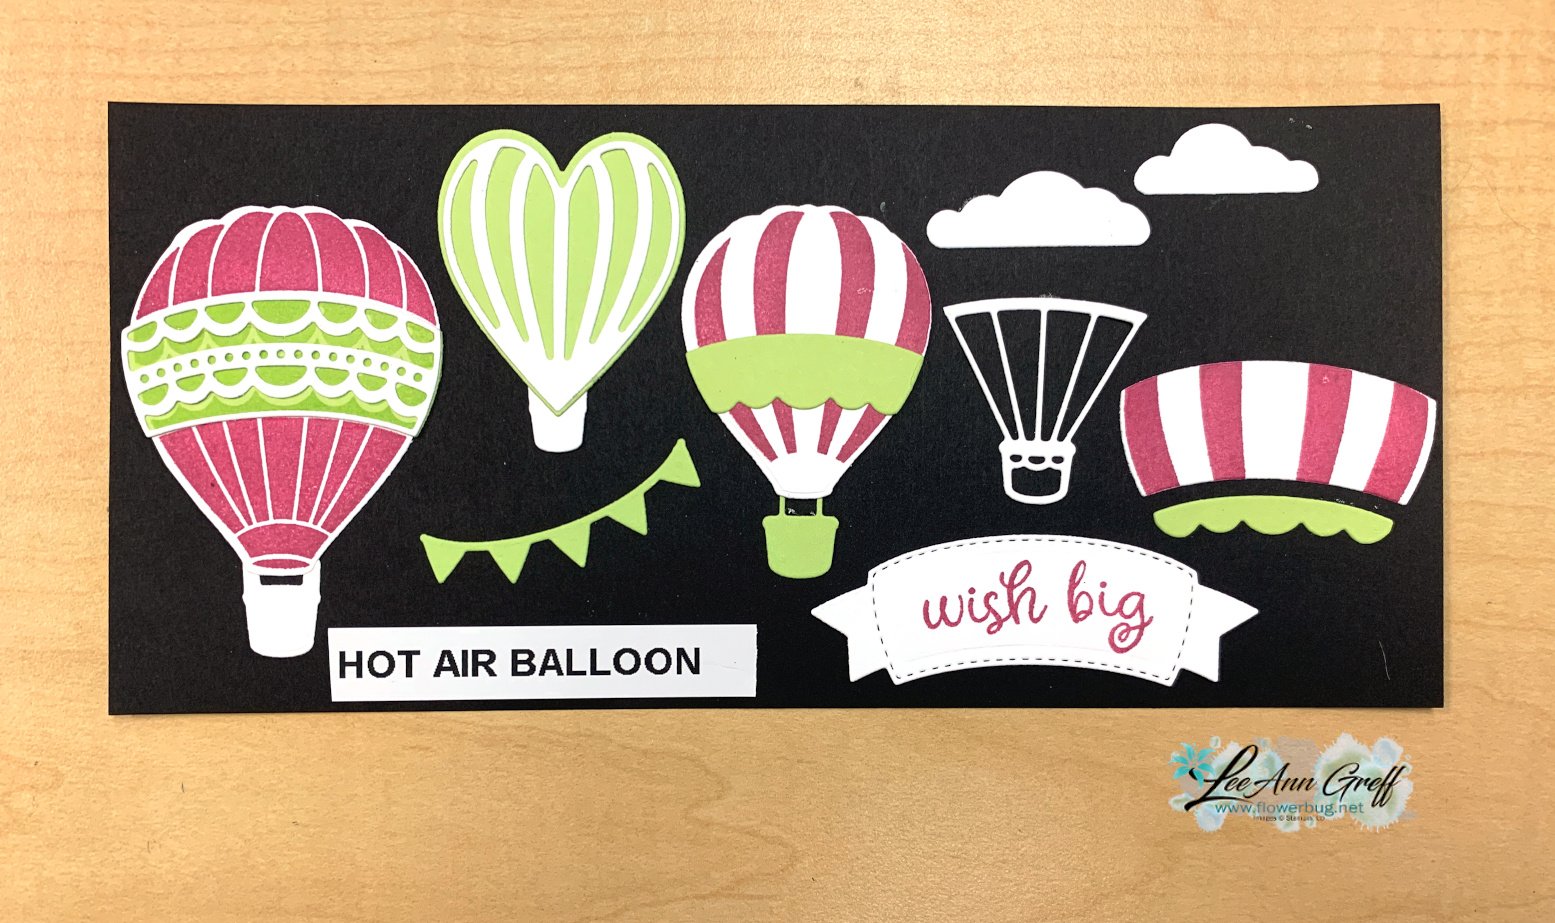
    Here is the Hot Air Balloon dies display.  See the Hot Air Balloon bundle here.  

    Next is the Perennial Lavender suite plus the Hills of Tuscany stamp set on the lower left.  

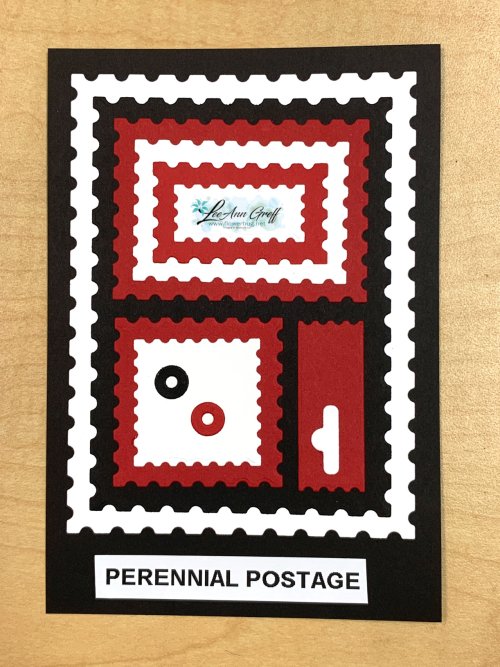
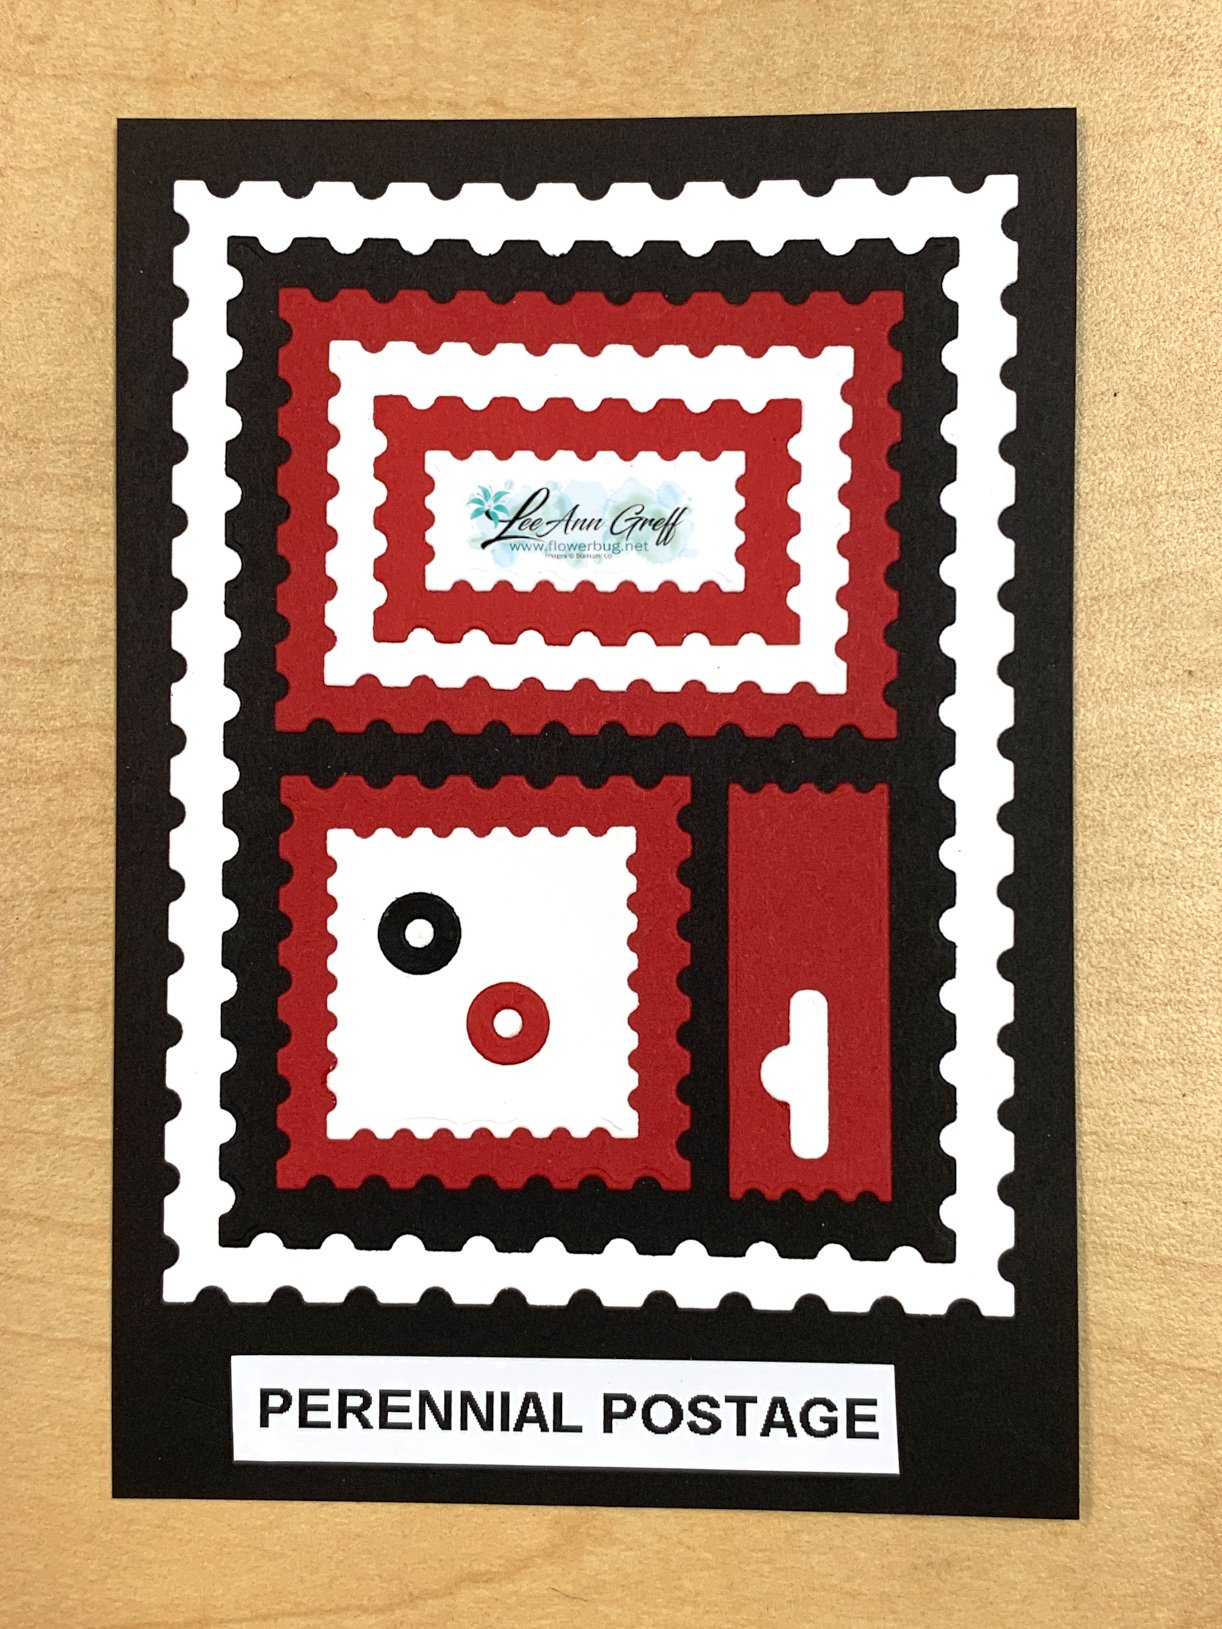
    Here's a close-up of the Perennial Postage dies I put together.  These are fabulous! See them online here. 

    Next is the Nature's Sweetness suite that features two bundles! 

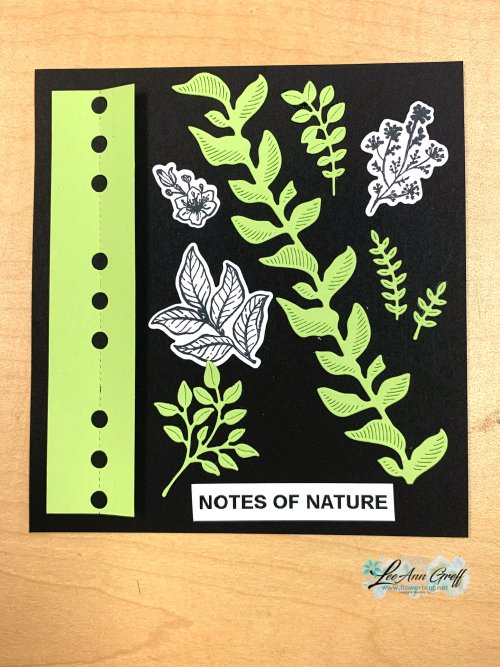
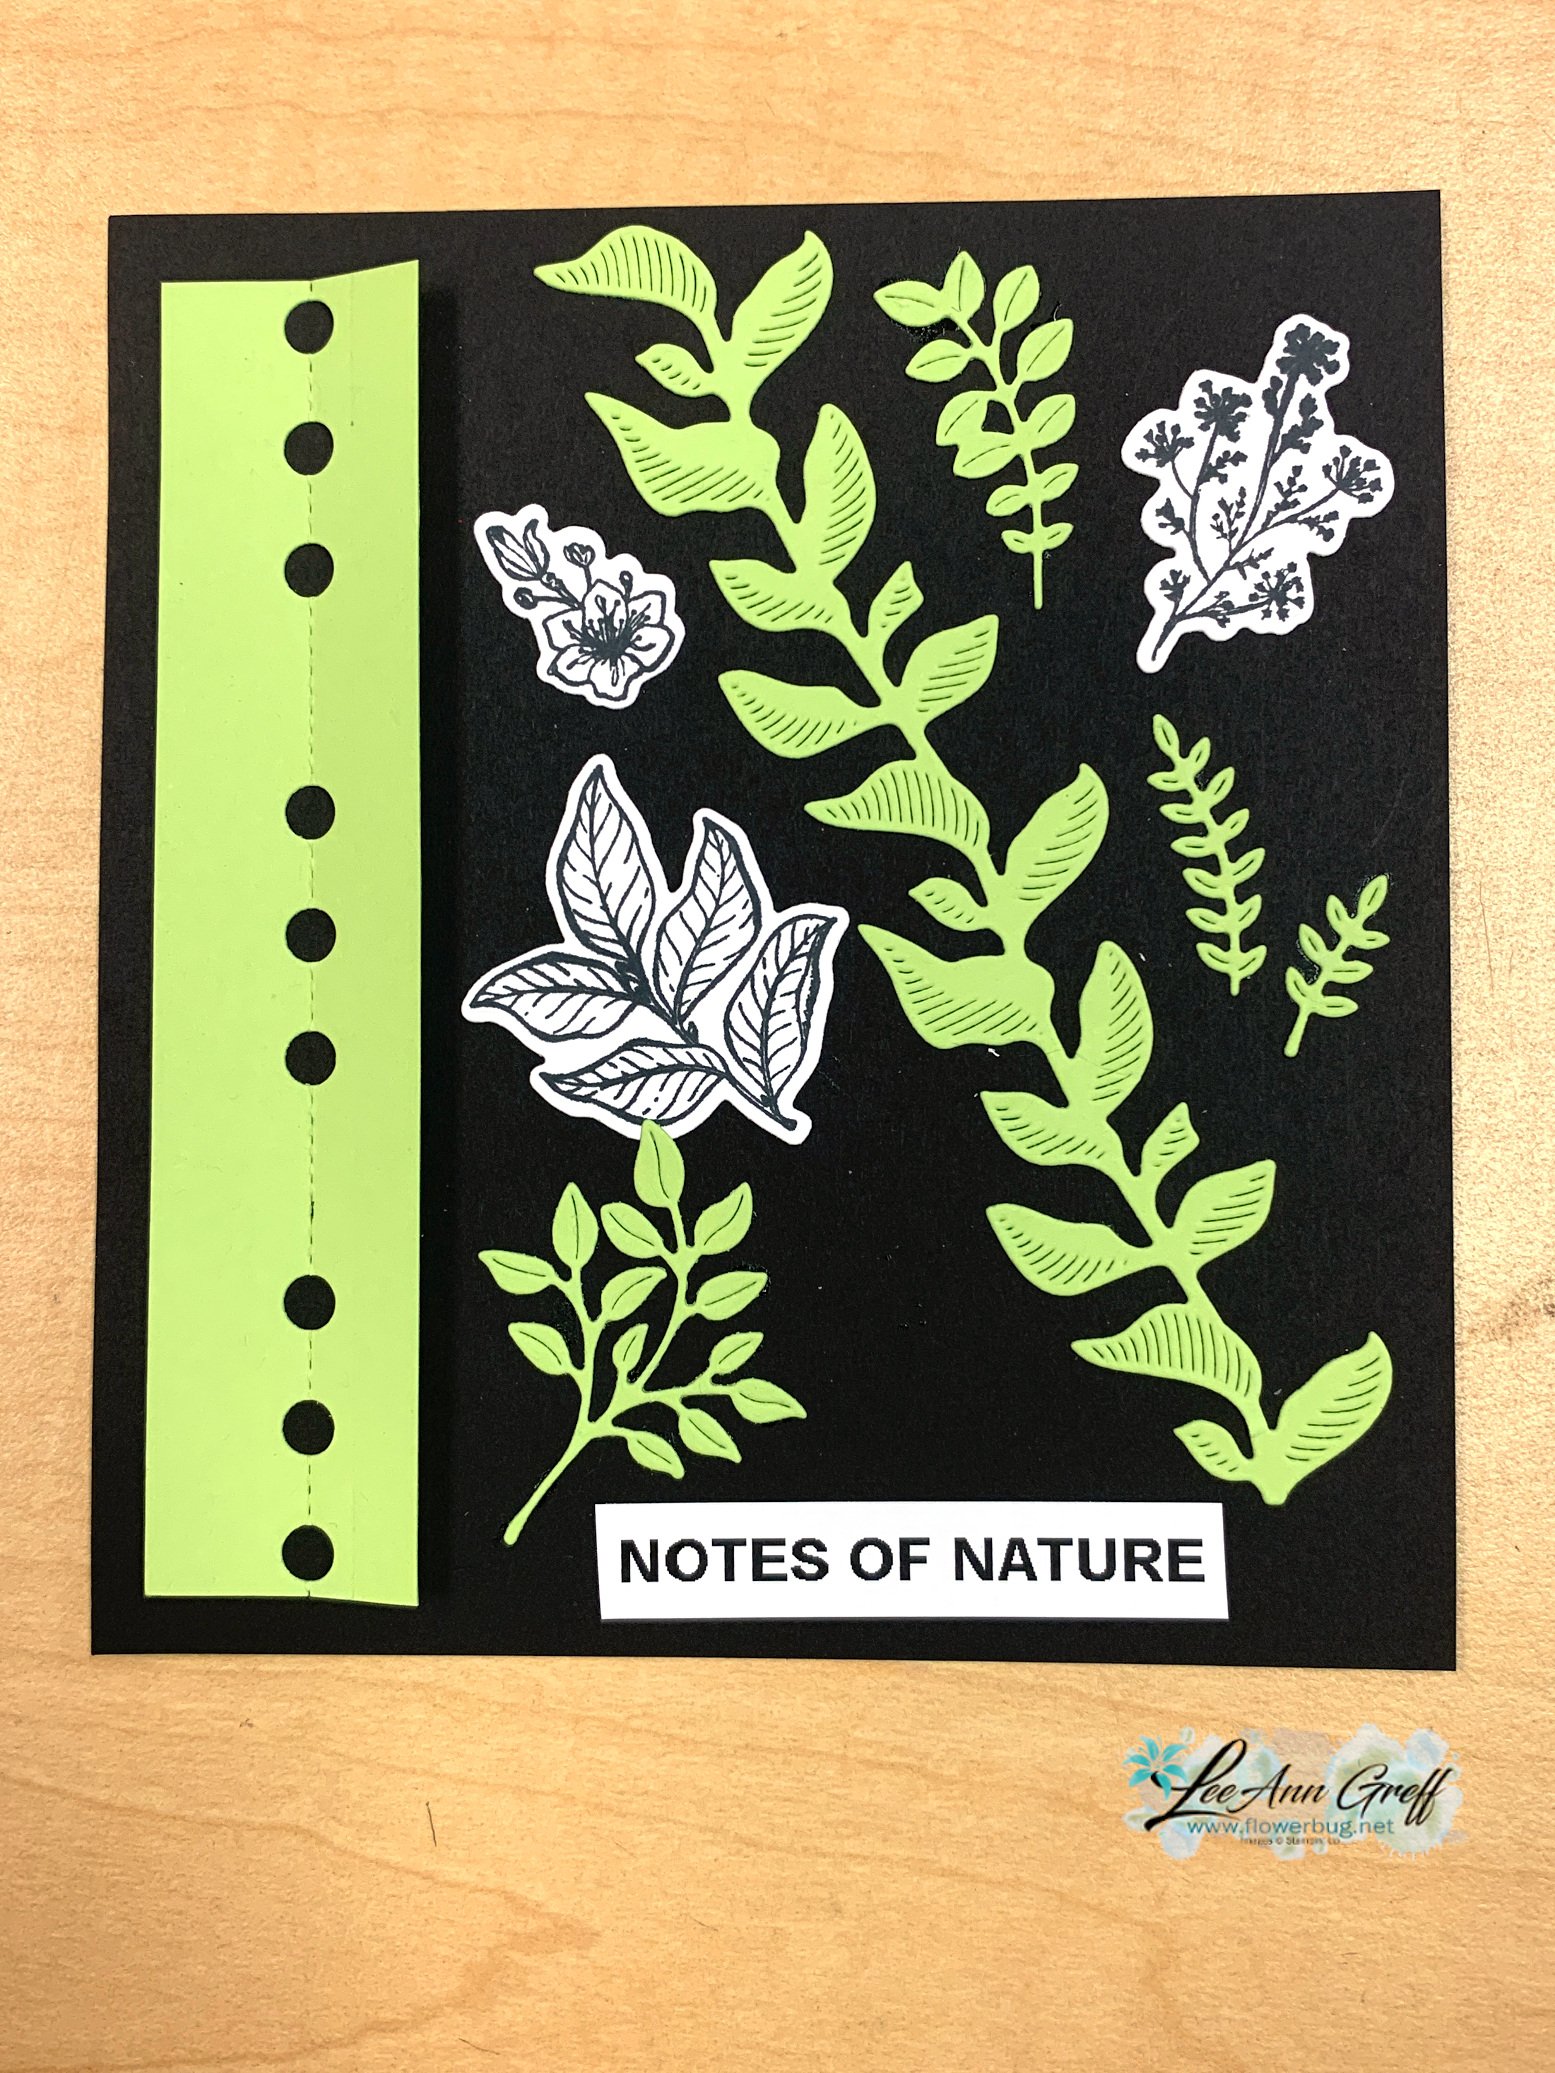
    Below is the die display I created that is part of the Notes of Nature bundle seen here. 

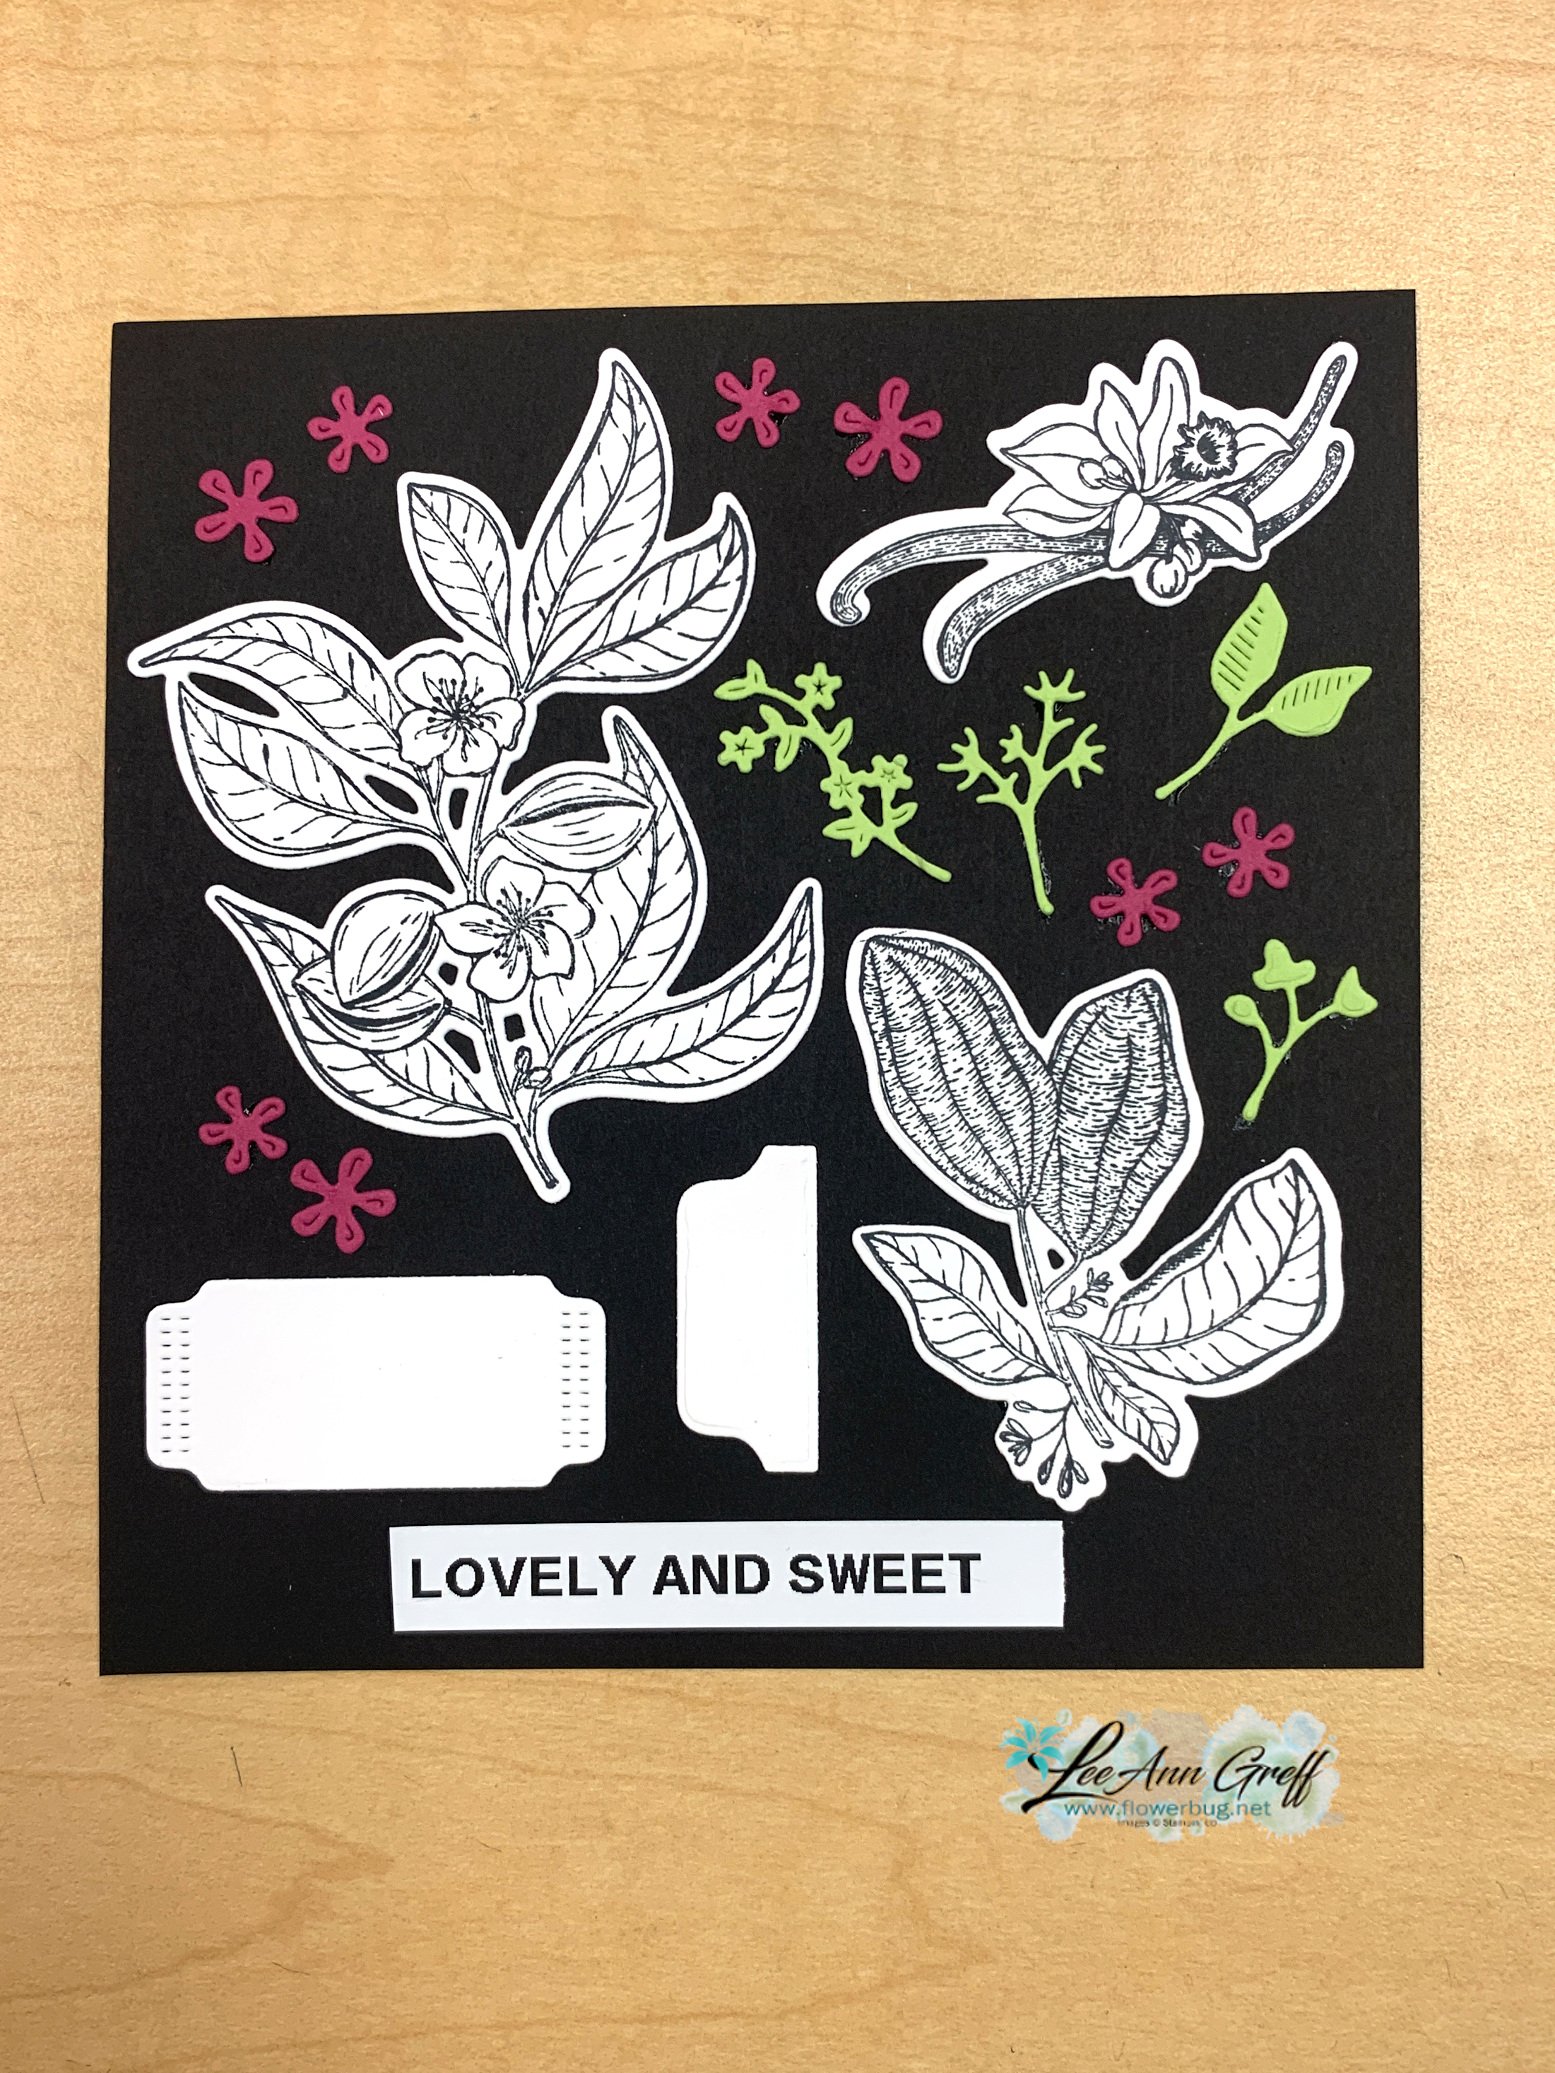
    Below is the Lovely & Sweet dies display; see that bundle here. 


    I featured both of these bundles in a recent video seen here. Everyone loved the projects!  

    ~~~

    January Specials: 

    Earn FREE products with your Stampin' Up! purchase during

    Sale-a-Bration! *click here

    *current host code link: QS26PCUJ or M7NAN4HT

    It's the best time to get a pre-paid Sale-a-Bration subscription

    & earn free Sale-a-Bration products!  


    ~~~

    Get a free embellishment from the 2024 Spring catalog

    with an online order over $55

    Leave a Reply

    Your email address will not be published. Required fields are marked *

  • The Lovely Lavender Paper Pumpkin kit is stunning! *get a pre-paid subscription & earn free SAB choices!


    I received my January Paper Pumpkin kit yesterday and for the first time ever, I sat down and finished the entire kit!  Here are my cards.  


    The original kit makes 8 cards and 4 tags.  I added 4 card bases and a few extra coordinating cardstock strips and ended up with 12 cards!  They released the add on kit for the Lovely Lavender card kit today; it's just $11.50 and you can see it here.  It comes with everything but the stamp set & ink spot!  

    *I love these cards so much I'm featuring the add-on kit in a card kit to go in February!  

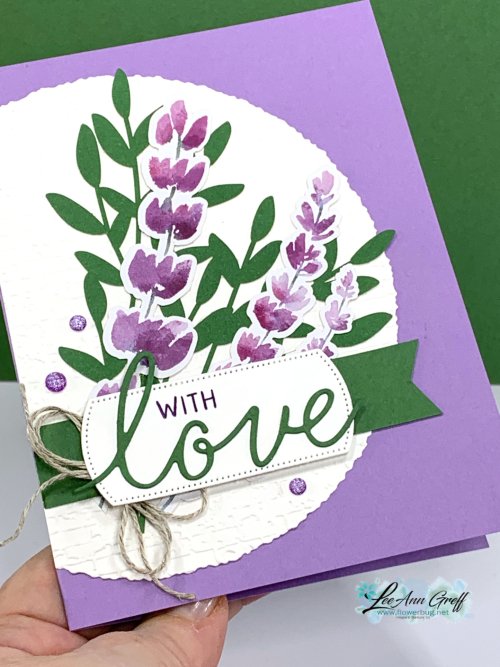
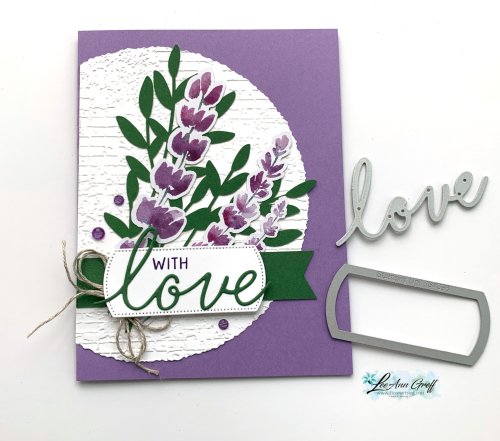
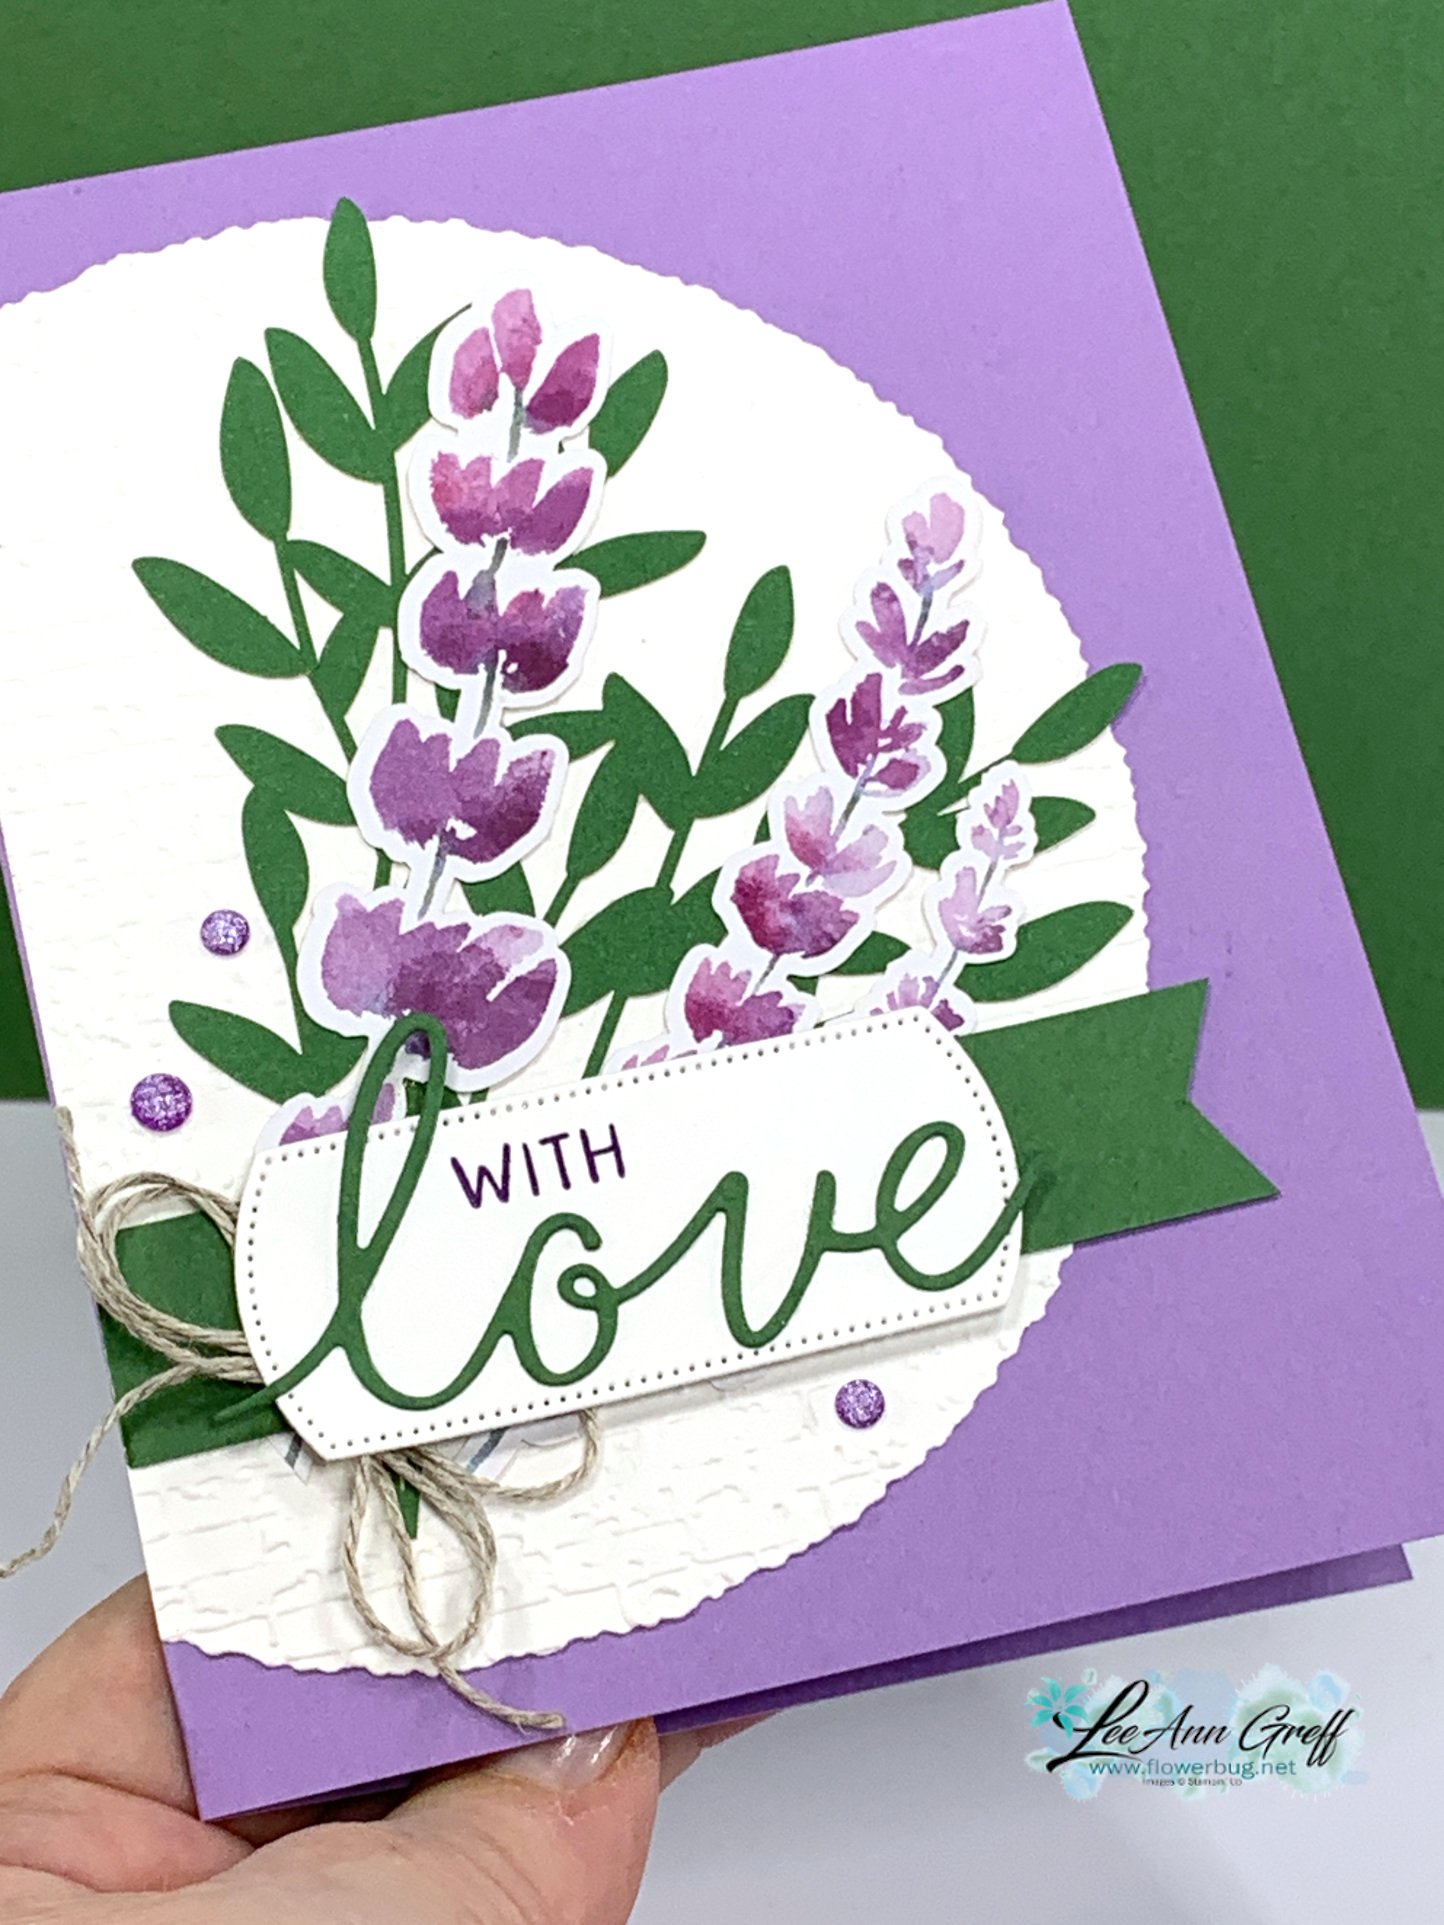
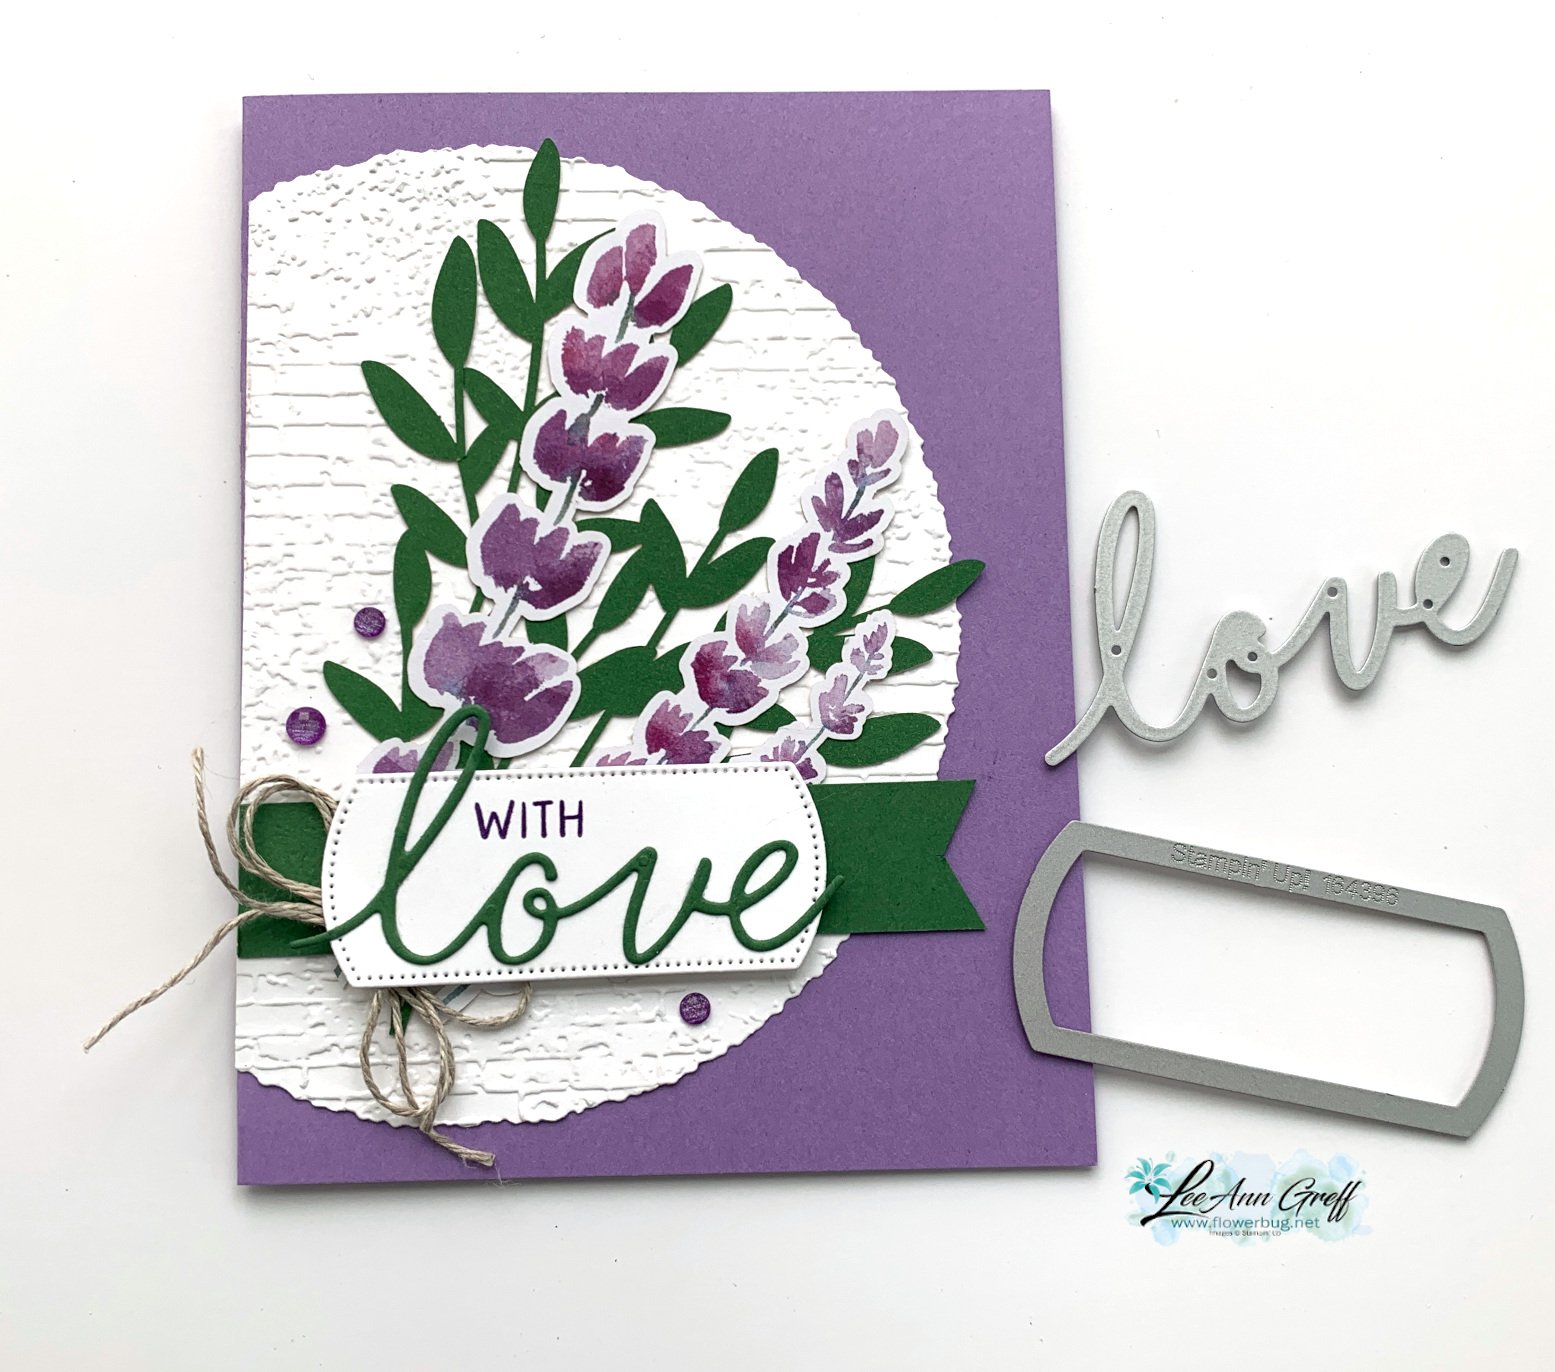
    Here's another alternative idea I made with the kit: 

    I used our Deckled Circle dies and the new Love of Spring 'add-on' dies for Paper Pumpkin subscribers.  The 'love' and the label die-cut are from these dies!  These dies can be seen here and are just $12.

    I textured the white circle with the Exposed Brick embossing folder and added a 3/4" Garden Green strip to the Highland Heather card base. The twine is from the kit and the gems are our new Fine Shimmer Purple gems. 


    If you aren't a Paper Pumpkin subscriber I want to consider it. The kits are worlds better than they were in the past. I love receiving one every month and having easy creative projects I can do when I have free time.  No planning or prep; just creative fun! 

    Here are your choices when subscribing to Paper Pumpkin: 

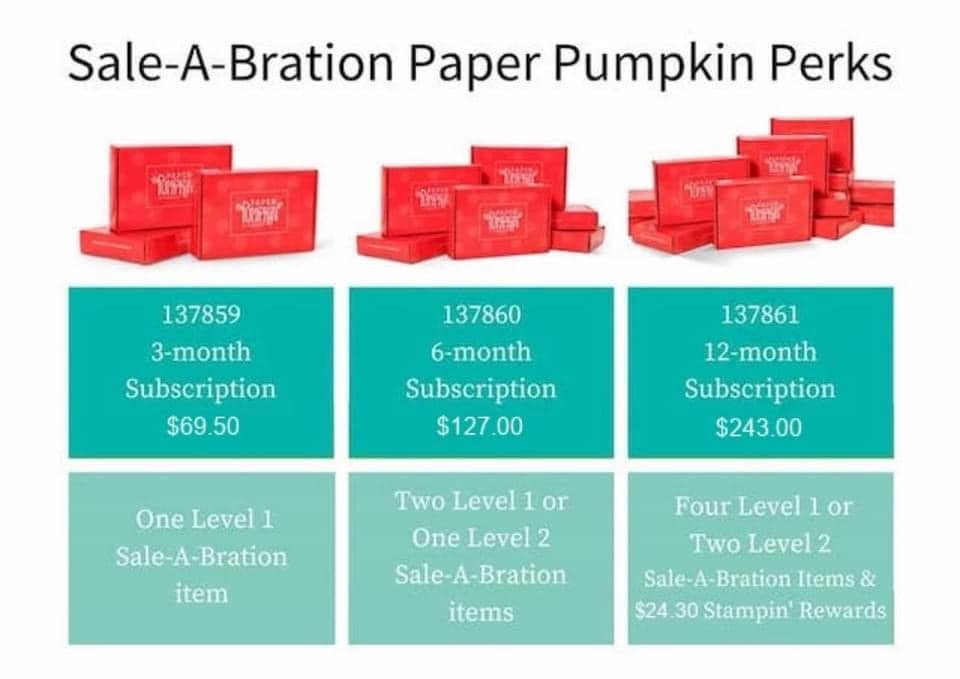
    1. Purchase a 1, 3, 6 or 12 month subscription here.  *get free Sale-a-Bration choices through February!!
    2. Subscribe to receive a kit each month here.

    I highly recommend getting the 12 month pre-paid choice.  When you do, if you add just $57 more to the 12-month subscription, you'll get 2 more for a total of 6 ($50) SAB choices + $36 hostess rewards + extra $30 hostess rewards! It's a pretty good deal!

    Did you know that you are in charge of which kits you receive?  Once you purchase a pre-paid subscription or subscribe you can opt out of any kit you do not want. Stampin' Up! shares what's coming up each month so you can decide if you want it or not.  You have complete control!

    *Plus when you subscribe with me, LeeAnn Greff, you'll qualify for a FREE tutorial each month.

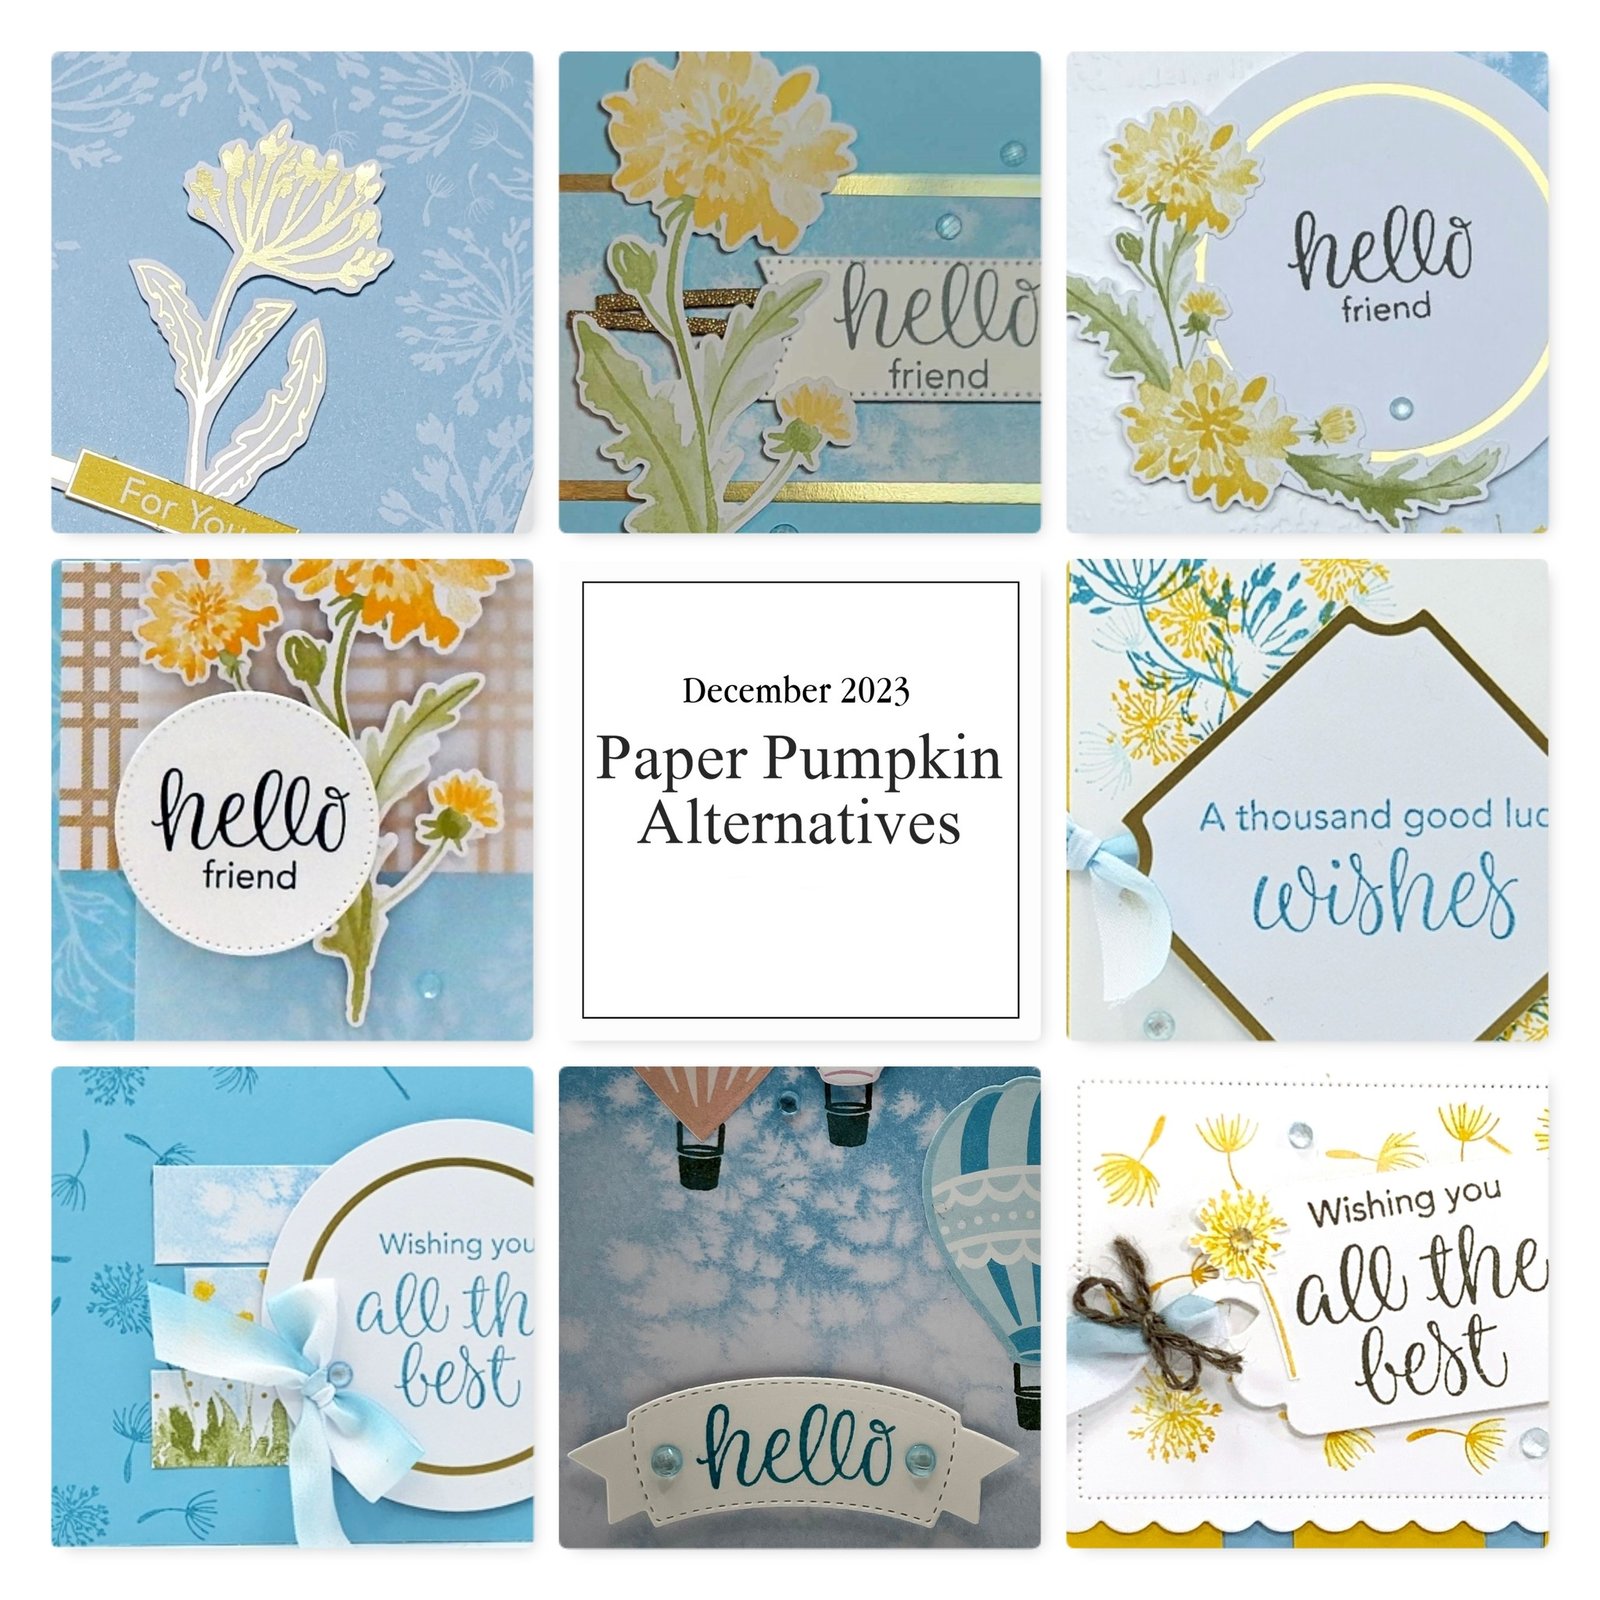
    • This tutorial PDF is filled with 10 or more alternate ideas for additional projects you can make with each month's kit (includes photos & instructions) – making your kit go a lot further!  *see example photo below

    ~~~

    January Specials: 

    Earn FREE products with your Stampin' Up! purchase during

    Sale-a-Bration! *click here


    It's the best time to get a pre-paid Sale-a-Bration subscription

    & earn free Sale-a-Bration products!  


    ~~~

    *current host code link: QS26PCUJ or M7NAN4HT

    Get a free embellishment from the 2024 Spring catalog

    with an online order over $55


    Leave a Reply

    Your email address will not be published. Required fields are marked *


Notice: LeeAnn Greff, Independent Stampin’ Up! Demonstrator, Manager. The content of this website is my sole responsibility as an independent Stampin’ Up! demonstrator and the use of, and content of, the classes, services, or products offered on this website is not endorsed by Stampin’ Up! Copyright 2025