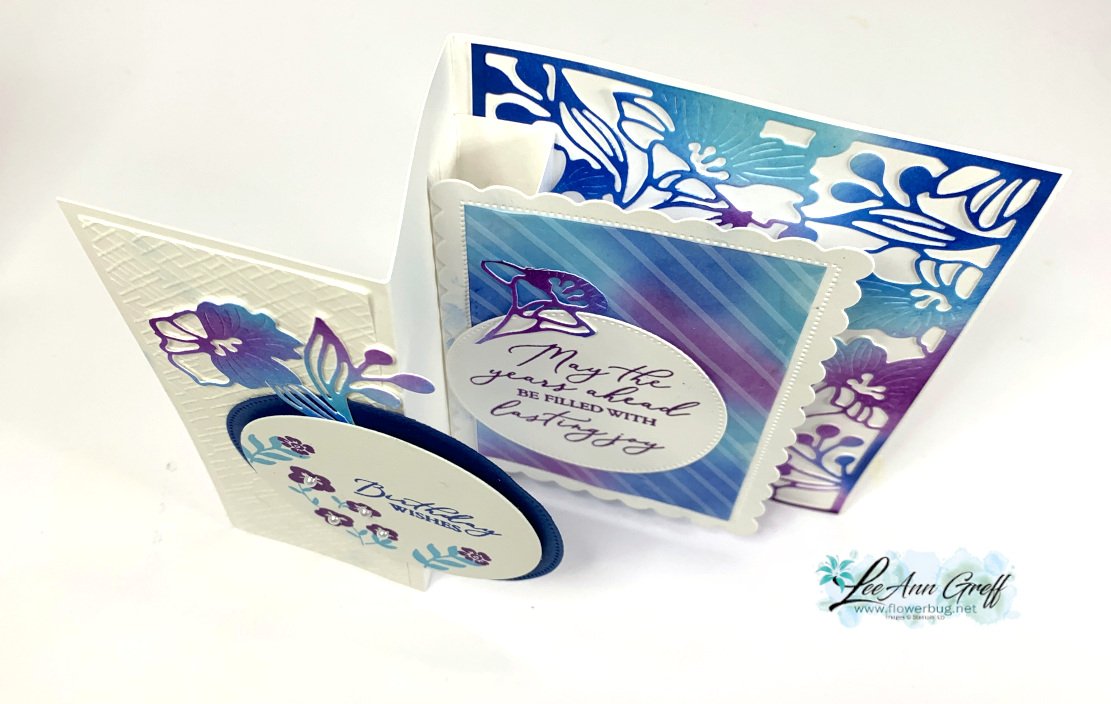
Today I’m sharing two more of my Flowerbug Team swaps and both are fun fold layouts. Our theme was Monochromatic cards and these cards include similar colors.
First is Kim’s card featuring the Peace on Earth bundle that’s coming in the new 2025 Holiday catalog in September; just a few weeks away! The long leaves die-cut is from the Memorable Blooms dies but is now retired.

Her colors include Cloud Cover with Pretty Peacock & White. For the large oval die-cuts she used the Impressions Abloom dies seen here. The Damask Designs embossing folder was used on the Cloud Cover 2-toned card stock panel.
Measurements:
- card base 11″ X 4 1/4″ score at 2 3/4″ & 5 1/2″
- 2-toned CS textured panel 2 1/2″ X 4″
- Peacock inside 5 1/4″ X 4″
Here’s how her card opens: These doves in this upcoming bundle are so pretty. Perfect for sympathy, wedding or other events.

~~~
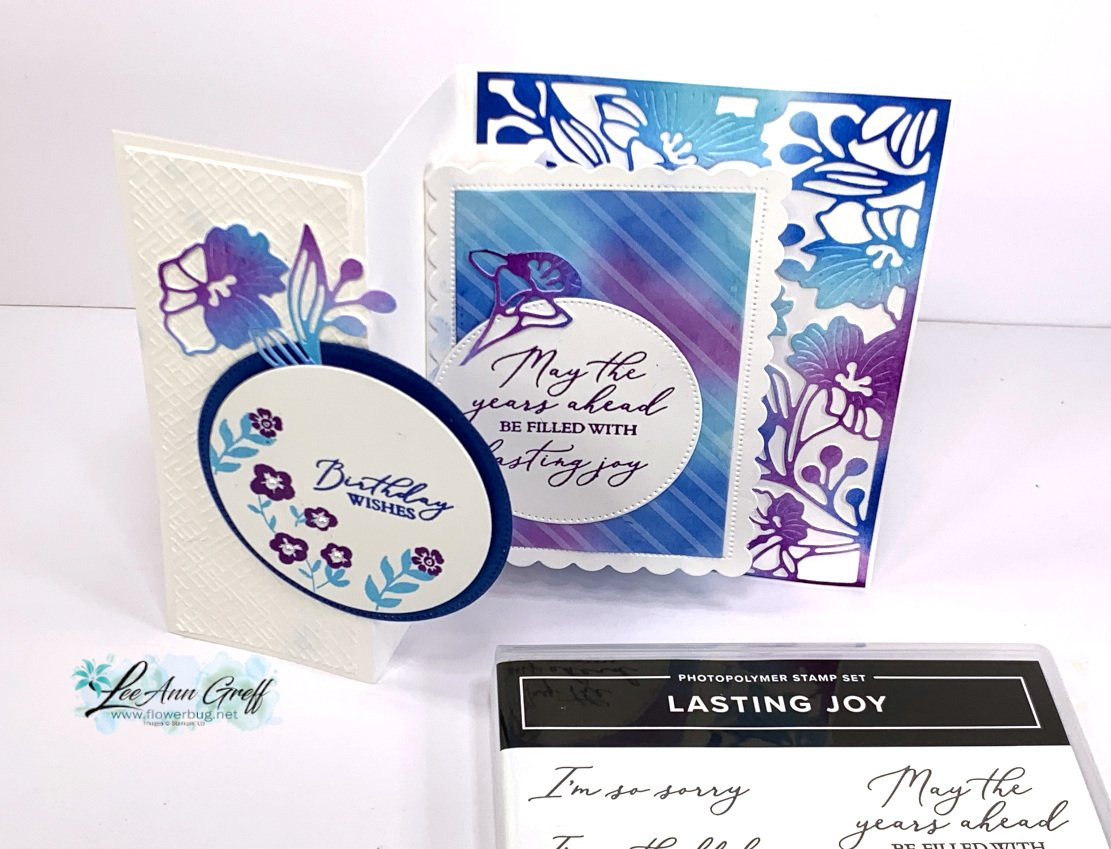
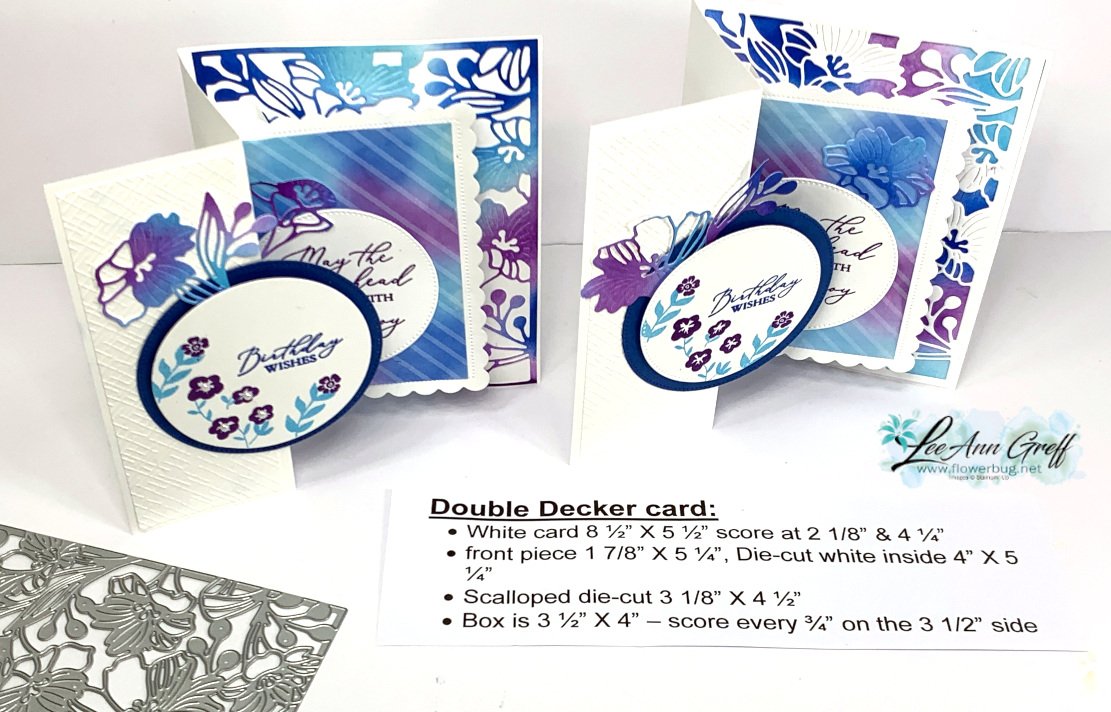
Next is a cute card made by Candy featuring the Jar of Joy stamp set seen here. It coordinates with the Sweet Jar punch seen here.

Her colors include Pretty Peacock, Lost Lagoon, Pool Party & White. Embossing folders are So Swirly & Damask Designs. Dies are Nested Essentials and Textured Notes.
It’s a neat fun fold card that opens up from each side:

She’s calling it a ‘Buckle Fold card’. Here are her measurements:
- Peacock card base 6 1/2″ X 5 1/2″ score at 2 1/4″, latch strip is 5 1/4″ X 2″ score at 2 3/4″
- Pool Party 2″ X 5 1/4″
- Lost Lagoon die-cut 2 3/8″ X 3″
- White inside 4″ X 5 1/4″, Textured Notes greeting die-cut
Tomorrow I’ll share the last of our Monochromatic swaps!
~~~
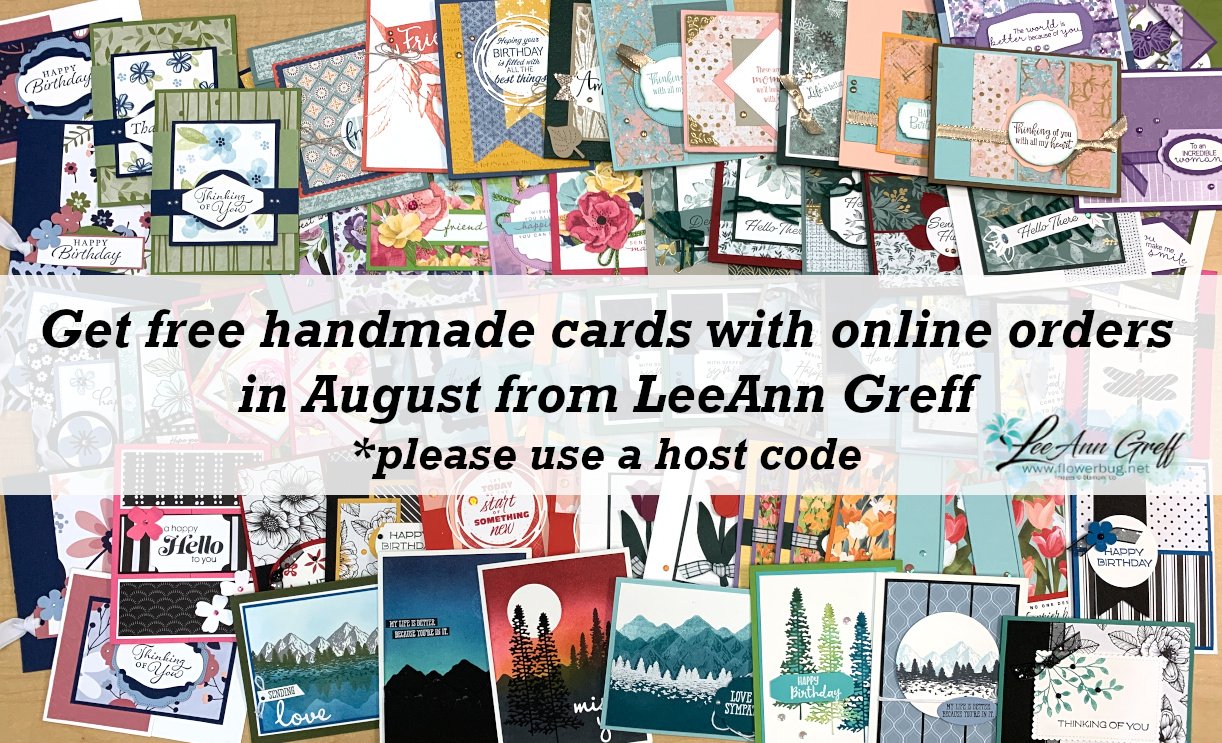
August Specials
Lots of In Color products are discounted in August!!

Get a free card class with any online order over $55 during August!
Order online hereThe last chance list has new products! See them here.


Leave a Reply