/


Latest Post

Trusty Tools Latch fold card with free project sheet & video


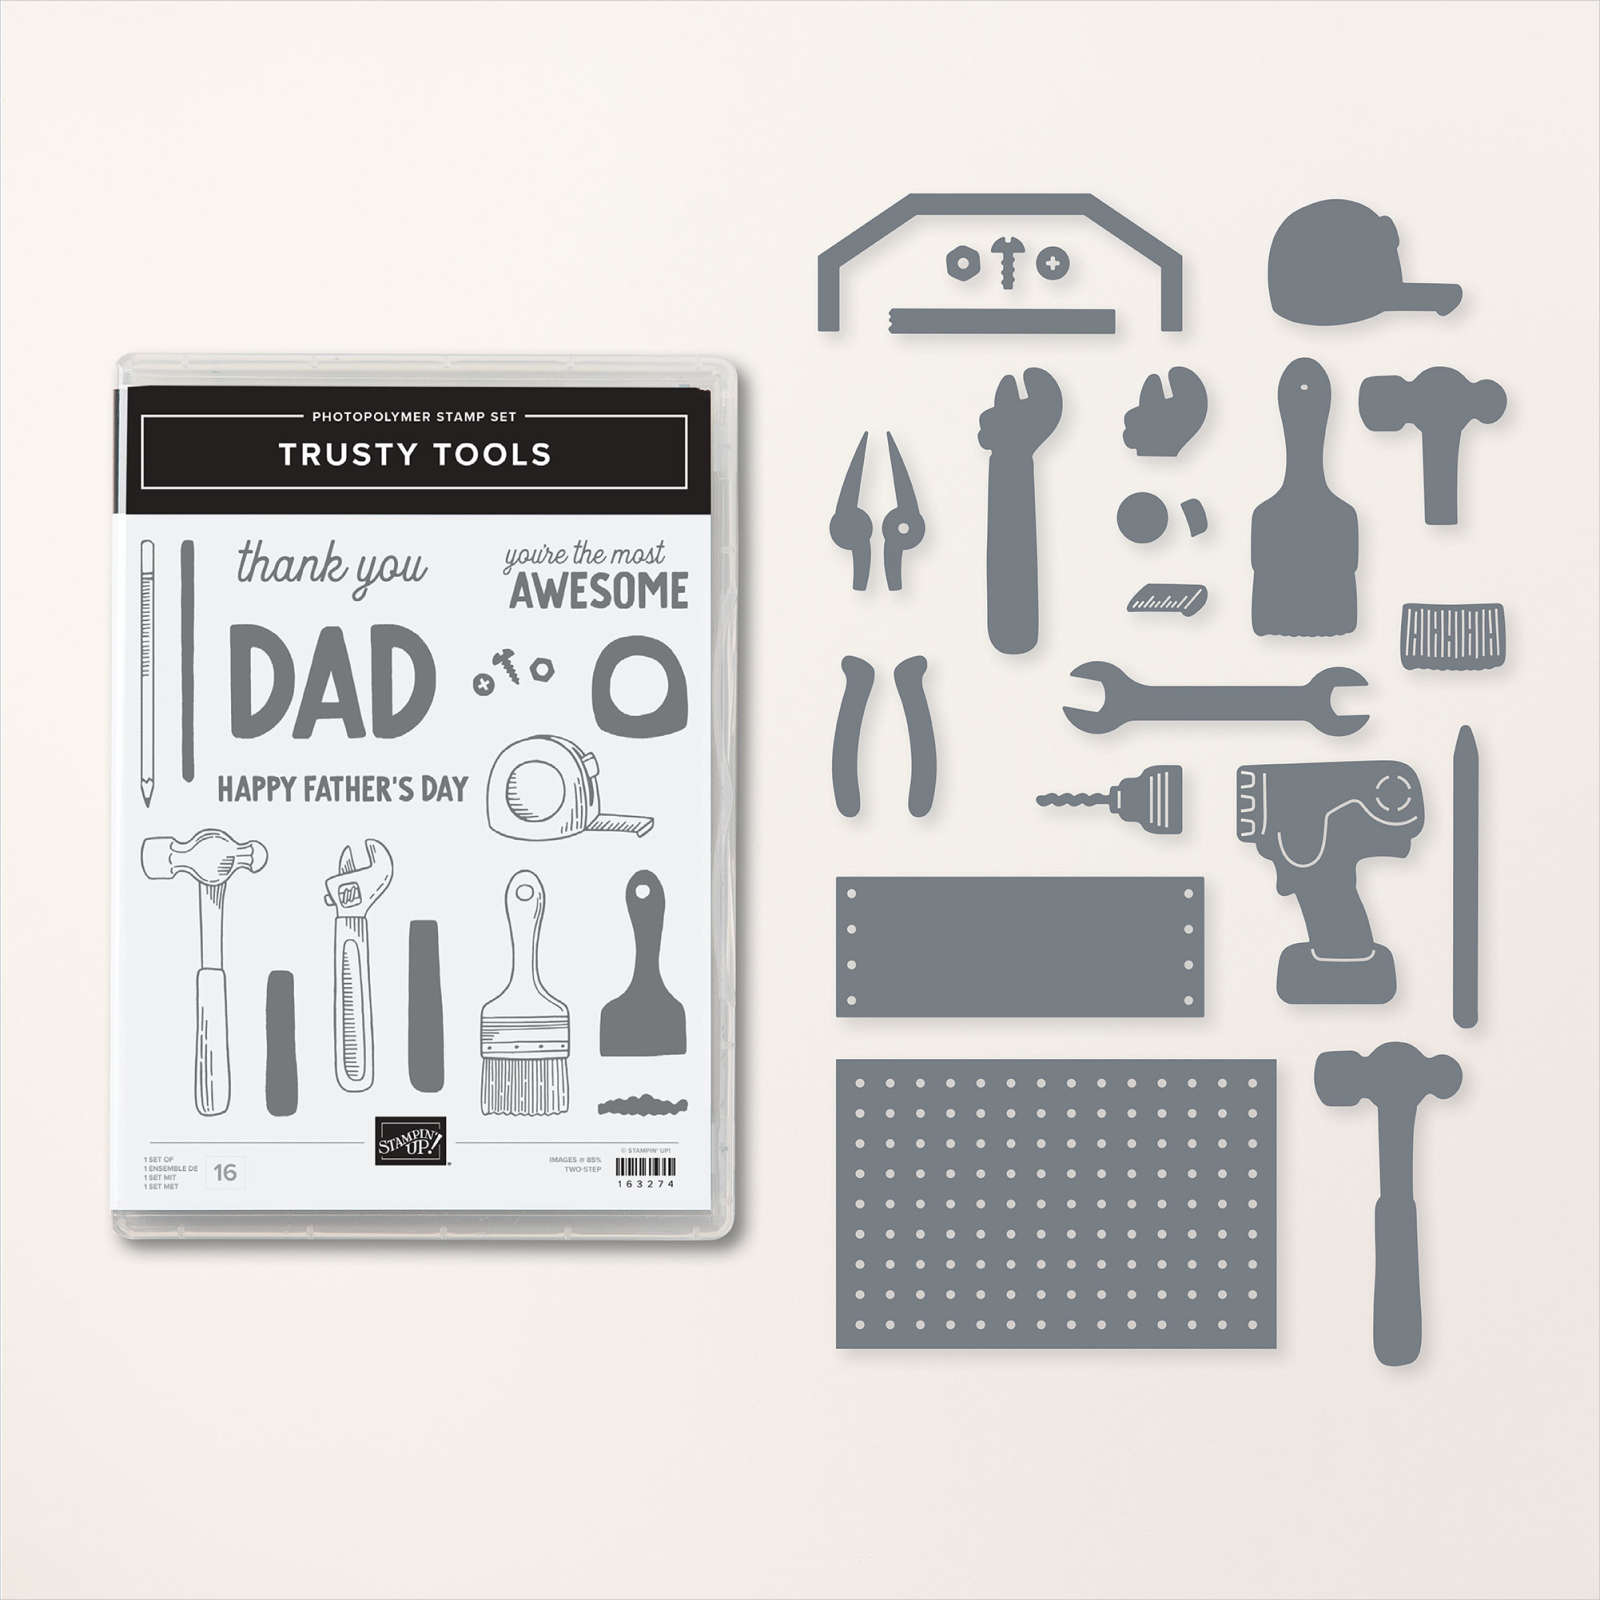
On last week's Live video I created two fun fold cards featuring the Trusty Tools bundle and the Trusty Toolbox designer paper. 

The Trusty Tools bundle is in the new Spring catalog and the Trusty Toolbox designer paper is in our Sale-a-Bration catalog. They're an incredible pair that is unique and perfect for handy guys or gals and coordinate together wonderfully! 

This card is a latch card.  Both flaps open but the Poppy Parade flap is 'caught' by the layered greeting element.  

It's hard to explain how it works but the video I made shows how easy it is.  It's all about where to place the Dimensionals to 'catch or latch' the card closed.  I like my cards to stay mostly closed so I created this closure option. 

Here's what the inside looks like:

My colors were chosen by the Trusty Toolbox designer paper – Black, Poppy Parade & White. This special designer paper can be earned free now during Sale-a-Bration with any $50 purchase through Stampin' Up!.  See it here. 

I suggest ordering the Trusty Toolbox bundle and then choose the designer paper as your free Sale-a-Bration choice.  See the bundle here online.  
A word of advice on choosing Sale-a-Bration items. If you want both a pack of designer paper and a stamp set and cannot afford to get both, choose the designer paper first. They usually run out of papers, dies & gems before they run out of stamp sets. Then choose the stamp set with your next purchase. 

You can download the free project sheet for the Trusty Toolbox card here. Download Trusty Tools Latch-fold card

Below is a photo of both cards using this special latch fold.  The card on the lower left is made with the Lighter Than Air designer paper in Lemon Lolly & Balmy Blue.  It's one of the cards featured in my Lighter Than Air pre-cut kit to go seen here. 

Click here to watch the video on this project plus a second fun fold too!  Or watch it below:

~~~

January Specials: 

Earn free products during Sale-a-Bration!

*click on the photo below  
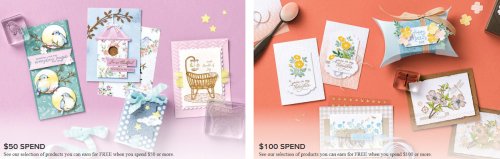
Get a free embellishment from the 2024 Spring catalog

with an online order over $55
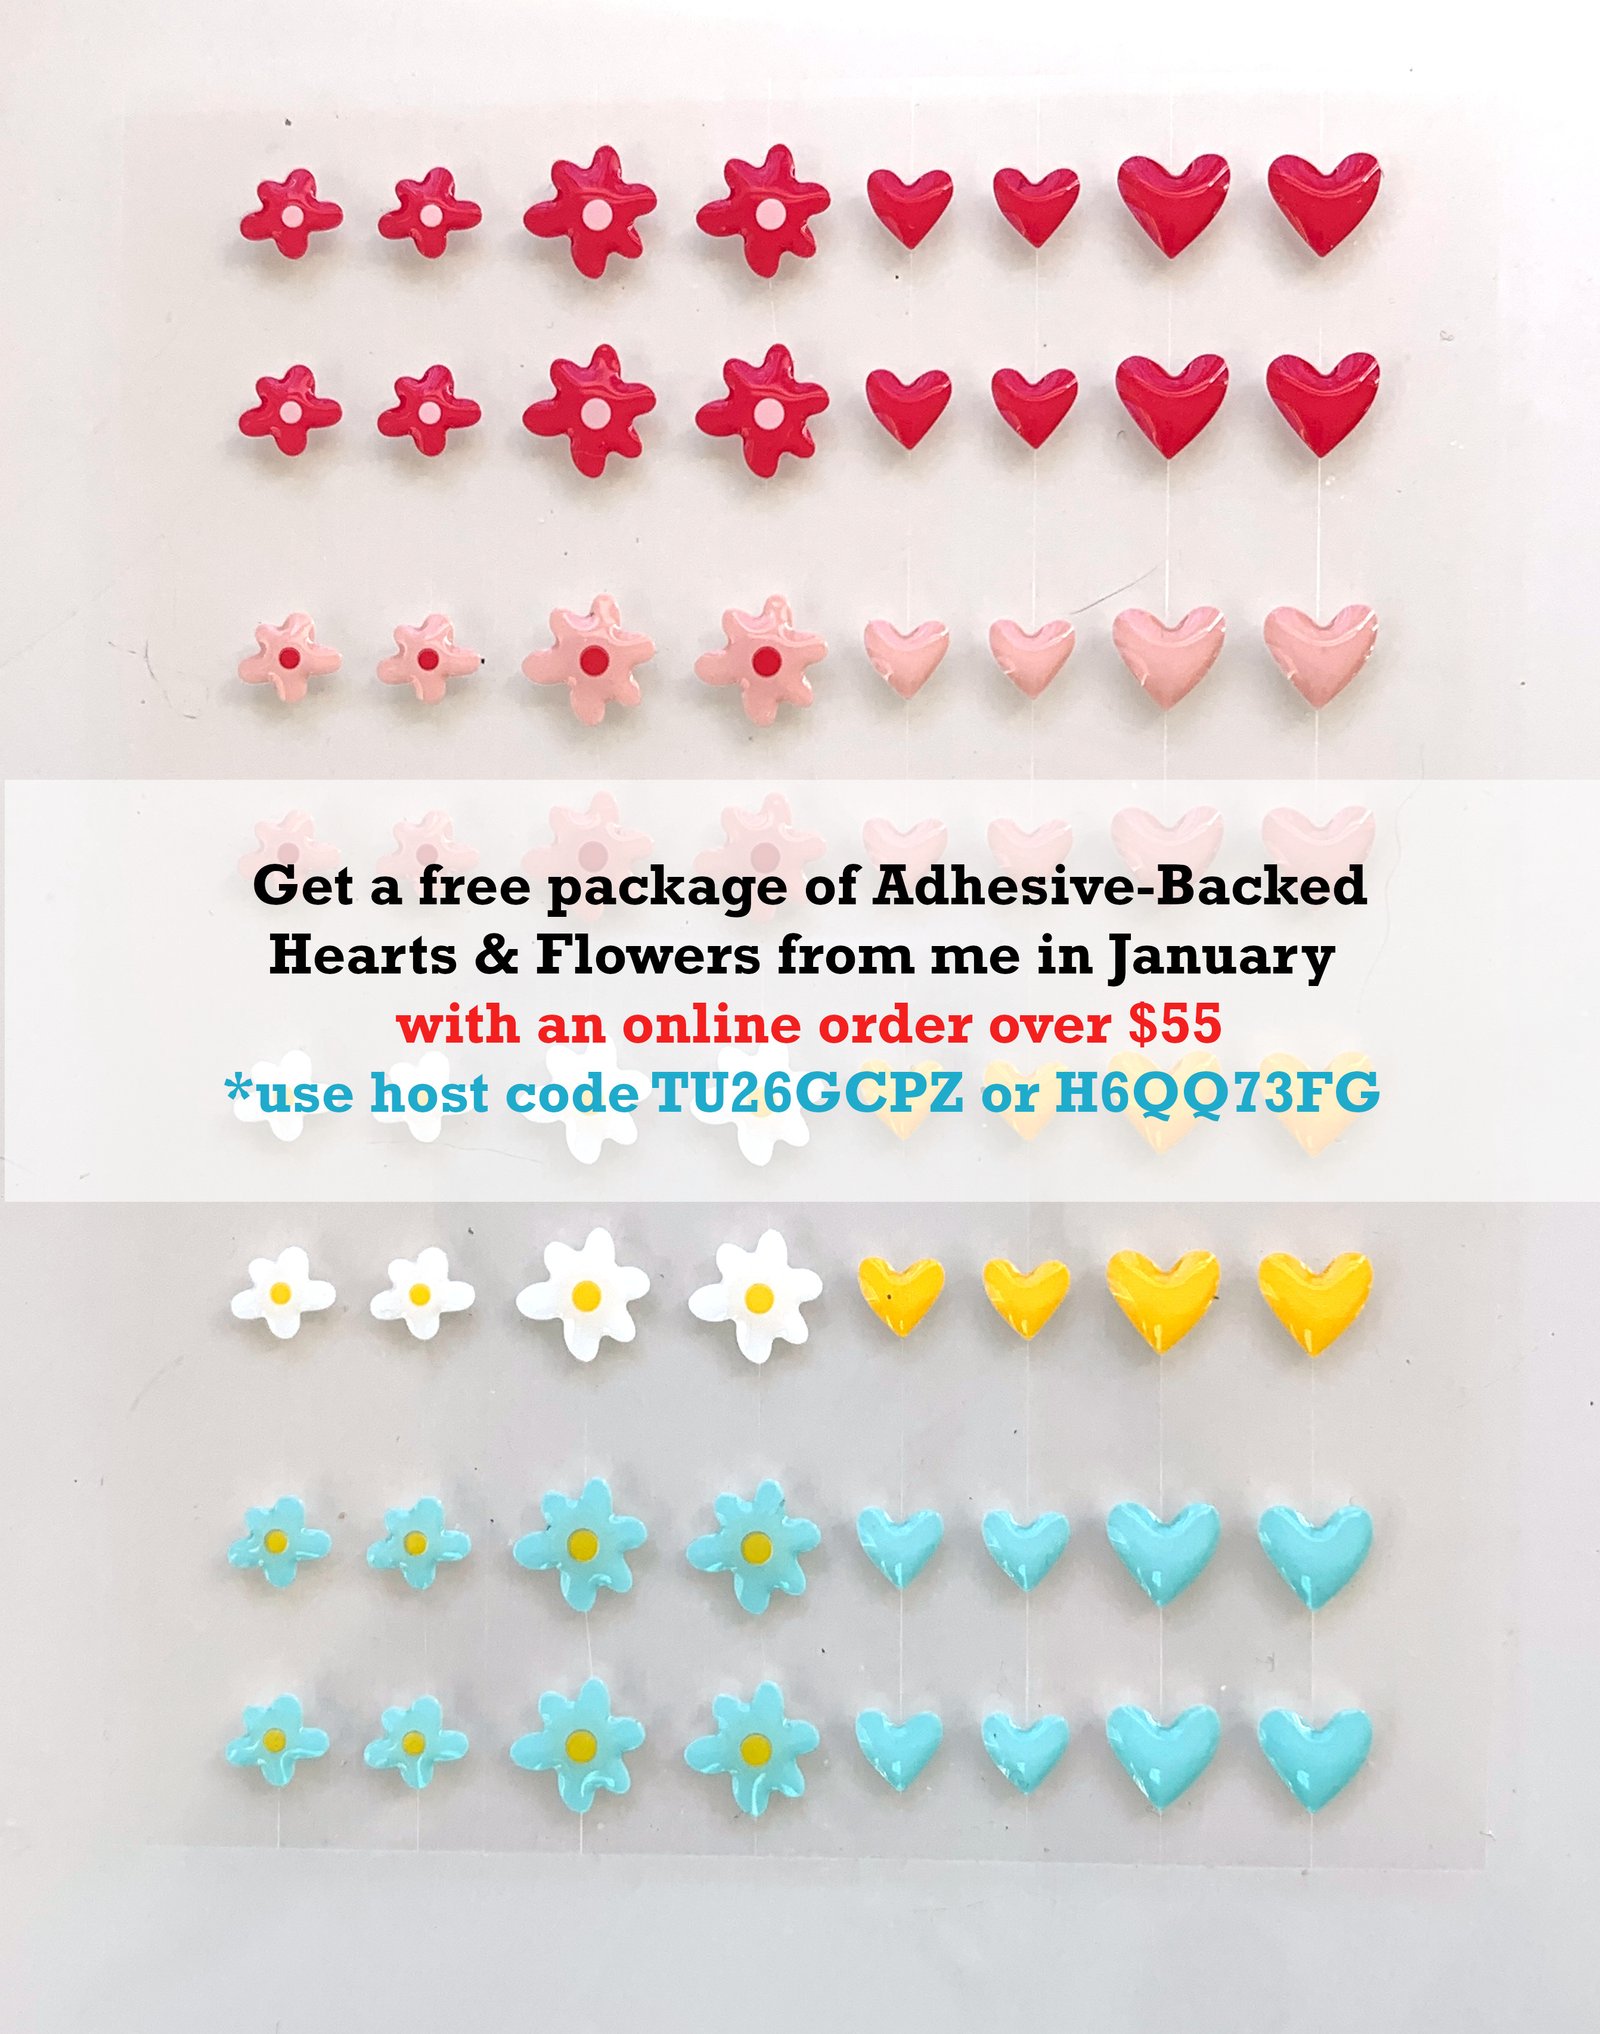

*current host codes: TU26GCPZ or H6QQ73FG

~~~

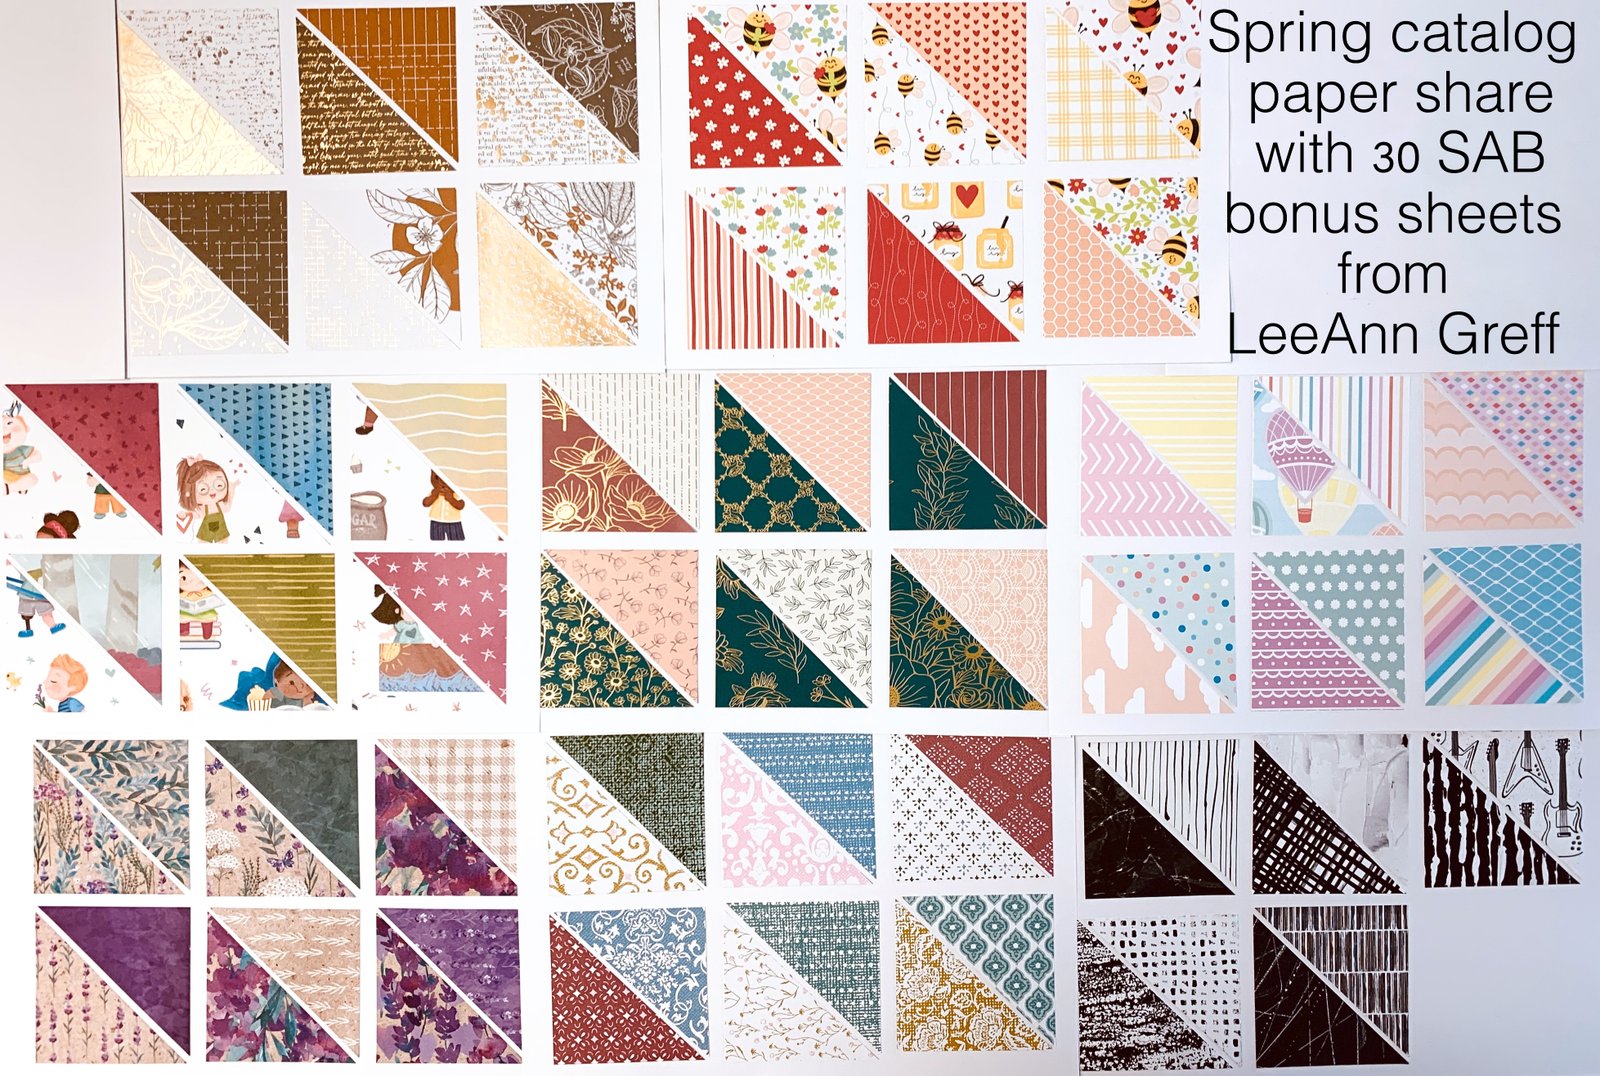
Reserve your Spring & Sale-a-Bration designer paper share

$18 for 78 sheets! (plus $7 shipping). Email me here
~~~

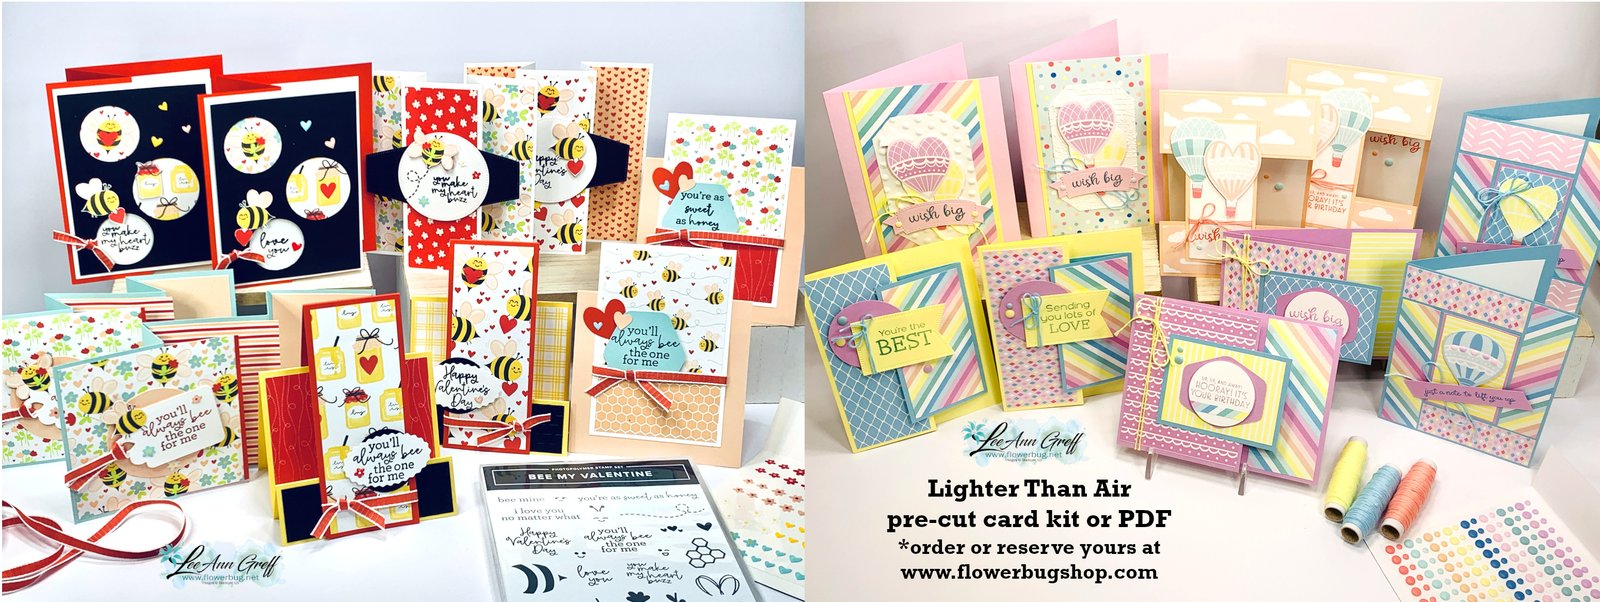
I have several pre-cut card & scrapbook kits to go; ready to mail out!

Click here to see them all.
All Posts

  • Feels Like Home Sale-a-Bration swaps


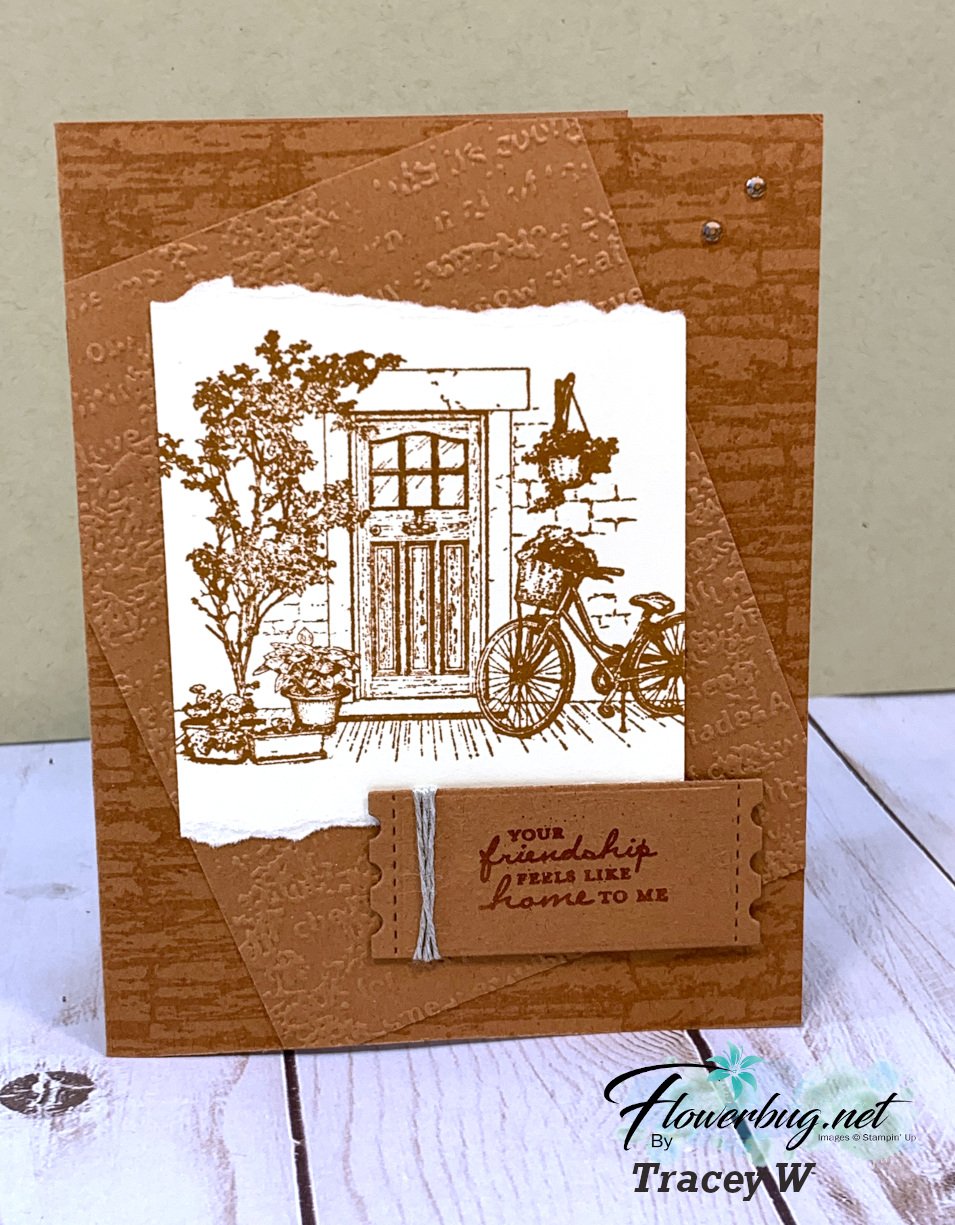
    We had our monthly Flowerbug's Team meeting this weekend and as usual swapped cards.  This month we chose a Sale-a-Bration theme.  Here are two pretty cards I am sure you'll love.  

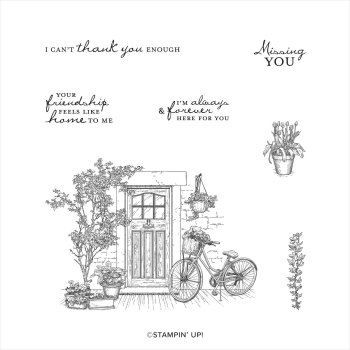
    The first is made by Tracey.  She used the Feels Like Home stamp set and a monochromatic look with Cinnamon Cider. I love the fact that you do not have to color this set in.  It's beautiful stamped in one color!  See this stamp set here. 

    It's such a rich color! She added tons of texture & details to this card  including the torn edges.  

    Details:

    • Stacked Stone background stamp
    • One ink – Cinnamon Cider
    • Timeworn Type 3D embossing folder
    • Greeting tag die-cut from the In Bloom dies
    • Champagne rhinestones


    This next card is made by me in Black, Cherry Cobbler & White.  


    I stamped the image in Black Memento ink and colored in just the door with Cherry Cobbler blends markers.  It adds that fun pop of color.  It's also less time consuming than coloring the entire image.  

    Other details: Silver metallic pearls, heat embossed image punched out with the Double Oval punch.

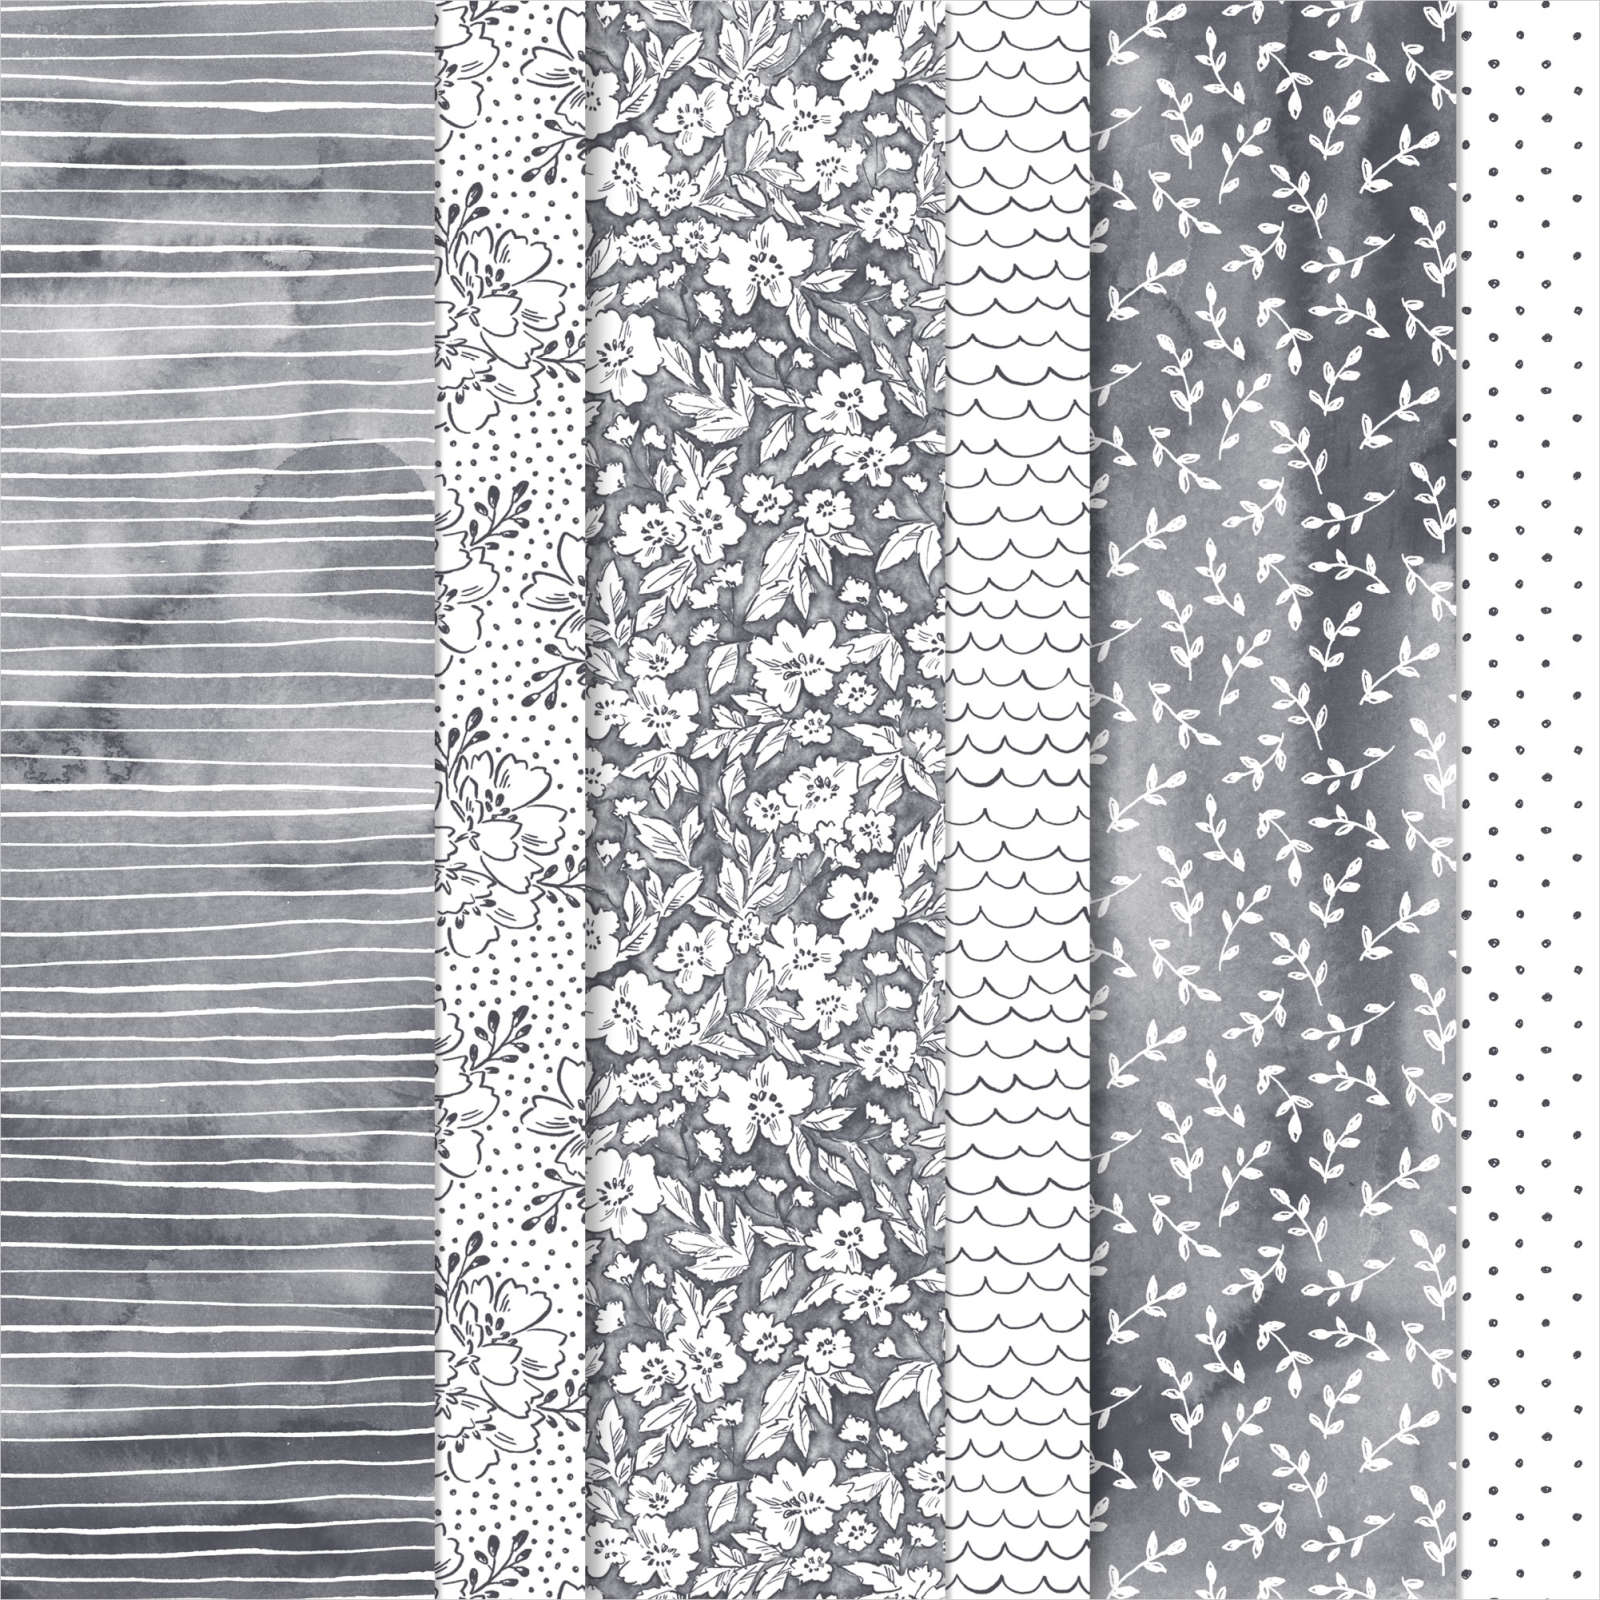
    I added a 2" strip of the Beautifully Penned designer paper on the left.  I do love Black & White paper!

    This paper is also a free choice during our Sale-a-Bration promotion.  You can see it here. 

    ~~~

    September Specials

    Host code: ASETFASJ or T7VSZQ64

    *click here to order

    All online orders will receive a free PDF tutorial filled with projects featuring

    the Painted Christmas Suite!

    Get a pkg. of Holiday Rhinestones with a $50 online order from me in September! 

    Order here

    Get a Free Bundle  from the Holiday Catalog when you choose the Starter kit!  Pick out $125 in product of your choice for just $99 and shipping is free!  

    Leave a Reply

    Your email address will not be published. Required fields are marked *

  • Delicate Dahlias & Very Versailles


    Look at this pretty, multi-layered card made by Roxann. She used the Delicate Dahlias stamp set and the Very Versailles. 

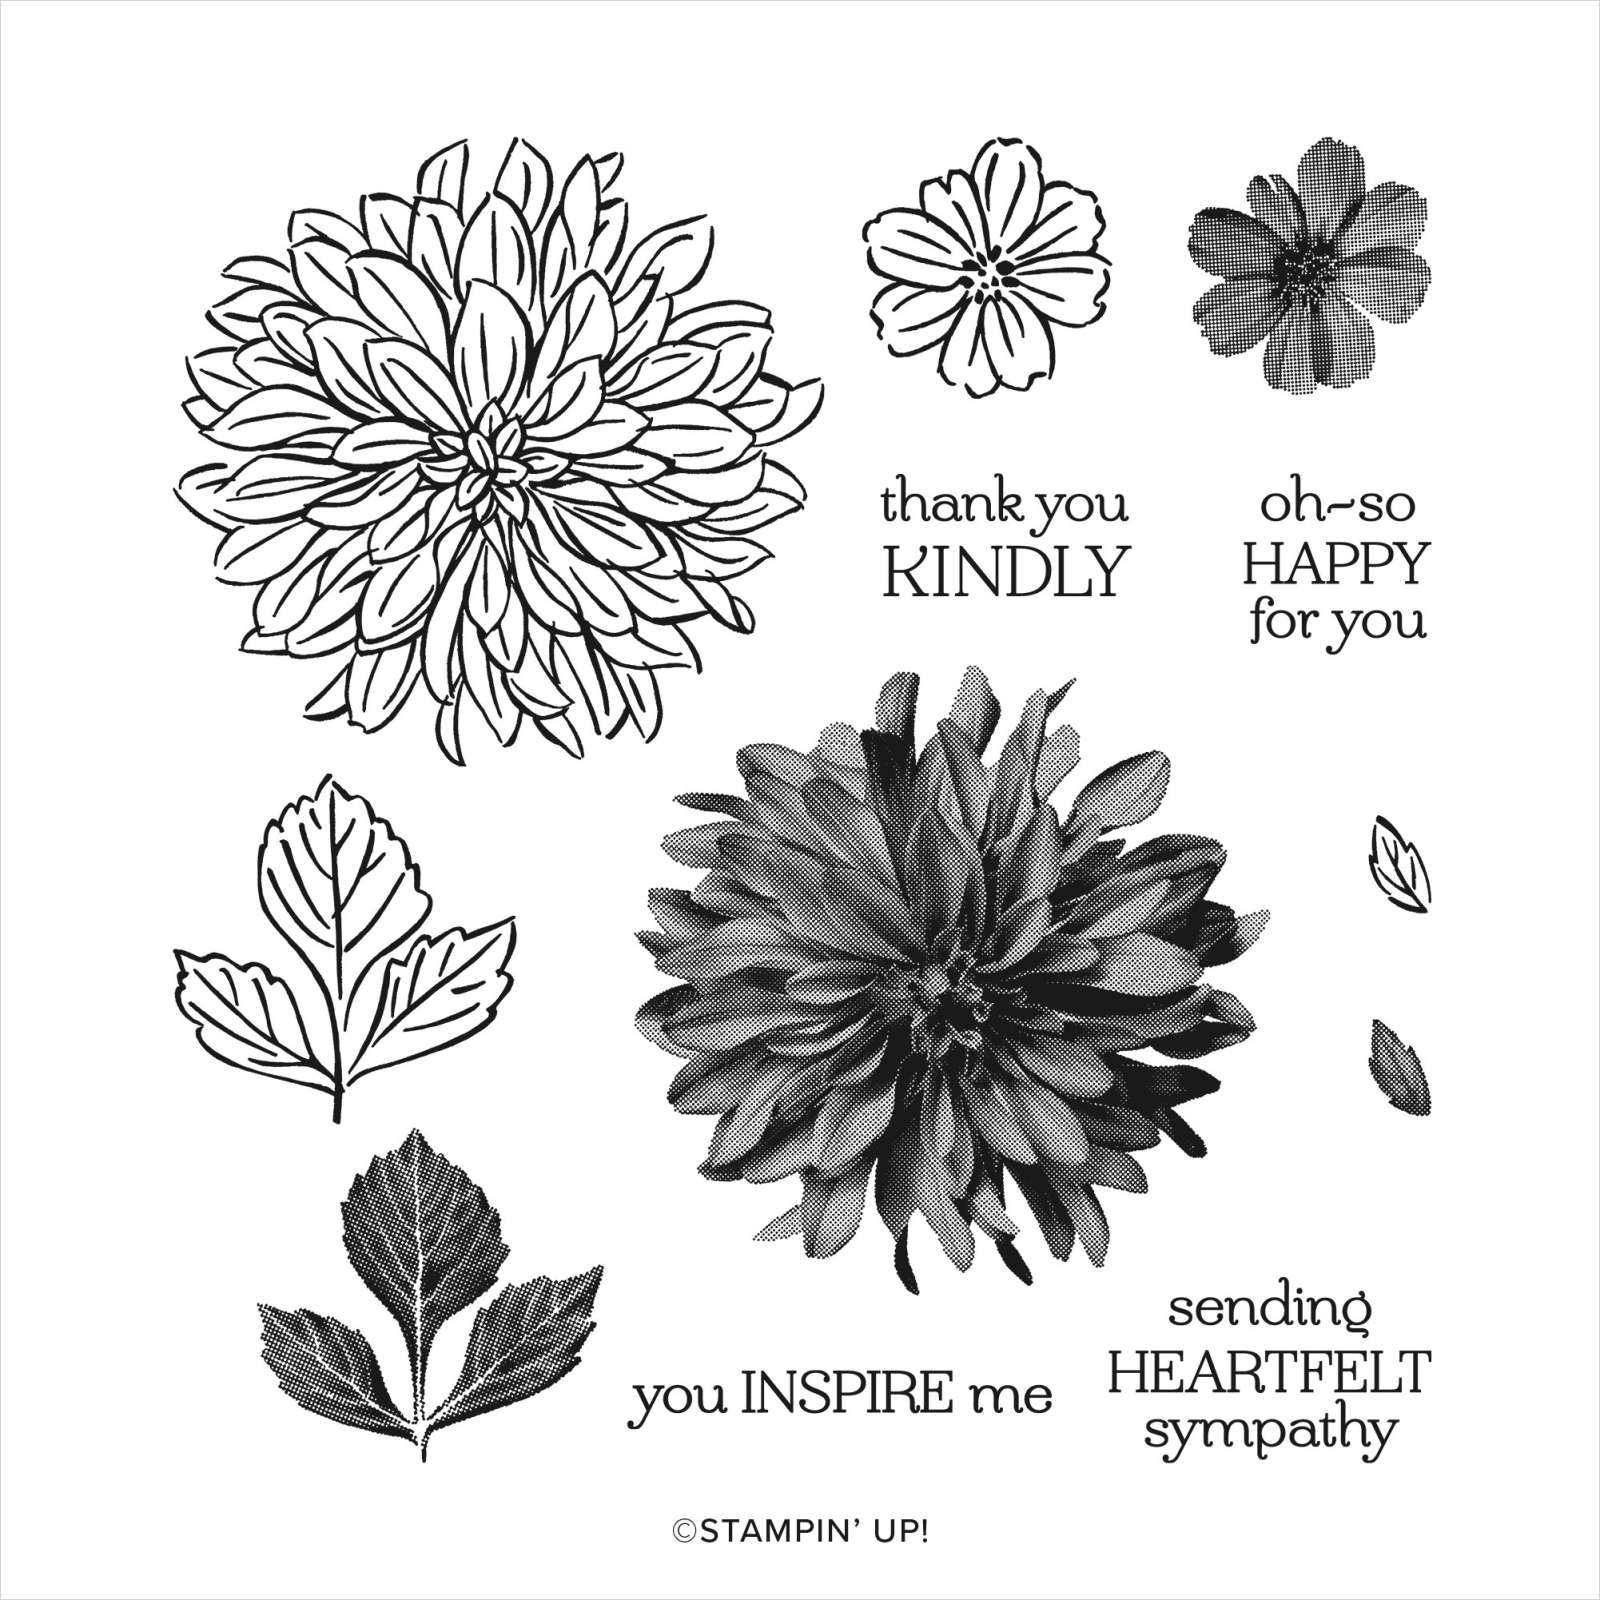
    Her colors are Pale Papaya, Vanilla & Black.  She stamped the Dahlia twice; once on the large Vanilla and again on a scrap to fussy cut.  It's a 2-step stamp set with a DistINKtive look. What is DistINKtive mean?  It's a process Stampin' Up! created that gives a multi-toned look with just one ink color.  

    Look at the detail and multiple hues on these stamps!  

    This stamp set if free with a $100 order during our Sale-a-Bration promotion.  It lasts through September 30th.  See it here. 

    ~~~

    September Specials

    Host code: ASETFASJ or T7VSZQ64

    *click here to order

    All online orders will receive a free PDF tutorial filled with projects featuring

    the Painted Christmas Suite!

    Get a pkg. of Holiday Rhinestones with a $50 online order from me in September! 

    Order here

    BEST DEAL!

    Get a Free Bundle  from the Holiday Catalog when you choose the Starter kit!  Pick out $125 in product of your choice for just $99 and shipping is free!  

    Leave a Reply

    Your email address will not be published. Required fields are marked *

  • 3 techniques for the Delicate Dahlia’s stamp set with video


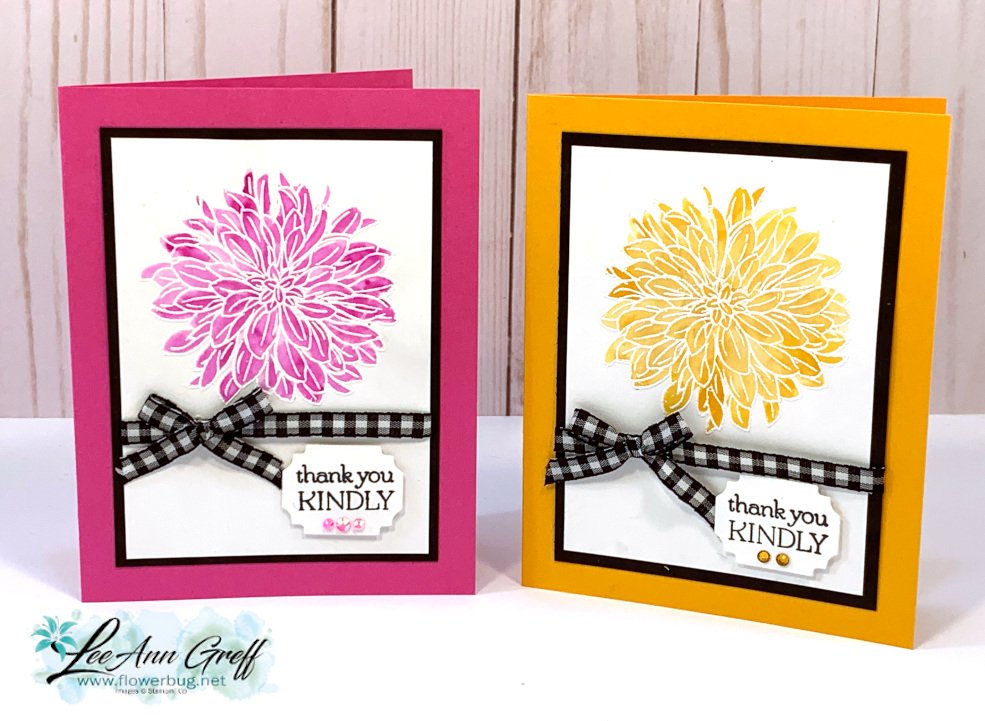
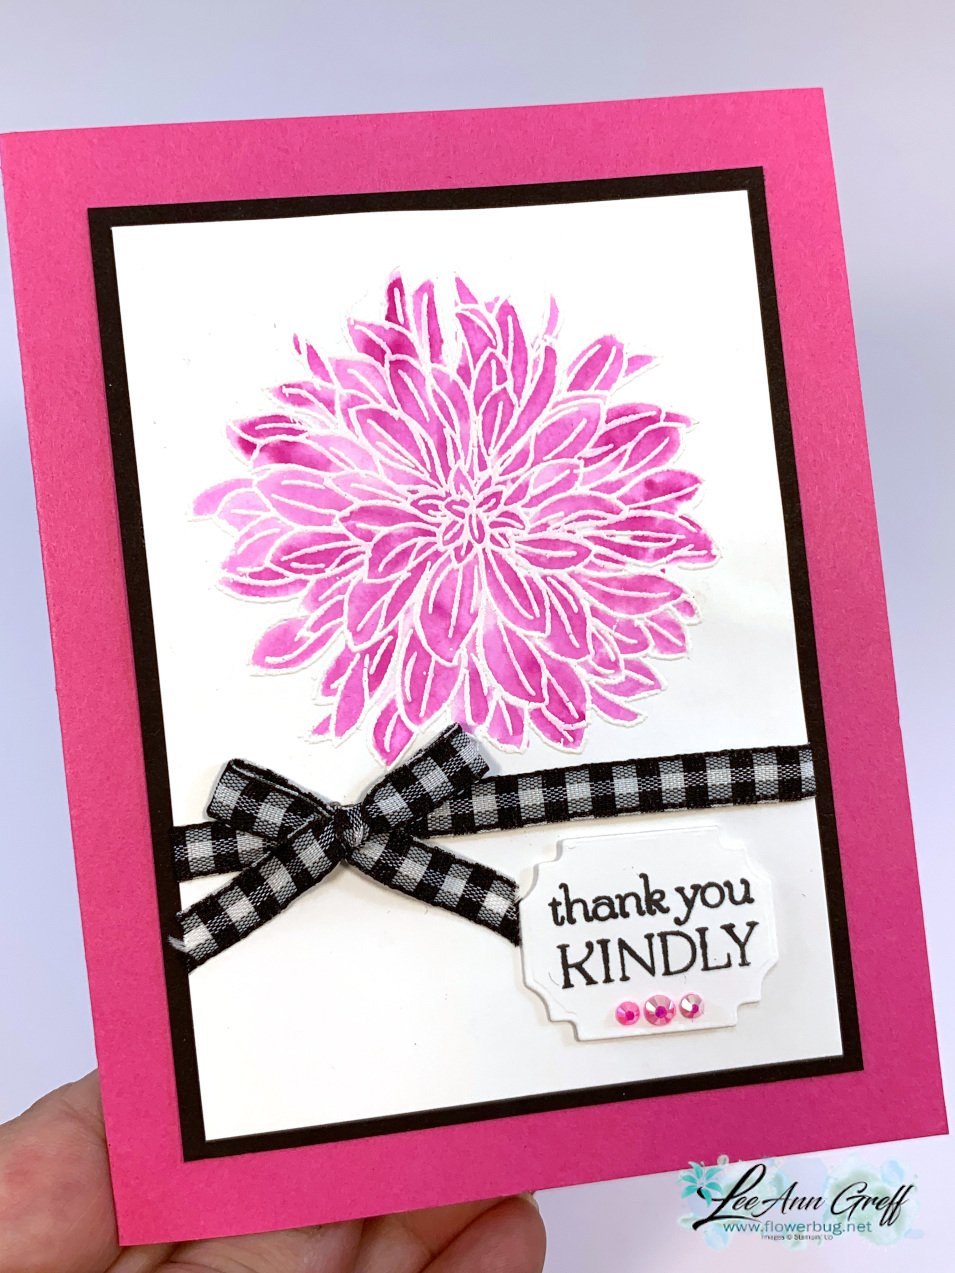
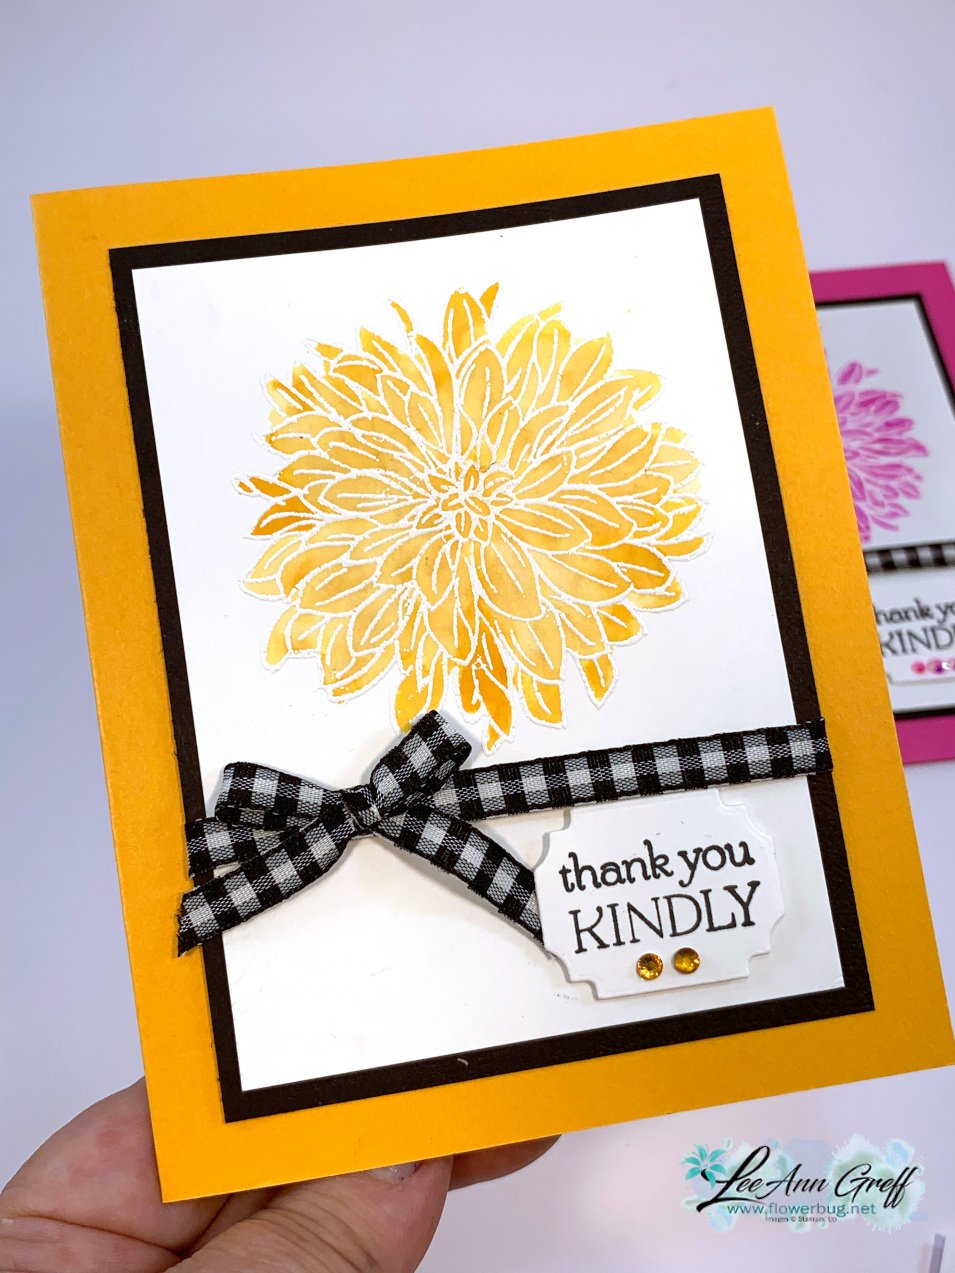
    I featured the Delicate Dahlia's stamp set on Tuesday's FB Live.  This stamp set is free with a $100 order during our Sale-a-Bration promotion happening now.  See it here. There are three pretty cards using different techniques on each. 


    This first technique is called Watercolor Ink Spread. The colors are Magenta Madness & Mango Melody.  I was going for bright & happy colors,

    This technique involves heat embossing an outline image and adding water & ink.  It is recommended to use watercolor paper but it worked fairly well on our Basic White.  However for larger petals or leaves I suggest you use our watercolor paper. Check out the video below for tips. 


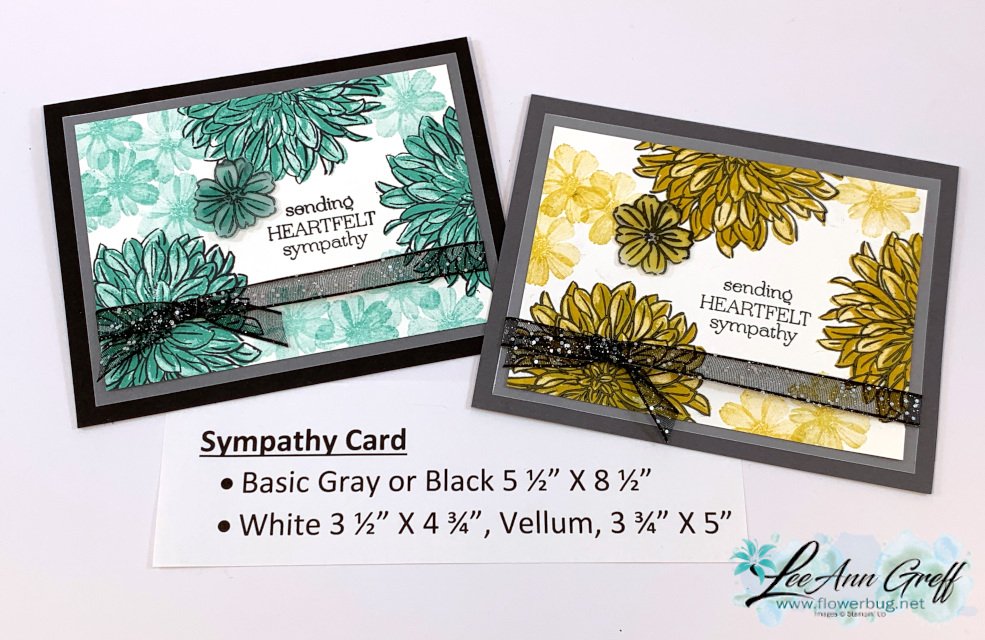
    This next set of cards is basic 2-step stamping.  In the video I share a helpful tip on lining up two step stamps.  The Stamparatus can be best for most applications but I was stamping all over the panels and did not use it. 

    All of the images are in this beautiful stamp set. The colors on the left card are Coastal Cabana, Black, White & Vellum.  The right is Basic Bray, White, Bumblebee & Vellum. 

    I did use our Black glittered ribbon on both.  I did heat emboss a flower on vellum and fussy cut it. It's colored with Blends markers. 

    And here is the video; I hope you enjoy watching it to get tips on these two sets of cards plus one more on Poppin' Pastels! 

    ~~~

    September Specials

    Host code: ASETFASJ or T7VSZQ64

    *click here to order

    All online orders will receive a free PDF tutorial filled with projects featuring

    the Painted Christmas Suite!

    Get a pkg. of Holiday Rhinestones with a $50 online order from me in September! 

    Order here


    Get a Free Bundle  from the Holiday Catalog when you choose the Starter kit!  Pick out $125 in product of your choice for just $99 and shipping is free! You also receive a free Paper Pumpkin kit in addition to catalogs & business supplies.  

    Leave a Reply

    Your email address will not be published. Required fields are marked *


Notice: LeeAnn Greff, Independent Stampin’ Up! Demonstrator, Manager. The content of this website is my sole responsibility as an independent Stampin’ Up! demonstrator and the use of, and content of, the classes, services, or products offered on this website is not endorsed by Stampin’ Up! Copyright 2025